
This post may contain affiliate links. Please see my full disclosure and privacy policy for details.
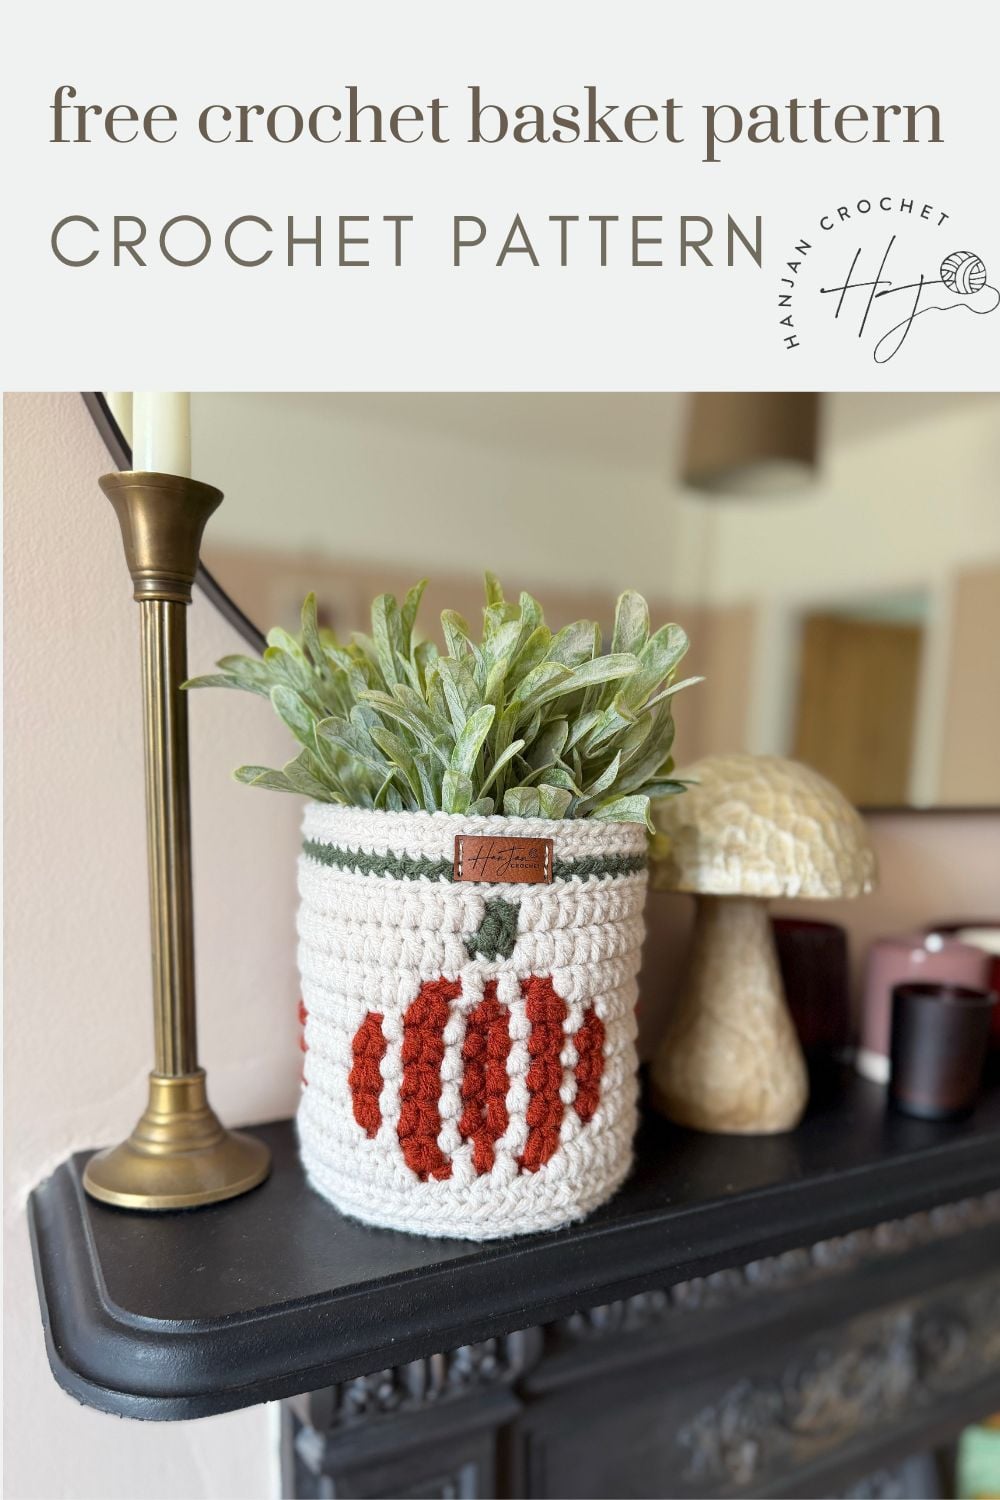
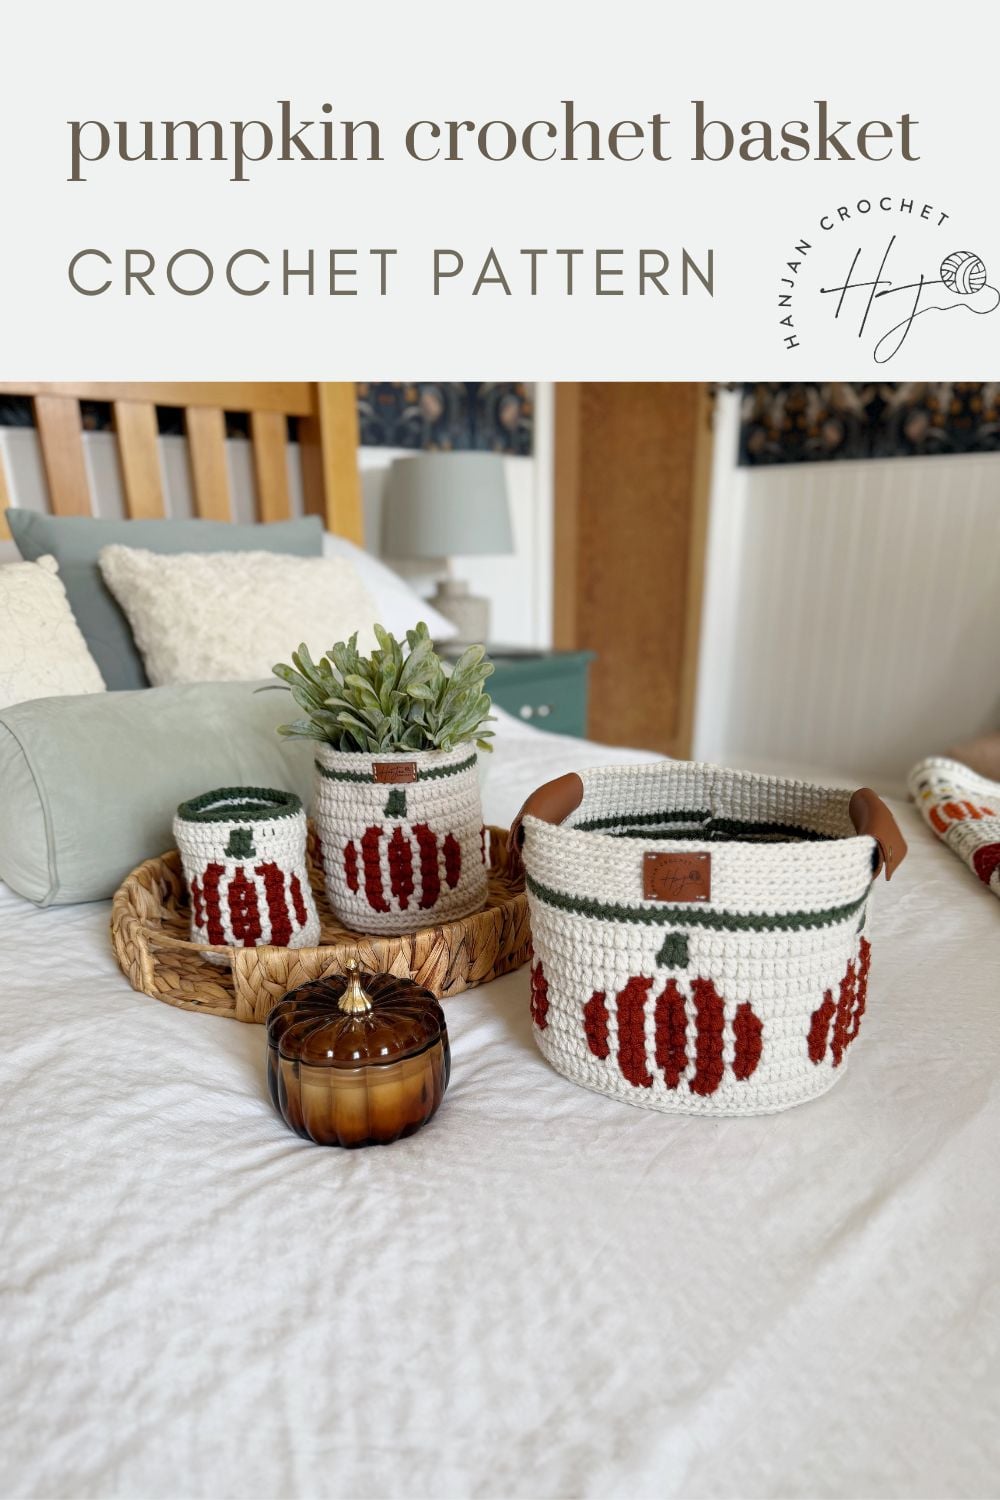
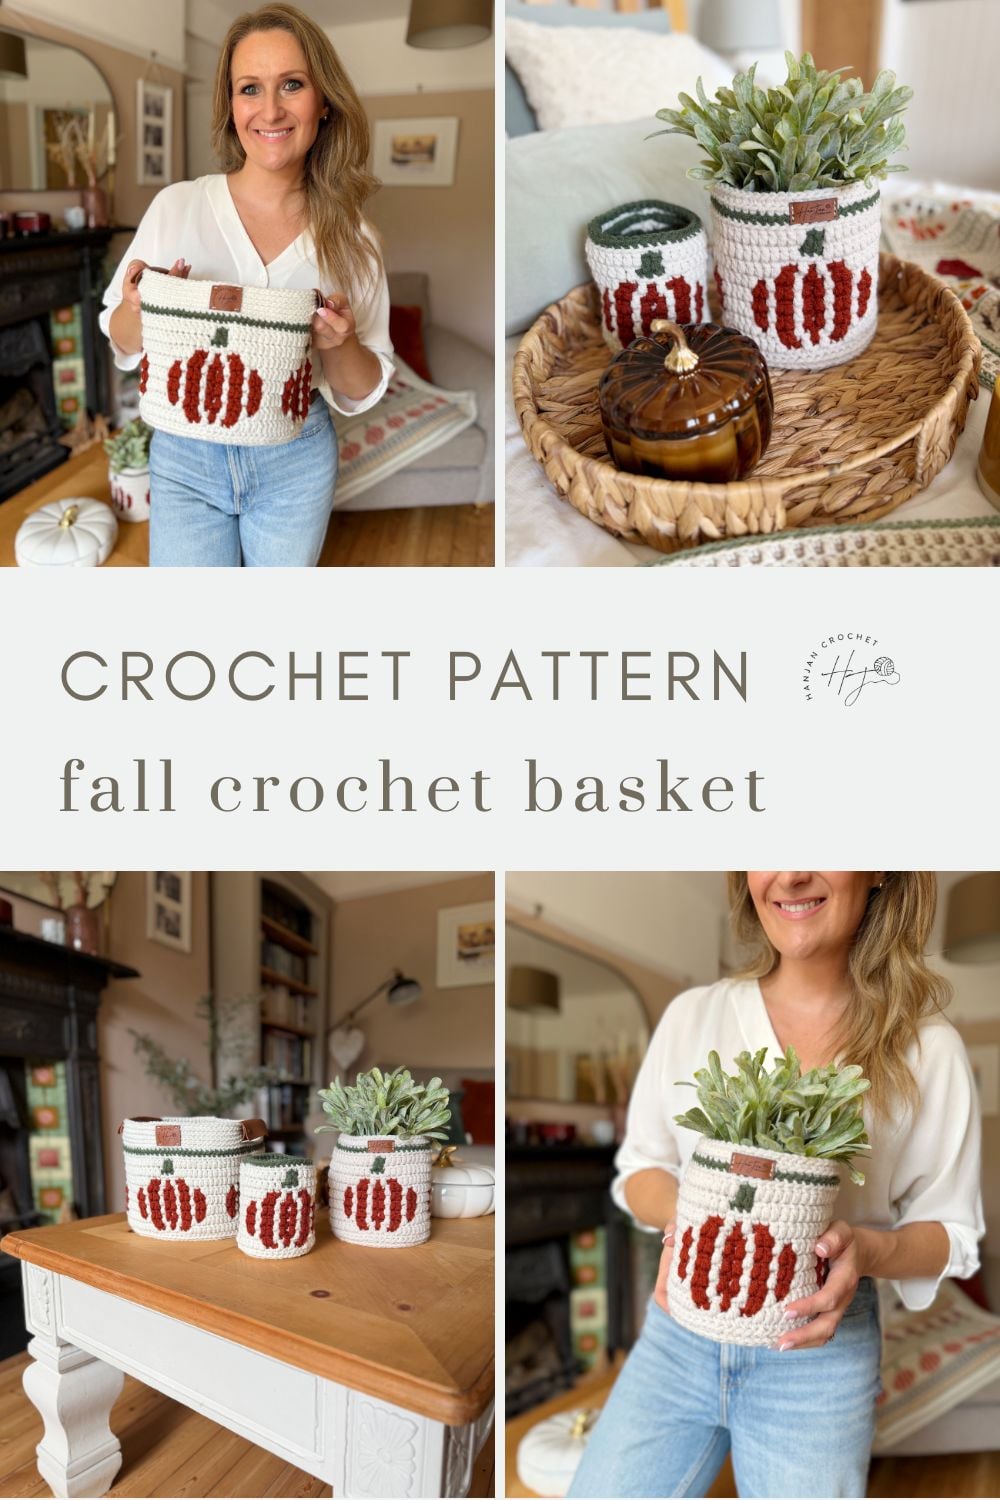
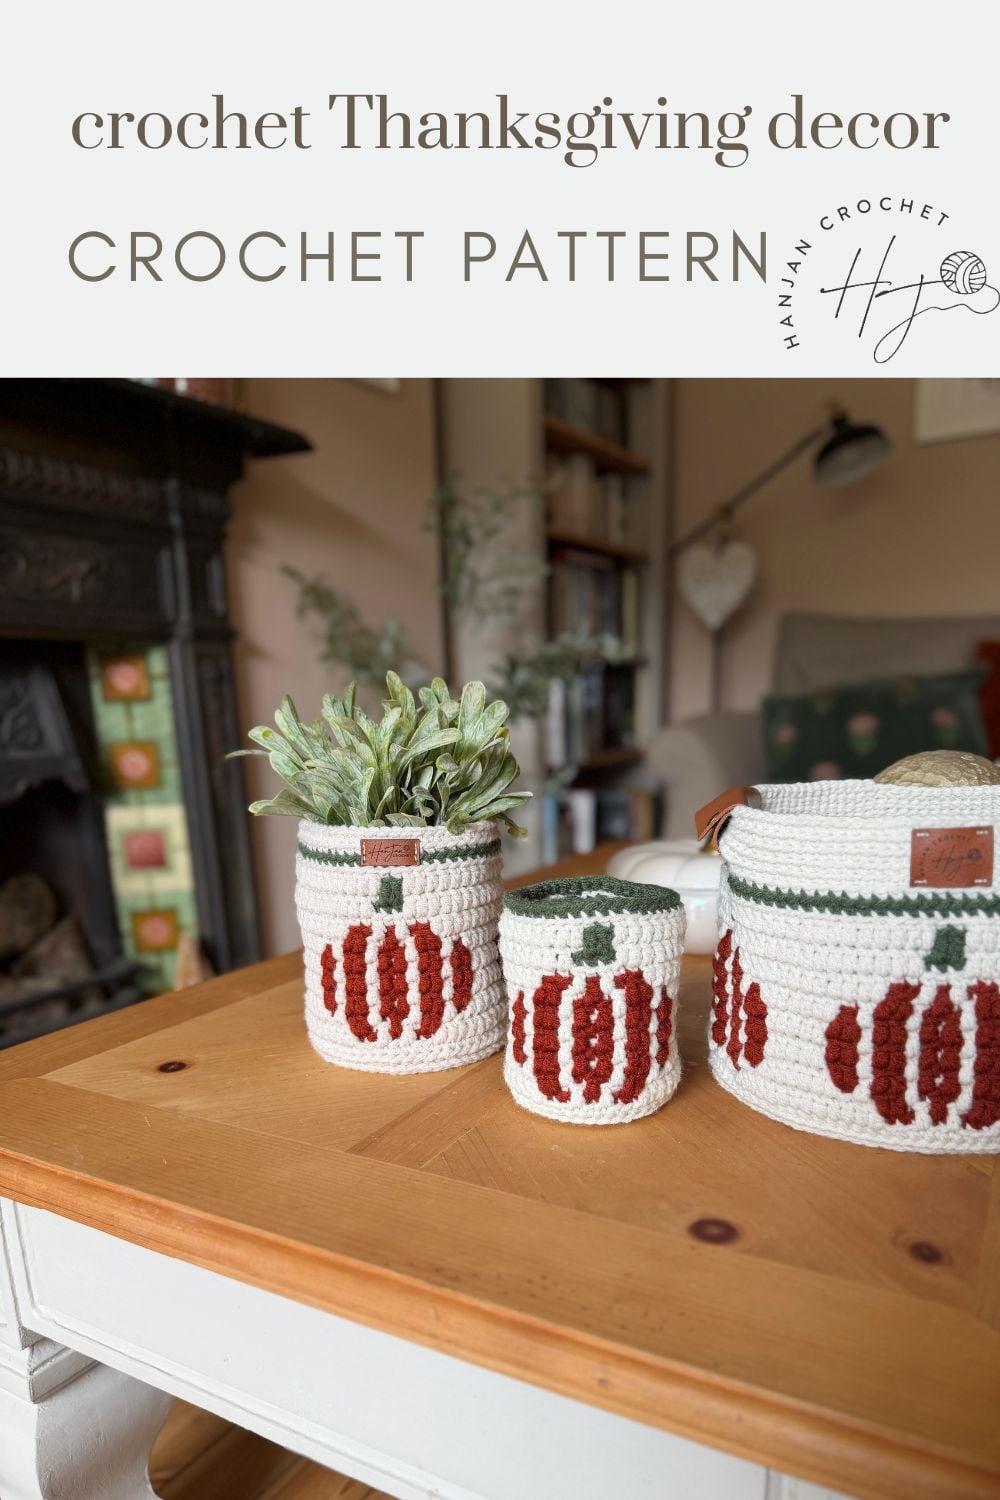
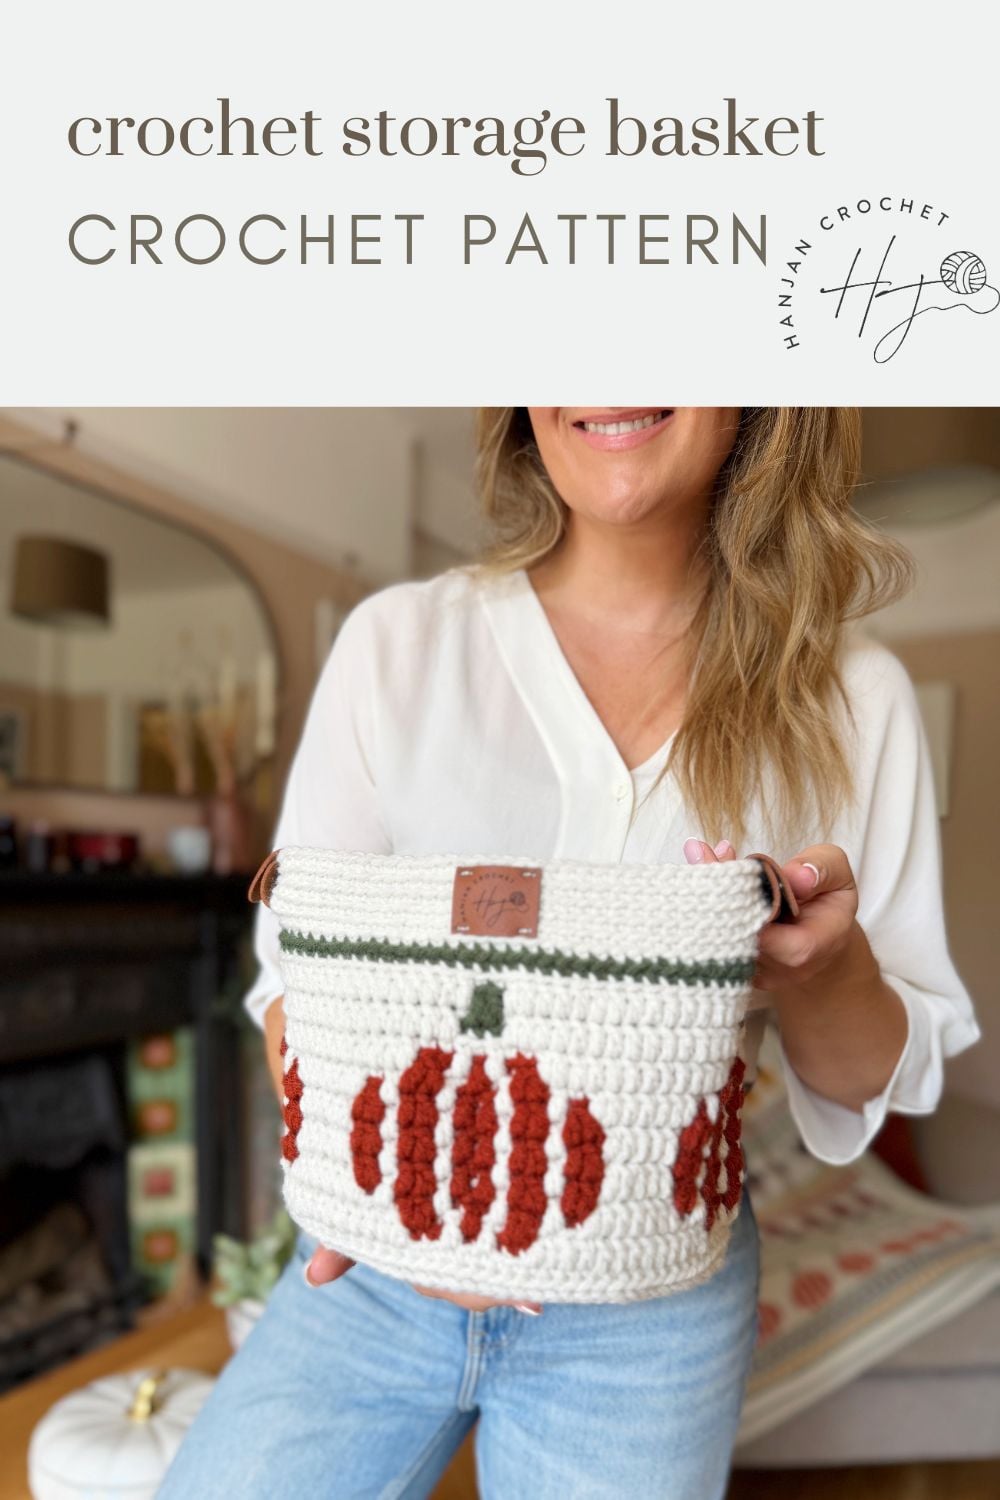
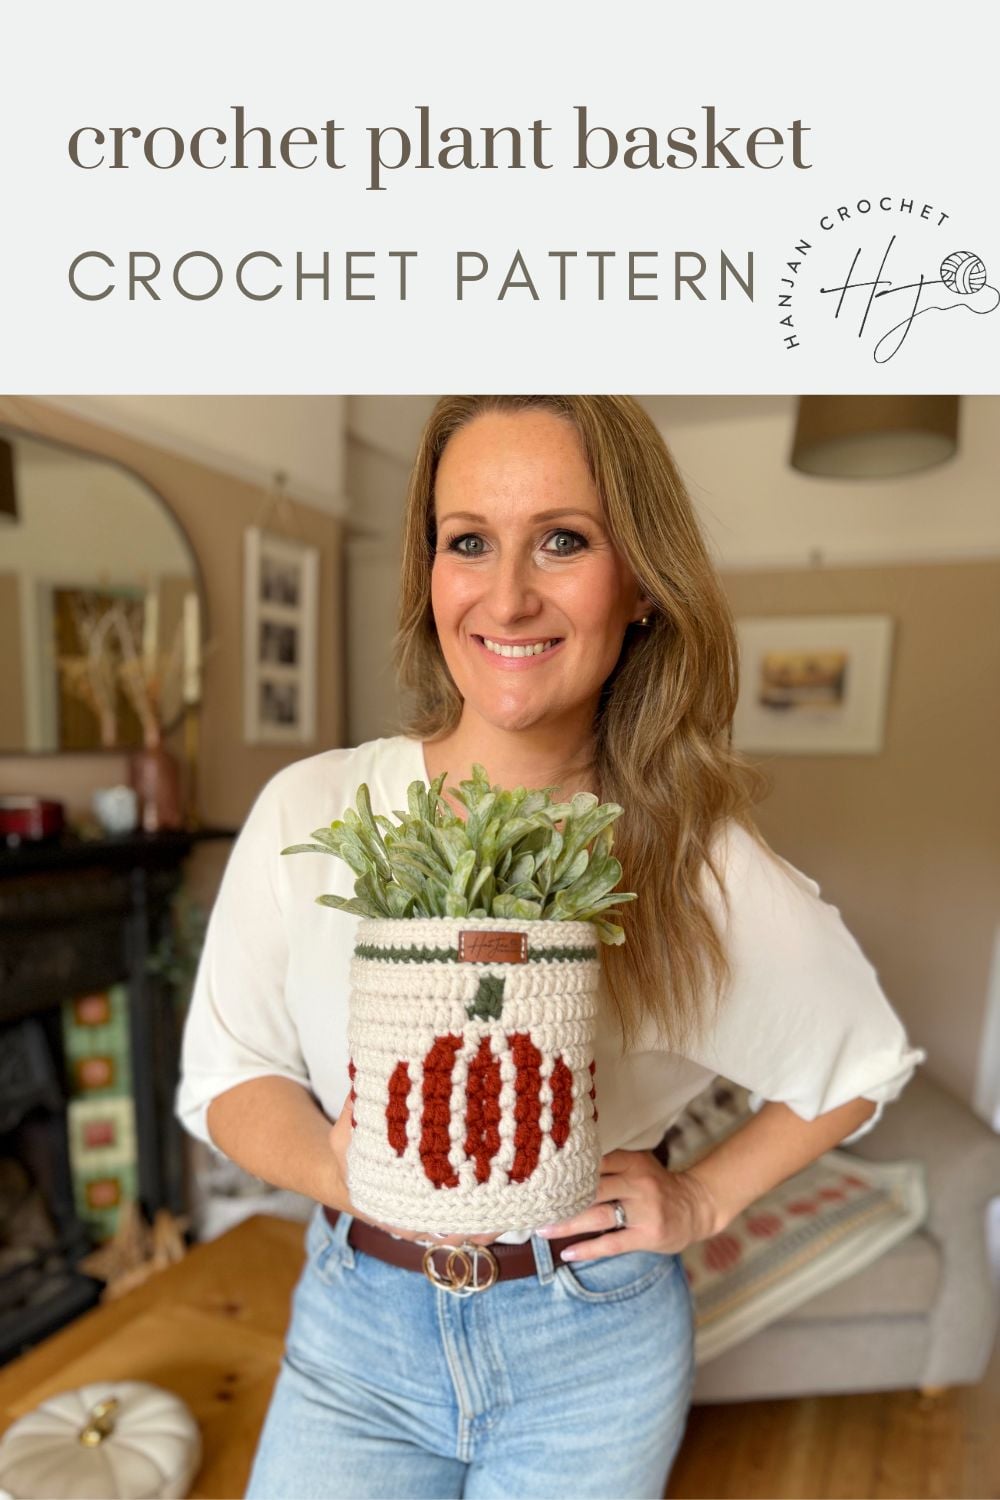
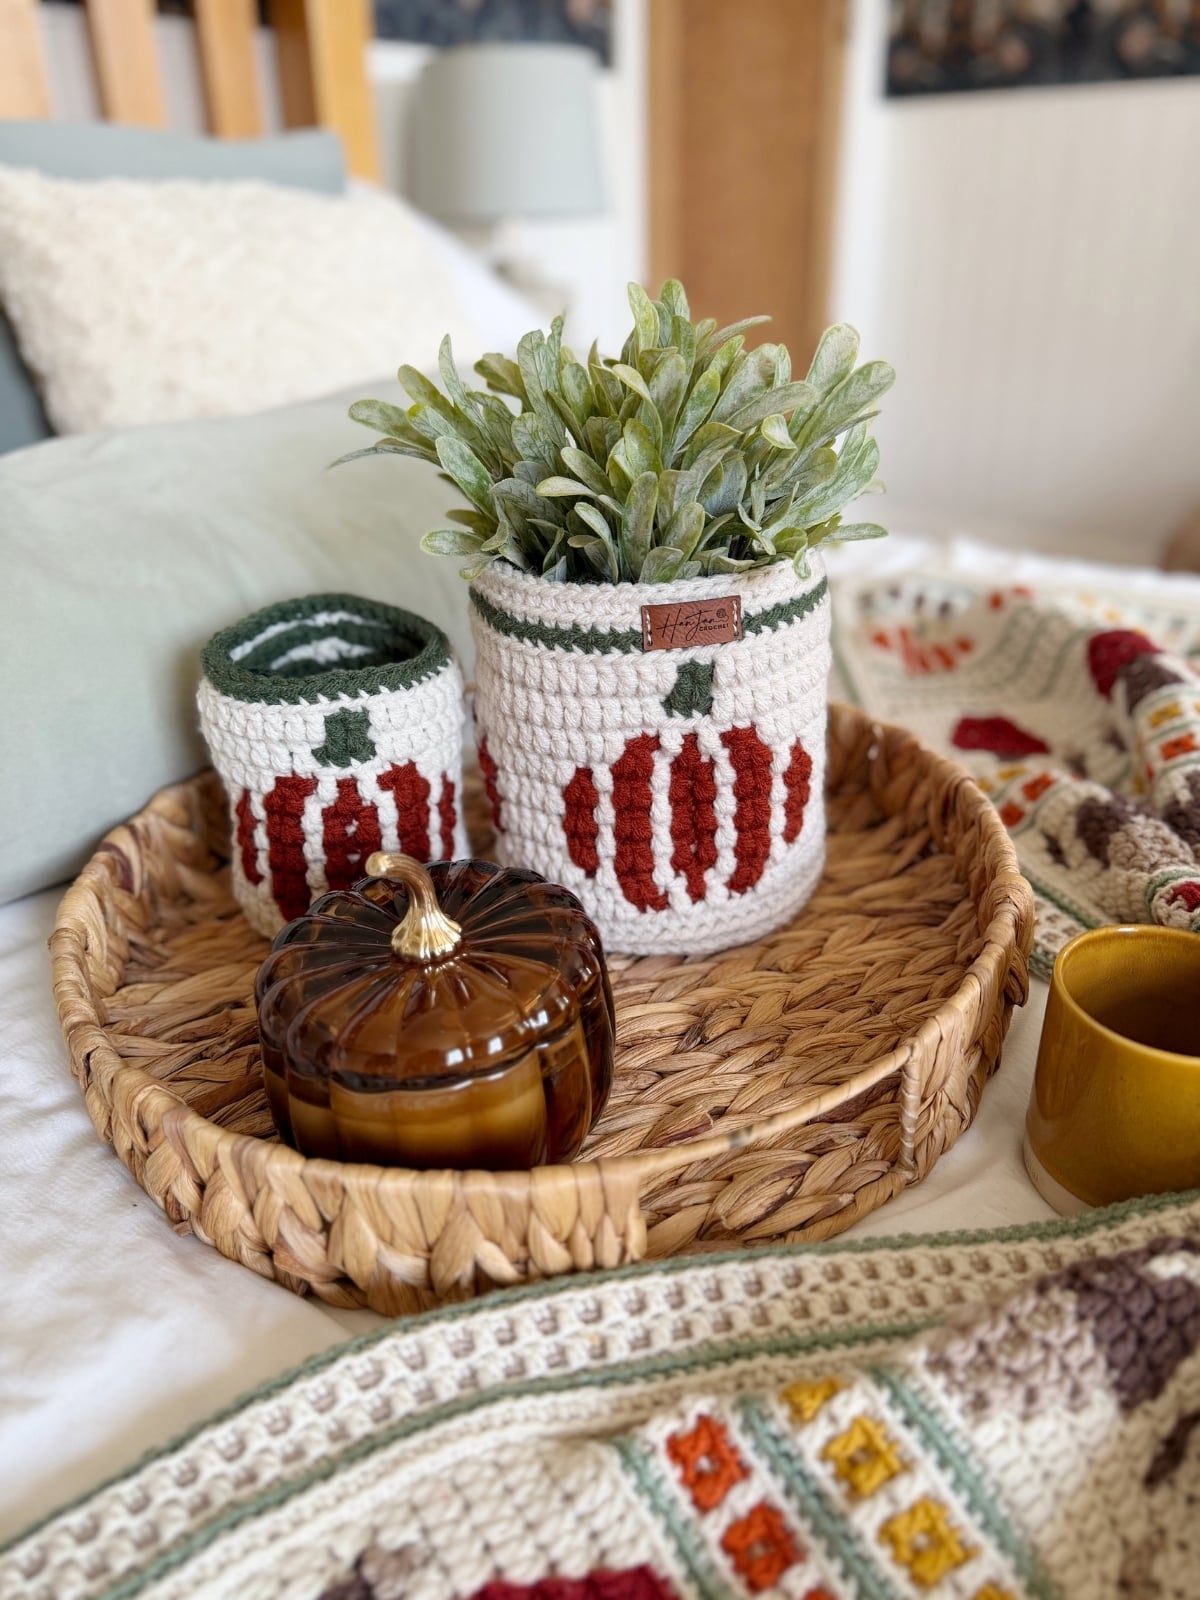
This crochet pumpkin basket has been such a fun addition to my autumn makes this year! The pumpkins are worked in overlay mosaic crochet right around the basket, so you get all that beautiful detail and colour without any complicated techniques.
The best part is that this pattern comes in three sizes, so whether you want a little trinket pot for the coffee table or a proper storage basket or plant pot, you can make it exactly the size you need. Fill it with pinecones, tuck your autumn décor inside, or just let it sit pretty on its own. However you use it, it’s a brilliant way to bring a bit of handmade pumpkin charm into your home this fall. 🎃🧡
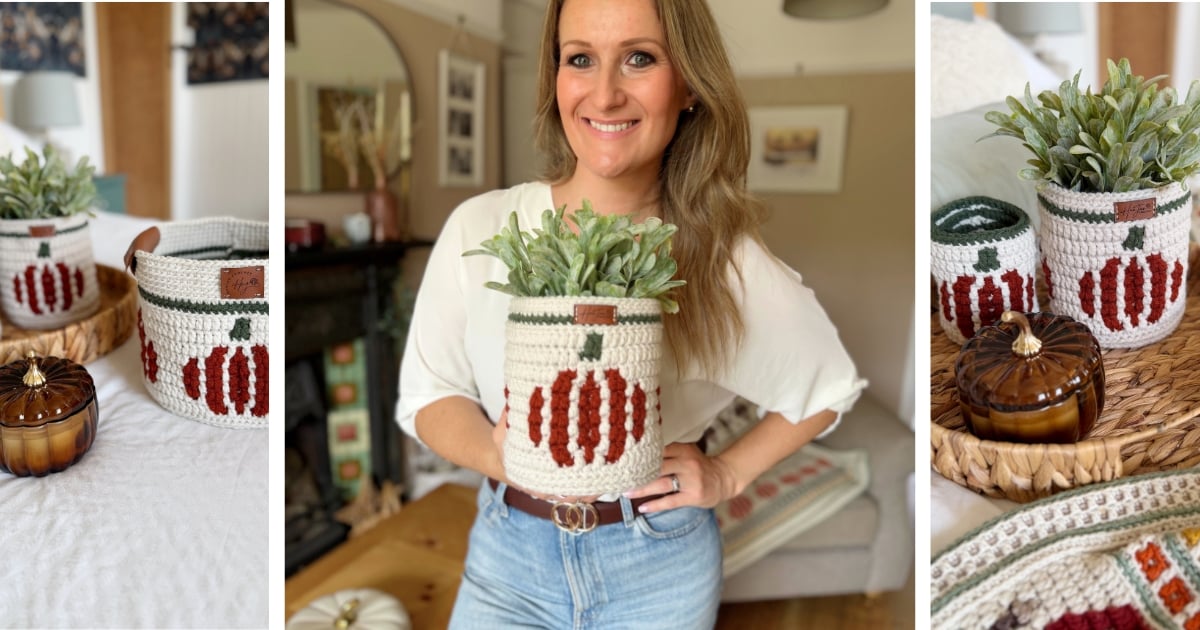
Crochet Pumpkin Basket Pattern
Create a cosy set of crochet pumpkin baskets that are as useful as they are lovely. Made in three sizes with optional handles, they’re perfect for autumn storage, decorative pots, plant covers or filling with all those little bits and pieces that never seem to have a home. 🎃🧺🍂
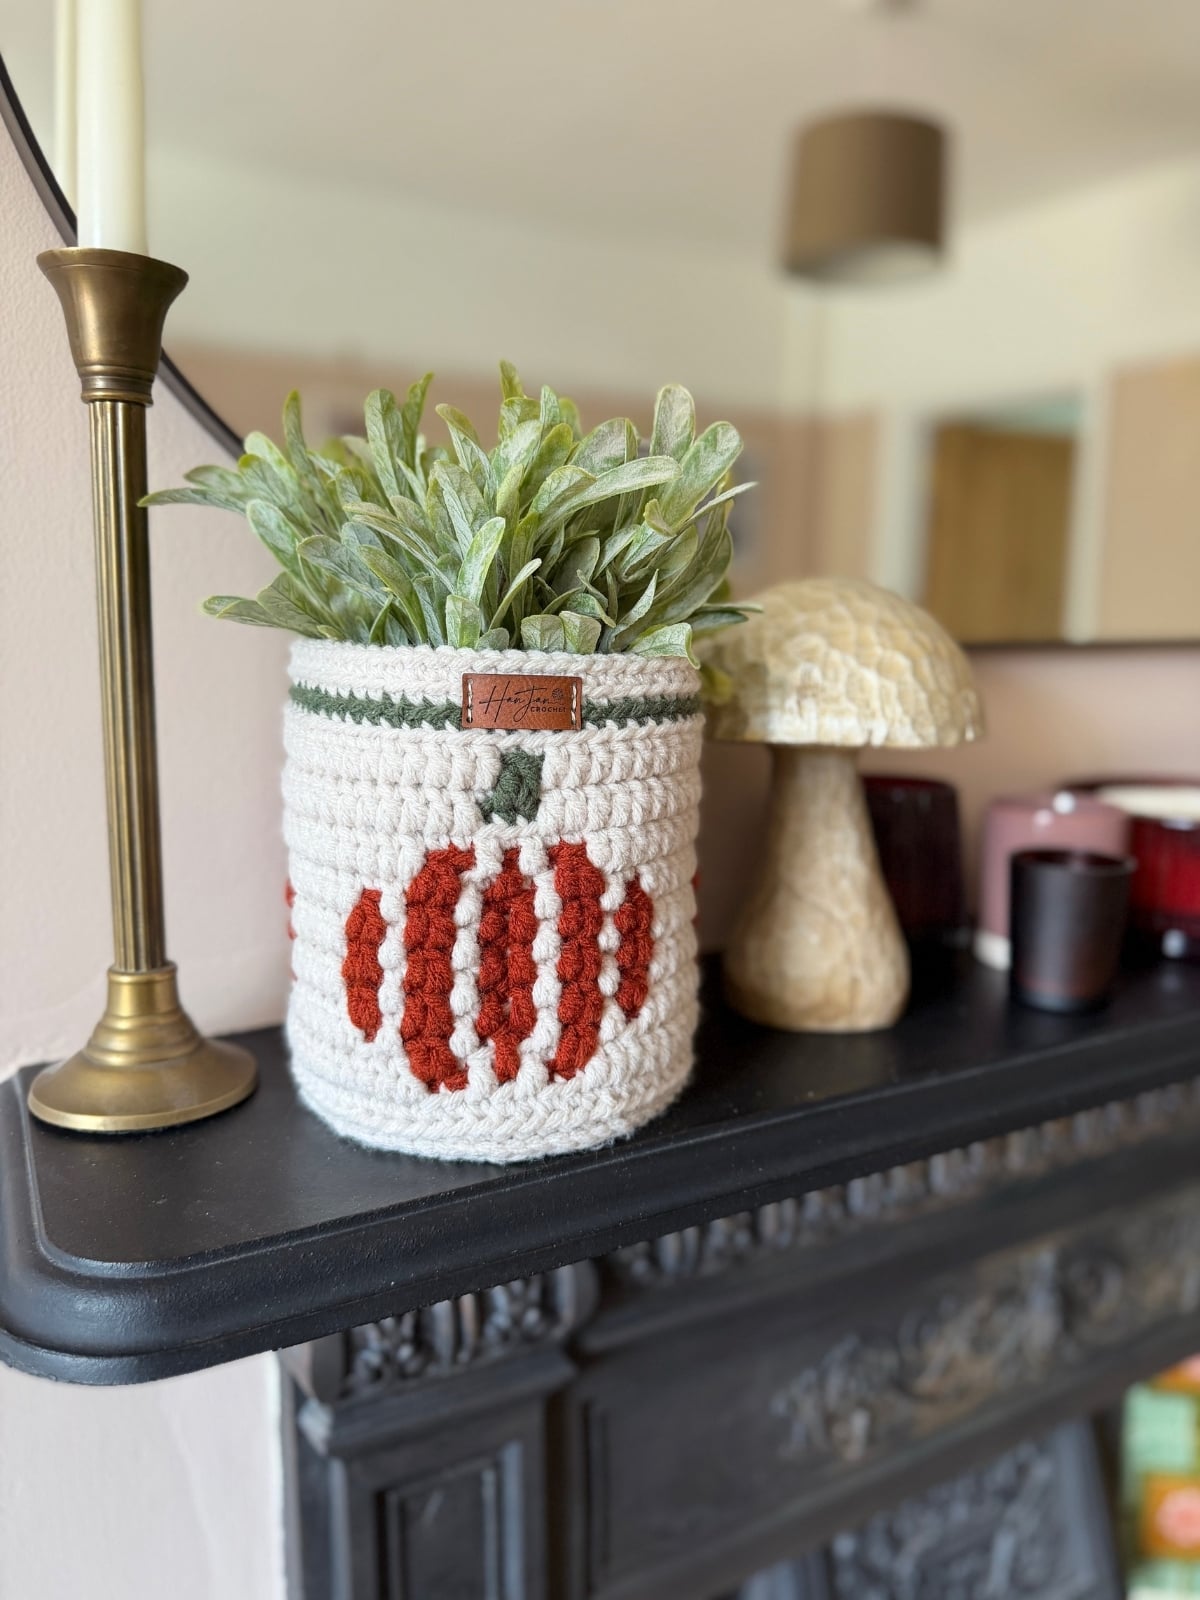
⭐⭐⭐ Difficulty level: Intermediate – using basic stitches and the overlay mosaic crochet technique
💬 Hook Size: 5mm
📏 Sizes: 3.5″, 5.5″ and 9″ diameters
✨ Crochet Technique: overlay mosaic crochet
⚖️ Yarn Weight: 100% acrylic worsted weight (category 4)
🧶 Yarn Used: Starlette
🕐 Approx Crochet Time: 4-6 hours depending on your pace
👍 Perfect For: quick fall crochet projects, handmade autumn home decor, autumn gifting
Table of Contents
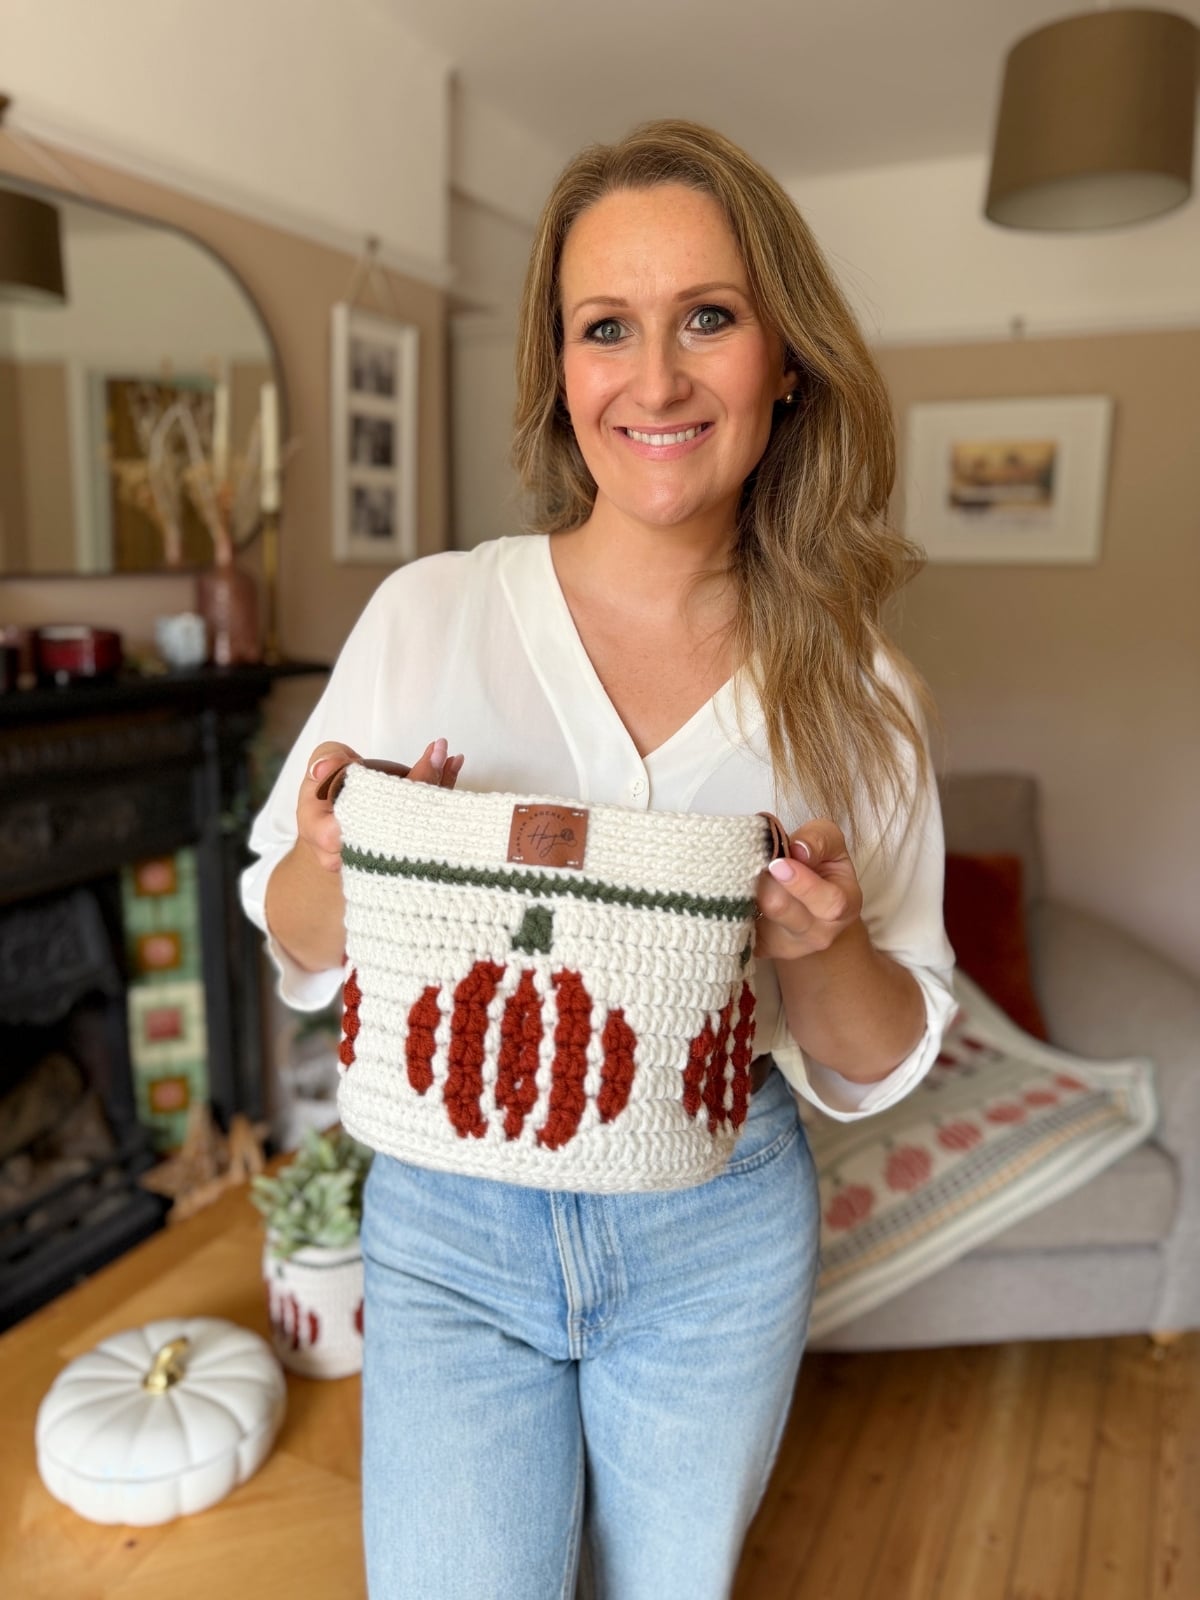
Things you’ll love about this crochet halloween basket
Free Crochet Pumpkin Basket Pattern Materials
- A 5mm(H) crochet hook or hook needed to meet gauge
- Scissors
- Tapestry needle
- Stitch markers
- Optional Handle Covers
Along with the above you will need the following yarn for your pumpkin basket:
Starlette, 100% Acrylic, worsted weight (180yds/165m/100g)
For the small (medium, large) baskets, you will need:
Approximately 100 (220, 390)yds, 90 (200, 360)m of your yarn A: 1 (2, 3) ball(s) of recommended yarn A.
Approximately 50 (110, 190)yds, 45 (100, 175)m of yarn B: 1 (1, 2) ball(s) of recommended yarn B.
Approximately 25 (30, 45)yds, 23 (27, 41)m of yarn C: 1 (1, 1) ball of recommended yarn C.
I used the shades A: Cottonwood, B: Russet, C: Deep Green for my baskets.
Check out our handy yarn weight chart and guide to find out more about yarn weights and categories.
See my other worsted weight crochet patterns – you might find your next project there too!
Yarn Substitutes
You can use any yarn that you like bearing in mind that you need to make sure you meet the gauge. Some other great options are:
- Color Theory by Lion Brand, 100% Acrylic, 246yds/225m/100g
- Brava Worsted by WeCrochet, 100% Premium Acrylic, 218yds/200m/100g
- Herrschners Worsted 8, 100% Acrylic, 489yds/448m/226g
If you are looking for more fall mosaic crochet patterns in the collection, then you can find them here:
Finished Basket Sizes
Small (Medium, Large)
Diameter: 3.5 (5.5, 9)”
Height: 5.5 (6.25, 7)” adjustable depending on handles
Glossary and Abbreviations
- beg – beginning
- blo – back loop only
- ch(s) – chain(s) (chain stitch tutorial)
- ch-sp(s) – chain space(s)
- rep – repeat
- RS – right side
- sp – space
- ss/sl st – slip stitch (how to crochet a slip stitch)
- st(s) – stitch(es)
- tog – together
- WS – wrong side
- Yoh – yarn over hook
Stitches
The pattern is written in standard US terms and uses the following crochet stitches:
Not enjoying the ads? Want less distractions?
Join Us In The HanJan Crochet Club!
Join the online club and enjoy hundreds of Hannah’s crochet patterns ad-free, plus exclusive resources, a bonus Ebook and new free patterns added regularly.
sc – single crochet (how to single crochet stitch)
hdc – half double crochet (how to make a half double crochet)
Mdc – Mosaic double crochet (how to work a mosaic double crochet)
Special Stitches
These crochet halloween baskets use a number of different mosaic crochet stitches, as follows:
- SINGLE CROCHET (sc) always worked in back loop only (blo)
- MOSAIC DOUBLE CROCHET (Mdc)
- MOSAIC DOUBLE CROCHET 2 TOGETHER (Mdc2tog) – current and next st
- MOSAIC DOUBLE CROCHET 2 TOGETHER (Mdc2tog) – previous and current st
- 2 MOSAIC DOUBLE CROCHET (2Mdc)
Find out how to work each of these stitches in our complete mosaic crochet stitches guide.
Learn More About The Mosaic Crochet Technique
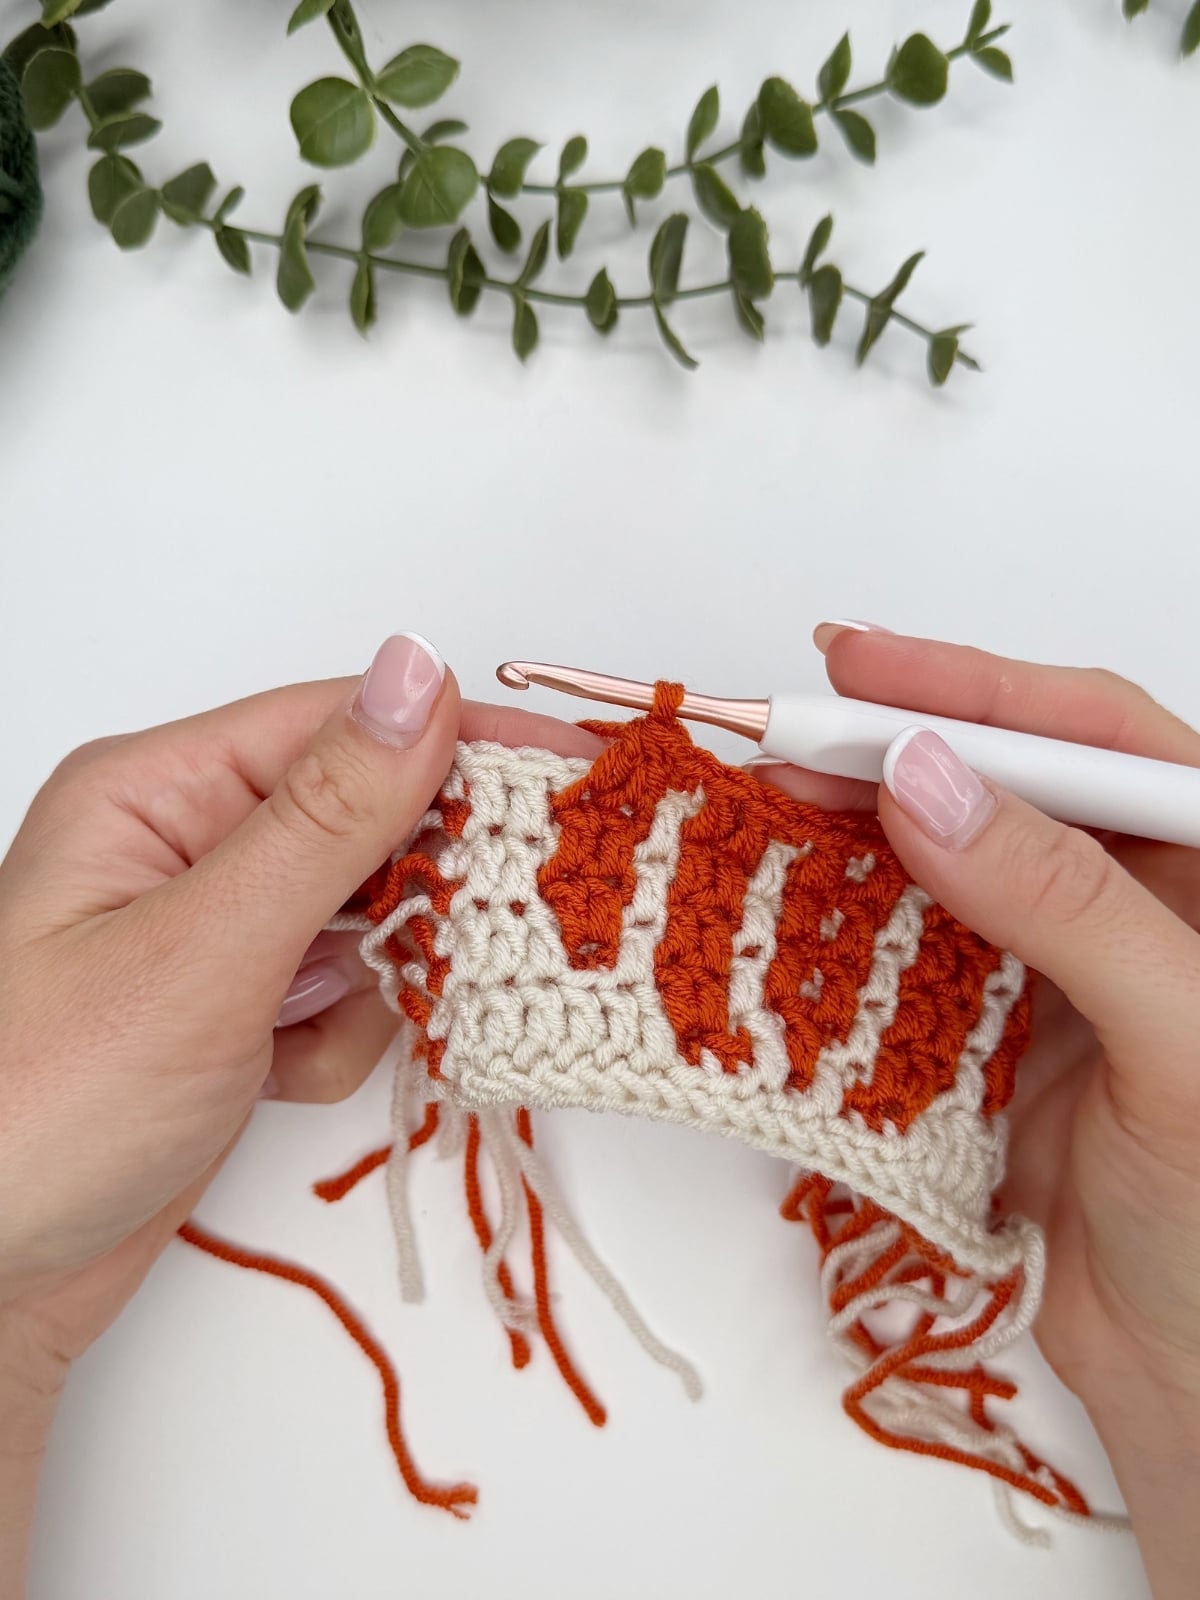
If you’re new to overlay mosaic crochet, here are some useful resources to help you get to grips with the technique before you start, plus don’t forget there are video tutorials throughout the pattern to support you as you make.
Mosaic Crochet Tutorial – what’s the difference between inset and overlay?
Mosaic Double Crochet Stitch – learn how to place a regular double crochet in mosaic
How To Read A Mosaic Chart – it’s much easier than you might think!
Pattern Gauge
Gauge: not essential, 4 rounds of base = 3.5″
A gauge swatch will help you find out if your yarn and hook size will give you the tension for the coaster and make it the size of the schematic.
You can find out more about making a crochet gauge swatch here.
- The pattern is worked in rounds using the overlay mosaic crochet technique for the main body.
- All stitches in the Mosaic Sections are worked as sc in blo or Mdc.
- Each Round uses just one colour.
- A ch1 at the beginning or end of a Round does not count as a stitch.
- Read through the entire pattern before beginning.
- Make sure that you are familiar with all of the stitches in the abbreviations list before you begin.
- Stitch counts are given in [ ] at the end of each round. If no stitch count is given, then the count is the same as the previous round.
- If following charts for the mosaic sections then you will need to follow the written pattern for the base and handles.
Video Tutorial for the Crochet Pumpkin Baskets
[adthrive-in-post-video-player video-id=”8hyHbfRW” upload-date=”2026-09-07T14:11:02+00:00″ name=”Crochet Pumpkin Basket Pattern Free” description=”” player-type=”default” override-embed=”default” orientation=”horizontal”]
Come along as I crochet this pumpkin basket pattern and see just how easy it is in our step-by-step video tutorial.
Crochet Pumpkin Basket: Frequently Asked Questions
Yes! You can follow the full written free crochet pumpkin basket pattern here on the blog to make any of the 3 sizes of basket. If you would like the mosaic charts then you can upgrade to the premium PDF pattern.
If you’re new to overlay mosaic crochet, a small project like this is a great place to start. You can practise the technique without committing to a much larger project.
Absolutely. The crochet pumpkin motif can be used for all sorts of fall crochet ideas, or you can use it as part of my Fall Into Place autumn blanket or coasters pattern.
There are 3 different sized baskets with a diameter of 3.5, 5.5 or 9 inches, and varying heights.
Small projects such as crochet pumpkins, coasters, baskets and table decorations are lovely fall crochet decor ideas. This pumpkin basket is particularly lovely to make and can be used for treats, plants, yarn, knick knacks or whatever you feel like putting in them. 🎃
Looking for more mosaic crochet patterns? Here are some to try:
- Mosaic Crochet Hat Pattern — Try this striking maze design in sizes from newborn to adult.
- Heart Crochet Sweater Pattern — Take your overlay mosaic skills into a gorgeous wearable project.
- Free Mosaic Crochet Blanket Pattern — Mix and match five different motifs to create your own Wildflower blanket.
- Crochet Shamrock Basket Pattern — A fun way to turn a mosaic motif into practical home décor.
- Overlay Mosaic Crochet Patterns — Browse 20+ more mosaic projects when you’re ready for your next one.
Crochet Pumpkin Basket Pattern
There are a few options for you to access and enjoy this crochet pattern:
- View the free pattern on the blog – all blog subscribers will be able to view the patterns supported by ads by logging into their Grow account.
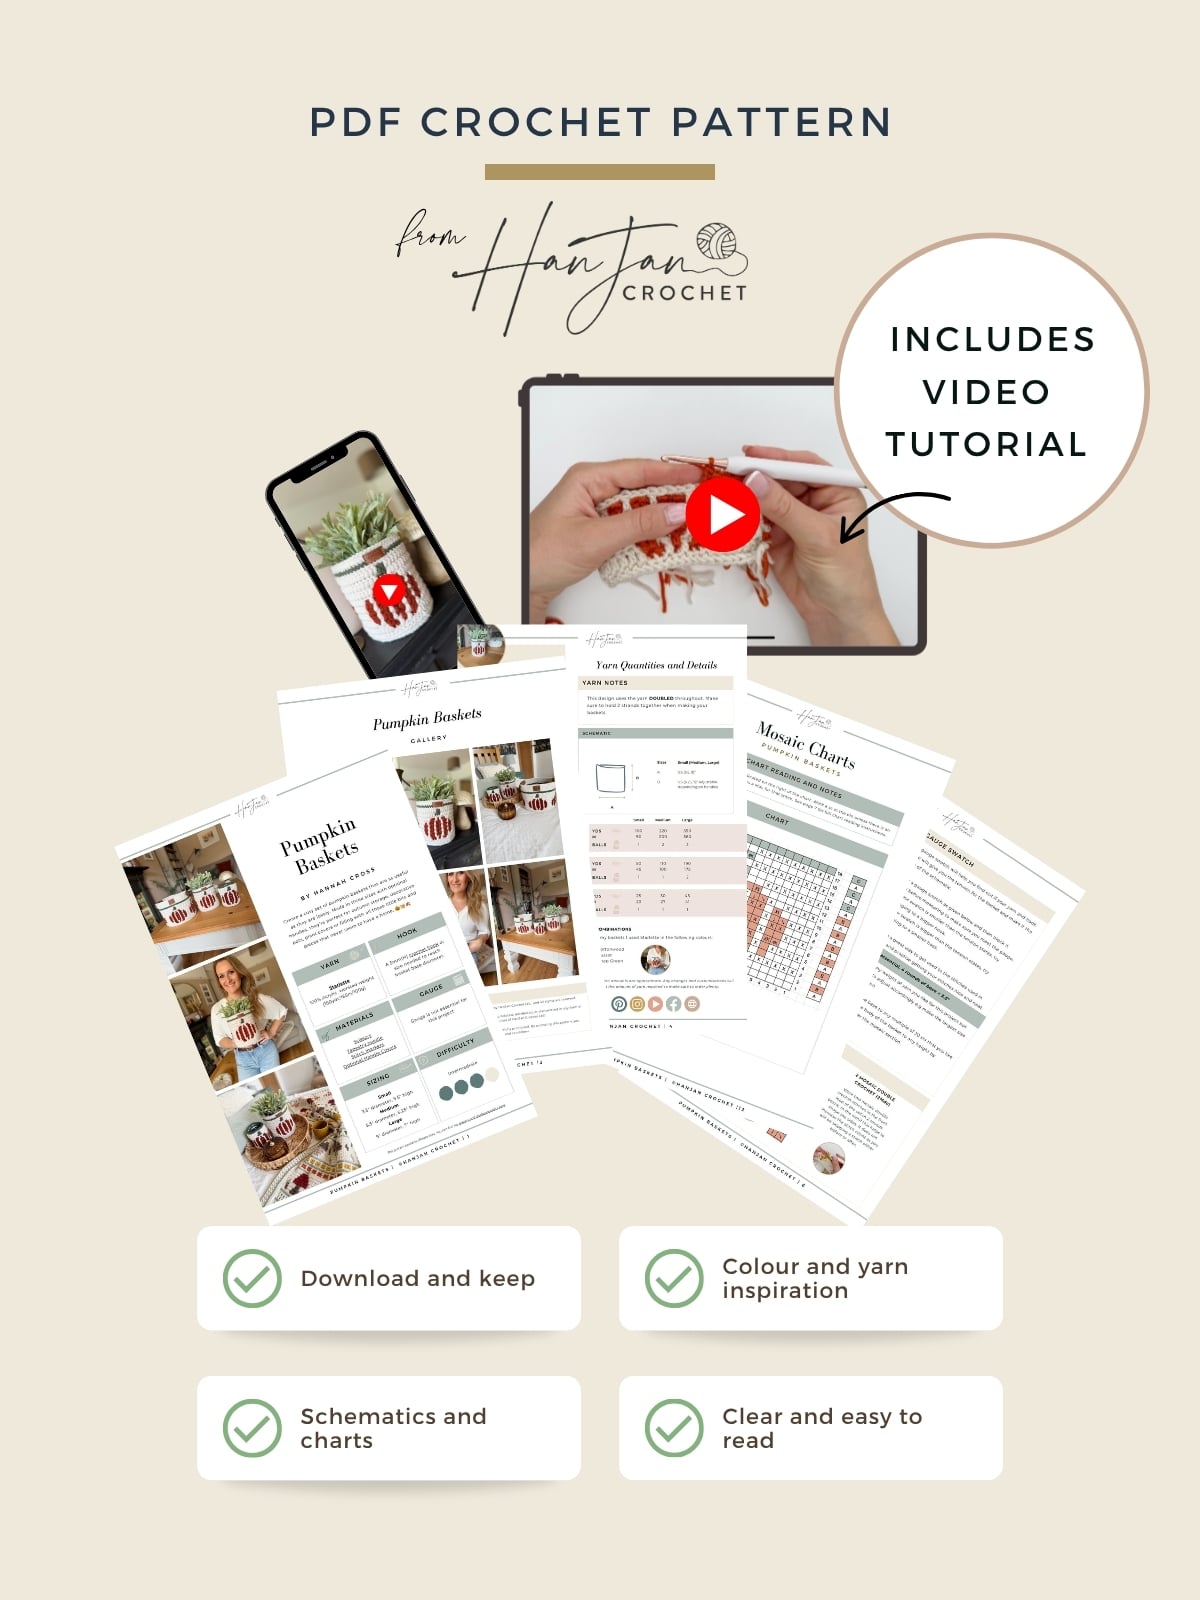
- Purchase the individual pattern (coaster or blanket) on Etsy or Ravelry as a beautifully formatted PDF with extra stitch charts, schematic and colour information page and more!
Get thE patternS ad free
Get the PDF Patterns!
Perfect to print out or use on any device, with added schematic and charts, colour inspiration and stitch tutorials.
Pattern Support
I am delighted to invite you to join the HanJan Crochet Community Facebook Group where we host all pattern support queries and love to see your progress, yarn choices and finished projects!
Not ready to start yet? Summarise and Save For Later:
US Terminology
Pumpkin Bases
Using the yarn double throughout and yarn A, make the Base. Work all sts in blo unless indicated otherwise.
Each of the Bases is a multiple of 20 sts.
SMALL BASE
Make a Magic Ring.
Round 1: 10hdc into the Magic Ring, ss in blo of 1st st to join. [10]
Round 2: ch1, 2hdc in blo of each st around, ss in blo of 1st st to join. [20]
Round 3: ch1, *2hdc in blo of next st, hdc in blo of next st; rep from * around, ss in blo of 1st st to join. [30]
Round 4: ch1, *2hdc in blo of next st, hdc in blo of next 2 sts; rep from * around, ss in 3rd loop of 1st st to join. [40]
Round 5: ch1, sc in 3rd loop of each st around, ss in blo of 1st st to join. Continue with yarn A to work the Main Body.
Join our pattern support group!
We’ve built an amazing community always ready to help each other. Join today!
MEDIUM BASE
Make a Magic Ring.
Rounds 1-4: Work as for Small Base but at the end of Round 4 ss into the blo of the 1st st.
Round 5: ch1, *2hdc in blo of next st, hdc in blo of next 3 sts; rep from * around, ss in blo of 1st st to join. [50]
Round 6: ch1, *2hdc in blo of next st, hdc in blo of next 4 sts; rep from * around, ss in 3rd loop of 1st st to join. [60]
Round 7: ch1, sc in 3rd loop of each st around, ss in blo of 1st st to join. Continue with yarn A to work the Main Body.
LARGE BASE
Make a Magic Ring.
Rounds 1-6: Work as for Medium Base but at the end of Round 6 ss into the blo of the 1st st.
Round 7: ch1, *2hdc in blo of next st, hdc in blo of next 5 sts; rep from * around, ss in blo of 1st st to join. [70]
Round 8: ch1, *2hdc in blo of next st, hdc in blo of next 6 sts; rep from * around, ss in blo of 1st st to join. [80]
Round 9: ch1, *2hdc in blo of next st, hdc in blo of next 7 sts; rep from * around, ss in blo of 1st st to join. [90]
Round 10: ch1, *2hdc in blo of next st, hdc in blo of next 8 sts; rep from * around, ss in 3rd loop of 1st st to join. [100]
Would you like to save this?
You can unsubscribe at any time.
Round 11: ch1, sc in 3rd loop of each st around, ss in blo of 1st st to join. Continue with yarn A to work the Main Body.
If you would like to make your basket bigger or a different size then you can continue in the increase sequence and stop at any multiple of 20 sts.
For example, 80, 120, 140, 160 and so on.
The mosaic section will then work for any of these sizes.
Looking for more quick home decor crochet patterns? Here are some to try:
- Easy Crochet Pumpkins Pattern — Make them in any yarn and any size for an easy autumn decoration.
- Textured Crochet Pumpkin Pattern — Four gorgeous sizes to stack, scatter and decorate with. 🎃
- Bobble Crochet Napkin Rings — A quick little make to dress up your table.
- Crochet Christmas Baubles — Small, stash-friendly decorations that are lovely for gifting too.
- Woodland Crochet Wreath — Bring a little handmade woodland style to your home.
- Easy Crochet Stocking Pattern — A classic handmade decoration to bring out year after year.
Basket Main Body
ALL SIZES
With the desired base size complete, continue in A with the yarn doubled to work the Main Body.
Working all sc in blo throughout this section now. Refer to Mosaic Chart or use the written instructions as follows.
Change colour at the end of each round as indicated when you slip stitch into the blo of the first st to join. Do not break your yarn at the end of each round, just pick it up again when you need it.
Round 1: A: RS: ch1, sc in each st around, ss in blo of 1st st and change to B. [40 (60, 100)]
Round 2: B: ch1, sc in each st around, ss in blo of 1st st and change to A.
Round 3: A: ch1, *Mdc in next 7 sts, sc in next 2 sts, Mdc in next st, sc in next st, Mdc in next st, sc in next 2 sts, Mdc in next 6 sts; rep from * around, ss in blo of 1st st and change to B.
Round 4: B: ch1, *sc in next 6 sts, skip next st, 2Mdc in next st, sc in next 2 sts, Mdc in next st, sc in next 2 sts, 2Mdc in next st, skip next st, sc in next 5 sts; rep from * around, ss in blo of 1st st and change to A.
Round 5: A: ch1, *Mdc in next 4 sts, sc in next st, Mdc in next st, sc in next 2 sts, Mdc in next st, sc in next 3 sts, Mdc in next st, sc in next 2 sts, Mdc in next st, sc in next st, Mdc in next 3 sts; rep from * around, ss in blo of 1st st and change to B.
Round 6: B: ch1, *sc in next 3 sts, skip next st, 2Mdc in next st, sc in next st, Mdc in next 2 sts, (sc in next st, Mdc in next st) twice, sc in next st, Mdc in next 2 sts, sc in next st, 2Mdc in next st, skip next st, sc in next 2 sts; rep from * around, ss in blo of 1st st and change to A.
Round 7: A: ch1, *Mdc in next 3 sts, (sc in next 2 sts, Mdc in next st) twice, sc in next 3 sts, (Mdc in next st, sc in next 2 sts) twice, Mdc in next 2 sts; rep from * around, ss in blo of 1st st and change to B.
Round 8: B: ch1, *sc in next 3 sts, (Mdc in next 2 sts, sc in next st) twice, Mdc in next st, sc in next st, Mdc in next st, (sc in next st, Mdc in next 2 sts) twice, sc in next 2 sts; rep from * around, ss in blo of 1st st and change to A.
Round 9: A: Rep Round 7.
Round 10: B: ch1, *sc in next 4 sts, Mdc2tog in previous and next st, sc in next st, Mdc in next 2 sts, (sc in next st, Mdc in next st) twice, sc in next st, Mdc in next 2 sts, sc in next st, Mdc2tog over next 2 sts, sc in next 3 sts; rep from * around, ss in blo of 1st st and change to A.
Round 11: A: Rep Round 5.
Round 12: B: ch1, *sc in next 7 sts, Mdc2tog in previous and next st, sc in next 2 sts, Mdc in next st, sc in next 2 sts, Mdc2tog over next 2 sts, sc in next 6 sts; rep from * around, ss in blo of 1st st and change to A.
Round 13: A: Rep Round 3.
Round 14: C: ch1, sc in each st around, ss in blo of 1st st and change to A.
Round 15: A: ch1, *Mdc in next 9 sts, sc in next 3 sts, Mdc in next 8 sts; rep from * around, ss in blo of 1st st and change to C.
ALL SIZES – continued
Round 16: C: ch1, *sc in next 9 sts, skip next st, 2Mdc in next st, sc in next 9 sts; rep from * around, ss in blo of 1st st and change to A.
Round 17: A: ch1, *Mdc in next 9 sts, sc in next 2 sts, Mdc in next 9 sts; rep from * around, ss in blo of 1st st and change to C.
Round 18: C: ch1, sc in each st around, ss in blo of 1st st and change to desired colour for Medium and Large Handle.
The Small size finishes here.
Break the yarn. Weave in ends to complete.
MEDIUM BASKET NO HANDLES
Rather than open handles I created a plant pot holder with this size as follows.
Work the Top in A.
Continue to work all sc in blo throughout.
Rounds 1-2: ch1, sc in each st around, ss in blo of 1st st to join.
Break the yarn. Weave in ends to complete.
MEDIUM BASKET WITH HANDLES
Continue to work all sc in blo throughout.
Round 1: using A, ch1, sc in each st around, ss in blo of 1st st to join.
Round 2: *ch15, skip next 15 sts, sc in next 15 sts; rep from * around.
Work in continuous rounds now.
Round 3: sc in each ch and st around.
Rounds 4-5: sc in each st around.
At the end of Round 5, ss in 1st st to join.
Break the yarn. Weave in ends to complete.
LARGE BASKET NO HANDLES
If you would prefer no handles on the larger size then you can do the following:
Work the Top in A.
Continue to work all sc in blo throughout.
Rounds 1-4: ch1, sc in each st around, ss in blo of 1st st to join.
Break the yarn. Weave in ends to complete.
LARGE BASKET WITH HANDLES
Work the Handle in A.
Continue to work all sc in blo throughout.
Round 1: ch1, sc in each st around, ss in blo of 1st st to join.
Round 2: *ch1, sc in next 18 sts, ch15, skip next 15 sts, sc in next 35 sts, ch15, skip next 15 sts, sc in next 17 sts.
Work in continuous rounds now.
Round 3: sc in each ch and st around.
Rounds 4-5: sc in each st around.
At the end of Round 5, ss in 1st st to join.
Break yarn and weave in ends to finish.
Congratulations on crocheting your very own crochet pumpkin basket 🌟 Now that you’ve completed this fun project, why stop here? Explore my other mosaic crochet patterns, each waiting to be transformed into your next crochet masterpiece.
How about making some cosy fall crochet blanket patterns too? Here are some to try:
- Lacy Crochet Blanket Pattern — A light, relaxing blanket with a gorgeous repeating wave stitch.
- Modern Crochet Blanket Pattern — Packed with texture and faux cables for a wonderfully cosy finish.
- Textured Crochet Blanket — A colourful DK blanket with an easy repeating textured stitch.
- Simple Crochet Blanket Pattern — A beginner-friendly, stash-busting blanket with a simple one-row repeat.
- Easy Crochet Throw Pattern — A cosy two-row repeat that’s perfect for playing with autumn colours.
- Thick Crochet Blanket Pattern — Grab your super bulky yarn for this quick, cosy textured blanket.
- Chunky Crochet Blanket Pattern — A super-quick blanket using simple beginner-friendly stitches.
Get your free guide!
Subscribe to get your free guide to choosing and combining colours!
Join HanJan and Share Your Crochet With Us!
I’d love to hear from you and see your HanJan Crochet project! Here’s where you can do that:
📌 PIN THIS POST – save it to your Pinterest crochet board so you can come back to it again and make more!
↗️ SHARE – Share your yarn choices, progress pics, and finished projects on Facebook or Instagram (make sure to use the hashtag) #hanjancrochet
🧶 JOIN – Join thousands of amazing crafters in the HanJan Crochet Community Group on Facebook ready to cheer you on!
✉️📩📬 SUBSCRIBE – It’s an honour to be able to create and share my free crochet patterns with you. I’d love to stay connected and send you regular discount codes and free patterns! Please sign up for my subscriber list to get a free gift right now!