This post may contain affiliate links. Please see my full disclosure and privacy policy for details.
Have you ever crocheted a garment that’s ended up way too big or way too small? Everyone’s done it at some point in their crochet journey, but it doesn’t have to ever happen again. I’m here to tell you all about making and measuring a crochet gauge swatch, and why it’s important!
The idea of crocheting a swatch and then blocking it, and measuring it, when all you really want to do is get started making, can be super annoying.
But it is THE most important thing to do to make sure a garment fits properly.
And it’s not just for garments either: blankets, accessories, and even toys benefit from getting the gauge right too!
Want to remove Ads?
- Get ad-free access on all posts; 200+ patterns & tutorials!
- Member-only resource library with downloadable PDF guides
- Bonus eBook (Worth over $30)
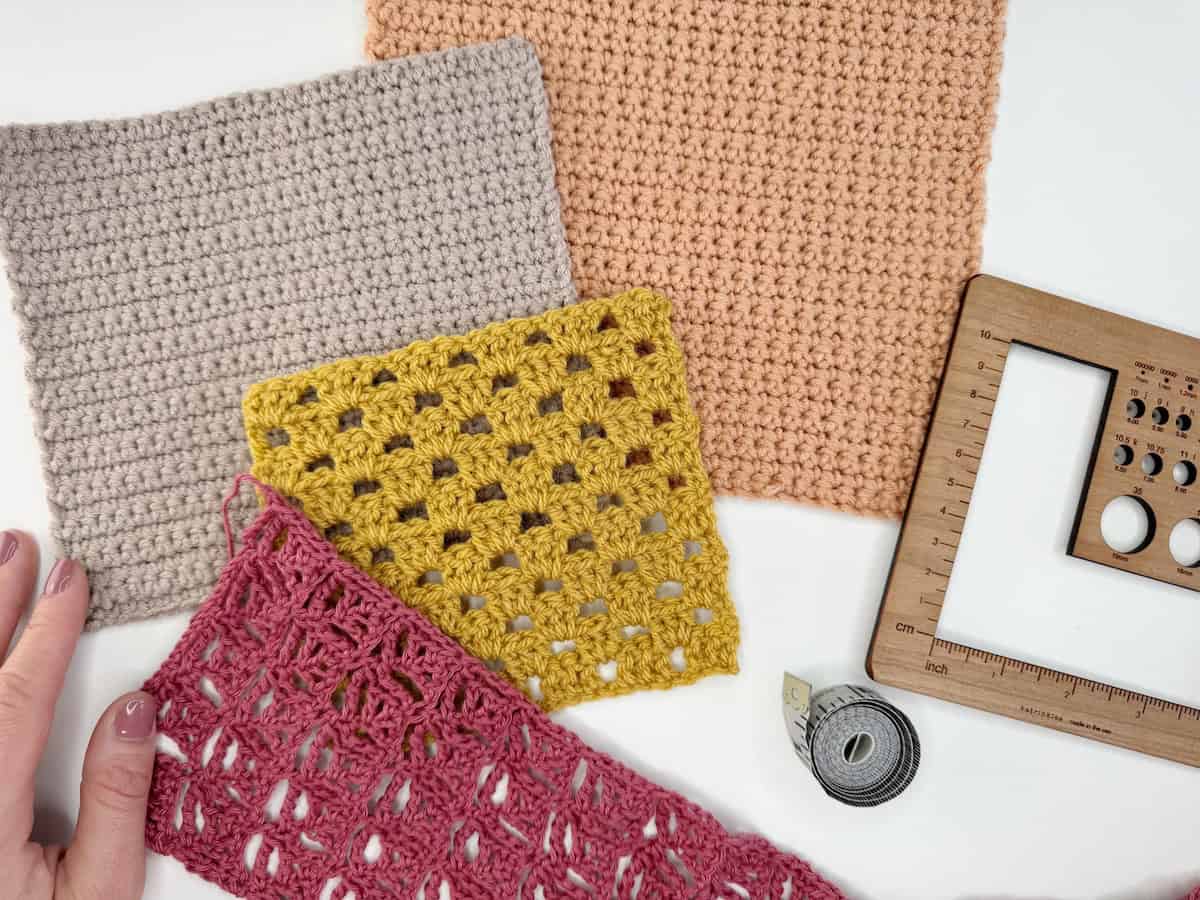
Table of Contents
What is gauge?
Gauge is simply how tightly or loosely we crochet. If you crochet very tightly, your project will be smaller than someone who crochets loosely, and vice versa! We can use this idea to work out how big or small our project is going to be. And also to check if our project will be the correct size.
Gauge is a measurement of how many stitches and rows are in a given area. We can take these numbers and work out how many stitches and rows are in 1 inch. Once we know this, we can work out how big (or small) our project is going to be overall.
It is usual to see gauge written in a pattern something like this:
18 stitches and 10 rows over 4″ (10 cm) using single crochet and a 5mm hook.
This means that in a 4″ square, there are 18 stitches along the width and 10 rows along the height, and this was achieved by crocheting in single crochet with a 5mm hook using the yarn stated in the pattern. By dividing 18 stitches by 4, we can find out how many stitches are in 1 inch. And the same for rows!
A designer will usually tell you the gauge they have used in their pattern, including details of the stitch pattern, hook and yarn.
If you can match this gauge, it will enable you to make your project the same size. Matching the gauge means you are also crocheting 18 stitches and 10 rows over 4″.
You might see gauge referred to as tension in a pattern. Don’t panic! The two words are pretty interchangeable in the crochet world.
Tension is more often used in the UK and gauge in the US, but they mean the same!
Why does gauge matter in crochet?
Gauge really does matter! There is nothing worse than finishing a big crochet project, only to find out that it isn’t the size you wanted, and all those hours of work are wasted!
You might think that as long as you use the same yarn weight and hook, then you’ll be about the right size. But that doesn’t always happen.
If you’re making even just 1 extra stitch per 4″, you’re going to see a massive difference by the time you get to a whole garment.
If the gauge is given in a pattern, it is probably sensible to use it and make a swatch per the instructions. If it wasn’t necessary, it wouldn’t be given!
Should I always make a crochet gauge swatch?
Mostly! But not always.
It isn’t always strictly necessary to make a swatch and measure your gauge. In reality, you only need to make one if the size of your project matters!
Think garments in particular, but also blankets, accessories, and even some toys! These all need to end up a specific size, and the only way to make sure they do is with a gauge swatch.
For items like dishcloths or even a scarf, the gauge isn’t quite as critical, and an inch or two different from the stated size won’t matter too much.
Another reason to make a swatch is that gauge can affect how much yarn you use. If you crochet tightly, your piece will likely be smaller and therefore you’ll use less yarn. Conversely, if you crochet loosely, your project will be larger, and therefore you will use more yarn.
The amount of yarn needed for a project will be based on the gauge given in the pattern, so making a swatch could save you from a painful game of yarn chicken!
What affects the gauge? Why is it not always the same?
Gauge is affected by a number of things:
Yarn
The weight of yarn you use is going to affect your gauge massively.
If a pattern suggests a 3 weight (Light Worsted) yarn and you go ahead with a 4 weight (Worsted) yarn, your project is not going to end up the same size as the designers. It will probably be much bigger.
Unfortunately, not all yarns of the same weight will come out the same either. Find out more about yarn weights!
Hook
Your hook size will affect the gauge too! If the pattern calls for a 6mm hook and you use an 8mm hook, your project will probably end up bigger than stated in the pattern.
Your crochet style
How you crochet also affects the gauge. If you crochet very tightly, your project will be smaller than a person who crochets more loosely.
Unfortunately, it’s not very easy to change your general style, so changing the hook or yarn might be easier in this case.
As a side point, you might notice that you crochet differently in some situations.
You may crochet more tightly when you’re stressed, when you’re learning a new stitch, or if there’s something gripping on the TV. Conversely, you might crochet looser once you’ve gotten into a pattern and can do it on auto-pilot.
This is something you will learn about yourself as you get more confident with crochet in general. But it is something to be aware of, particularly when making something that the size matters for. Try to maintain a consistent tension wherever you can! It will make your life easier!
You might notice I’ve said before that your project will PROBABLY end up bigger if you use a bigger hook or yarn weight.
I say probably because the combination of yarn, hook size and your crochet style all affect the gauge together. So all of these things need to be taken into account when thinking about gauge.
How do you measure gauge?
Let’s get to it now and look at measuring crochet gauge.
Firstly, you will need to have a look at the detail at the start of your pattern, where it talks all about gauge (remember it may be called tension).
It should tell you how many stitches and how many rows there should be in a set measurement. Usually this will be a 4″ (10cm) square, but it could also be the size of one motif (such as a granny square) or some other shape or measurement related to the pattern.
The gauge section should also tell you what stitch pattern this measurement was taken over.
This is quite important because a 4″ square made in single crochet vs a 4″ square made in double or treble crochet will have a very different number of rows.
The pattern might also mention whether the measurements were taken blocked or not. I talk more about blocking later.
In addition to all of this information, you will also need to know the hook size and yarn used in the pattern.
If you are using the same yarn and hook as the designer, then this will probably mean that you are closer to the gauge than otherwise. But this doesn’t mean that you shouldn’t do a swatch.
Remember, your crochet style is not the same as theirs and so you still need to check your gauge.
If you have chosen a different yarn, it would ideally be the same weight (or close) to that of the pattern, otherwise matching the gauge may become almost impossible.
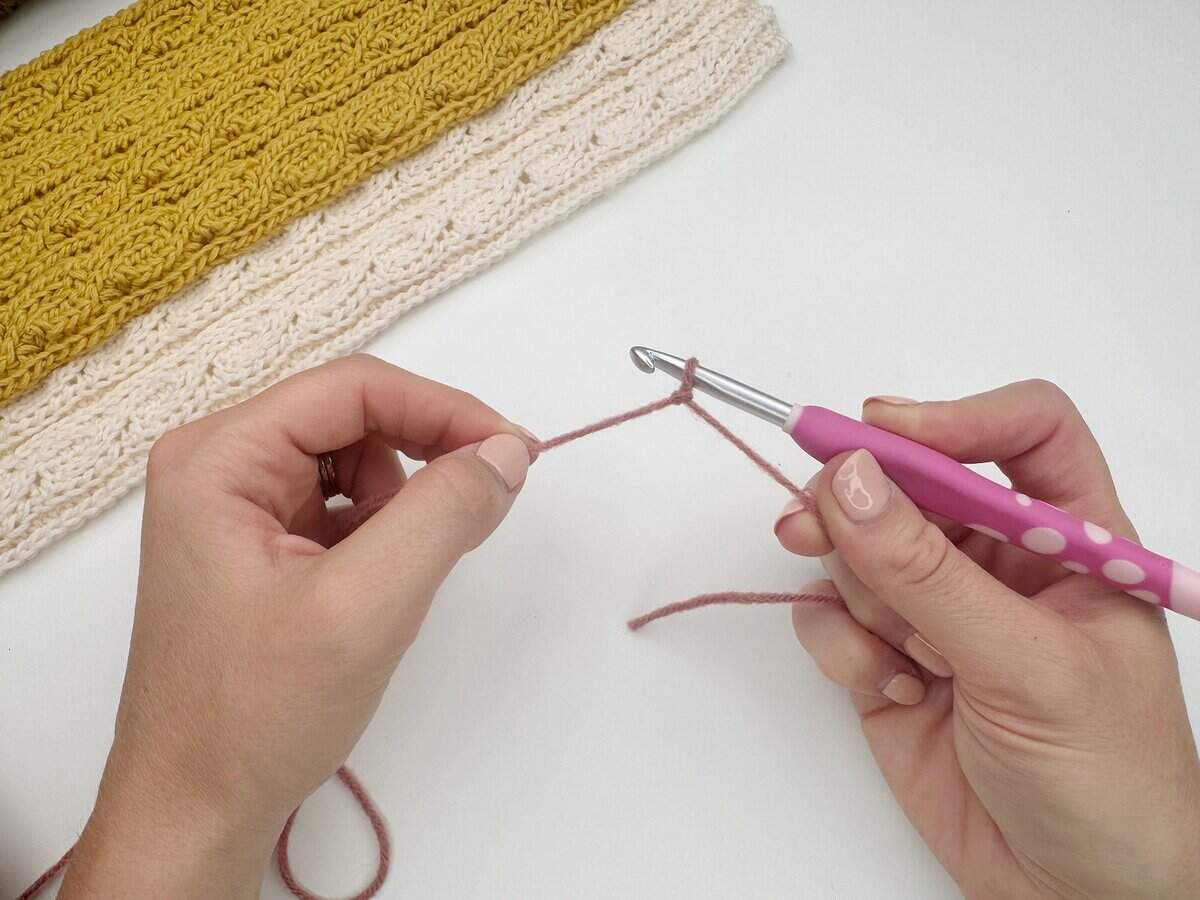
Making a Crochet Gauge Swatch
Once you have all of the above information, you can start making your gauge swatch. A swatch is simply a small sample of crocheted fabric that we can use to measure the gauge.
You will want to follow the pattern instructions as far as possible. But essentially you will be crocheting a sample in the same stitch pattern as the designer directs.
You will need to make your swatch bigger than the gauge measurements. This is usually 4″ (10cm) square so your swatch should be bigger than this to enable you to measure in a few different places and get an average.
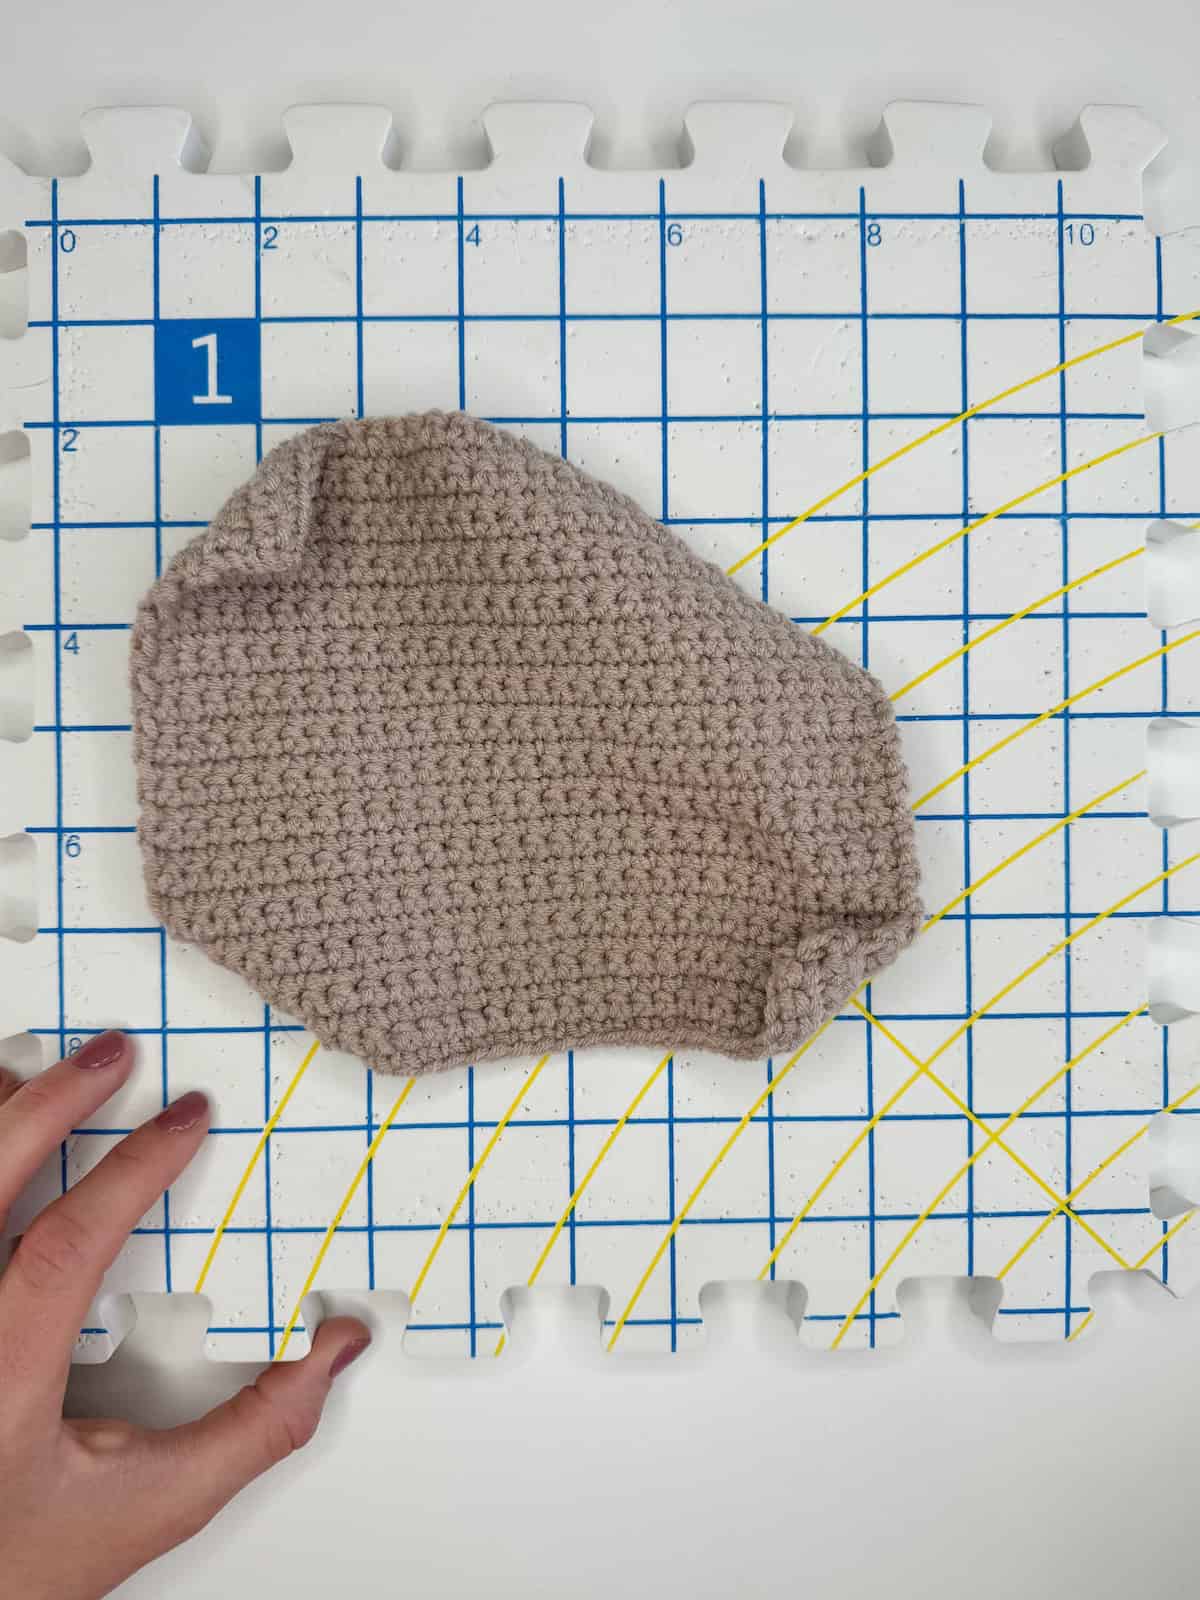
Blocking your Crochet Swatch
Blocking your crochet relaxes the stitches and allows them to reach their natural size. This is particularly important for garments, as they will be washed over and over, and so we want to know what size they will be after washing.
Because of this, we’re going to need to block our gauge swatch. I know this is super annoying, as you just want to get started with the project, but it really is worth doing!
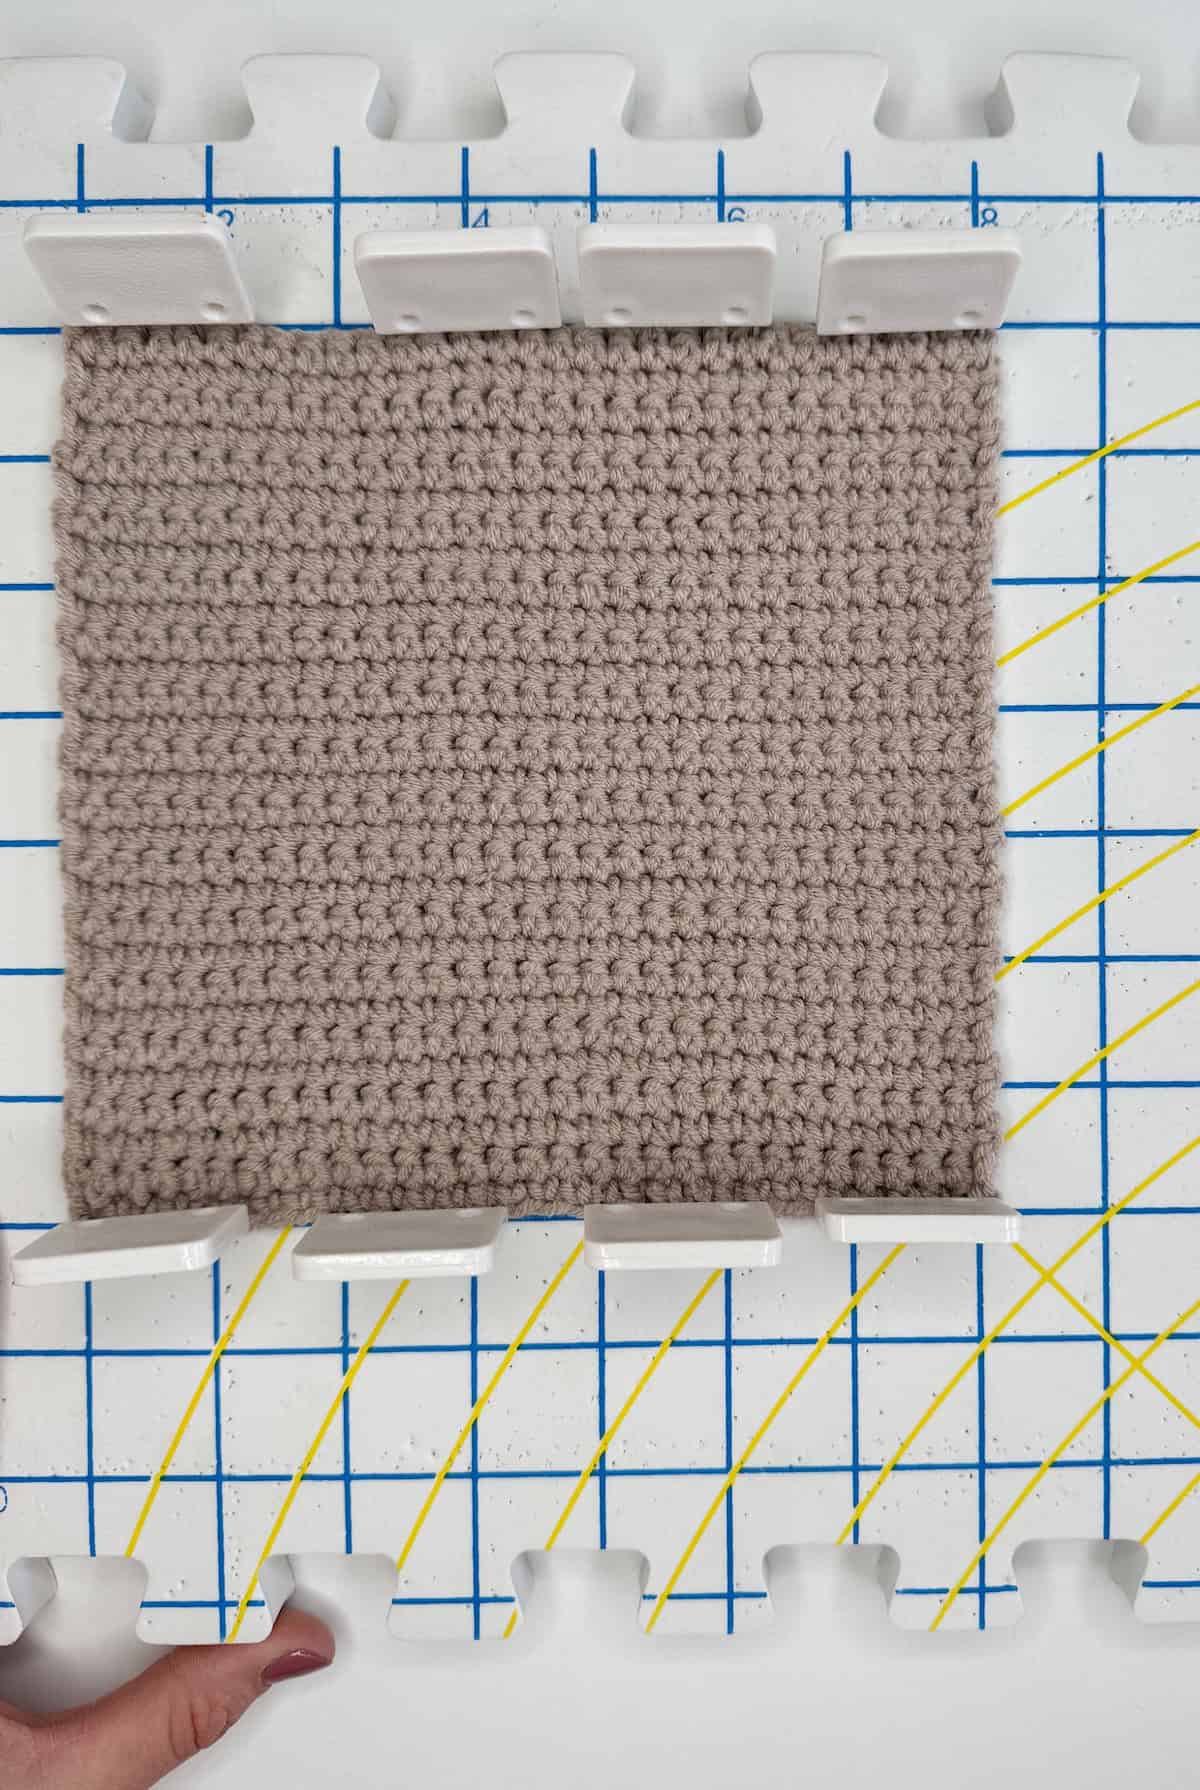
The easiest way to block your crochet is to pin it to a foam blocking mat, making sure it’s all straight and even, and then spray it with water. Leave to dry and you’re ready for measuring.
If it doesn’t mention in the pattern whether the swatch was blocked before measuring, then chances are it has been blocked, and you should do the same.
Occasionally it will say that the swatch was measured before blocking, and in this case you should also measure yours at that point. But I would still block it and measure afterwards too, just to check there’s not a massive difference.
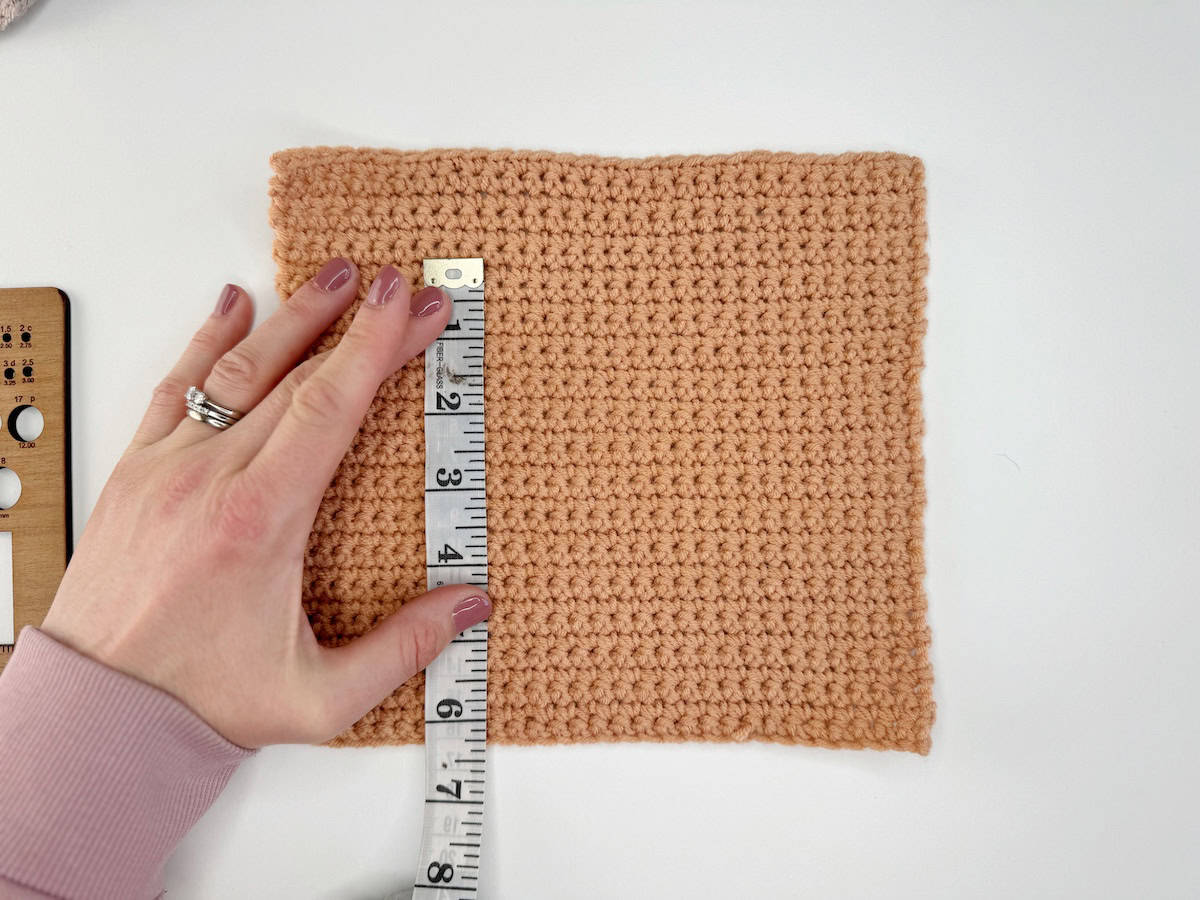
Measuring your Swatch
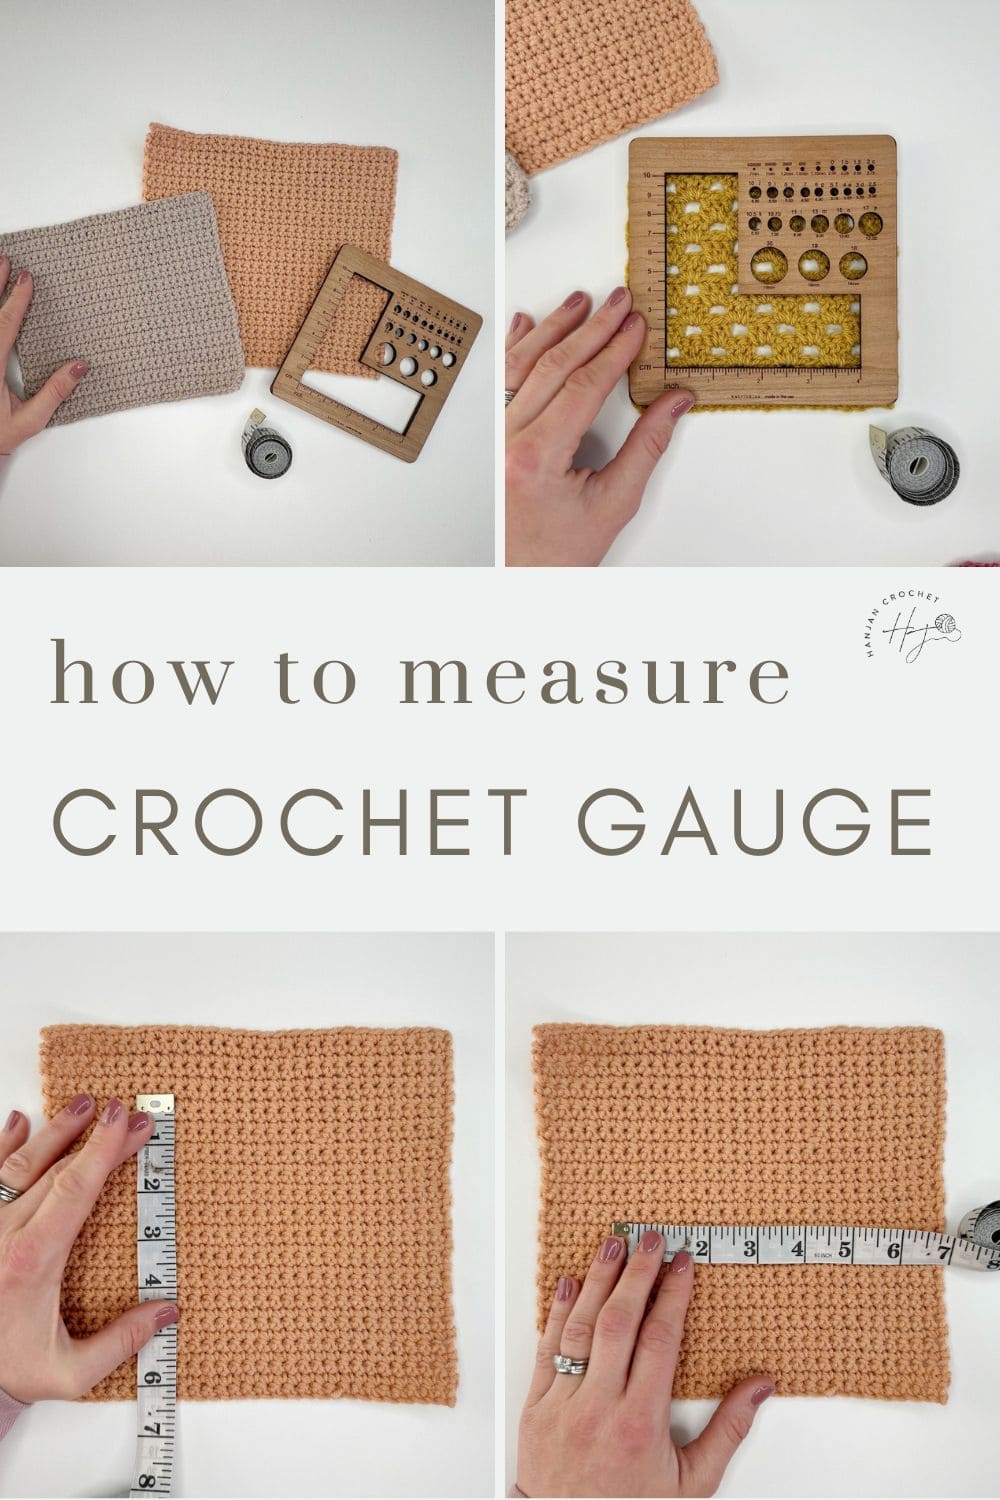
So, we’ve made a swatch and blocked it. Now we’re ready to start measuring our crochet gauge!
Grab yourself a ruler or measuring tape. Lay your crochet out flat, without stretching or twisting it. This should be easy now that it’s been blocked.
Then count how many whole stitches there are in 4″ horizontally. Do the same for how many rows there are in 4″ vertically. You can then compare this to the gauge given in the pattern and see if they match up!
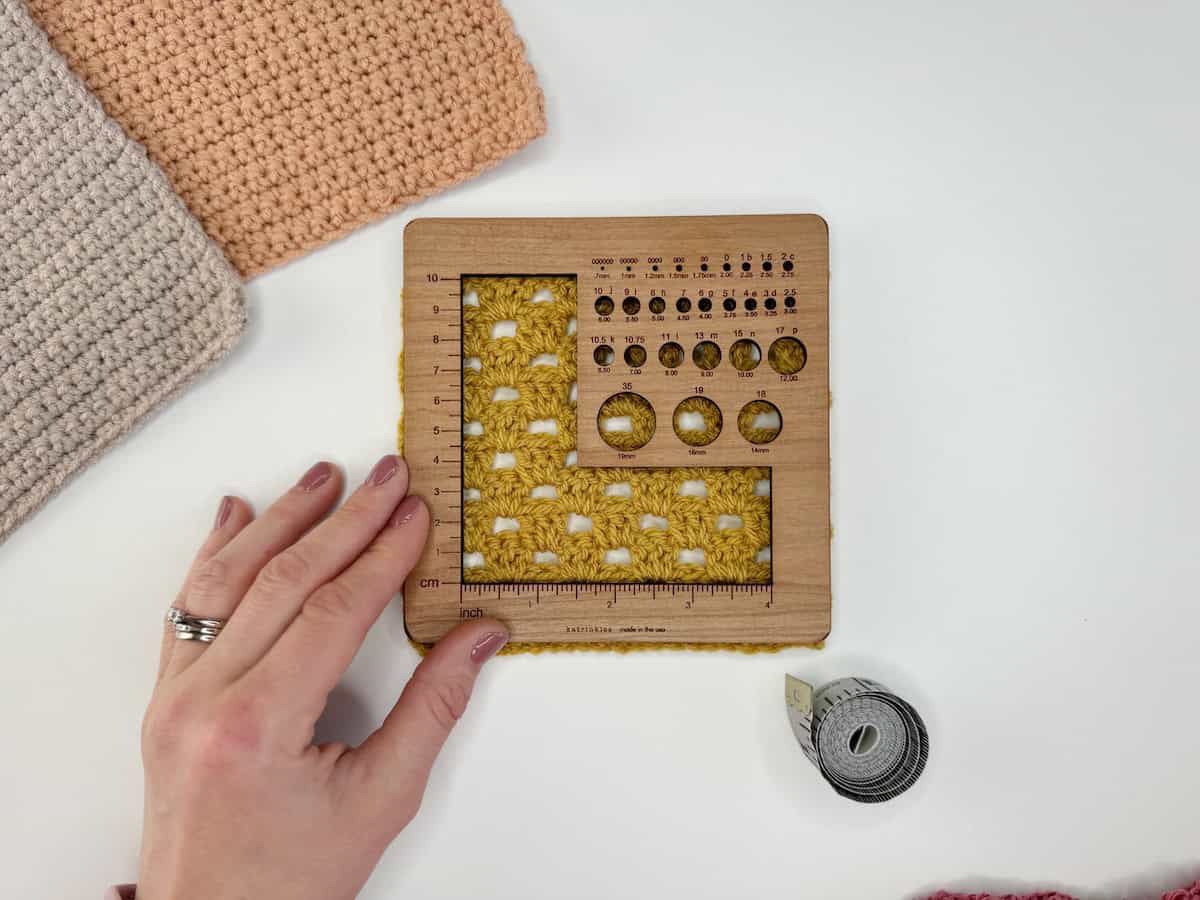
Using a Wooden Crochet Gauge Tool
If you have a wooden crochet gauge tool (they usually look like this square one), this can also be used for measuring gauge. To do this, you simply lay the gauge square over your swatch, line up the stitches and rows so they are level, and then count.
As with the ruler method, make sure to count whole stitches and rows.
Tips and tricks
- Use the exact hook size, yarn and stitch that you are planning to use in the pattern.
- Make sure you are measuring with your measuring tape level, and not wonky.
- Start counting stitches with the lefthand side of the first stitch positioned at 0 on your ruler. Then count whole stitches until you get to 4″. Do the same for rows.
- Avoid the edges and foundation row, where the tension may be inconsistent.
- Use a wooden gauge square if you have one.
- Don’t forget to block your swatch before measuring.
- Make your swatch larger than the measurement, so that you can check a few different places and make sure you have the best count.
- If your pattern gives more than one gauge for different stitch patterns, or hook sizes, you’ll need to make all of them.
How to Adjust Crochet Gauge for a Pattern
The whole point of this process is to make sure you are making your project the right size. So you make your swatch, block it and measure it, but it doesn’t match the gauge given in the pattern. What now?
Here are a few tips and tricks on how to adjust crochet gauge to make sure you get the perfect measurements.
If you have more stitches in the 4″ square than the gauge states, try changing to a bigger hook. If you have less stitches, try changing to a smaller hook. Repeat the swatch with the new hook and measure again.
If changing the hook size also changes the drape of the fabric, then you might want to consider switching to a different yarn instead.
What if the stitch gauge matches, but the row gauge doesn’t?
This can be trickier to resolve! To sort this out, you’re going to have to try and change the way you crochet slightly (I know, I said that wasn’t possible earlier, but we can try!)
When pulling up the first loop of a stitch, some people pull through a bigger loop than others and this can affect the height of your rows.
If you have too many rows in your square, try pulling up a bigger loop. If you have too few rows, try tightening your first loop slightly. Repeat your swatch and see if it’s any better.
Step by step instructions for measuring crochet gauge
Below I’m going to give you some simple instructions for measuring gauge, assuming your project is going to be made using single crochet and the supplies listed. We’ll make a single crochet swatch and see how to measure it.
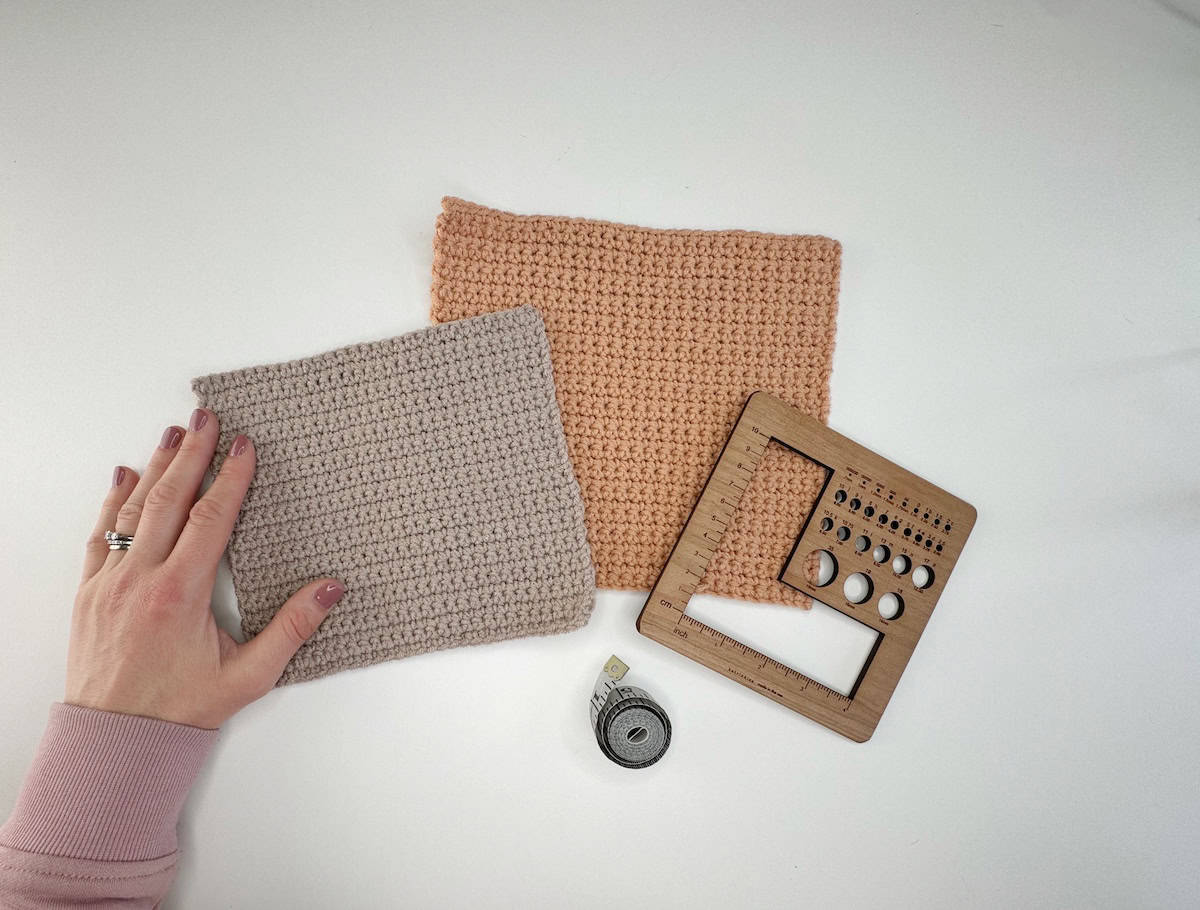
Supplies you’ll need
I used Color Theory by Lion Brand for the photos in this blogpost which is a lovely easy care worsted weight yarn, 100% acrylic, 246yds/100g but you can use any yarn that you like.
You’ll need a corresponding crochet hook for the yarn you choose. I’m using an ergonomic crochet hook here and it’s a 4mm in the smaller gauge swatch and a 5mm in the larger one.
The only other things you’ll need is a pair of sharp scissors and a tapestry needle to weave in your ends if you’d like to save your swatch.
1. Begin with a foundation chain
Make a foundation chain, ensuring it is at least 6″ long. This allows us to measure 4″ in a few different places to make sure we have the right gauge.
2. Single crochet into the 2nd chain, and in each chain across, turn.
Make your first row as you normally would.
3. Chain 1, and single crochet across, turn.
Continue crocheting in rows until your swatch measures 6″ tall. You should now have a square.
Try to make sure you are crocheting in the way you normally would with a consistent tension.
4. Fasten off and block your swatch
Pin your swatch to a foam mat or folded towel, and spray it liberally with water. Wait for it to dry before unpinning.
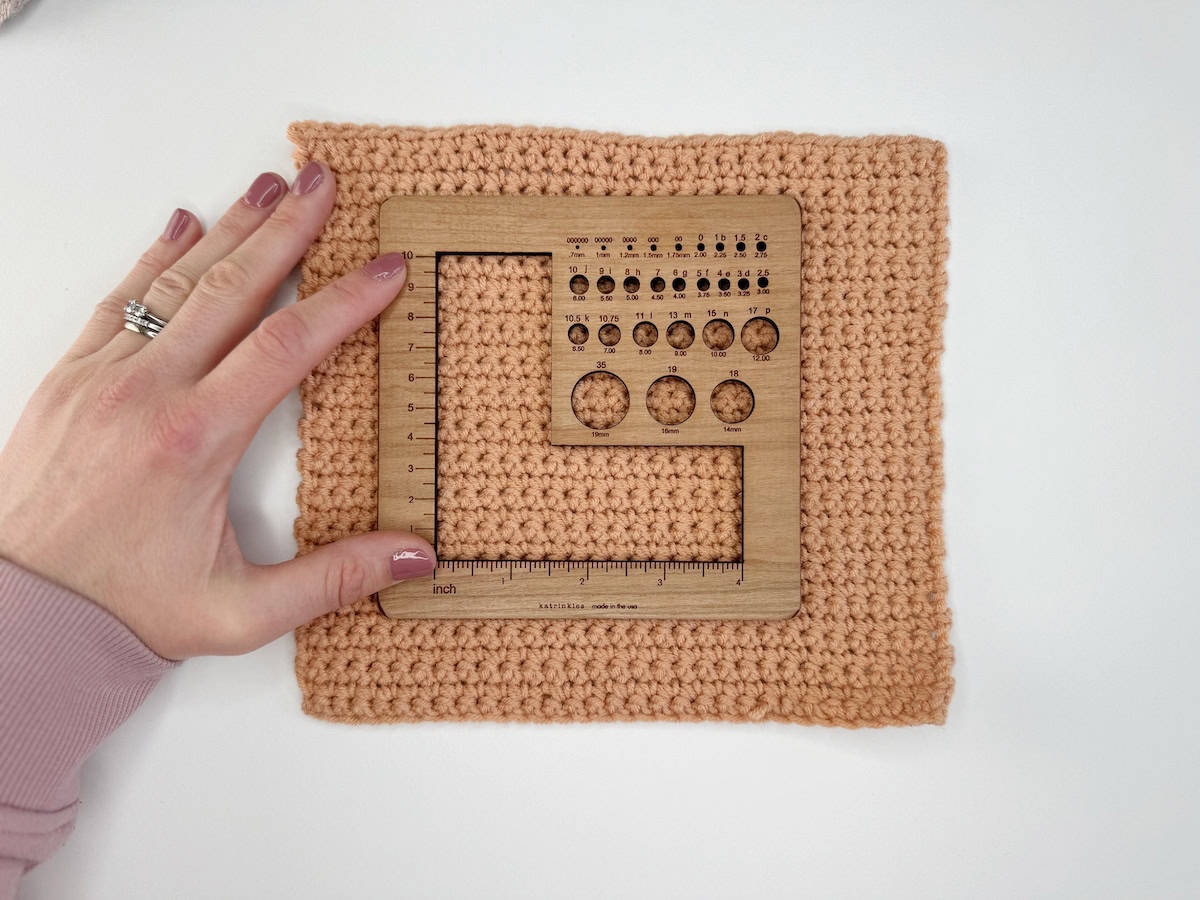
5. Measure your swatch
Using a measuring tape or a gauge square, lay it along the stitches horizontally and count how many whole stitches you have in 4″. Repeat for the number of rows vertically within 4″. Check the measurements in a few places to make sure.
6. Make any adjustments and repeat
If your swatch didn’t match the pattern gauge, then you are going to need to change something (probably the hook size) and try again.
If you have more stitches in the 4″ square than the gauge states, try changing to a bigger hook. If you have less stitches, try changing to a smaller hook.
What should I do now I’ve learnt all this about crochet gauge?
Now it’s time to crochet projects that fit perfectly! Knowing all about how to make and measure a crochet gauge swatch means that you’ll know that your item will turn out the exact same size as the designer intended it.
I’ve linked some patterns below that definitely require a gauge swatch, as well as some that you maybe don’t need one for!
Patterns where you definitely need to make a gauge swatch
Here are a few garment patterns that you might like to try:
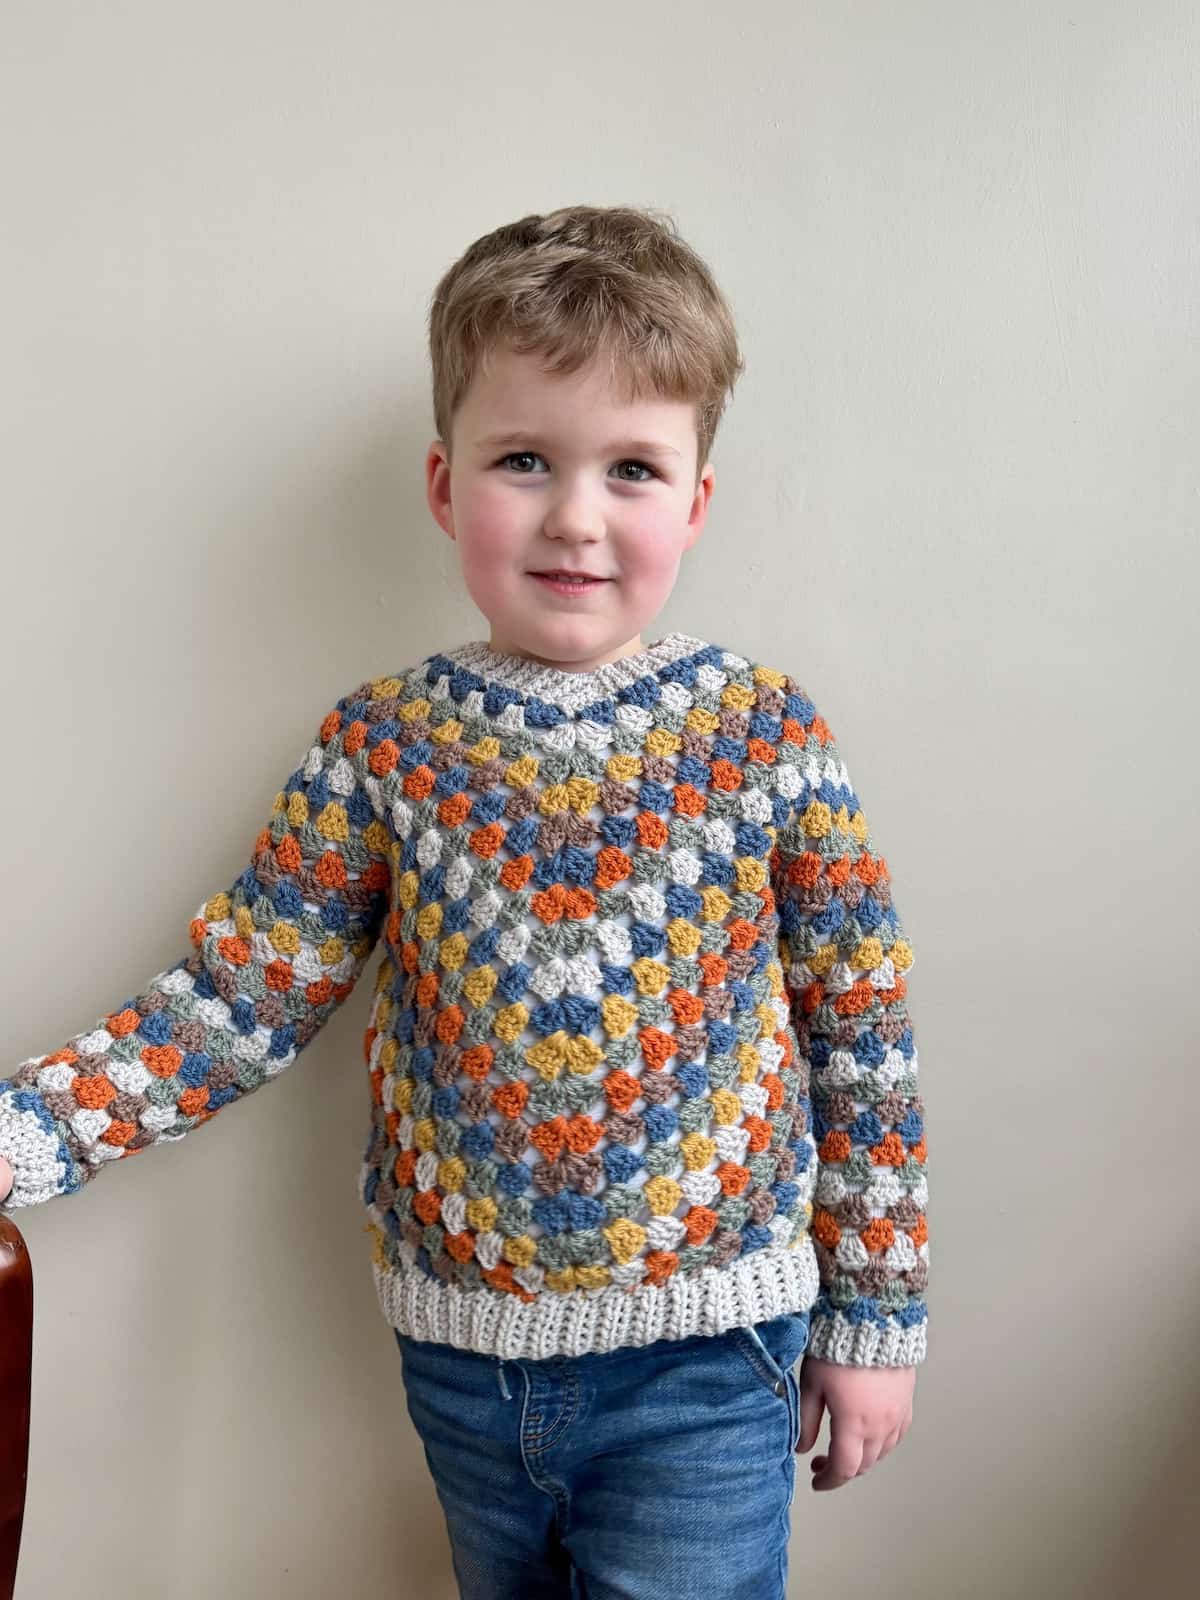
- The Child Granny Stitch Sweater is such a lovely pattern for you. It is worked up using the granny stitch, and you will really need to make a gauge swatch to ensure it fits your little one.
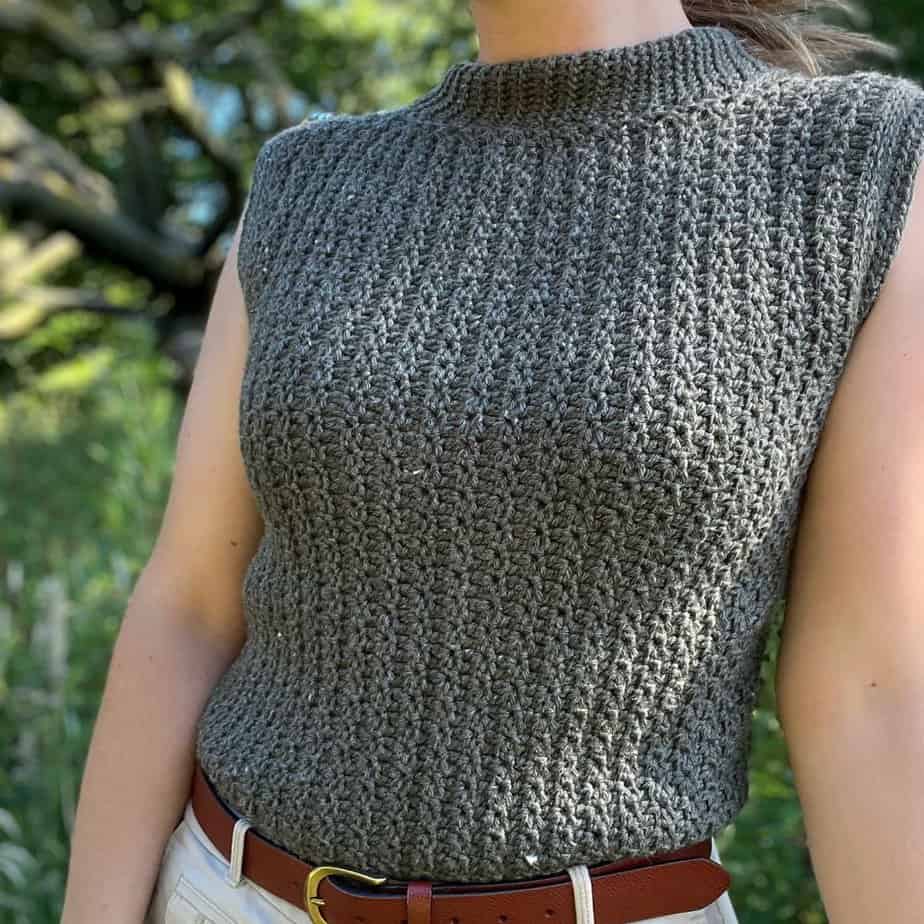
- Or how about this crochet Sleeveless Top pattern – this would definitely need a gauge swatch to make sure it fits perfectly.
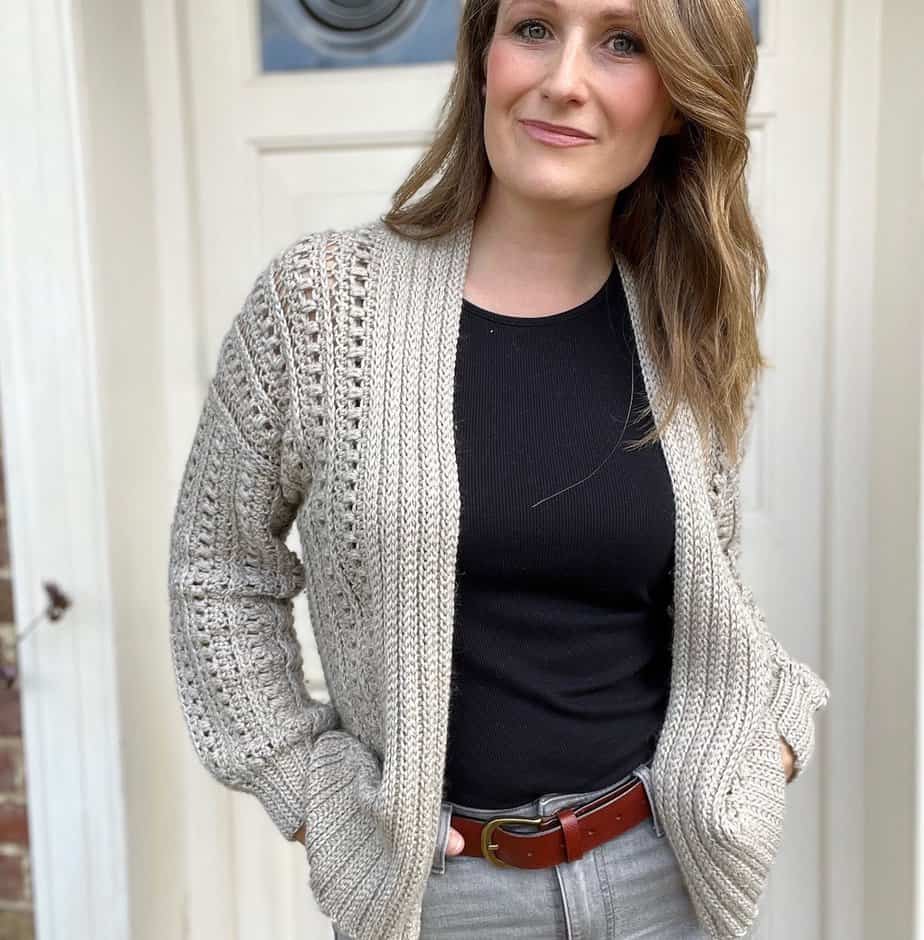
- Try your hand at a cardigan, but don’t be fooled, you’ll still need to swatch to make sure it fits. This is the Delicate Mirabilis Puff-Stitch Cardigan.
Patterns where you might get away without swatching
If you’re still not convinced about measuring your crochet gauge, then here are a few patterns that you can probably do without needing to swatch:
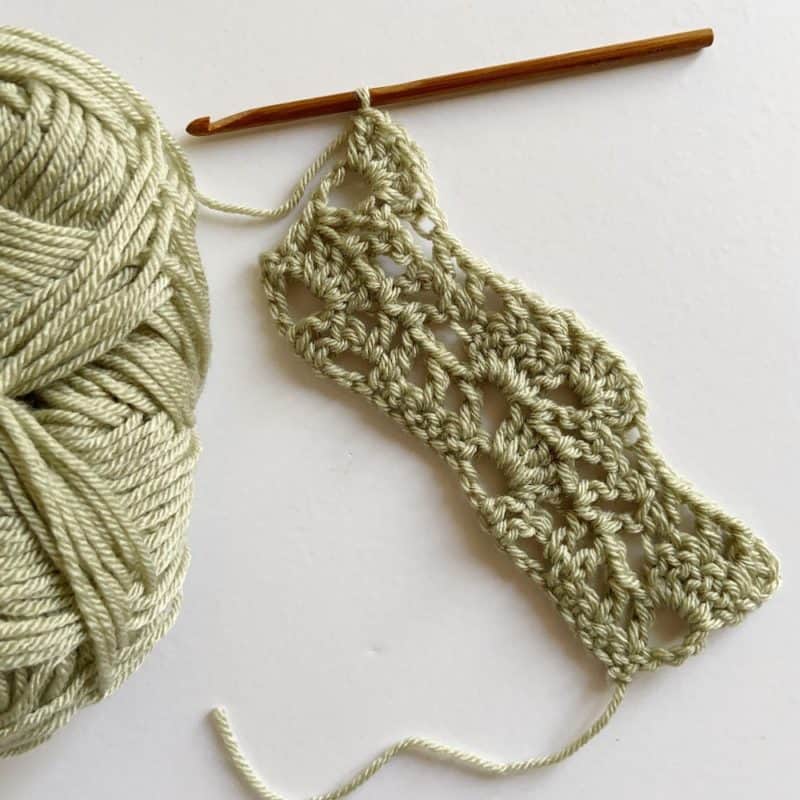
- This crochet coaster pattern is lacy and delicate. Whilst the size isn’t essential, you will still want to follow the yarn and hook guidance to avoid a tiny or ginormous coaster.
- This chunky blanket pattern could be made without swatching if you are not bothered about the size it ends up.
- Or how about these cute amigurumi animals: just watch out here that if your tension is too loose, the stuffing will show through.
I hope you’ve enjoyed learning all about measuring crochet gauge and why it’s important with me!
I’d love to know what you think and if you start making gauge swatches now from what you’ve read! You can sign up to become a member of HanJan Crochet and I’ll let you know about all the fabulous crochet adventures, offers, lives and more too!
See you there!
Learn Some More Crochet Stitches With Me
If, like me, you’re eager to learn all the crochet stitches and techniques you possibly can then I’d love you to take a look at my crochet stitch tutorials – here are some of my favourites though:
- Herringbone Half Double Crochet Moss Stitch – great for cosy garments and accessories
- Twisted Cable Stitch – perfect for texture and has a slanted look like herringbone too.
- Double Crochet Moss Stitch – a great stitch for easy colour work
- Ripple Stitch – great fun for blankets especially!