
This post may contain affiliate links. Please see my full disclosure and privacy policy for details.
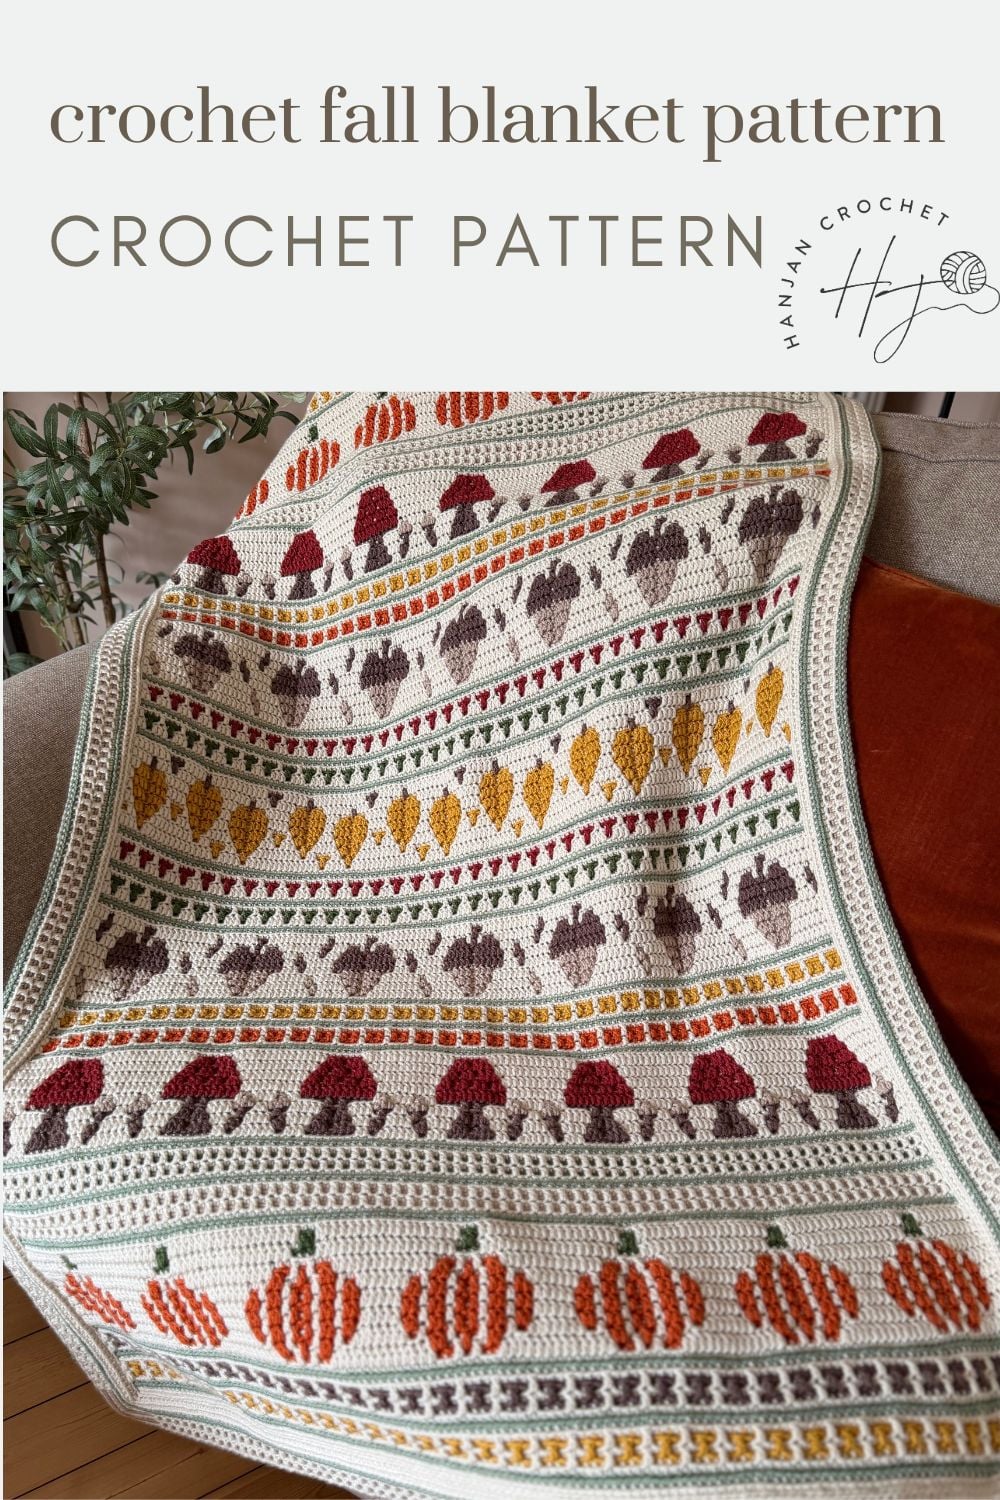
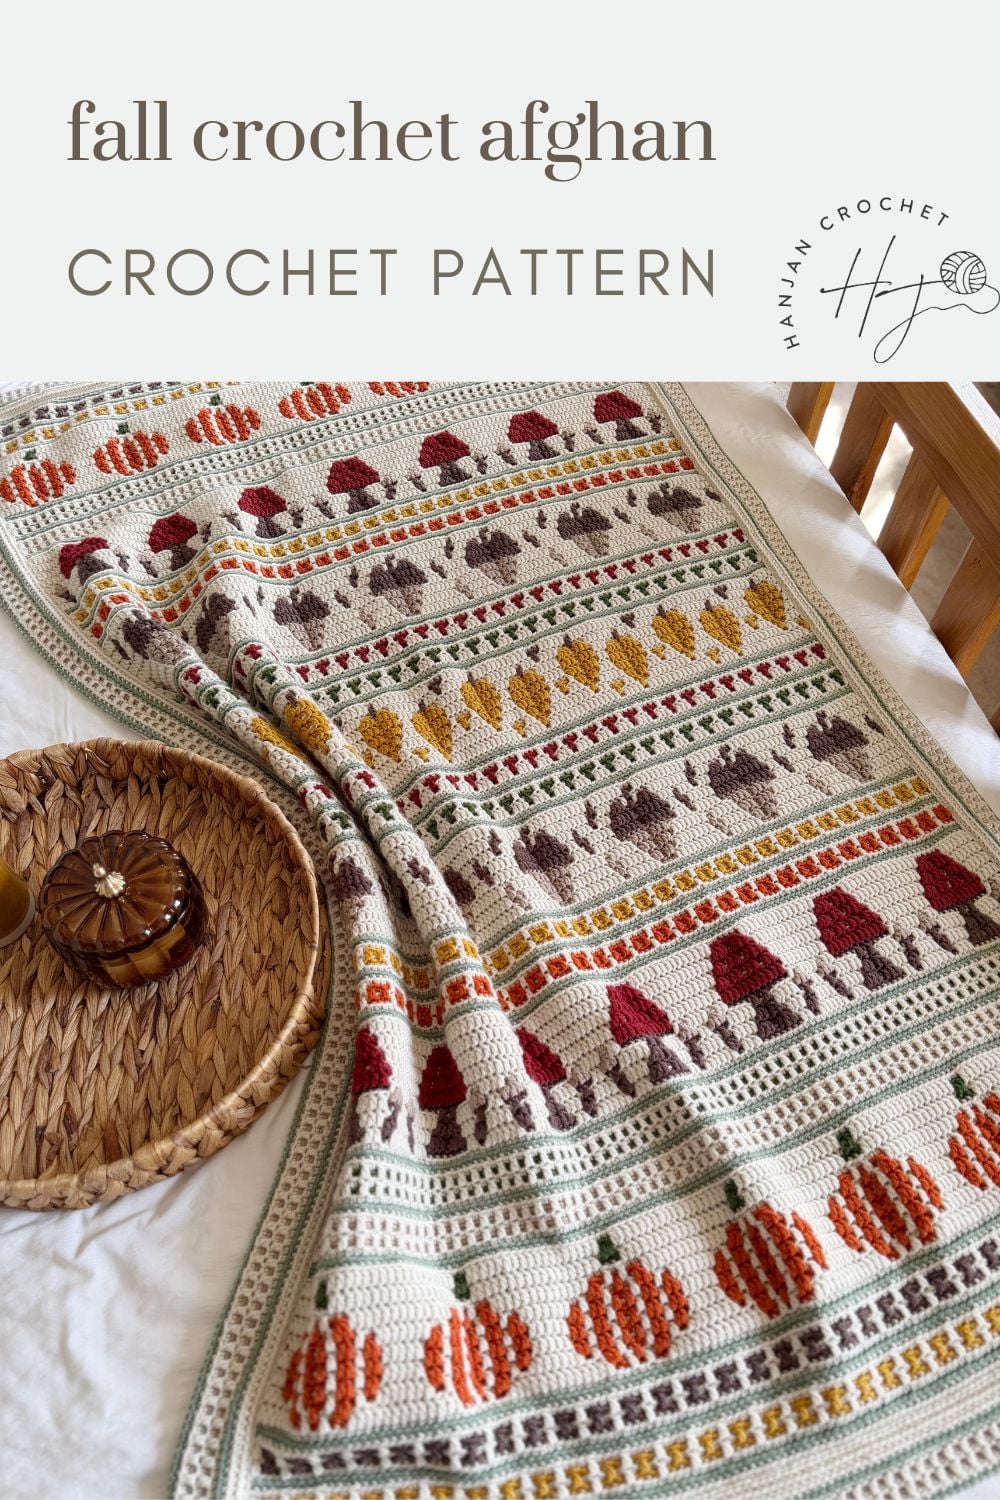
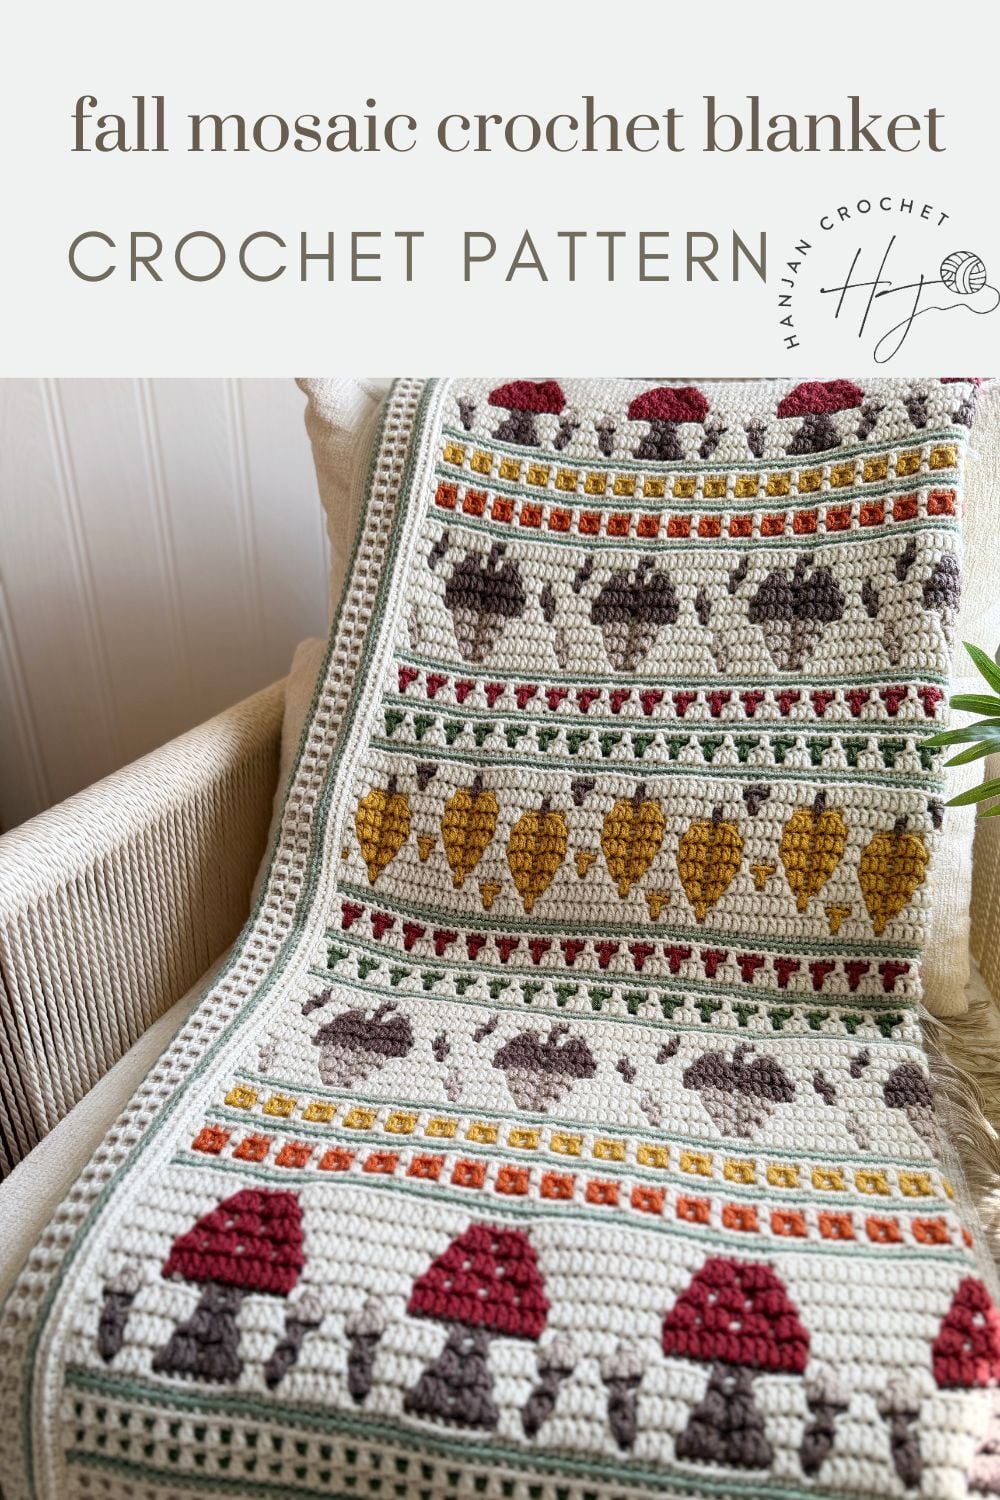
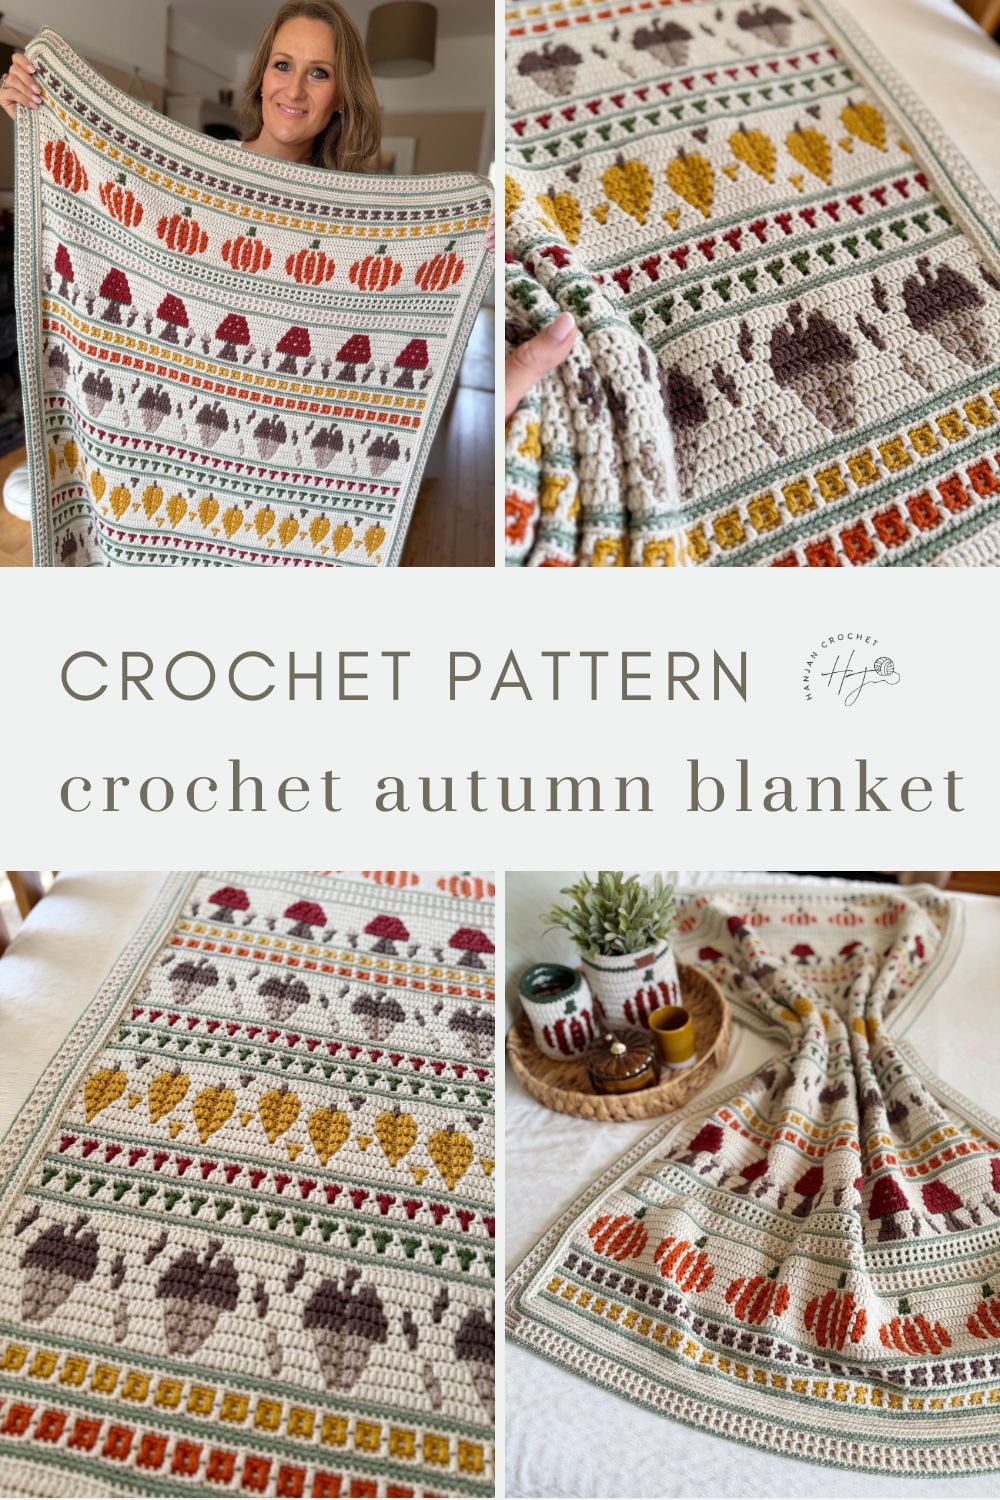
There’s something about autumn colours and crochet that just works, isn’t there?
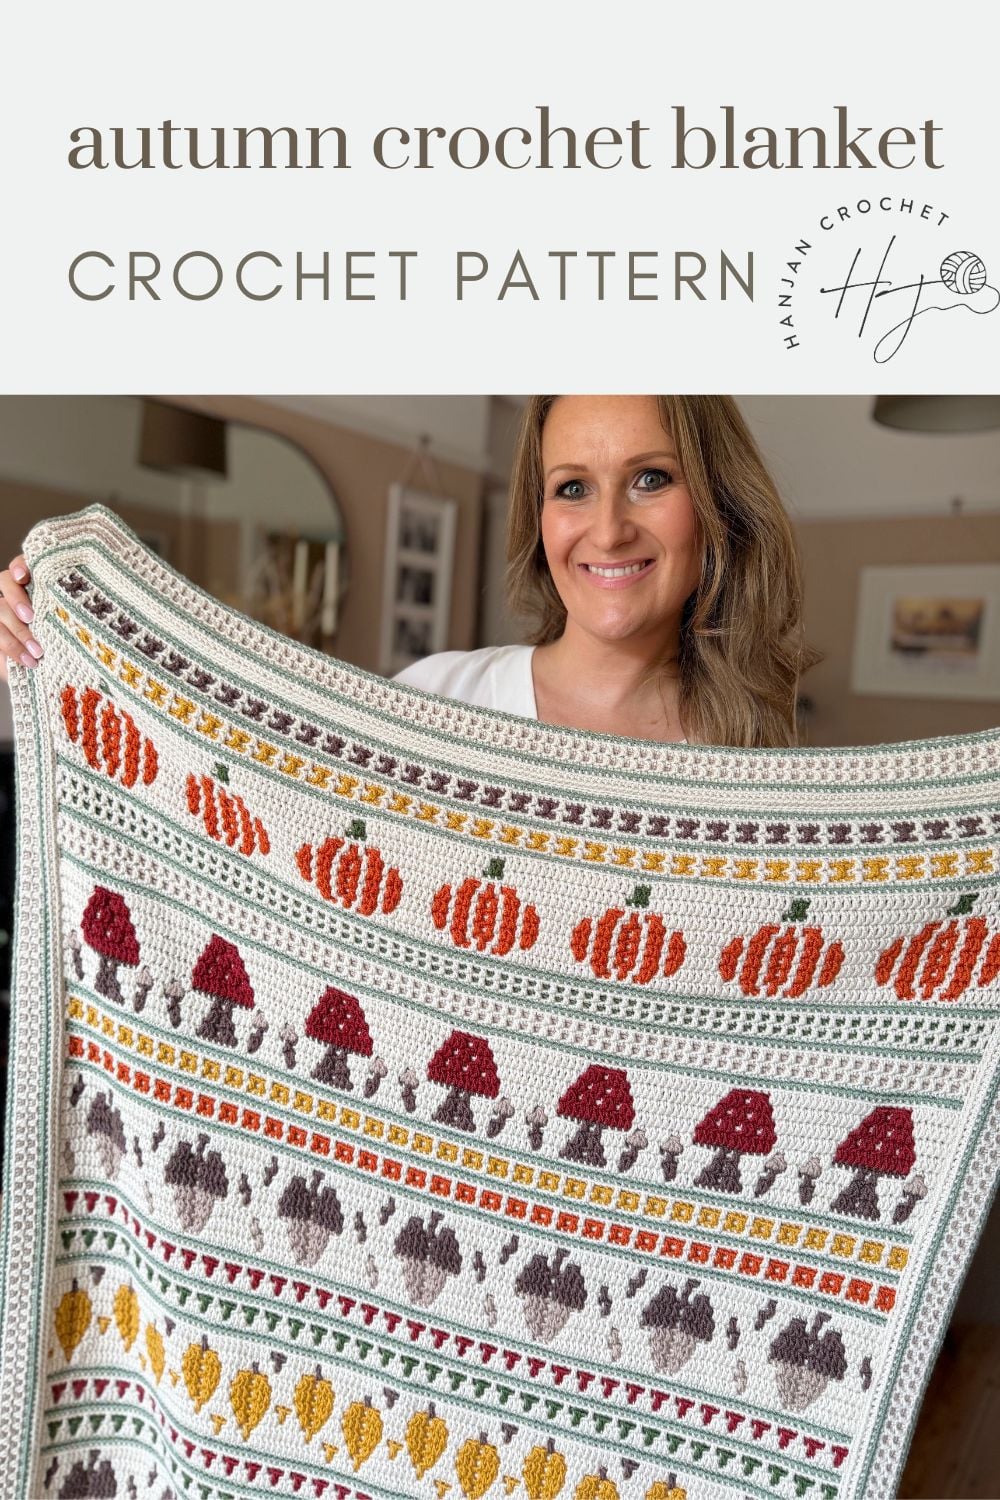
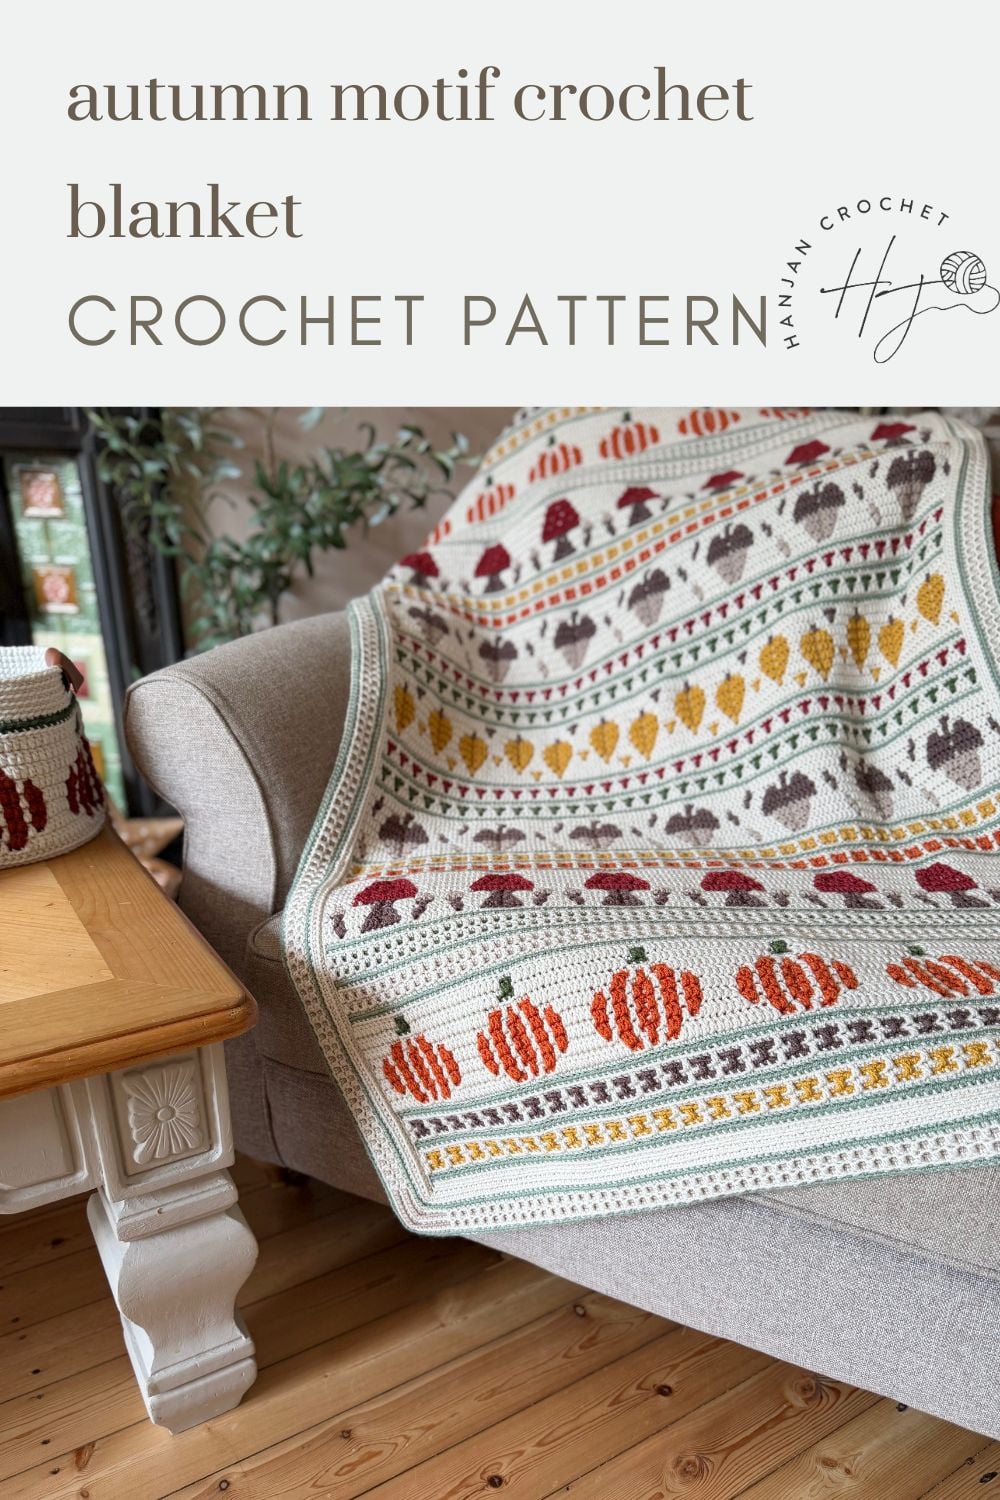
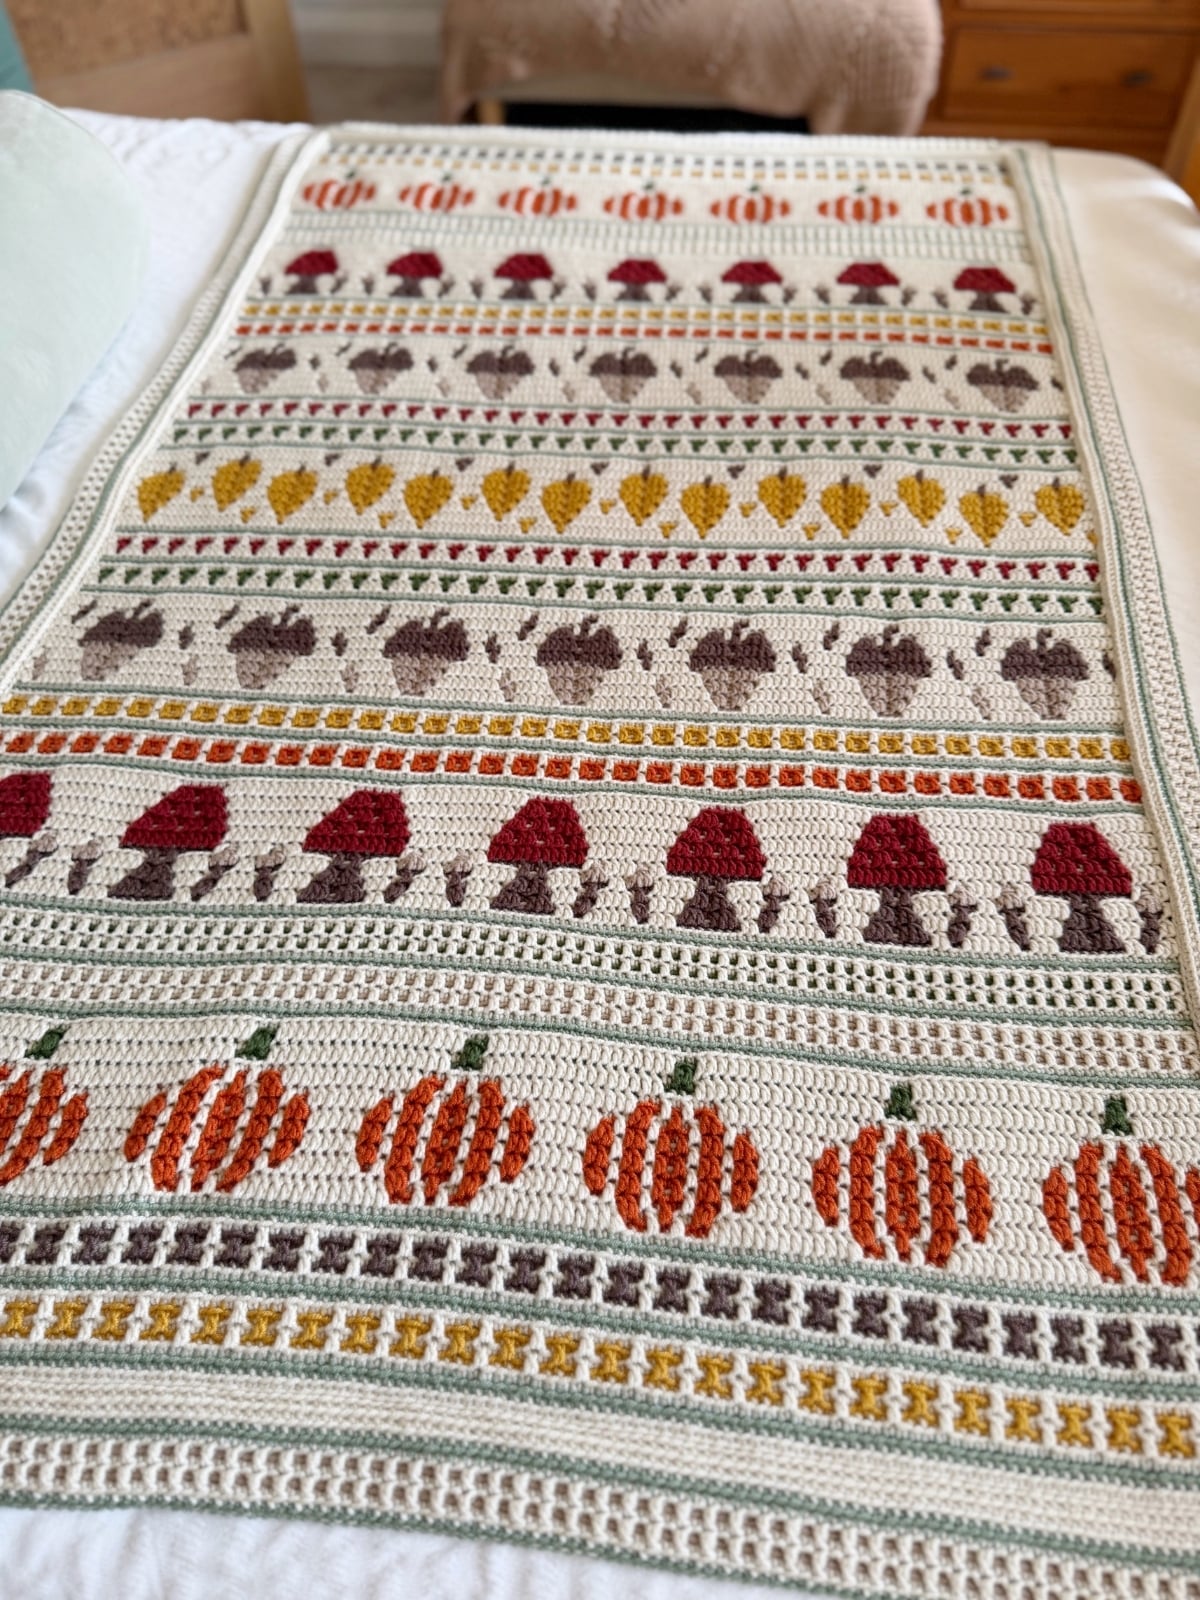
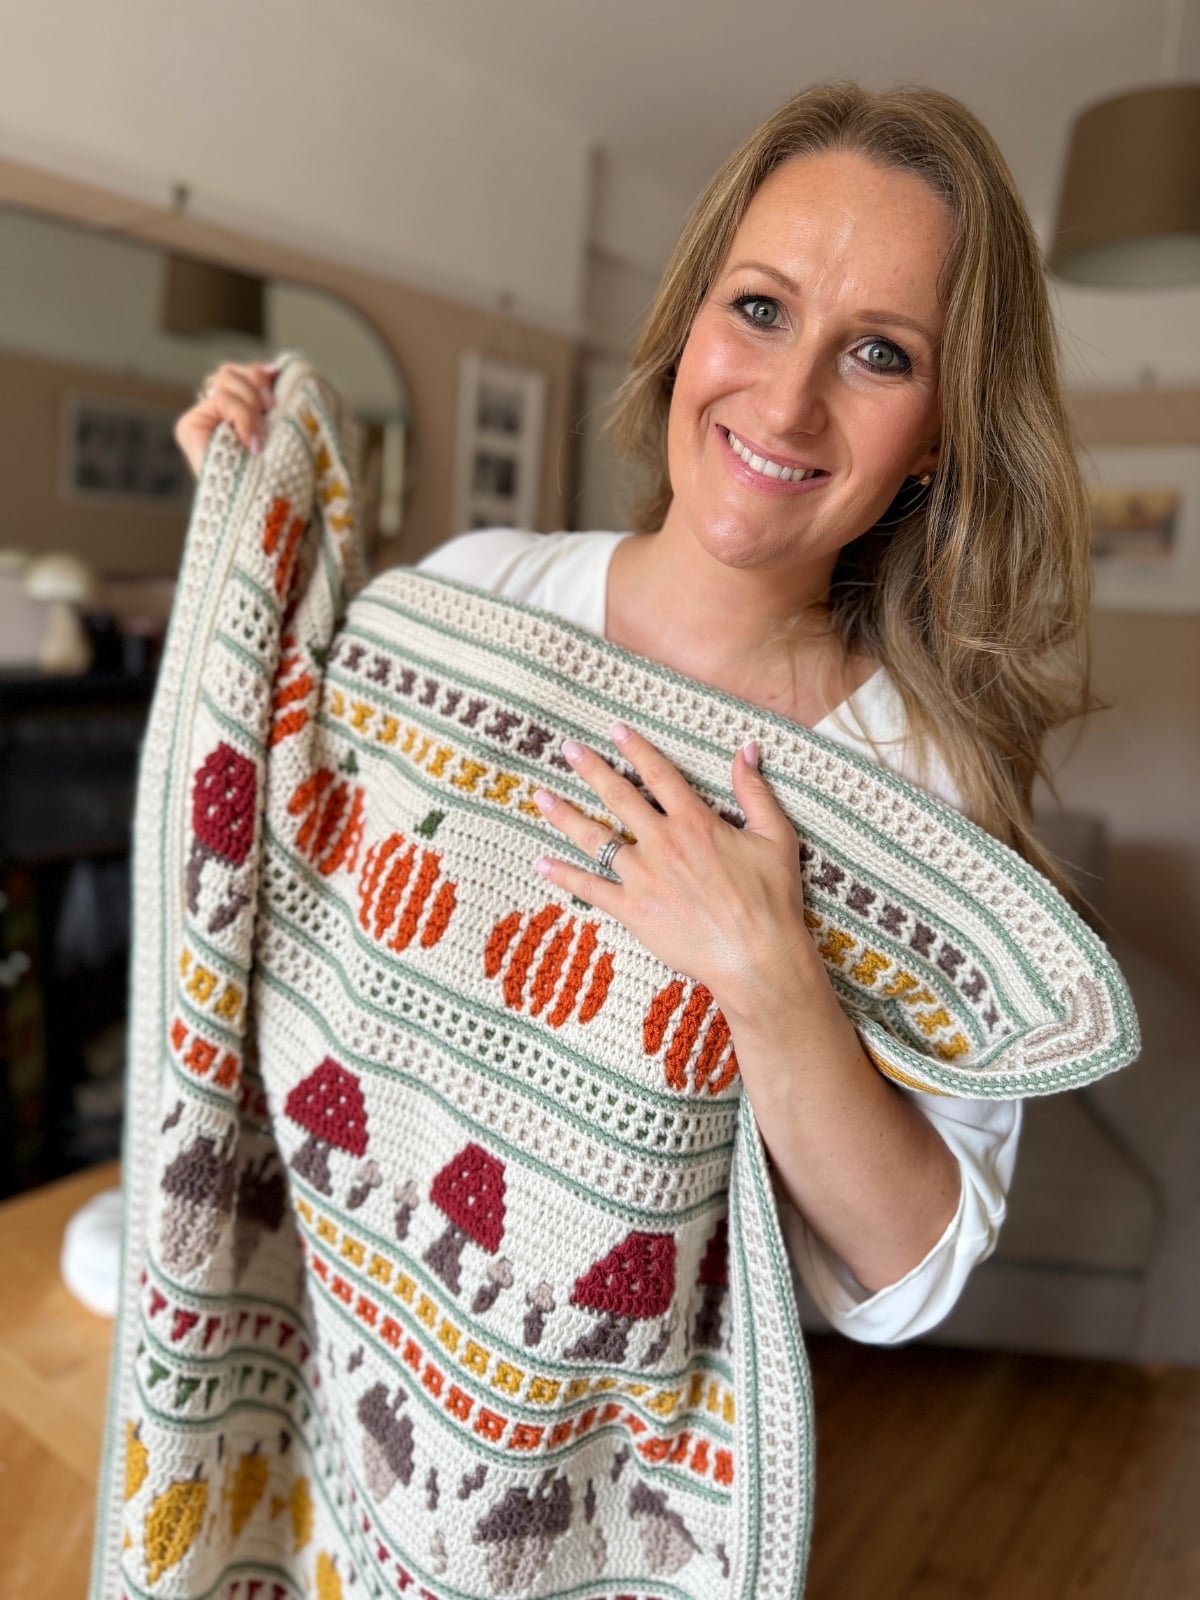
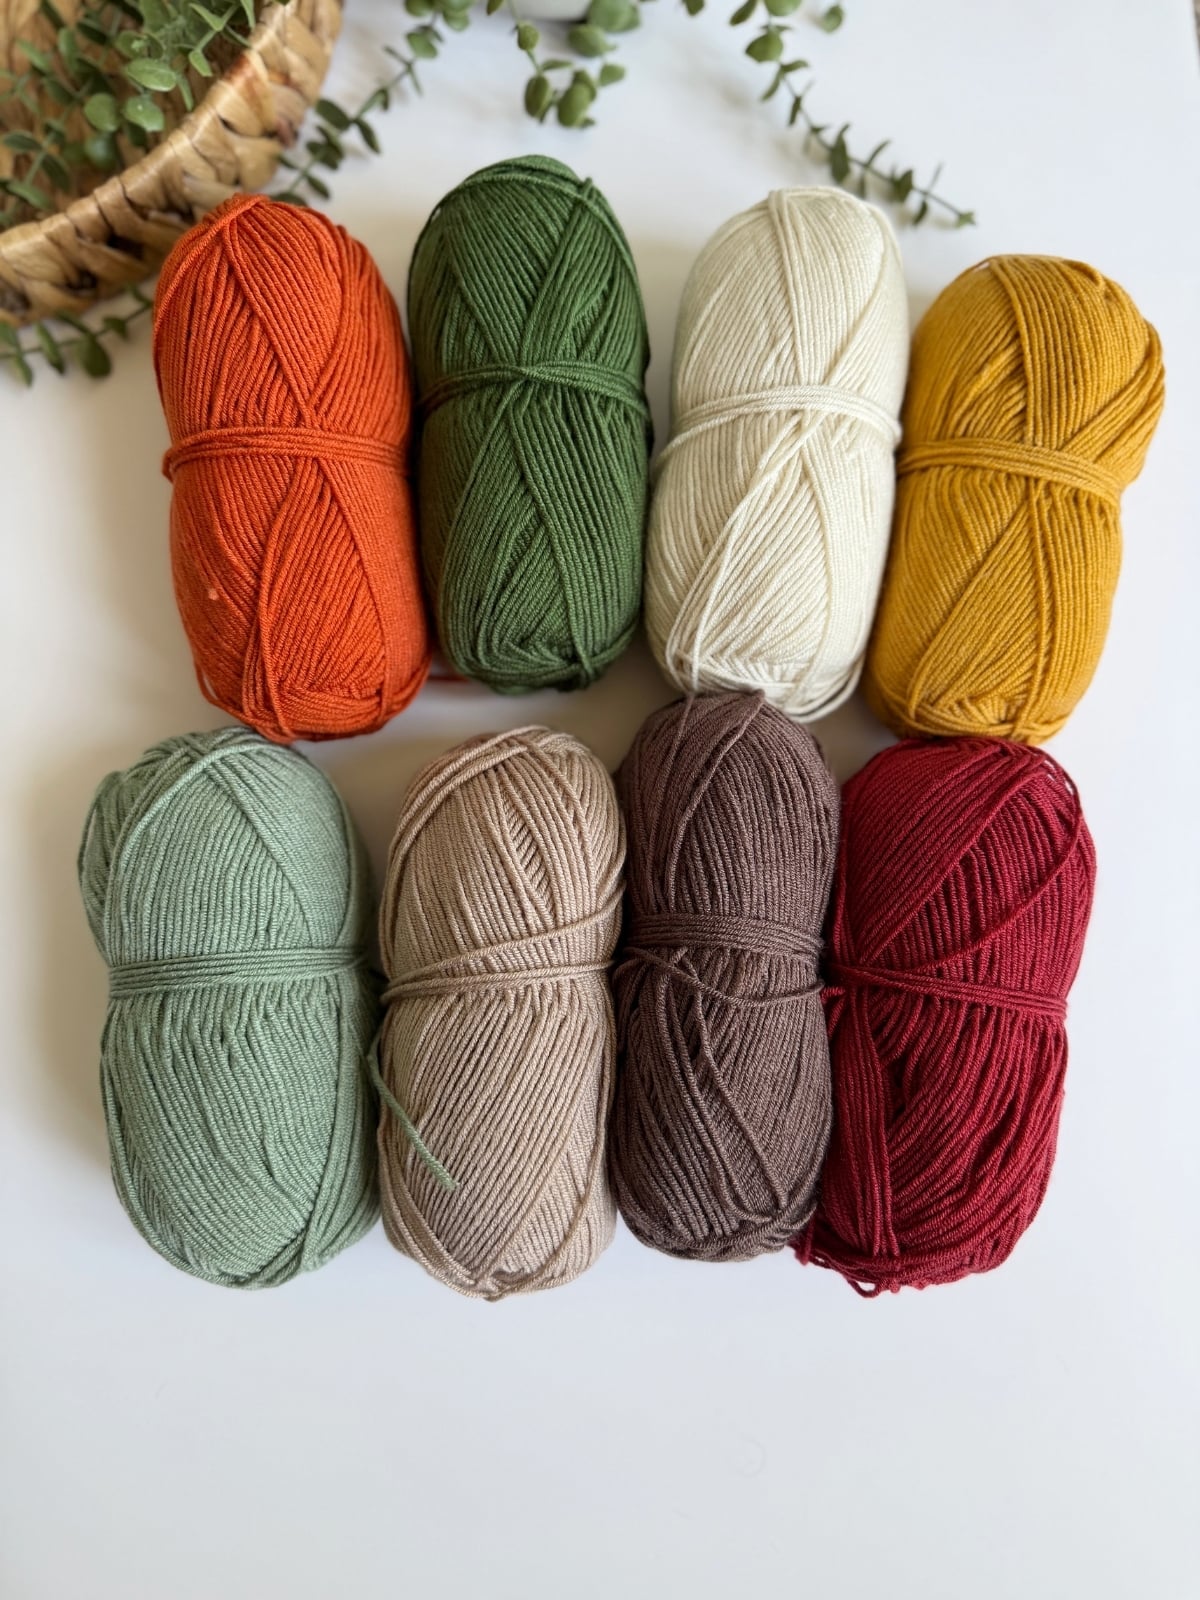
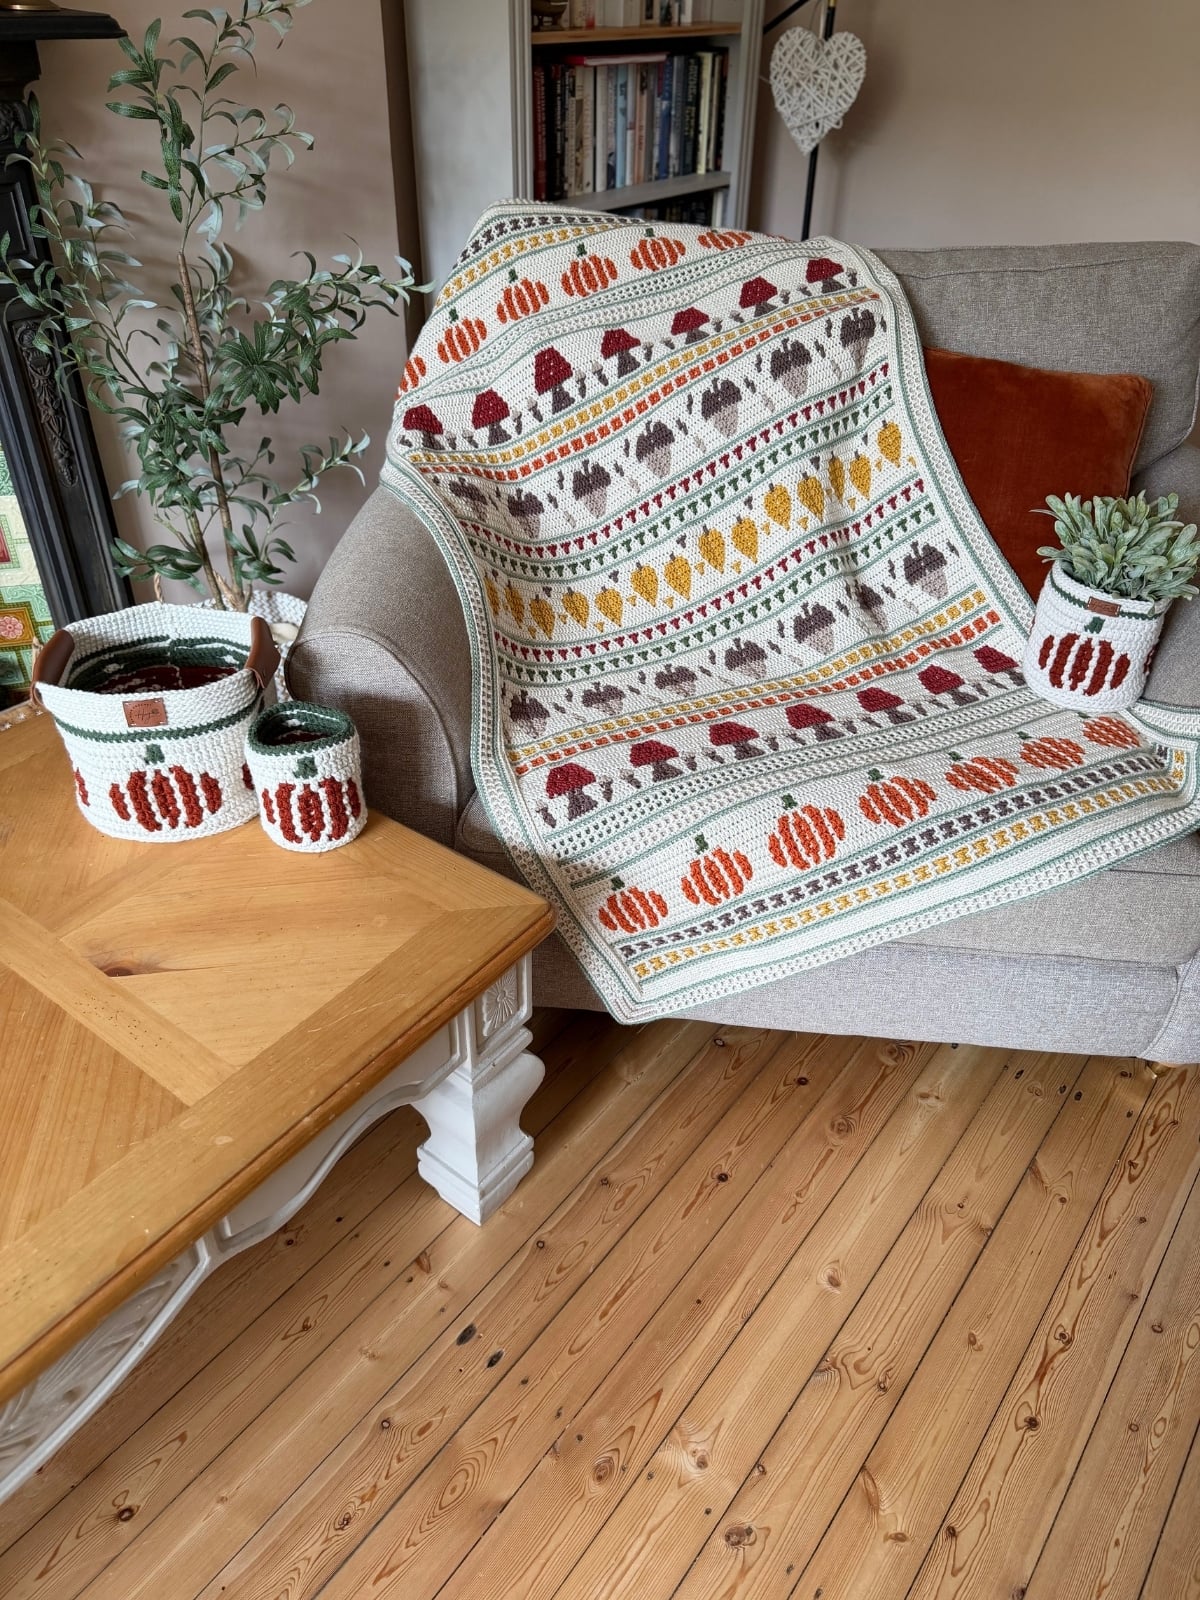
The Fall Into Place Blanket is a cosy fall crochet blanket pattern filled with pumpkins, mushrooms, acorns, leaves and plenty of gorgeous mosaic pattern in between.
Made using overlay mosaic crochet, this crochet autumn blanket might look rather complicated at first glance, but don’t let it fool you. You only work with one colour at a time and, once you get into the rhythm of the pattern, it’s wonderfully repetitive.
And the best bit? You don’t have to make yours like mine. Let me tell you more….
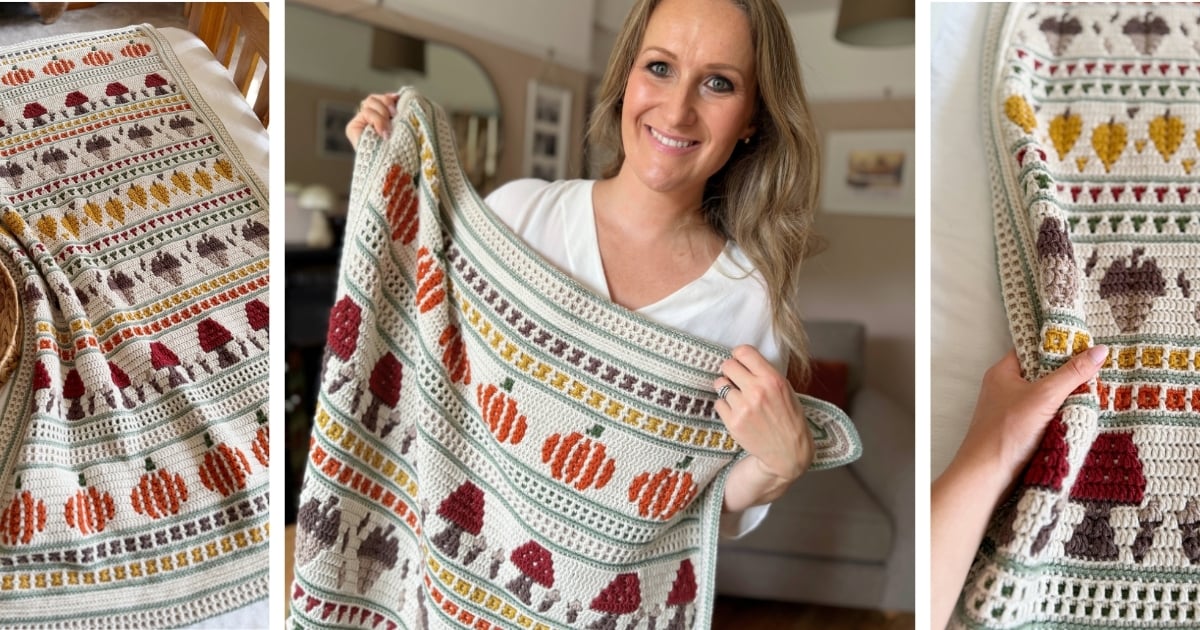
Crochet Autumn Blanket Pattern Details
This fall mosaic crochet blanket is made up of eight different sections that you can mix, match, repeat or leave out completely. Follow my original blanket exactly, or use the planner below to create a completely different version of your own. You can find a free to view written version here on the blog or purchase the PDF that includes all the mosaic charts too 🙂
⭐⭐⭐ Difficulty level: Intermediate – using basic stitches and the overlay mosaic crochet technique
💬 Hook Size: 4.5mm
📏 Sizes: 35″ by 54″ approx but adjustable to any size!
✨ Crochet Technique: overlay mosaic crochet
⚖️ Yarn Weight: 100% acrylic DK weight (category 3)
🧶 Yarn Used: Timeless Tones DK
🕐 Approx Crochet Time: 30-40 hours depending on your pace
👍 Perfect For: cosy autumn evenings, adding a little seasonal colour to your home, and anyone ready to get completely hooked on overlay mosaic crochet. 🍂
In this post you’ll find…
Everything you need to plan your own Fall Into Place Blanket – from resizing and choosing your sections to working out exactly how much yarn you’ll need. 🍂
And because finding just the right colours can be half the battle, I’ve done the yarn matching for you too! You’ll find carefully chosen yarn and colour alternatives for the UK, US, Canada, Australia and Europe, so wherever you are in the world, you can get as close as possible to the original autumn palette without spending hours comparing shades.
Then, once you’re all planned and ready, this is where you’ll find each section of the free pattern as we work through the blanket together.
Table of Contents
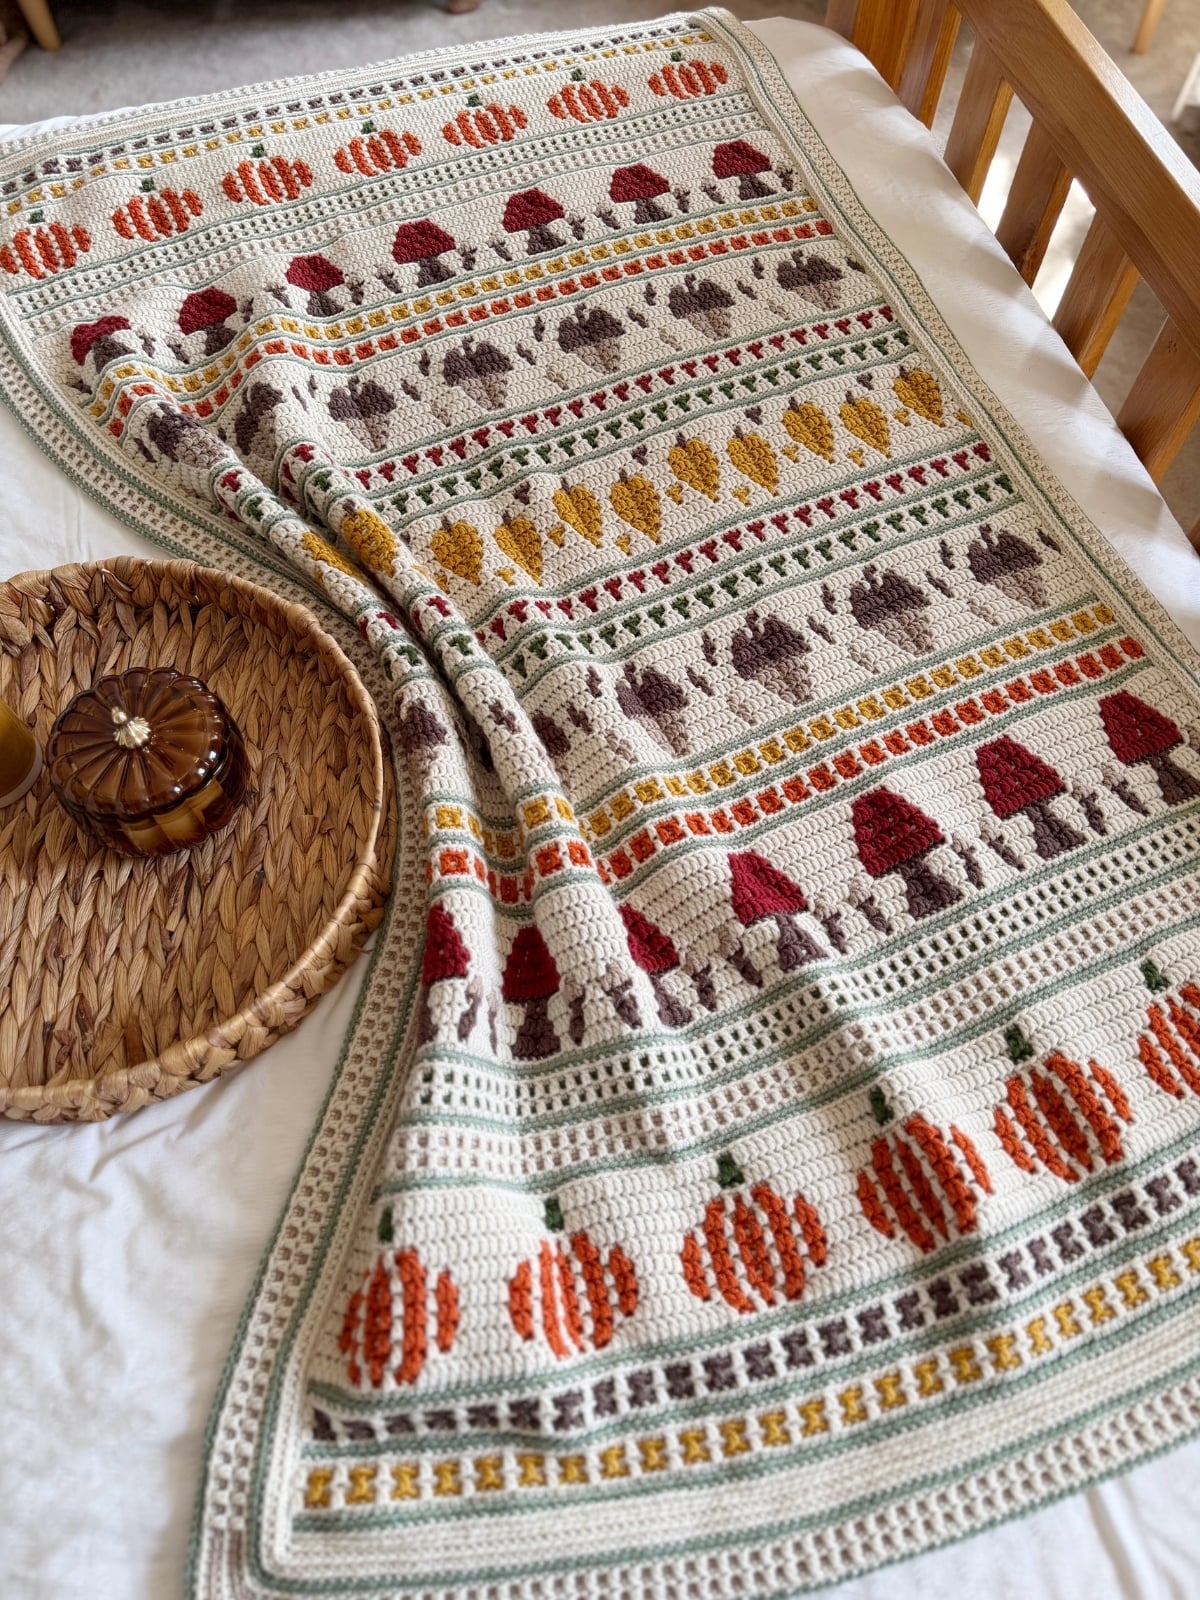
Welcome to the Fall Into Place Crochet Along 🍂
Pumpkins everywhere? More leaves? Mushrooms and acorns? A little bit of everything?
Or perhaps you’re looking at mine and thinking nope, I like it exactly as it is, thank you very much 😂
That’s absolutely fine too.
Fall Into Place is made up of eight different mosaic sections that you can follow exactly as I have, or mix, match and repeat to make your blanket completely your own.
Not enjoying the ads? Want less distractions?
Join Us In The HanJan Crochet Club!
Join the online club and enjoy hundreds of Hannah’s crochet patterns ad-free, plus exclusive resources, a bonus Ebook and new free patterns added regularly.
And if you’ve been admiring overlay mosaic crochet from afar because it looks far too complicated, this might just be the project to give it a try.
It really is much easier than it looks, promise! 🍂
We’ll be making Fall Into Place together throughout September, with the free written pattern released here on the blog one section at a time, along with video tutorials and support as we go.
A Heads Up On….Blanket Construction
Fall Into Place is worked from the bottom up in rows using the overlay mosaic crochet technique.
You’ll break your yarn at the end of each row – but before that sentence sends you running for the hills…
You don’t have to weave all those ends in.
We’ll finish the blanket with an envelope border, which neatly encloses them around the outside.
Very satisfying indeed.
How would you like to join us?
If you’d like to make along for free, sign up for the crochet along and I’ll let you know as each new section is ready. Or, if waiting patiently isn’t really your thing 👀, you can grab the complete PDF pattern now and get started straight away.
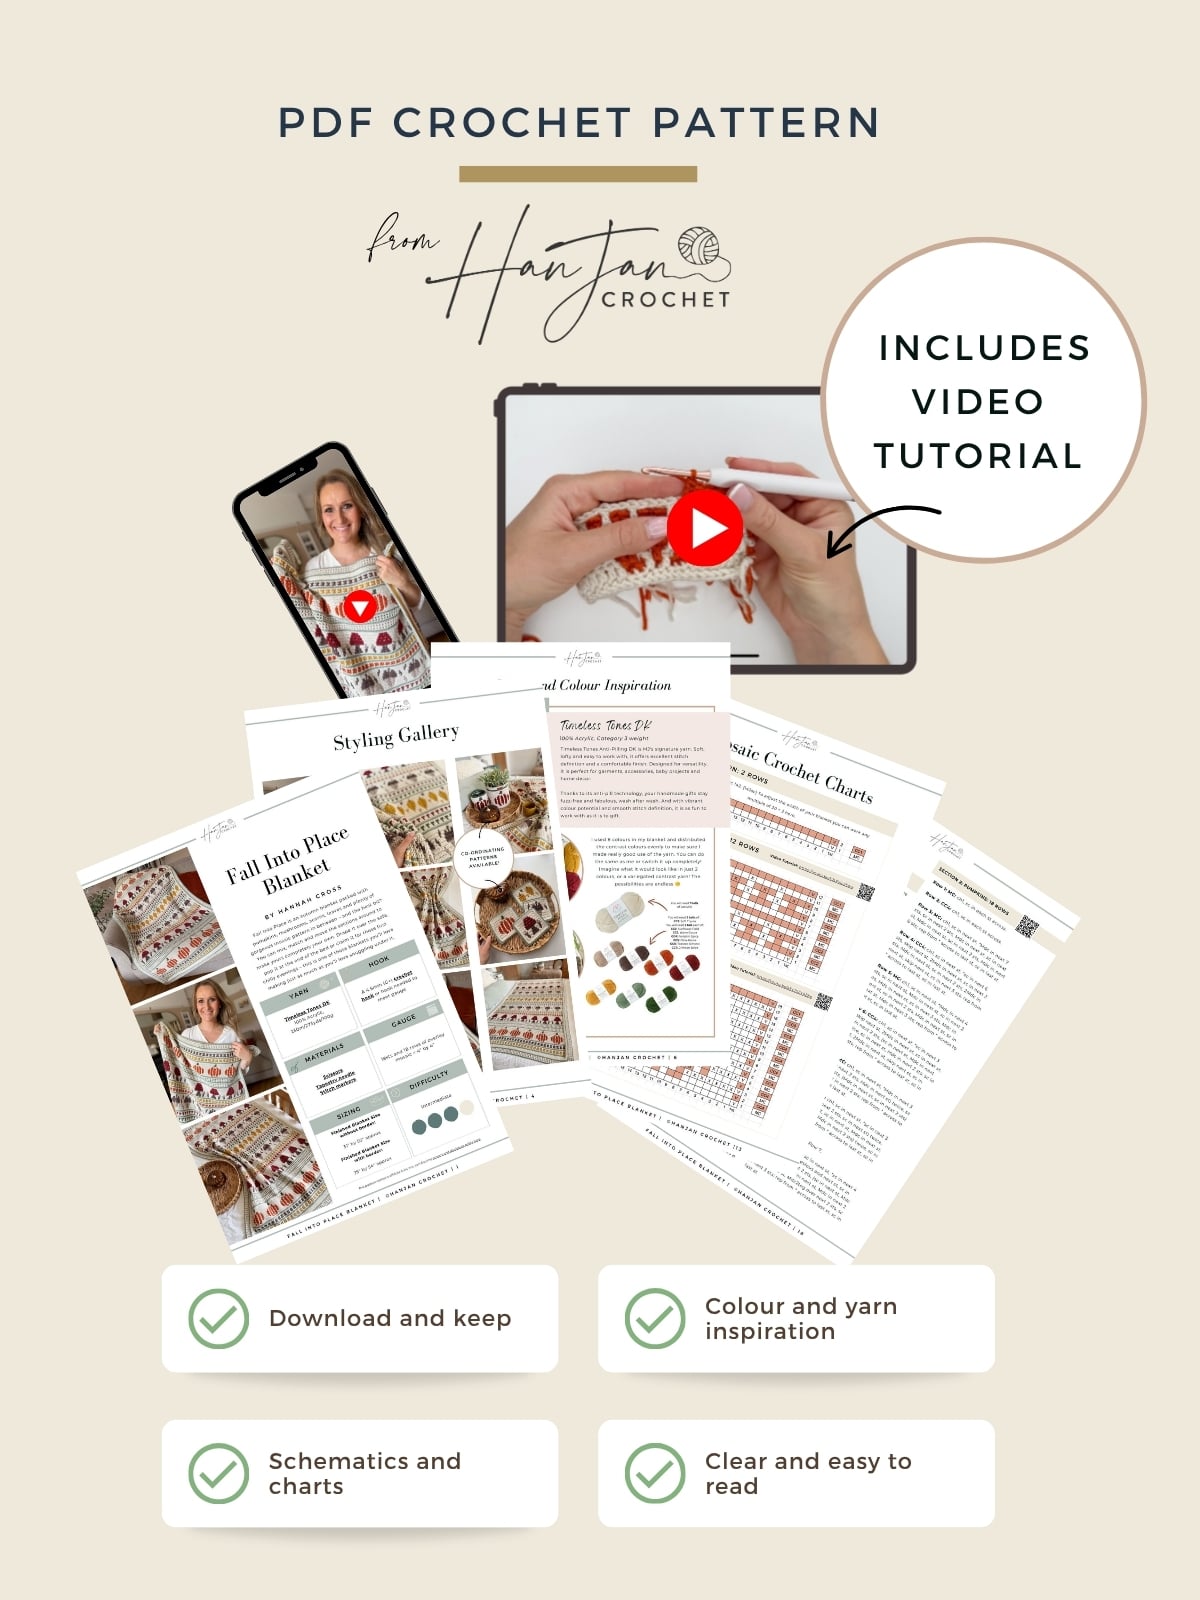
The PDF includes the complete written pattern and all eight mosaic charts, as well as being ad-free, printable and yours to keep. The free blog version includes the written instructions but not the mosaic charts.
PDF Version
Free To View
Prefer to make it with us one stage at a time?
Lovely. Come and join in.
Please note: the mosaic charts are not included with the free blog version, just the written pattern for each section supported by ads.
Your Fall Into Place Home Base
Right then. You’re here. What next?
Think of this page as your Fall Into Place home base.
First, we’re going to get everything ready. You can plan your blanket, decide which sections you want to use, work out your size and choose your yarn.
Then, once we start crocheting, come back here each time you’re ready for the next section.
I’ll add the info for every part of the free pattern below as it’s released, in order, along with the tutorials and anything else you need.
So bookmark this page somewhere safe and you won’t have to go hunting around the website wondering where on earth the mushrooms have gone 😂
First, Design Your Fall Crochet Blanket
This is where the fun starts.
You can follow my original Fall Into Place blanket exactly from beginning to end.
Or…
Love the pumpkins? Add more.
Fancy a blanket full of mushrooms and leaves? Go for it.
Not particularly attached to the acorns? Leave them out.
Want yours shorter, longer or wider? You can do that too.
There really isn’t one right Fall Into Place blanket. The idea is to make the one that you want to make.
The pattern is made up of two types of sections.
The 18-Row Main Sections
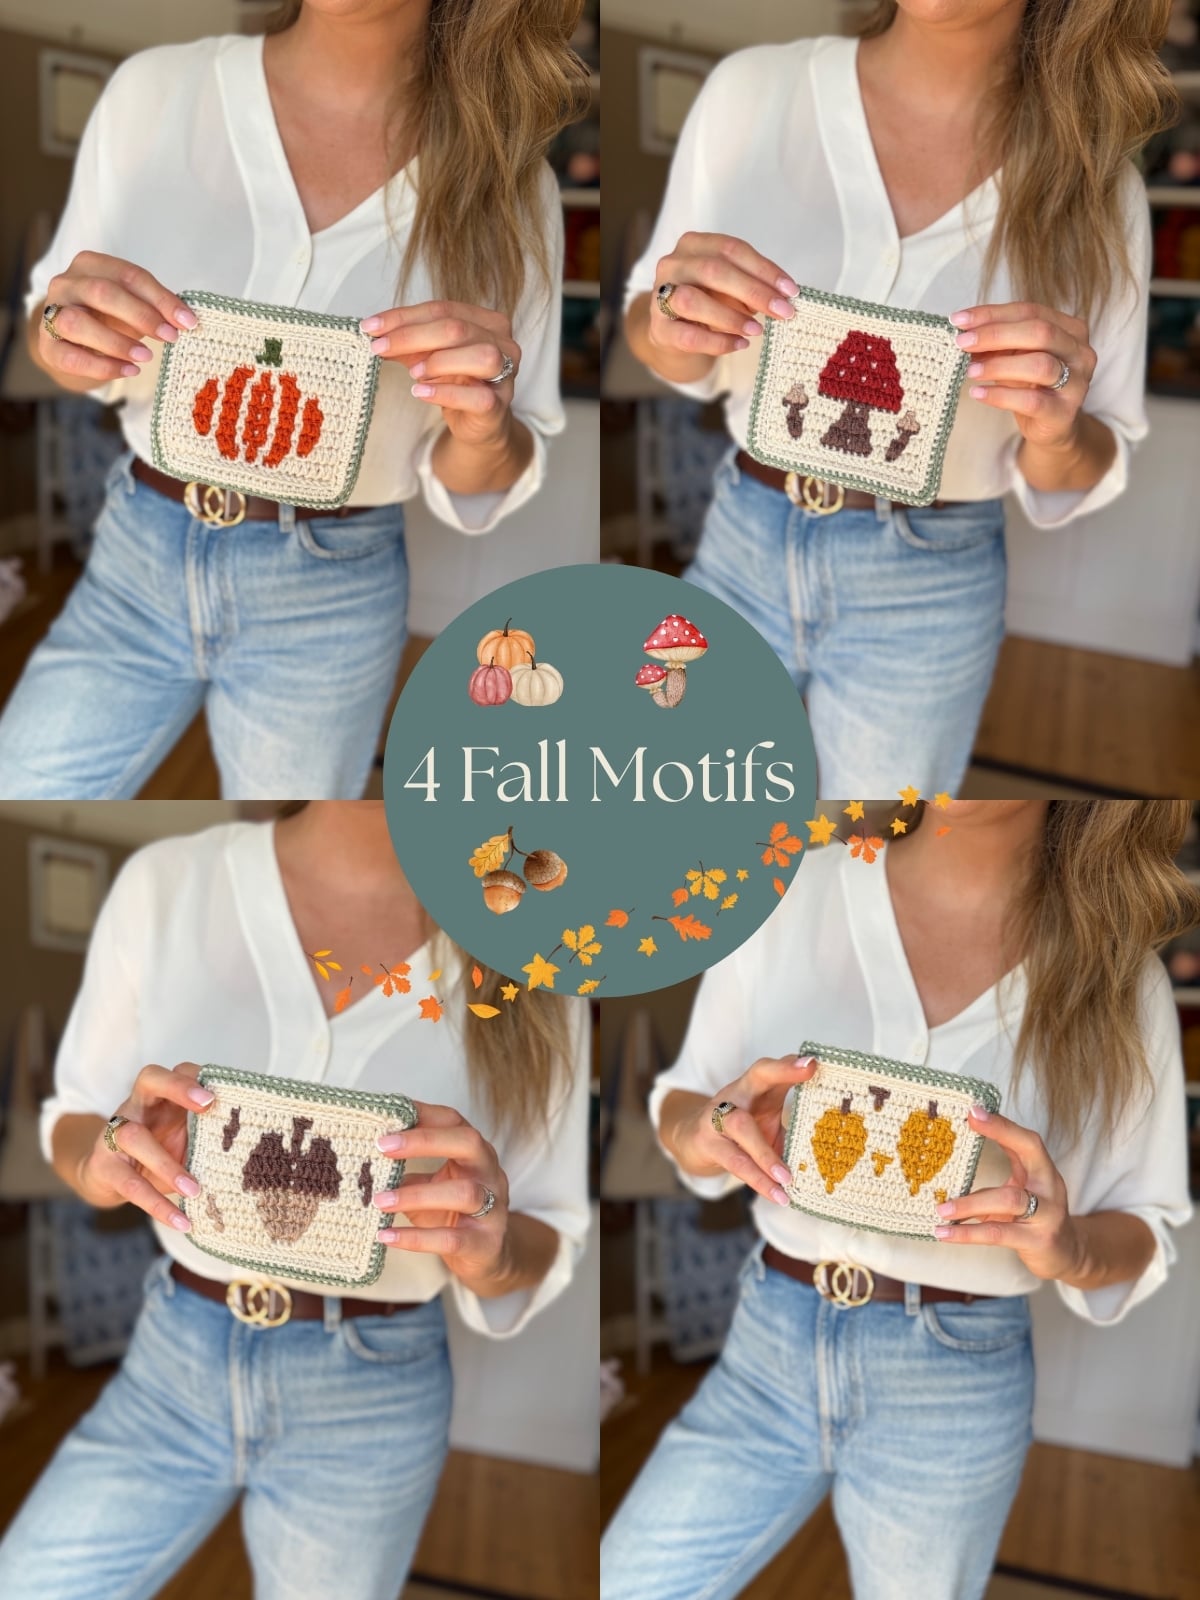
These are the four larger autumn motifs:
🎃 Pumpkins
🍄 Mushrooms
🌰 Acorns
🍂 Leaves
Use all four, pick a couple of favourites or make an entire blanket of pumpkins if that’s where your heart is leading you 😂
The 12-Row Intersections
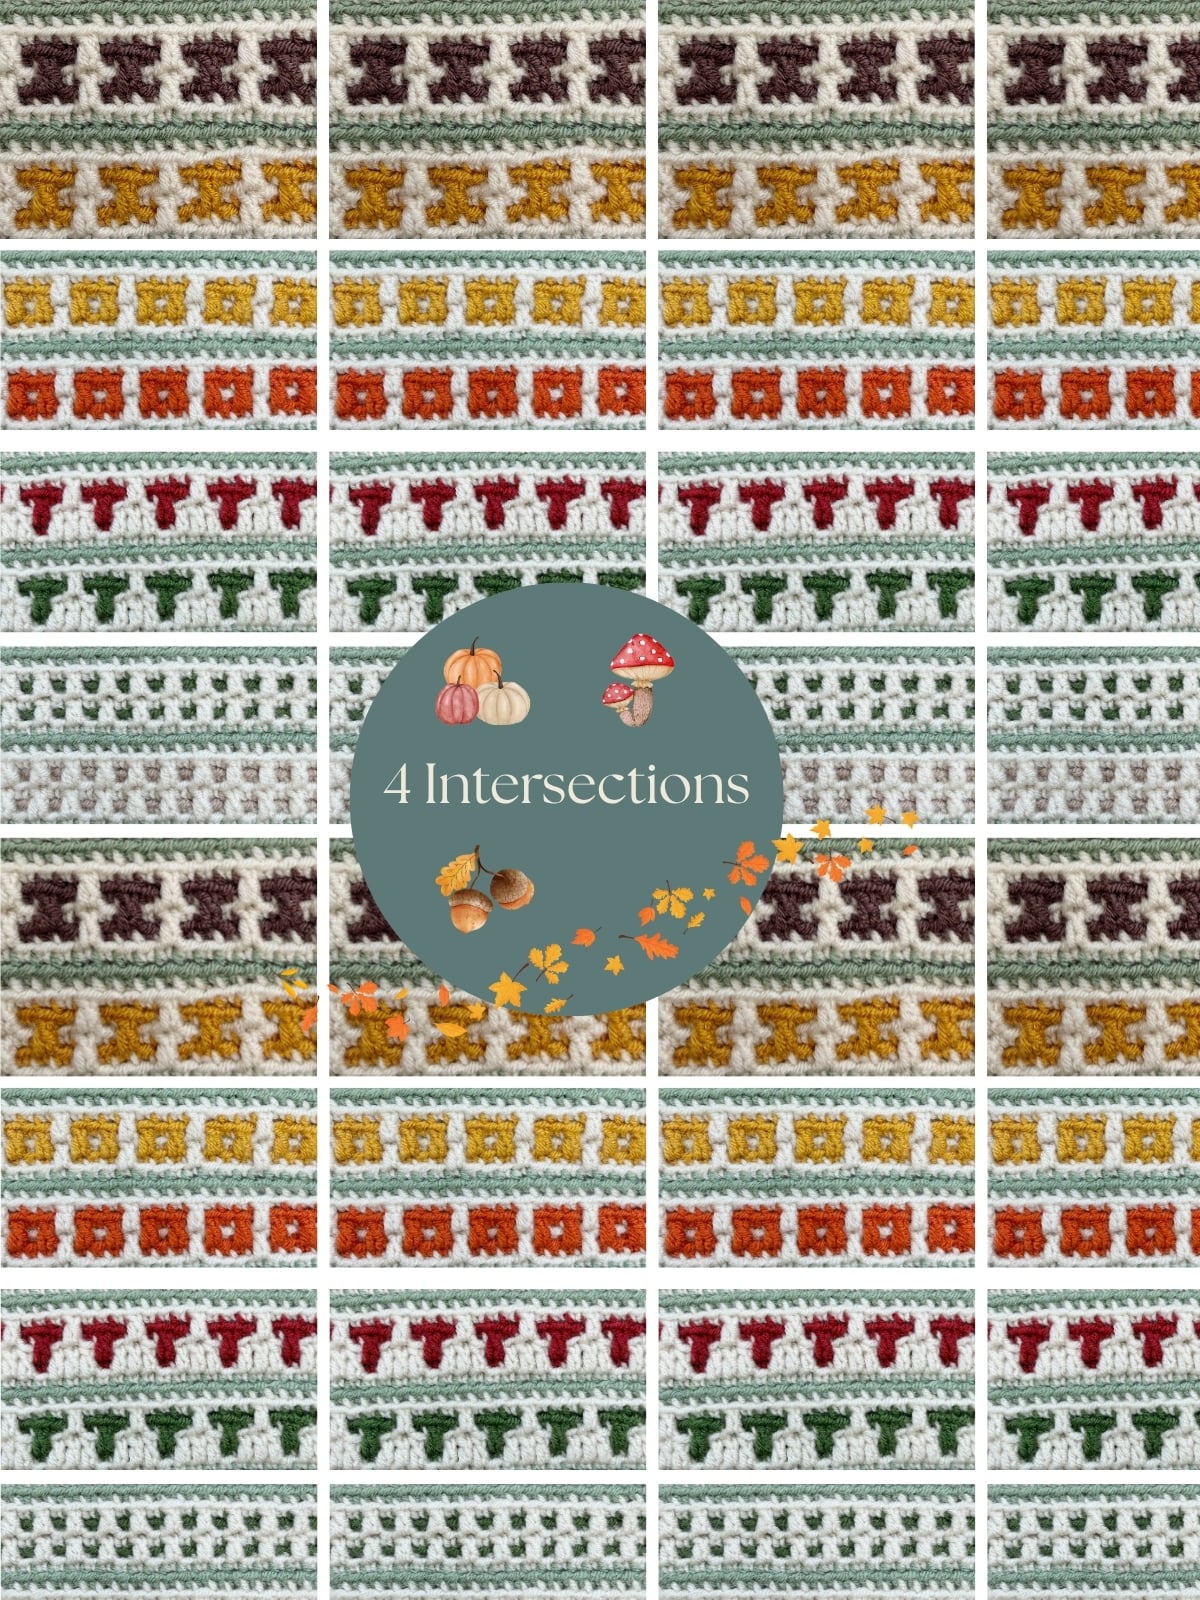
Between those are four smaller mosaic patterns:
Crosses • Dots • Squares • T’s
These are perfect for breaking up the larger motifs and bringing everything together.
You can use all four as I have, choose one to repeat throughout, mix them up or leave some out entirely.
Would you like to save this?
You can unsubscribe at any time.
So you can create any sequence you like to build your own blanket!
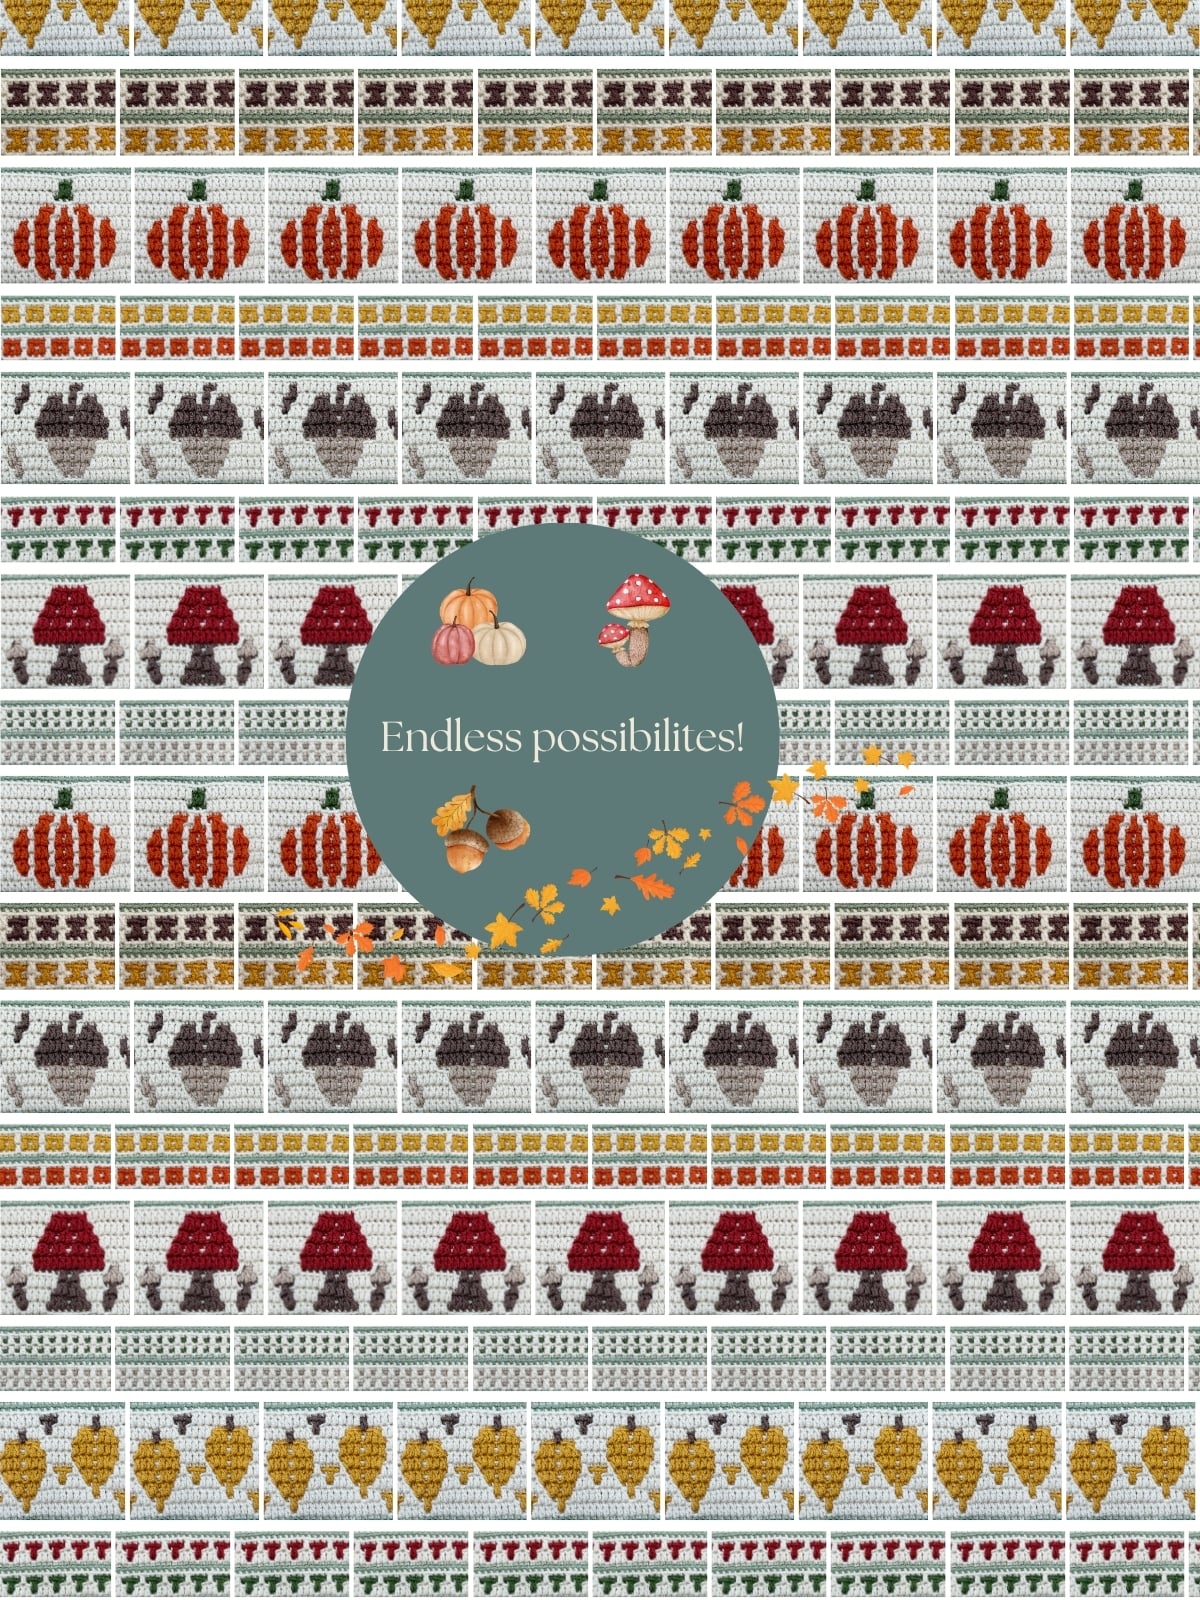
Your blanket, your rules.
And before you start wondering what all this does to your stitch count, finished size and yarn…
I’ve done the maths for you.
You get to do the fun choosing. I’ll do the numbers.
Plan Your Fall Into Place Blanket
Choose the width you’d like your blanket to be, decide roughly how long you’d like it and then start adding your favourite sections.
The planner will keep an eye on the finished size for you and even suggest an order for your chosen sections.
Or simply hit the Original Blanket Layout option and make mine exactly as it is.
No tricky crochet maths required.
Design Your Fall Into Place Blanket
Choose your blanket width and approximate finished length, then mix and match the sections to create your own version. I’ll help you keep an eye on the length and suggest a layout for you.
1. Choose your blanket width
Use one of the suggested widths or choose your own number of 20-stitch repeats.
Your starting stitch count will be calculated as (20 × repeats) + 2 edge stitches.
2. How long would you like your blanket to be?
Choose your approximate finished length. This includes the envelope border.
3. Choose your sections
The blanket works especially nicely with the shorter intersections and larger autumn motifs dispersed throughout. Choose how many of each you’d like and I’ll suggest an order for you.
These are the smaller pattern sections that sit beautifully between your main autumn motifs.
These are your larger autumn motifs.
Choose a finished length above, then start adding your sections.
Your Blanket Plan
How Much Yarn Will I Need?
Once you’ve decided what you’re making, the calculator below will estimate how much yarn you’ll need for your version of Fall Into Place.
So if you’ve just added four extra pumpkin sections, you don’t have to sit there with a calculator wondering what you’ve done 😂
Choose your blanket above and your yarn estimate will update for you.
Important: The yarn calculator is based on the DK yarn and gauge used for my original blanket. If you decide to use a different yarn weight, keep reading because we’ll talk about that below.
Gauge
18 sts × 18 rows = 4″ × 4″ in overlay mosaic crochet.
Gauge isn’t quite as terrifyingly important for a blanket as it would be for a fitted sweater, but it will affect the finished size and the amount of yarn you use.
Your Yarn Estimate
Based on the width and sections you have chosen above, here is the estimated Timeless Tones DK yarn you will need.
| Colour | Estimated yarn | Balls to buy |
|---|
Yardage is estimated from the original blanket samples and includes the contingency already allowed for in those measurements. Ball quantities are rounded up to whole balls.
Buy Timeless Tones Yarn HereWant my colours and size exactly? Perfect!
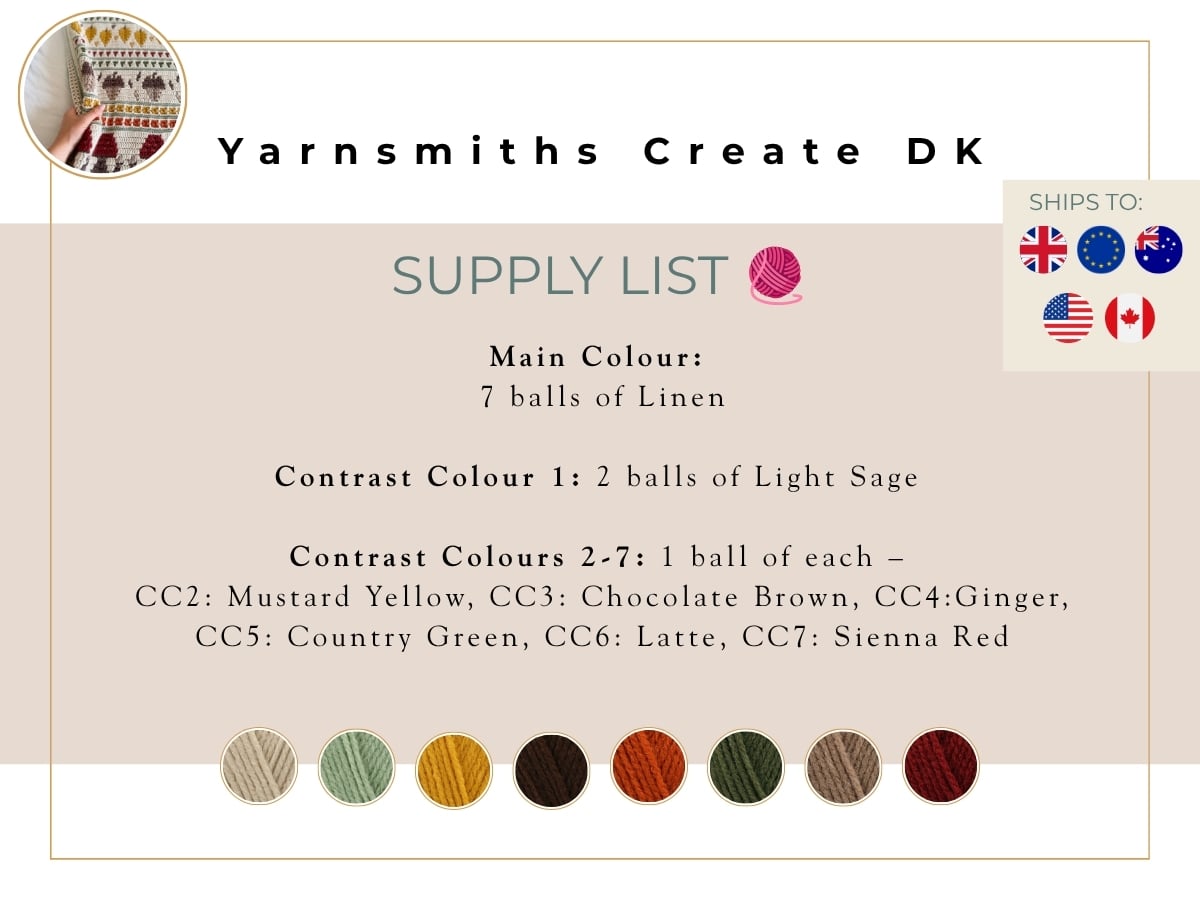
Here’s what you’ll need:
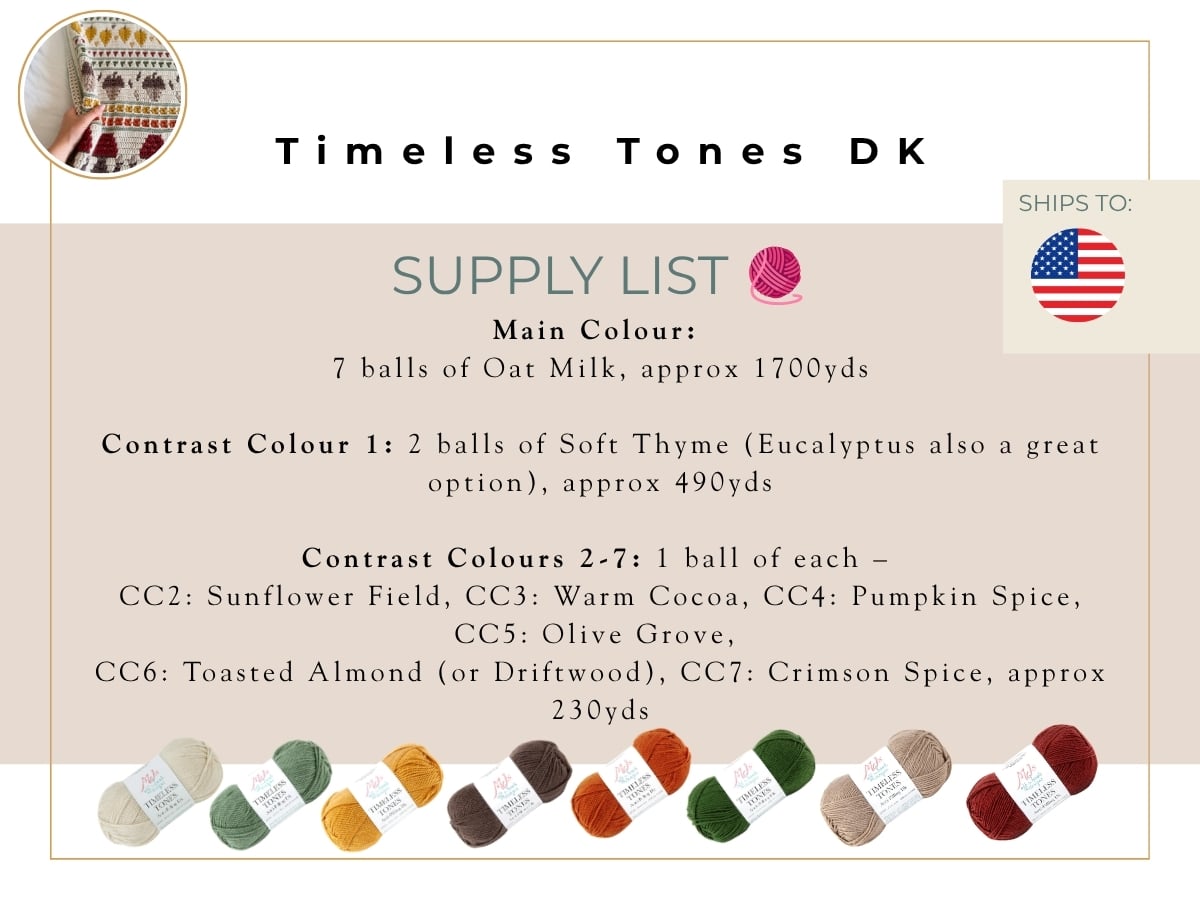
And a 4.5mm (G+) crochet hook
Can’t Get Timeless Tones? Try These Instead 🧶
I know yarn availability – and shipping costs! – can be very different depending on where in the world you live.
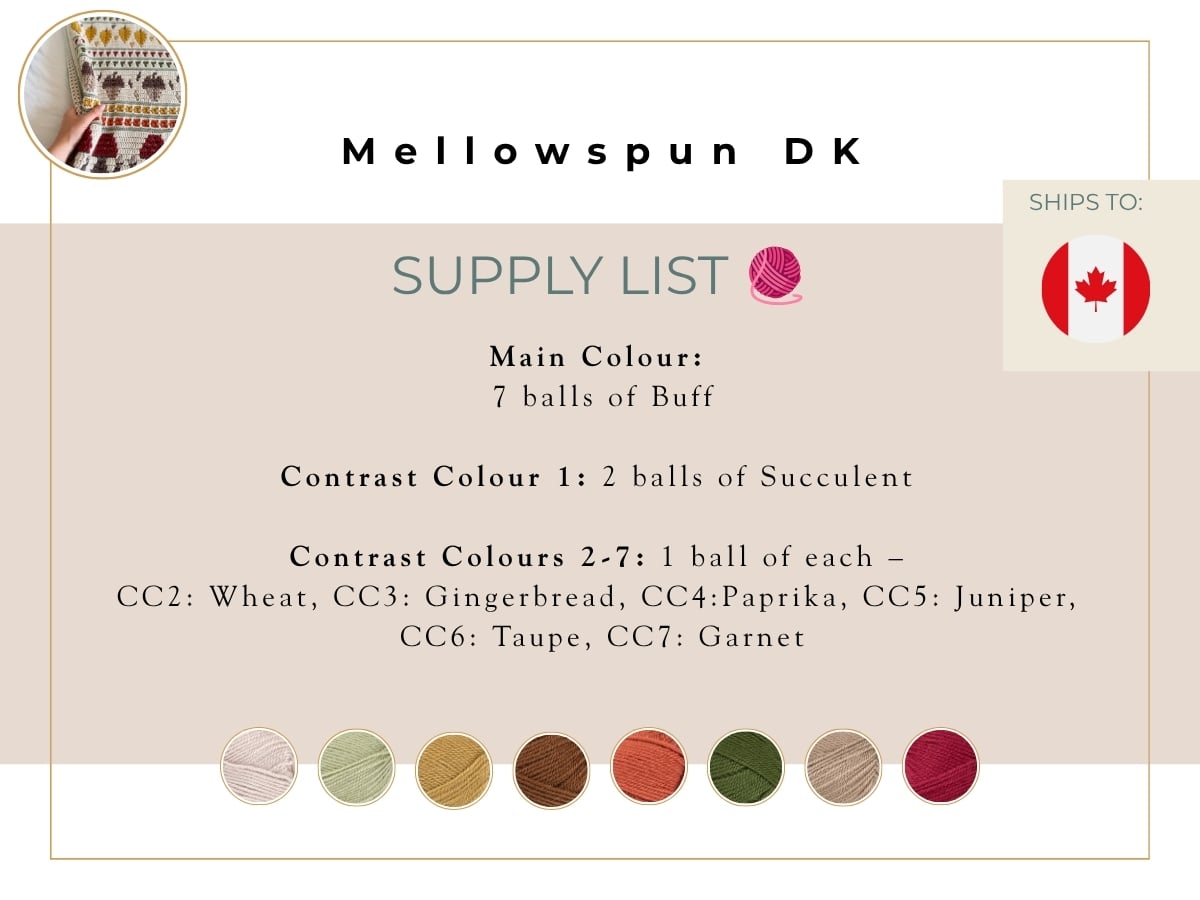
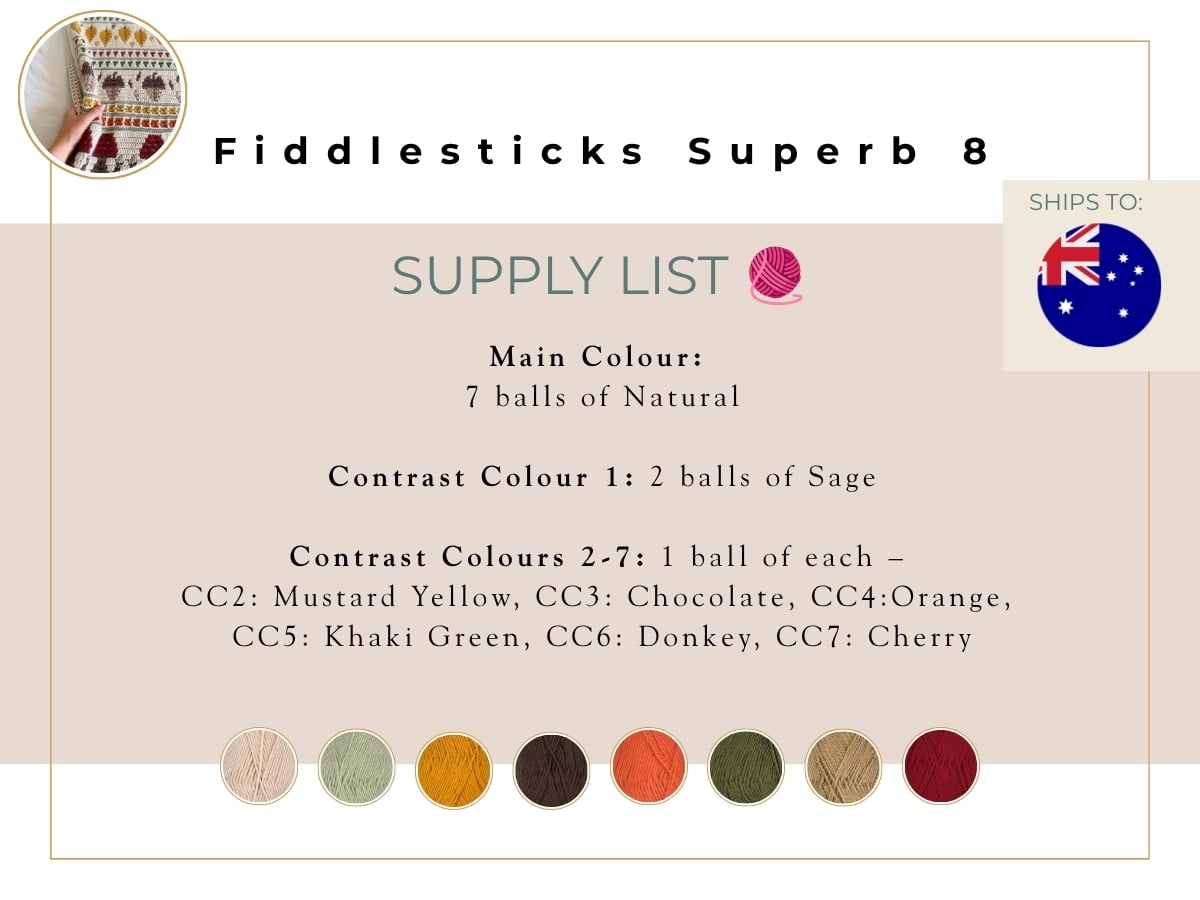
So rather than simply telling you to “use any similar DK yarn” and leaving you to stare at 97 shades trying to work out which green I mean, I’ve put together some alternative Fall Into Place colour palettes for you.
I’ve tried to keep the feel of my original blanket while choosing yarns that are easier to find in different parts of the world.
You absolutely don’t have to use these exact colours, of course. They’re simply here to give you a head start.
Great Option For Canada:
Great Option For Australia:
Great Option For UK/EU:
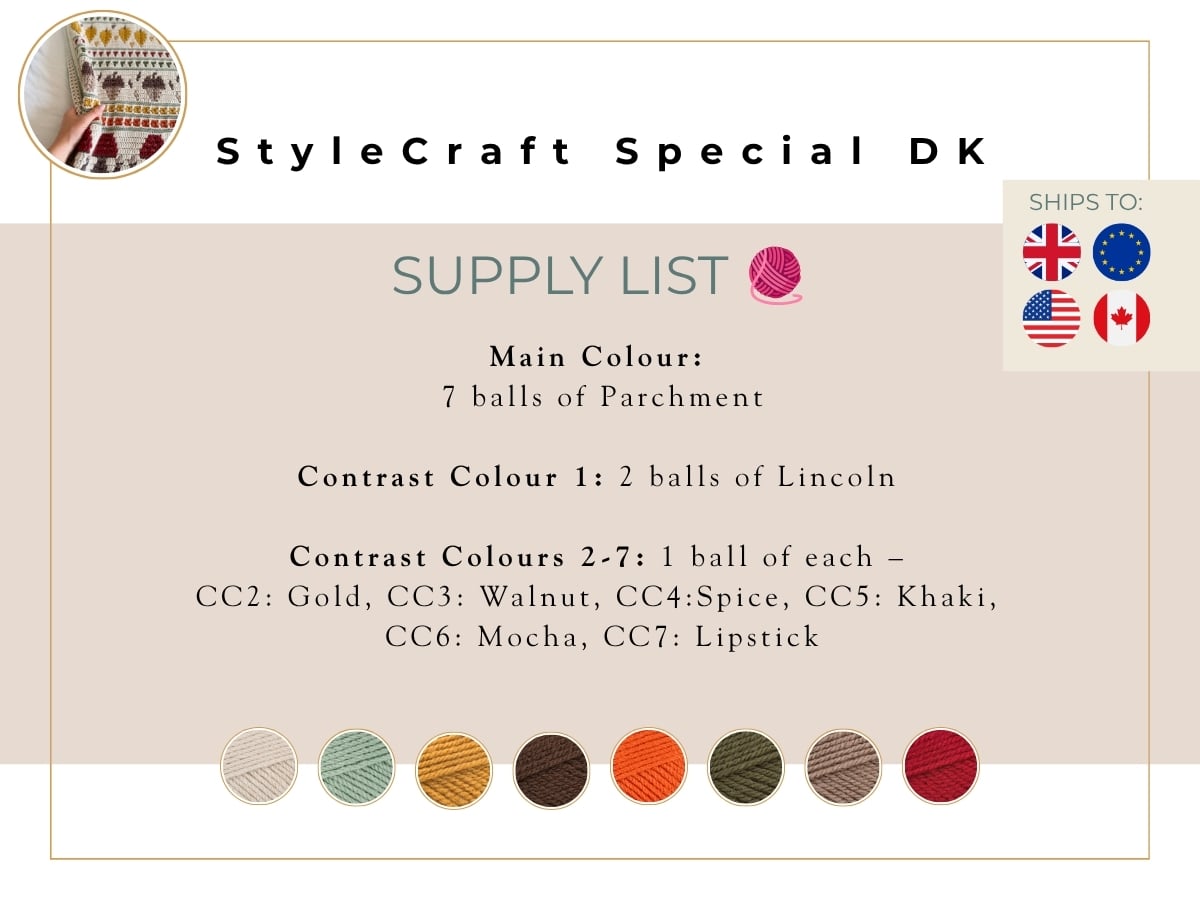
Great Option For UK/EU/US/CAN:
Check out our handy yarn weight chart and guide to find out more about yarn weights and categories.
See my other light DK yarn crochet patterns – you might find your next project there too!
Do I Have to Use DK Yarn?
Not at all!
I made my Fall Into Place blanket using Category 3 / DK weight yarn, but there’s absolutely no reason that you have to.
Fancy a chunky, super-squishy version? Go for it.
Want to use something finer and make a lighter blanket? You can do that too.
The important number to remember is:
Multiple of 20 stitches + 2
Each pattern repeat works over 20 stitches, so simply decide how many 20-stitch repeats you’d like across your blanket and then add the 2 edge stitches.
For example:
7 repeats × 20 stitches = 140 stitches
+ 2 edge stitches = 142 starting stitches
That’s the starting stitch count I used for my original blanket.
If you’re changing yarn weight, your gauge and finished measurements will change too, so don’t use the DK yarn calculator above to calculate your yarn requirements.
Instead, make a swatch in your chosen yarn and hook size, decide how wide you’d like your blanket to be and use the 20 + 2 multiple to get as close to that measurement as you can.
For the length, just keep adding your chosen sections until you’re happy with it.
Your blanket, your yarn, your size.
That’s rather the point of this one. 🙂
How to Crochet the Fall Into Place Blanket 🍂
This is where your free pattern will live. If you would prefer to get the charts and everything now you can get the Fall Into Place Blanket PDF pattern today!
Each section will be added below as it’s released throughout the crochet along.
If you’ve arrived here halfway through September, you can simply jump straight to the section you’re ready for.
Get this pattern ad free
Get the PDF Pattern!
Perfect to print out or use on any device, with added schematic and charts, colour inspiration and stitch tutorials.
Quick Links To All The Sections
Getting Started & Setup Rows
Section 1 – Crosses
Section 2 – Pumpkins 🎃
Section 3 – Dots
Section 4 – Mushrooms 🍄
Section 5 – Squares
Section 6 – Acorns 🌰
Section 7 – T’s
Section 8 – Leaves 🍂
Finishing Row
Crochet Envelope Border
Pattern Gauge
Gauge: 18 sts and 18 rows = 4″ by 4″ using 4.5mm hook
You can find out more about making a crochet gauge swatch here.
Pattern Support
I am delighted to invite you to join the HanJan Crochet Community Facebook Group where we host all pattern support queries and love to see your progress, yarn choices and finished projects!
Join our pattern support group!
We’ve built an amazing community always ready to help each other. Join today!
Learn About The Mosaic Crochet Technique
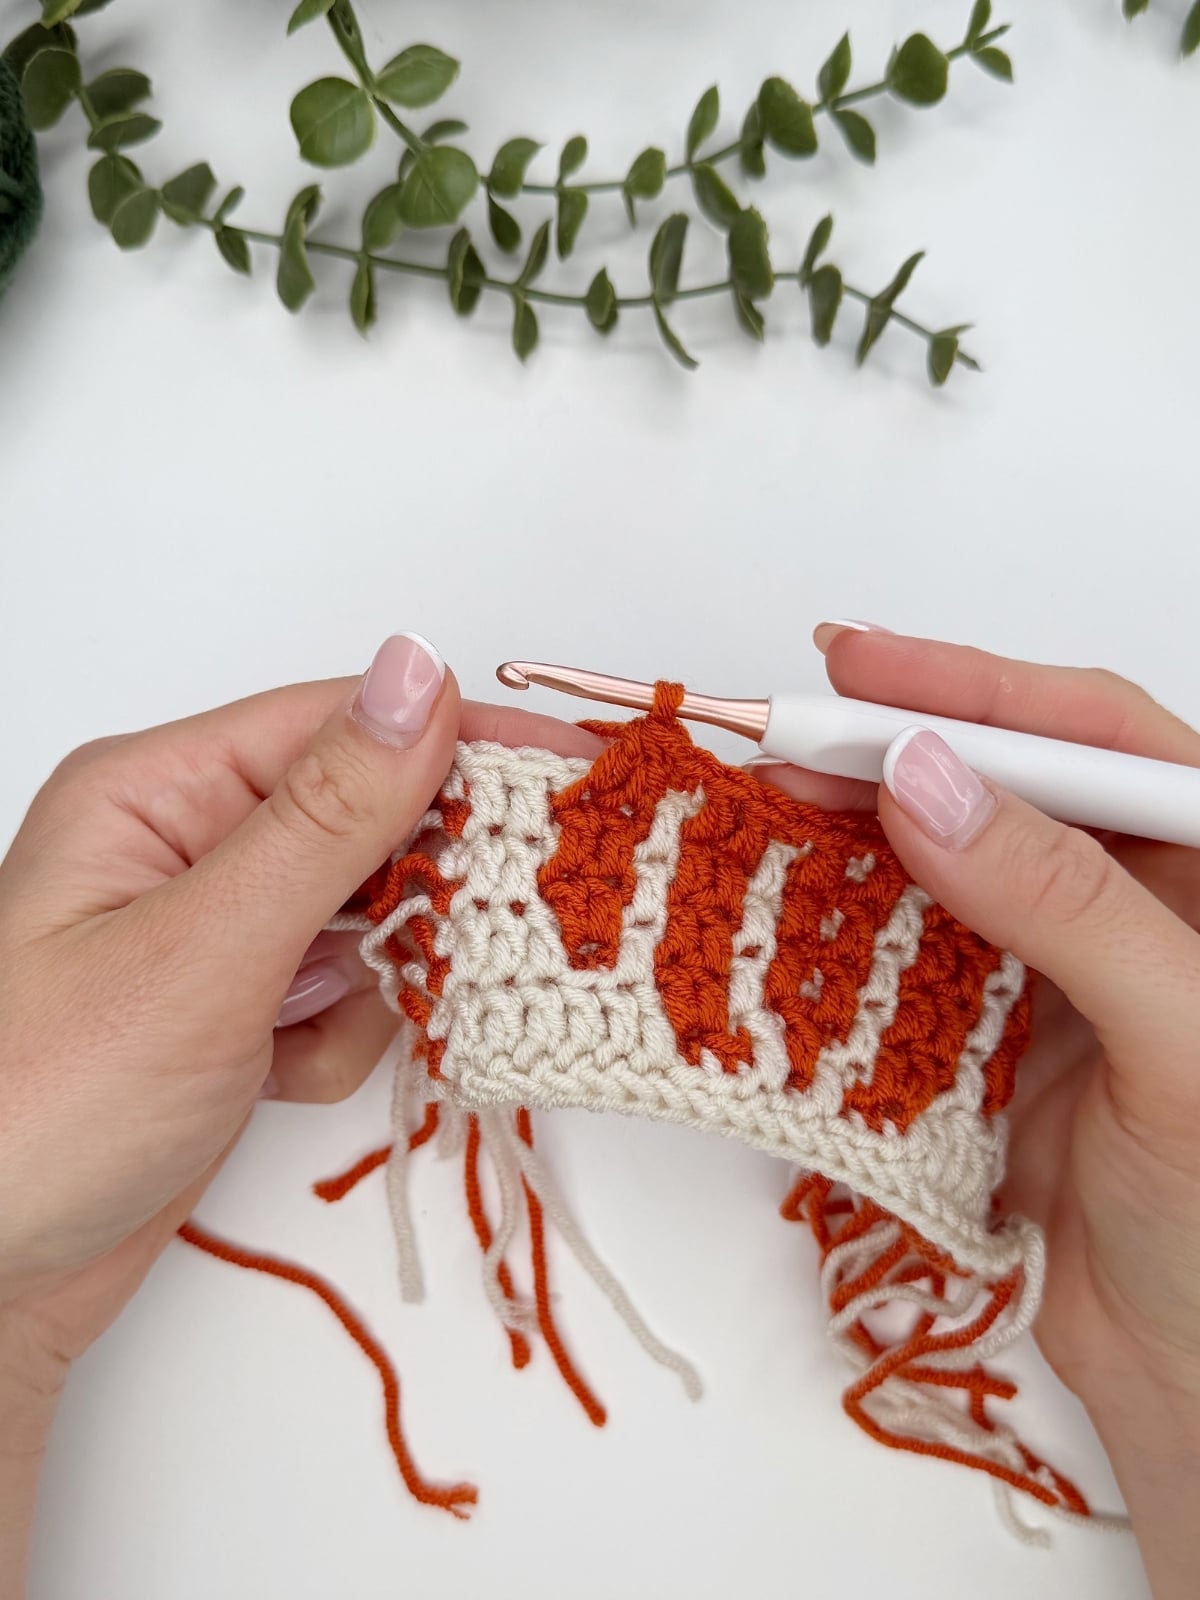
If you’re new to overlay mosaic crochet, here are some useful resources to help you get to grips with the technique before you start, plus don’t forget there are video tutorials throughout the pattern to support you as you make.
Mosaic Crochet Tutorial – what’s the difference between inset and overlay?
Mosaic Double Crochet Stitch – learn how to place a regular double crochet in mosaic
How To Read A Mosaic Chart – it’s much easier than you might think!
Not ready to start yet? Summarise and Save For Later:
The blanket is worked continuously in one piece, so there’s no need to make each section separately. Simply join your yarn with your hook in the first stitch where you left off and continue straight into the Pumpkin section. 🎃
Getting Started – Set Up Rows
Number of Rows: 2
Yarn Colours Used: MC, CC1
Instructions:
Throughout the pattern break the yarn at the end of each row. With the RS facing join the next colour of yarn to the first st of the previous row.
The first and last stitches of every row are worked into the full part of the stitch (indicated by a ‘V’ on the chart).
All other stitches with a sc are worked into the blo in the mosaic sections. This is not written in the pattern to save ink and space.
Any mosaic stitches are referred to as Mdc in the written pattern (indicated with an ‘X’ on the chart).
Row 1: MC: Using MC, Fsc 142. [142sc] To adjust the width of your blanket you can work any multiple of 20 +2 here.
Row 2: CC1: ch1, sc in each st across.
Video Tutorial For Set Up and Intersections:
[adthrive-in-post-video-player video-id=”R1eOljoH” upload-date=”2026-08-27T09:10:56+00:00″ name=”Crochet Autumn Blanket Pattern” description=”” player-type=”default” override-embed=”default” orientation=”horizontal”]Section 1 – Crosses
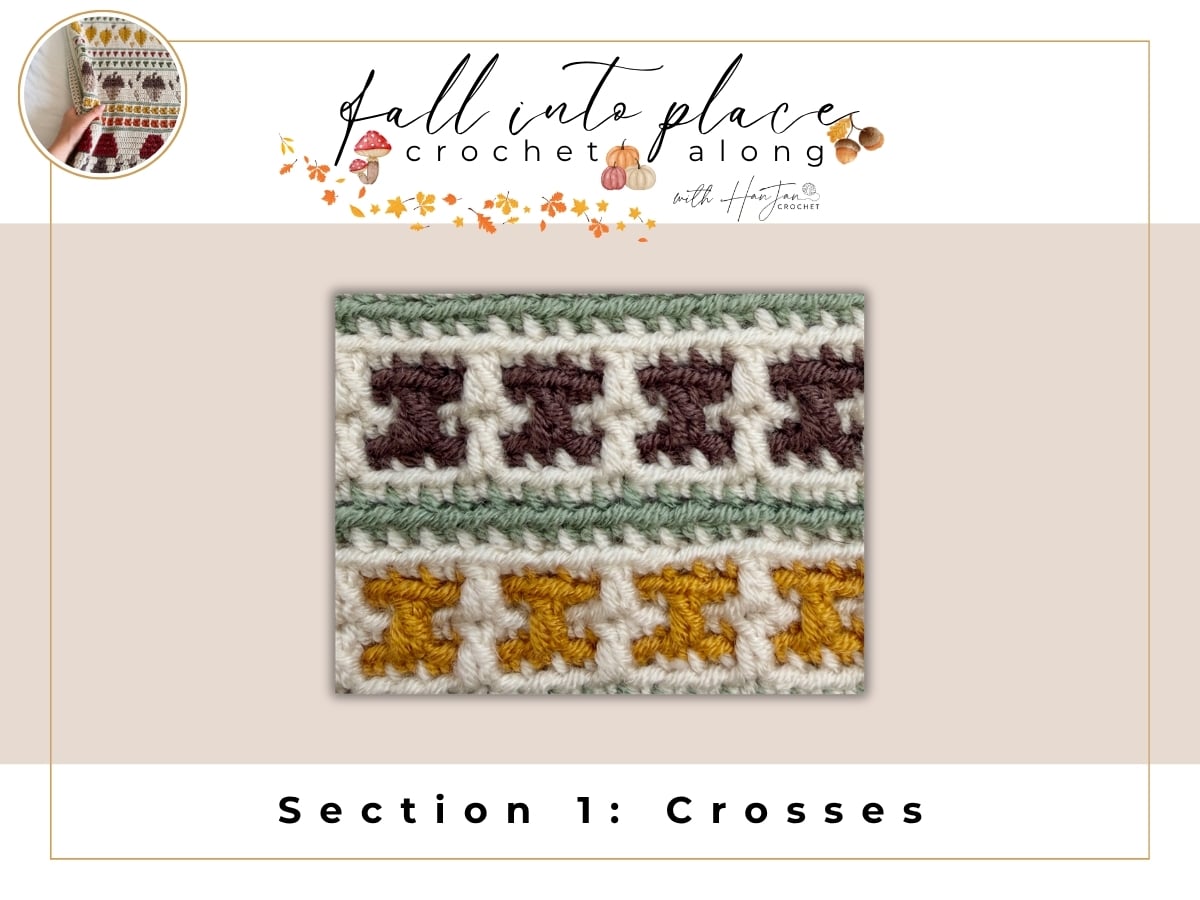
Number of Rows: 12
Yarn Colours Used: MC, CC2, CC3, CC1
Instructions:
Row 1: MC: ch1, sc in each st across.
Row 2: CC2: ch1, sc in each st across.
Row 3: MC: ch1, sc in next st, * sc in next 3 sts, Mdc in next st; rep from * across to last st, sc in last st.
Row 4: CC2: ch1, sc in next st, *sc in next st, Mdc in next st, sc in next 2 sts; rep from * across to last st, sc in last st.
Row 5: MC: Rep Row 3.
Row 6: CC1: Rep Row 2.
Rows 7-12: Rep Rows 1-6, using CC3 for rows 8 & 10.
Section 2 – Pumpkins
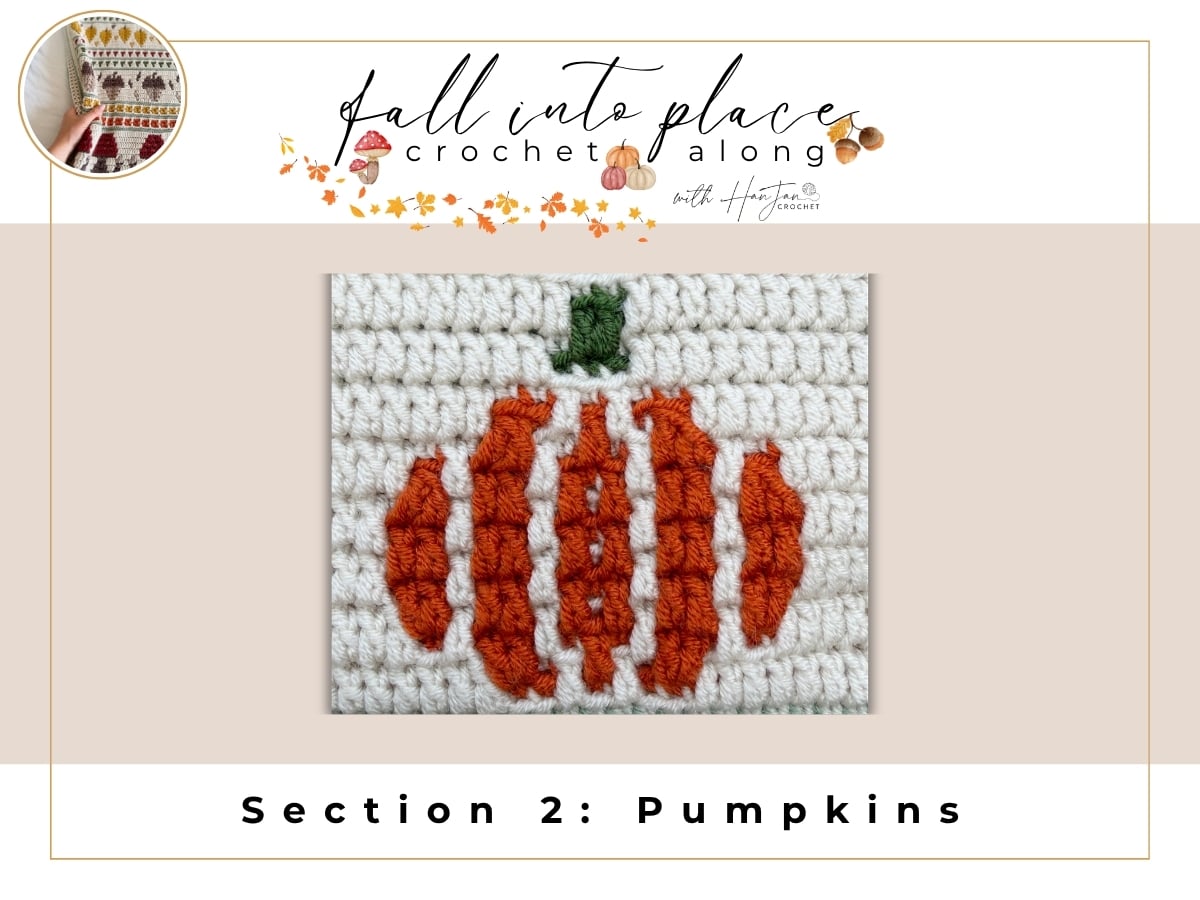
Number of Rows: 18
Yarn Colours Used: MC, CC4, CC5, CC1
Instructions –
For Section 2 – Pumpkins, I’ve put together a separate How to Crochet a Pumpkin post, where you’ll find the full written instructions under the heading ‘🍂 Crochet Pumpkin Blanket Section‘ and can even use the motif on its own to make a cute little pumpkin coaster! 🎃
You can use this 18 row section at any point in your blanket, just start working the first row directly onto your blanket after you finish your previous section.
At the end of the section you can continue with your blanket and make your next chosen section (if you want to follow my format exactly then work Section 3 next).
Section 3 – Dots
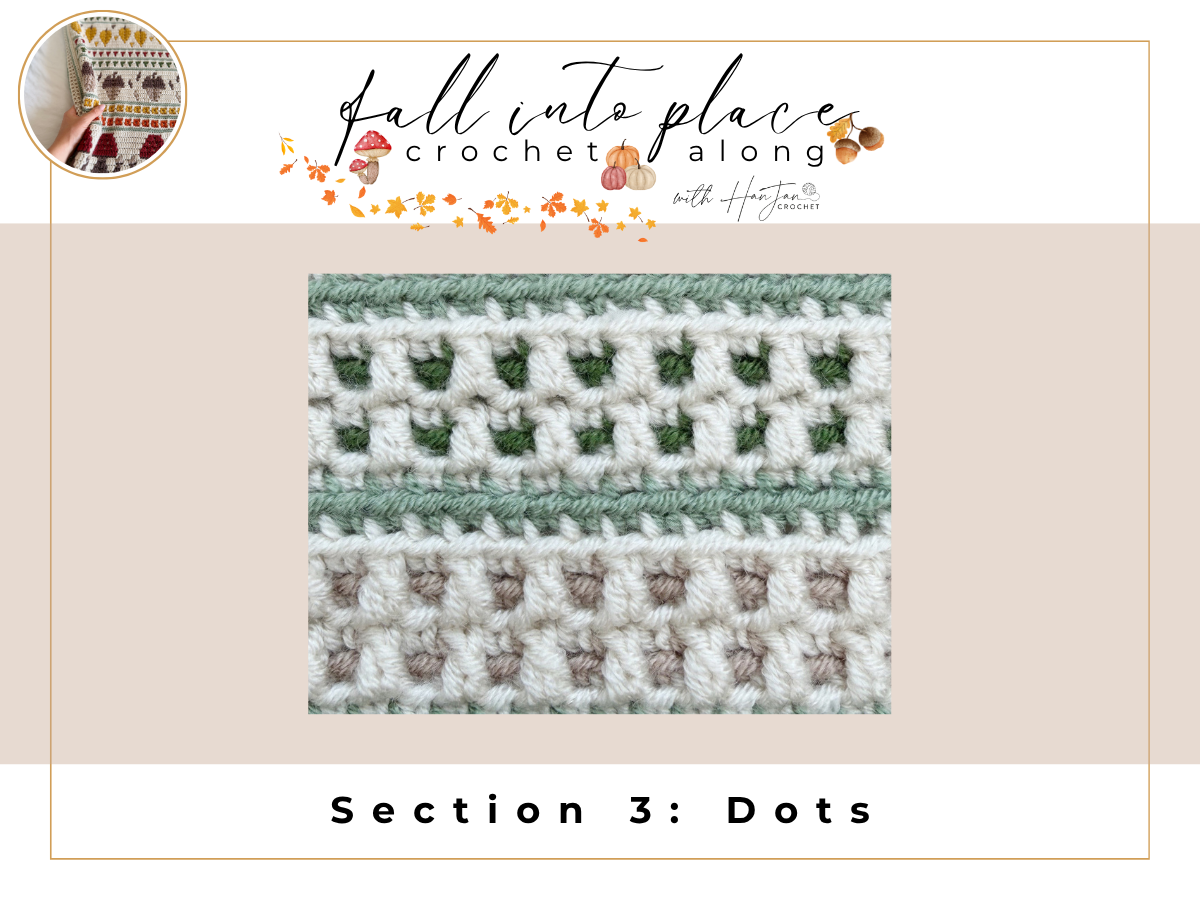
Number of Rows: 12
Yarn Colours Used: MC, CC6, CC5, CC1
Instructions:
Row 1: MC: ch1, sc in each st across.
Row 2: CC6: ch1, sc in each st across.
Row 3: MC: ch1, sc in next st, *sc in next st, Mdc in next st; rep from * across to last st, sc in last st.
Row 4: CC6: Rep Row 2.
Row 5: MC: Rep Row 3.
Row 6: CC1: Rep Row 2.
Rows 7-12: Rep Rows 1-6, using CC5 for rows 8 & 10.
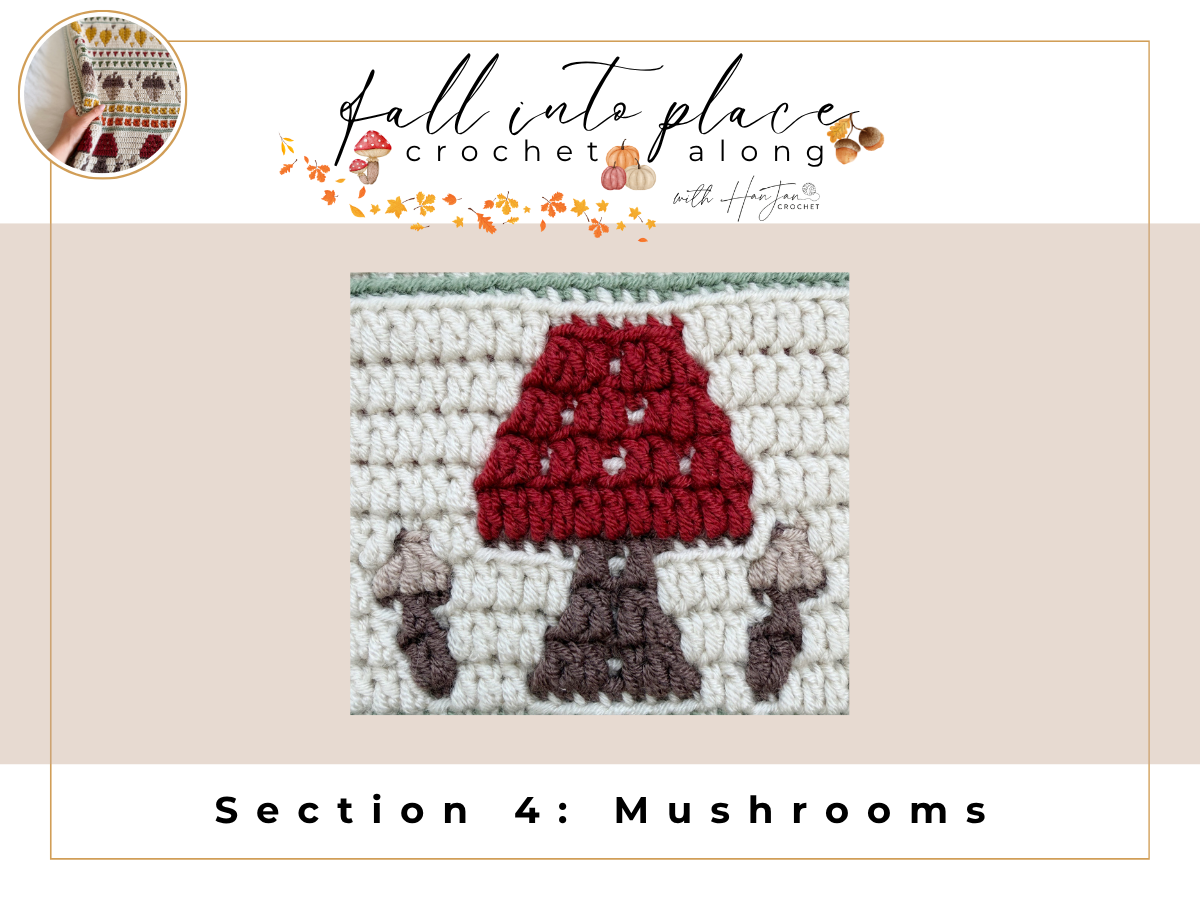
Section 4 – Mushrooms
Number of Rows: 18
Yarn Colours Used: MC, CC3, CC6, CC7, CC1
Instructions –
For Section 4 – Mushrooms, I’ve put together a separate mushroom crochet pattern post, where you’ll find the full written instructions under the heading ‘🍂 Crochet Mushroom Blanket Section‘ and can even use the motif on its own to make a cute little mushroom coaster! 🎃
You can use this 18 row section at any point in your blanket, just start working the first row directly onto your blanket after you finish your previous section.
At the end of the section you can continue with your blanket and make your next chosen section (if you want to follow my format exactly then work Section 5 next).
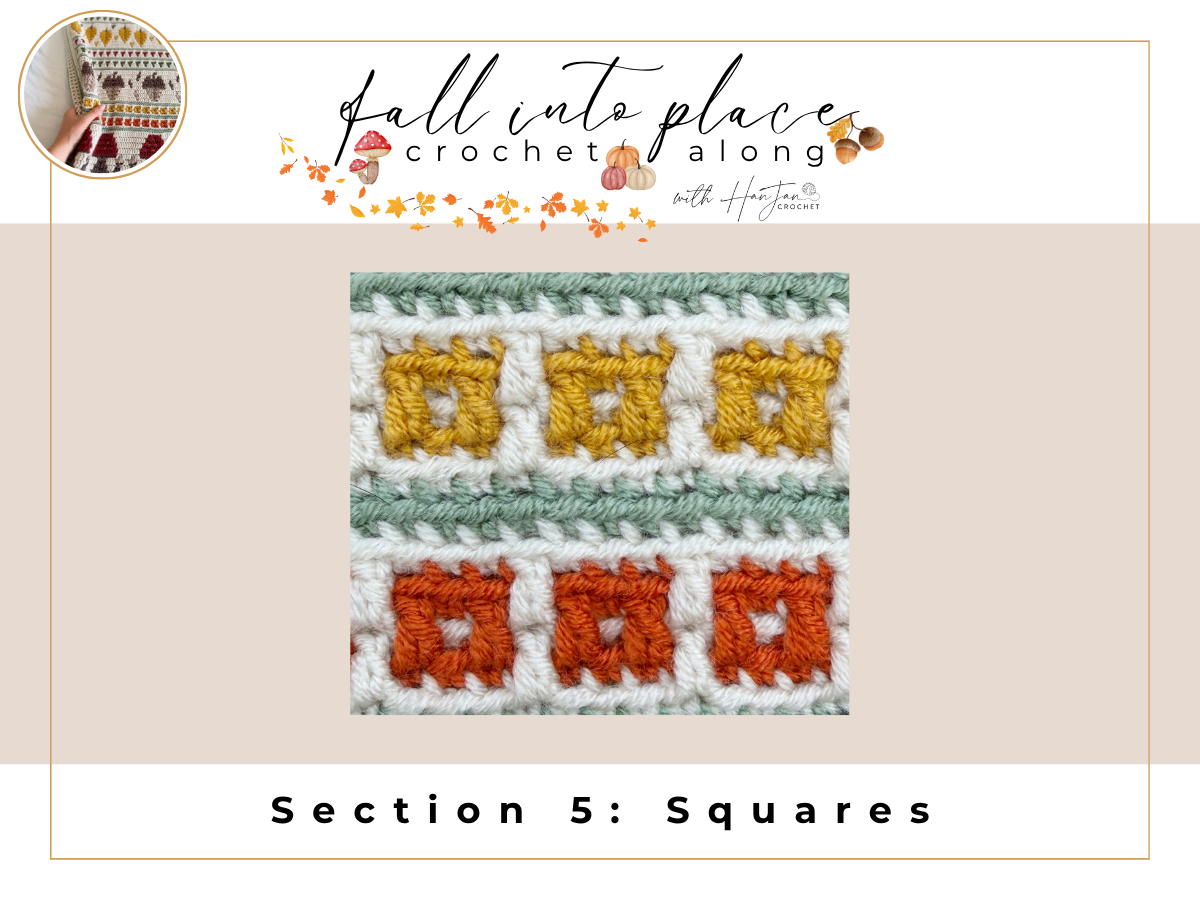
Section 5 – Squares
Number of Rows: 12
Yarn Colours Used: MC, CC4, CC2, CC1
Instructions:
Row 1: MC: ch1, sc in each st across.
Row 2: CC4: ch1, sc in each st across.
Row 3: MC: ch1, sc in next st, * sc in next 3 sts, Mdc in next st; rep from * across to last st, sc in last st.
Row 4: CC4: ch1, sc in next st, *Mdc in next st, sc in next st; rep from * across to last st, sc in last st.
Row 5: MC: Rep Row 3.
Row 6: CC1: Rep Row 2.
Rows 7-12: Rep Rows 1-6, using CC2 for rows 8 & 10.
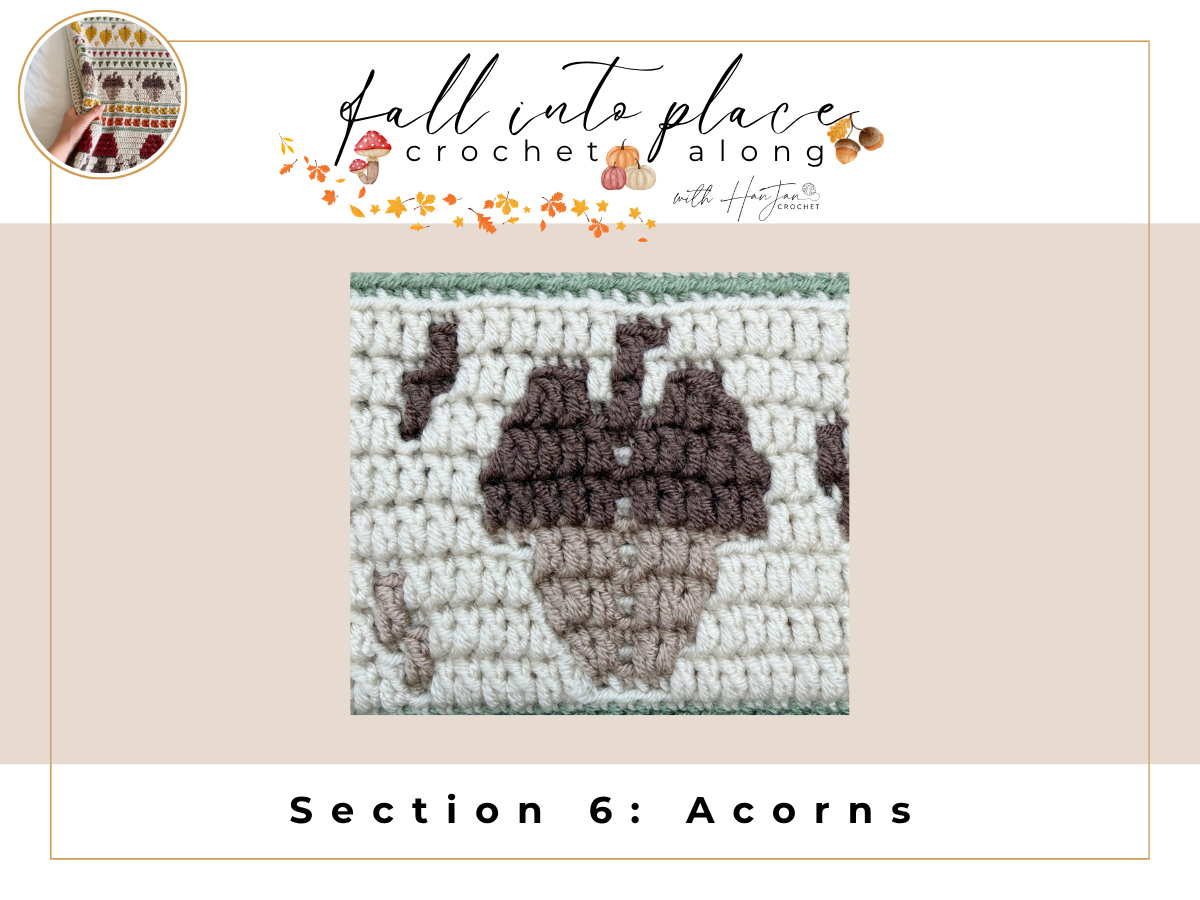
Section 6 – Acorns
Number of Rows: 18
Yarn Colours Used: MC, CC6, CC3, CC1
Instructions –
For Section 6 – Acorns, I’ve put together a separate acorn crochet pattern post, where you’ll find the full written instructions under the heading ‘🍂 Crochet Acorn Blanket Section‘ and can even use the motif on its own to make a cute little coaster!
You can use this 18 row section at any point in your blanket, just start working the first row directly onto your blanket after you finish your previous section.
At the end of the section you can continue with your blanket and make your next chosen section (if you want to follow my format exactly then work Section 7 next).
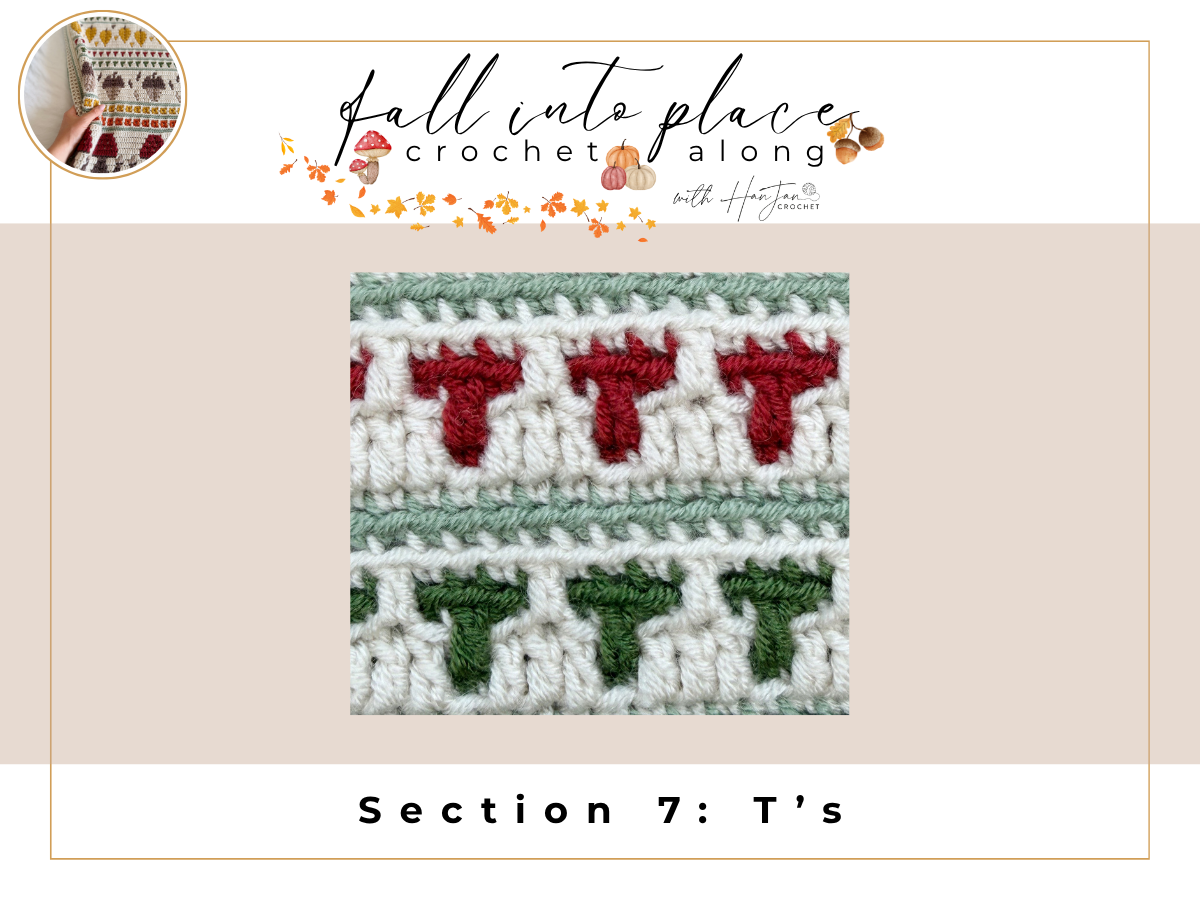
Section 7 – T’s
Number of Rows: 12
Yarn Colours Used: MC, CC5, CC7, CC1
Instructions:
Row 1: MC: ch1, sc in each st across.
Row 2: CC5: ch1, sc in each st across.
Row 3: MC: ch1, sc in next st, *Mdc in next st, sc in next st, Mdc in next 2 sts; rep from * across to last st, sc in last st.
Row 4: CC5: ch1, sc in next st, *sc in next st, Mdc in next st, sc in next 2 sts; rep from * across to last st, sc in last st.
Row 5: MC: ch1, sc in next st, *sc in next 3 sts, Mdc in next st; rep from * across to last st, sc in last st.
Row 6: CC1: Rep Row 2.
Rows 7-12: Rep Rows 1-6, using CC7 for rows 8 & 10.
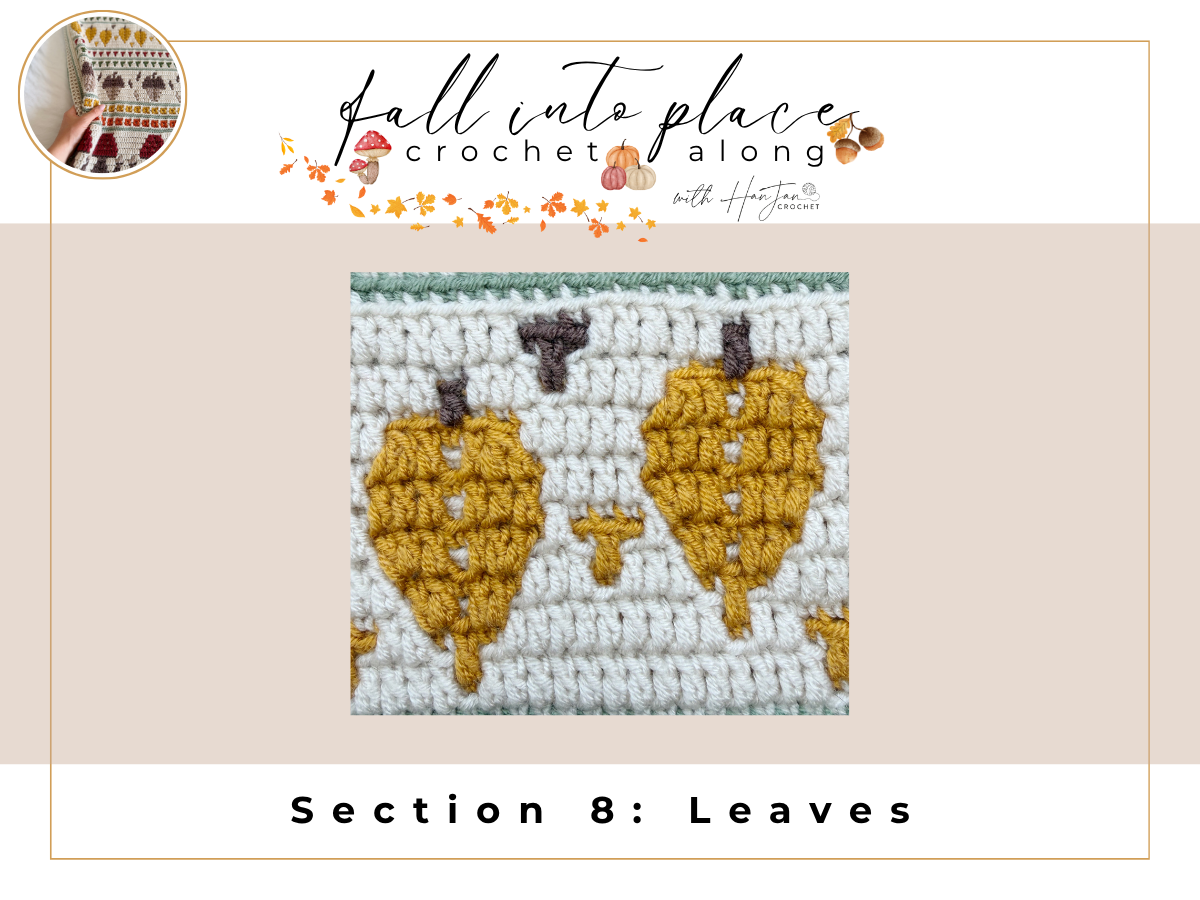
Section 8 – Leaves
Number of Rows: 18
Yarn Colours Used: MC, CC2, CC3, CC1
Instructions –
For Section 8 – Leaves, I’ve put together a separate leaf crochet pattern post, where you’ll find the full written instructions under the heading ‘🍂 Crochet Leaf Blanket Section‘ and can even use the motif on its own to make a cute little coaster!
You can use this 18 row section at any point in your blanket, just start working the first row directly onto your blanket after you finish your previous section.
At the end of the section you can continue with your blanket and make your next chosen section (if you want to follow my format exactly then continue below for the next section).
Remaining Sections
The remainder of the pattern repeats the sections in the following way after you complete Section 8.
Work Section 7, Section 6, Section 5, Section 4, Section 3, Section 2 and finally Section 1.
Following that you need to work one more row of the MC as sc to complete the Main Blanket Body to give you a total of 225 rows.
Row 225: MC: ch1, sc in each st across.
This is of course if you are following the same format as the original design – if you have changed the format then go for whatever sequence of sections you would like to!
Once your sections are complete we will be ready to add the border.
Blanket Envelope Border
Once the Main Body of the blanket is complete you can then decide on how you would like to work the border.
There are a few options for this:
- Create a tassel border
- Weave in your ends and do not add a border
- Add a plain sc border
- Add a mosaic crochet border
If you would like to add a tassel edge rather than an envelope border then you can do so now.
With the RS facing you, gather approximately 6 tails at a time and secure into a simple knot. Repeat this process along both sides of the blanket. Trim the tassels to the length of your choice.
If you would like to add the border as you see it in the images then you can find the full written pattern on my crochet envelope border tutorial – there is a video on there to go with it too 🙂
Throughout the crochet along, each new section will be added right here to this blog post as it goes live, so everything you need will stay together in one place. Make sure you’re signed up to the CAL too, as I’ll send you a little message each time a new section is ready so you don’t miss a thing. 🍂
Join HanJan and Share Your Crochet With Us!
I’d love to hear from you and see your HanJan Crochet project! Here’s where you can do that:
📌 PIN THIS POST – save it to your Pinterest crochet board so you can come back to it again and make more!
↗️ SHARE – Share your yarn choices, progress pics, and finished projects on Facebook or Instagram (make sure to use the hashtag) #hanjancrochet
🧶 JOIN – Join thousands of amazing crafters in the HanJan Crochet Community Group on Facebook ready to cheer you on!
✉️📩📬 SUBSCRIBE – It’s an honour to be able to create and share my free crochet patterns with you. I’d love to stay connected and send you regular discount codes and free patterns! Please sign up for my subscriber list to get a free gift right now!
Ready for more?! Explore my other mosaic crochet patterns, each waiting to be transformed into your next crochet masterpiece.
Looking for more mosaic crochet patterns? Here are some to try:
- Pumpkin Crochet Baskets Pattern – yes please!
- Mushroom crochet storage basket – a matching set!
- Mosaic Crochet Hat Pattern — Try this striking maze design in sizes from newborn to adult.
- Heart Crochet Sweater Pattern — Take your overlay mosaic skills into a gorgeous wearable project.
- Free Mosaic Crochet Blanket Pattern — Mix and match five different motifs to create your own Wildflower blanket.
- Crochet Shamrock Basket Pattern — A fun way to turn a mosaic motif into practical home décor.
- Overlay Mosaic Crochet Patterns — Browse 20+ more mosaic projects when you’re ready for your next one.