This post may contain affiliate links. Please see my full disclosure and privacy policy for details.
For almost every project you’ll need to know how to weave in ends in crochet but it amazes me that it’s something that we don’t talk about much!
Weaving in your ends in crochet simply means to secure the tails of yarn once you break them so that they don’t come undone. It’s also sometimes called sewing in your ends in crochet (and indeed in knitting) rather than weaving.
It might sound easy but there’s definitely a technique to it (especially to make sure they don’t pop out!) and so I’ve got some step by step photos, a video tutorial and a few words about how I weave in my ends at the end of a crochet project.
It’s important to say that there are lots of ways of doing this and I’d recommend having a go to see what works best for you. I’ve used this technique for over a decade and so far nothing has come undone!
Want to remove Ads?
- Get ad-free access on all posts; 200+ patterns & tutorials!
- Member-only resource library with downloadable PDF guides
- Bonus eBook (Worth over $30)

This post may contain affiliate links. Please see my full disclosure and privacy policy for details.
Table of Contents
How to weave in ends in crochet securely
Let’s jump right into it and look at how to weave in the ends of your crochet in some step by step photos. If you prefer to watch videos then scroll down towards the bottom of the post to find a short video.
Please note that this is just how I weave in my ends – there are no right or wrong ways (unless they always come undone!) so don’t worry if you prefer to do it another way.
Supplies you’ll need
- A piece of crochet with an end that needs securing in place
- A tapestry needle (you can use a straight or bent tip needle)
- Scissors
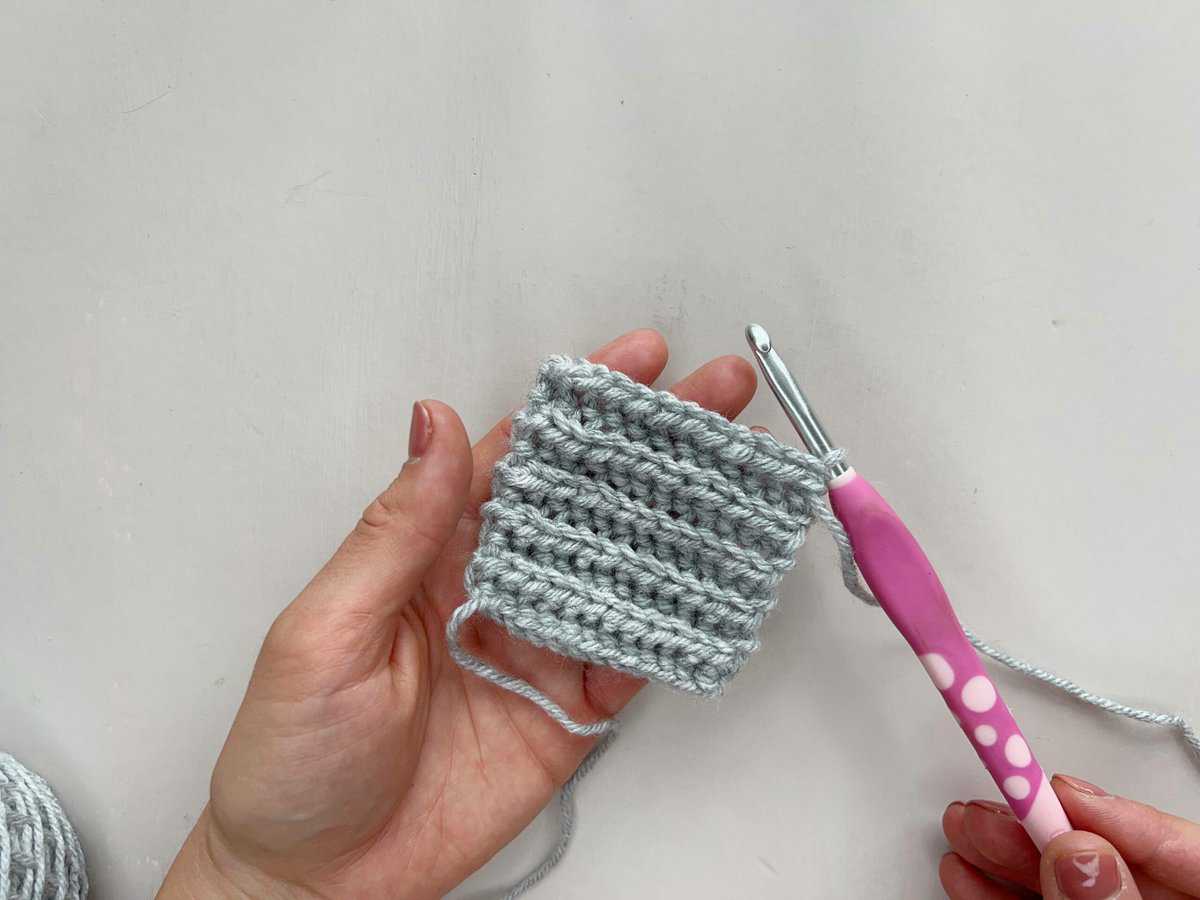
1. Prepare your crochet and thread your needle
Decide or find out which is the wrong side (WS) of your crochet and lay your crochet so that the wrong side is facing you.
You want to weave in your ends on the wrong side of your crochet so that the front of the stitches on the right side are undisturbed and look fabulous.
Thread your yarn onto your needle and you’re ready to begin.
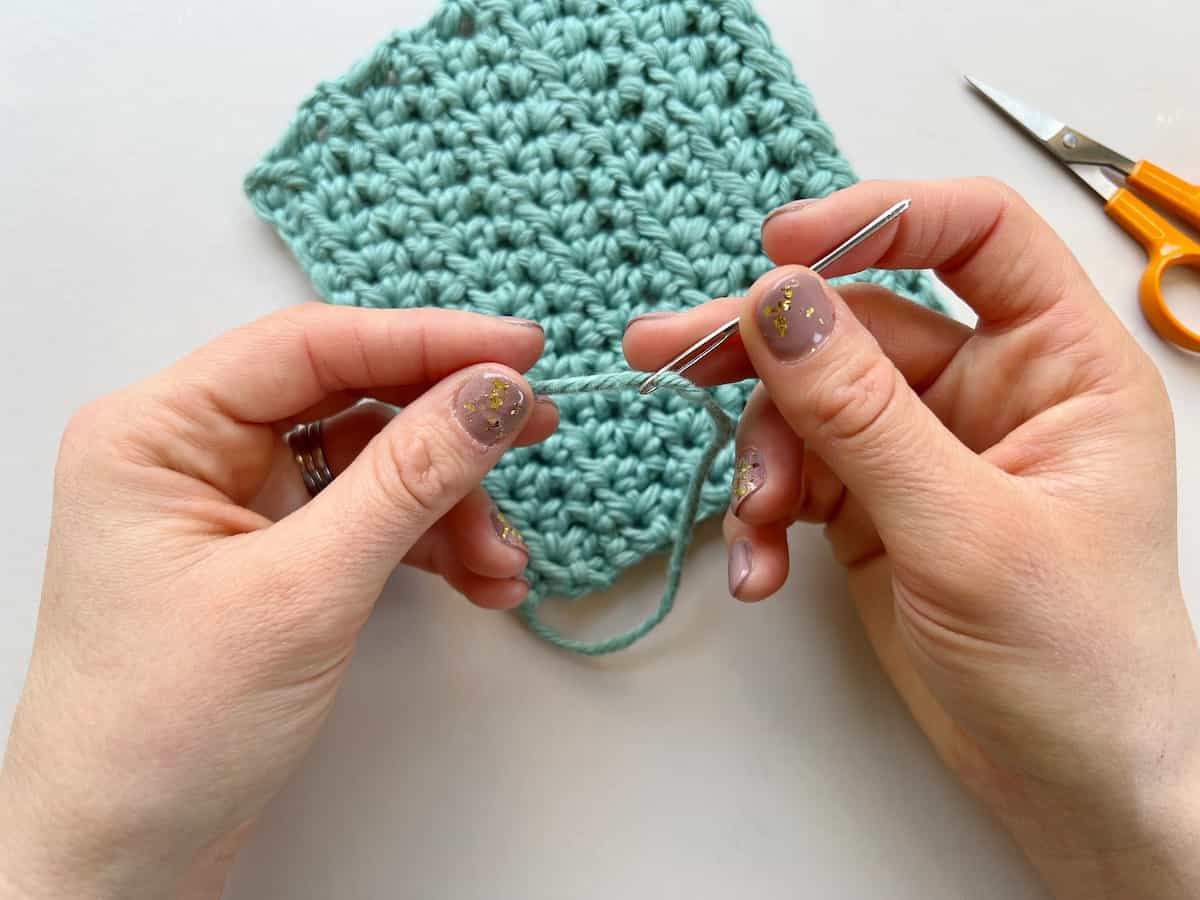
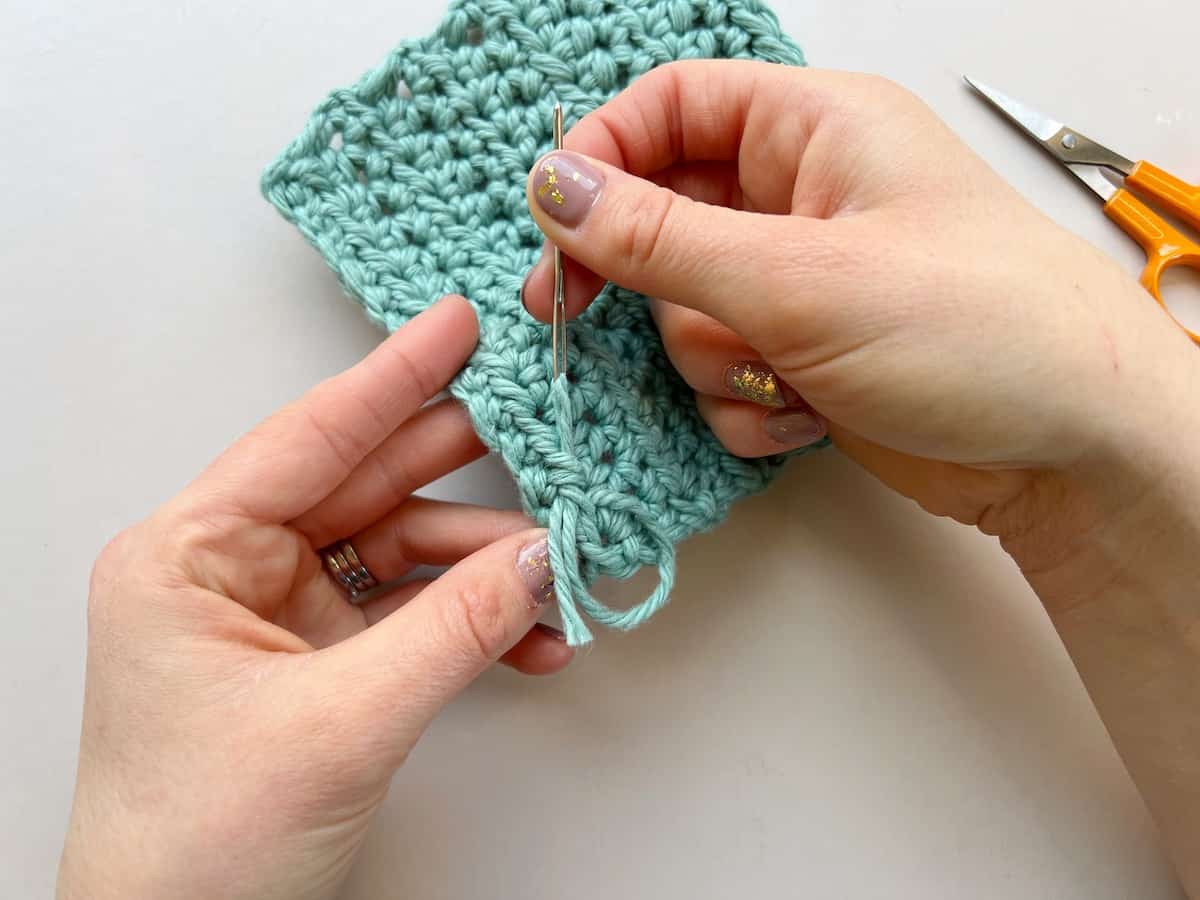
2. Start to weave in your yarn end
Find the very first stitch on the piece of crochet and insert your needle as shown, continue to insert it into the second stitch.
The type of stitch will dictate exactly what loop you use. I’m using US half double crochet stitches here and so the extra loops are perfect for securing ends into.
Top tip – If your stitches are quite dense or tight then you’ll just have to wiggle your way into wherever looks and feels right.
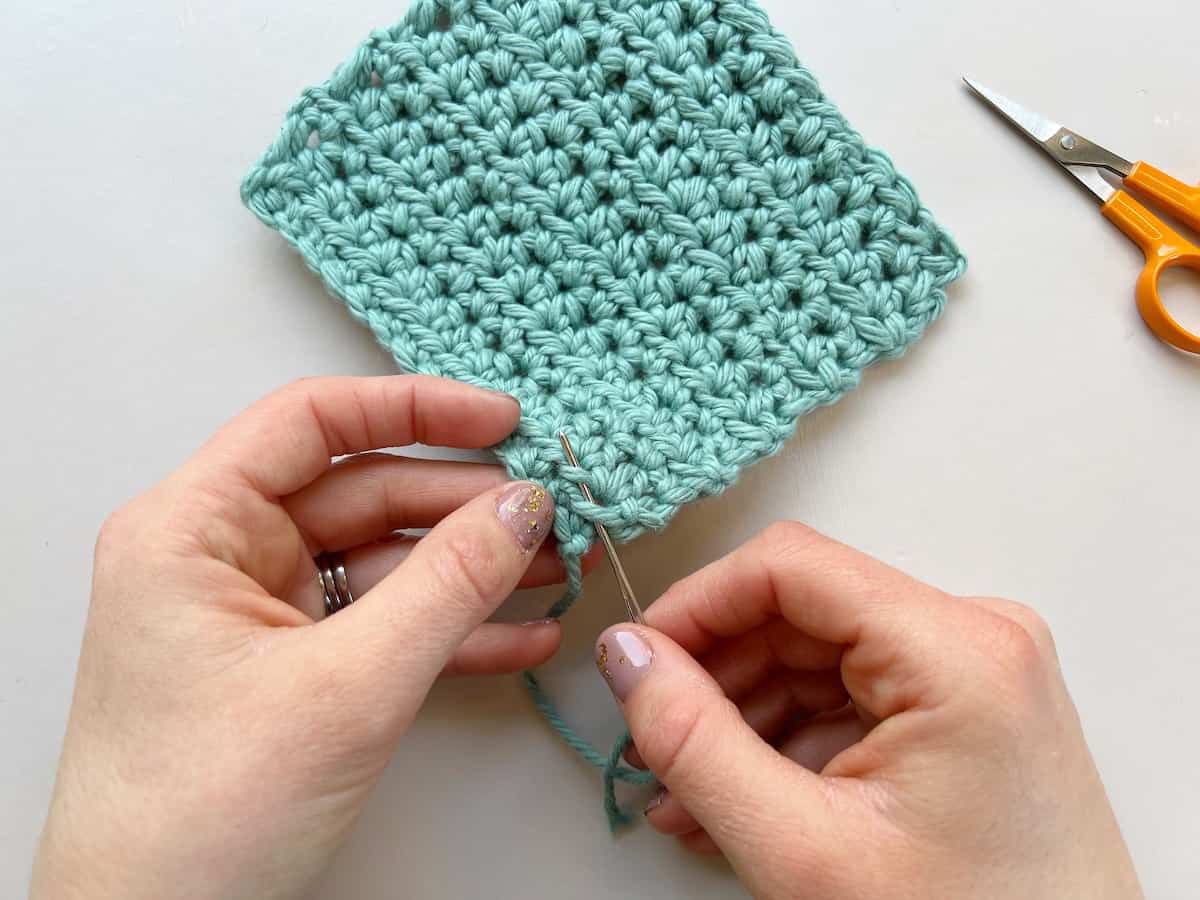
3. Pull your yarn through the loops you choose
Gently but firmly (you don’t want it loose but you don’t want it tight) pull the yarn through the stitches.
Make sure not to pull too tightly as it will cause the crochet to pucker and will change the tension of these stitches.
Top tip – Hold the first stitch at the end securely between your thumb and finger as I am here so that you have something to pull against.
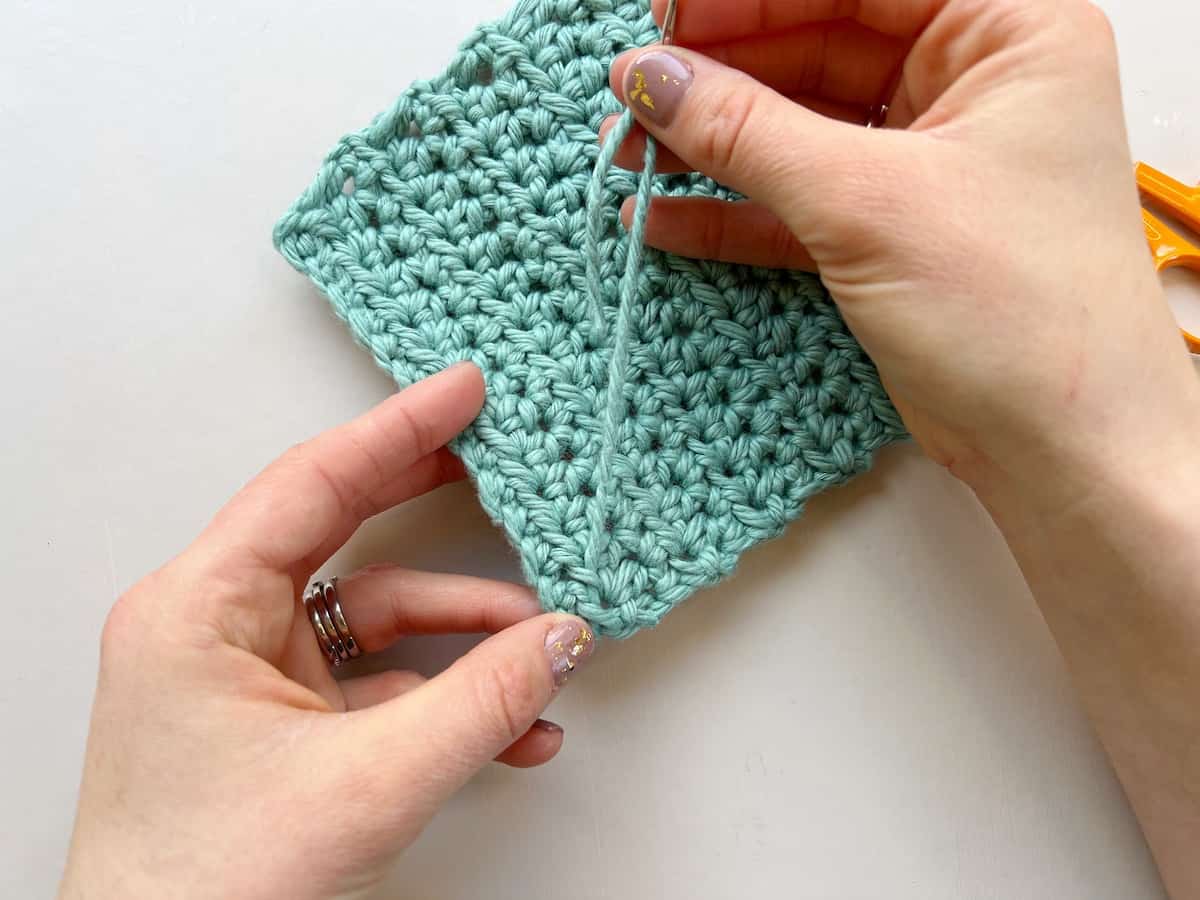
4. Insert the needle back into the last stitch and the next few along
Keeping your work secure, insert the needle into the same stitch that you just finished in. This creates a secure loop in this stitch.
Continue to insert your needle into the next few stitches – I normally do 2 or 3 as shown.
Top tip – if your stitches are quite loose or your crochet fabric quite lacy then you might only want to loop through 1 stitch at a time and it will look much neater.
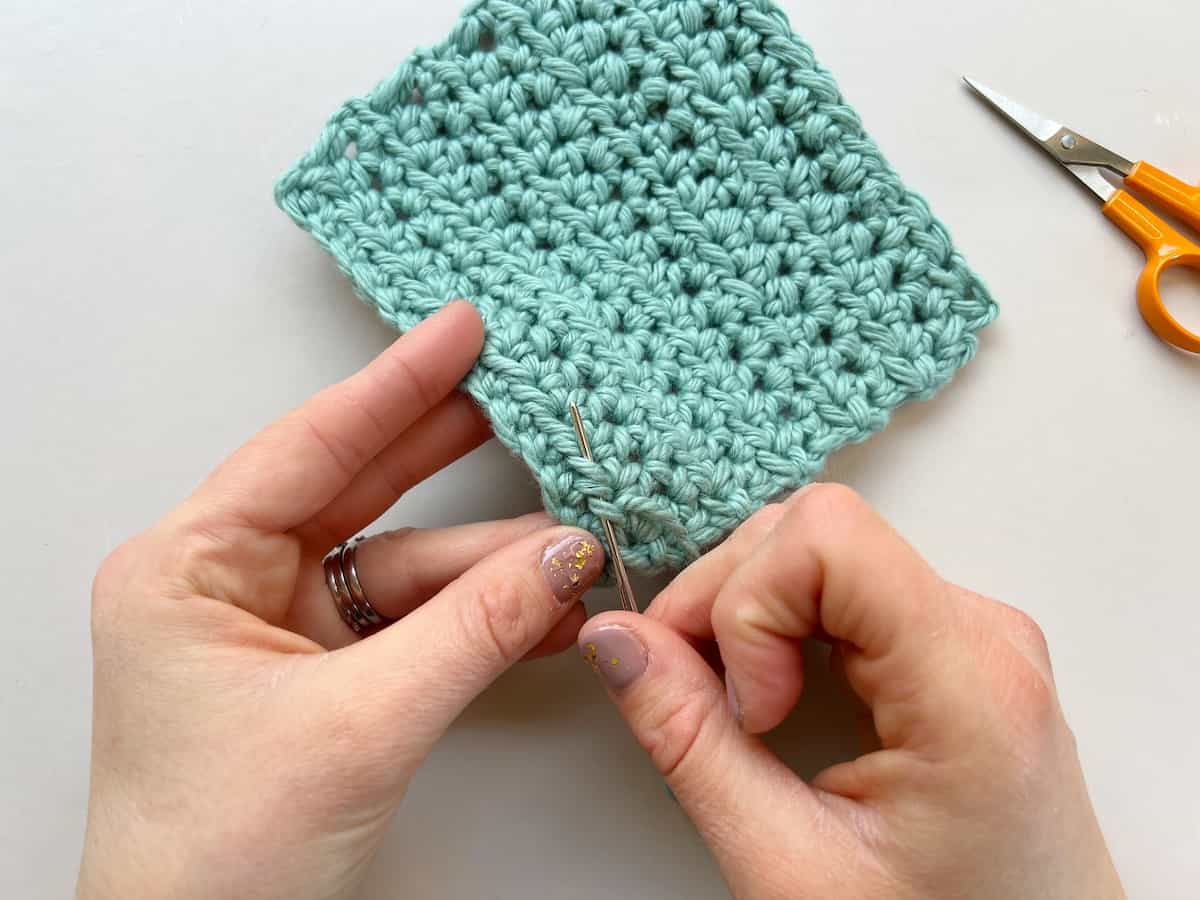
5. Pull the yarn through the stitches
Now pull the yarn through the stitches making sure that it is taut but not tight.
Repeat the last two steps however many time you like along the row.
You can also change directions to make them extra secure. Just make sure to not pull too tight as it will change the height and width of your stitches.
6. Break the end of the yarn to finish
When you’re happy that you end is securely weaved in you can break the yarn.
Top tip – be careful not to snip too close to the stitches (just in case). If you pull the yarn ever so slightly and snip away from the stitch, the yarn will naturally pop back under the stitch after it’s cut.
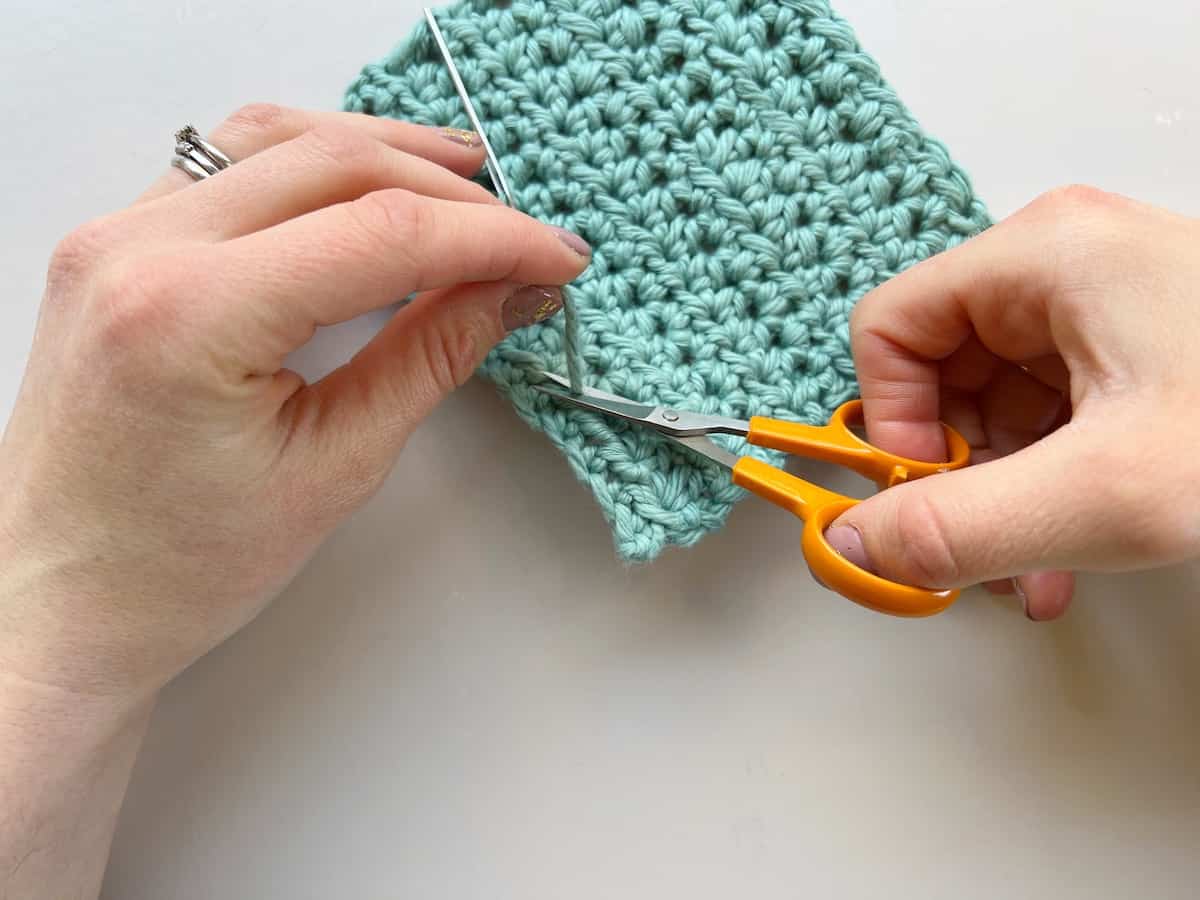
A perfectly weaved in end in your crochet!
That’s all there is to it!

Now that you know exactly how to weave in your ends, here are a few more questions I often get asked that I thought might be helpful to cover:
Can I use a crochet hook to weave in my ends?
Definitely! I find using a crochet hook to weave in your ends typically works best with thicker, heavier weight yarns as threading them onto a needle can sometimes be tricky!
The process is pretty much the same as using a needle, you just pull the yarn through the loops of the stitches with the hook instead. Sometimes it can even be quicker as you don’t need to spend time threading the needle.
Another option you could try is a snag repair needle which looks really great (I haven’t tried it but want to!). It doesn’t have an eye but a screw top instead that literally ‘snags’ the yarn through the stitches as you go. Nifty!
Do you weave ends the same in crochet and knitting?
Pretty much, yes! Well at least I do anyway. The stitch anatomy in crochet and knitting is obviously different but if you think of it in terms of loops of stitches then it’s basically the same.
You just need to be careful with both knitting and crochet not to pop out to the right side (front) otherwise the weaving of your ends might show through.
How to avoid weaving ends in crochet – what else to do with them
If the thought of weaving in each of those gazillion ends fills you with dread (I’m thinking temperature blanket or overlay mosaic crochet blanket!) then a really easy alternative is not to! Here are a few options for you –
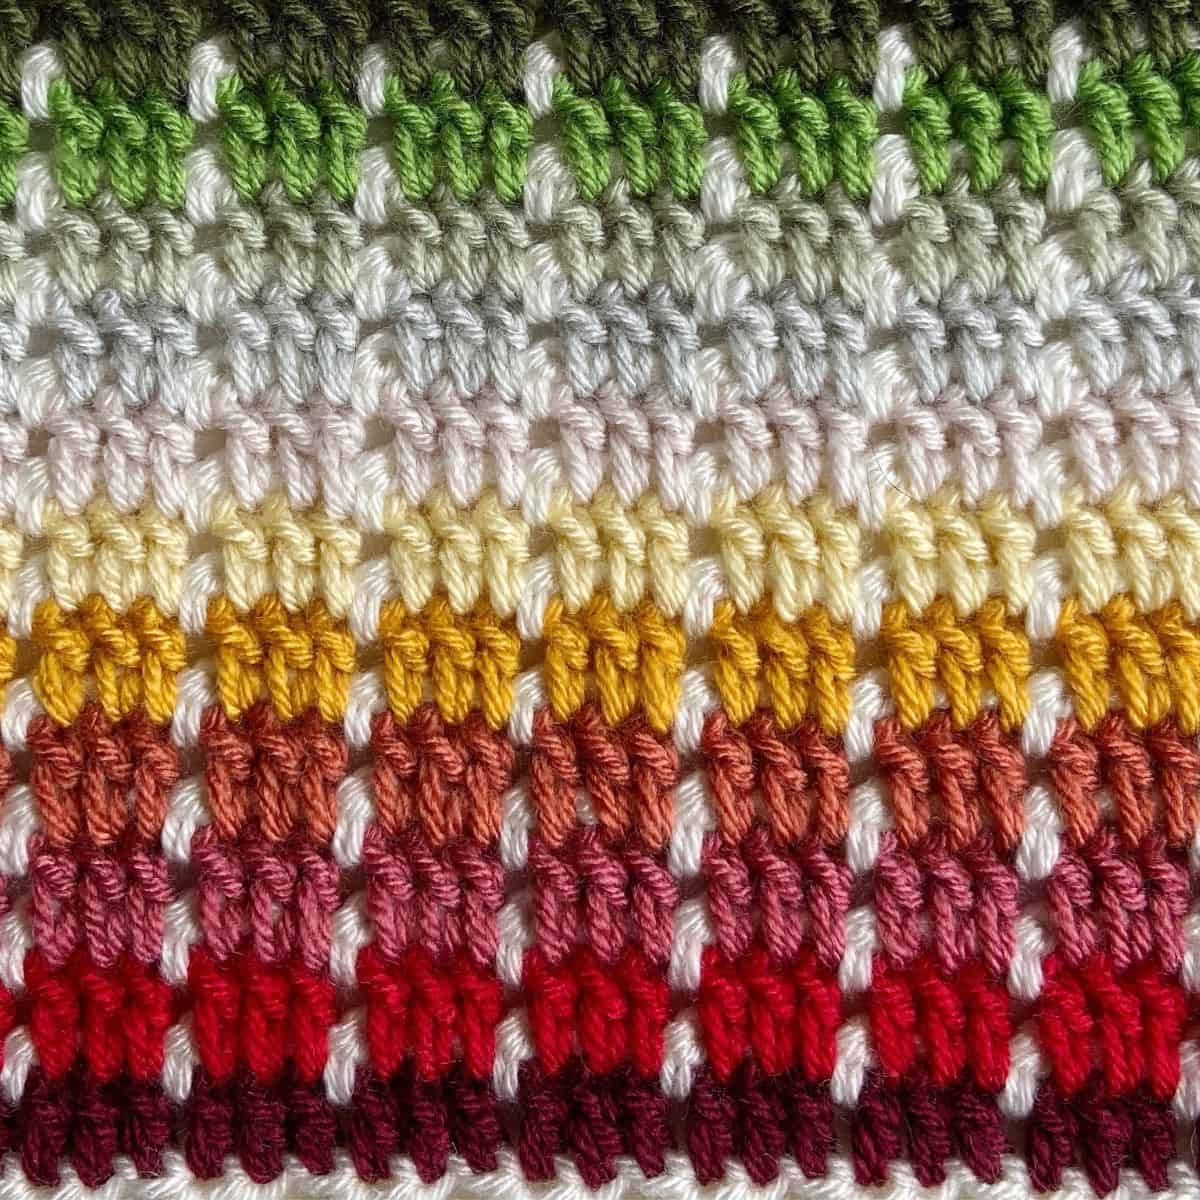
- On a colour work or striped project with a tail at the end of most of the rows I just turn them into tassels. So easy and so effective.
- Try as much as possible to carry your yarn if you can. If you’re working stripes on a blanket with short rows for example then you can carry them up the side of the row and join them when you next need them.
- Another option is to work an envelope border on your project. I’ve never used one in my designs but Michelle from MJ’s Off the Hook has a fabulous one on her Caribbean Coast Afghan.
- A belt and braces option is to choose a seamless, one piece crochet pattern to make like my chunky headband pattern for example! That will make sure you only have one tail at the beginning and one at the end to worry about.
Other options I don’t recommend for your ends
There are only a few ways of weaving ends that I wouldn’t recommend in crochet and I’m almost afraid to say them as they might not be very popular!
I wouldn’t ever recommend crocheting over the top of your ends. I know that so many people do it and 9 times out of 10 it’s probably fine but after all the effort of crocheting your project do you want to take that risk?
Another tempting option is to tie knots in the ends and then cut them as close to the knots as you can. Again, I wouldn’t recommend this as not only is it not as secure as weaving in the ends but you also end up with bumpy knots on the inside of your project.
I suppose that doesn’t matter so much on things like cushions and decorations but on things like blankets, garments and accessories that are going to be worn or be next to your skin that isn’t ideal.
I really feel like it’s worth the effort of avoiding both of these things and although it’s really tempting to take the quickest and perhaps easiest route, that’s rarely the best way. I am of course happy to stand corrected, perhaps it’s just that I haven’t had very good experiences in the past!
However you decide to secure your ends in crochet, just make sure they are exactly that, nice and secure!
Materials used in this tutorial
I used Billow by WeCrochet for the tutorial photos which is a lovely, soft bulky weight yarn, 100% cotton, 120yds/100g.
The only other things you’ll need is a pair of sharp scissors and a tapestry needle to weave in your ends.
Video Tutorial
If you’d like to see a video tutorial of how I weave in my crochet tails then you can watch it below –

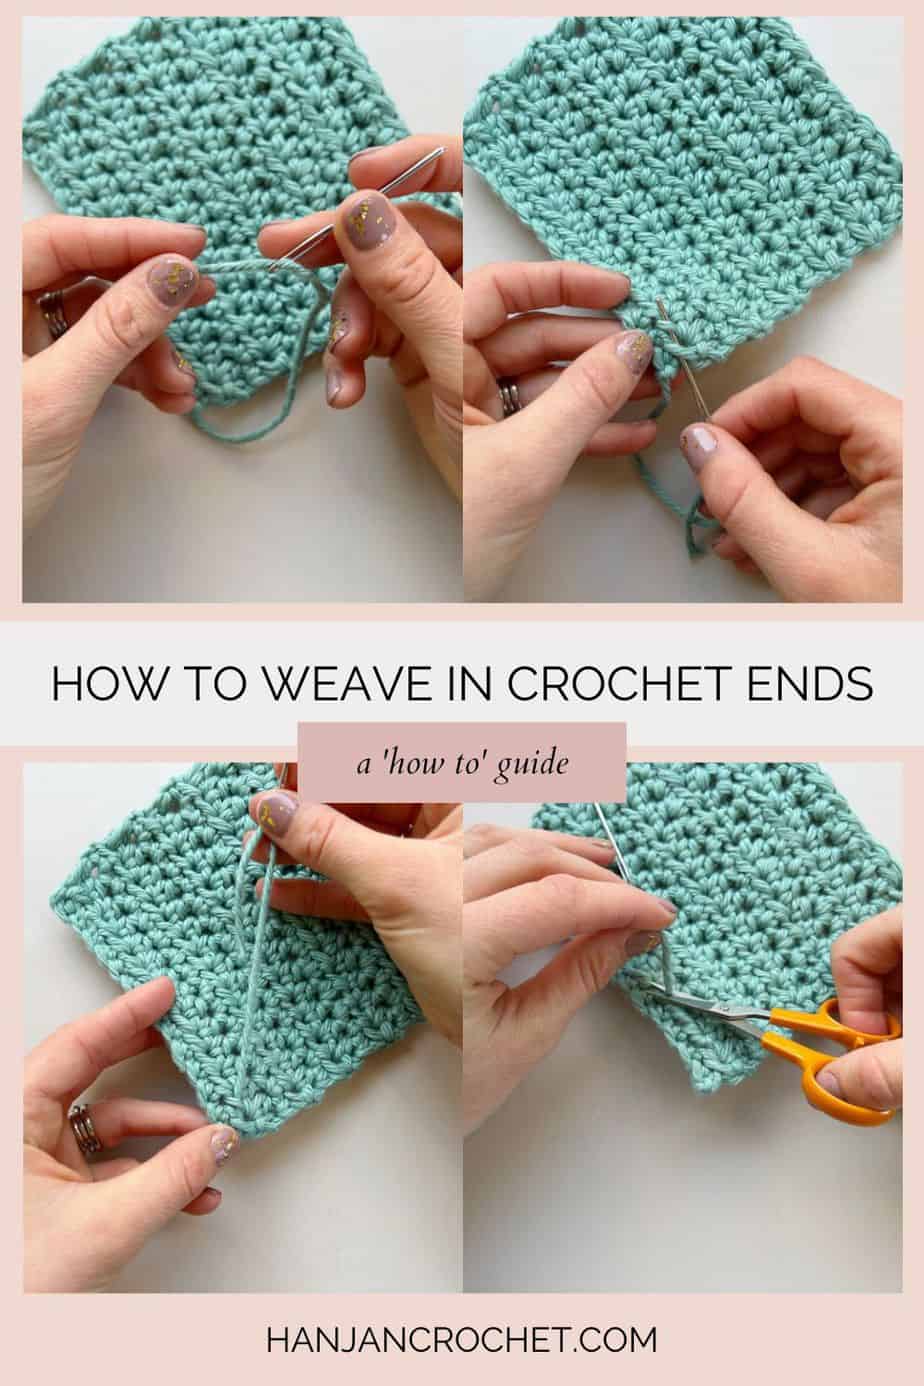
Pin It For Later
Other Technique Tutorials
I’m busy building up a collection of crochet technique tutorials and here are some that might help:
How to whip stitch crochet together
Joining crochet squares together
Beginners guide to c2c crochet
How to work the inset mosaic crochet technique
I hope you’ve enjoyed learning how to weave your ends with me! I’d love to know if you do it like this too! You can sign up to become a member of HanJan Crochet and I’ll let you know about all the fabulous crochet adventures, offers, lives and more too!
See you there!