This post may contain affiliate links. Please see my full disclosure and privacy policy for details.
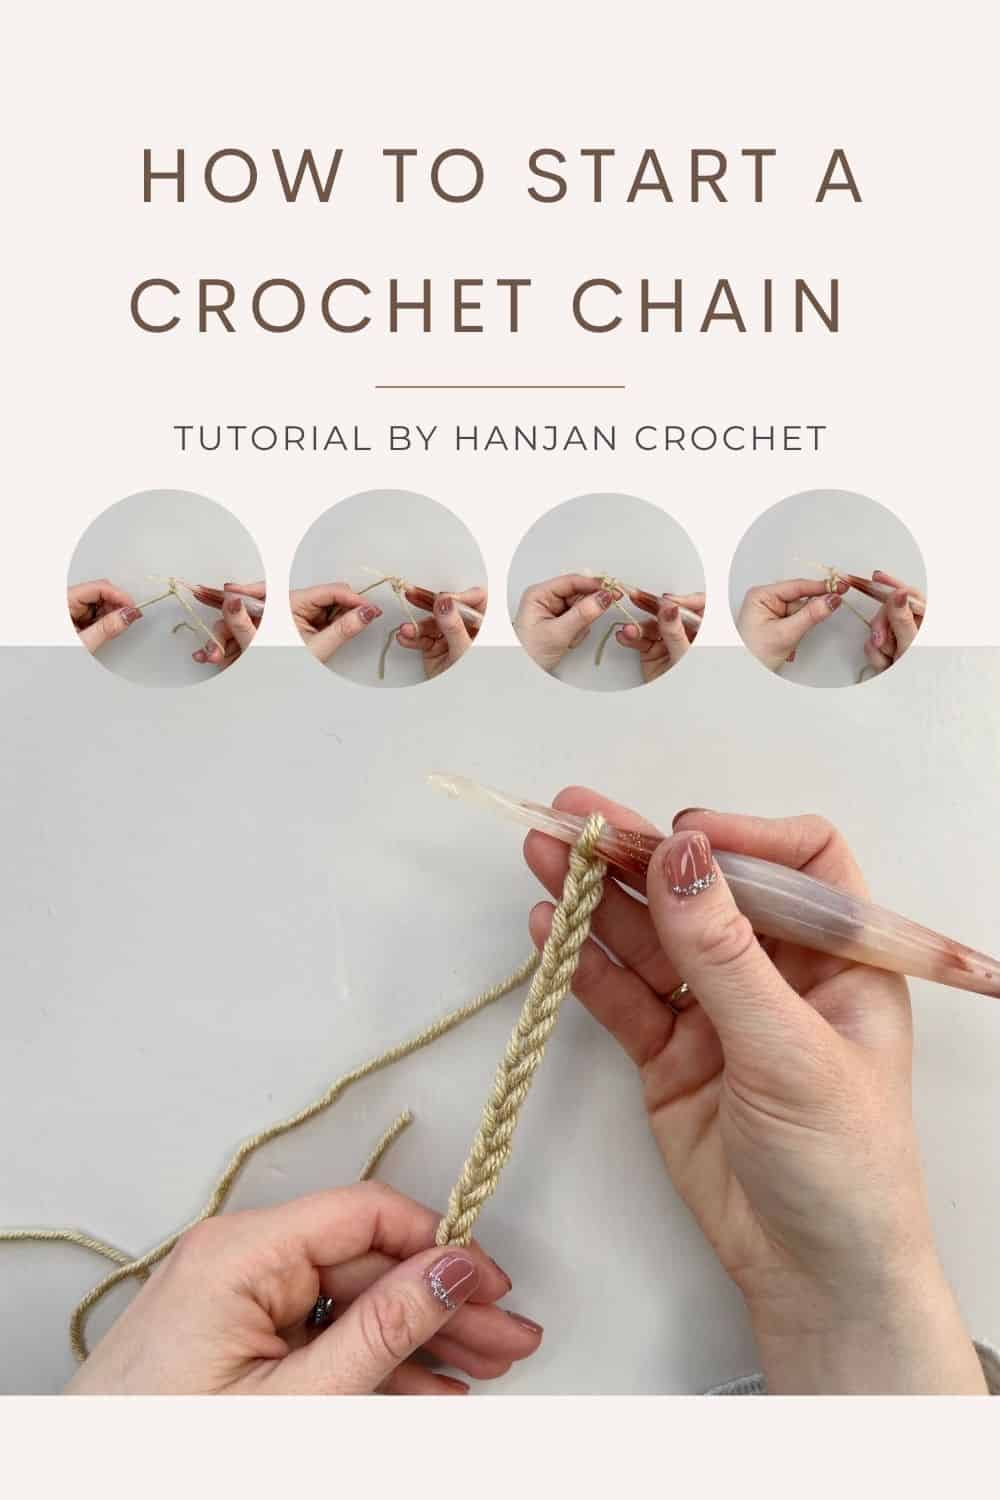
Chain stitches are probably the first thing you will learn when starting to crochet. They form the foundation of almost every project. It is therefore essential for every beginner crocheter to know how to make them. But don’t worry, they are super easy to learn!
Chain stitches aren’t only used to start off a project though! They’re used within the fabric too.
They are used in the traditional granny square motifs, but also in modern stitch patterns, lace work and so much more. They are often used to create hangers or rope for a project. And they are used at the start/end of rows for turning.
In this tutorial, I will take you step by step through the process of creating a series of chain stitches, ready to start your project. I will also discuss the main ways chains are used, and how to count your chains.
Want to remove Ads?
- Get ad-free access on all posts; 200+ patterns & tutorials!
- Member-only resource library with downloadable PDF guides
- Bonus eBook (Worth over $30)
This post may contain affiliate links. Please see my full disclosure and privacy policy for details.
Table of Contents
How do you crochet a chain stitch?
Let’s look at how to work the crochet chain stitch first, and then I’ll go into more detail about its different uses.
Here is a short description of the process. Below is a step by step guide with pictures.
How to make a ch stitch –
- Start with a slipknot on your hook.
- Yarn over hook.
- Pull the yarn through the slipknot loop.
- And you have a completed chain.
Continue repeating the yarn over and pulling through a loop to create your foundation chain.
Step by step crochet chain stitch for beginners
Supplies you’ll need
I used Colour Theory by LionBrand for the tutorial photos which is a lovely, category 4 (worsted) weight yarn, 100% Acrylic, 225m, 246yds, 100g, but you can use any yarn that you like. If you’re a beginner I’d recommend using a category 4 or 5 weight yarn so you can see your stitches easily.
You’ll need a corresponding crochet hook for the yarn you choose. If you look at the ball band, it usually gives you the recommended hook size. The hook I’m using is a Streamline Swirl from Furls.
If you only have one hook and ball of yarn though, just use what you’ve got. The important thing is to start crocheting!
How to hold your hook and yarn
There are a variety of ways to hold your hook and you will need to find out what works best for you. It might feel awkward to start with, but keep going and you will figure out the best way for you to hold it.
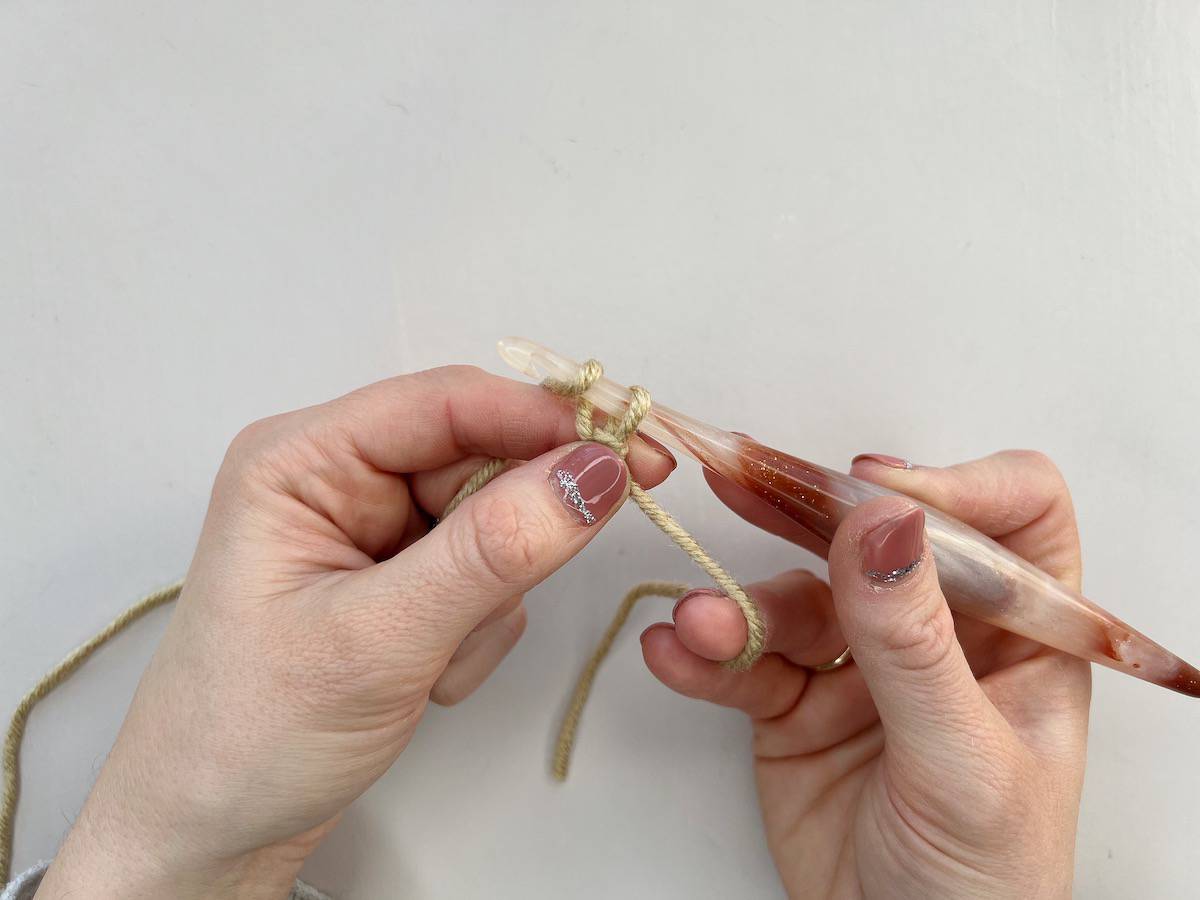
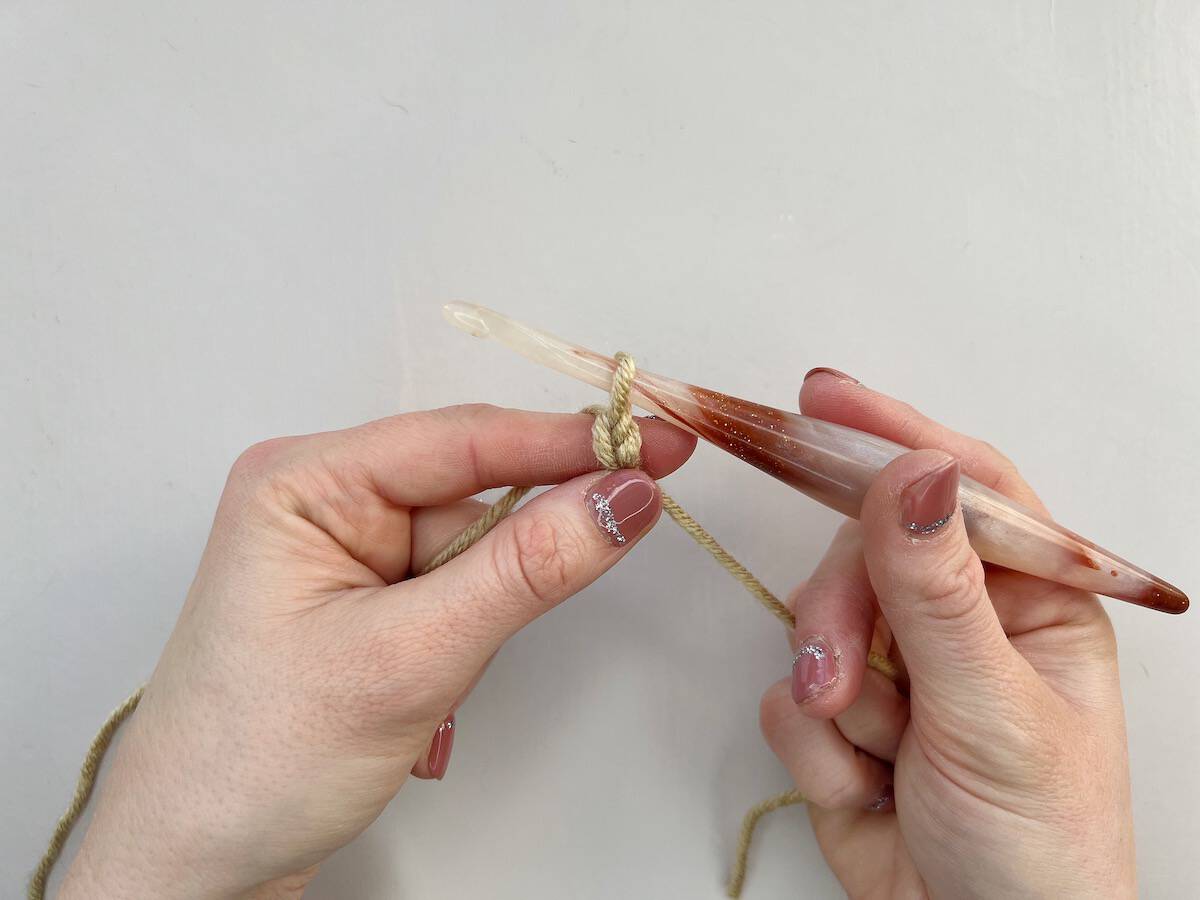
You can see from the pictures below how I hold my crochet hook and yarn. You will need to hold the yarn in a way that creates tension like I am – this makes sure your chains are nice and even sizes.
I hold the hook in my right hand like a pencil. Another popular way to hold it is like a knife. I then hold the yarn in my left hand, along with the fabric I’m working on. You will see that the yarn is wrapped over my index finger and then under the other fingers, where it is gripped to create some tension.
You should note that this tutorial is intended for right-handed users. If you’re left-handed, you might want to reverse everything and hold the hook in your left hand and the yarn in your right hand.
1. Create a slipknot
Start with a slipknot on your hook.
To make a slipknot, make a loop with your yarn, crossing the ball end of the yarn over the top of the tail end. Insert your hook into the centre of the loop from front to back.
Grab the yarn (ball end) with your hook and pull it through the loop. Pull both ends of the yarn to tighten.
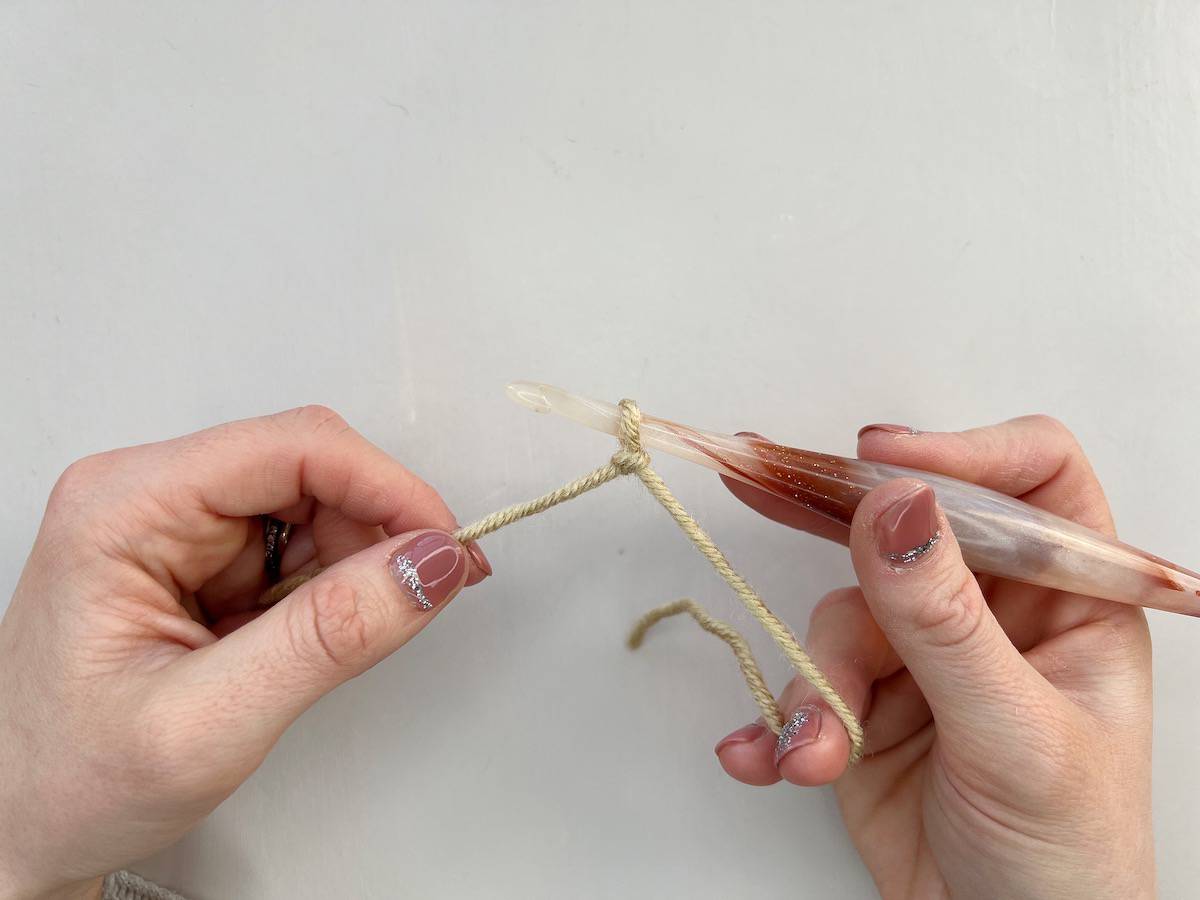
2. Yarn over hook
Wrap your yarn over the hook as shown below.
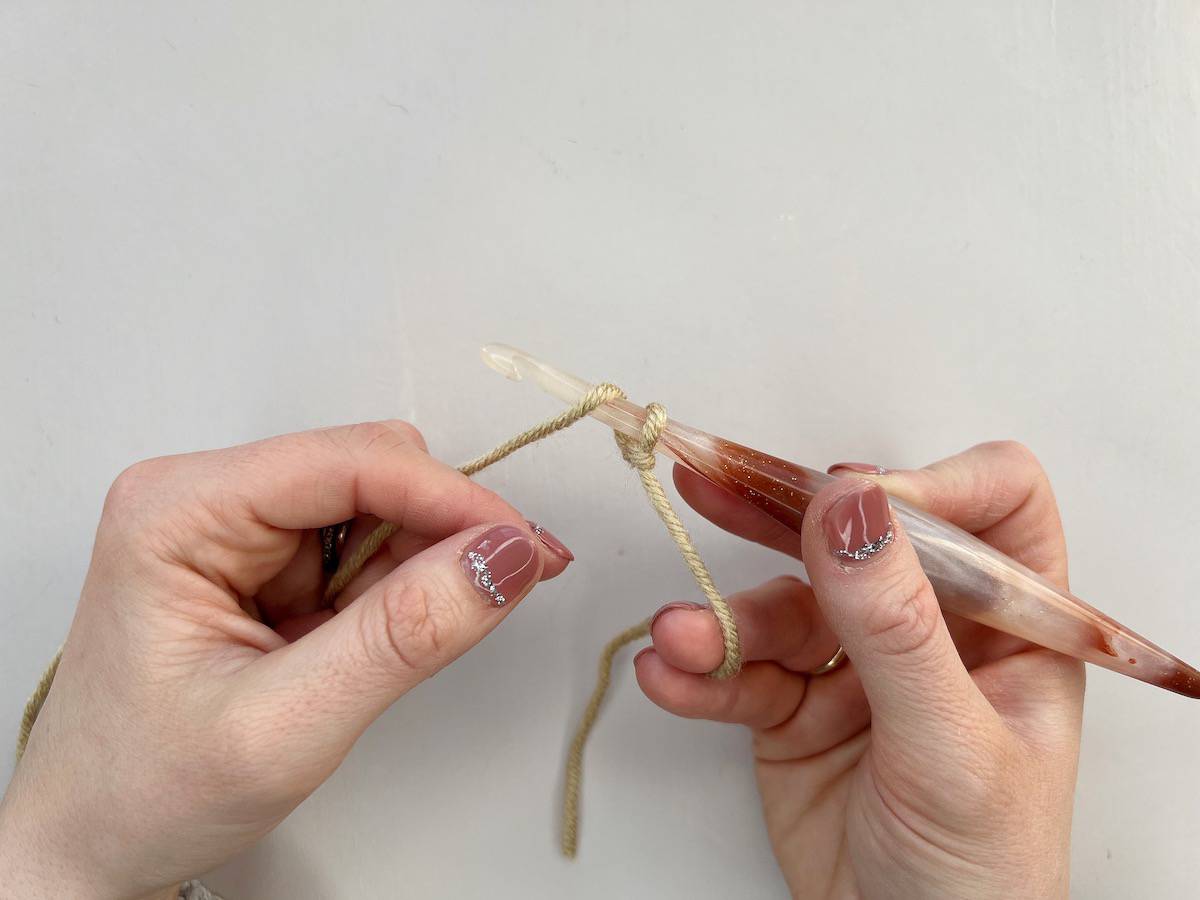
3. Draw through a loop
Pull the yarn that you have wrapped over your hook through the slipknot on your hook.
4. A completed crochet chain stitch
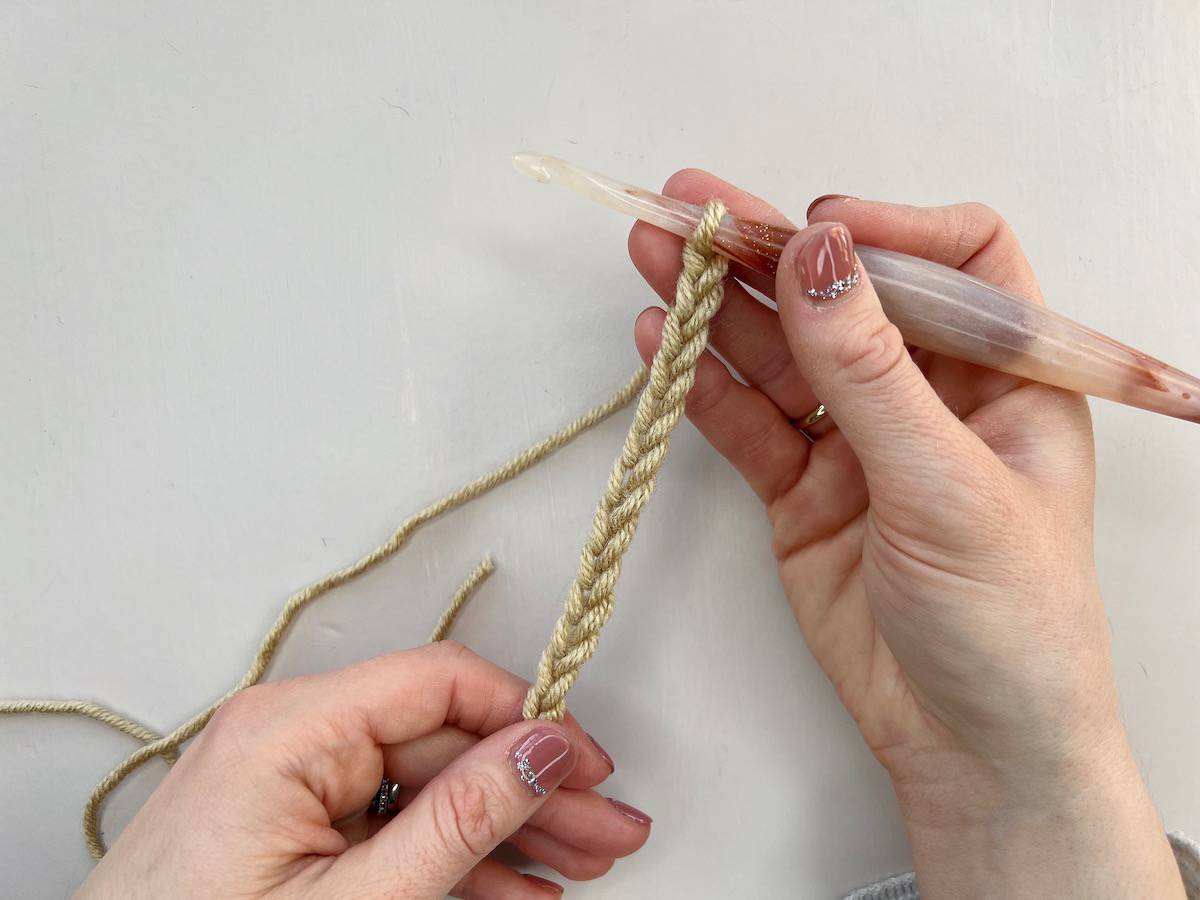
You have completed your first chain. Continue wrapping the yarn over your hook and pulling it through the previous chain to create a series of crochet chain stitches.
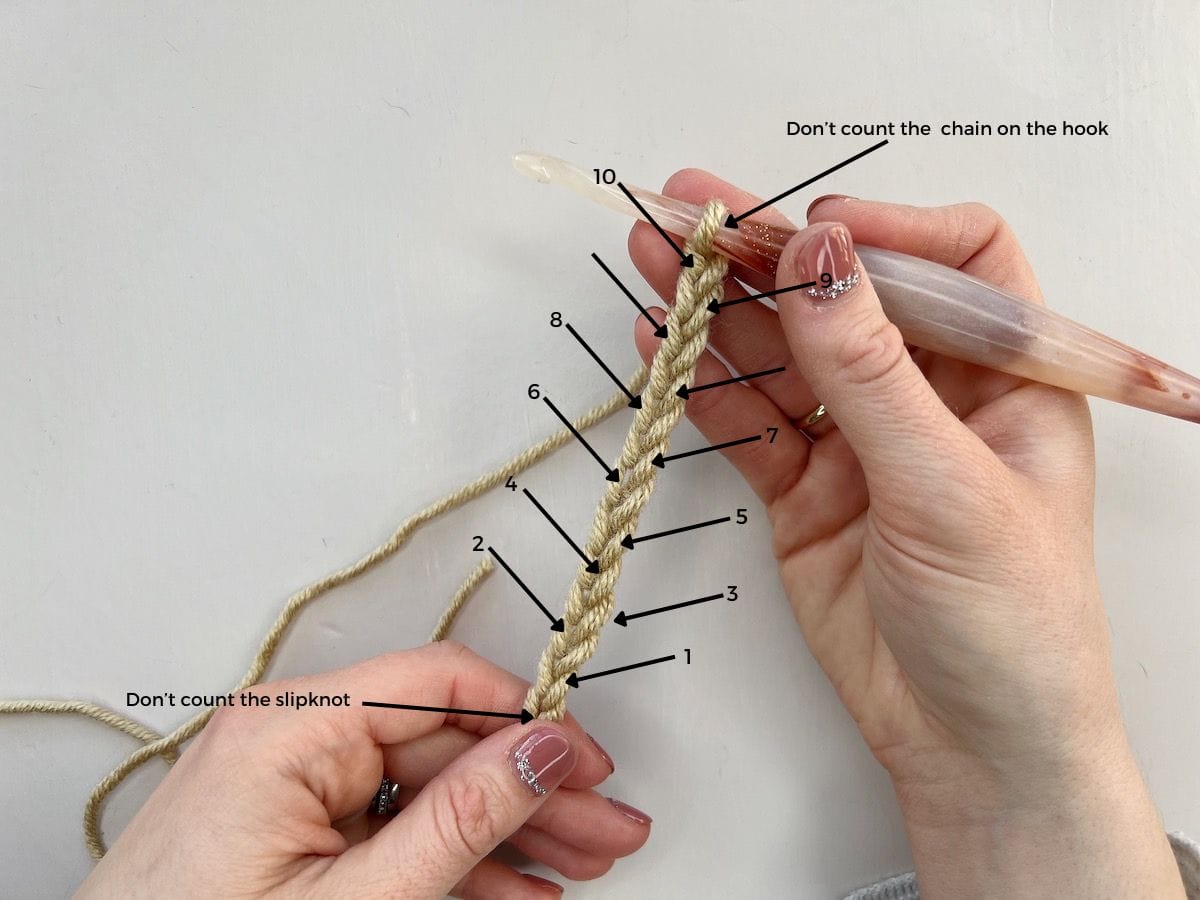
How to count your chains
To count how many chains you have made, lay your work out with the front facing you. You can identify the front from the v shapes that the stitches make. You’ll want to make sure the chains are not twisted at any point.
You’re then going to count each of the little v shapes, but do not include the slipknot at the start or the chain that is still on your hook.
You can see this in more detail from the diagram below.
What is tension?
Crochet tension is how tight or loose the stitches are. It is important to maintain a consistent tension throughout your work, so that your crochet chain stitches stays even and smooth.
This is particularly important throughout all crochet to make sure that you meet the gauge of a pattern.
If your tension is too loose, the holes in the fabric will be bigger. Too tight, and the holes will be too small, so that you will struggle to get your hook into the stitches on your next row.
If you have uneven tension, your project will end up getting smaller or larger as you proceed, rather than staying the same width and/or height throughout.
How to maintain an even tension?
- Make sure you are using the correct hook for the yarn – check on the ball band for the recommended hook size.
- Hold the hook and yarn well – this will take time to establish but just keep practicing.
- Make sure you are creating some tension in the yarn in the way you are holding it – don’t just let it hang loose!
- I’m going to say it again! Keep practicing!
Chains in a pattern
When you first look at a pattern, you will almost always see mention of the chain stitch. It is usually abbreviated to ch.
So you will see something like ‘chain 25’ or ‘ch25’, and this means that you need to make 25 chain stitches, excluding the slipknot and the chain on your hook.
The pattern may then go on to say ‘dc in the 3rd ch from hook’. A dc is a double crochet, so this is telling you to make a double crochet into the third chain away from the hook, not counting the chain on the hook.
What is a foundation chain?
The foundation chain is a series of chain stitches made at the start of a project. For example, you might be making a blanket and the pattern says as a first step to chain 152. This is your foundation chain.
Once you have done this, you will then be turning your work around and working back into the chain stitches. You will work backwards and forwards along the rows as you create the fabric of your blanket.
How are chains used in a stitch pattern?
Chain stitches aren’t only used at the start of a project for a foundation chain. You will often find them scattered across your whole project.
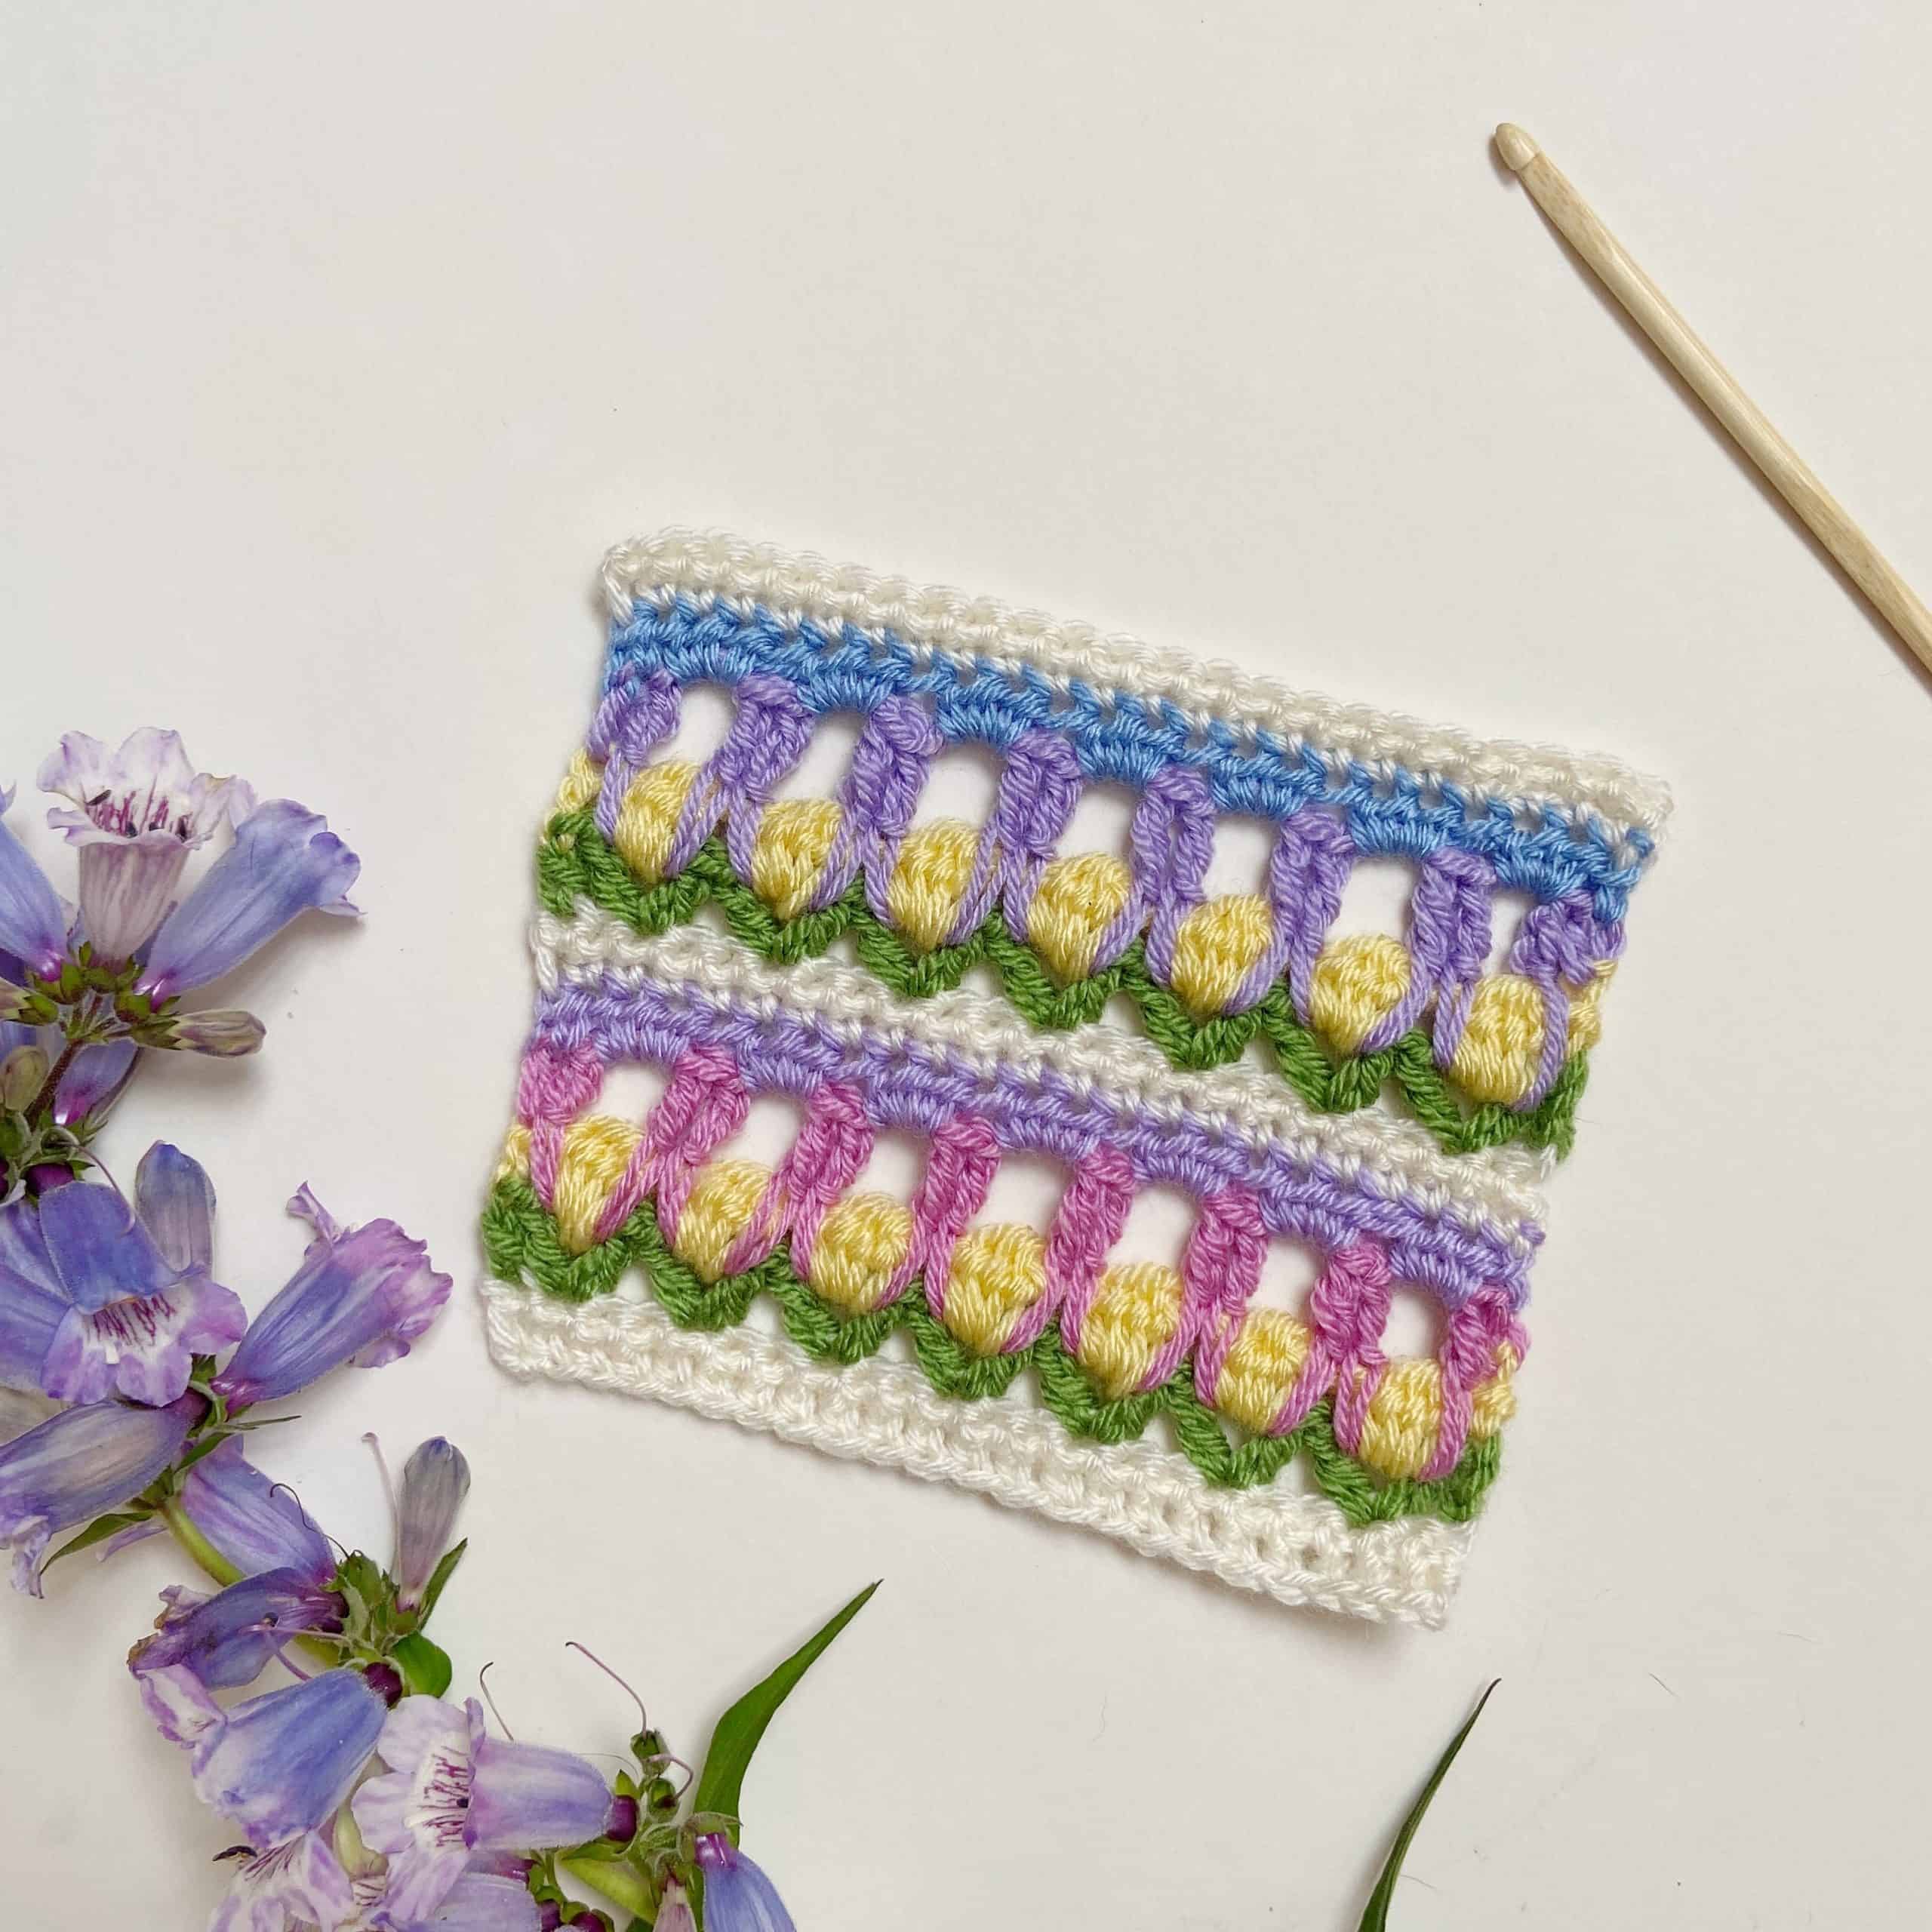
There are some beautiful stitch patterns that use chain stitches, such as the moss stitch, which creates a dense, textured pattern. The traditional granny square uses chain stitches between other stitches and at corners.
You might also have heard of corner to corner crochet – even in this, chain stitches are used throughout.
There is a type of crochet called filet, which is made up of open and closed meshes (an example is this simple filet tee crochet pattern). It looks really complex but it is only made up of double crochet and chain stitches.
As you can see, you really cannot go without these simple but oh so useful little stitches!
What are turning chains?
Even if your project doesn’t include chain stitches in the stitch pattern, it is likely you will still use chains throughout your project in the form of the turning chain.
A turning chain is used at the start of a new row to ‘lift’ the work up to the right level for the row to start.
The subject of how many turning chains you need for the different stitch heights can be the source of debate, but generally you would:
- chain 1 for a sc row
- chain 1 or 2 for a hdc row
- chain 2 or 3 for a dc row
- chain 3 or 4 for a tr row
My top tips for chain stitches
- Don’t pull your yarn too tight on your stitches, otherwise you won’t be able to get your hook back in on the next row.
- Consistency is key in terms of the size of your chains.
- When making a long chain, be sure not to twist your chain.
- When counting your chains, don’t include the slipknot or the chain on your hook.
- Enjoy it and keep going! The more you practice, the easy and better it will get!
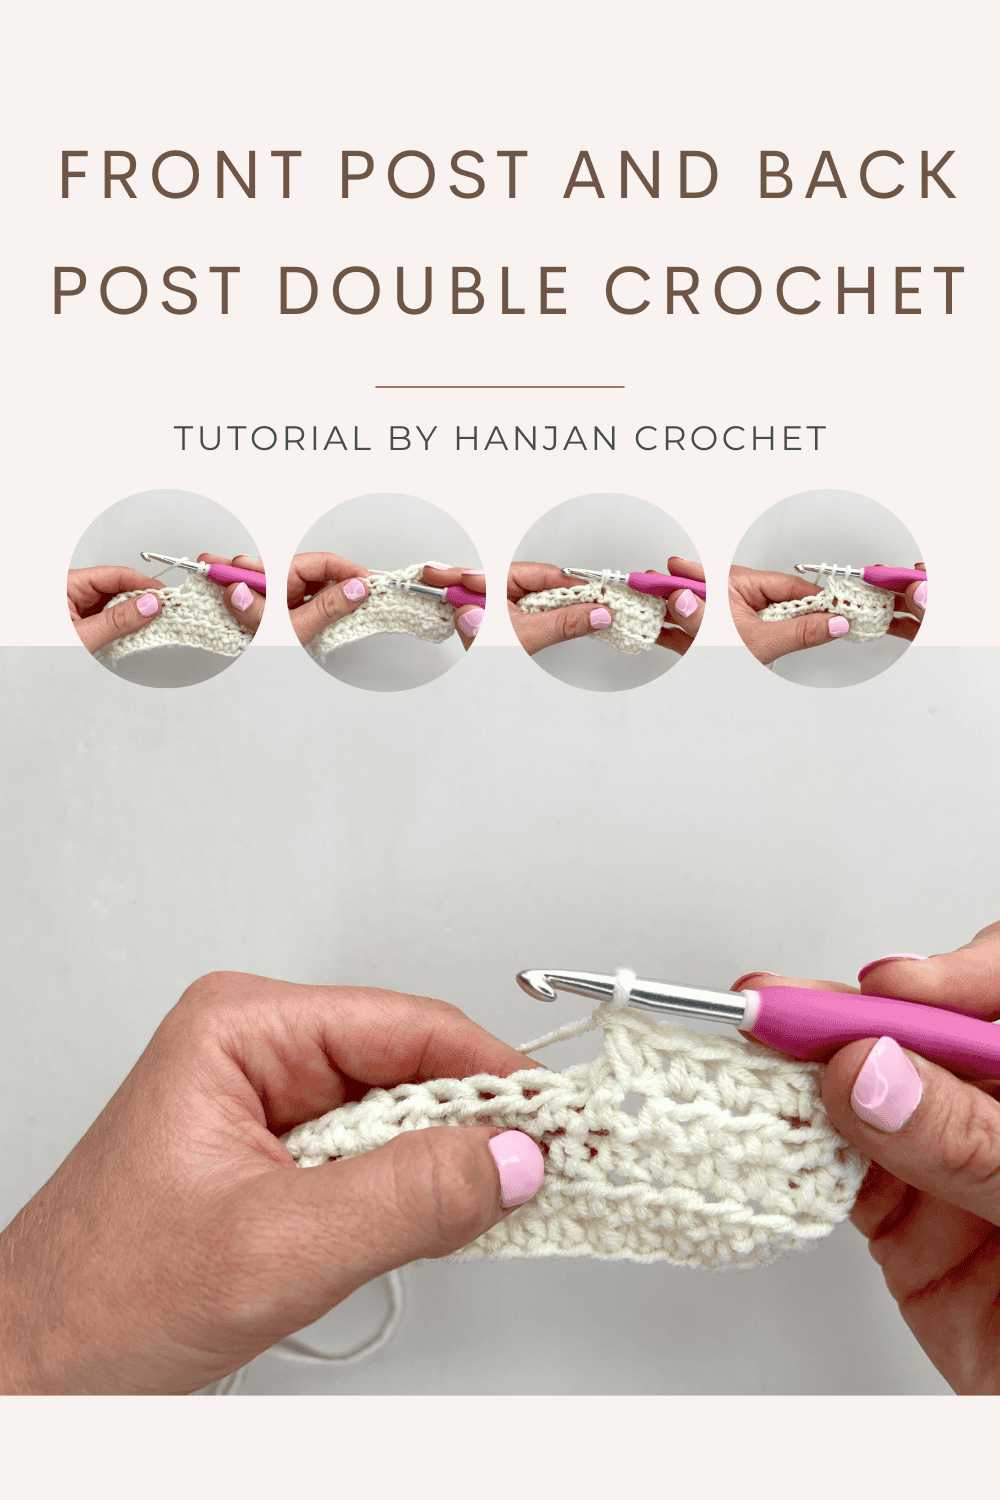
Learn Some More Crochet Stitches With Me
Now that you’ve cracked the basics, it’s time to learn some more crochet stitch tutorials – here are some of my favourite beginner stitches:
35 Easy Crochet Stitches for Beginners
What projects can I use a chain stitch for?
There are hundreds of projects you can try that use only chain stitches. Belts, necklaces, words, and even snakes make great starter projects and are perfect for adults and children alike. My 6 year old loves to make a crochet chain already!
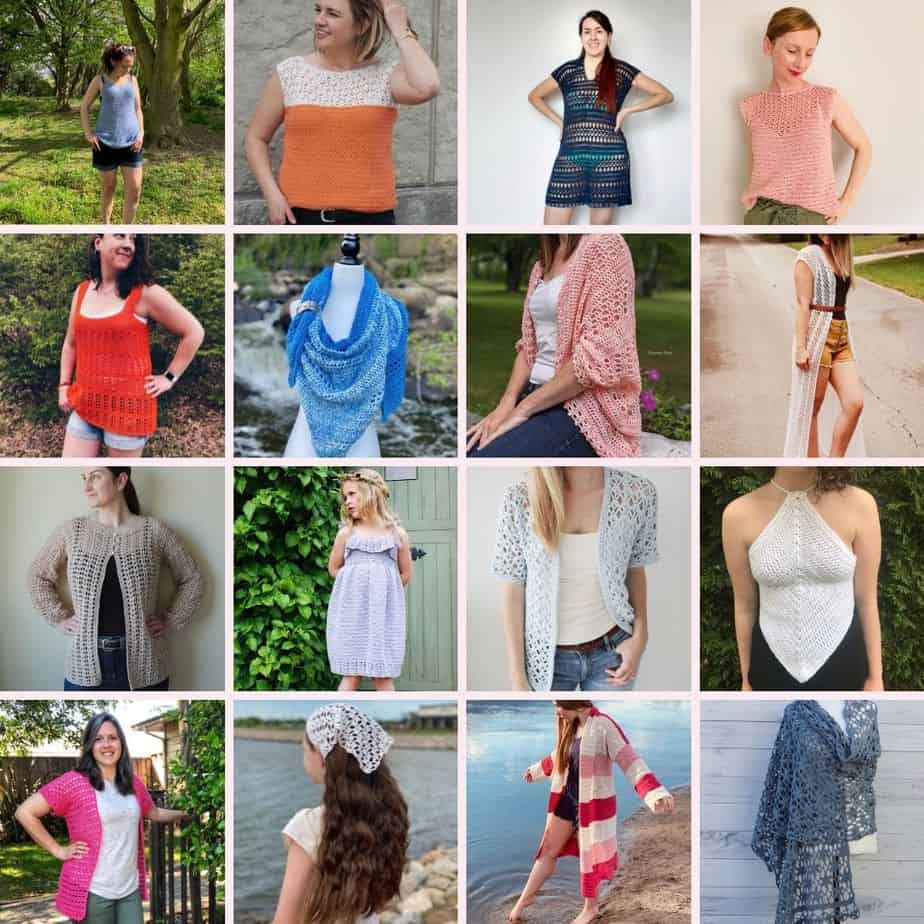
If you’re eager to dive into more stitches, then why not try some of these beginners patterns:
Easy Triangle Shawl – this uses double crochet stitches only, working into the front and back loops.
Quick and Easy Crochet Hottie Cover – this uses a combination of half double crochet and single crochet stitches in the round.
The Silver Squares Baby Blanket – using single crochet, half double crochet and double crochet to create a beautiful texture.
Hold My Heart in Your Hand – how to crochet a simple heart.
I hope you’ve enjoyed learning how to chain stitch with me! I really hope you’ve caught the crochet bug and I’d love to know if you decide to make any of patterns using it! You can sign up to become a member of HanJan Crochet and I’ll let you know about all the fabulous crochet adventures, offers, lives and more too!
See you there!
Pin It For Later