This post may contain affiliate links. Please see my full disclosure and privacy policy for details.

Lots of us start out in crochet by learning how to crochet a granny square – I certainly did! It was the first thing that my Mum taught me to crochet and my first attempt was wonky, to say the least but it got me hooked and is the reason I’m where I am today (so thank you Mum!).
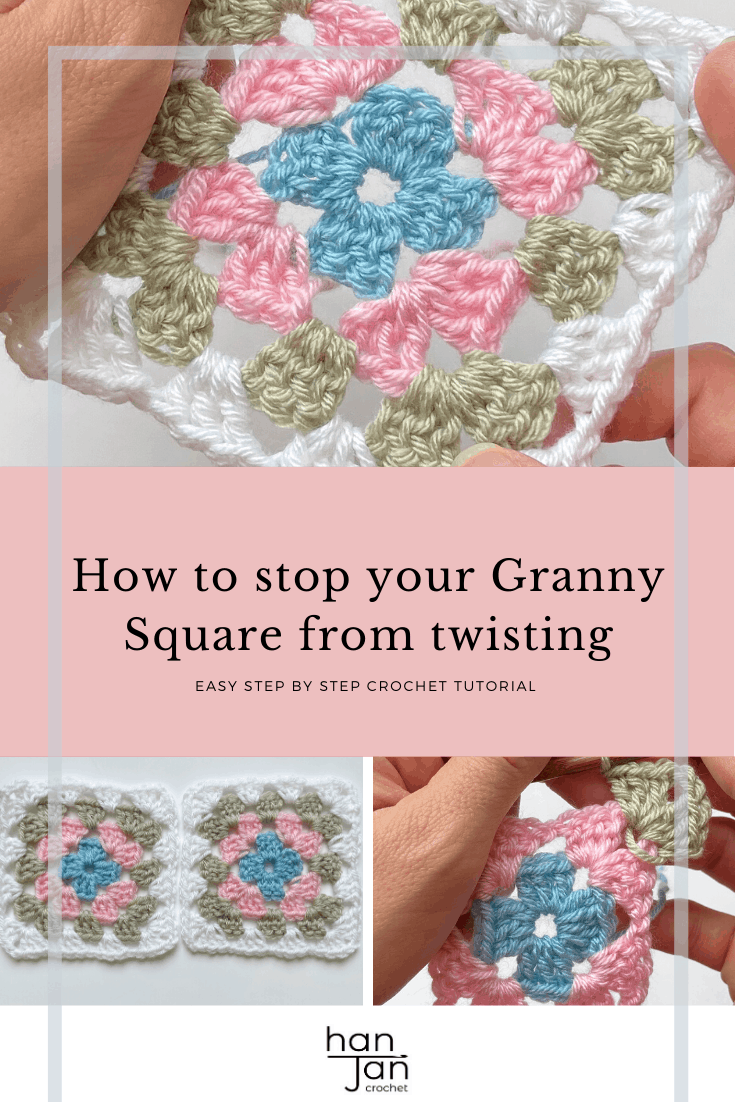
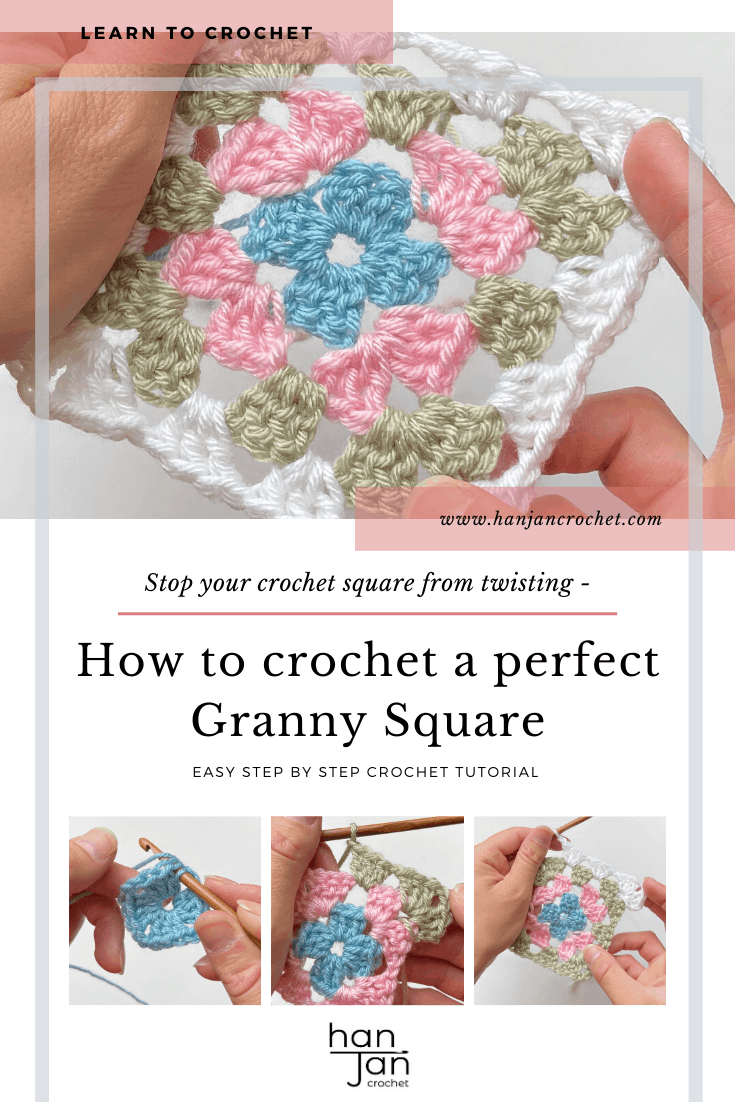
Recently though, I discovered that the idea of turning your crochet square to stop it from twisting is news to lots of people. So with that in mind, I’ve put together not only a step by step tutorial of how to crochet a granny square but also some tips about how to avoid a twisted granny square.
If you’re a beginner at crochet then this is the place to start and if like me you came to the ‘turn your granny square’ party late then I hope this helps you too!
Table of Contents
More about the Granny Square
I’ve always had a love/hate relationship with the granny square. I have spent literally years working out whether I like it or not.
Want to remove Ads?
- Get ad-free access on all posts; 200+ patterns & tutorials!
- Member-only resource library with downloadable PDF guides
- Bonus eBook (Worth over $30)
Sometimes I get frustrated because I feel like there’s so much more to crochet but for non-crocheters, their perception of crochet is very often stuffy granny square blankets that really don’t showcase what we all know crochet is capable of.
Then I realise that the thing I love about granny squares, or indeed any crochet square motifs, is that they are so adaptable! You can make a project feel entirely different by altering the colour scheme, the layout, the size of the motif and so much more.
So I think I’ll still have my reservations but I’m seeing more and more that the opportunities are vast and all you have to do is set yourself free and experiment to make them happen!
Something that is fascinating though is the history of the granny square – do you know where it started?
Glossary/Abbreviations
ch(s) – chain(s)
ss – slip stitch
sk – skip
st(s) – stitch (es)
RS – right side
WS – wrong side
rep – repeat
sp – space
beg – beginning
Stitches –
| UK terms | US terms |
| tr – treble crochet | dc – double crochet |
So here comes the step by step photos! If you’d prefer to just read the pattern then scroll down to find it.
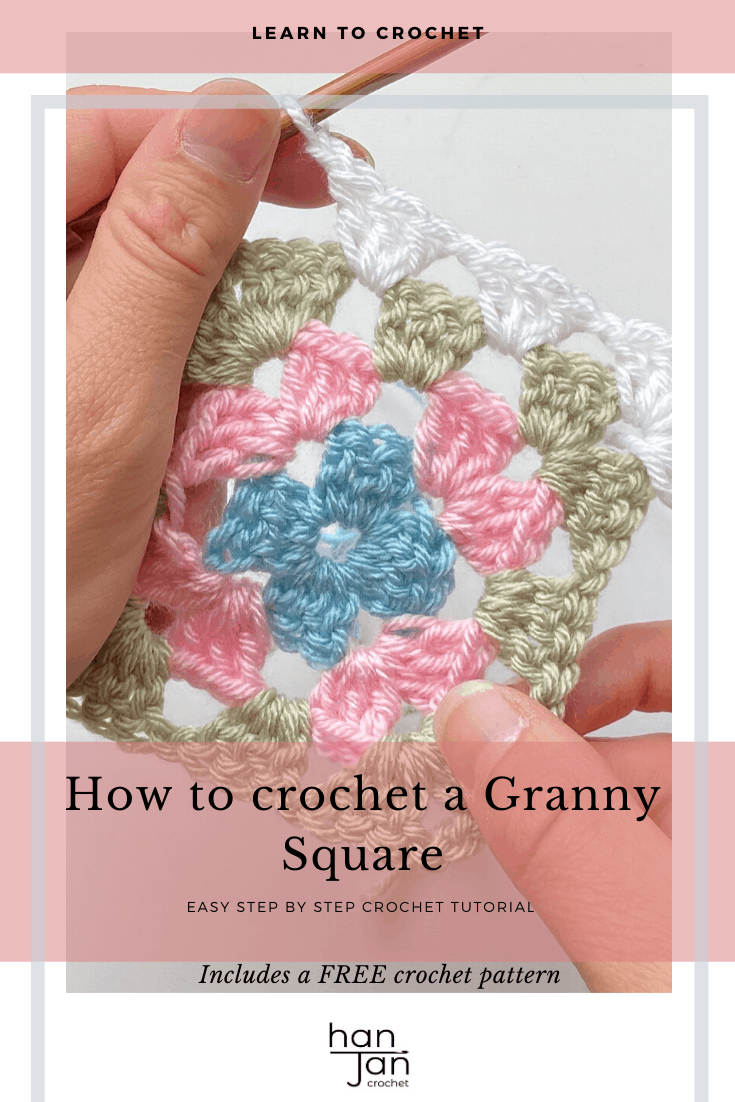
How to crochet a granny square
Ever wondered why your granny square takes lots of persuasion to block nicely and stop looking so very wonky?! There's a simple solution to getting it to be perfectly sqaure and neat - turn your work after each round!
That's all there is to creating a perfect crochet granny square! Here I'll take you through the whole process step by step.
Materials
Instructions
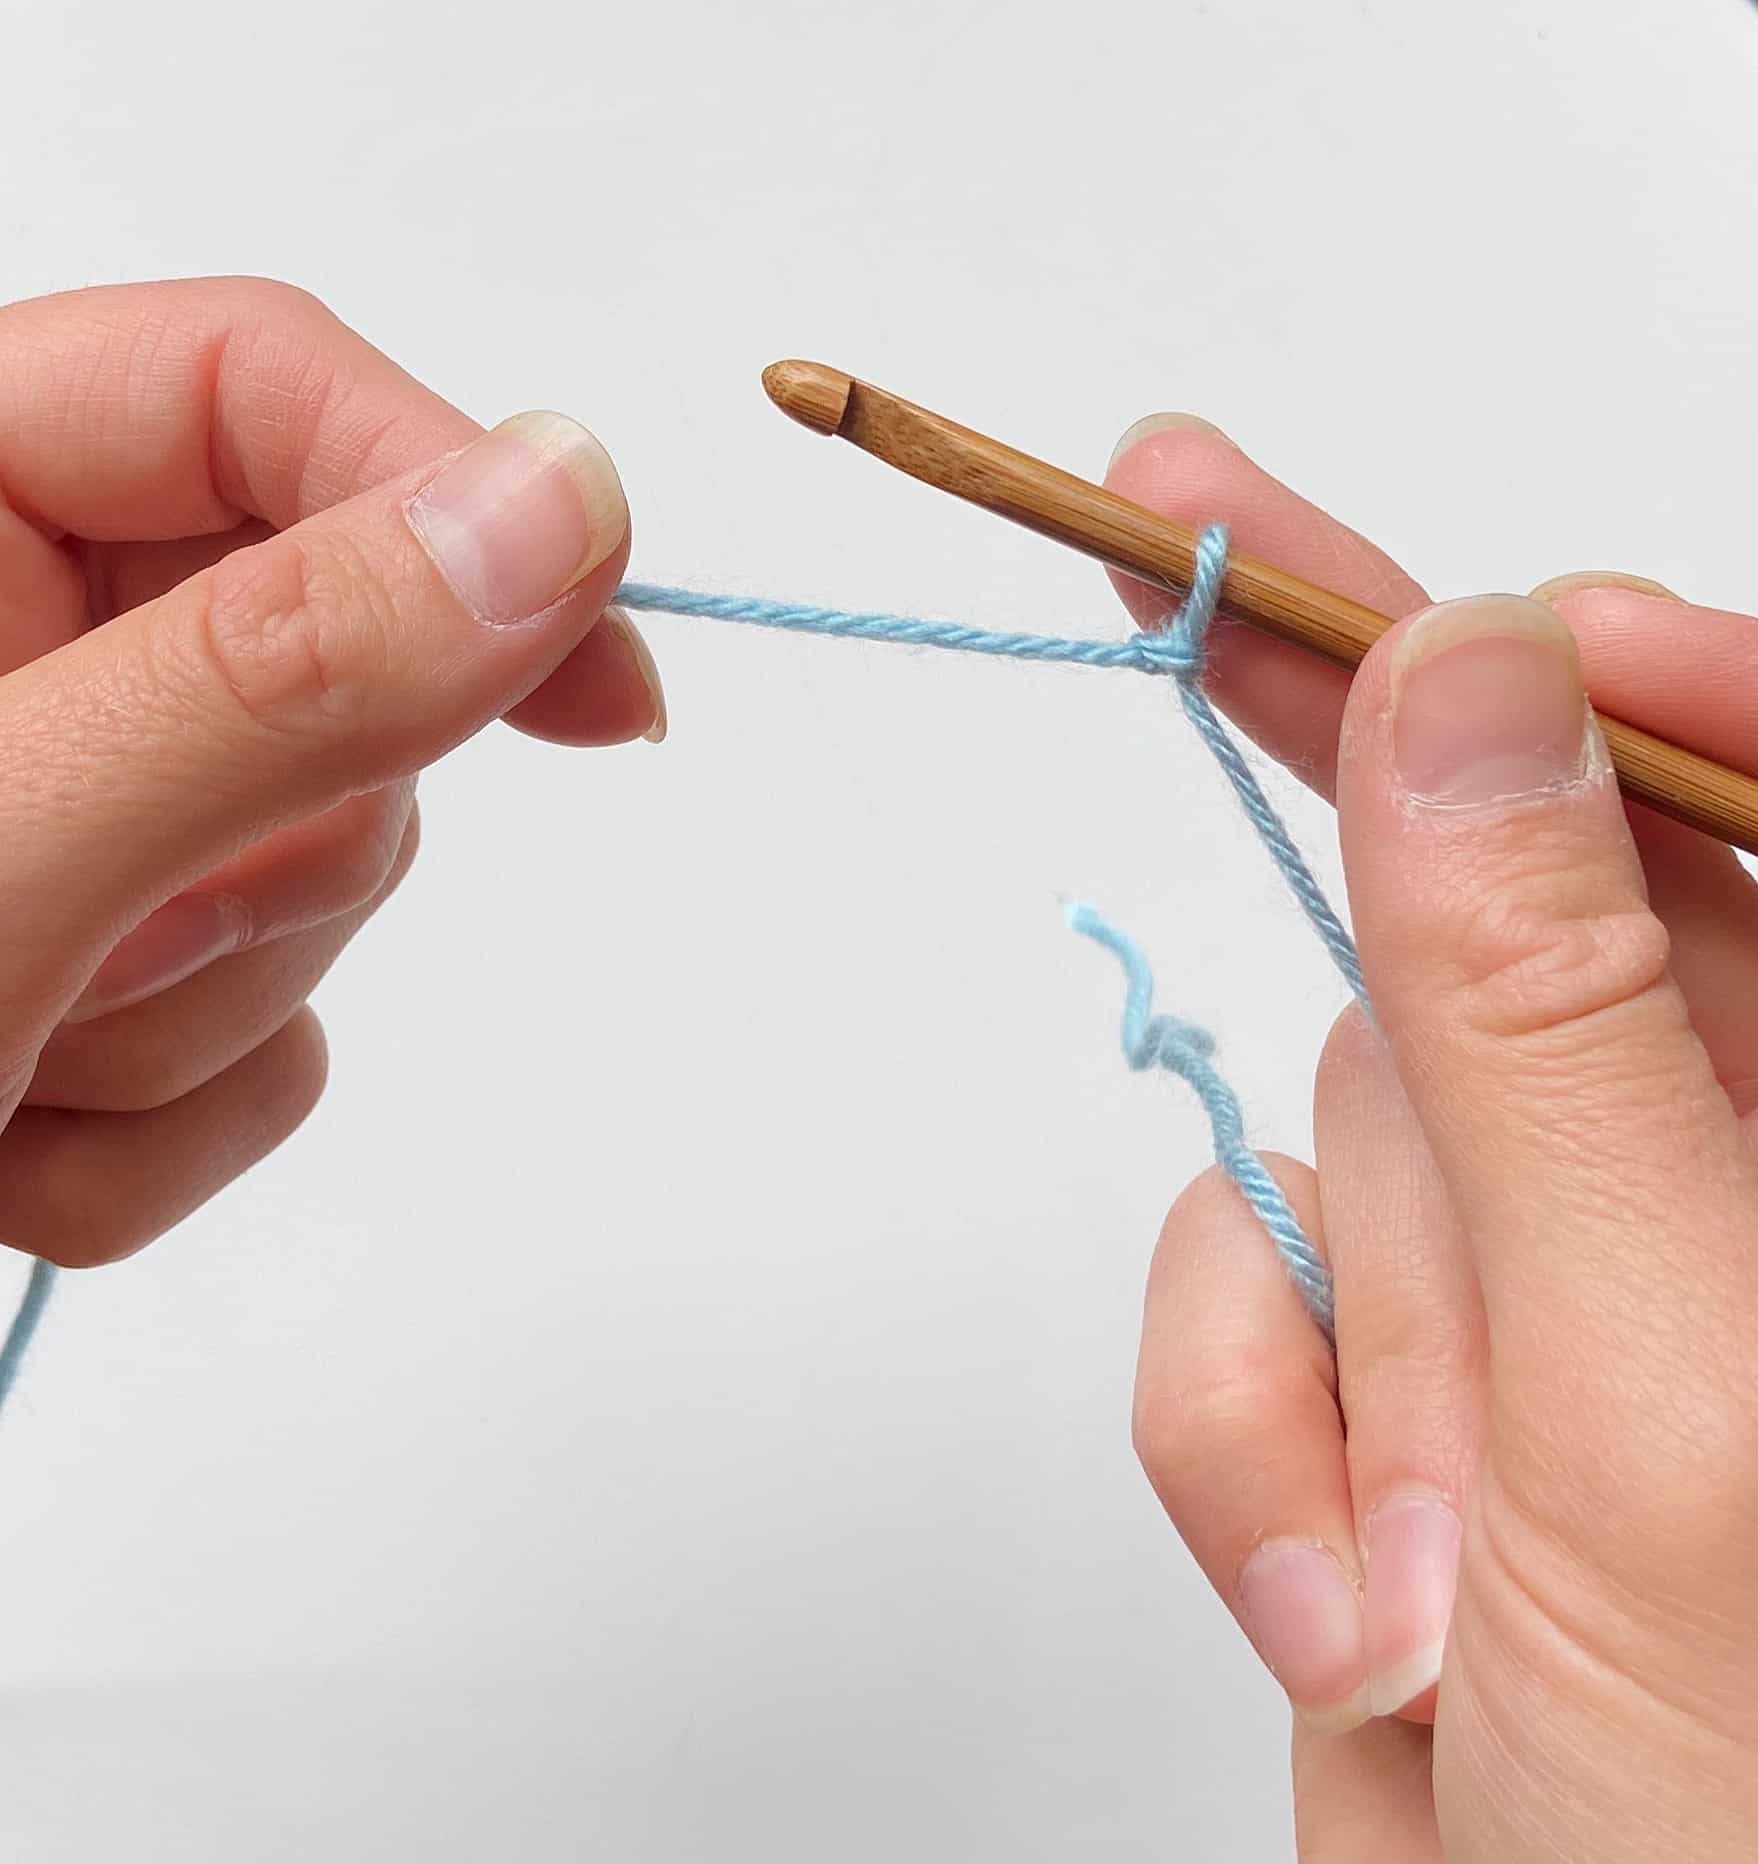
 Create a magic ring with your yarn.
 Crochet 3 dc/tr into the magic ring, followed by a ch2.
 Repeat Step 2 and crochet a further 3 dc/tr into the magic ring, followed by a ch2.
 Repeat Step 2 again so that you now have 9 stitches (dc/tr) and 3 x ch2 spaces.
 Repeat Step 2 again and then join your yarn with a slip stitch into the first stitch of the round. This is the first round complete! Break your yarn now and select your next colour to use.
 This is how your first round will look with the right facing you.
 To start the next round you need to turn your square over so that the wrong side is facing you. Join your next colour of yarn with a slip stitch to any of the ch2 spaces (corners) of your first round.
 Crochet a ch3 with your new yarn colour.
 Work the following into the ch2 space (corner) you are in: 2dc/tr, ch2 3dc/tr, ch1.
 Working in the next ch2 space (corner): 3dc/tr, ch2, 3dc/tr, ch1. (You will start to see that the ch1 spaces you are making on this round are the place where you work the set of stitches for the next round).
 Repeat Step 10 into the next ch2 space (corner).
 Repeat Step 10 into the final ch2 space (corner) and then join yanr with a slip stitch to the top of the ch3 you began with. Break your yarn.
 Turn your granny square over so the the right side is facing you again and join your next colour of yarn to any of the ch2 spaces (corners). Repeat Steps 8 and 9 to create your first corner.
 Now you need to crochet 3dc/tr into the next ch1 space, then ch1.
 Continue working around crocheting (3dc/tr, ch2, 3dc/tr, ch1) in each ch2 space (corners) and (3dc/tr, ch1) in each ch1 space. Join this round as before with a slip stitch in the first ch3. Break your yarn.
 Turn your granny square over again to start the next round. Join your new yarn colour as previously and work the round as the previous one. The only difference with each round as you increase the size is an extra ch1 space along each side to work a (3dc/tr, ch1) into.
 Complete your granny sqaure by sewing in all ends (or you can weave them in as you go but I prefer not to as it sometimes looks messy to me).
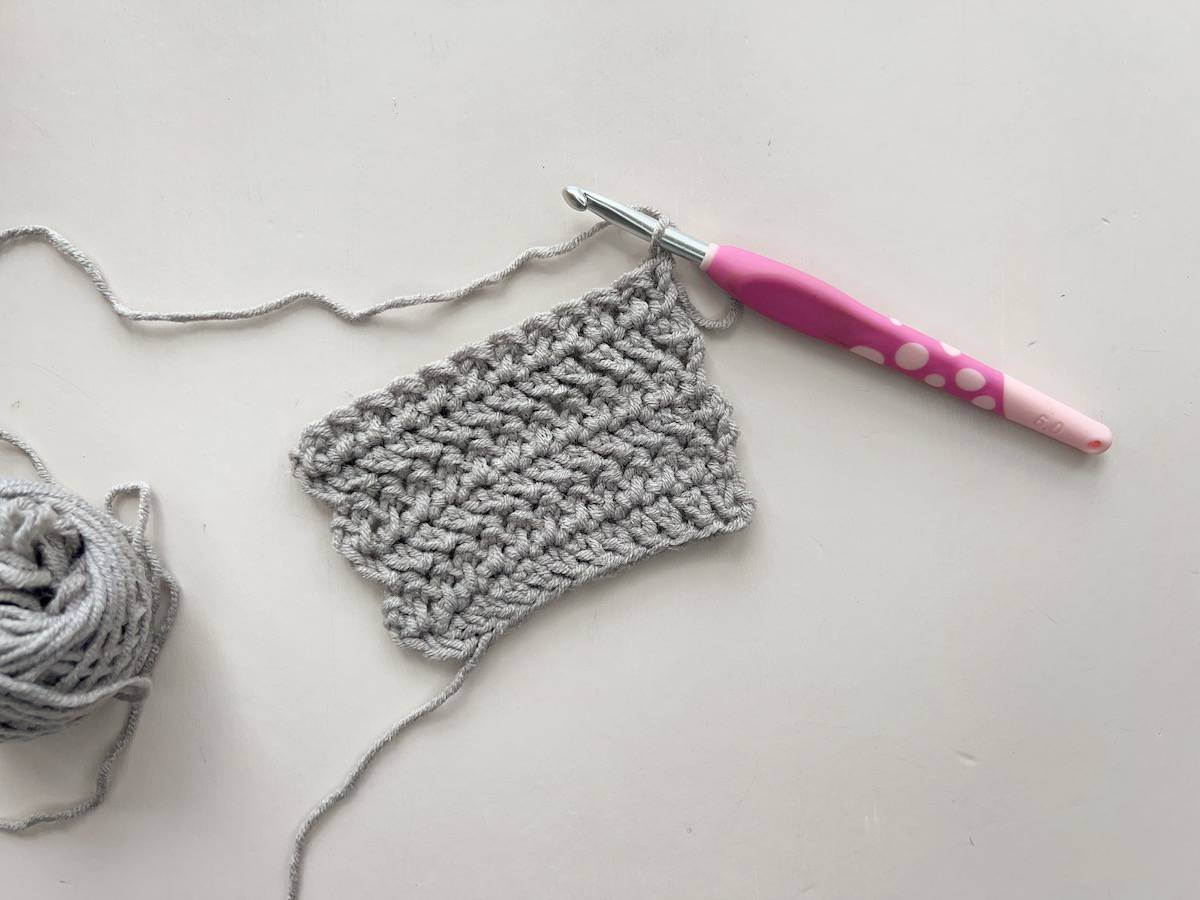
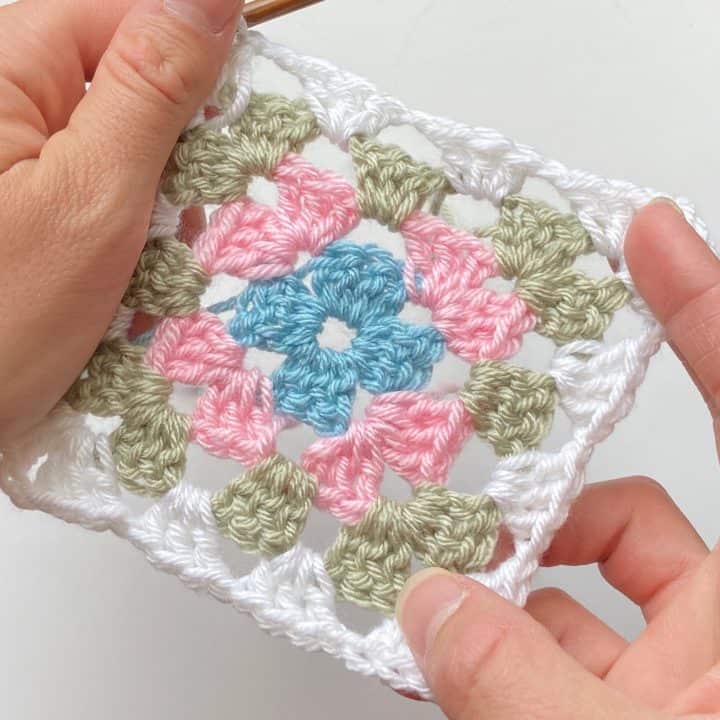
 That's all there is to it! This is my granny square before I even blocked it!
 Create a magic ring with your yarn.
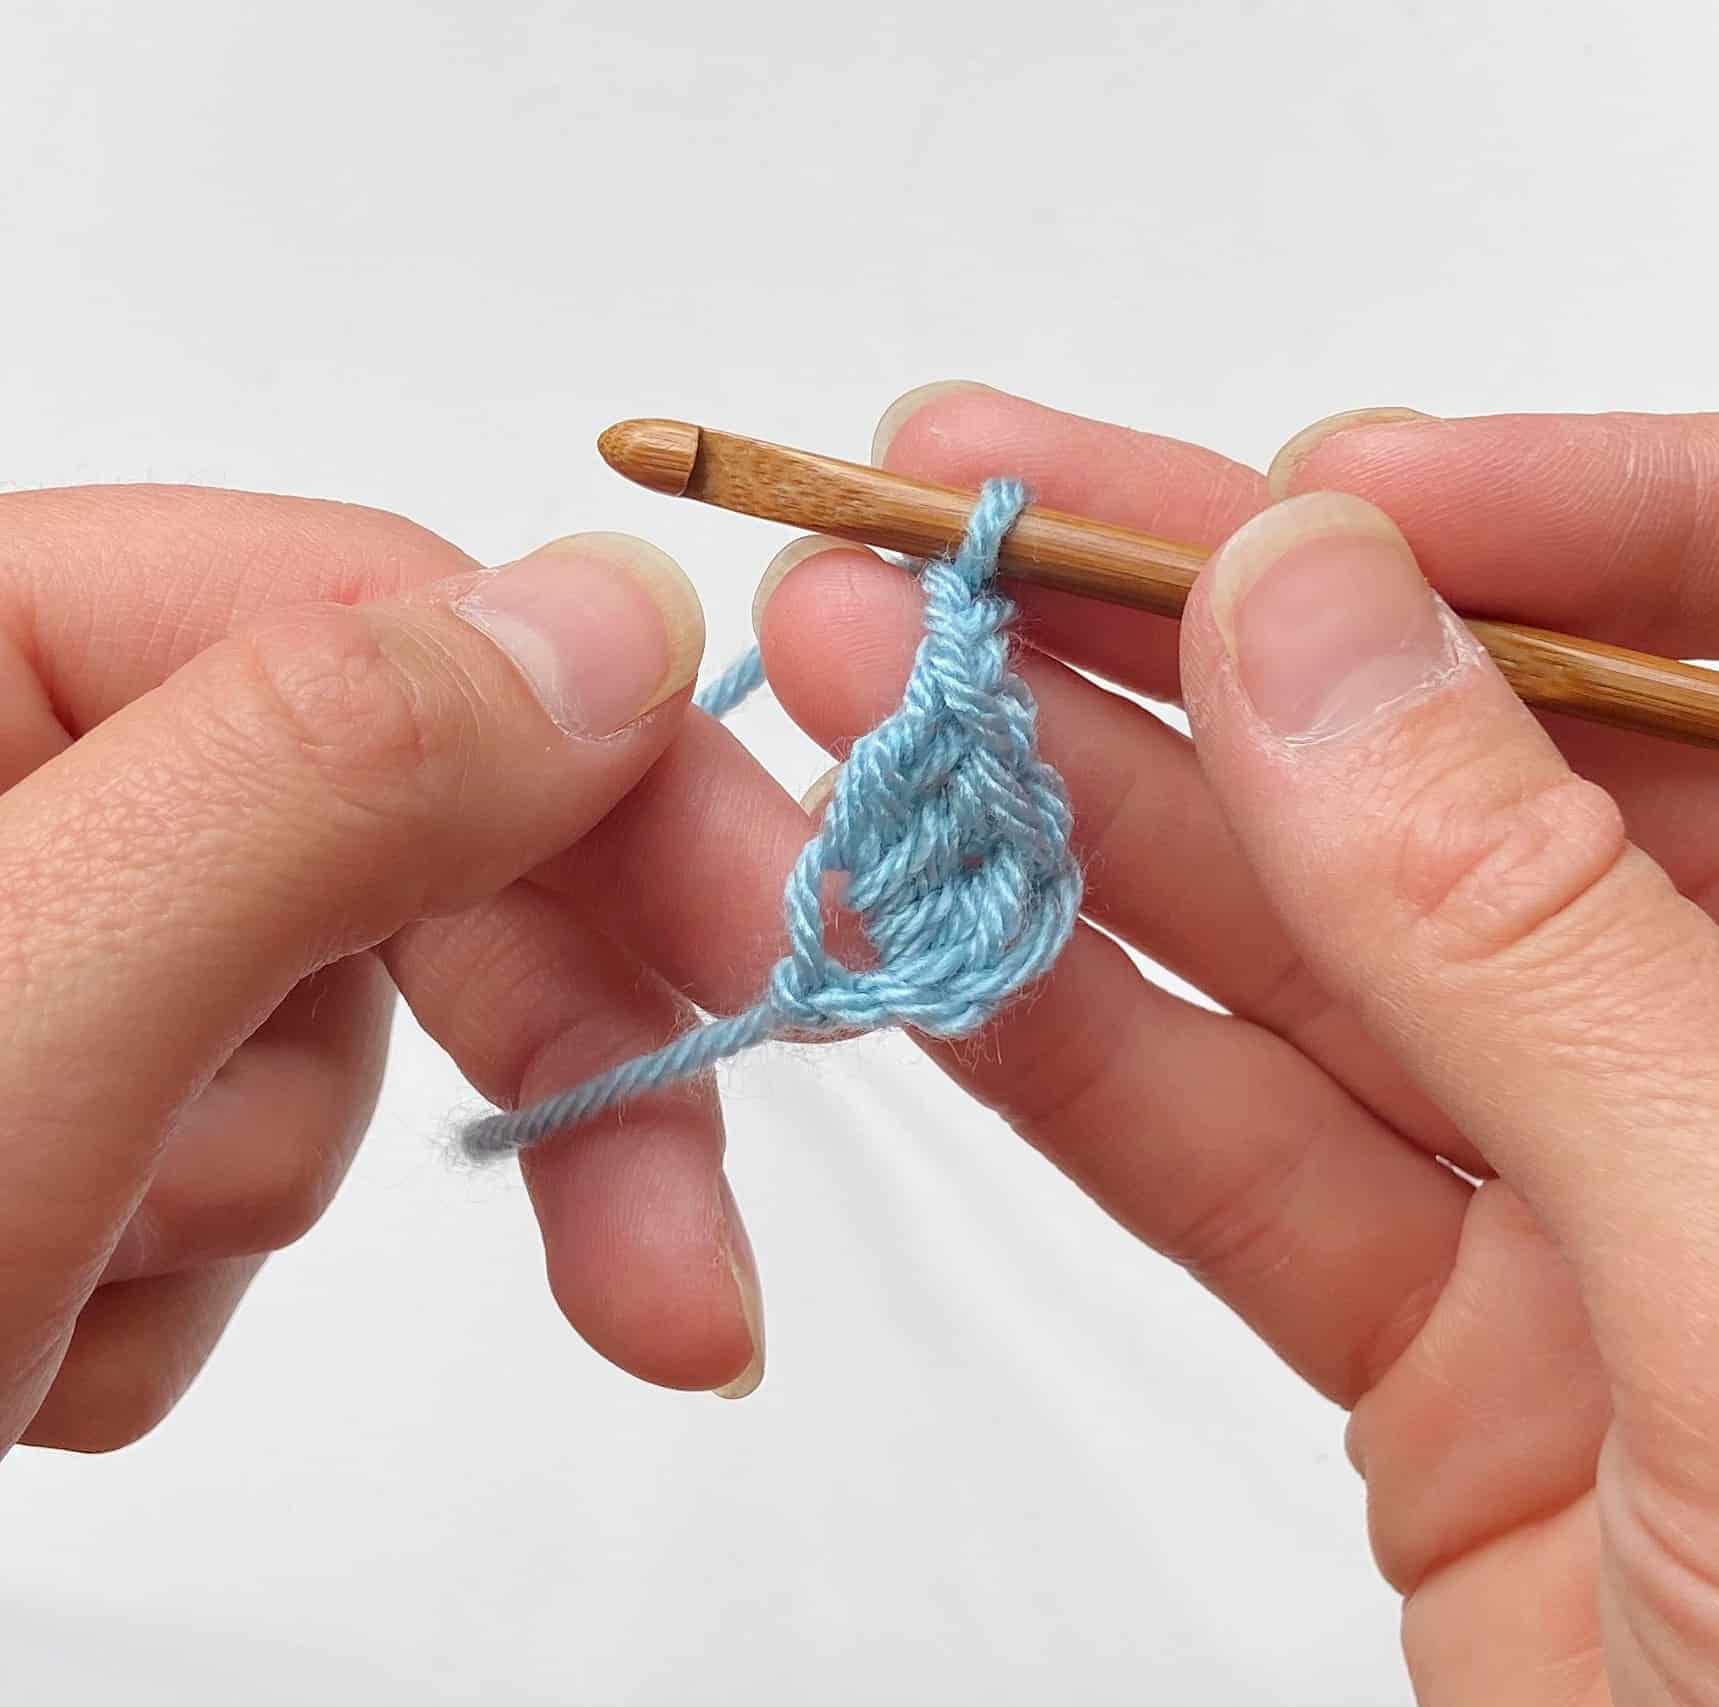 Crochet 3 dc/tr into the magic ring, followed by a ch2.
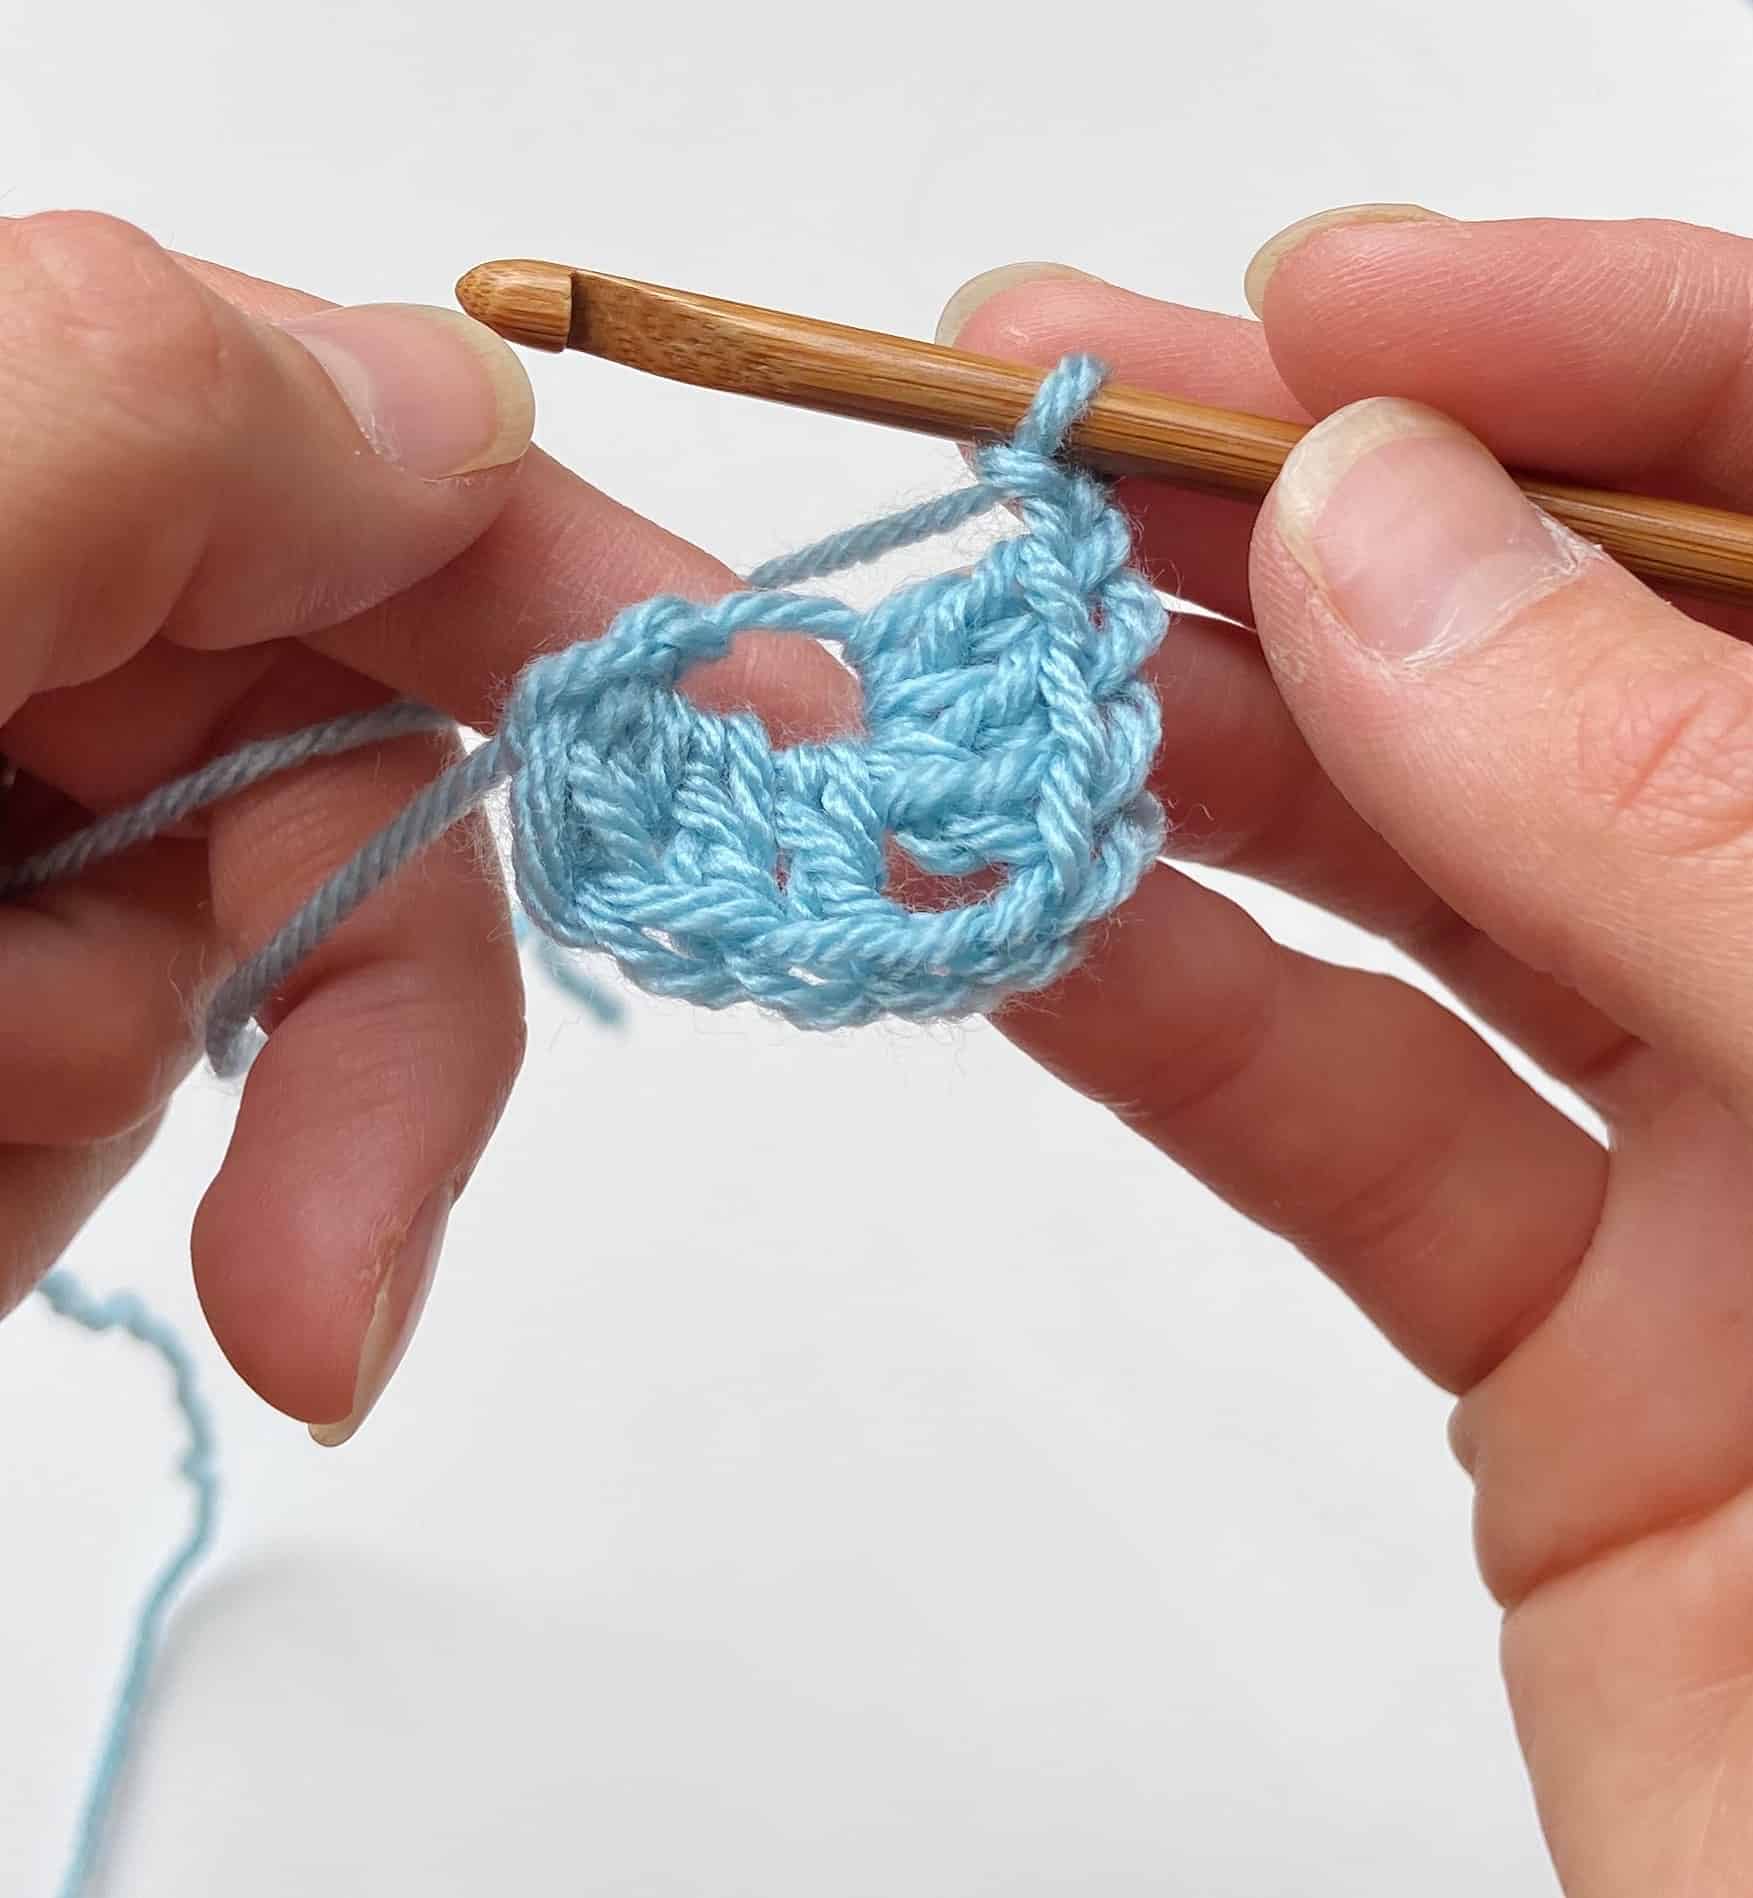 Repeat Step 2 and crochet a further 3 dc/tr into the magic ring, followed by a ch2.
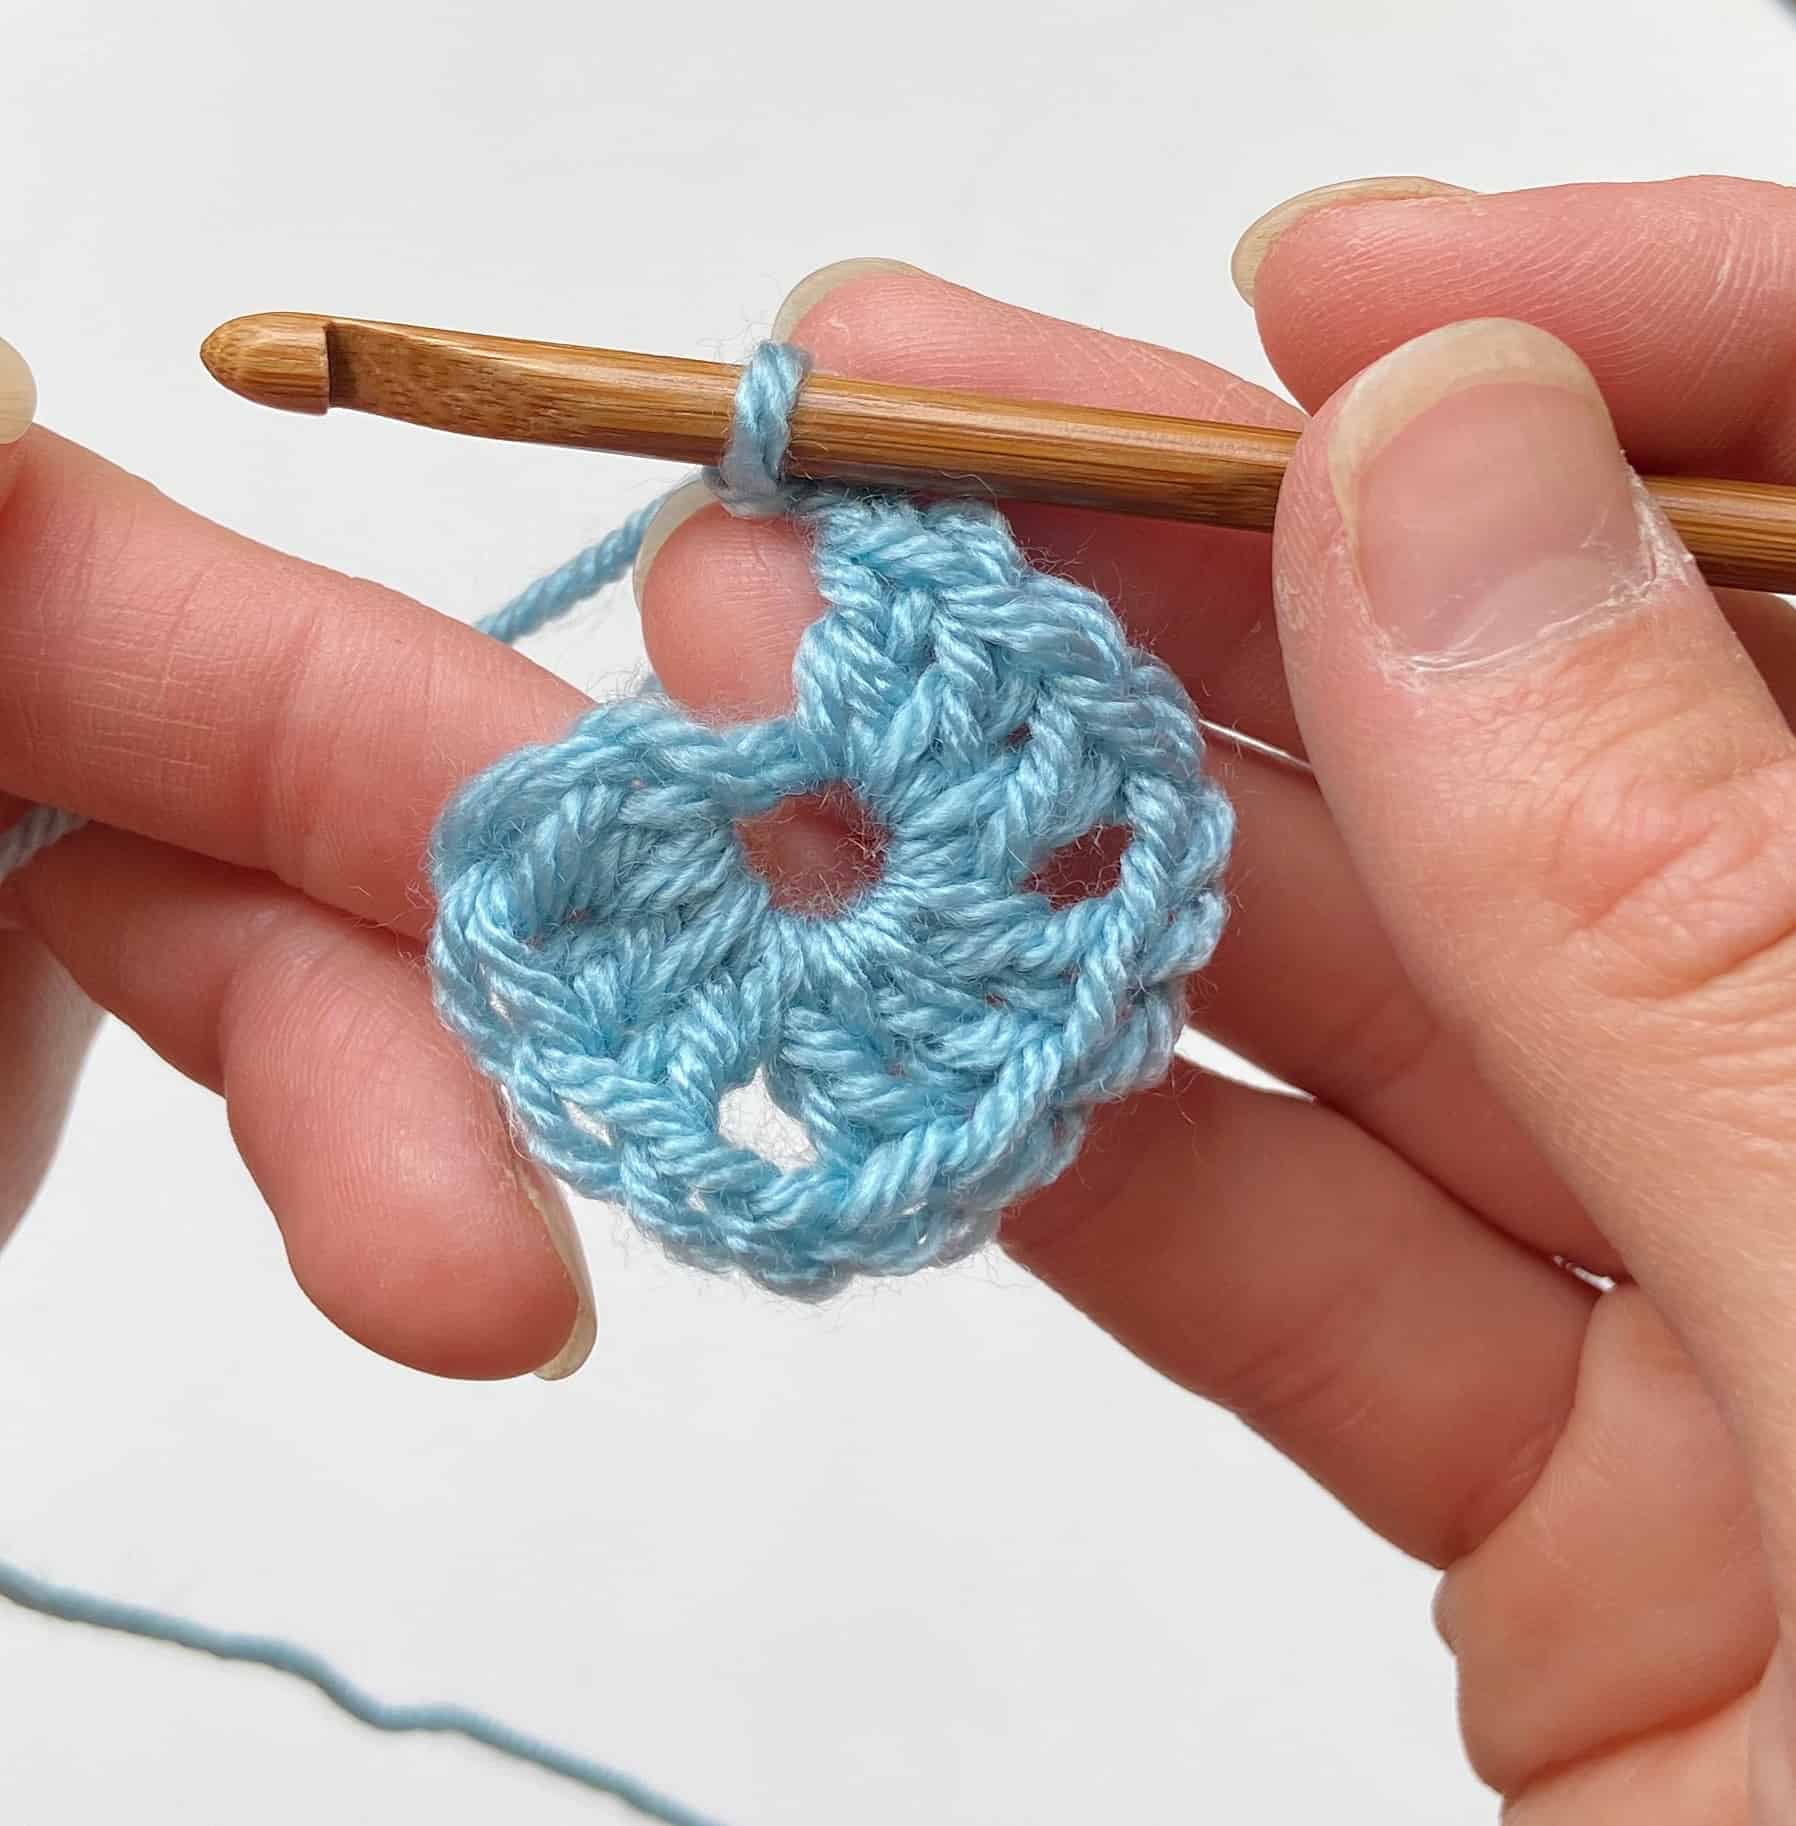 Repeat Step 2 again so that you now have 9 stitches (dc/tr) and 3 x ch2 spaces.
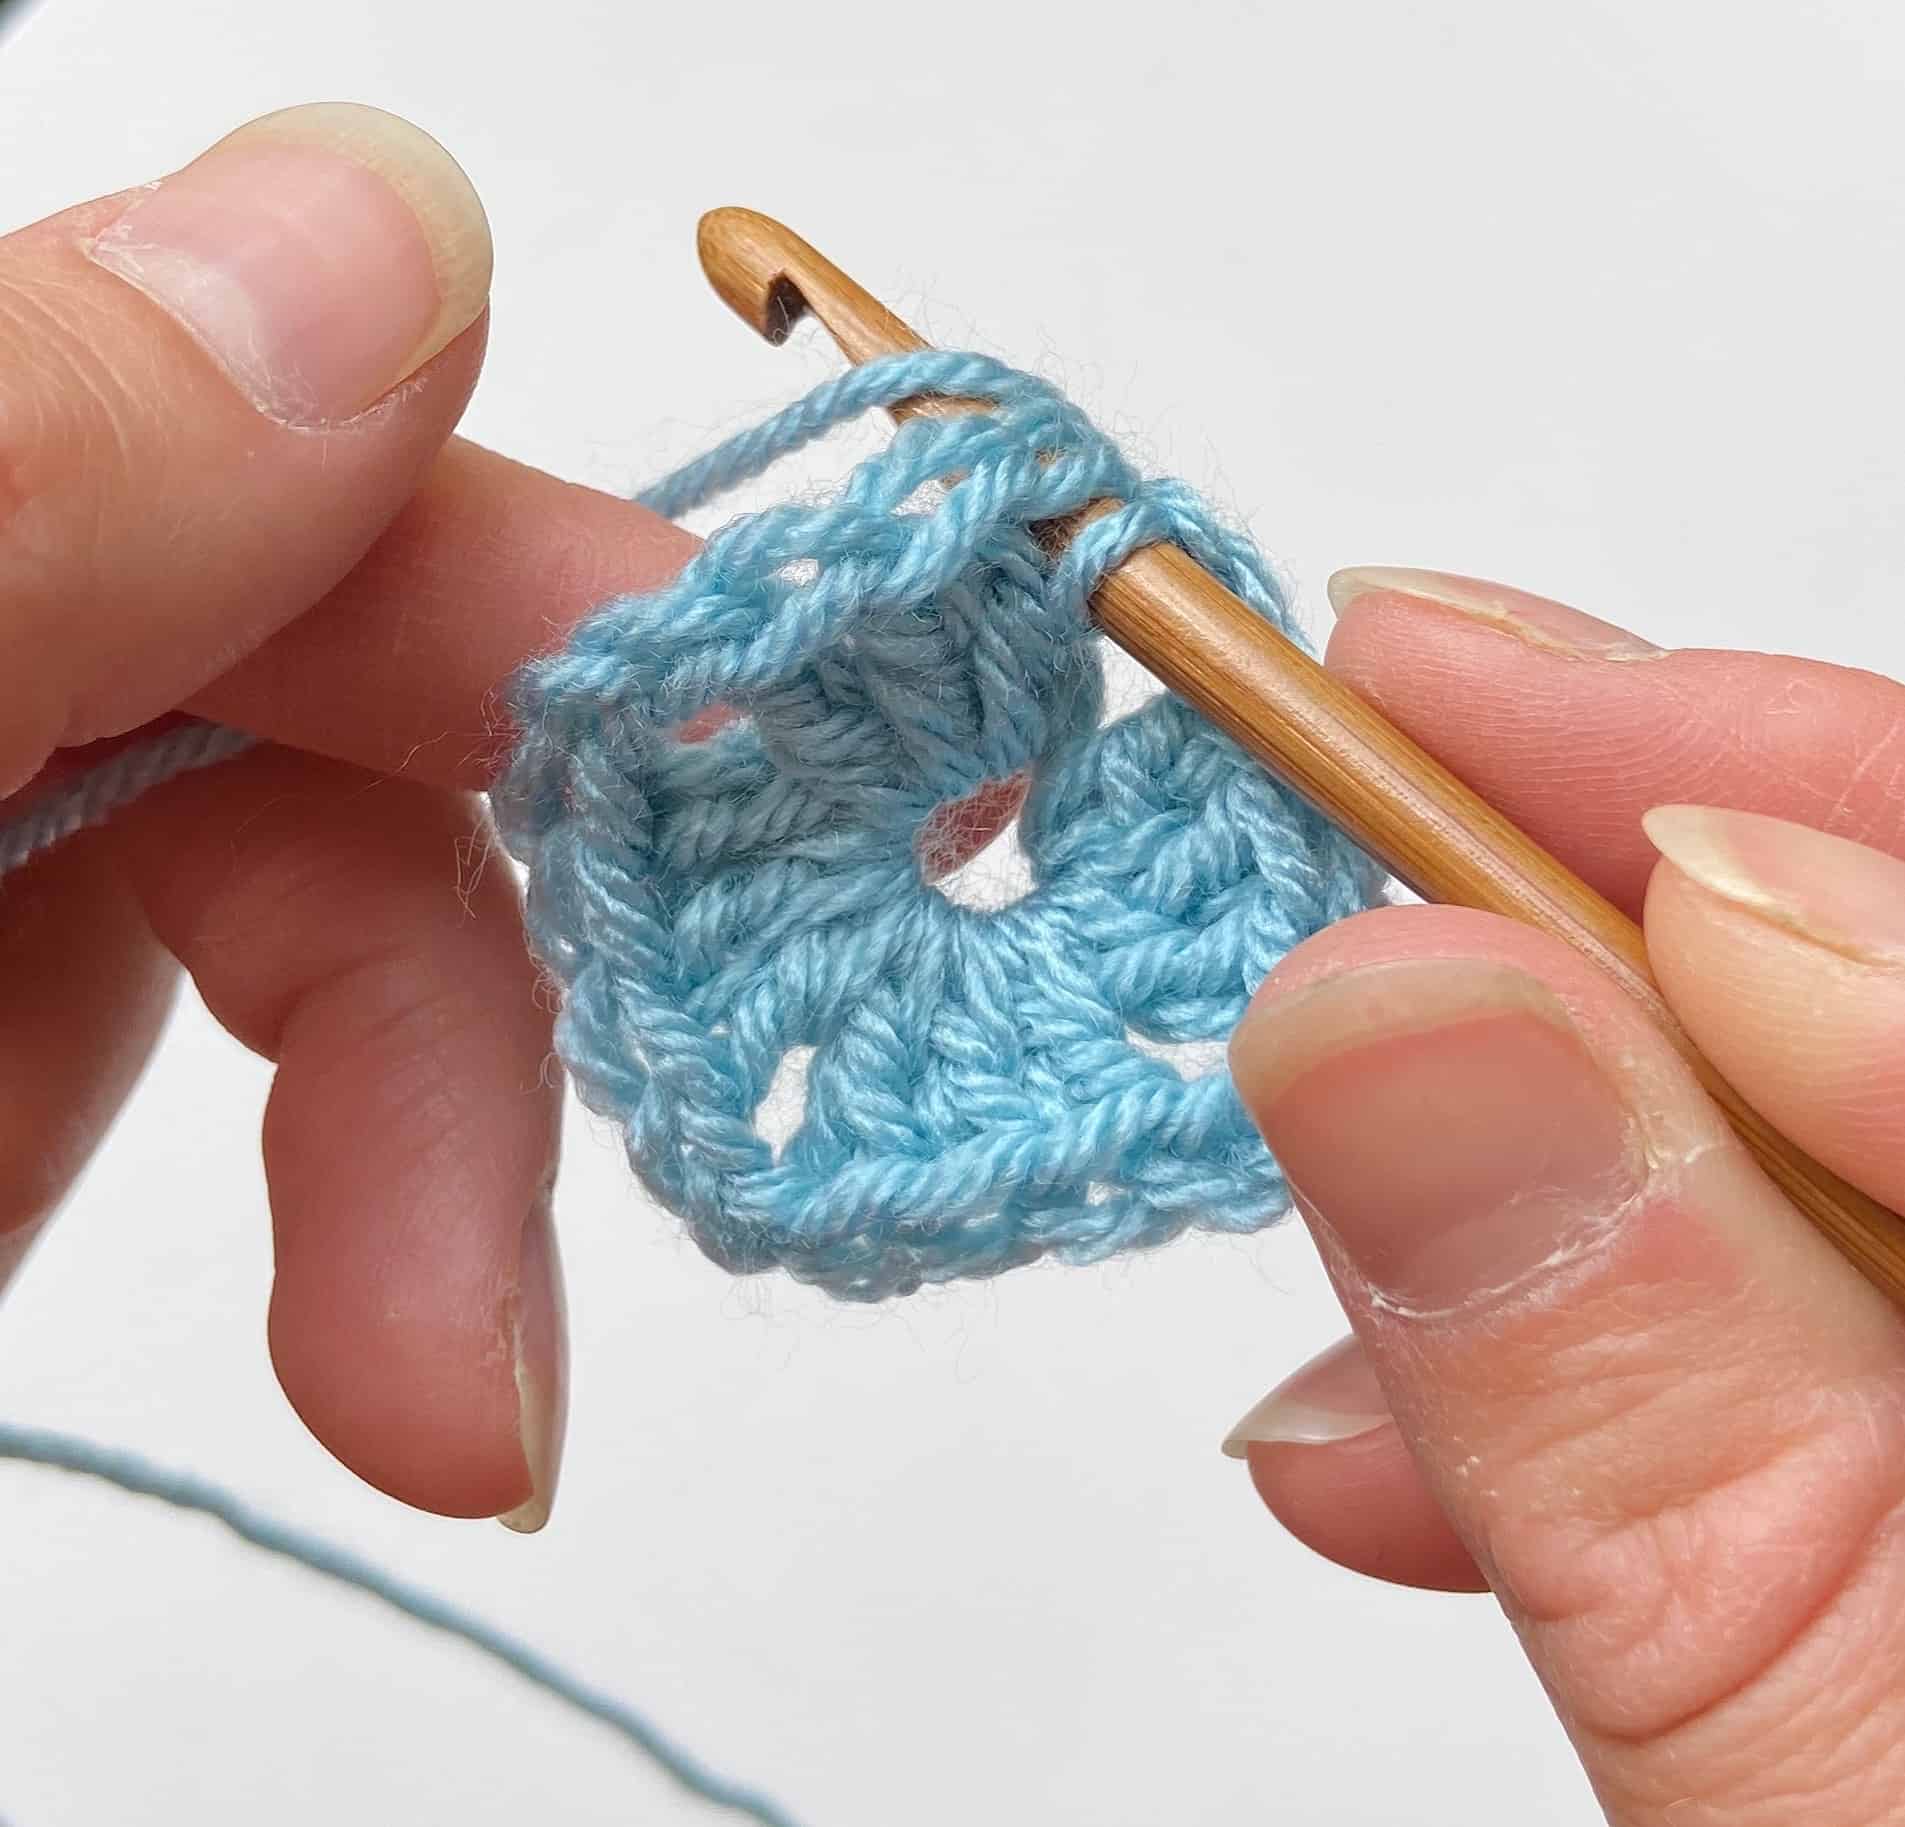 Repeat Step 2 again and then join your yarn with a slip stitch into the first stitch of the round. This is the first round complete! Break your yarn now and select your next colour to use.
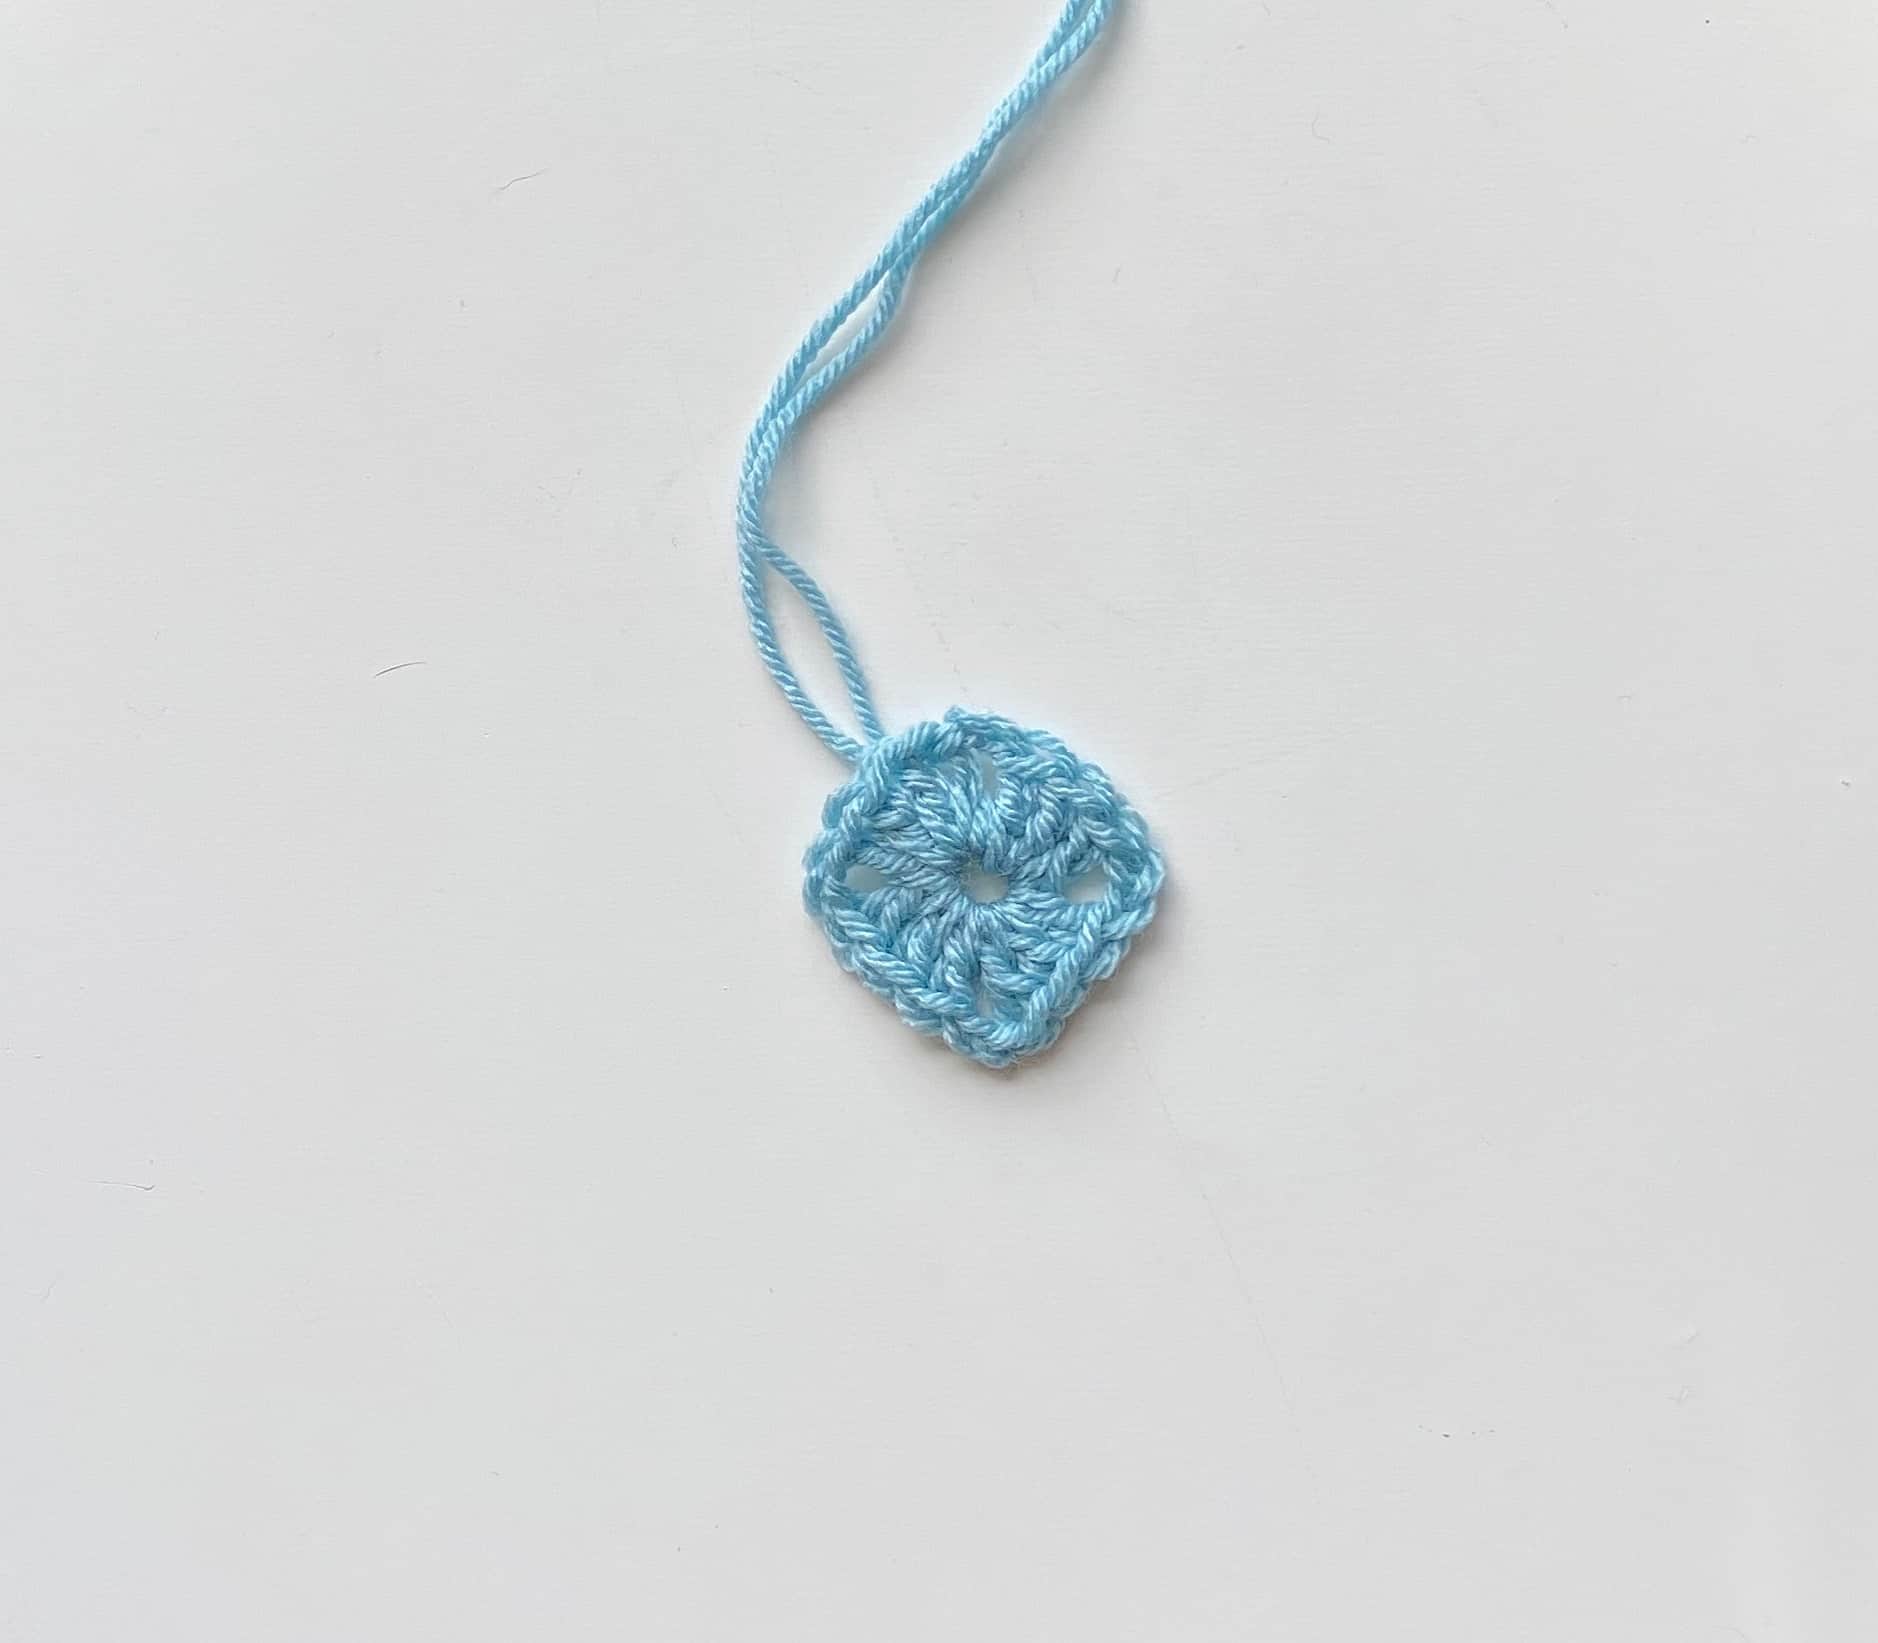 This is how your first round will look with the right facing you.
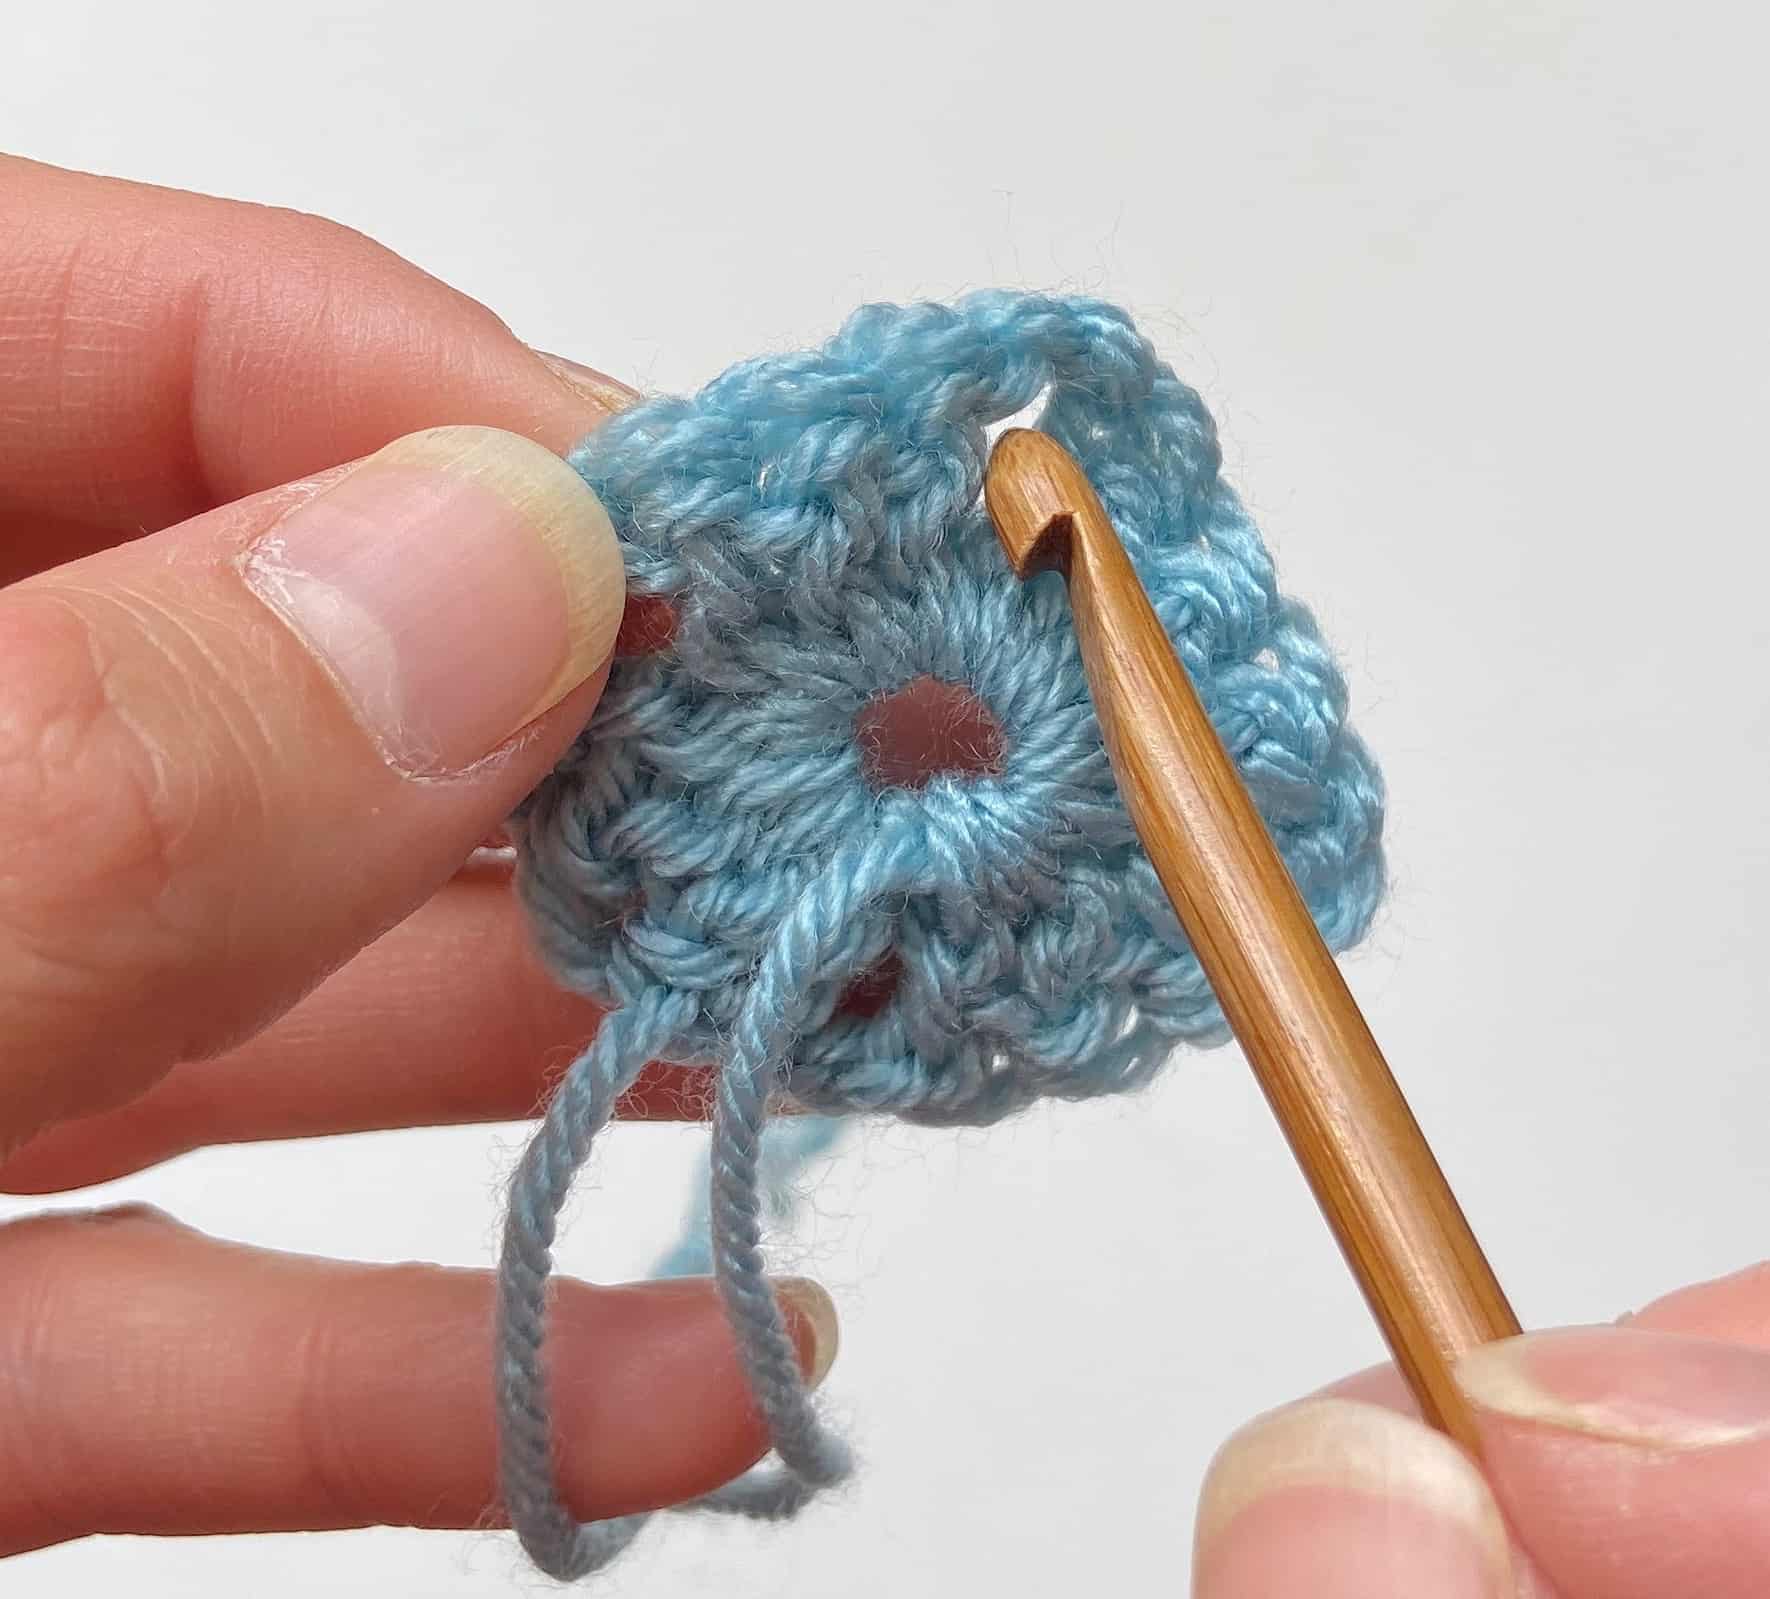 To start the next round you need to turn your square over so that the wrong side is facing you. Join your next colour of yarn with a slip stitch to any of the ch2 spaces (corners) of your first round.
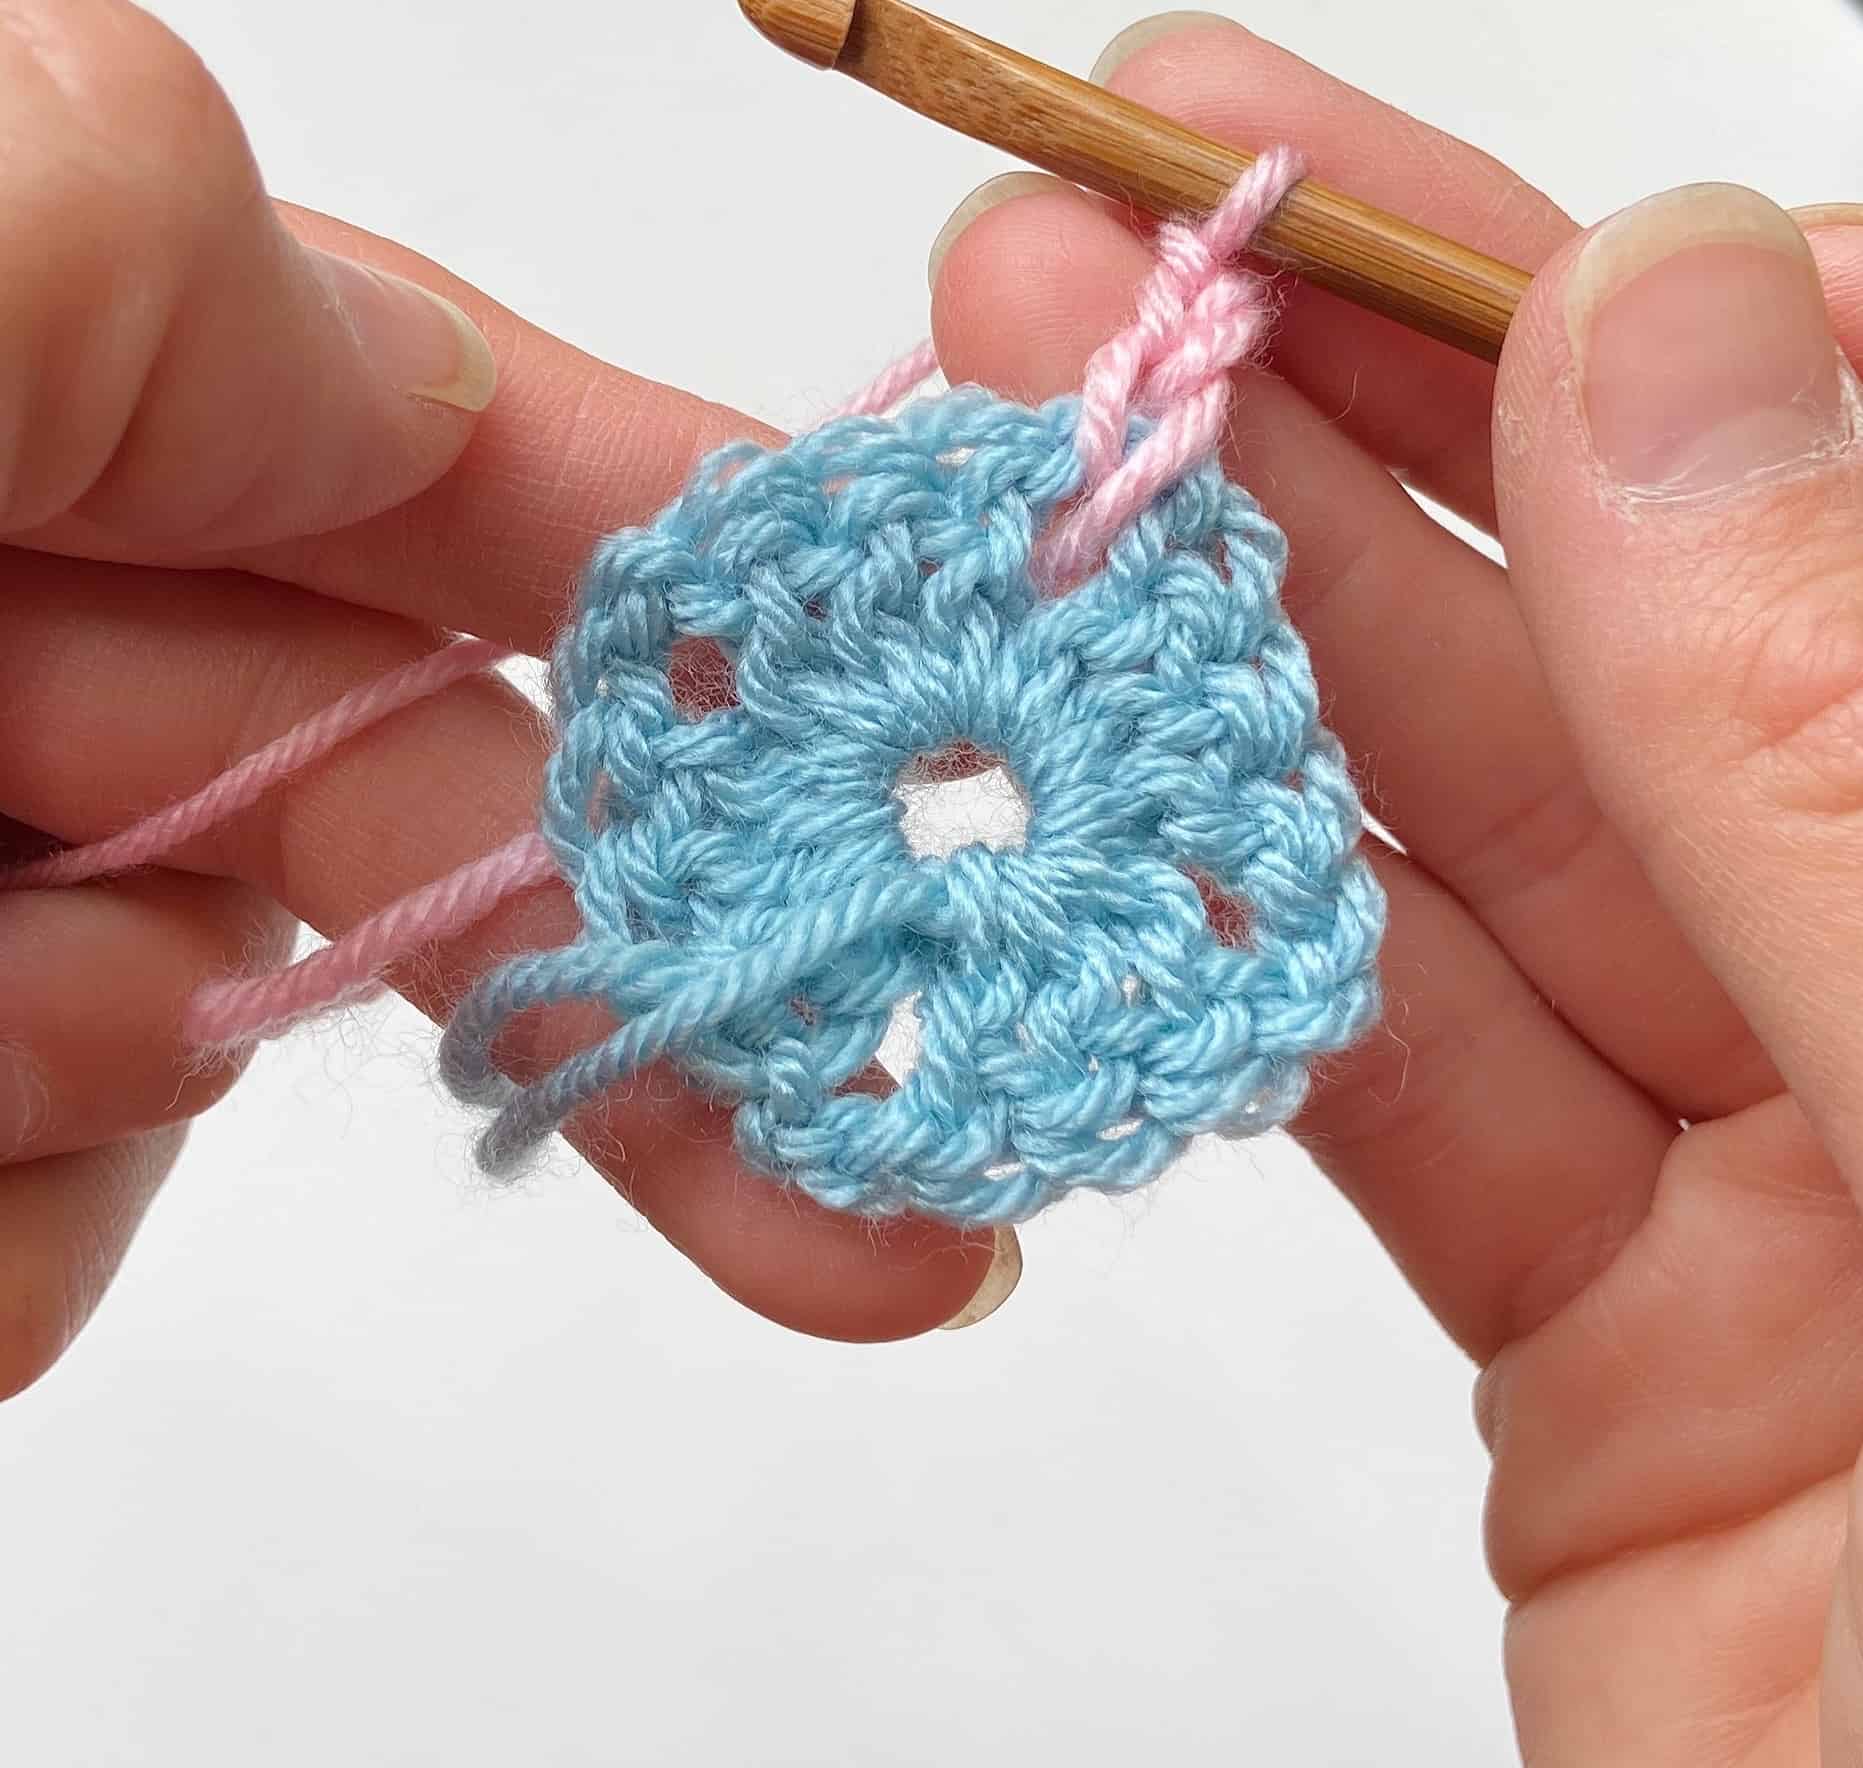 Crochet a ch3 with your new yarn colour.
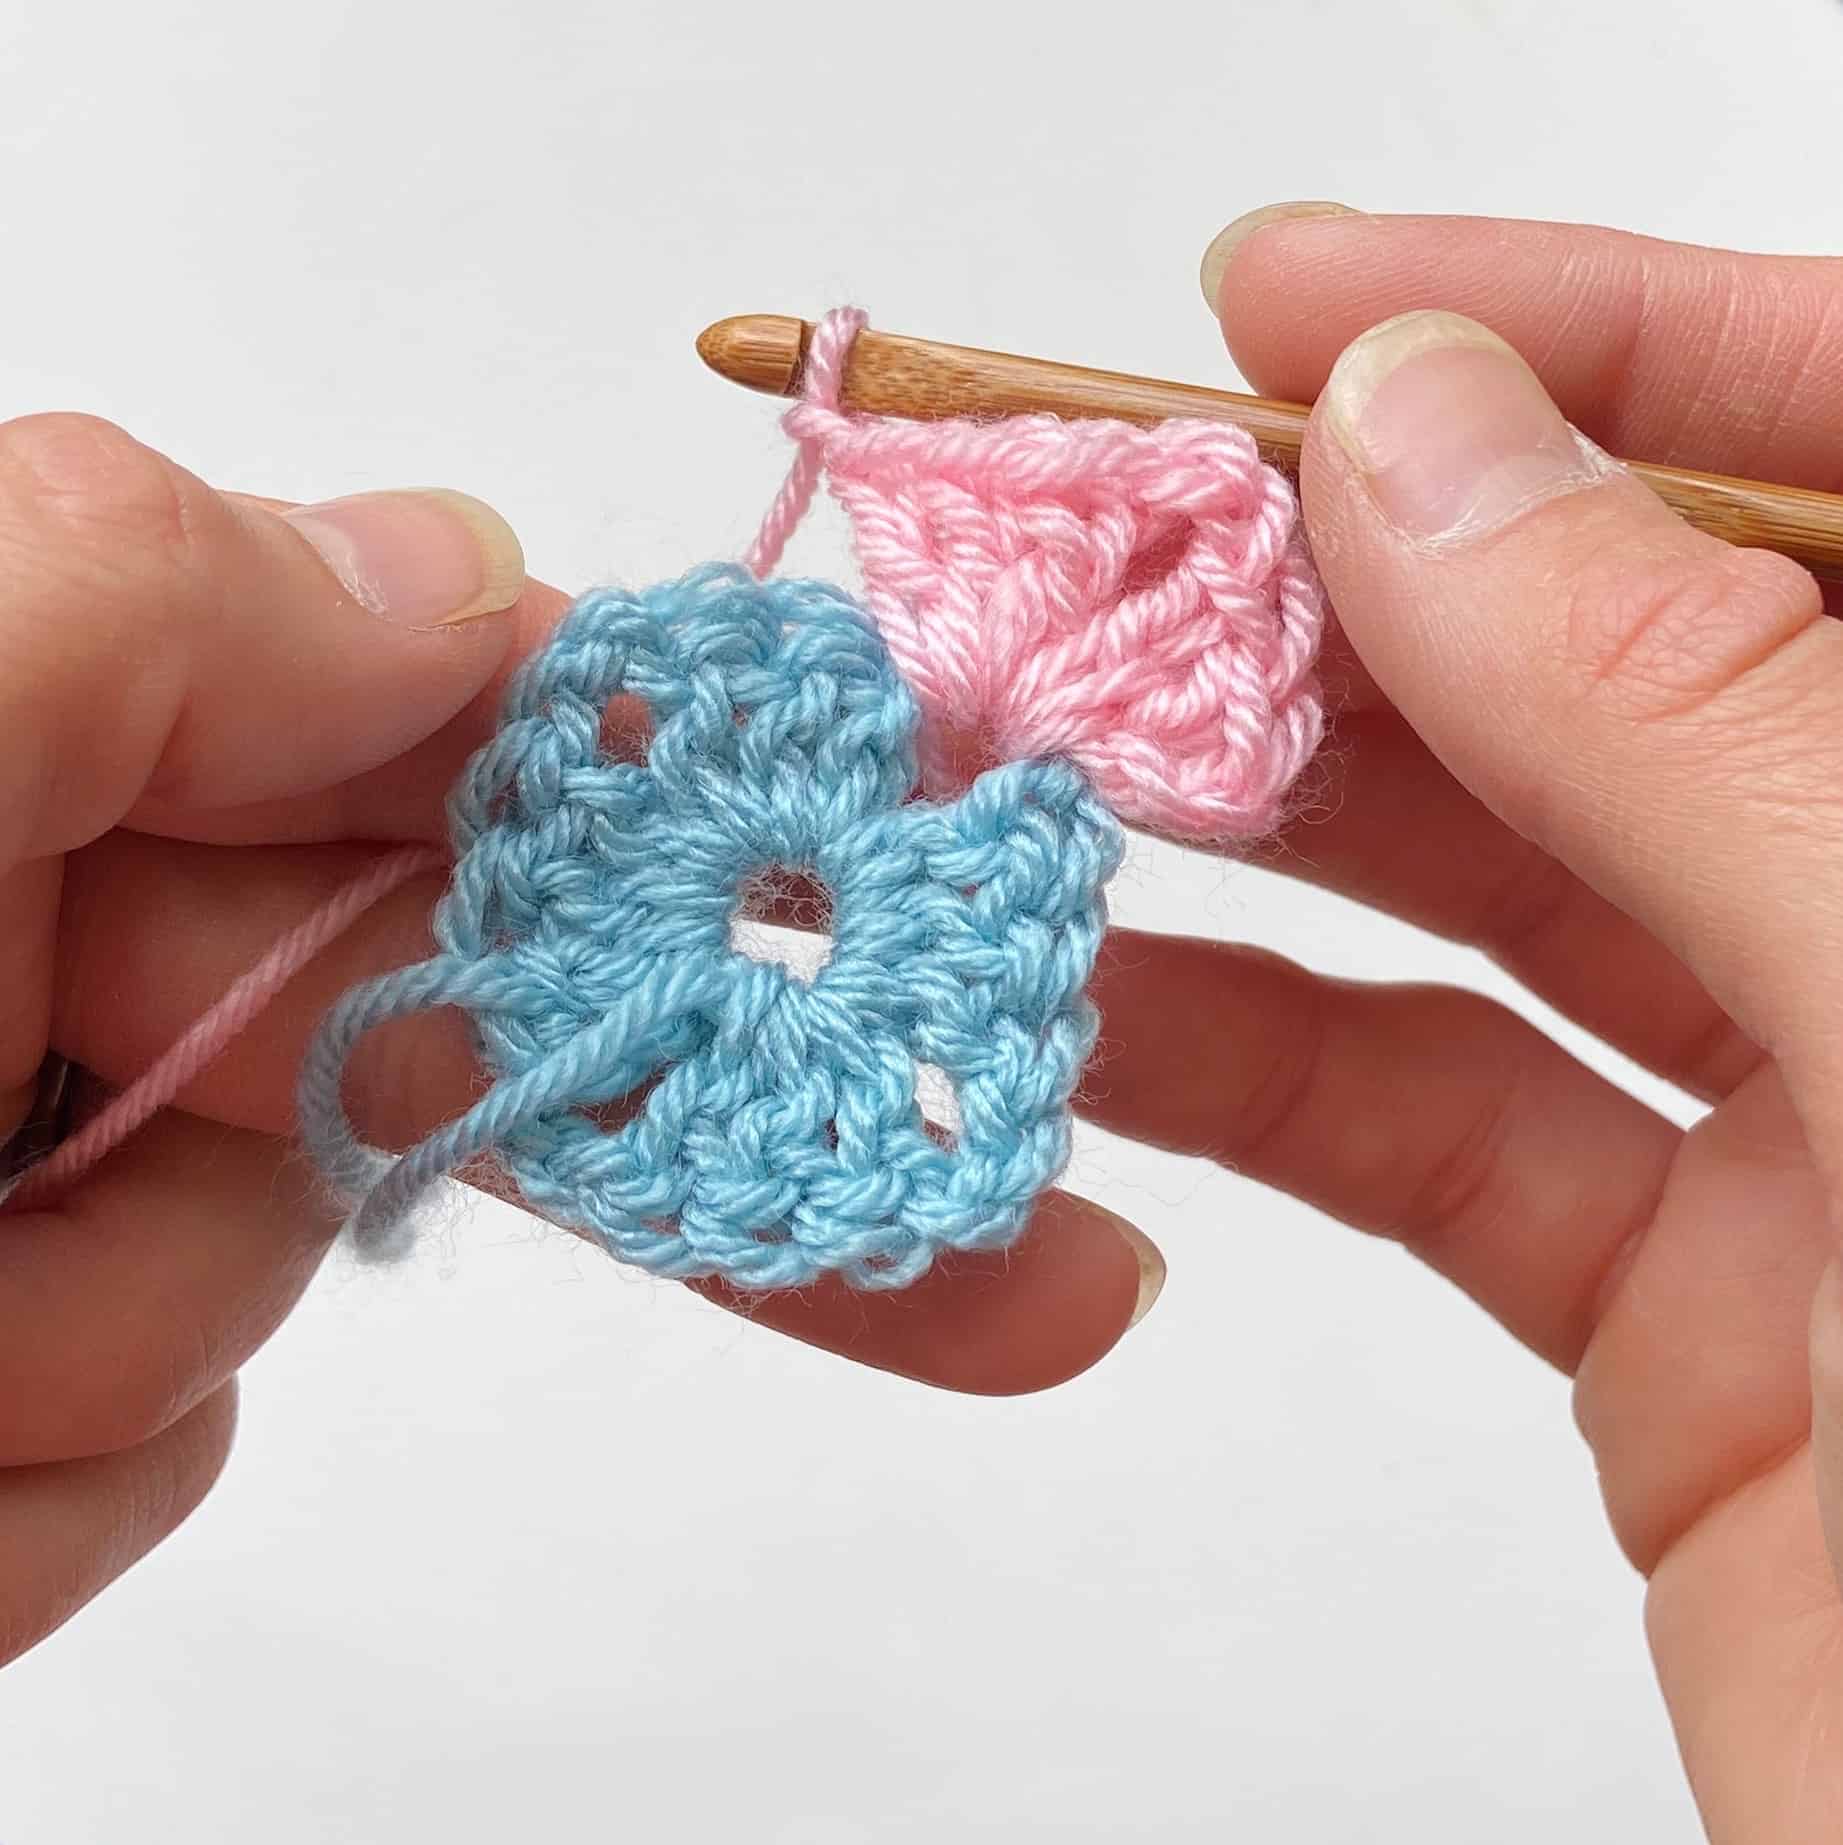 Work the following into the ch2 space (corner) you are in: 2dc/tr, ch2 3dc/tr, ch1.
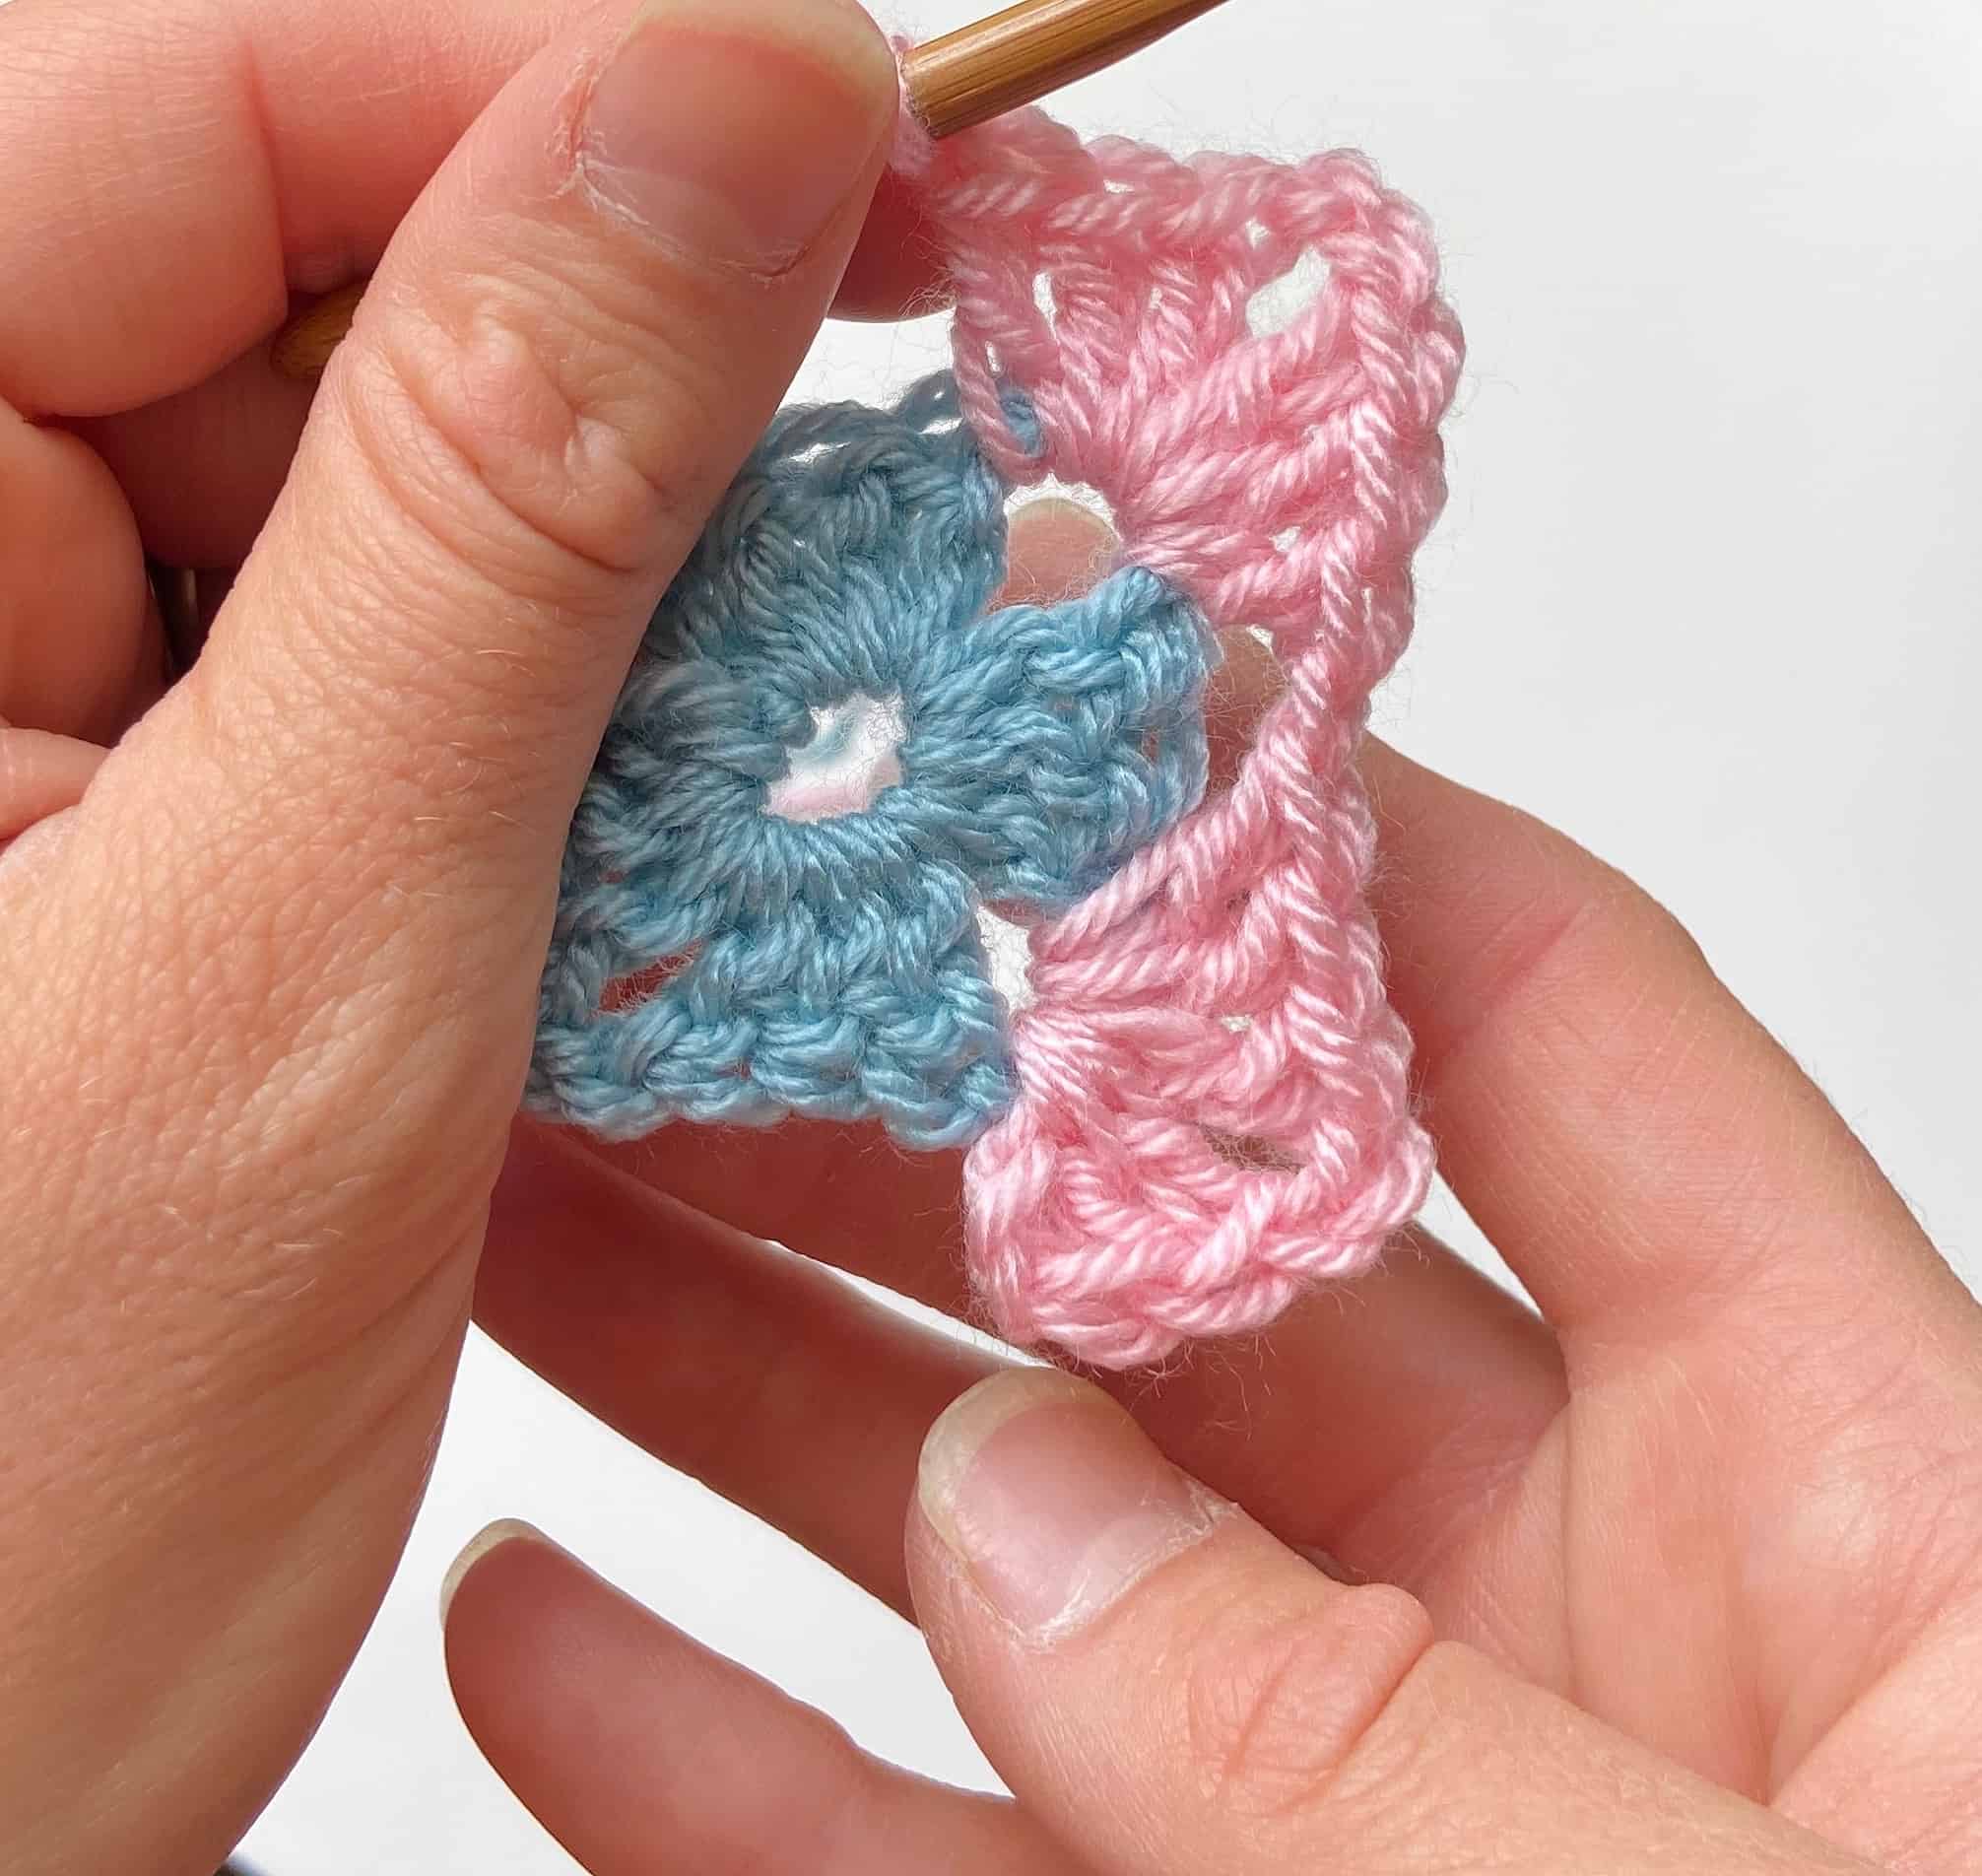 Working in the next ch2 space (corner): 3dc/tr, ch2, 3dc/tr, ch1. (You will start to see that the ch1 spaces you are making on this round are the place where you work the set of stitches for the next round).
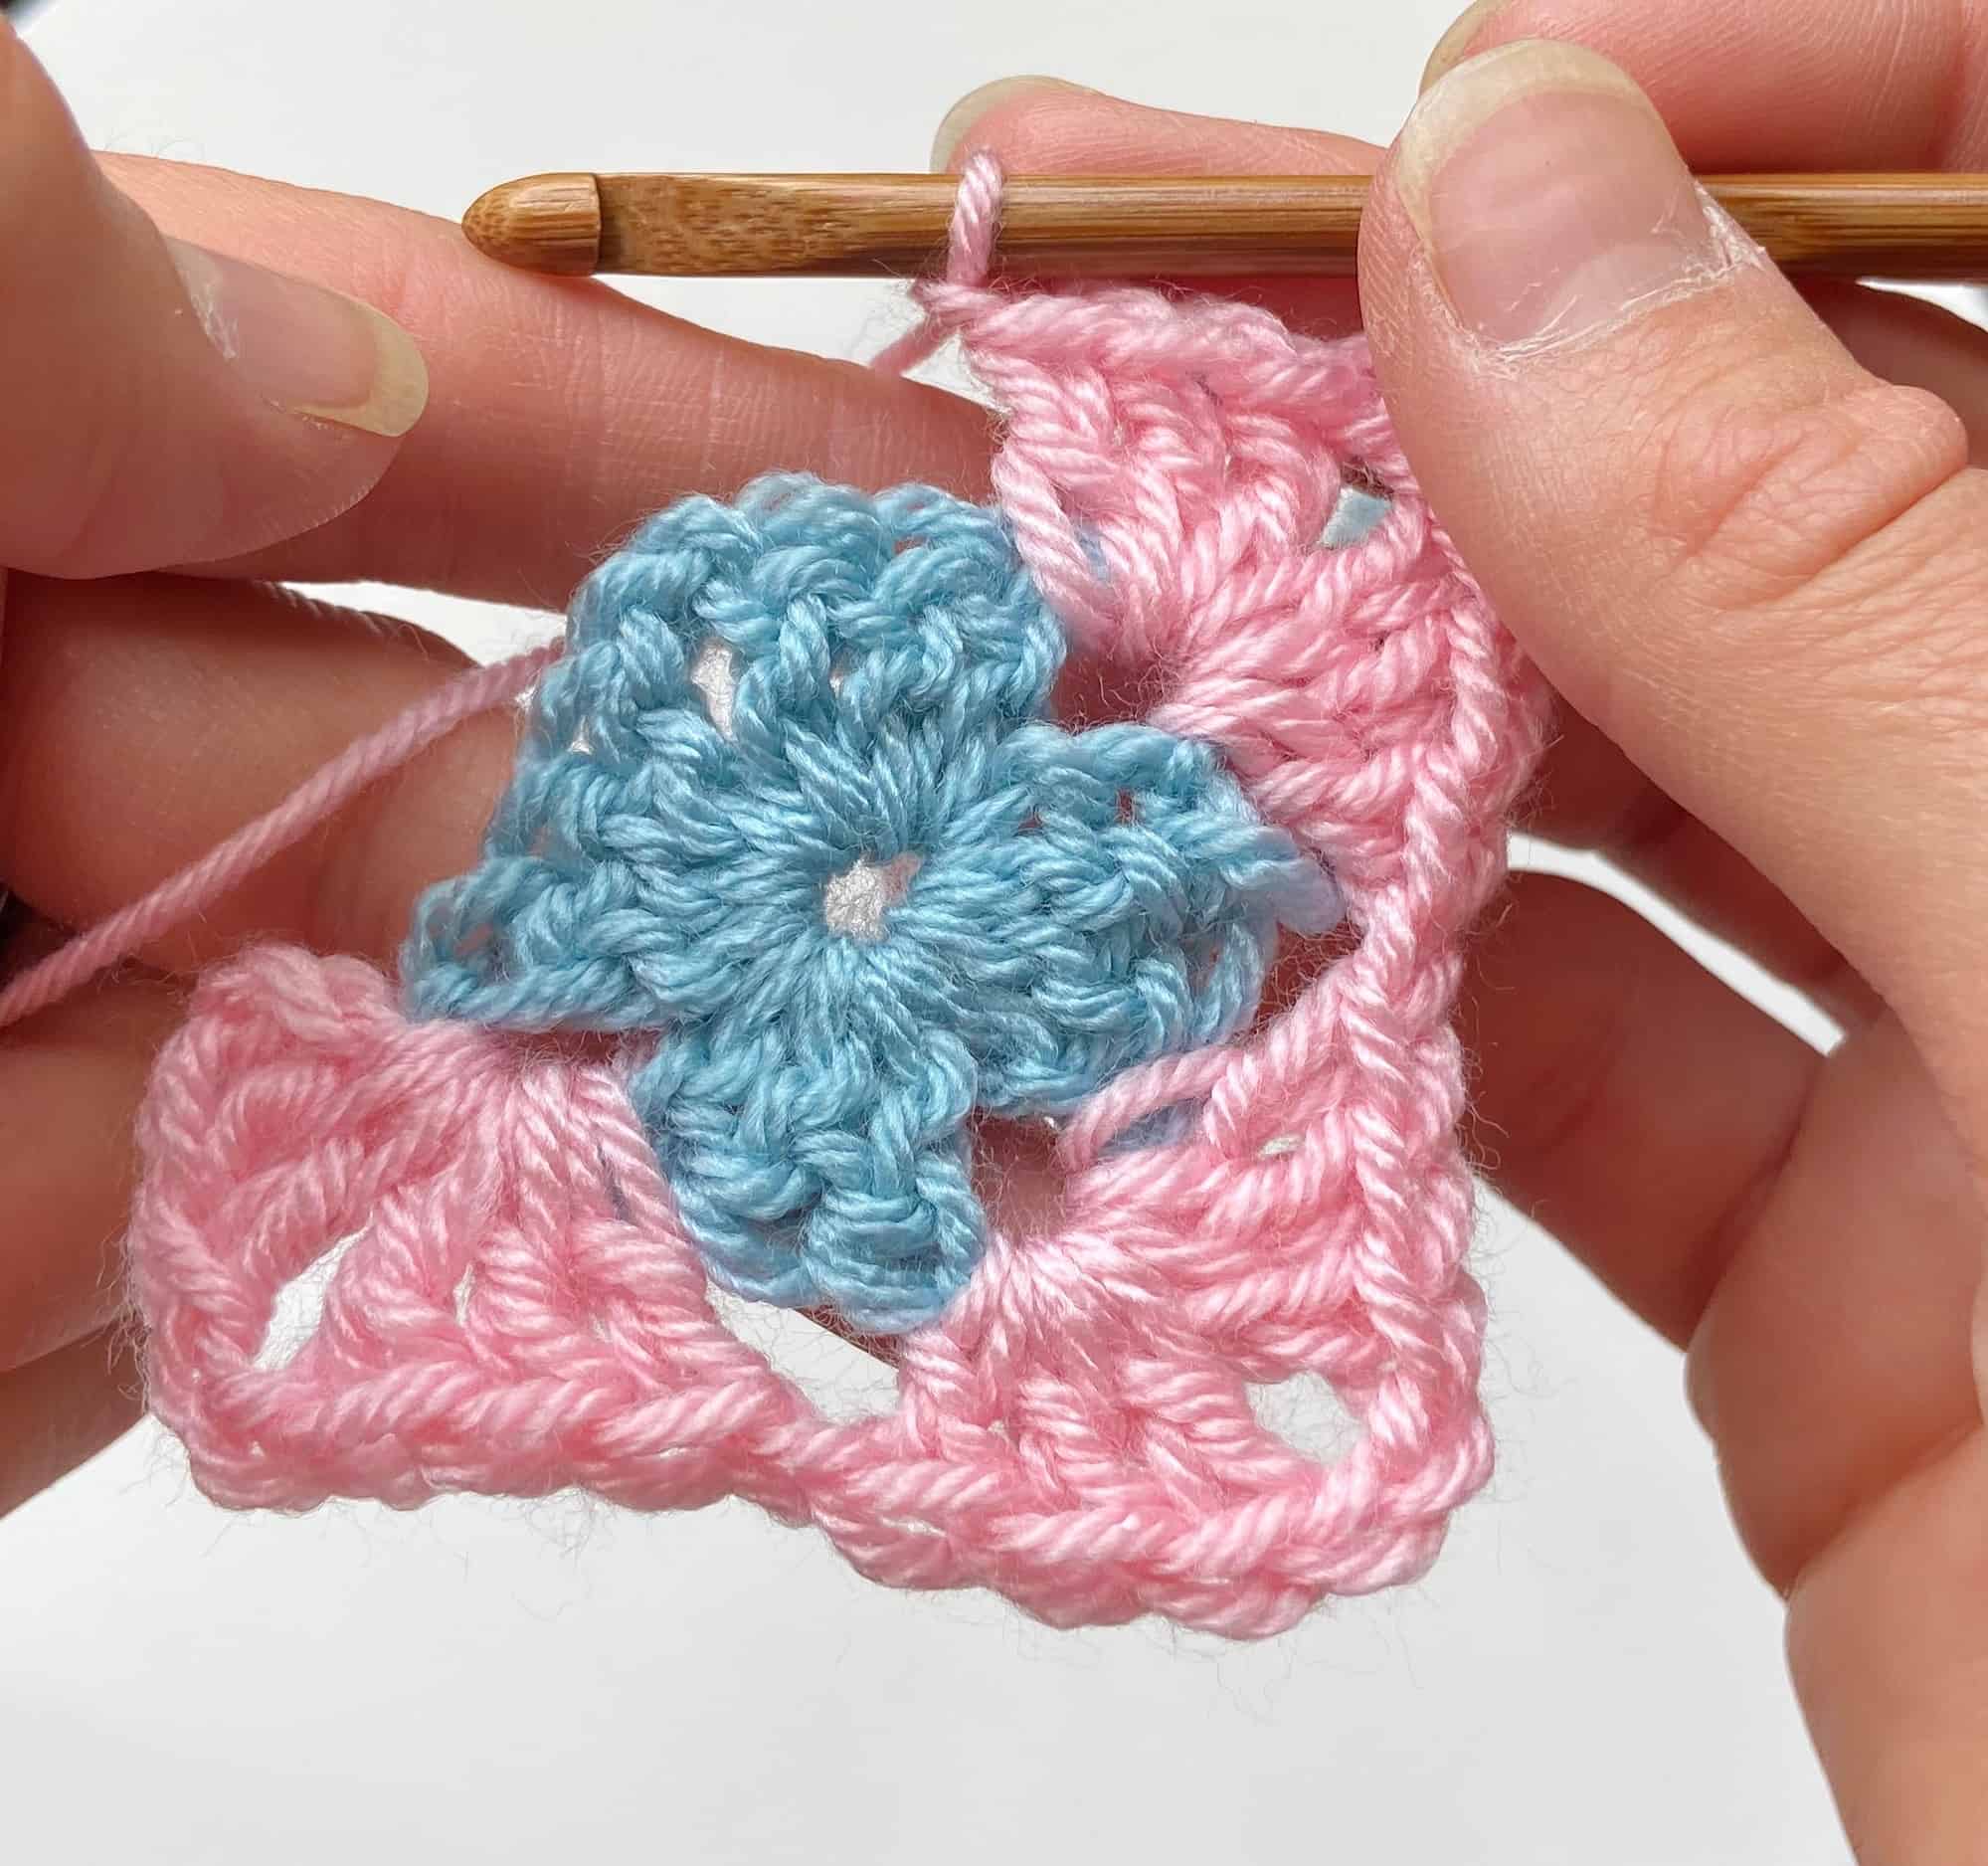 Repeat Step 10 into the next ch2 space (corner).
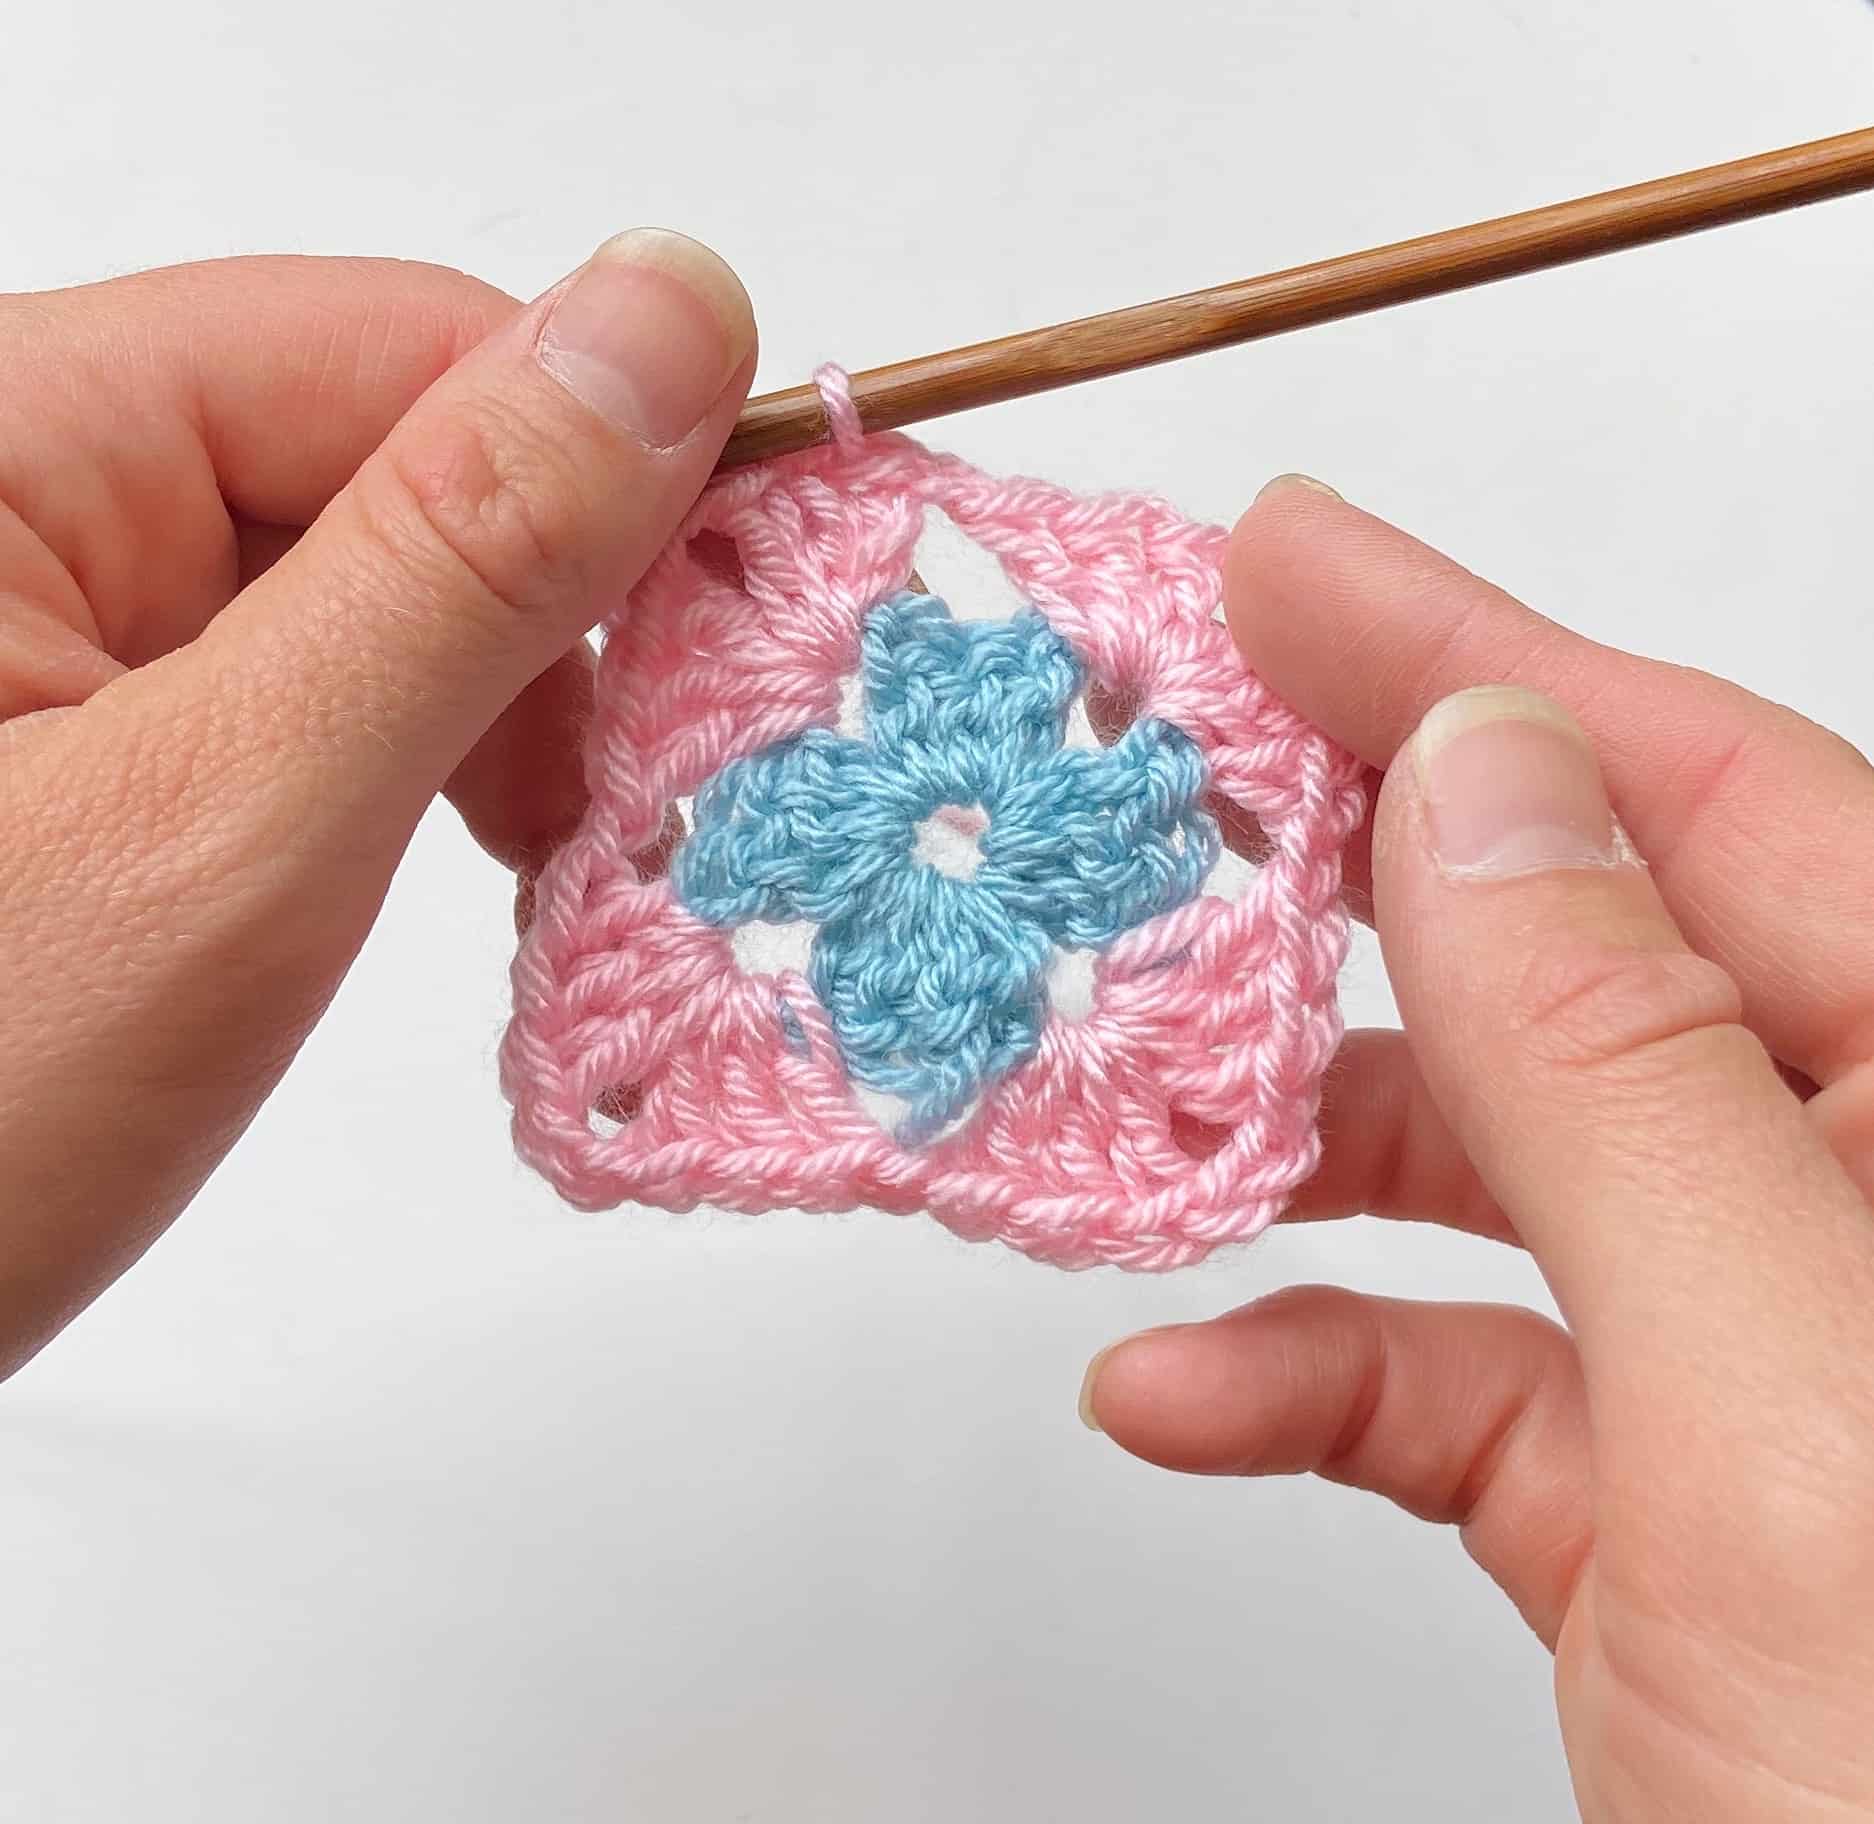 Repeat Step 10 into the final ch2 space (corner) and then join yanr with a slip stitch to the top of the ch3 you began with. Break your yarn.
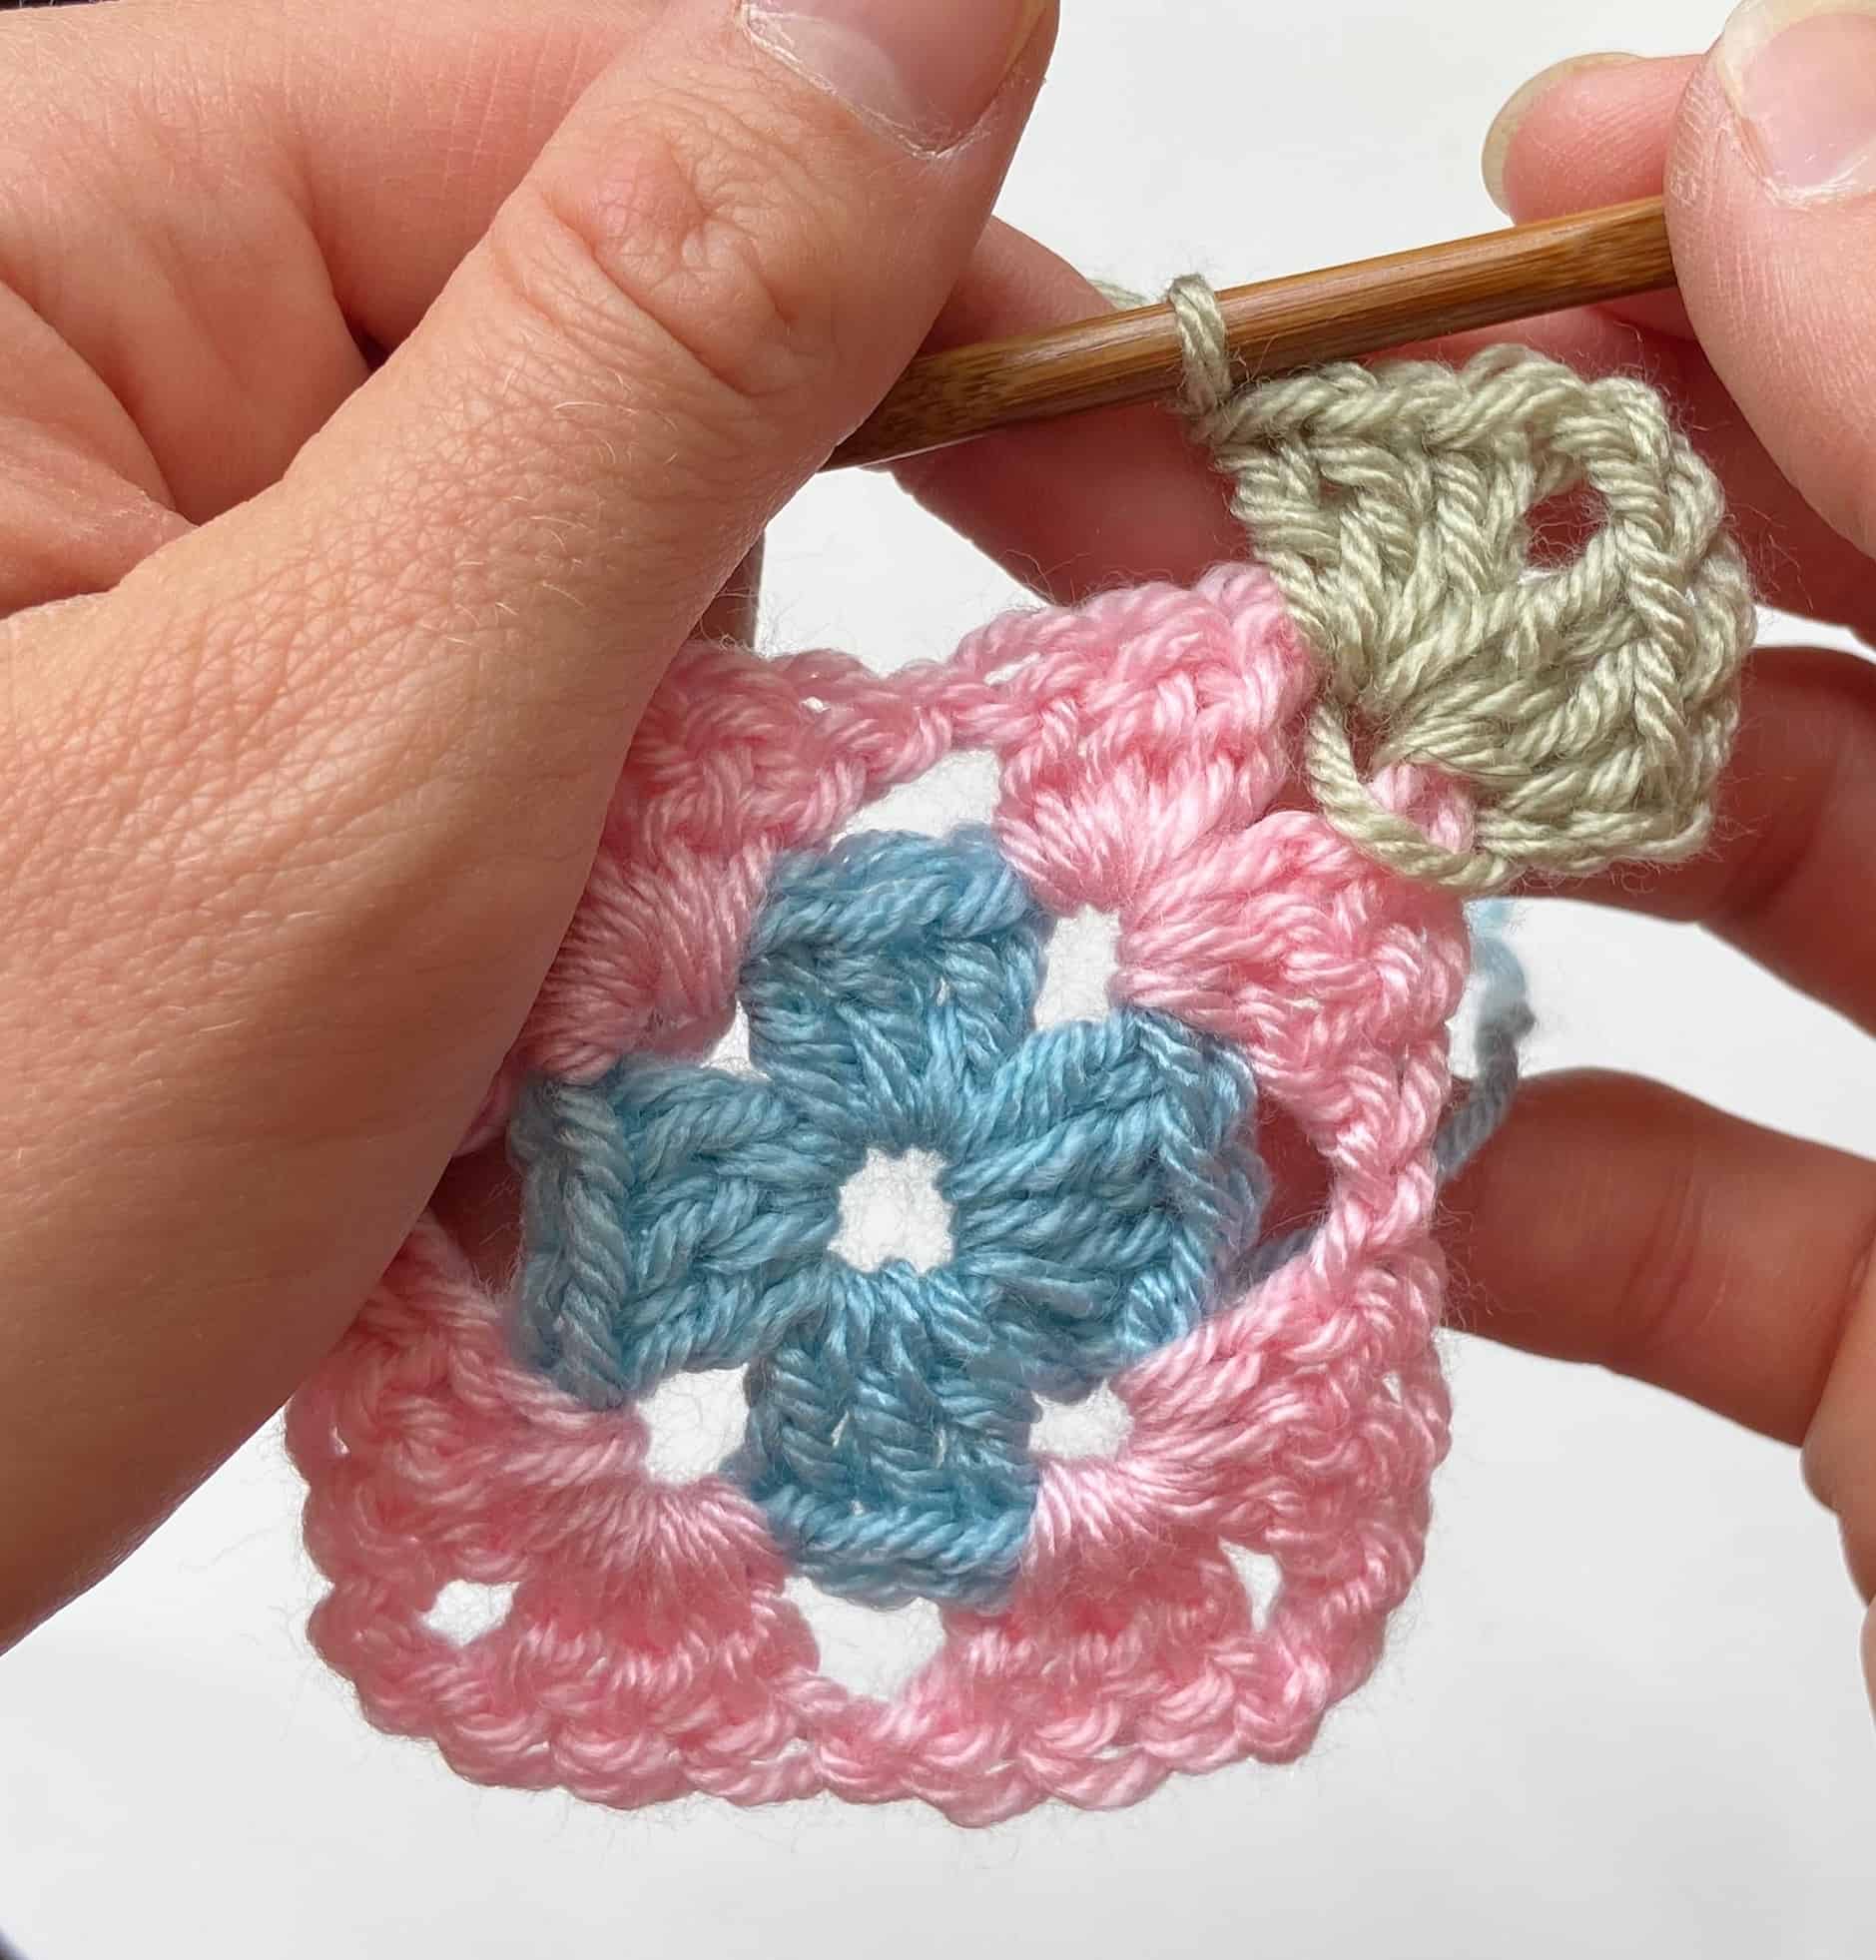 Turn your granny square over so the the right side is facing you again and join your next colour of yarn to any of the ch2 spaces (corners). Repeat Steps 8 and 9 to create your first corner.
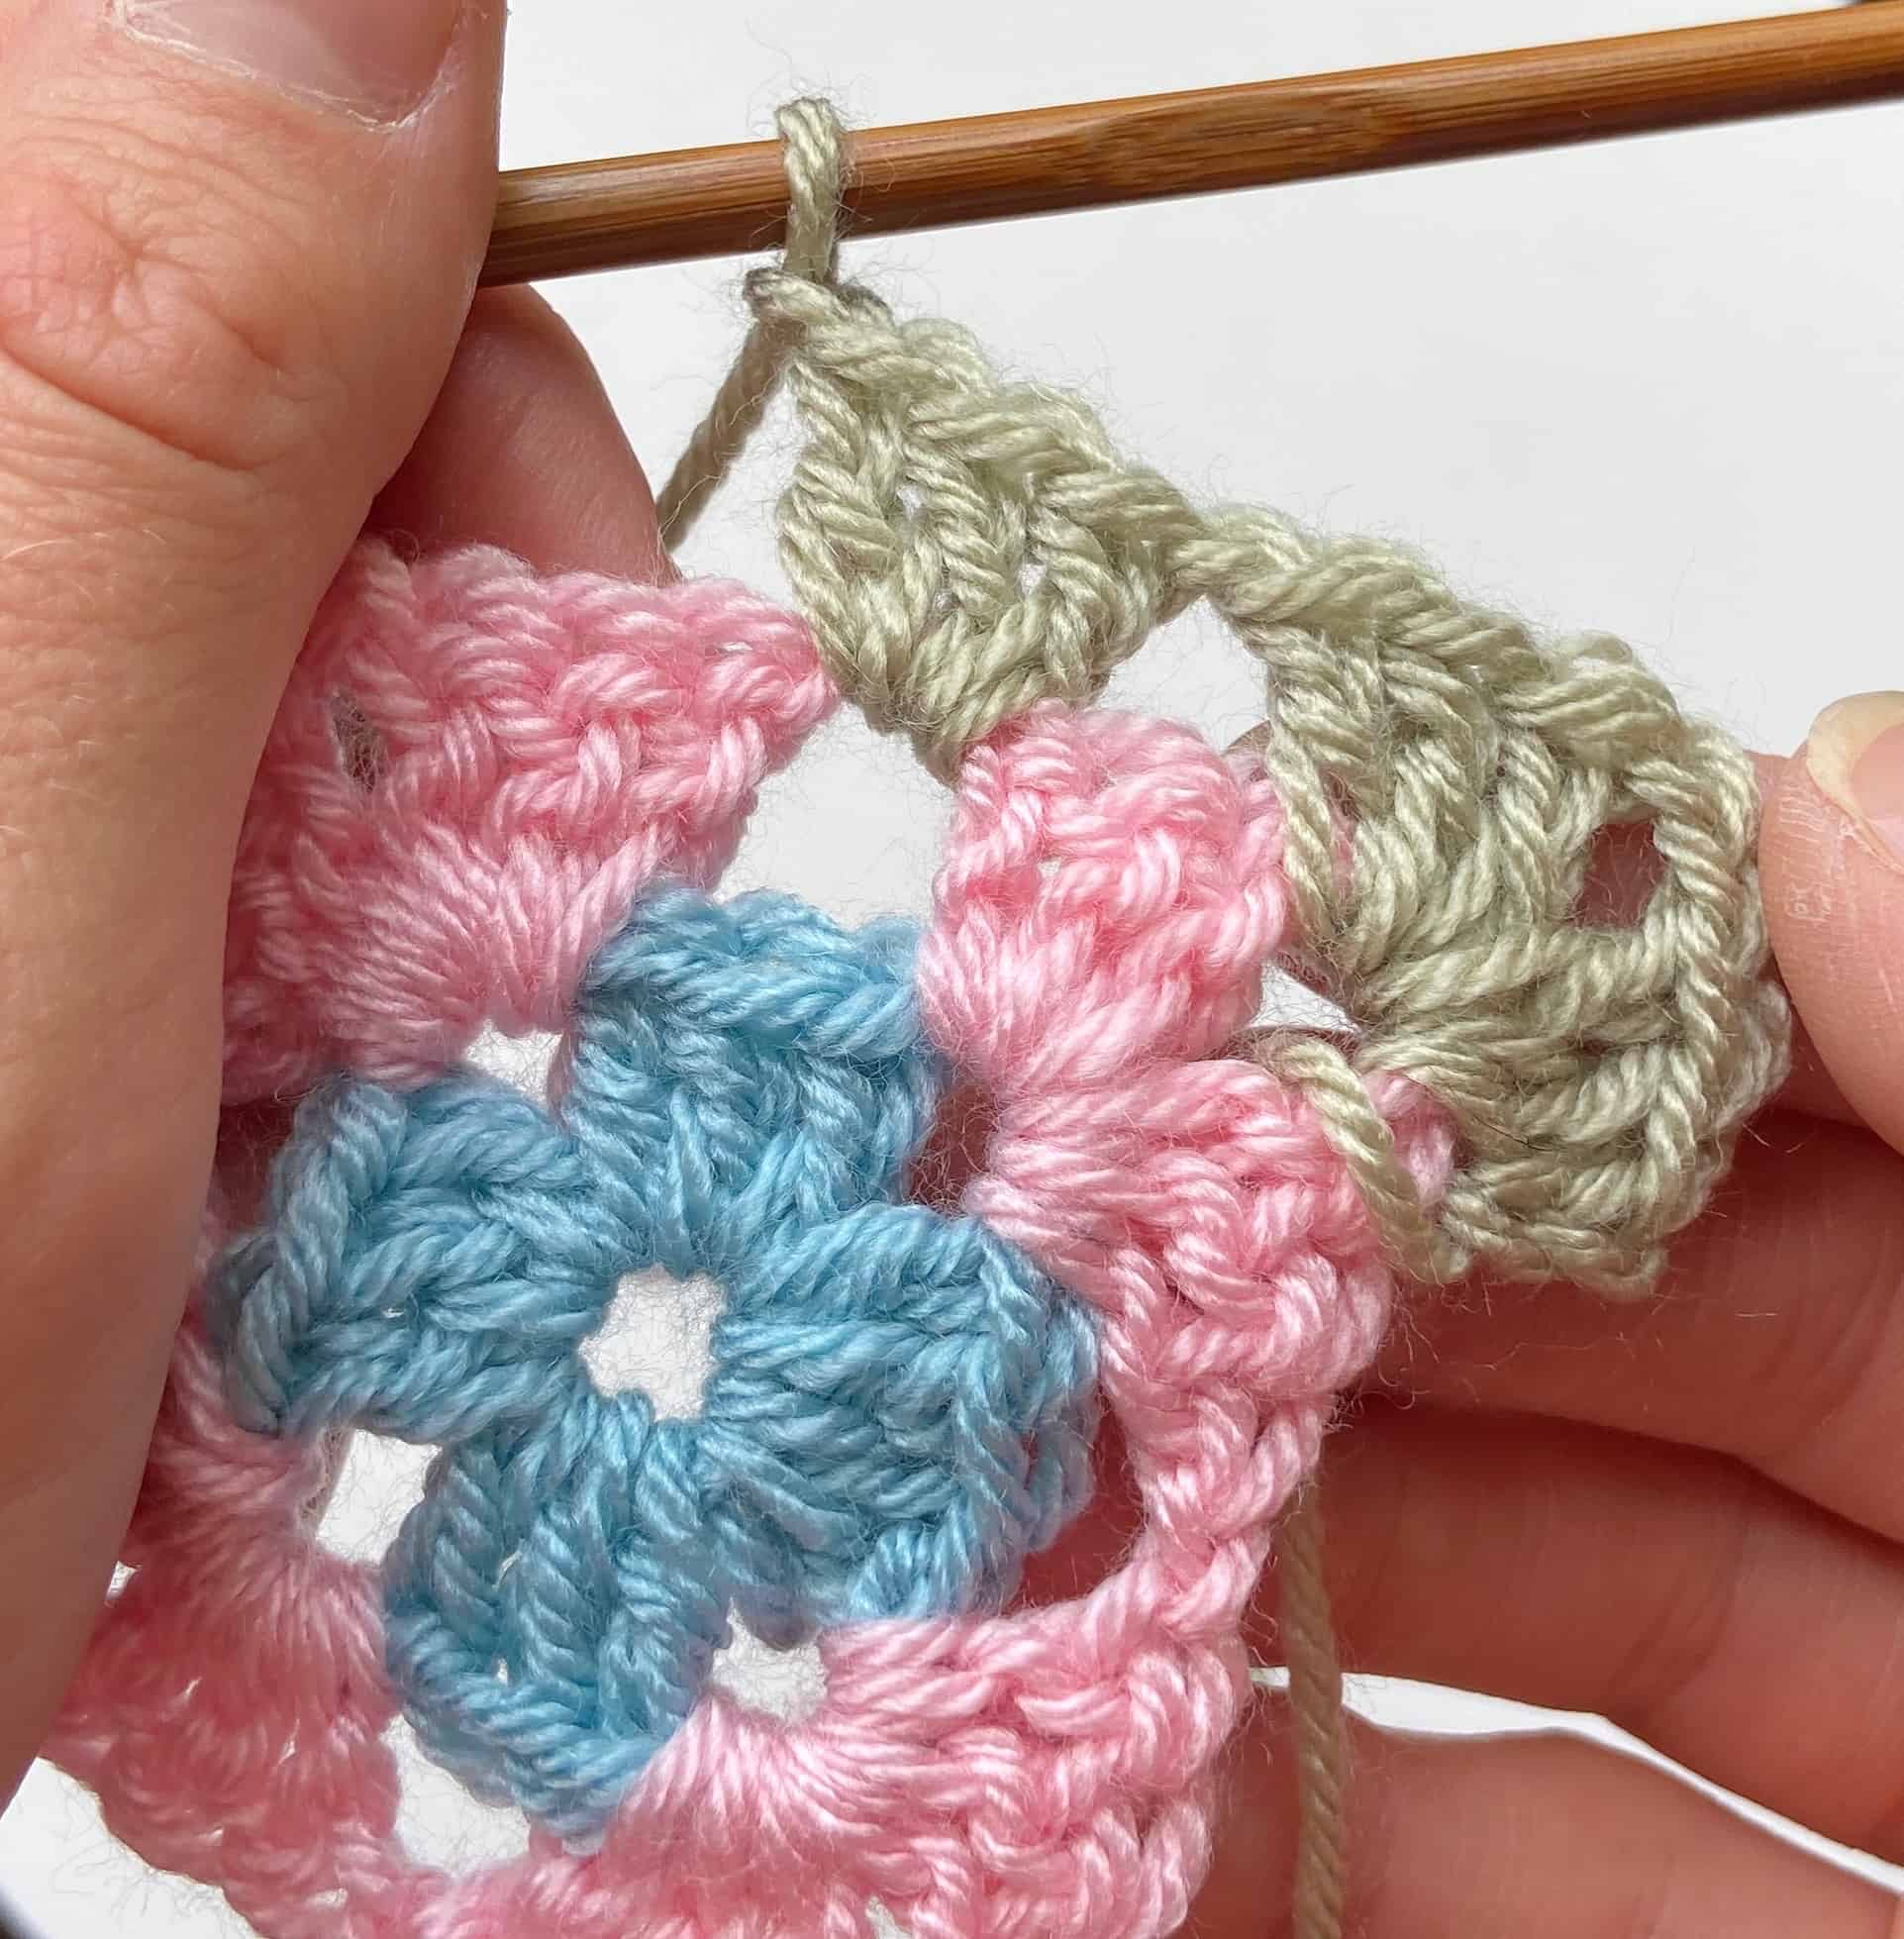 Now you need to crochet 3dc/tr into the next ch1 space, then ch1.
 Continue working around crocheting (3dc/tr, ch2, 3dc/tr, ch1) in each ch2 space (corners) and (3dc/tr, ch1) in each ch1 space. Join this round as before with a slip stitch in the first ch3. Break your yarn.
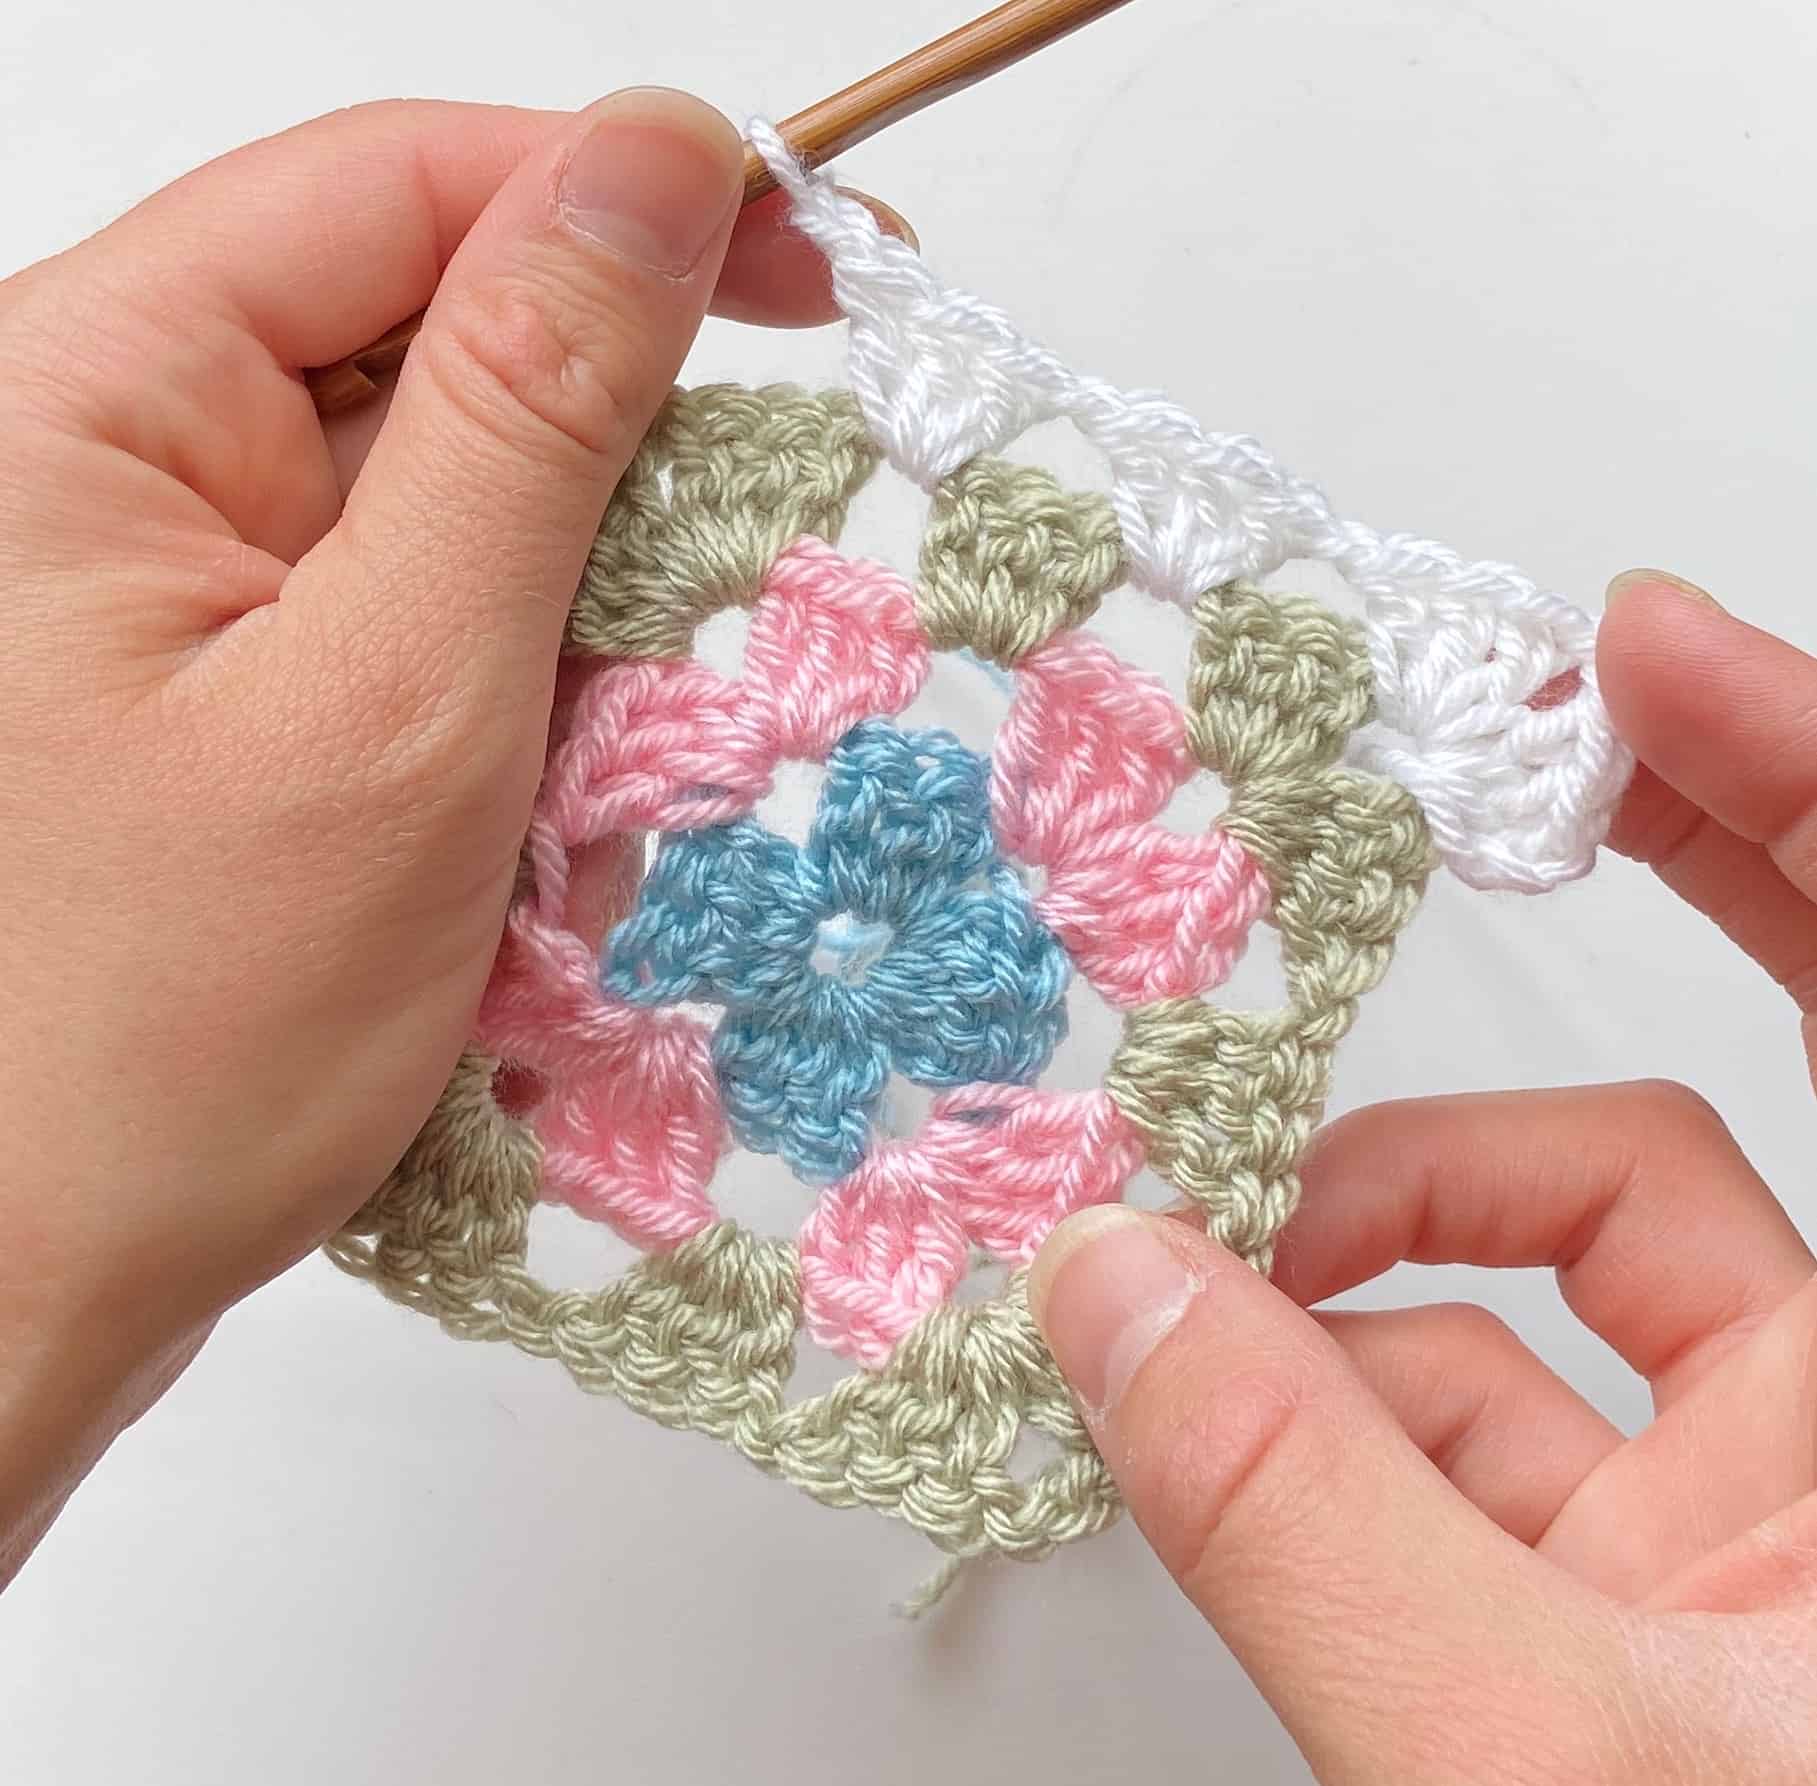 Turn your granny square over again to start the next round. Join your new yarn colour as previously and work the round as the previous one. The only difference with each round as you increase the size is an extra ch1 space along each side to work a (3dc/tr, ch1) into.
 Complete your granny sqaure by sewing in all ends (or you can weave them in as you go but I prefer not to as it sometimes looks messy to me).
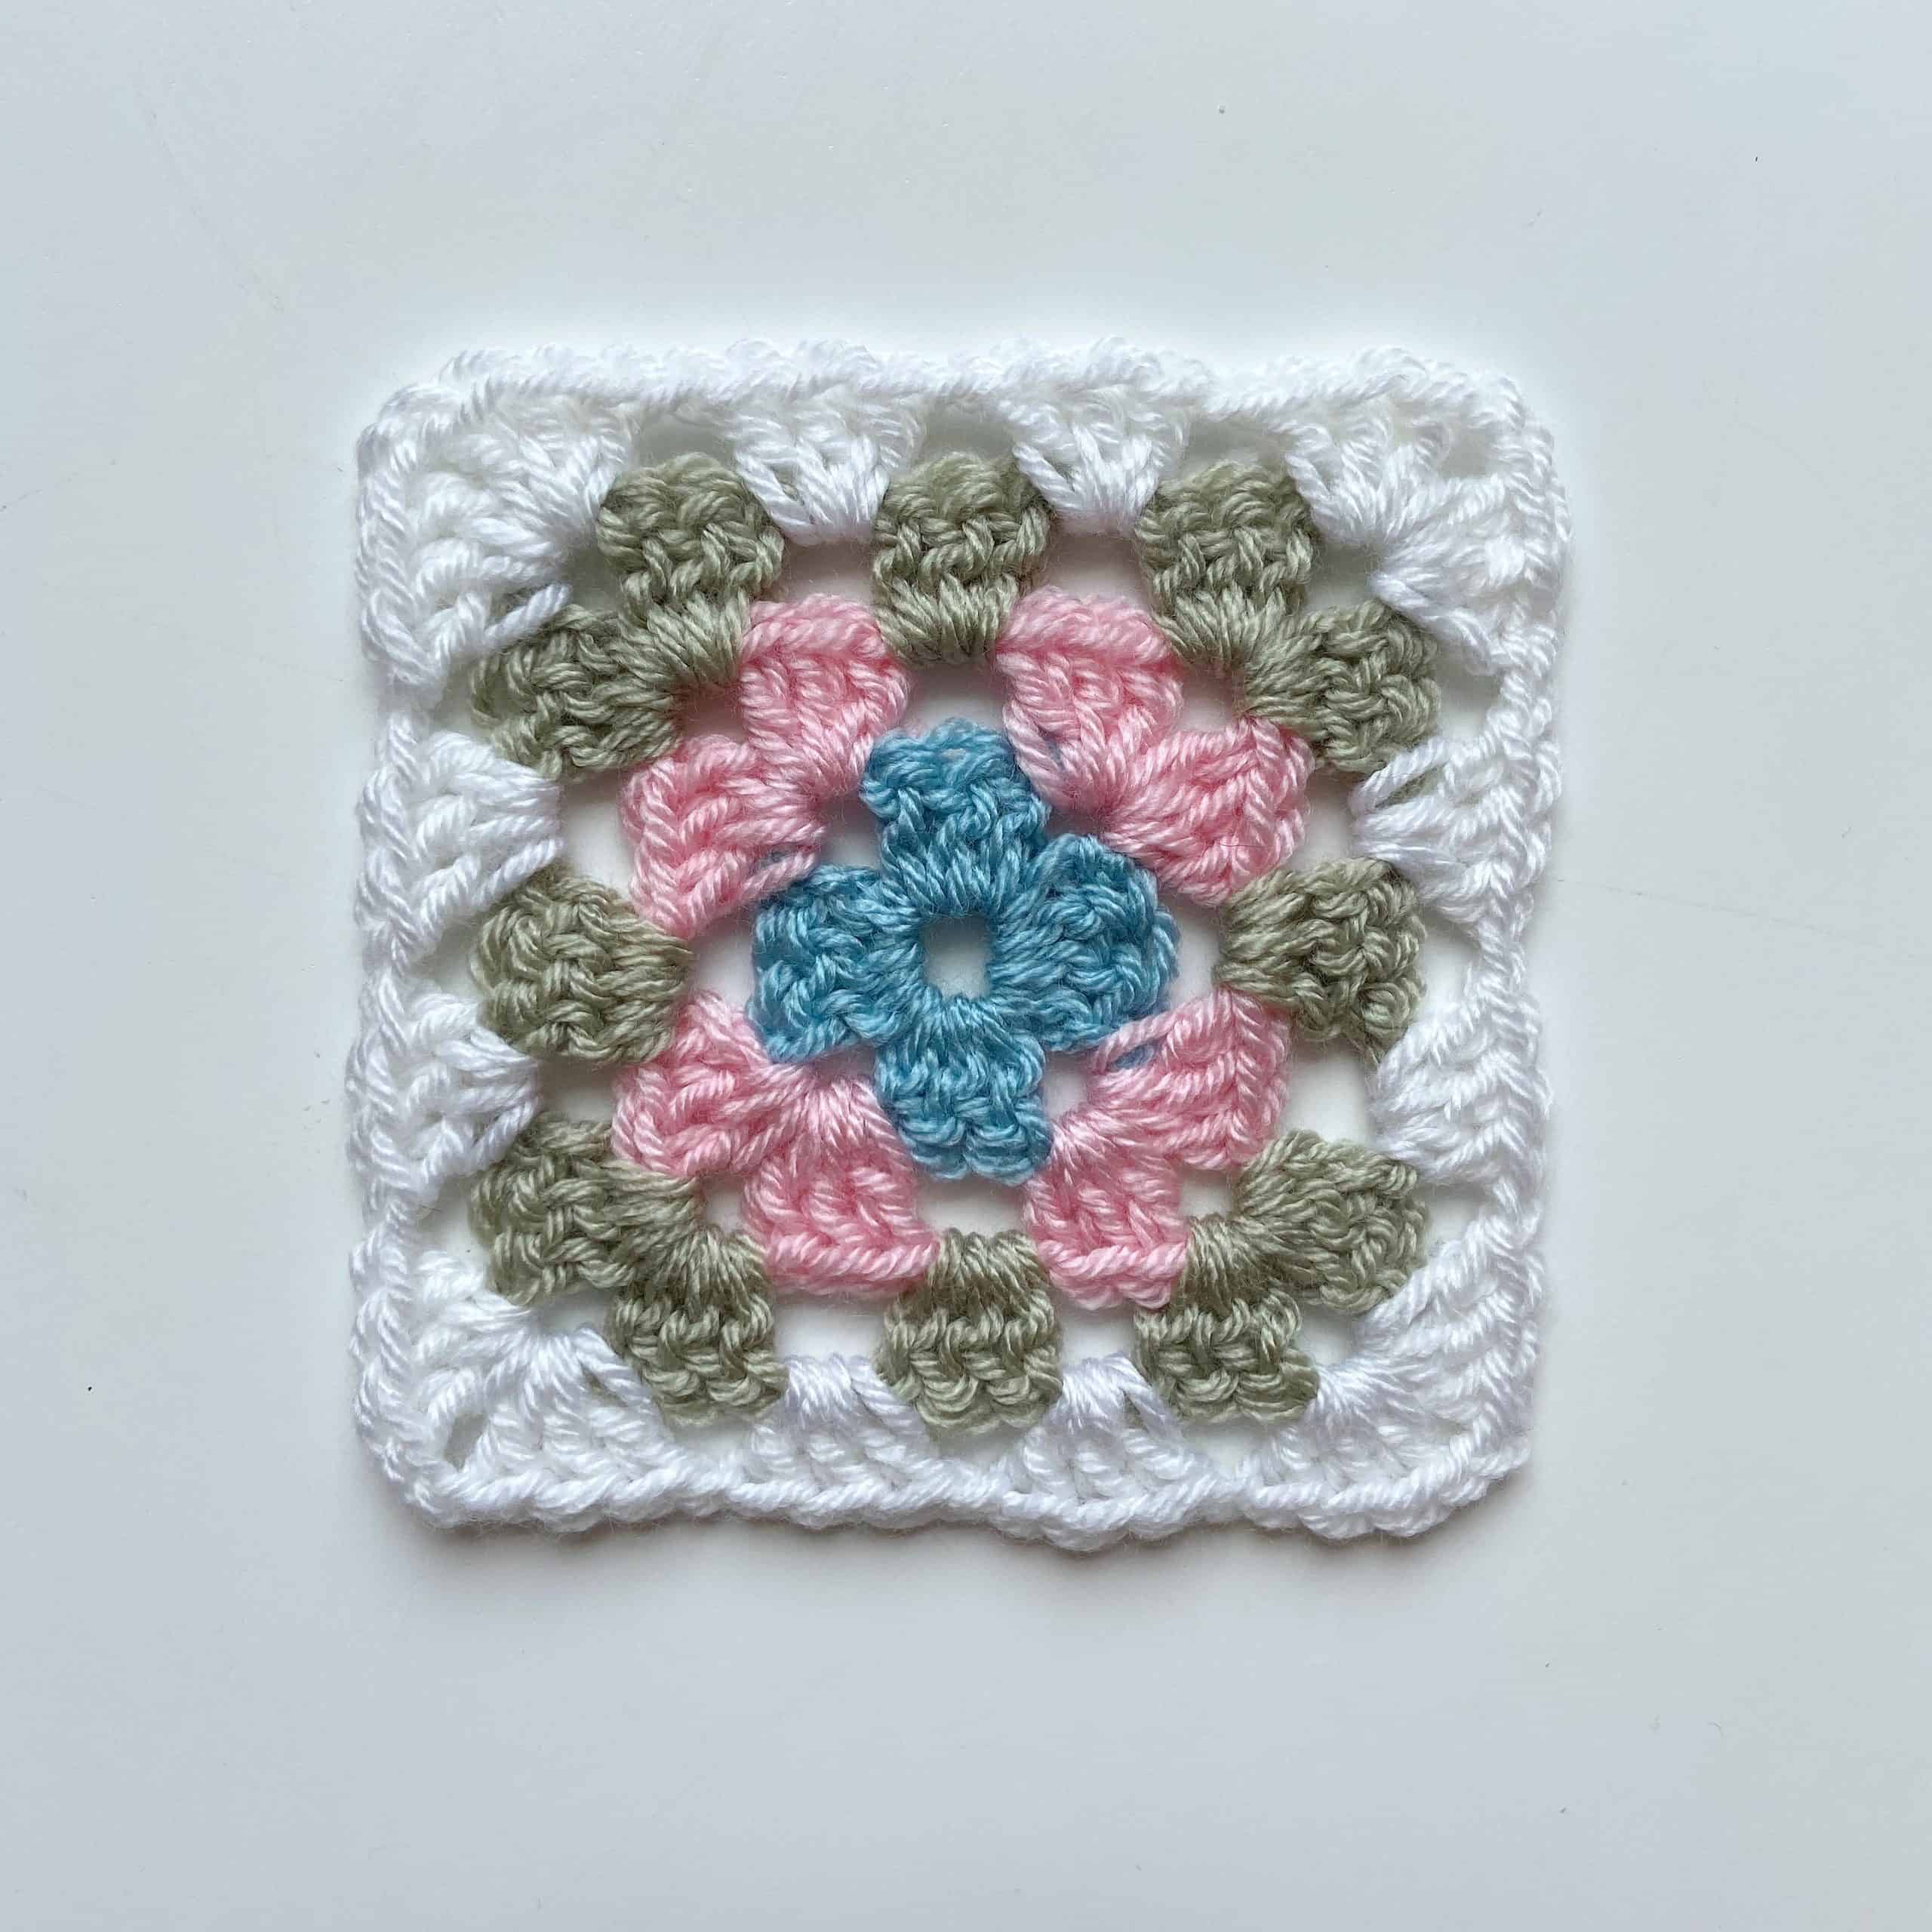 That's all there is to it! This is my granny square before I even blocked it!
Notes
It's worth noting that there are many different ways to create a granny square - this is just the way I like to do it! You can make them with bigger chains at the corners, smaller chains at the corners, no chains in the middle, more chains in the middle. It's entirely up to you and how you want your square to look.
My best advice would be to experiment and have fun!
Compare Your Granny Squares!
Does it really make that much of a difference you ask? Well here’s a little compare and contrast to show you a twisted granny square and a much straighter one! I hope you’ll agree it’s worth the turning!
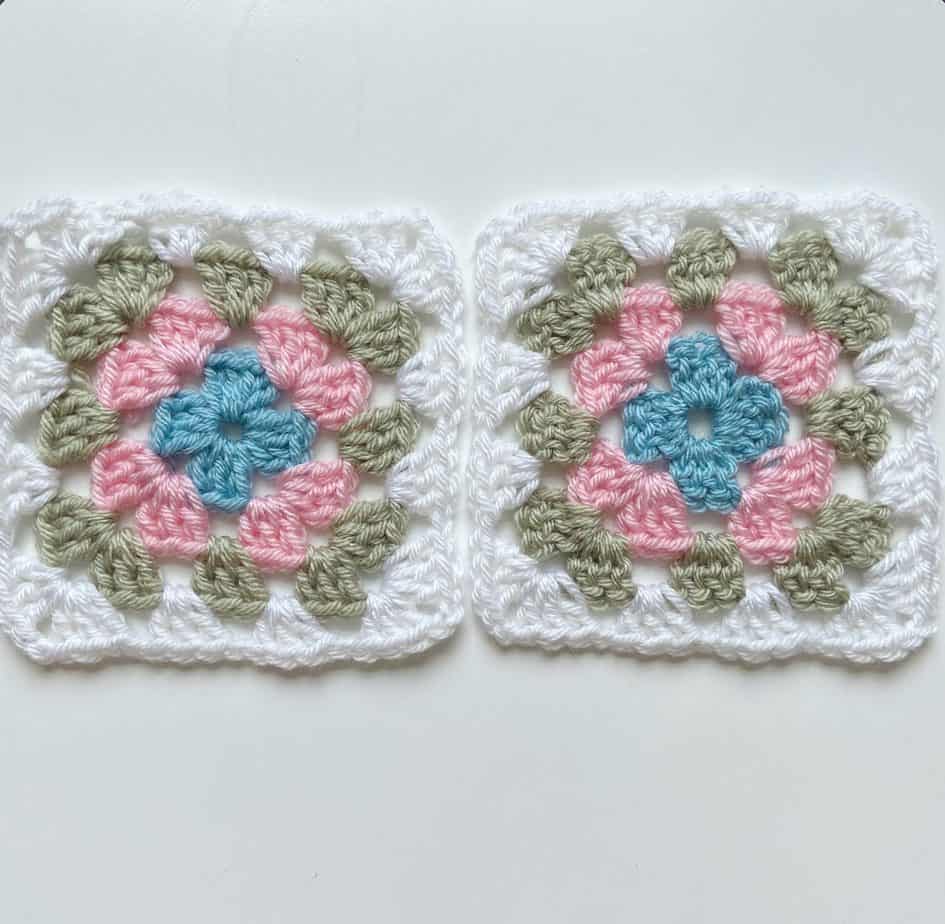
I know that some people don’t like seeing the opposite side of the stitches and I think that’s a valid point, however I much prefer a straight and neat square I think.
Ultimately though, the choice is yours! Why not try it both ways and see what you prefer. Maybe you can get away without turning for smaller projects but for larger squares, I would definitely turn them, you’ll see such a great difference!
Written Crochet Pattern for How to Crochet a Granny Square
In Standard UK Terms:
Make a magic ring.
Round 1: *3tr, ch2, rep from * three more times, ss in 1st to join. Turn work for next round.
Round 2: Join yarn to any ch2-corner, ch2, *(3tr, ch2, 3tr) in ch2-sp, ch1, rep from * three more times, ss in 1st to join. Turn work for next round.
Round 3: Join yarn to any ch2-corner, ch2, *(3tr, ch2, 3tr) in ch2-sp, ch1, 3tr in ch1-sp, ch1, rep from * three more times, ss in 1st to join. Turn work for next round.
Round 4: Join yarn to any ch2-corner, ch2, *(3tr, ch2, 3tr) in ch2-sp, ch1, (3tr in ch1-sp, ch1,) twice, rep from * three more times, ss in 1st to join. Turn work for next round.
In Standard US Terms:
Make a magic ring.
Round 1: *3dc, ch2, rep from * three more times, ss in 1st to join. Turn work for next round.
Round 2: Join yarn to any ch2-corner, ch2, *(3dc, ch2, 3dc) in ch2-sp, ch1, rep from * three more times, ss in 1st to join. Turn work for next round.
Round 3: Join yarn to any ch2-corner, ch2, *(3dc, ch2, 3dc) in ch2-sp, ch1, 3dc in ch1-sp, ch1, rep from * three more times, ss in 1st to join. Turn work for next round.
Round 4: Join yarn to any ch2-corner, ch2, *(3dc, ch2, 3dc) in ch2-sp, ch1, (3dc in ch1-sp, ch1,) twice, rep from * three more times, ss in 1st to join. Turn work for next round.
Granny Square Projects You Might Enjoy:
Now you’ve got your granny on, here are a couple of my granny square patterns I thought you might like for inspiration:
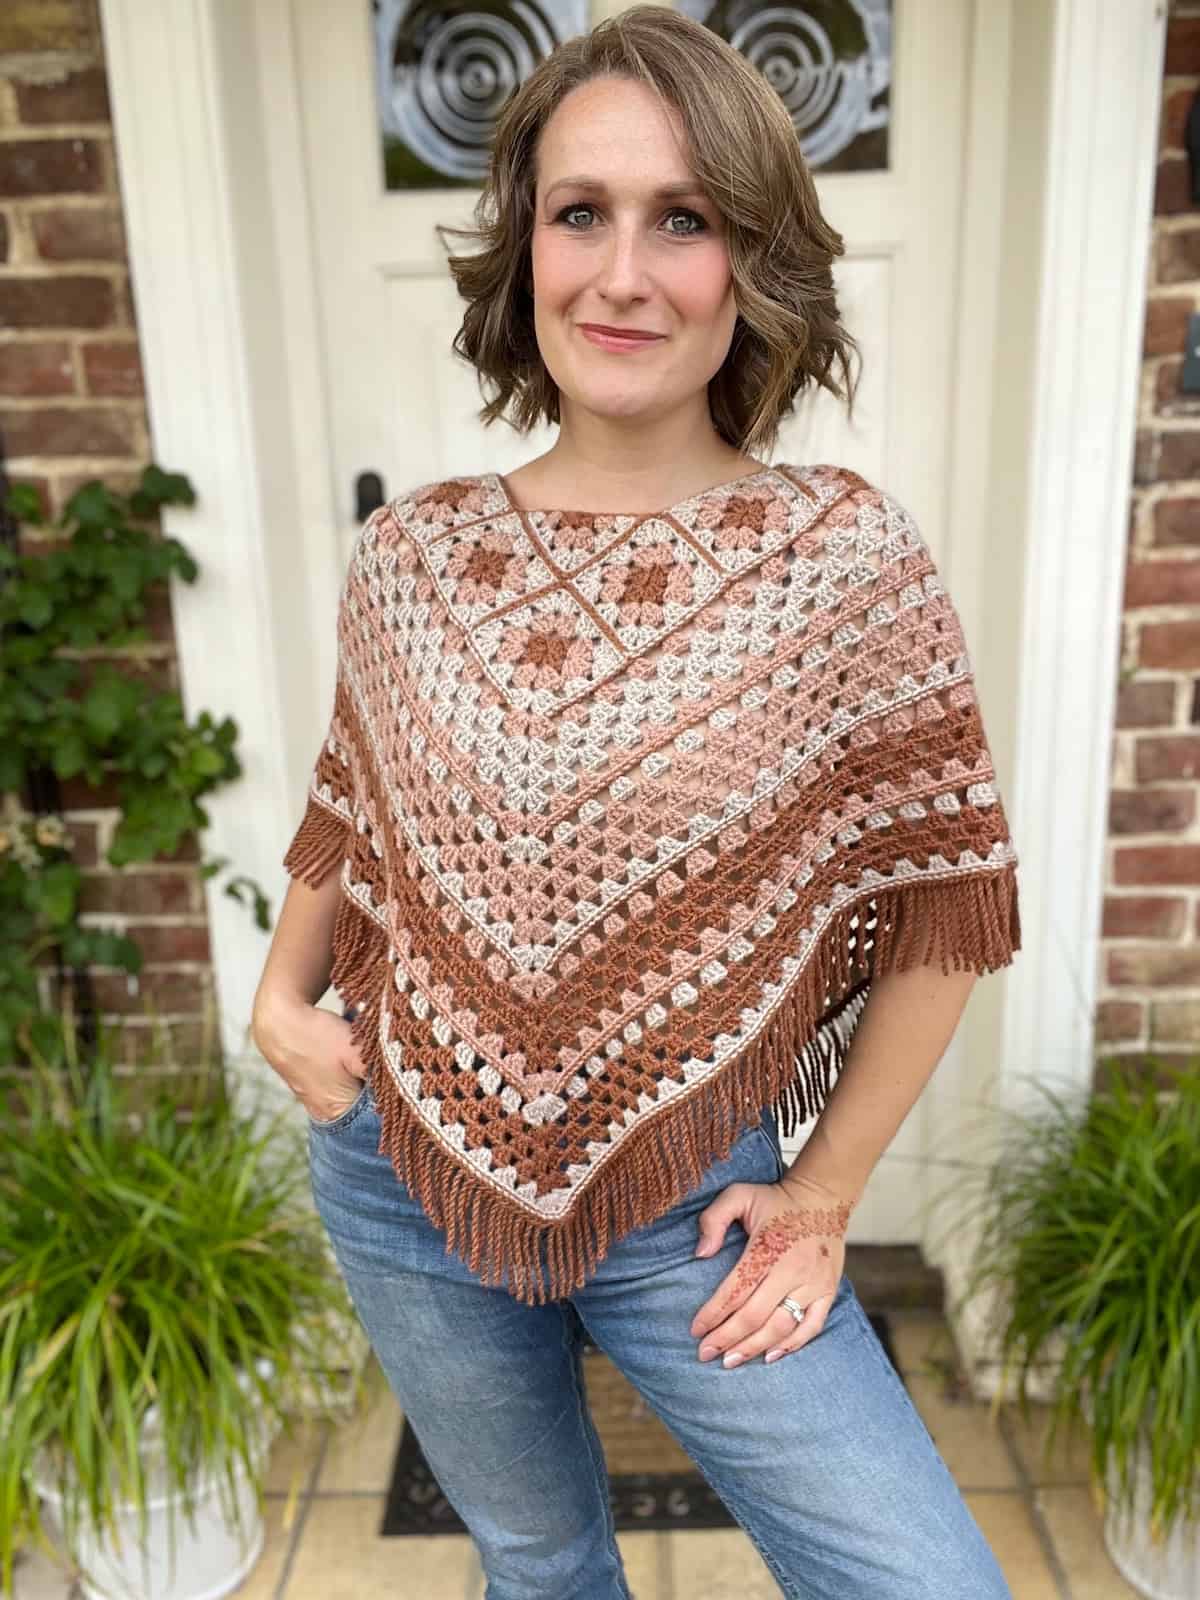
The Franny Granny Square Poncho Pattern is a super easy beginner project that uses traditional granny squares and then the granny stitch to make a fabulous wearable.

The Franny Granny Square Sweater is such fun and so quick to make!
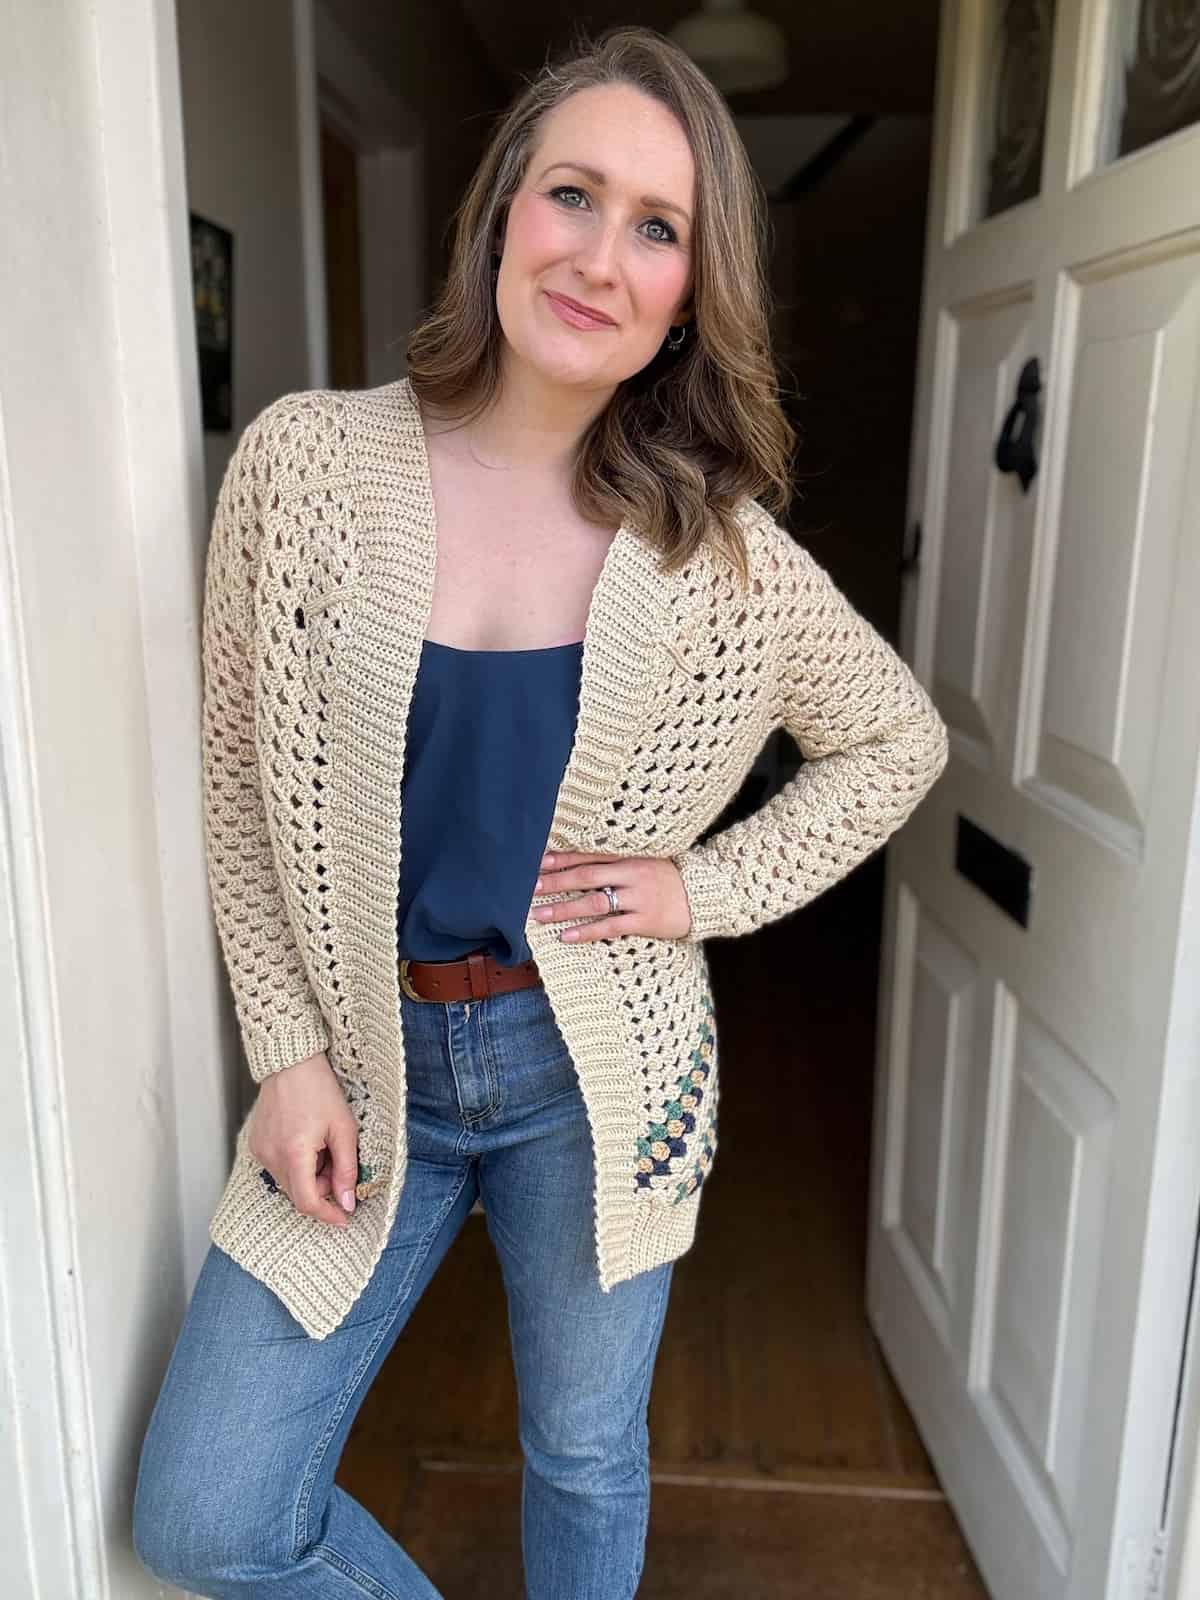
Or how about the Franny Granny Square Cardigan? It just uses a few granny squares at the top to form the yoke.
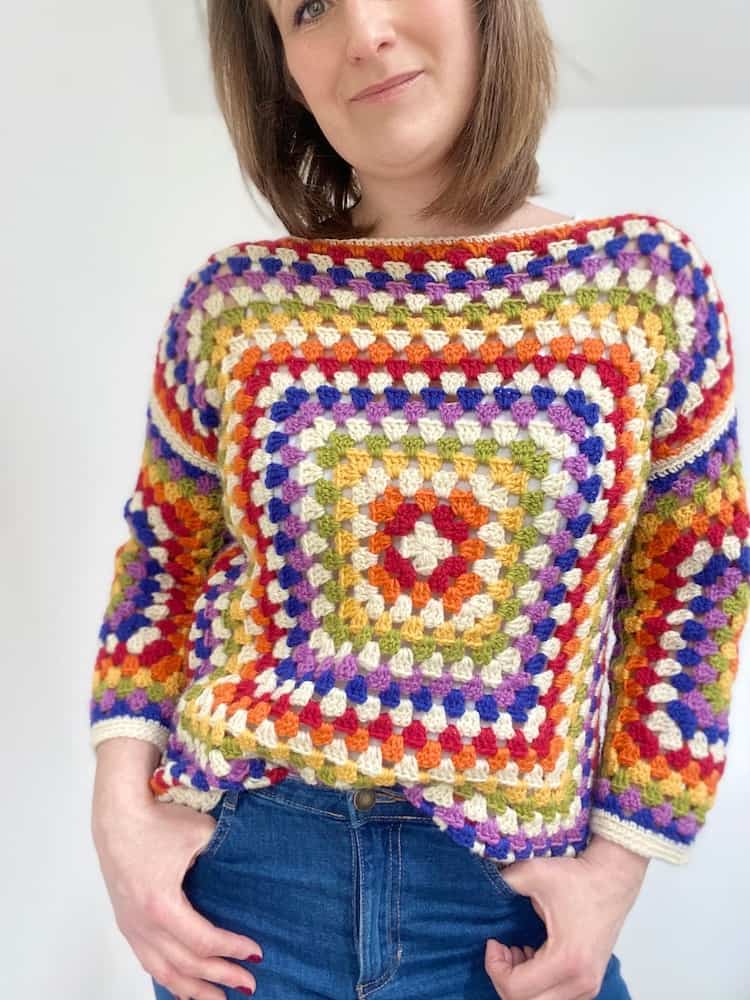
The Rainbow Granny Square Sweater pattern is another great one for beginners – just 4 squares sewn together!
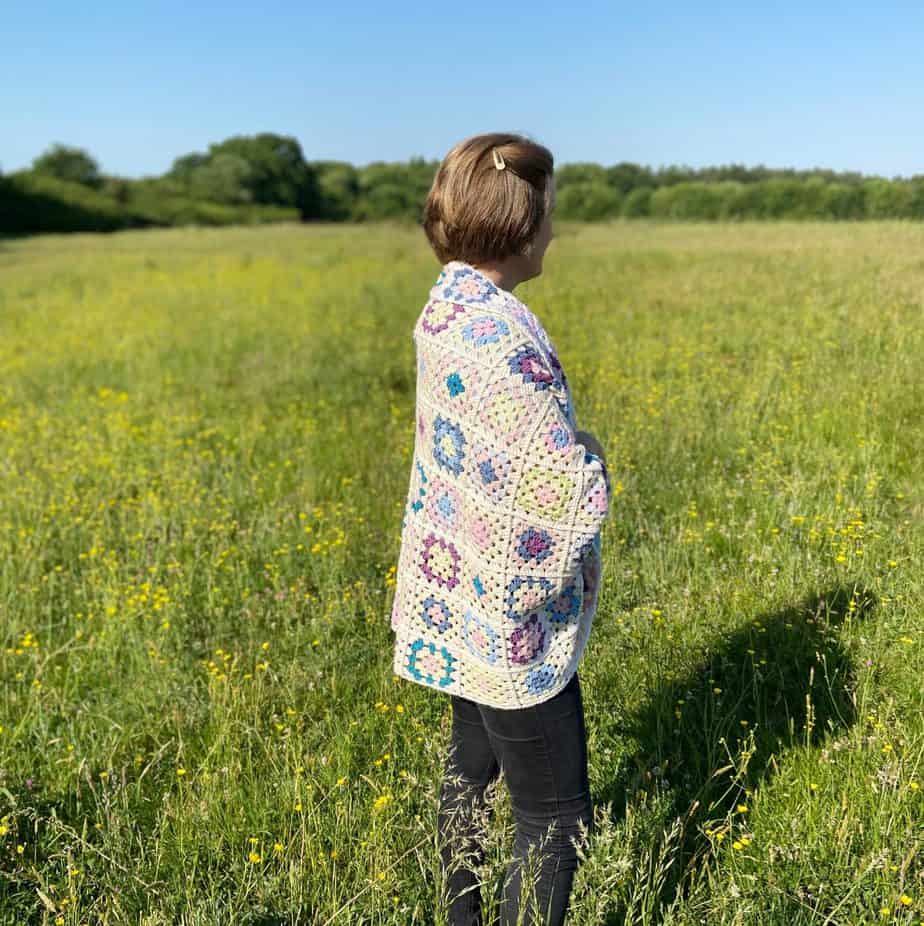
How about turning your blanket into a granny square cocoon cardigan? Let me know easy it is!
Crochet Square Motif Blanket Inspiration
If granny squares aren’t your thing but you fancy a go at some crochet square projects then here are a few ideas you might like to try:
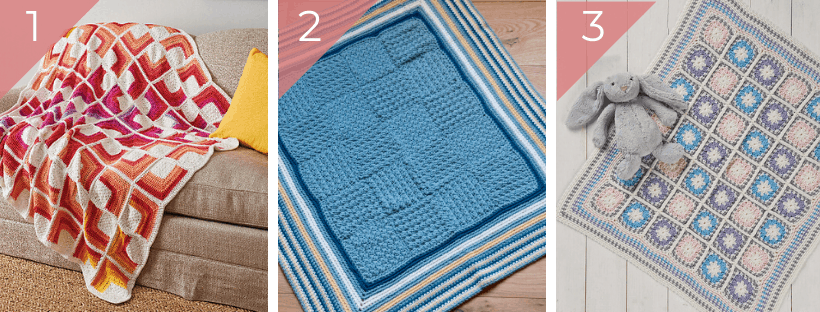
- Squares Blanket (paid pattern)
- The Seaside Blanket (free pattern)
- Not a Peep Blanket (paid pattern)