This post may contain affiliate links. Please see my full disclosure and privacy policy for details.
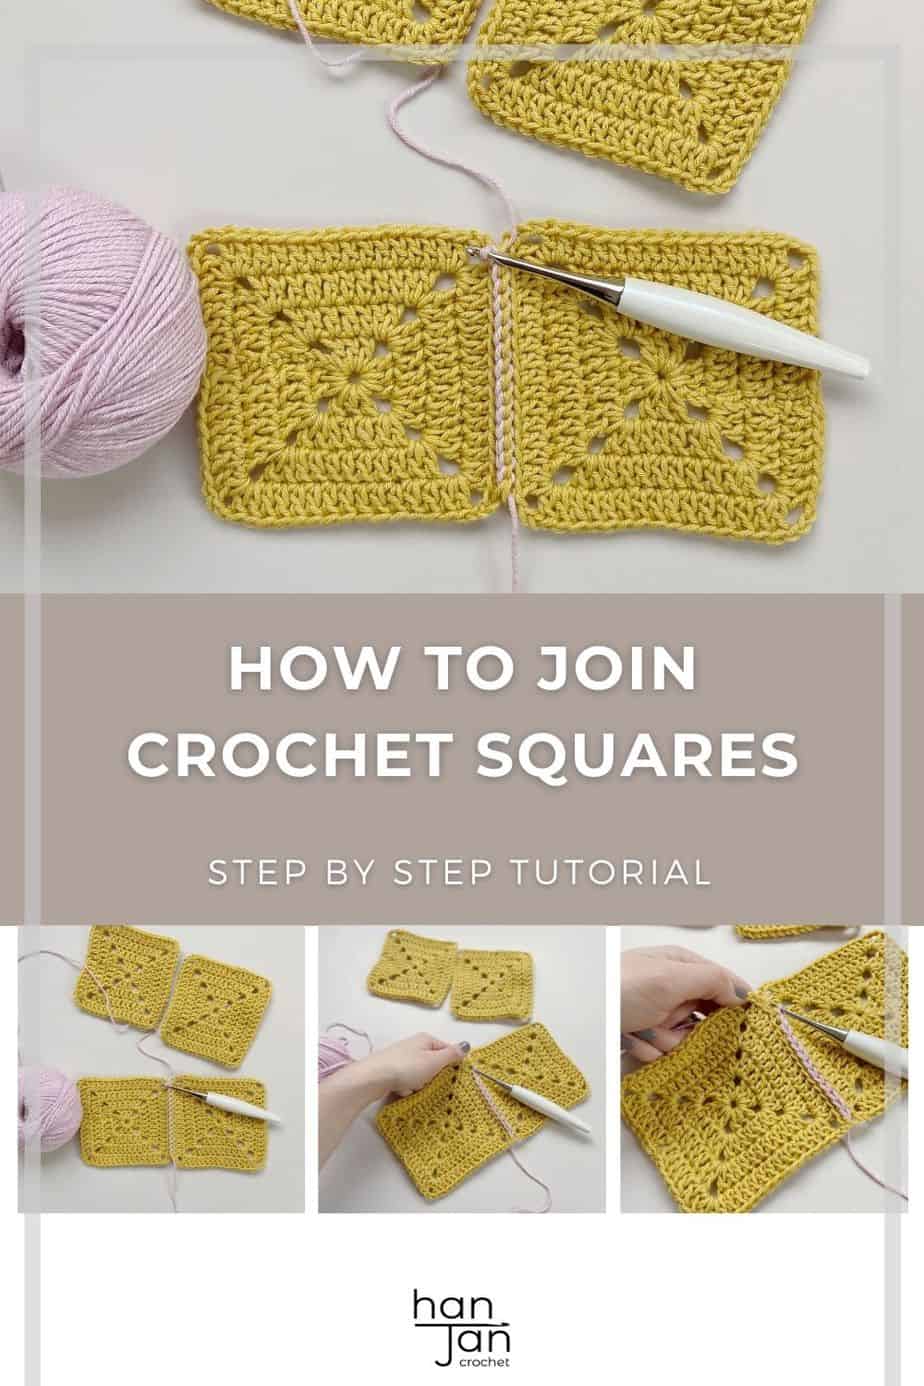
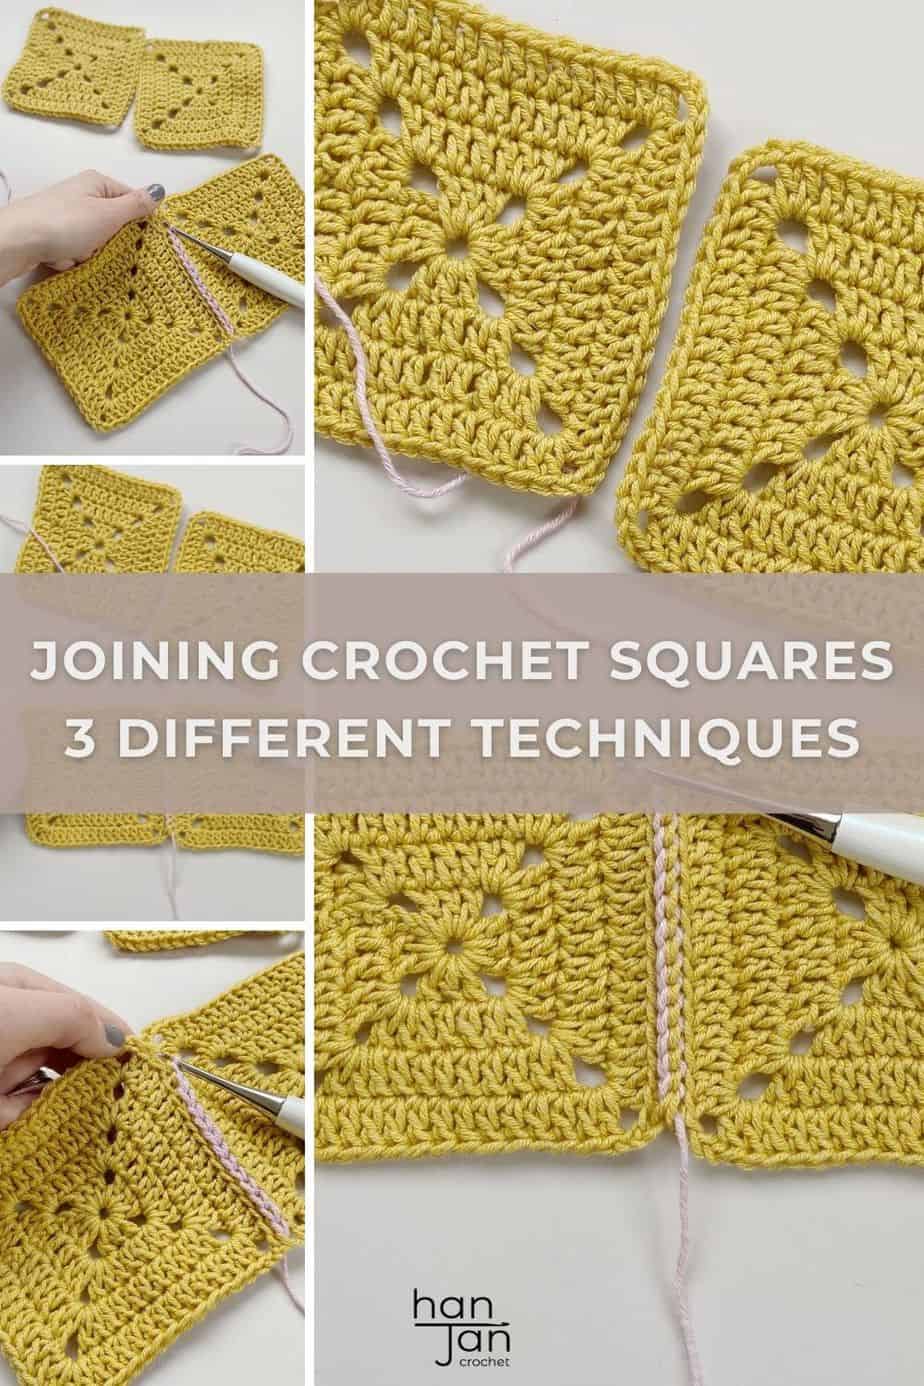
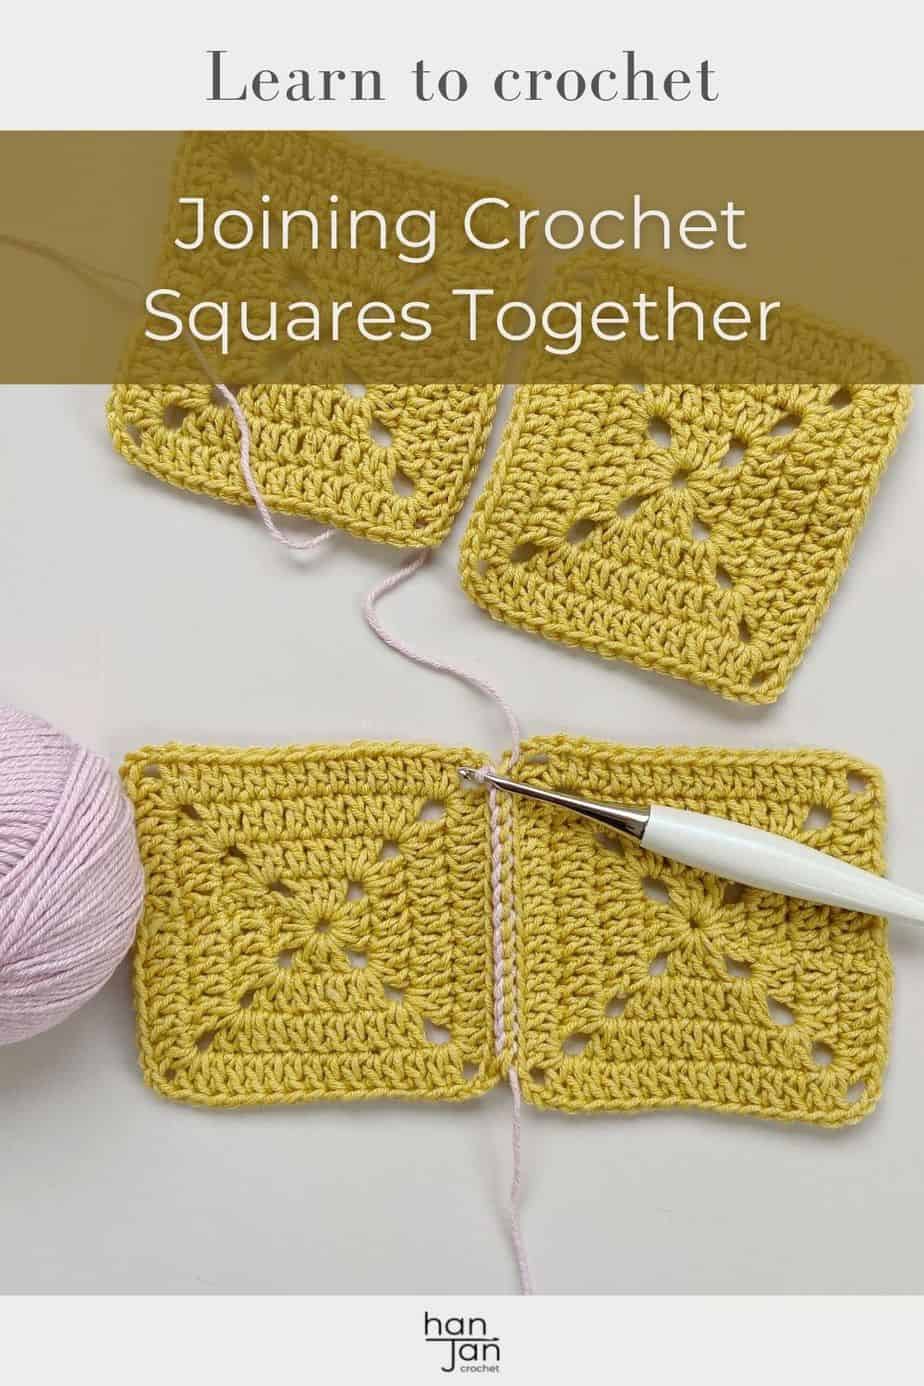
Today I’m sharing three methods for joining crochet squares together: the single crochet join, the flat crochet join, and the slip stitch join. Not only do I find working a crochet seam to join granny squares and motifs easier, I think it looks better too. These methods are also an excellent way to join crochet garment seams together!
I am not always a fan of sewing my crochet work together, so I wanted to talk about how you can crochet your motifs together and make life easier for yourself.
Each of the three methods have a different look and feel to them and are great for different things. Always good to have options don’t you think?
You can use these methods with the right or wrong side of your work showing, totally up to you. I mostly like to do it with my right side showing, as it adds a little interest and texture.
Want to remove Ads?
- Get ad-free access on all posts; 200+ patterns & tutorials!
- Member-only resource library with downloadable PDF guides
- Bonus eBook (Worth over $30)
If you want a really flat, neat look to your project I suggest working with the wrong side showing.
Table of Contents
How to Crochet Squares Together
There are a few simple things you can do before attaching your crochet motifs with whichever seam you choose. I promise the whole piece will look so much better for it!
- Block all of your motifs before you join your crochet squares together – this will make sure they are all the same size and keep them from becoming ‘wobbly’.
- Check your stitch counts – make sure you have the same amount of stitches on each motif so they match up nicely.
- Lay all of your squares out and decide how you want them – there’s nothing worse than joining lots and then realising you did one wrong a few motifs back!
Once you have done these three things, you are ready to start joining your crochet squares (or hexagons, or octagons, or whatever shape you have!). Other shapes can be a little more complicated so make sure to check my joining crochet hexagons tutorial if you are doing that!
Let’s jump into the 3 methods – the single crochet join, the slip stitch join and the flat crochet join.
1: Single Crochet Join (US) / Double Crochet Join (UK)
The single crochet join (aka double crochet join in the UK) is a great crochet seam to add texture and make a project more robust.
I often use this method on the right side of my crochet in the same colour as the edges of the motifs and it adds a really lovely ridge that is great fun!
My children love their blankets with this seam as it is really tactile and lovely to play with.

Single Crochet Join (US) / Double Crochet Join (UK)
Materials
- Yarn & Motifs
Tools
- Crochet Hook
Instructions
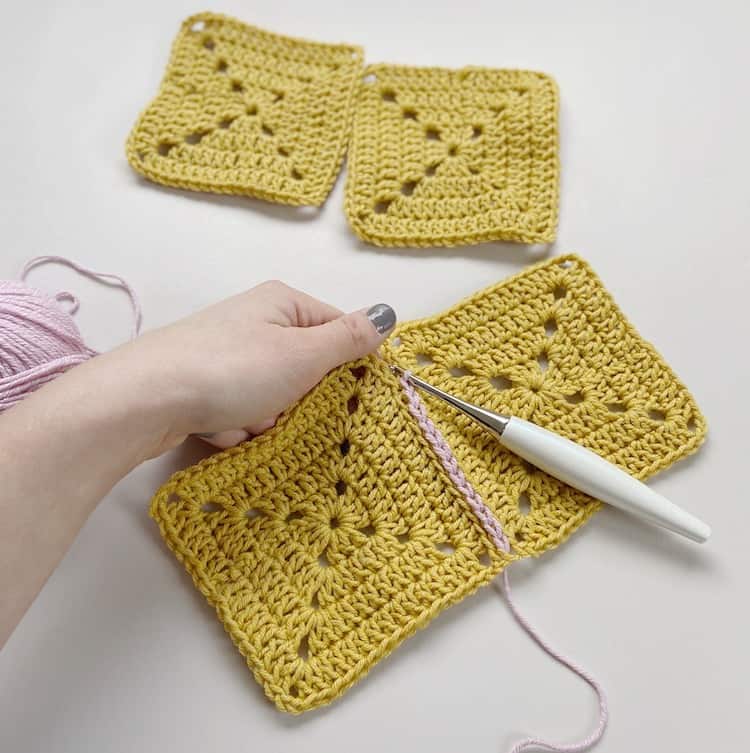
Once you line up your motifs/granny squares, you will start at a corner (chain 3 in my pattern). Insert your hook through both motifs in the last chain in your corner, attach yarn and chain 1.

Then work a UK Double Crochet or US Single Crochet in that same stitch.
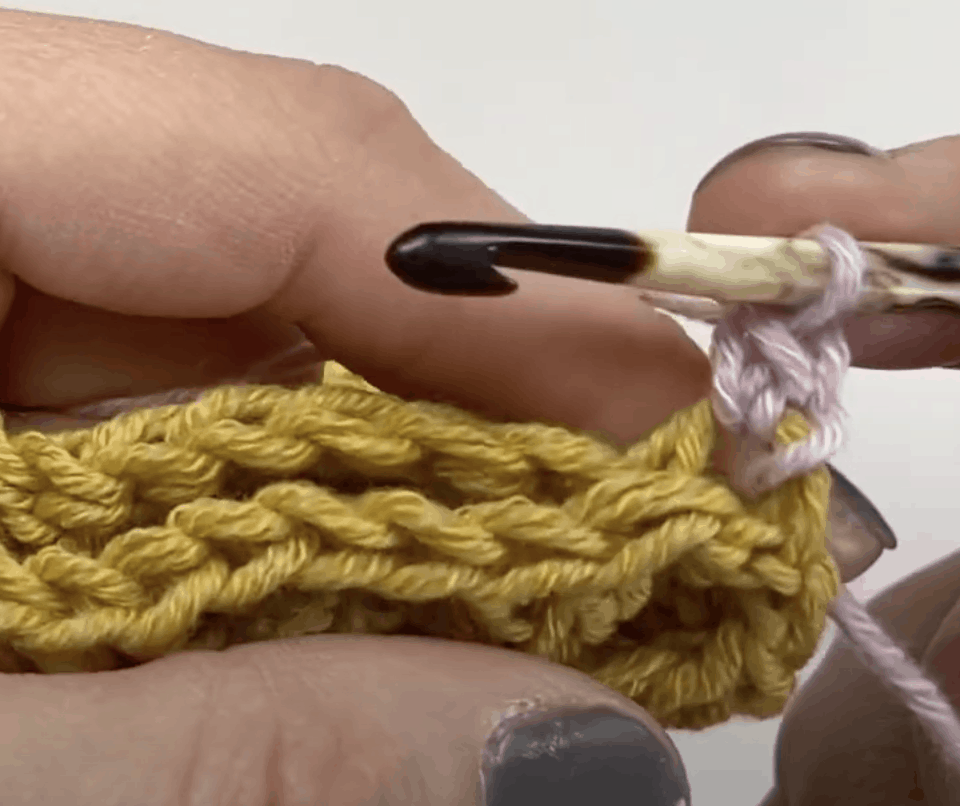
Next you will insert your hook through the back loop of the next stitch on the first motif and the back loop of the second motif and create a UK Double Crochet/ US Single Crochet.
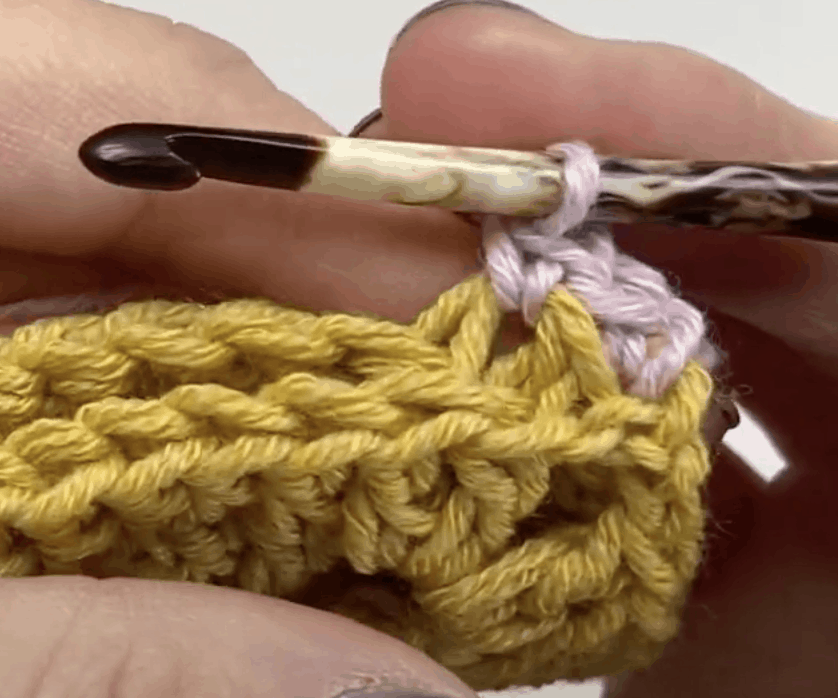
For each stitch, you will insert hook through the back loop of the first motif and front loop of the second motif creating a UK Double Crochet/ US Single Crochet.
2: Slip Stitch Join
I love the slip stitch join because it’s such a quick and easy way to join crochet squares! It adds a little texture to the fabric – but not too much. That makes it a more subtle option than the single crochet join above. It looks great in a contrast yarn colour!
This type of seam is great for adding a little bit of flexibility and ‘give’ to a crochet project I find.
I generally use this for seaming crochet garments together on the wrong side so that the seam isn’t visible. It also isn’t too bulky on the inside when you’re wearing it.
It also works really well for other projects like bags, cowls, or hats that are worked flat and then joined to a round. I have also been known to use it to seam my knitting projects together too and it works beautifully!
Slip Stitch Join
Materials
- Yarn & Motifs
Tools
- Hook
Instructions
Working with the wrong sides facing each other, line up your motifs.
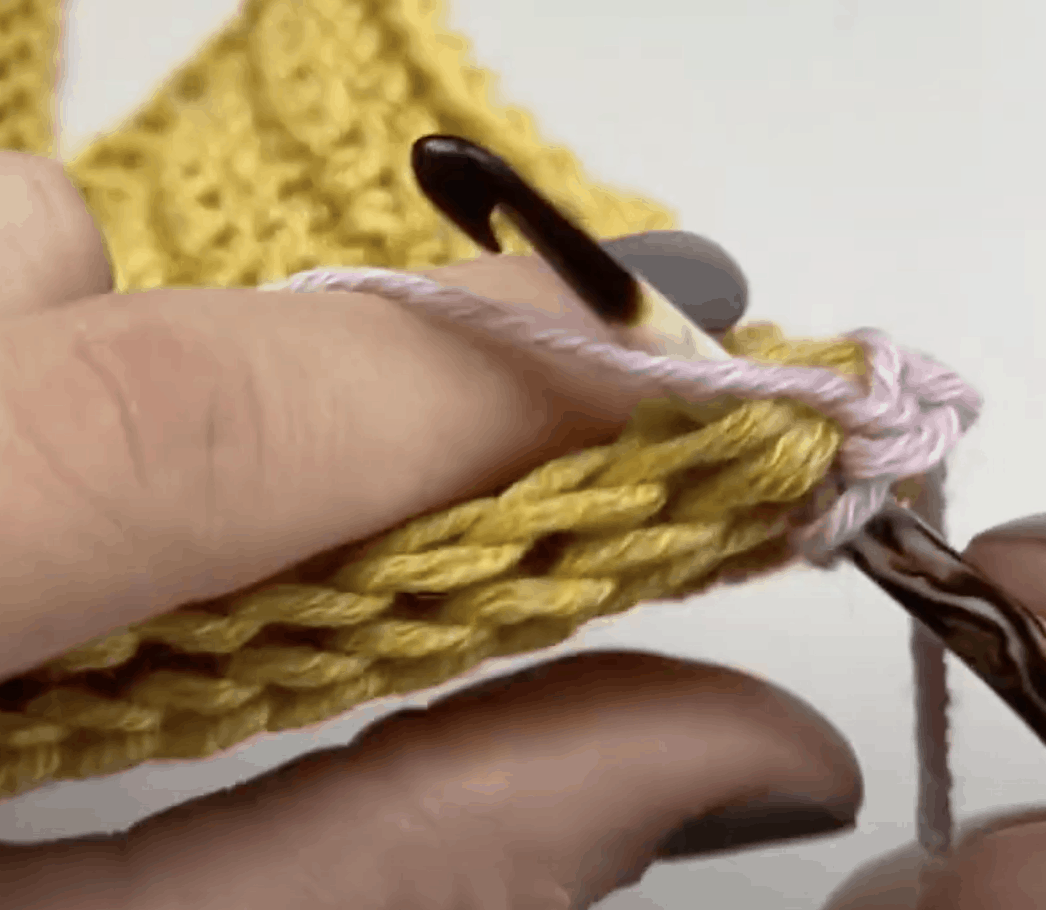
Just like in method 1, we will be working in the back loop of the first motif and the front loop of the second motif.
Attach yarn to the corner, pull up a loop.

Insert hook through the back loop of the next stitch in the first motif, and the front loop of the next stitch of the second motif. Slip stitch.
Keep repeating this last step for each stitch. Try to keep your tension loose while doing these slip stitches so your seam is not too tight.
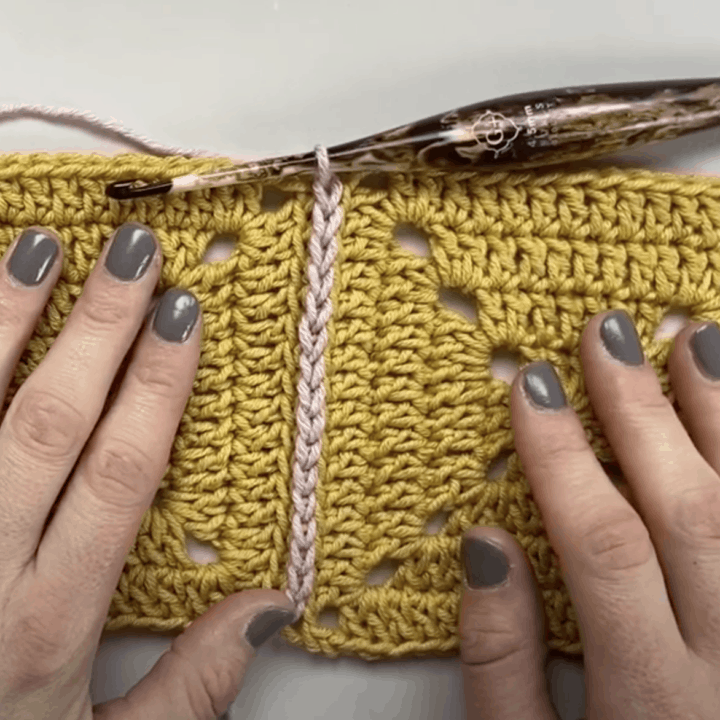
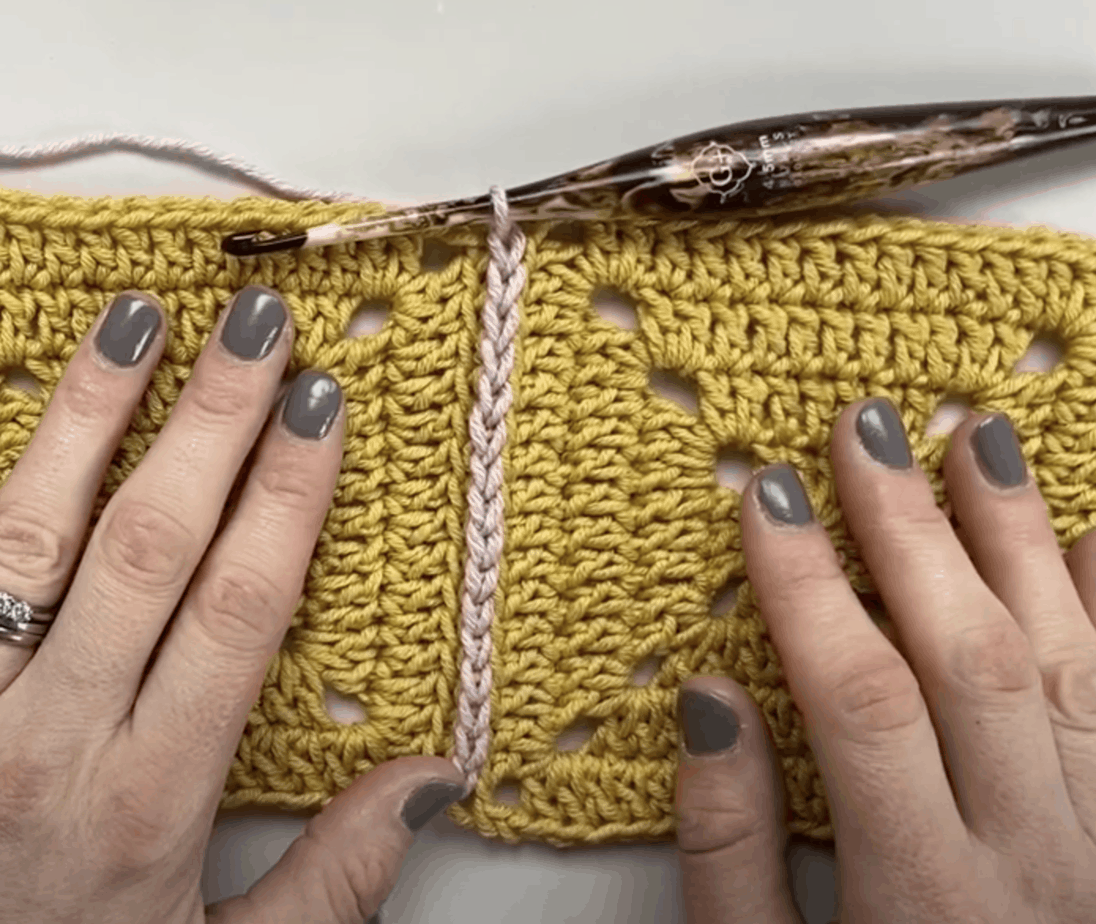
3: Flat Crochet Join
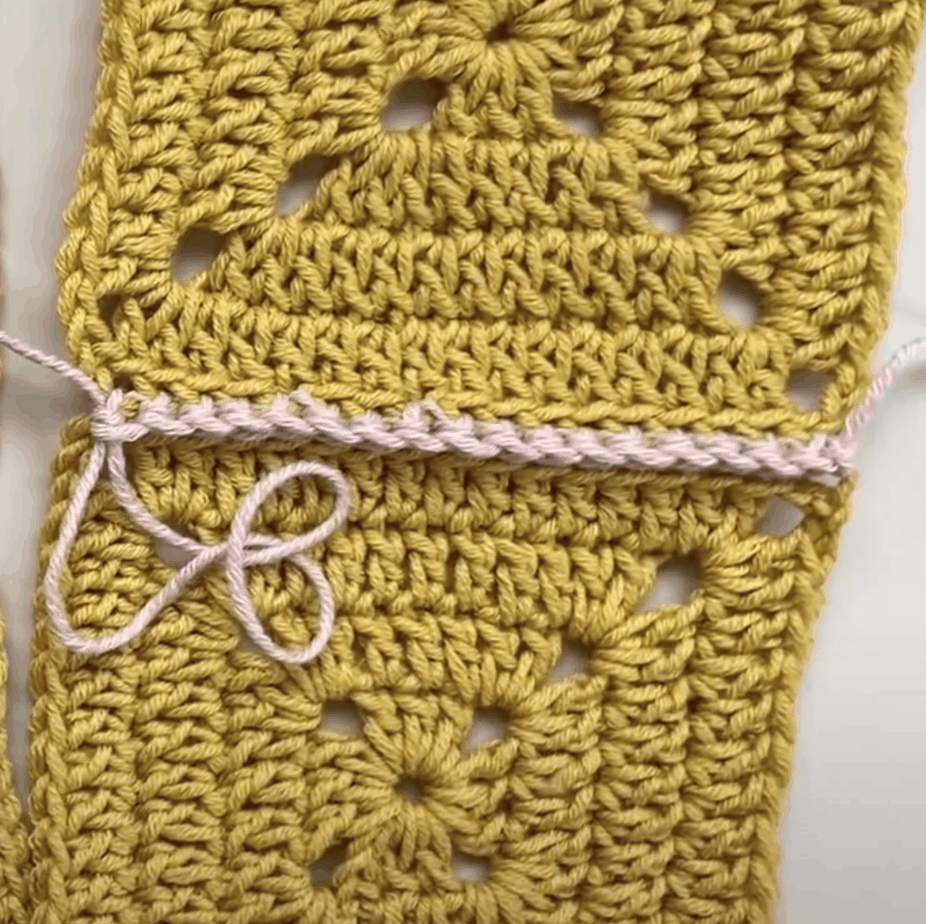
The flat crochet join is my favourite way to crochet squares together because of how neat and tidy it looks. This crochet seamless join comes out nice and flat, as the name implies!
I love to work this method on the right side of my crochet, but it also looks great on the back in a contrast yarn or a co-ordinating yarn.
It’s amazing how you can completely change the look and feel of a finished object by choosing a different colour yarn to join it together!
This crochet seam method does take some practise as you are inserting your crochet hook into both sides one after the other. With a bit of repetition, you’ll be an expert at it.
Flat Crochet Join
Materials
- Yarn and Motifs
Tools
- Hook
Instructions
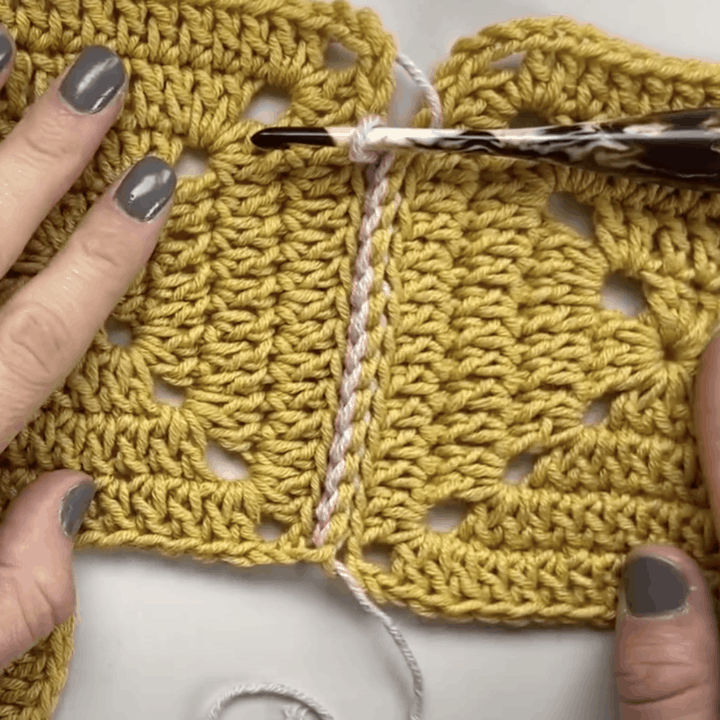
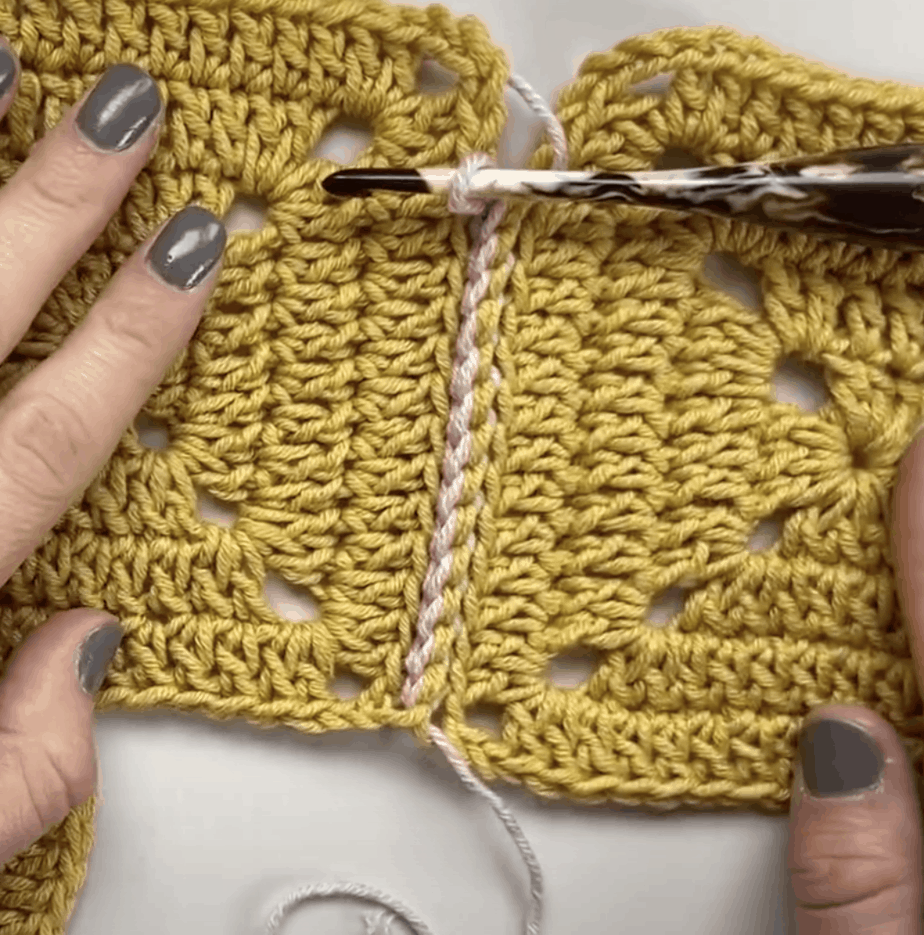
Line up your motifs, and like the other two methods we will be attaching our yarn at the corner.
For this method you have to be sure to insert your hook on the same side every time, and be sure to keep your yarn under your motifs.
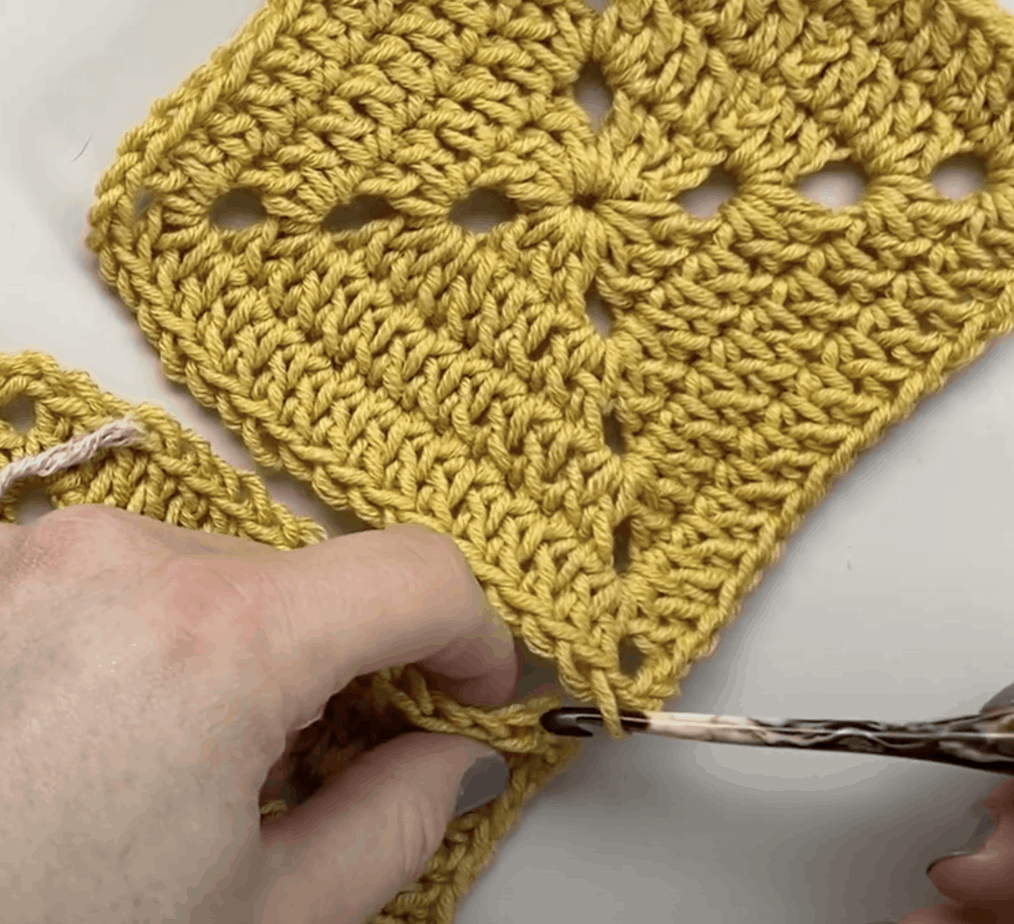
I start on the right side, insert hook into the back loop of the right motif, and the back loop of the left motif, create a slip stitch.
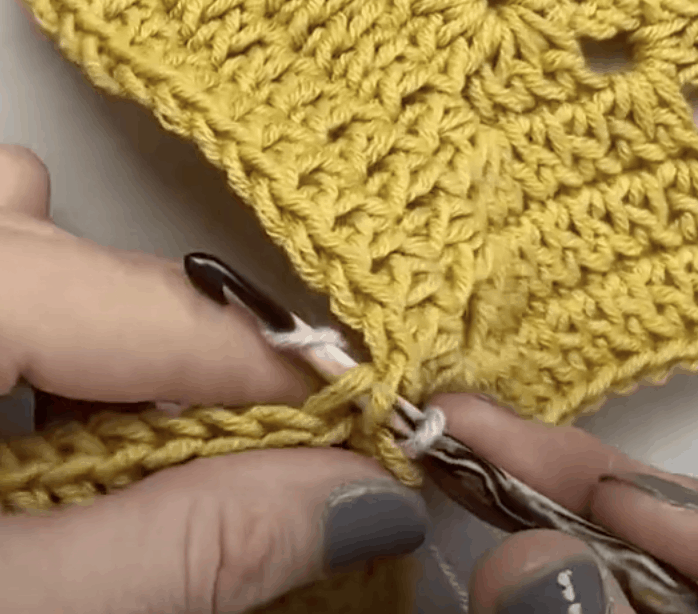
Keep repeating the last step for each stitch.
I often get asked what yarn and hooks I’ve used in my tutorials. In this one I used Drops Cotton Merino yarn and my White and Nickel Odyssey Furls Crochet Hook.
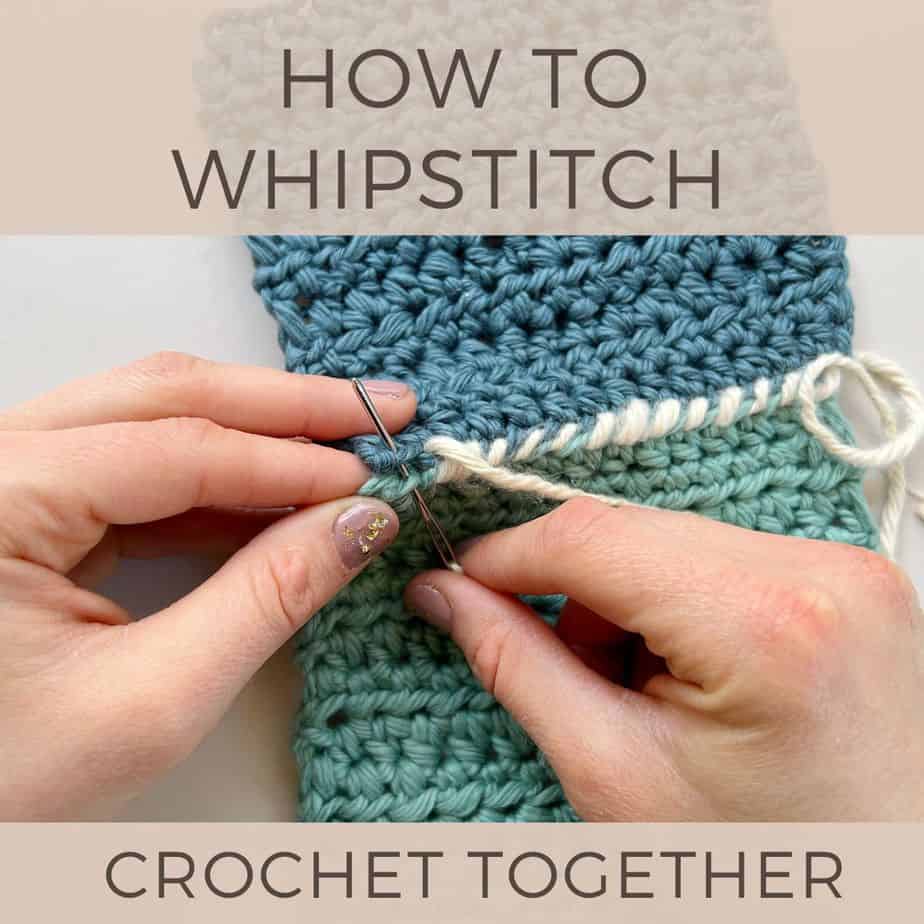
Another Method for Joining Granny Squares
There are times when crocheting seams just isn’t right for the project you’re making or perhaps you don’t like the look that it gives.
If that’s the case then I would recommend using a whip stitch for joining squares together.
I hope you’ve enjoyed learning how to join crochet squares with me! I’d love to know if you decide to use any of the join methods or if you create your own!
Join HanJan and Share Your Crochet With Us!
I’d love to hear from you and see your HanJan Crochet project! Here’s where you can do that:
📌 PIN THIS POST – save it to your Pinterest crochet board so you can come back to it again and make more!
↗️ SHARE – Share your yarn choices, progress pics, and finished projects on Facebook or Instagram (make sure to use the hashtag) #hanjancrochet
🧶 JOIN – Join thousands of amazing crafters in the HanJan Crochet Community Group on Facebook ready to cheer you on!
✉️📩📬 SUBSCRIBE – It’s an honour to be able to create and share my free crochet patterns with you. I’d love to stay connected and send you regular discount codes and free patterns! Please sign up for my subscriber list to get a free gift right now!
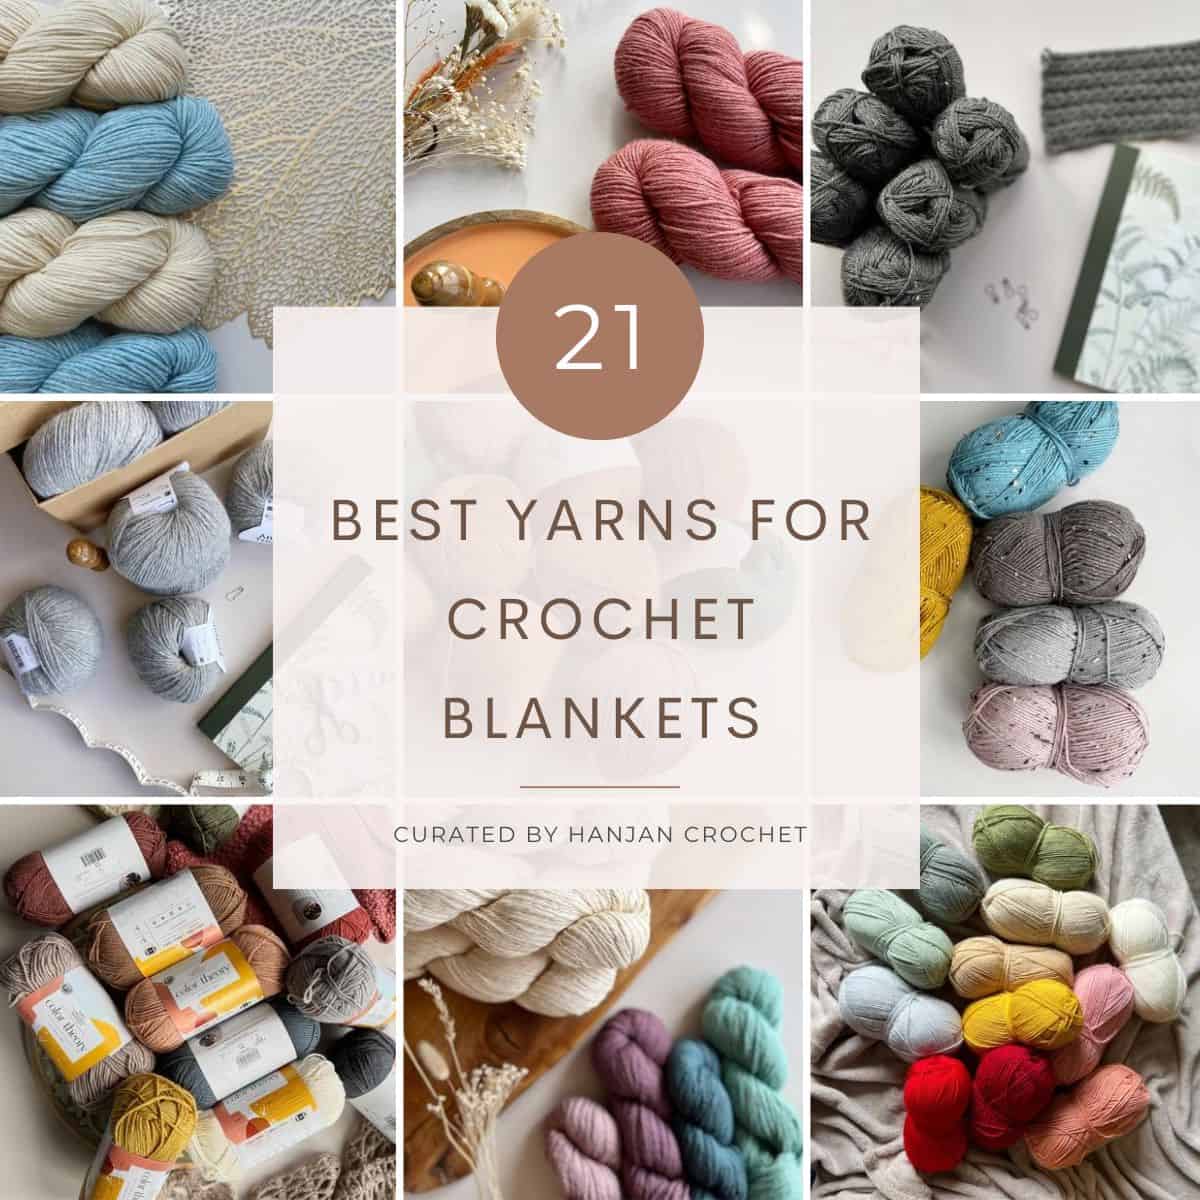
Now that you know all about crochet joining, check out all these fun crochet motif projects you can create!
Pin It For Later