
This post may contain affiliate links. Please see my full disclosure and privacy policy for details.
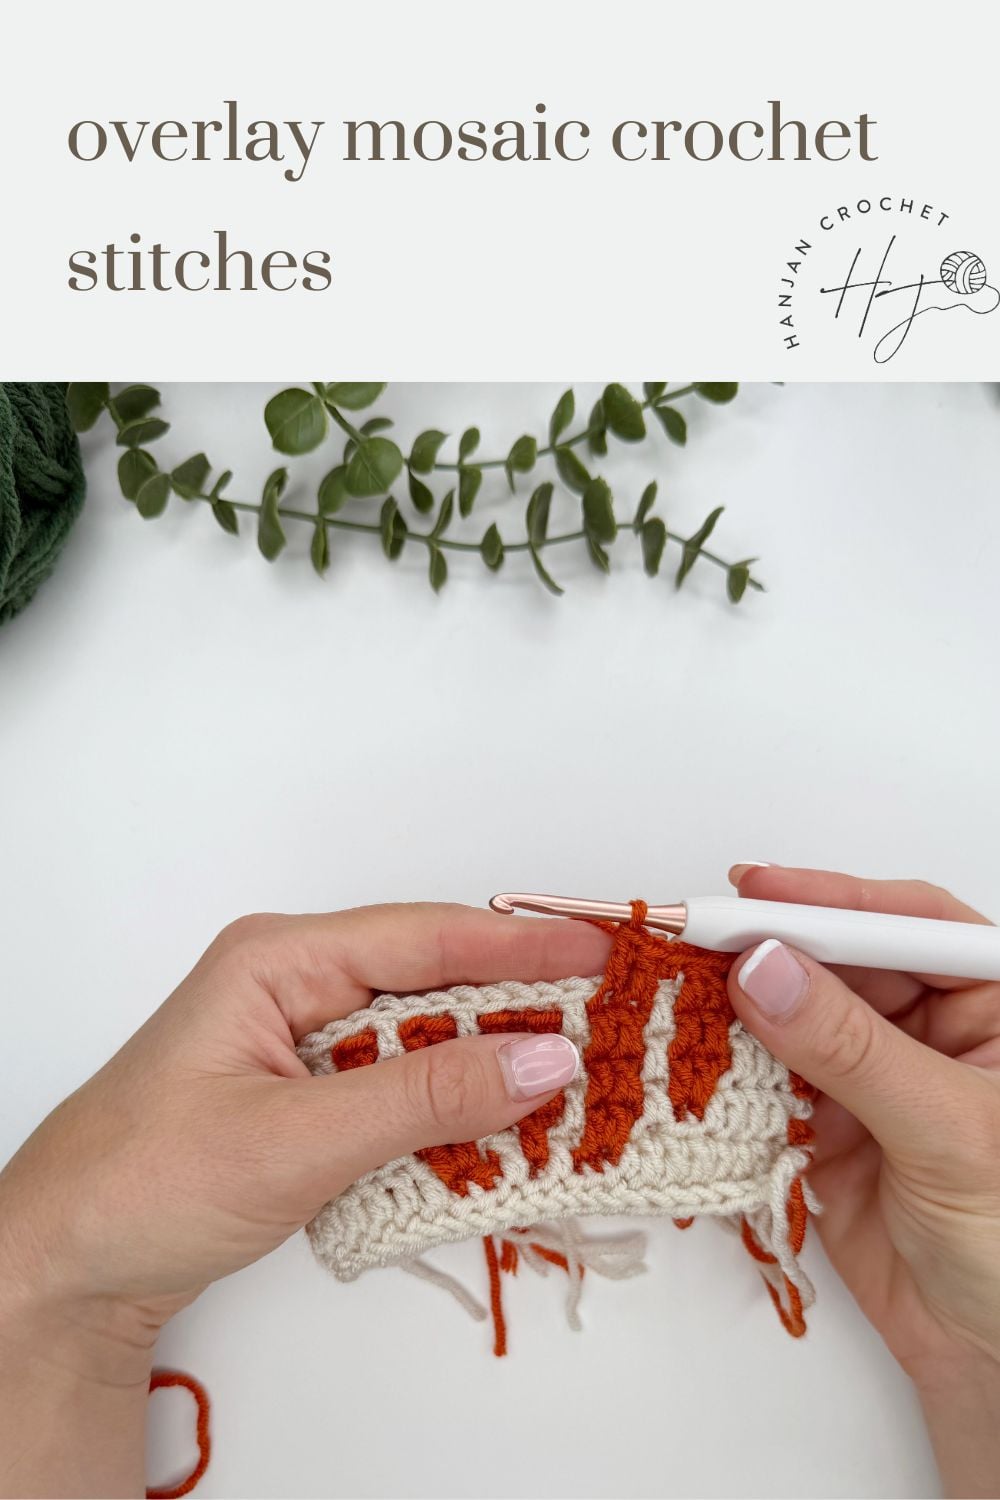
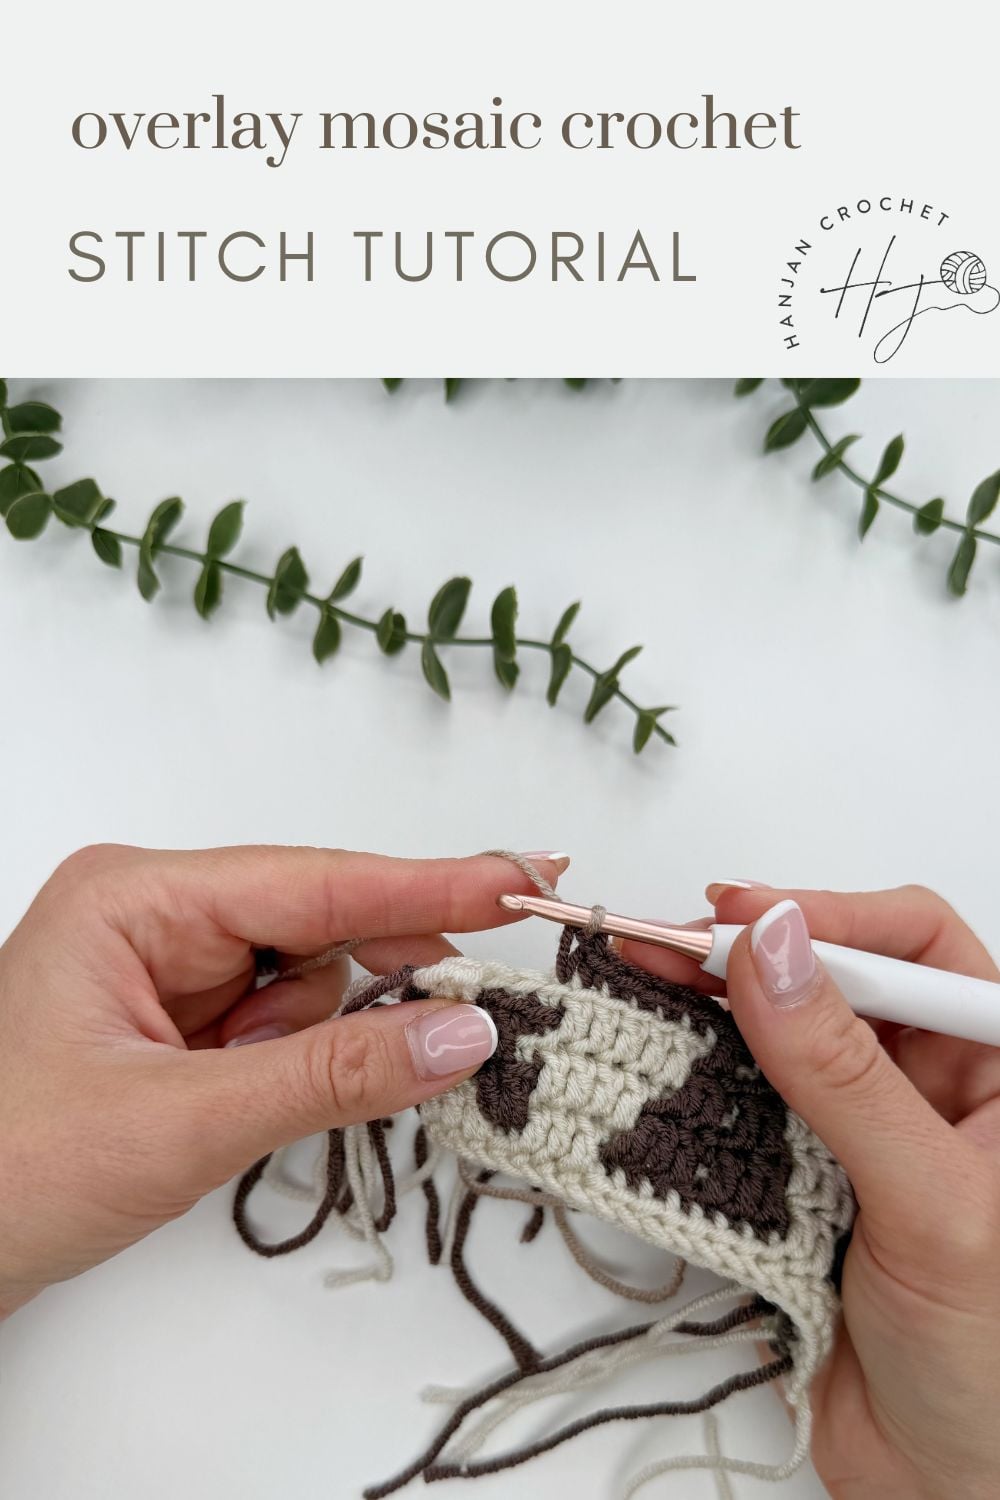
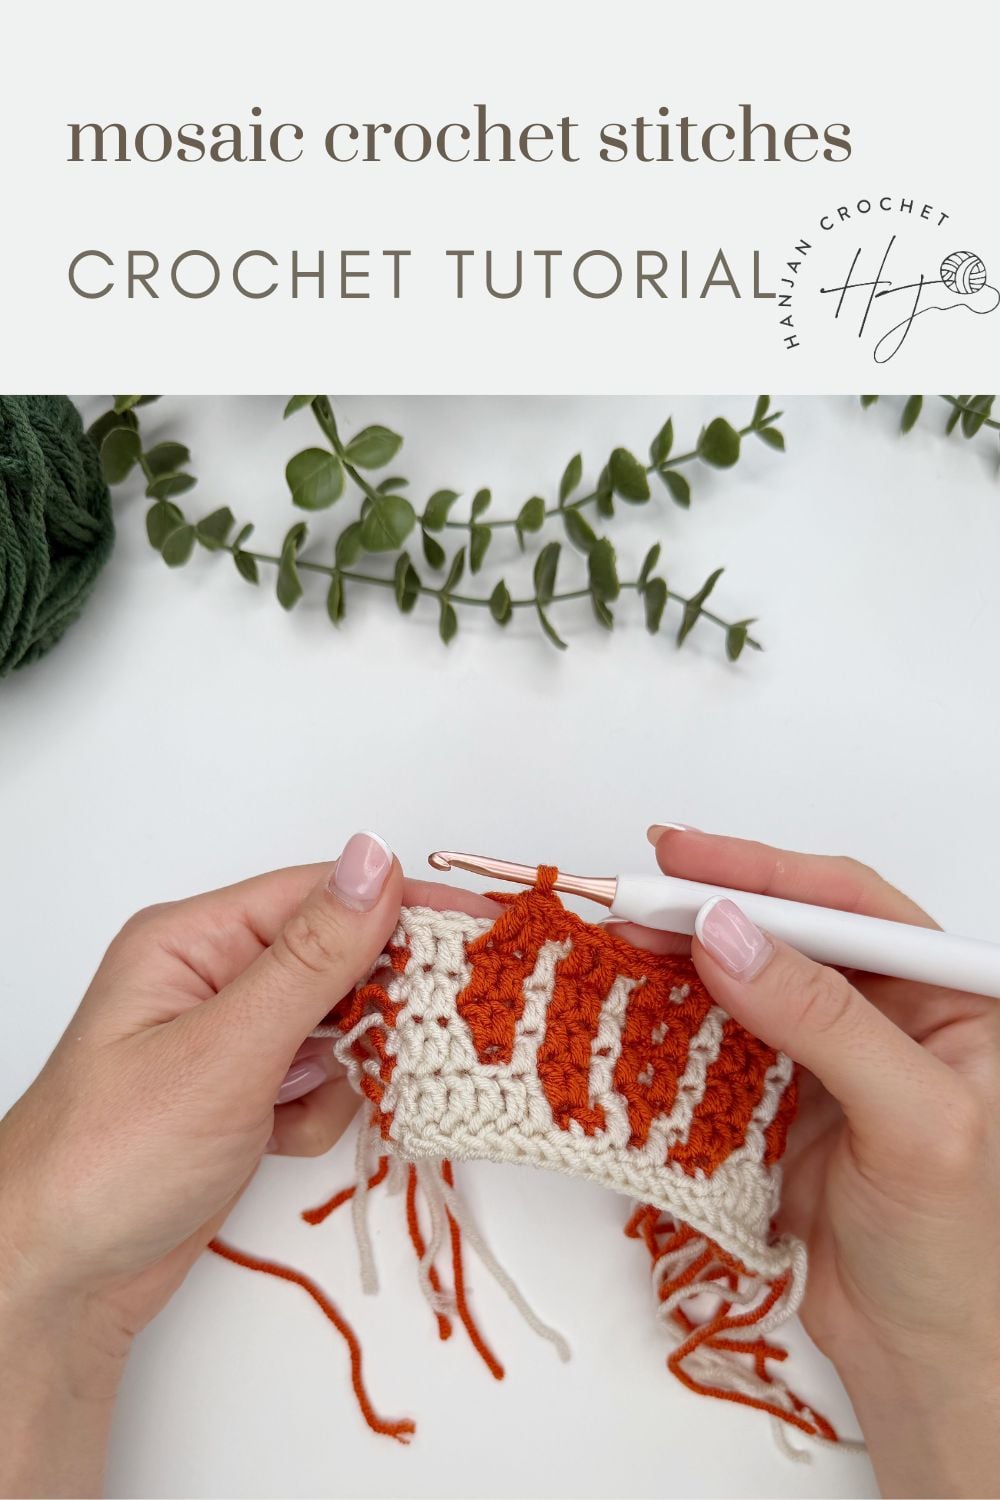
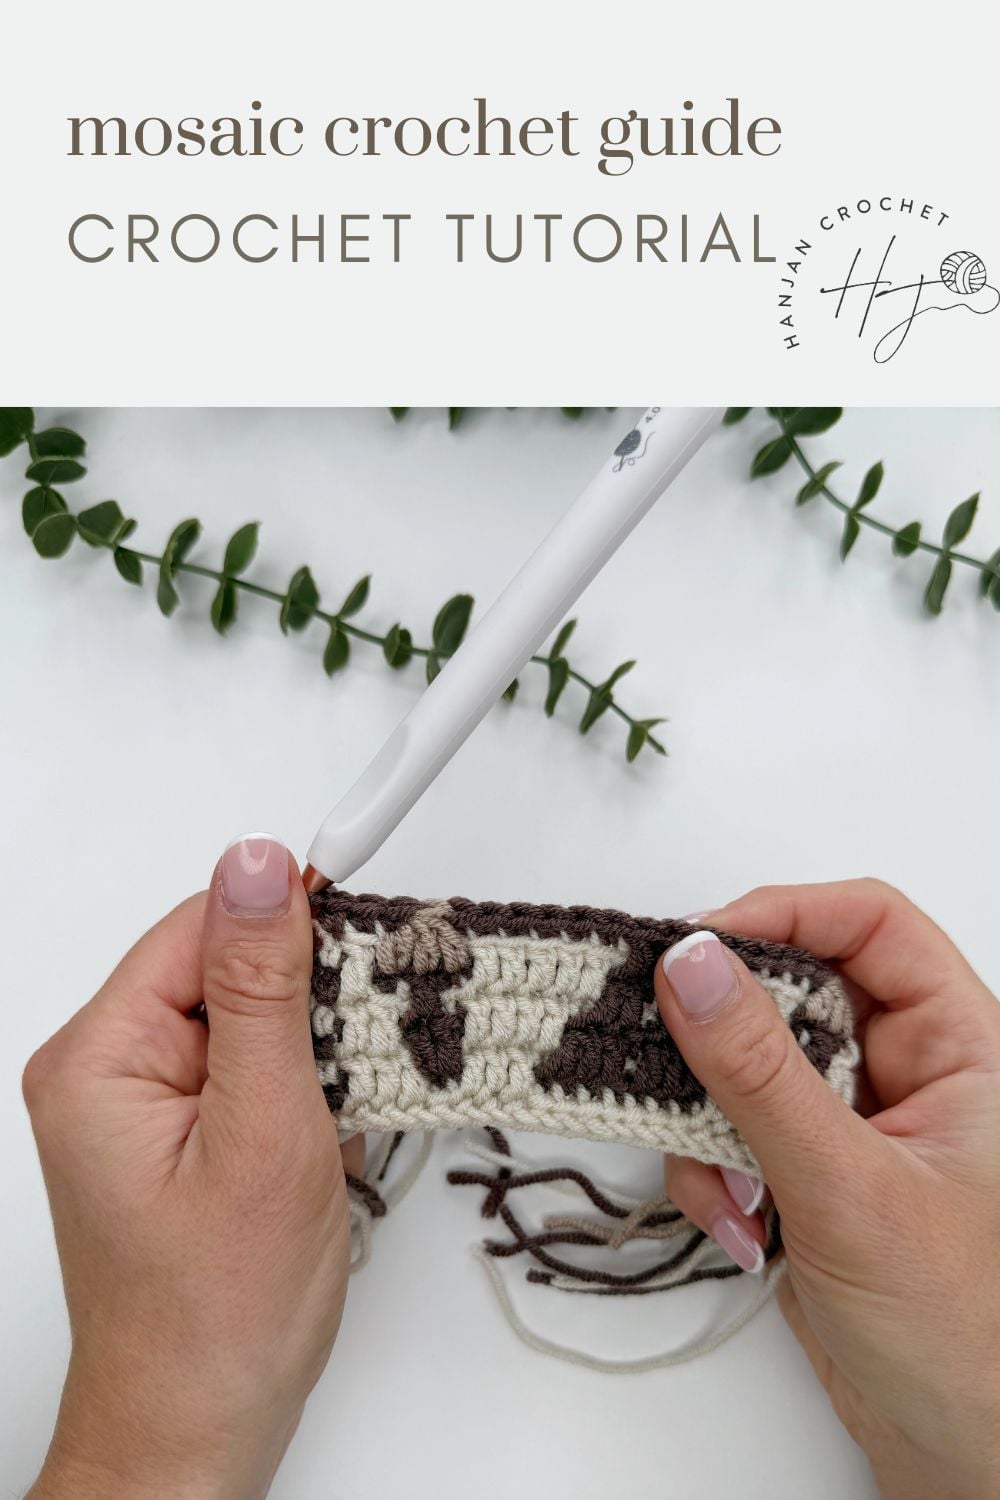
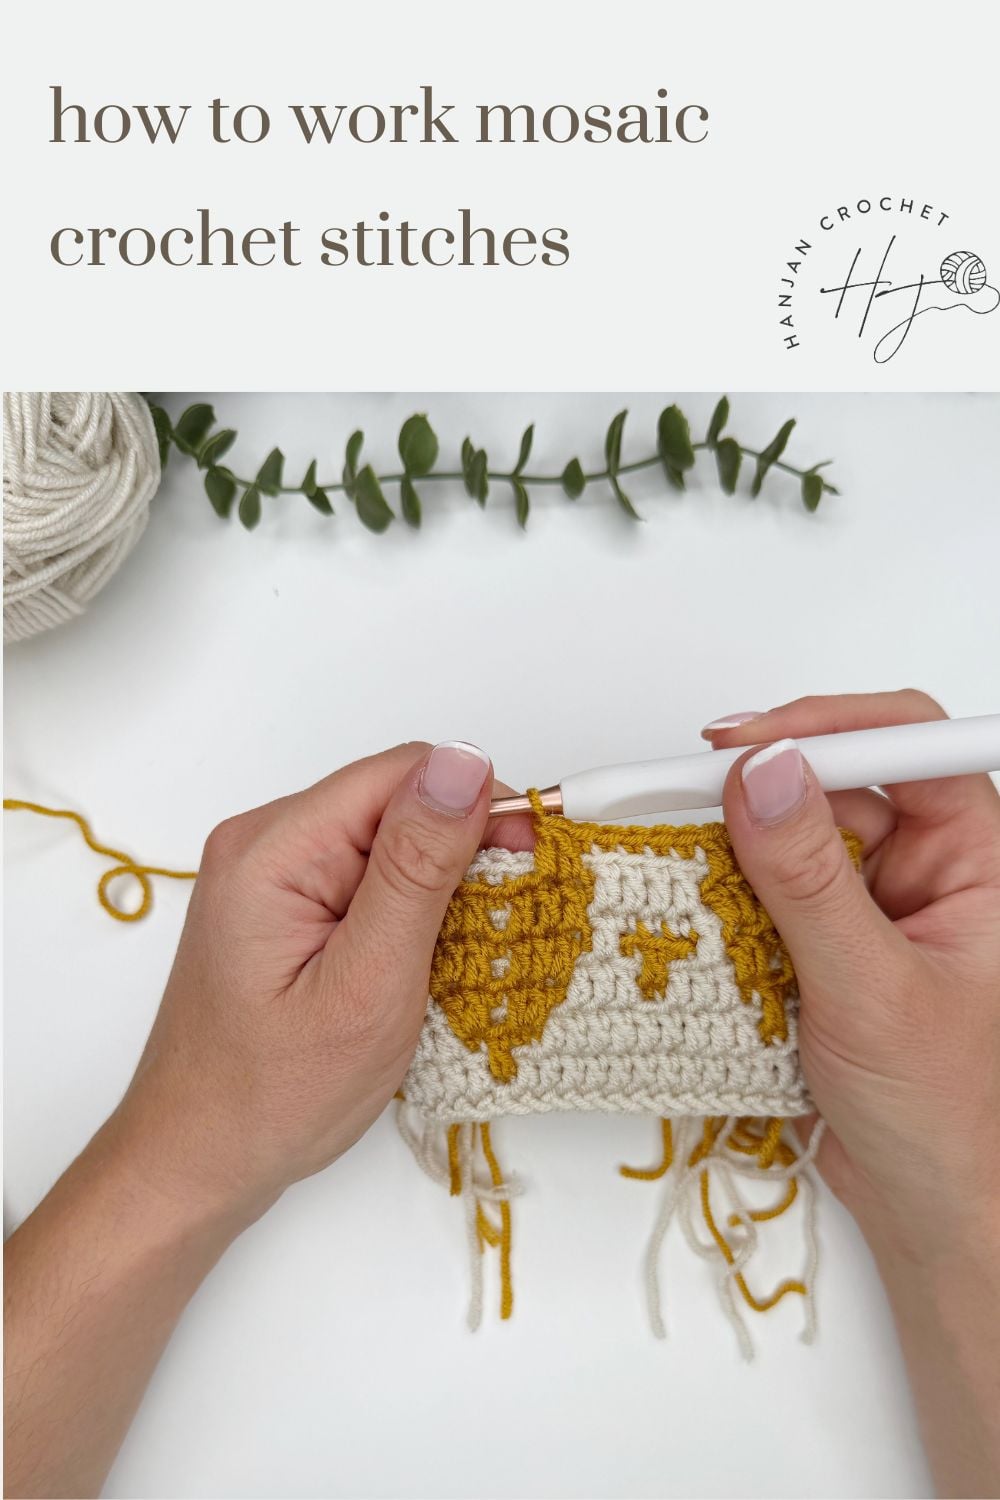
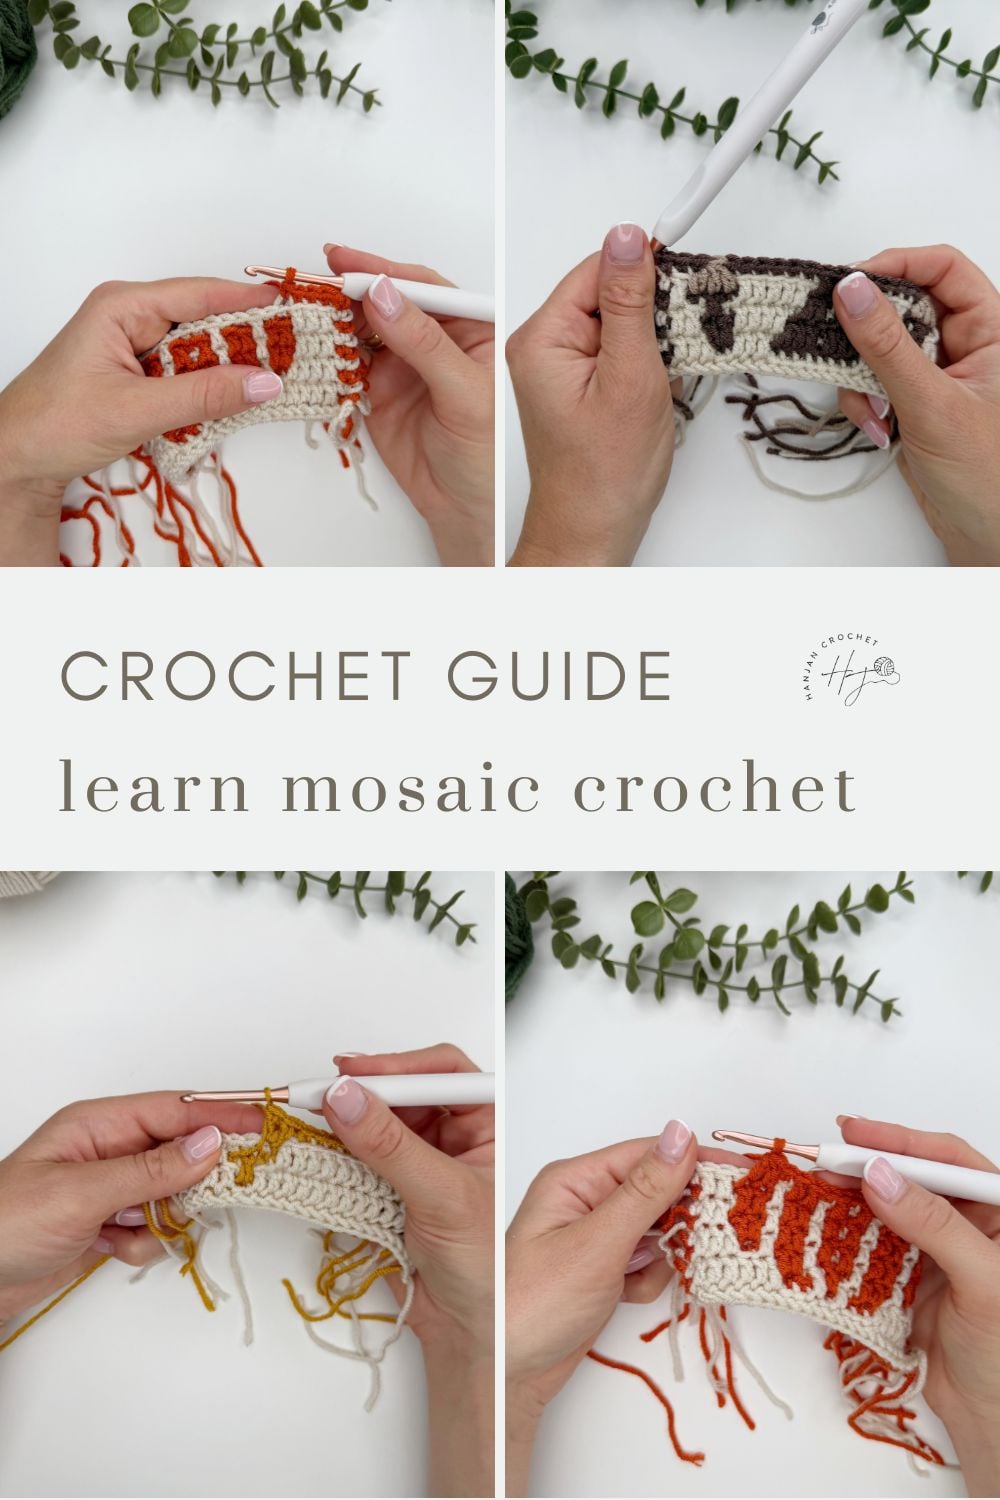
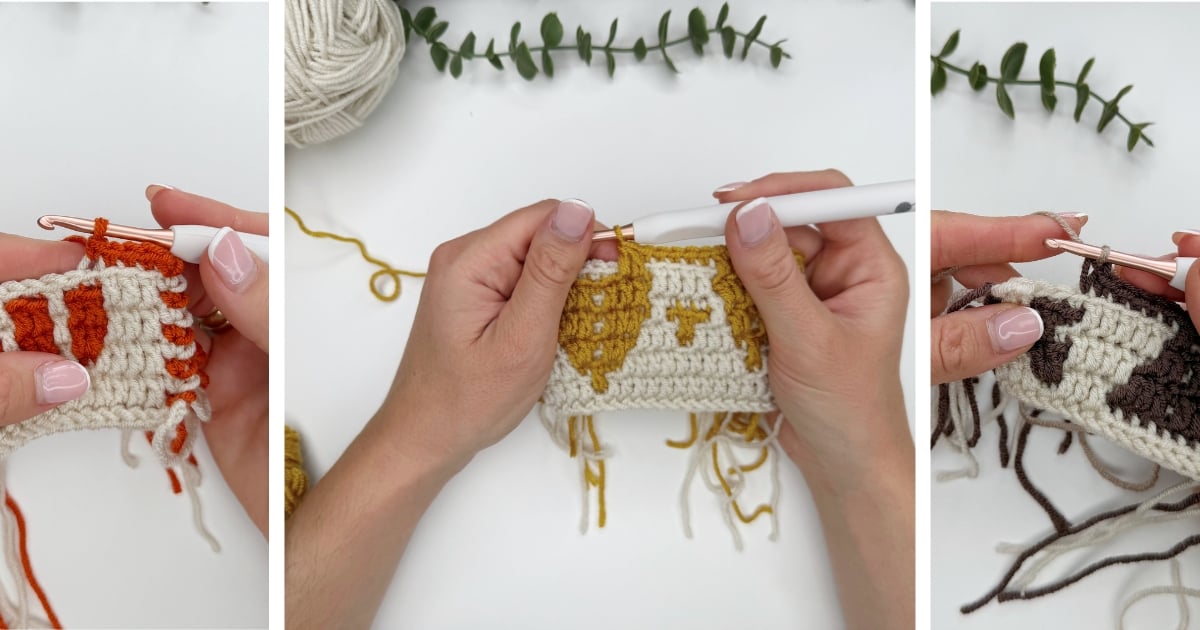
If you’ve ever looked at mosaic crochet stitches and wondered how they all actually work, this is for you!
Do you follow a chart or written instructions? What do all those Xs on the chart mean? And how on earth do rows of basic crochet stitches turn into those gorgeous, intricate-looking designs?
I’m going to take you through everything you need to know about the stitches and techniques I use in my overlay mosaic crochet patterns, from the basics you’ll use on almost every row to shaping, colour changes and a few of my favourite tips and tricks along the way.
A little note before we begin: mosaic crochet designers don’t all use exactly the same chart symbols, abbreviations or techniques. Everything below is how I write and chart my HanJan Crochet mosaic patterns, so if you’re working on one of mine, this is your handy reference guide.
Table of Contents
What You’ll Learn in This Mosaic Crochet Stitches Tutorial
We’re starting with the basics and then building up to some of my favourite ways to shape and add detail to your overlay mosaic crochet when working in rows (we can use most of it in rounds too though!). Here’s what we’ll cover:
What is Overlay Mosaic Crochet?
In this post we are talking about a certain type of mosaic stitches that we use in overlay mosaic crochet. So let’s chat about that first! Overlay mosaic crochet creates colourwork by working stitches into different rows of your crochet. The wonderful bit is that although the finished fabric can look incredibly complicated, you’re usually only working with one colour at a time (unless you get adventurous!).
If you’re new to mosaic crochet, you might also be wondering what the difference is between overlay and inset mosaic crochet – they might look similar at first glance, but the way we create the patterns is actually quite different.
See the Mosaic Crochet Stitches in Action
A great way to use this guide is to have my mosaic crochet stitches video tutorial playing alongside you, so you can see each of the techniques in action as we work through them.
Not enjoying the ads? Want less distractions?
Join Us In The HanJan Crochet Club!
Join the online club and enjoy hundreds of Hannah’s crochet patterns ad-free, plus exclusive resources, a bonus Ebook and new free patterns added regularly.
We’ll start right at the beginning with how to join your yarn, find the front and back loops of your stitches, work across a row, break your yarn and return to the beginning ready for the next one.
Then we’ll move on to the fun bits! I’ll show you how to work a mosaic double crochet, how to skip stitches and work two mosaic double crochet stitches into another stitch to create shaping, how to work mosaic double crochet stitches together, and how to change colour in the middle of a row when you want to add those little extra details.
So grab your hook, have the video playing as you work through the guide below, and you can read it, see it and try it for yourself as we go.
[adthrive-in-post-video-player video-id=”TxsSnDCV” upload-date=”2026-09-09T12:23:01+00:00″ name=”How to crochet mosaic stitches tutorial” description=”Learn essential mosaic crochet stitches for overlay mosaic crochet, with step-by-step techniques, shaping, colour changes, tips and tricks.” player-type=”default” override-embed=”default” orientation=”horizontal”]
The Most Important Rule: One Colour Per Row
For most overlay mosaic crochet:
You work with one colour for the entire row.
You aren’t carrying two colours and constantly swapping between them. Work the row in Colour A, break your yarn, return to the beginning and work the next row in Colour B.
There are occasions when I change colour within a row for extra details, but that’s completely optional and we’ll look at how to do that later.
Don’t look at all the colours in the finished design and assume you need to manage them all at once. One row. One colour. That’s it.
How to Work Overlay Mosaic Crochet Stitches in Rows
If you’re working an overlay mosaic project in rows like my Autumn Crochet Blanket or my Crochet Heart Blanket Pattern then here’s what we need to do:
- Keep the right side facing you throughout.
- Begin each new row at the same side of your work.
- Work across the row.
- Break your yarn.
- Return to the beginning.
- Join the next colour and work the next row.
When I work overlay mosaic crochet in rows, I work with the right side facing me at all times. At the end of each row, I break my yarn, go back to the beginning and join the next colour ready to work the next row. We don’t turn our work.
In some of my mosaic crochet patterns – particularly blankets where I know I’ll be adding an envelope border – I work the first and last stitch of every row through both loops of the stitch. These are essentially our edge stitches and will eventually be hidden inside the border, so don’t worry about them forming part of the mosaic design or looking particularly pretty!
Every other single crochet stitch across the row is worked into the back loop only (BLO). This leaves those all-important front loops available for us to work into later with our mosaic double crochet stitches.
Starting Your Mosaic Crochet: Foundation Single Crochet or Chains?
I nearly always begin my overlay mosaic crochet patterns worked in rows with foundation single crochet (Fsc) stitches. I love them because they create your starting chain and first row of single crochet at the same time, giving you a lovely neat and flexible edge.
But I also know that lots of crocheters find foundation stitches a bit tricky!
I would absolutely encourage you to practise, practise and practise again, because once they click, they’re such a useful technique to have. But if you really don’t enjoy making them, that’s no problem at all – you can simply begin with a regular starting chain instead.
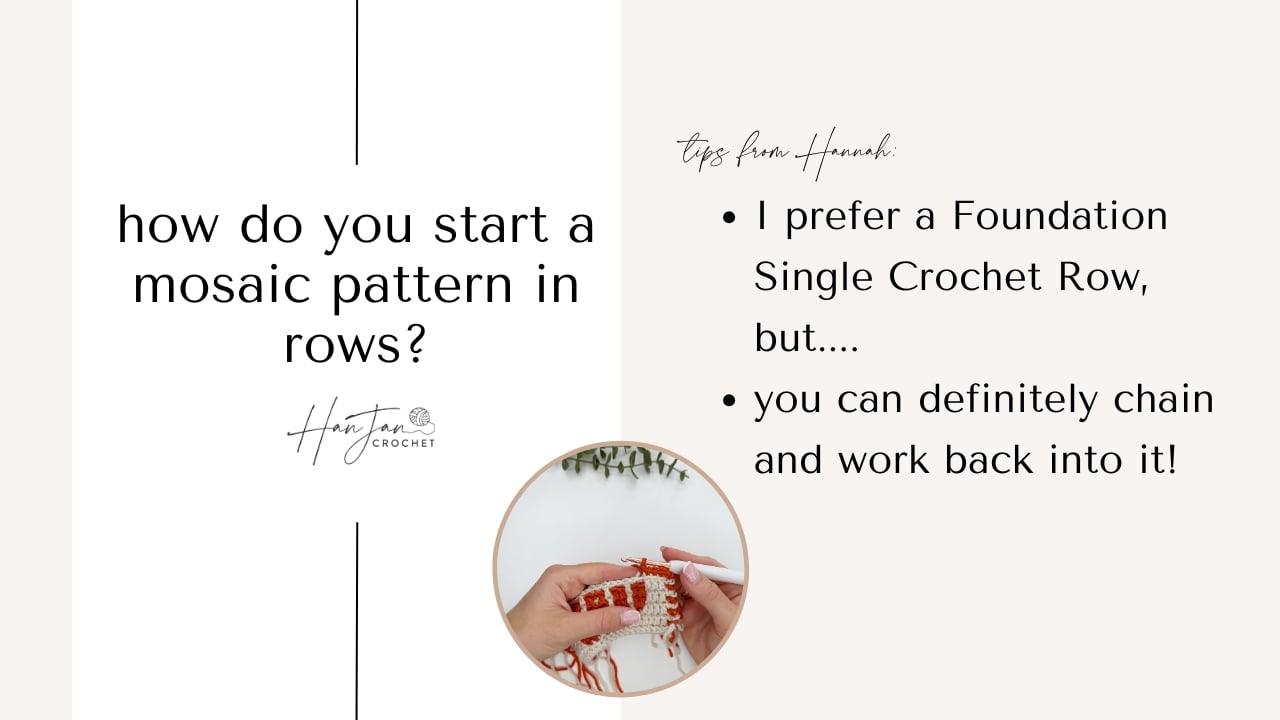
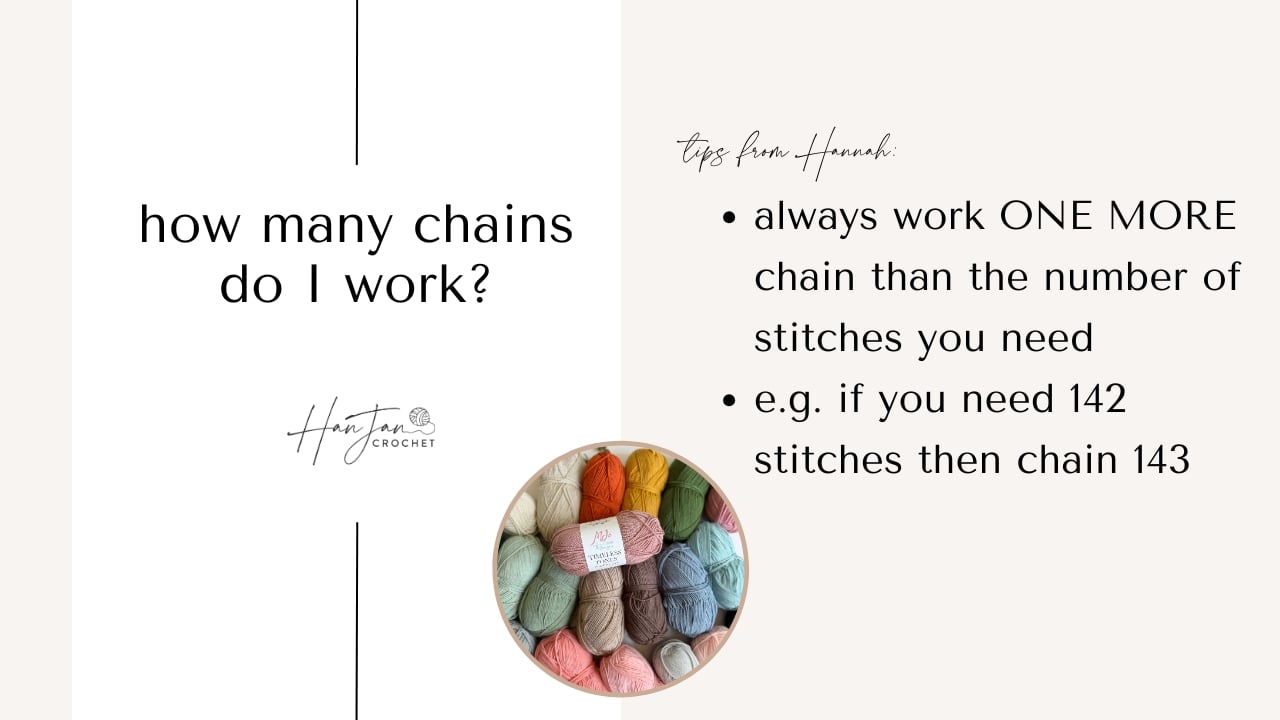
The only thing you need to remember is to chain one more than the number of stitches required for your first row.
So, for example, if your pattern asks you to begin with 142 foundation single crochet stitches, you would:
Chain 143, then work your first single crochet into the second chain from the hook and across.
You’ll finish with the same 142 stitches you need for your pattern and can carry on from there.
Don’t let foundation stitches be the thing that puts you off starting a mosaic crochet pattern. They’re a useful skill to learn, but they’re not compulsory!
Do I need to chain 1 before breaking my yarn at the end of a row?
You may see some mosaic crocheters ch1 before cutting their yarn at the end of each row for a little extra security.
I don’t.
I’ve never found that I need to and I’ve never had any problems with my work unravelling, but if that extra little chain makes you happier, absolutely add it.
Before You Begin: Mosaic Crochet Stitch Basics
Before we get into shaping our mosaic crochet stitches and some of the extra techniques I use in my patterns, there are a couple of basics you’ll need to be comfortable with first.
Don’t worry if these are completely new to you – I’ve got separate step-by-step tutorials for each one:
How to read a mosaic crochet chart – if you’re working from a chart, this guide will help you understand the symbols and how to follow each row.
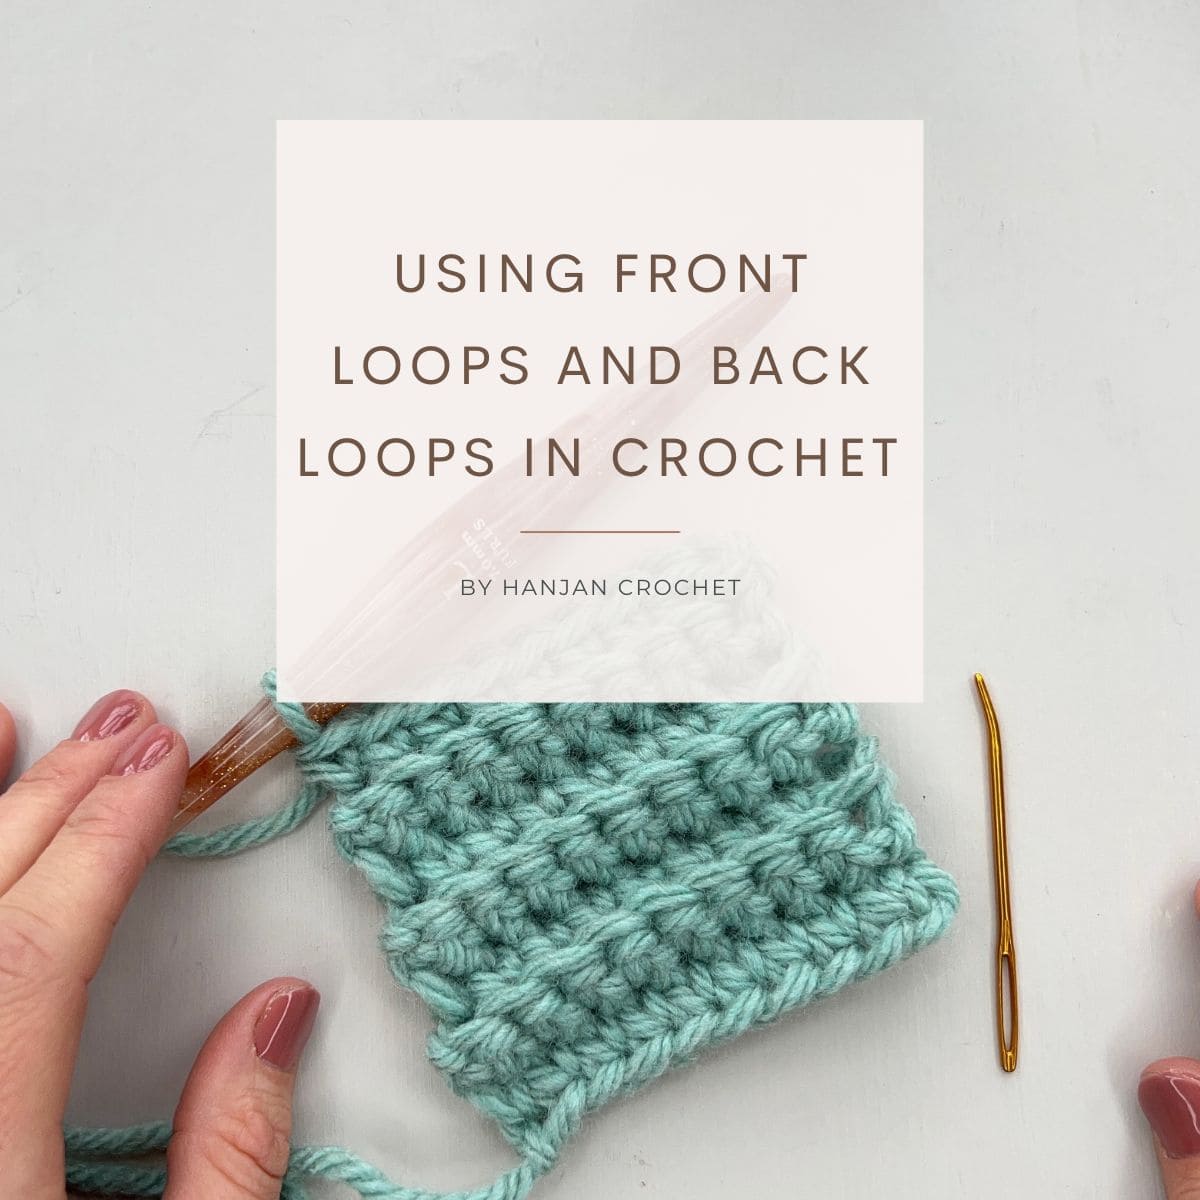
Front and back loops in crochet – how to find them and why those unused front loops are so important in overlay mosaic crochet.
Single crochet stitches – in mosaic crochet our regular single crochet stitches are worked in the back loop only (BLO), unless your pattern tells you otherwise.
Mosaic double crochet stitch (Mdc) – the stitch that reaches down into the available front loop two rows below and creates so much of our mosaic design.
For your single crochet stitches: Remember the exception we talked about above – if you’re following one of my patterns where the first and last stitches are worked through both loops, make sure you follow that instruction for those edge stitches. All the single crochet stitches between them will still be worked in the back loop only.
Mosaic Crochet Stitches for Shaping
Now we’ve got the basics sorted, we can start having a bit more fun with our mosaic crochet stitches and use them to create shaping within our designs.
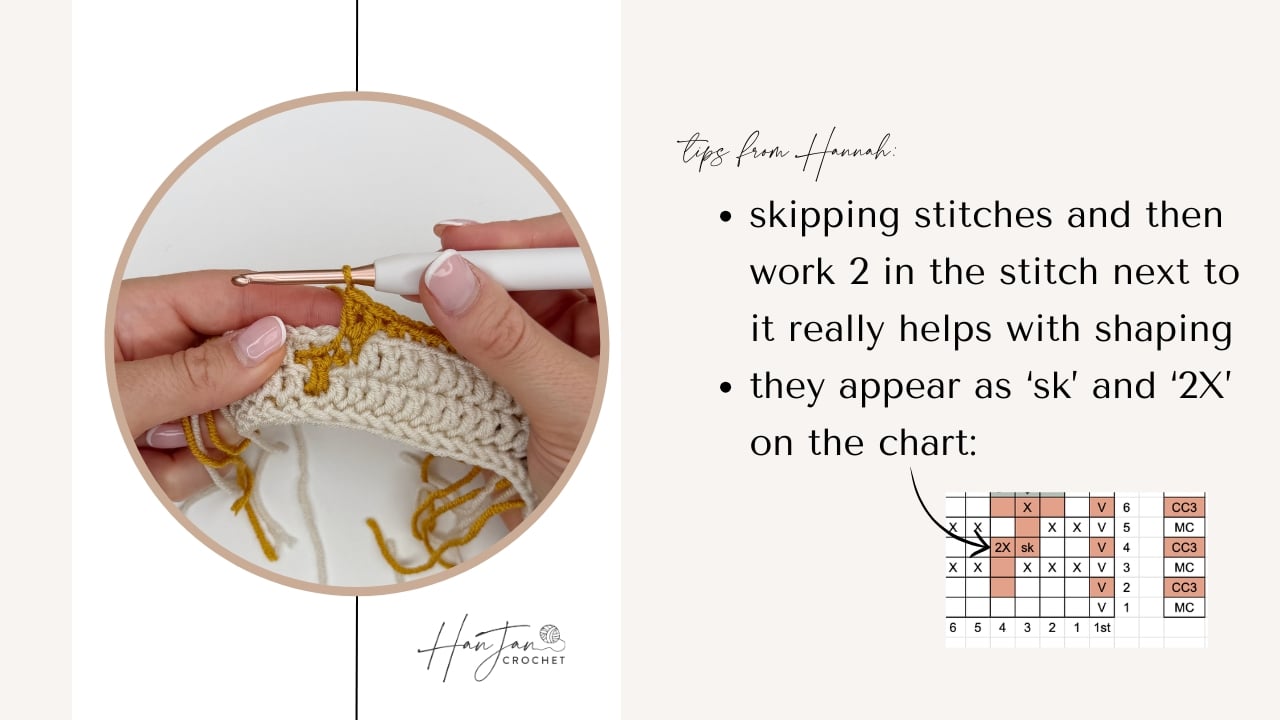
There are a few different ways I do this in my patterns, depending on which part of the design I want to move or shape. Let’s start with one of the simplest – skipping a stitch and working two mosaic double crochet stitches into another.
Skipping Stitches and Working 2 Mosaic Double Crochet in One Stitch
This is a really useful technique when we want to shift the top of our mosaic crochet design in one direction or the other.
We can either:
- skip the next stitch, then work 2 Mdc in the next stitch, or
- work 2 Mdc in the next stitch, then skip the following stitch.
And there’s one really important thing to know here: your stitch count does not change.
Normally, seeing instructions to work two stitches into one would make you think we’re increasing – but we’re not! Those two Mdc stitches are always paired with a skipped stitch, so one balances out the other and your stitch count stays exactly the same.
As for how to actually do it? It really does do what it says on the tin. 😂
If the pattern tells you to skip a stitch, simply leave that stitch alone. Then work 2 mosaic double crochet stitches into the available front loop of the indicated stitch two rows below.
Depending on which direction we want the design to move, you might see it written in my patterns as:
Skip next st, 2 Mdc in next st
Would you like to save this?
You can unsubscribe at any time.
or:
2 Mdc in next st, skip next st
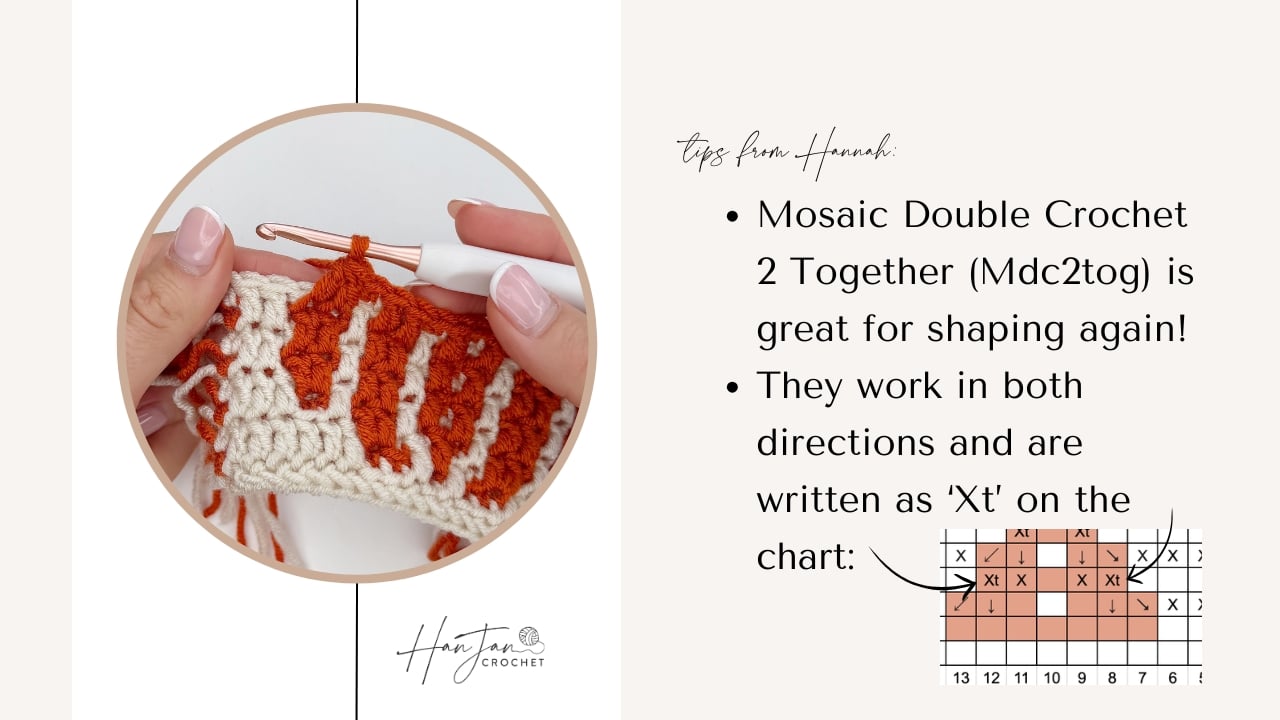
How to Work Mosaic Double Crochet 2 Together (Mdc2tog)
The next shaping stitch I use is a mosaic double crochet 2 together (Mdc2tog). This time, instead of working two mosaic double crochet stitches into one front loop, we’re doing almost the opposite – we’re using two available front loops from two rows below and joining them together into one stitch.
This allows us to create a wider base to the stitch and shape the design underneath our current row.
The actual stitch itself is very similar to a regular double crochet two together. It’s the position of where we work those stitches that makes it a mosaic stitch.
Begin a mosaic double crochet in the first available front loop you need to use, but don’t complete the stitch. Instead, begin another mosaic double crochet in the second available front loop. Once you’ve started both Mdc stitches, yarn over and pull through all three loops on your hook to complete them together.
And, just like our previous shaping technique, we can make this work in either direction.
Depending on which way the design needs to move, you’ll use either:
- the available front loop of the previous stitch and the stitch directly below, or
- the available front loop of the stitch directly below and the next stitch.
In the written instructions, you’ll see exactly which two stitches need to be worked together, so there’s no need to guess which direction your Mdc2tog needs to go.
How to Work Mosaic Double Crochet 3 Together (Mdc3tog)
Once you’ve got the hang of a mosaic double crochet 2 together, the mosaic double crochet 3 together (Mdc3tog) is even easier to understand – and there’s only one version to worry about!
We’re using exactly the same principle, but this time we’ll begin a mosaic double crochet in three available front loops from two rows below:
- the stitch before,
- the stitch directly below, and
- the stitch after.
Begin a mosaic double crochet in each of those three front loops without completing any of them, then yarn over and pull through all four loops on your hook to complete them together.
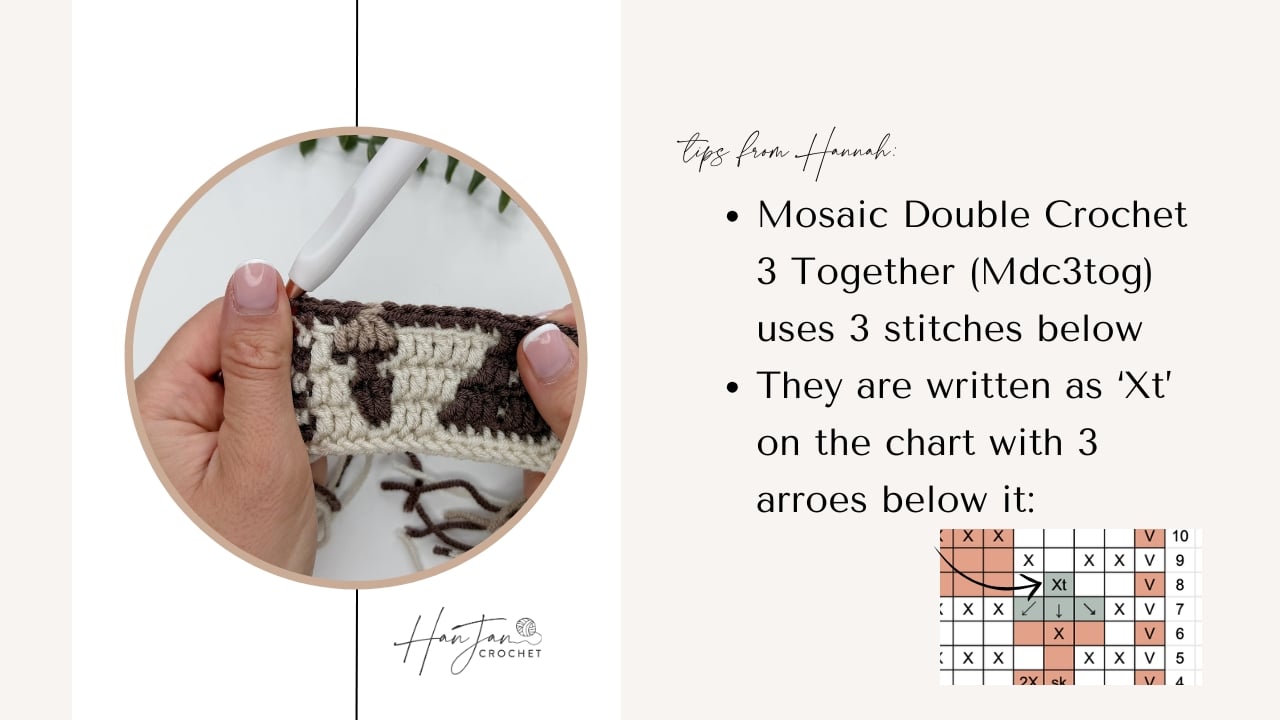
You’ll see me use these in the crochet mushroom pattern in my Fall Into Place patterns, where they create those lovely little shaped areas.
And if you fancy adding even more detail, they look especially cute when you change colour just for the Mdc3tog to add a little pop of something different. That’s completely optional though – one colour per row still works perfectly well.
Can You Change Colour Within a Row of Mosaic Crochet?
Although one of the lovely things about overlay mosaic crochet is that we generally work with just one colour per row, that doesn’t mean you can’t sneak in a little extra colour when you want to!
The answer is yes, you absolutely can change colour within a row of mosaic crochet. It’s not something you need to do, but it can be a really fun way to highlight individual mosaic crochet stitches or add small details to your design.
You’ll see me do this with the mushrooms, for example, where I change colour just for some of the details before going straight back to the main colour for that row.
How to Change Colour Within a Mosaic Crochet Row
Work the stitch before the one you want to change colour until you reach the final yarn over and pull through. Instead of completing that stitch with your current colour, yarn over with your new colour and use it to complete the stitch.
Now work your next stitch using the new colour, but stop before its final yarn over and pull through.
Pick up your original row colour, yarn over with it and complete the stitch. You can then carry on with the rest of your row as normal.
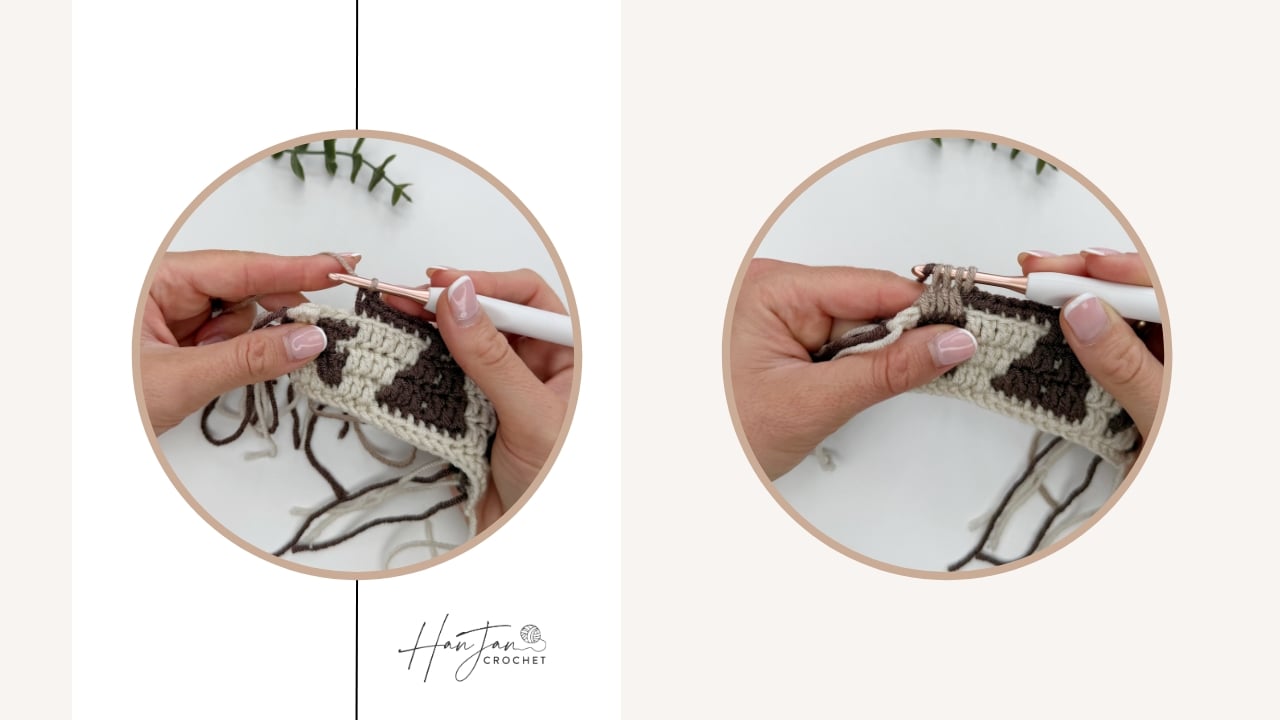
Think about changing colour one stitch earlier than you actually want the new colour to appear. The final yarn over of the previous stitch is what sets you up with the new colour ready to make the next stitch.
Should You Carry the Yarn or Cut It?
This depends on what you’re making.
If I’m working mosaic crochet in rows, particularly something large like a blanket, I don’t recommend carrying that additional colour along the back of the row. Instead, once I’ve finished using it, I break the yarn and weave those little ends in individually.
If you’re working mosaic crochet in rounds, though, it’s a different story. You can absolutely carry that extra yarn with you and crochet over it as you work around.
This works particularly well for something like a crochet basket, where we actually want our finished fabric to be nice and sturdy. Carrying that extra strand within the stitches can help add a little more structure too.
And you’ll be seeing exactly that technique in my mushroom baskets very soon… 🍄👀
How to Fix Mistakes in Mosaic Crochet
Here’s one of my favourite things about working overlay mosaic crochet in rows – mistakes are often much easier to fix than you think!
Because we’ve been breaking our yarn at the end of every row and starting again from the beginning, if you suddenly spot a mistake two or three rows back, you don’t necessarily need to unravel everything you’ve done since.
Instead, unravel just as far across each affected row as you need to until you can get back to the mistake. Fix the stitch on the lower row first, then rework the sections of the rows above it.
It can look a little alarming the first time you do it, but it saves undoing hundreds of perfectly innocent stitches because one little Mdc decided to misbehave. 😂
Before you start pulling anything out, have a good look at your chart and work out exactly where the mistake happened. Start with the lowest affected row and work your way back up.
What Do I Do With All the Ends in Mosaic Crochet?
Ah yes. The ends. 😂
If you’re working overlay mosaic crochet in rows and breaking your yarn at the end of each one, you’re going to have quite a collection of them along the sides.
You have a few options. You can turn them into a fringe, weave them in individually or, my personal favourite, hide the whole lot inside an envelope border.
An envelope border essentially encloses those ends between the front and back layers of your border, giving you a lovely neat finish without weaving in every single one individually.
Mosaic Crochet Stitches FAQs
Generally, yes. In my patterns, you’ll usually work one colour across a row, break the yarn and begin the next row with the next colour. As we’ve seen above though, you can add an extra colour within a row for little details when the design calls for it.
Not when working my overlay mosaic crochet patterns in rows. Keep the right side facing you, break your yarn at the end of the row and return to the beginning for the next one.
Most of your regular single crochet stitches will be worked into the back loop only, leaving the front loops available for your mosaic stitches. There are exceptions though – such as the first and last stitches in some of my blanket patterns – so always check the pattern you’re following.
You can if you prefer the extra security, and you’ll see some mosaic crocheters do this. I don’t personally chain before cutting my yarn and have never had an issue with my stitches unravelling, but either method is absolutely fine.
Yes! Although overlay mosaic is generally worked with one colour at a time, you can change colour within a row to add small details. I’ve shown you exactly how I do that above.
For the method I use when working overlay mosaic crochet flat, yes. If you’re working in rounds, however, your yarn can be carried instead.
No, and this is an important one. Different mosaic crochet designers may use different abbreviations, chart symbols and techniques. Everything in this tutorial shows you how I write, chart and work the stitches in my HanJan Crochet patterns, so always check the notes and stitch key when using a pattern from another designer.
Don’t panic and start ripping the whole thing out! If you’re using the cut-and-start-again method I use for rows, you can often unravel only the affected part of each row, correct the mistake and work those sections again.
Now Let’s Put Those Mosaic Crochet Stitches to Work!
You’ve got the stitches. You know how to make them lean, join them together, add little pops of colour and even rescue things when they don’t quite go to plan.
So there’s only one thing left to do – let’s actually make something!
Whether you fancy starting small with a coaster, trying a project in the round or going all in with a mosaic crochet blanket, I’ve got plenty of patterns for you to put your new skills to work.
Start with a Quick Coaster
- Pumpkin Coaster Crochet Pattern – A brilliant little project for trying mosaic crochet without a big commitment. 🎃
- Crochet Bunny Coaster Pattern – Another quick make with a very cute little mosaic bunny.
- Crochet Shamrock Coaster Pattern – Small, satisfying and perfect for practising your mosaic stitches. ☘️
Ready for a Mosaic Crochet Blanket?
- Crochet Autumn Blanket – Try lots of different mosaic stitches and shaping techniques in one cosy project. 🍂
- Free Crochet Heart Blanket Pattern – A lovely repeating heart design if you fancy something a little simpler.
- Crochet Christmas Blanket Pattern – Take your mosaic crochet into Christmas with a wonderfully festive design. 🎄
- Christmas Crochet Afghan – Another bigger project for putting those mosaic skills to work.
Fancy Trying Mosaic Crochet Stitches in the Round?
- Crochet Christmas Stocking Pattern – A smaller project for getting used to working your mosaic stitches in rounds.
- Mosaic Crochet Sweater Pattern – Take things up a notch and turn your mosaic crochet into something you can wear.
- Crochet Christmas Sweater Baby – A smaller way to try mosaic colourwork in a garment. 🎄
- Mosaic Crochet Beanie – A quick wearable project that’s perfect for practising mosaic crochet in the round.
Want Even More?
Still looking for your next project? Explore all my mosaic crochet patterns and see what takes your fancy. 🧶
Get your free guide!
Subscribe to get your free guide to choosing and combining colours!
Join HanJan and Share Your Crochet With Us!
I’d love to hear from you and see your HanJan Crochet project! Here’s where you can do that:
📌 PIN THIS POST – save it to your Pinterest crochet board so you can come back to it again and make more!
↗️ SHARE – Share your yarn choices, progress pics, and finished projects on Facebook or Instagram (make sure to use the hashtag) #hanjancrochet
🧶 JOIN – Join thousands of amazing crafters in the HanJan Crochet Community Group on Facebook ready to cheer you on!
✉️📩📬 SUBSCRIBE – It’s an honour to be able to create and share my free crochet patterns with you. I’d love to stay connected and send you regular discount codes and free patterns! Please sign up for my subscriber list to get a free gift right now!