This post may contain affiliate links. Please see my full disclosure and privacy policy for details.
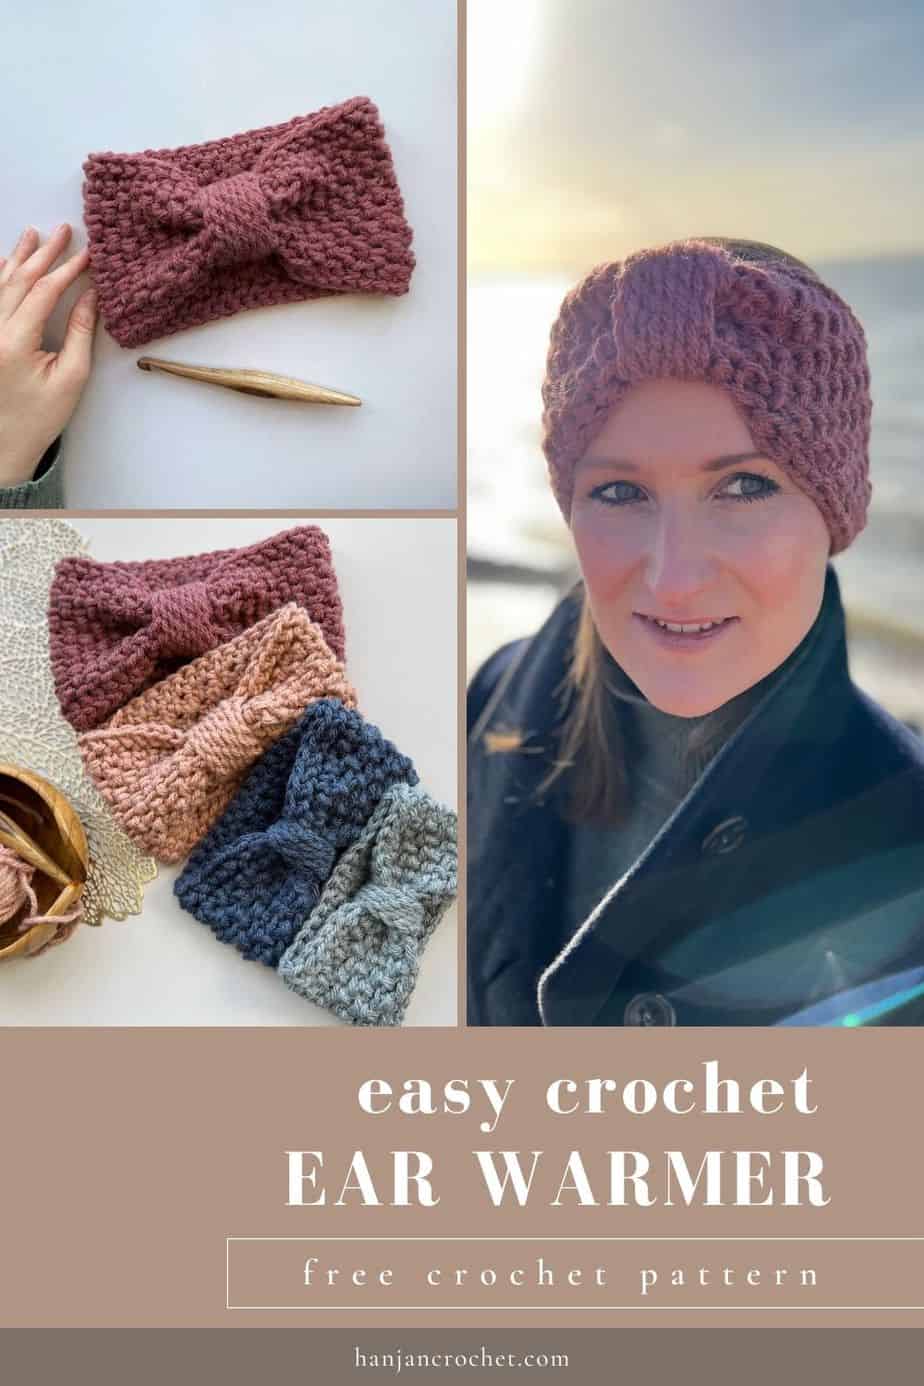
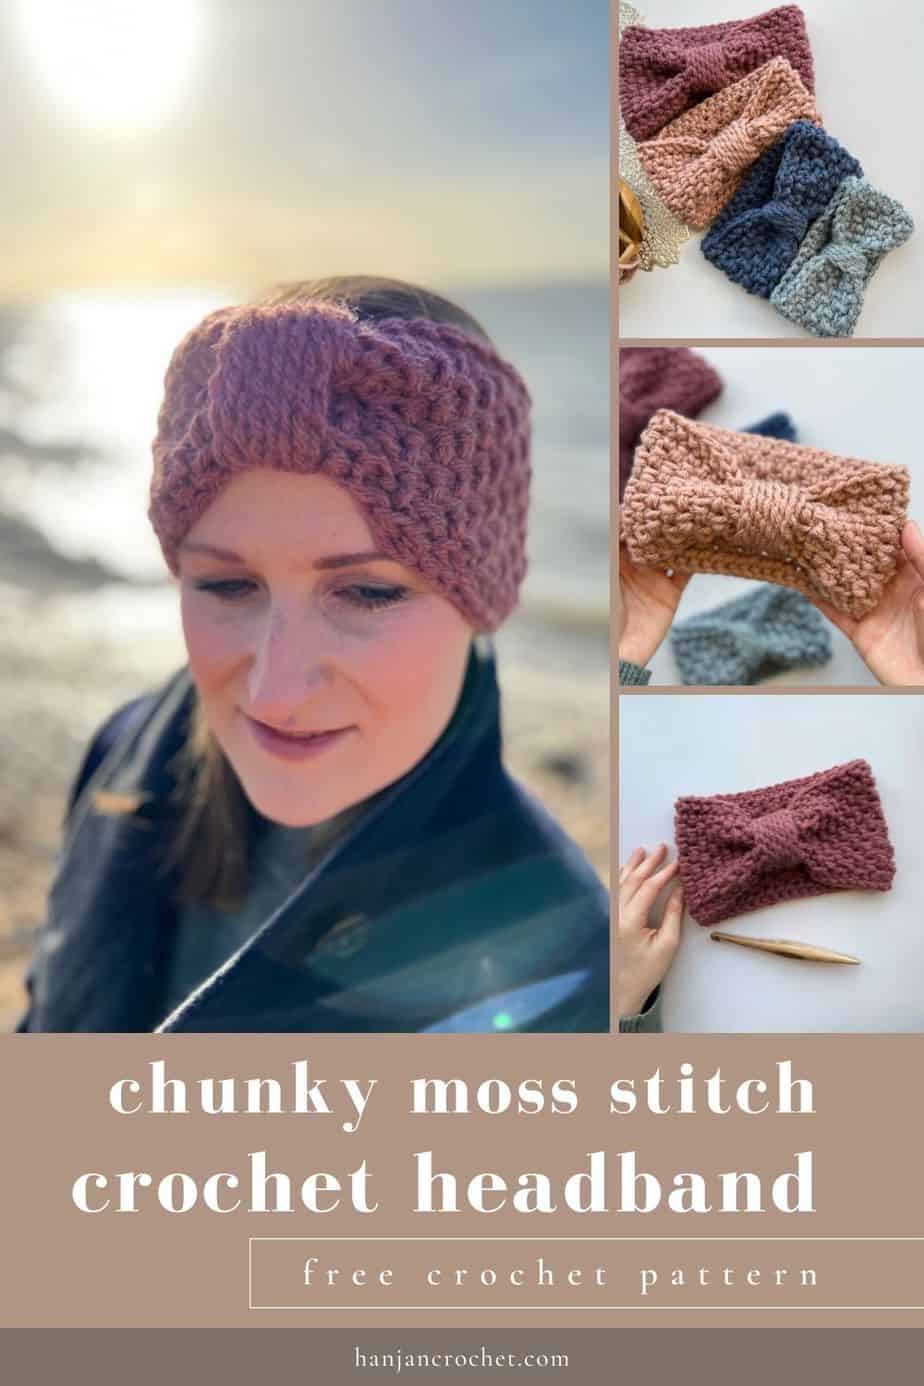
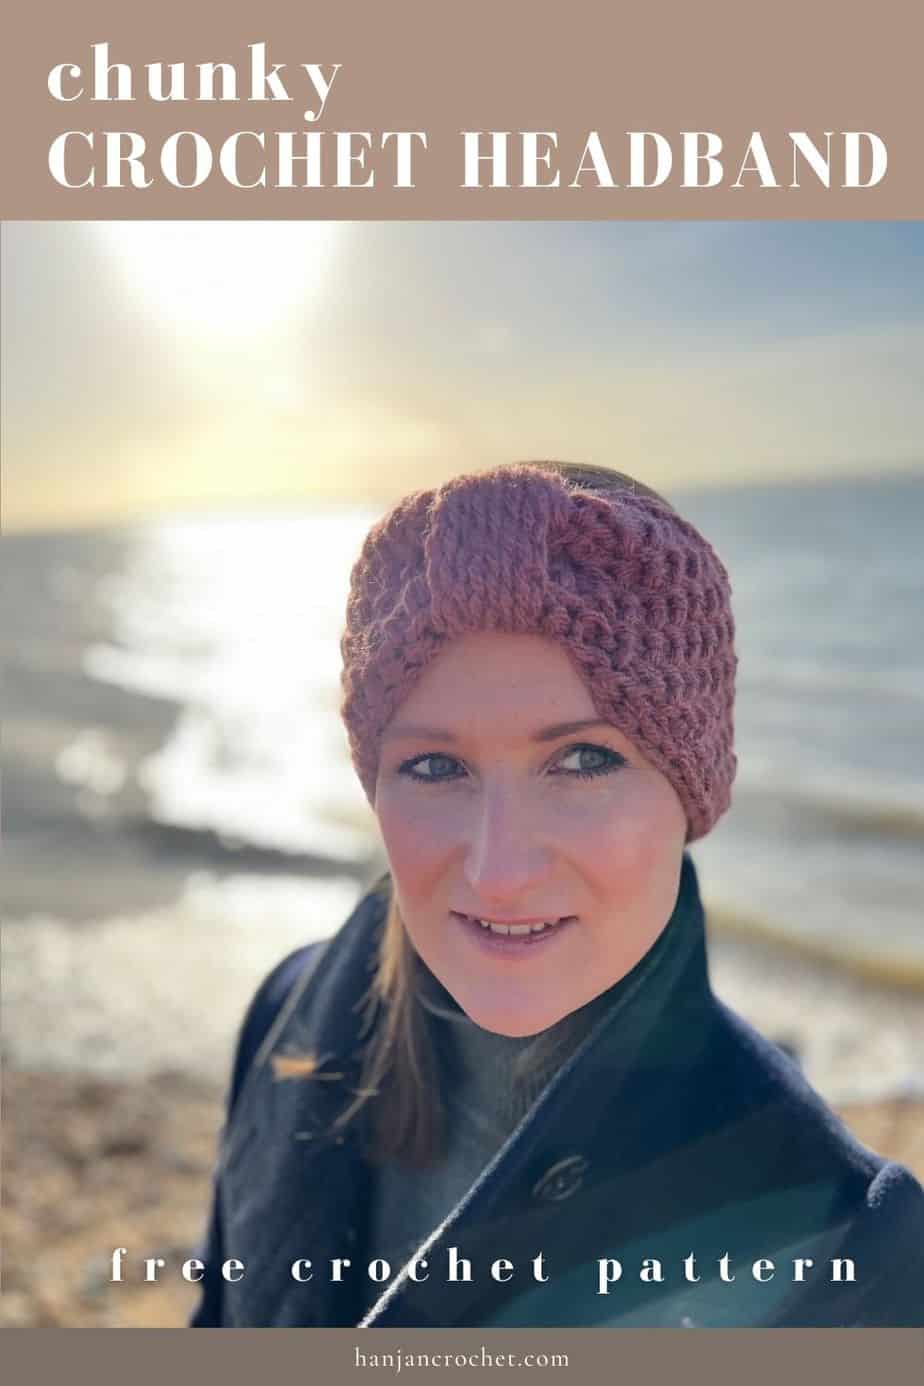
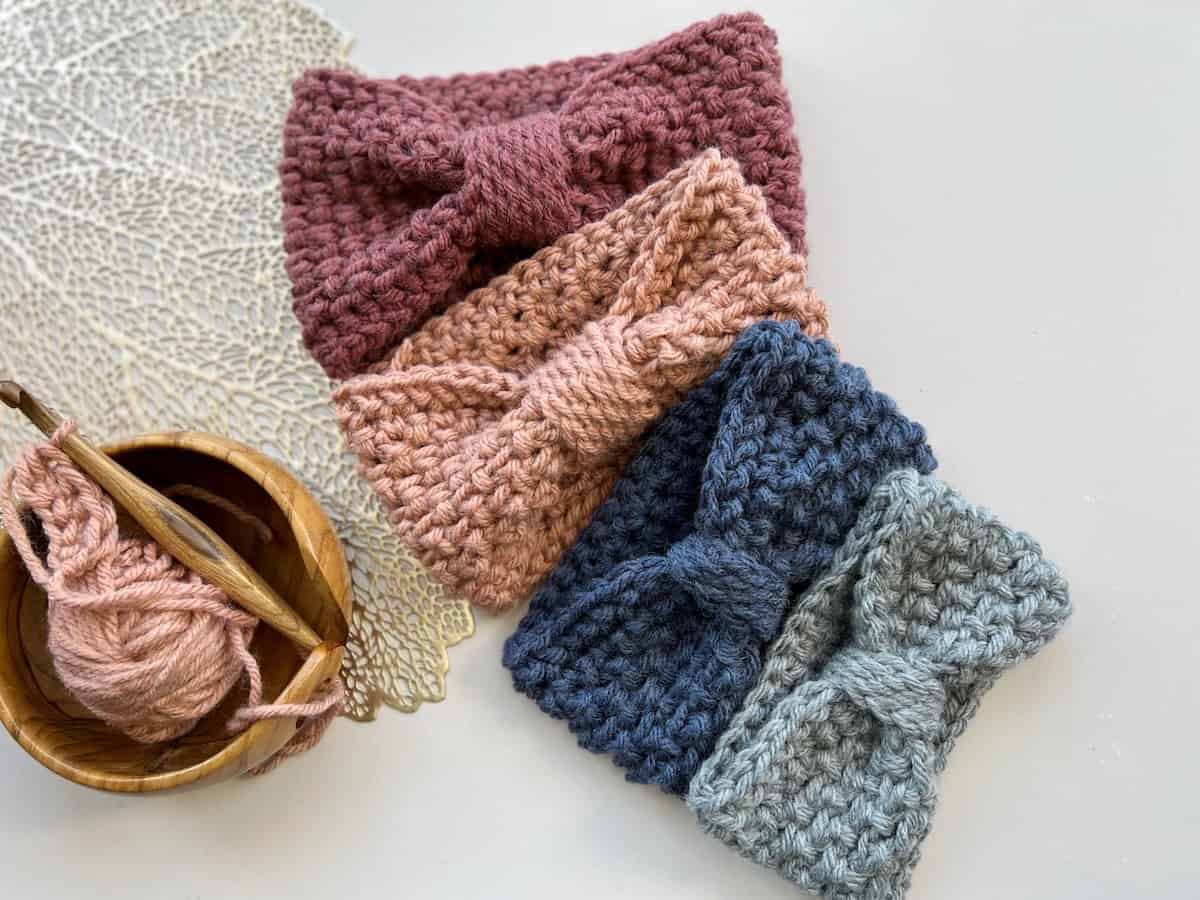
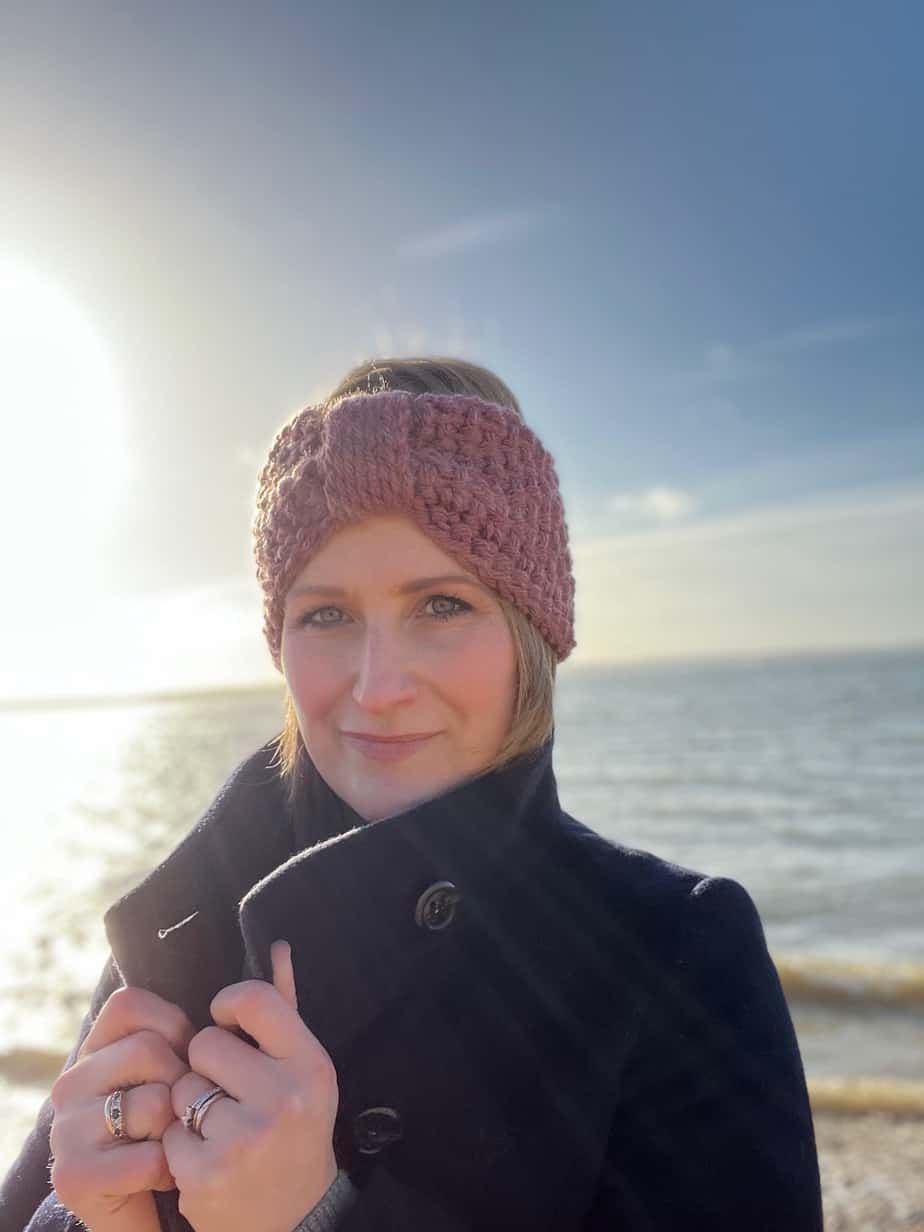
Enjoy this quick, easy and free crochet headband pattern in sizes Toddler, Child, Teen and Adult. Make one for the whole family!
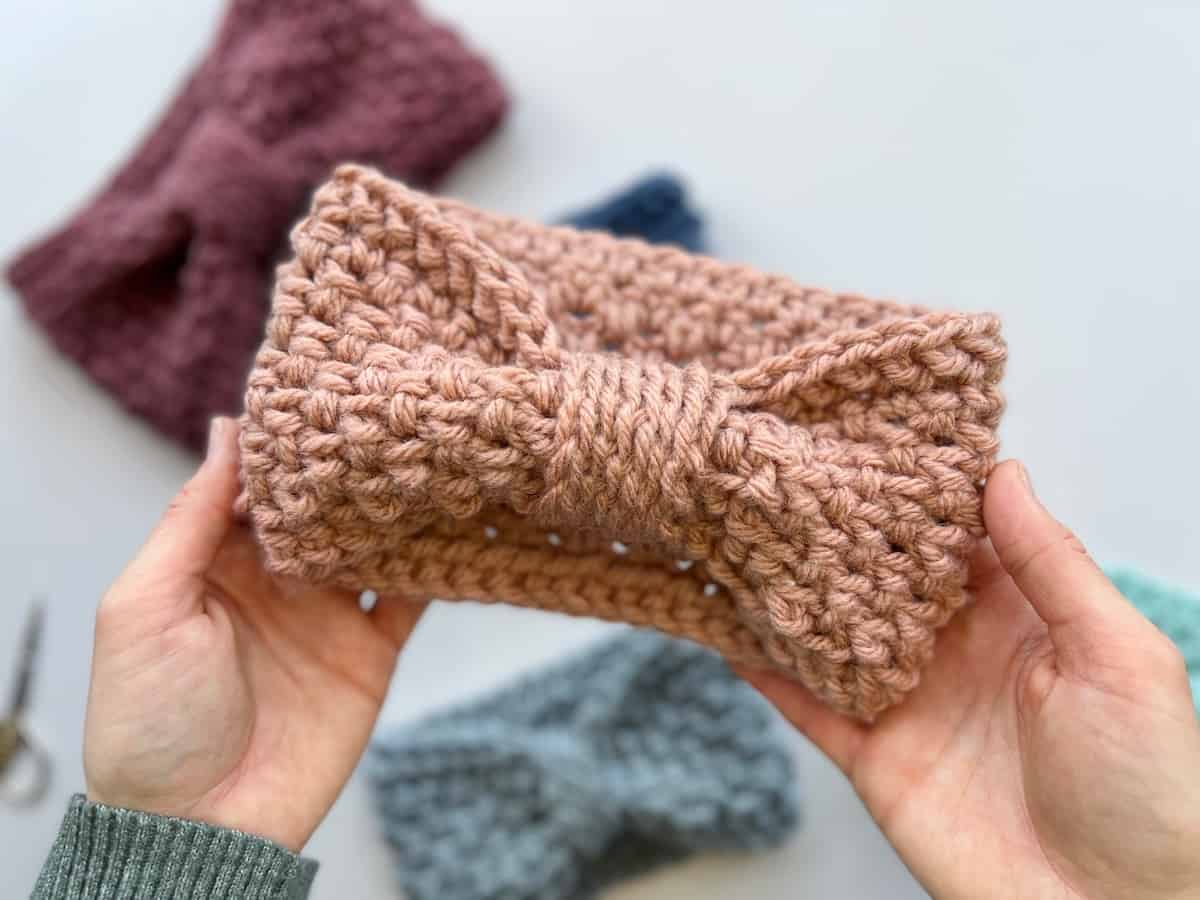
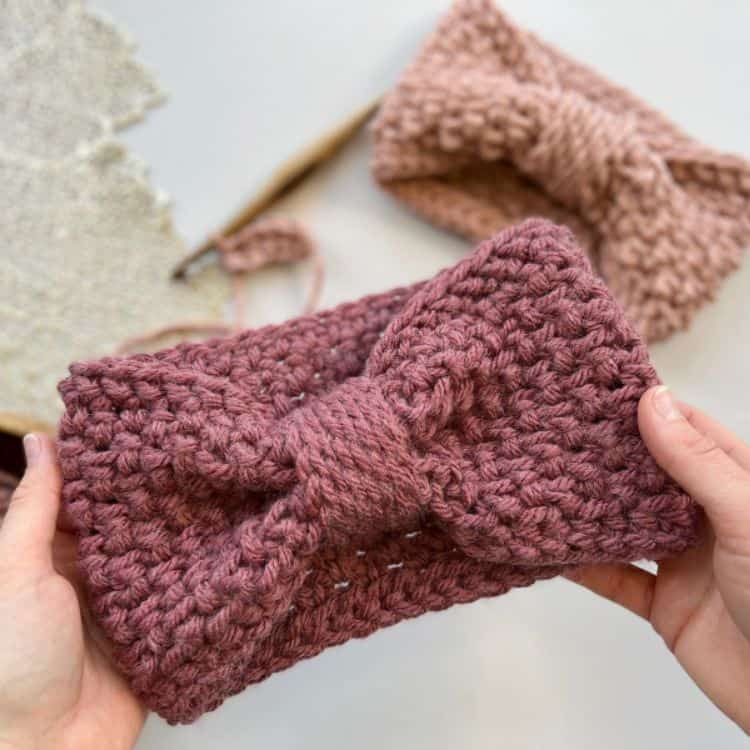
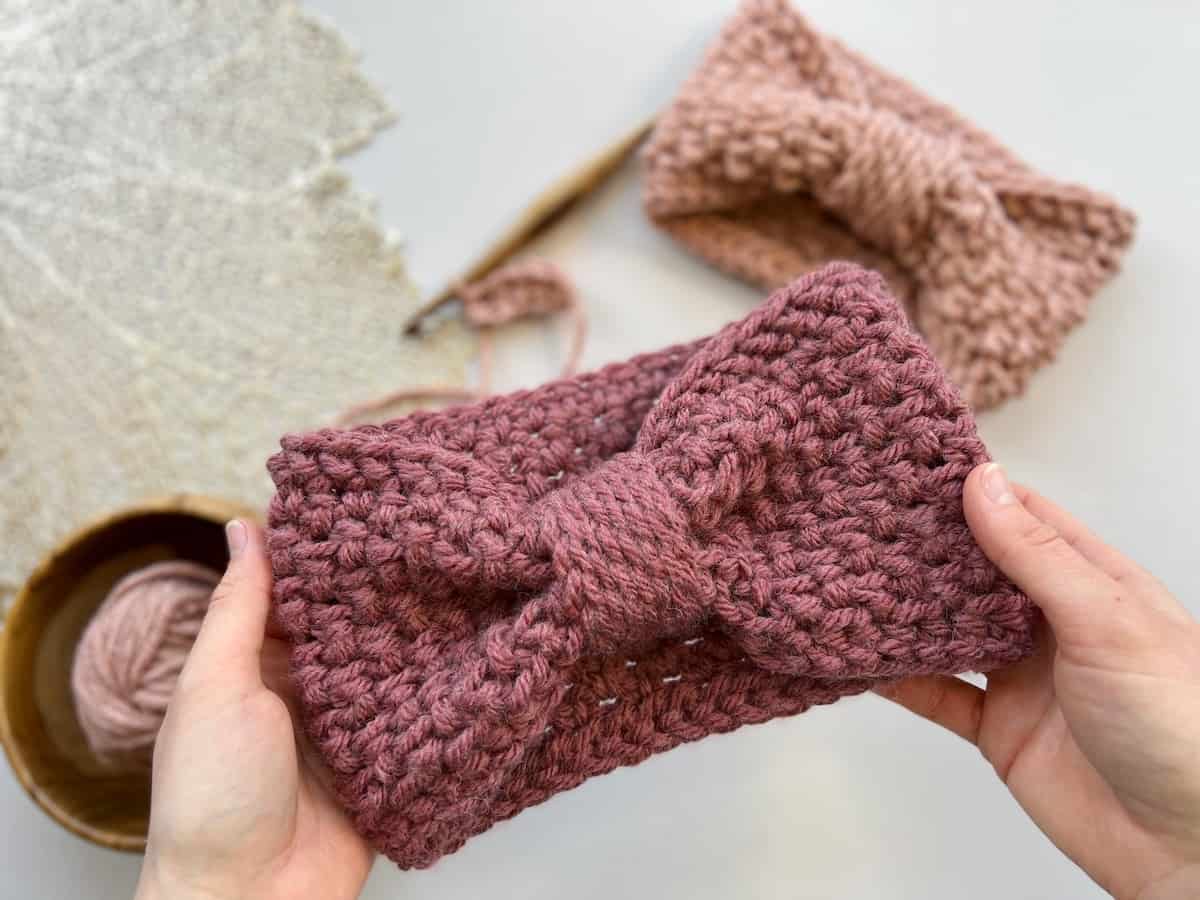
With a modern and textured herringbone crochet moss stitch in the round, the pattern is seamless and great fun to make. Completely customisable with the option to keep plain or add the middle band for shaping, the choice is yours.
You can carry on reading to find the free pattern here in this blogpost or purchase an ad-free, printable PDF version of the Herringbone Moss Stitch chunky crochet headband pattern in my stores to download and print.
Table of Contents
About the Herringbone Free Crochet Headband Pattern
If the truth be told I’ve always been nervous about designing quick and easy crochet patterns. For the most part I love conjuring up things that take forever for me to figure out, develop and launch but on an impulse a few weeks ago I was playing with a new stitch with some chunky yarn and before I knew it I had designed a really easy crochet ear warmer!
Want to remove Ads?
- Get ad-free access on all posts; 200+ patterns & tutorials!
- Member-only resource library with downloadable PDF guides
- Bonus eBook (Worth over $30)
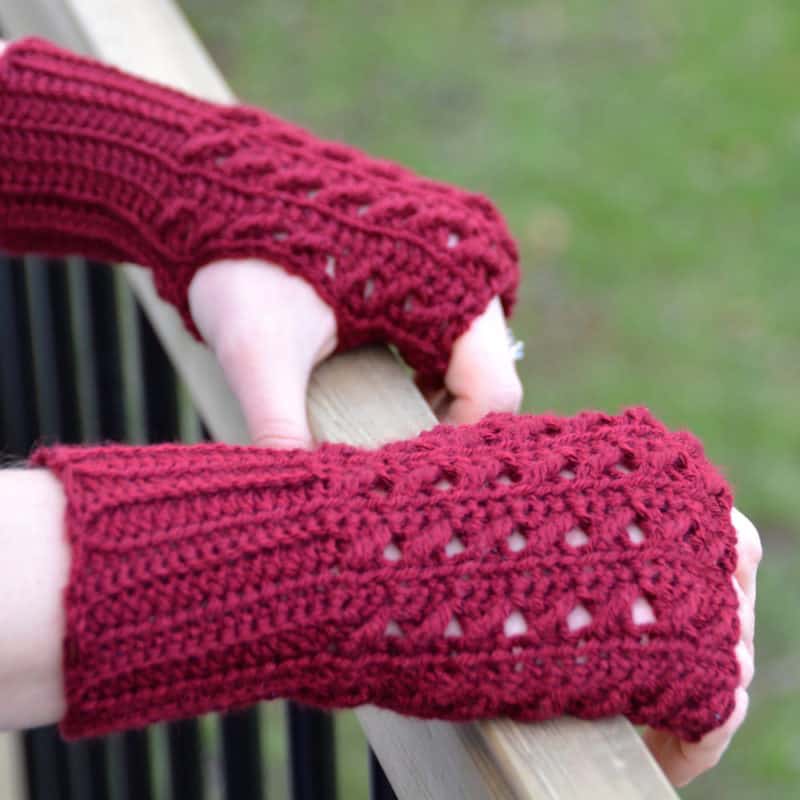
The inspiration was the fact that I had designed my Herringbone Moss Stitch Crochet Mittens (which have been proving so popular!) and I wanted to make a matching hat or headband but didn’t have time right then to make one in the same DK yarn weight.
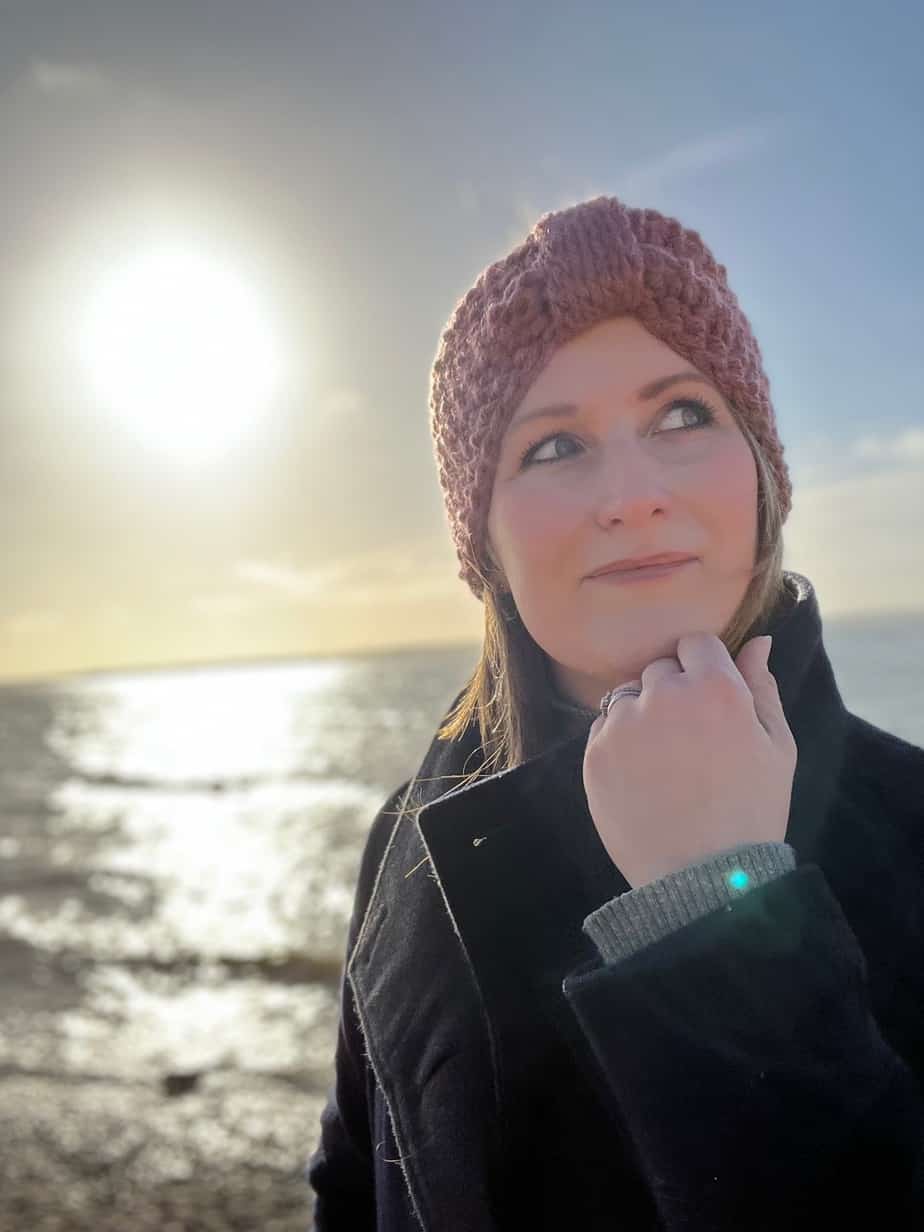
So I went about playing with this beautiful chunky yarn and hook and in about 30 minutes I’d made a headband! So, from someone who rarely makes any quick and easy crochet patterns – I’m absolutely hooked now! I hope you love it as much as I do.
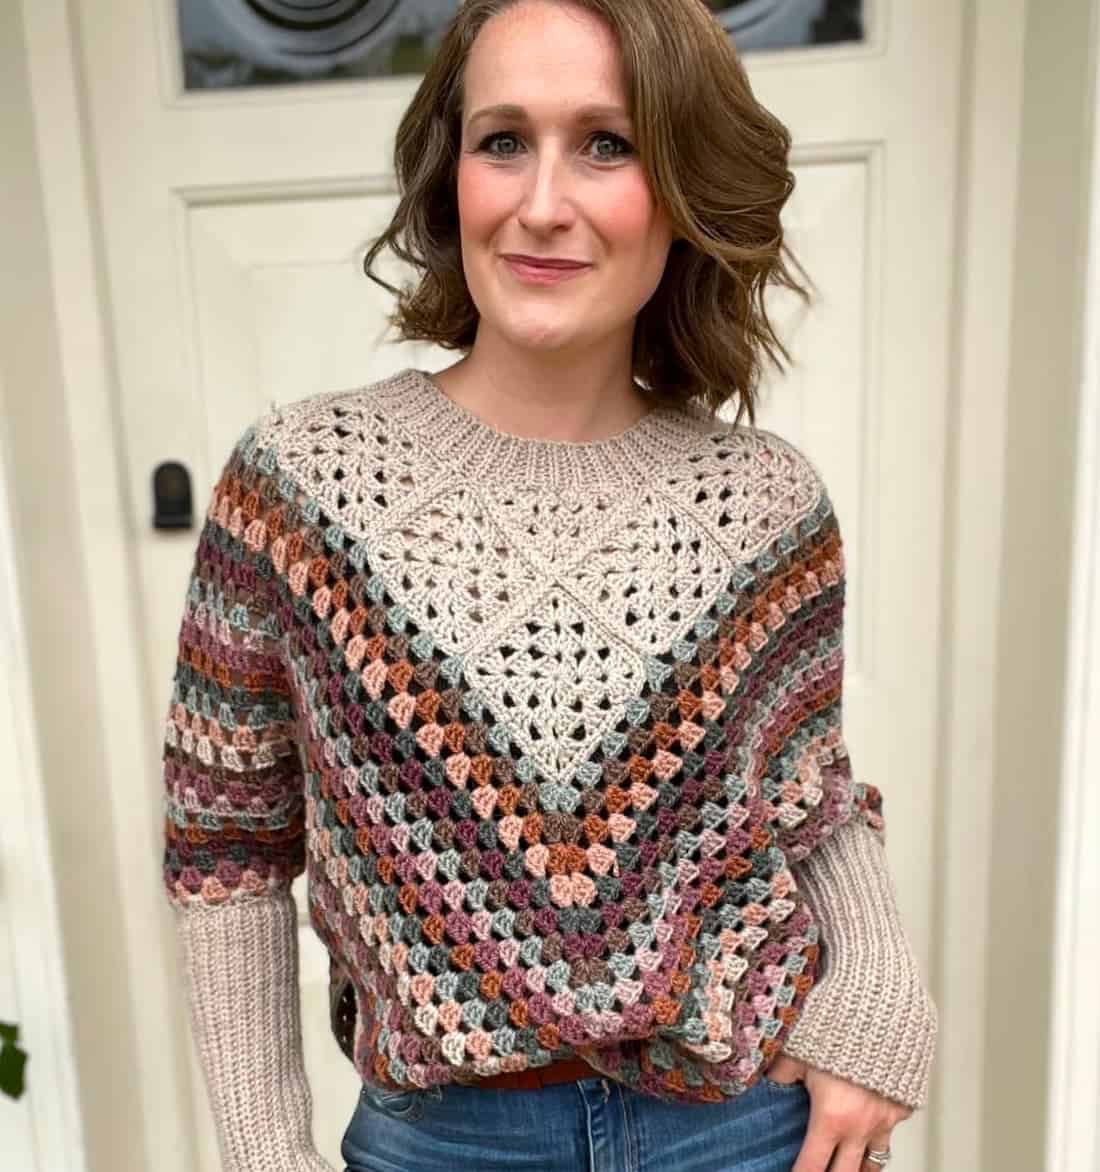
If you’re in need of some other ideas then I have lots of free crochet accessory patterns for you to choose from too, including my latest crochet backpack pattern made from the same stitch as this pattern!
Can I make the crochet headband in different yarn?
Absolutely! I’ve designed the pattern in such a way that you can try it as you go and as long as you follow the stitch multiples then you can use any weight of yarn that you’d like to make it with.
Even if you still want to make a chunky crochet headband like mine you can adjust the height of it to make it thicker or thinner – you just need to do more or less repeats of the main stitch pattern.
I really love making my designs customisable because I know that we are not all the same shape or size and have different style preferences. I also can’t follow a set of instructions to save my life so I don’t expect you to either!
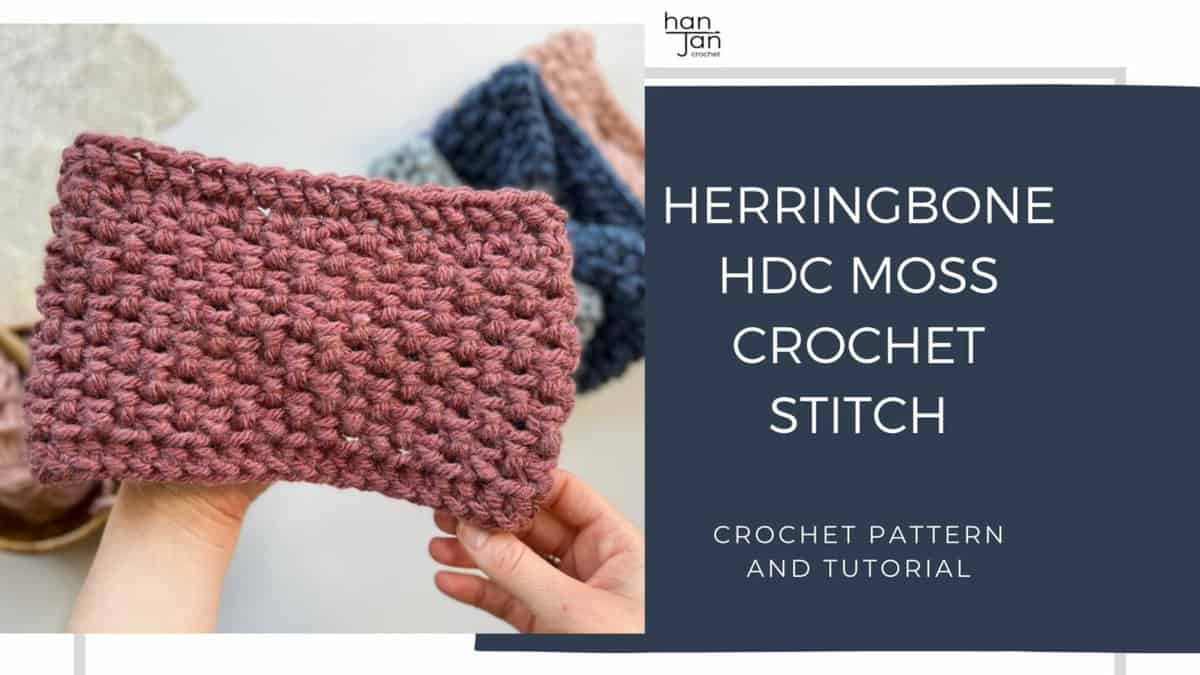
What is the half double crochet herringbone moss stitch?
I think it may be the ‘wordiest’ description of a stitch that I’ve ever used but I promise it is much easier than it sounds and the texture of the stitch is absolutely worth the effort of learning it!
It works really nicely crocheted back and forth in flat rows but I like it best in rounds without turning like in the headband here. I have plenty more patterns in mind for this stitch – it mimics a knitted moss stitch so nicely that I’m loving working with it!
I’m also delighted to say that I’ve designed a few other patterns using this stitch!
- free herringbone crochet mittens pattern – in sizes for all the family.
- free crochet winter hat pattern – it co-ordinates perfectly with the mittens.
- free crochet dickie pattern – this one works in rows rather than rounds and is great fun.
You can see the step by step pictures in the half double crochet herringbone moss stitch tutorial if you fancy studying them or you can watch the short video tutorial to get the hang of it too –
Herringbone Moss Stitch Video Tutorial
Join me to learn how to work the herringbone moss stitch in the round using chunky yarn to create this easy crochet headband.
The Headband Gauge and Sizing Options
The Herringbone Moss Stitch Headband come in sizes Toddler (Child, Teen, Adult) but as I said is completely customisable to suit whoever you’re making it for! See the sizing chart below for measurements.
Gauge for the main stitch is 8 sts and 9 rounds of Hhdc moss stitch = 4in by 4in using a 9/Nmm hook, or size needed to obtain correct tension.
| Size | To fit head circumference (cm) | Finished headband circumference (cm) | Finished headband height (cm) |
| Toddler | 40.5-46 | 37.5 | 8.75 |
| Child | 45.5-51 | 42.5 | 8.75 |
| Teen | 51-56 | 47.5 | 11 |
| Adult | 53-58.5 | 50 | 13.25 |
Yarn for the Chunky Crochet Headband
To make the ear warmer I used Hue and Me by LionBrand (Bulky Weight, 80% Acrylic, 20% Wool, 137yds/125g) yarn which is the most glorious of chunky yarns that comes in beautiful earthy tones that I love.
You will need for the following sizes: Toddler (Child, Teen, Adult))
Yarn required (balls): 1 ball for each – I used approximately 28 (38, 55, 66)yds of Hue and Me yarn to make each of the sizes. So you can get quite a few out of each ball of yarn!
What Alternative Yarn Could You Use?
The yarn I used a great wool and acrylic blend but I know that might suit everyone so here are some great alternatives that might work nicely (but remember you can make it in any weight of yarn you like!)
Acrylic Yarns
- Paintbox Yarns Simply Chunky – 100% acrylic, 136m/100g – lovely texture on this yarn.
- Brava Bulky by WeCrochet – 100% acrylic, 135yds/100 – an amazing choice of colours!
Wool Yarns
- Wool of the Andes Bulky by WeCrochet – 100% Superwash wool, 137yds/100g – my go to bulky choice.
Materials You Will Need
Along with your yarn, you will need the following:
9mm/N (US G+) crochet hook – my favourites for this size are Furls Streamline Swirl crochet hooks
Stitch markers if desired
Crochet Abbreviations and Glossary
hdc – half double crochet, sc – single crochet,
ch(s) – chain(s)
sp – space
ss – slip stitch
beg – beginning
sk – skip
st(s) – stitch(es)
RS – right side
WS – wrong side
rep – repeat
yrh – yarn round hook
blo – back loop only
Crochet Stitches used in the Pattern
The pattern uses the following crochet stitches:
sc – single crochet (UK dc – double crochet)
hdc – half double crochet (UK htr – half treble)
Herringbone Half Double Crochet Moss Stitch
If the stitch is new to you then make sure to check out my video tutorial or herringbone half double crochet moss stitch step by step tutorial.
The moss stitch (often known as the granite or linen stitch too) is by far one of my favourites. It has such a lovely texture, delicate drape and works so well for all sorts of designs.
Here are the written instruction for each of the special stitches you’ll need for the crochet headband in US terms –
Foundation Half Double Crochet: Fhdc
Step 1: Ch 2, yarn over, insert hook into second ch from hook, yarn over and pull up a loop. [3 loops on hook]
Step 2: Yarn over and pull up another loop i.e. ch 1. This creates the first “chain” in your foundation row. [still 3 loops on hook]
Step 3: Yarn over and pull through all three loops to complete the first fhdc.
Step 4: Next stitch and subsequent stitches: Yarn over, insert hook into “chain” created in Step 2, yarn over and pull up a loop. [3 loops on hook]
Step 5: Yarn over and pull up another loop i.e. ch 1. This creates the next “chain” in your foundation row. [still 3 loops on hook]
Step 6: Yarn over and pull through all three loops to complete the next fhdc.
Repeat Steps 4, 5 and 6 as required.
Herringbone half double crochet: Hhdc
Yarn over, insert hook into next stitch, yarn over and pull up a loop (3 loops on hook). Pull first loop straight through the second loop (similar to a slip stitch to leave 2 loops on the hook). Yarn over, pull through two remaining loops on hook.
Back loop only herringbone half double crochet moss stitch: Hhdc-moss
Work as for Hhdc but insert hook into back loop only of unworked stitch 2 rounds below. Work over the chain 1 space on the previous round.
If you love the look of the moss stitch then you might also like to have a go at the double crochet moss stitch – I have a tutorial and lots of patterns featuring that too!
How to get the Crochet Pattern
This crochet headband pattern is available in a few formats for you to use:
Option One: View on the blog for free with ads
Scroll down and continue reading to find all the design details and sign in to find the pattern for the chunky headband in this post.
Option Two: Purchase the individual PDF pattern
Purchase the ad-free PDF download
Perfect to print out or use on any device, with added stitch placement diagrams
Marly Bird and the 24 Days of Quickies!
I am thrilled to say that the amazing Marly Bird has invited me back again to take part in her hop this year!
This pattern PDF is available to download from 9am EST 1st December for 24 hours. Just click on the image below that says “Get your FREE PDF here!’ and a form will appear for you to add your details of where you’d like me to send it 🙂
Make sure you pop back to Marly’s site as she is featuring me as the Holiday Armadillo today and if you love this headband you won’t want to miss out on the amazing offer I have on the whole Herringbone Moss Collection!

Pattern Notes
- A ch1 at the beginning of a round does not count as a stitch.
- A ch2 at the beginning of a round counts as a ch1-sp in stitch count.
- Work in back loops only throughout Main Set Pattern
- Instructions are given for the smallest size, with larger sizes in brackets ( ).
Headband Construction
The headband is made in one piece from the bottom up.
You begin with a foundation stitch row that is joined to then work in rounds.
The centre band is added seamlessly in the round before breaking the yarn and weaving in the ends.
Customisation
Circumference:
Work an even amount of stitches for the Foundation Row that will sit comfortably when joined around your head.
Height:
You can change the height of the headband by working as many repeats of the Set Pattern as you like before the final 2 rounds.
Copyright Notice
The Herringbone Moss Headband Crochet Pattern and its contents are fully owned and copyrighted by HanJan Crochet Ltd., and all rights are reserved.
This pattern is protected by copyright and other intellectual property laws and may not be reproduced, distributed, or transmitted in any form or by any means without the prior written consent of the author (Hannah Cross of HanJan Crochet Ltd). Unauthorised distribution or reproduction of this pattern or elements of the instructions is strictly prohibited. The free to view crochet pattern is intended for personal viewing only. By accessing this pattern, you acknowledge and agree to comply with these copyright terms and conditions.
Pattern Support
I am delighted to invite you to join the HanJan Crochet Community Facebook Group where we host all pattern support queries and love to see your progress, yarn choices and finished projects!
Free Crochet Headband Pattern for Blog Subscribers to View
To unlock Exclusive Content on the HanJan Crochet Blog, all you need to do is click the box below and the Grow.me app will pop up, allowing you to enter your email and create a password.
Once you’ve created an account, every time you see Exclusive Content on my blog (or any others that use Grow), simply login to your Grow account. Be sure to switch to the login screen to enter your login credentials.
If you forget your password, click the “forgot password” link and follow the prompts. Please note that I’m unable to assist with resetting Grow passwords or accessing your Grow account, so be sure to save your login information in a safe place.
Thank you for subscribing and for joining me at HanJan Crochet! I hope you enjoy the exclusive content available on the site and I can’t wait to see what you create 🙂
Pattern
In standard US Crochet Terms
Foundation row: Fhdc 30 (34, 38, 40), taking care not to twist, join to 1st st with a ss. [30 (34, 38, 40)]
Round 1: ch1, *Hhdc in next st, ch1, skip next st; rep from * around, ss in 1st st to join.
Round 2: work all moss stitches in blo from now onwards, ch2 (counts as ch1-sp), Hhdc-moss in next skipped st below ch-1 sp, *ch1, skip next st, Hhdc-moss in next skipped st below ch-1 sp; rep from * around, ss in 1st ch of beginning ch2 to join.
Round 3: ch1, Hhdc-moss in skipped st below ch-1 sp, ch1, skip next st, *Hhdc-moss in next skipped st below ch1-sp, ch1, skip next st; rep from * around, ss in 1st Hhdc-moss to join.
Rounds 3 and 4 create the Set Pattern.
Rounds 4-5 (5, 7, 9): repeat the Set Pattern.
You can repeat the Set Pattern as many times as you like before working the final 2 rounds.
Final 2 rounds for all sizes:
Round 1: ch1, *sc in next st, Hhdc-moss in next skipped st below ch1-sp; rep from * around, ss in 1st st to join.
Round 2: ch1, Hhdc in each st around. Continue for Centre Band.
Centre Band: ch 8 (8, 10 ,12), ss in 1st ch around the height of the headband to join. Work in continuous rounds in the blo now.
Rounds 1-5 (6, 7, 8): ss in blo of each st around.
Fasten off yarn at the end of of the final round and weave in all ends.
Join HanJan Crochet and Share Your Crochet!
It’s an honour to be able to create and share my free crochet patterns with you. I’d love to stay connected and send you regular discount codes and free patterns! Please sign up for my subscriber list to get a free gift right now!
I look forward to seeing your finished crochet projects, especially this easy crochet pattern, so please share them with me in the HanJan Crochet Facebook group or on Instagram and tag #hanjancrochet.
Purchase the ad-free PDF download
Perfect to print out or use on any device, with added stitch placement diagrams
Looking for pattern support?
Not only will you find pattern support in the HanJan Crochet Facebook Community Group but we have over 12,000 like minded crocheters eager to chat with you!
It is a fun, supportive and educational group where we all support each other to be the best we can be. Everyone is always happy to share their knowledge and experience so do come and join us!