This post may contain affiliate links. Please see my full disclosure and privacy policy for details.
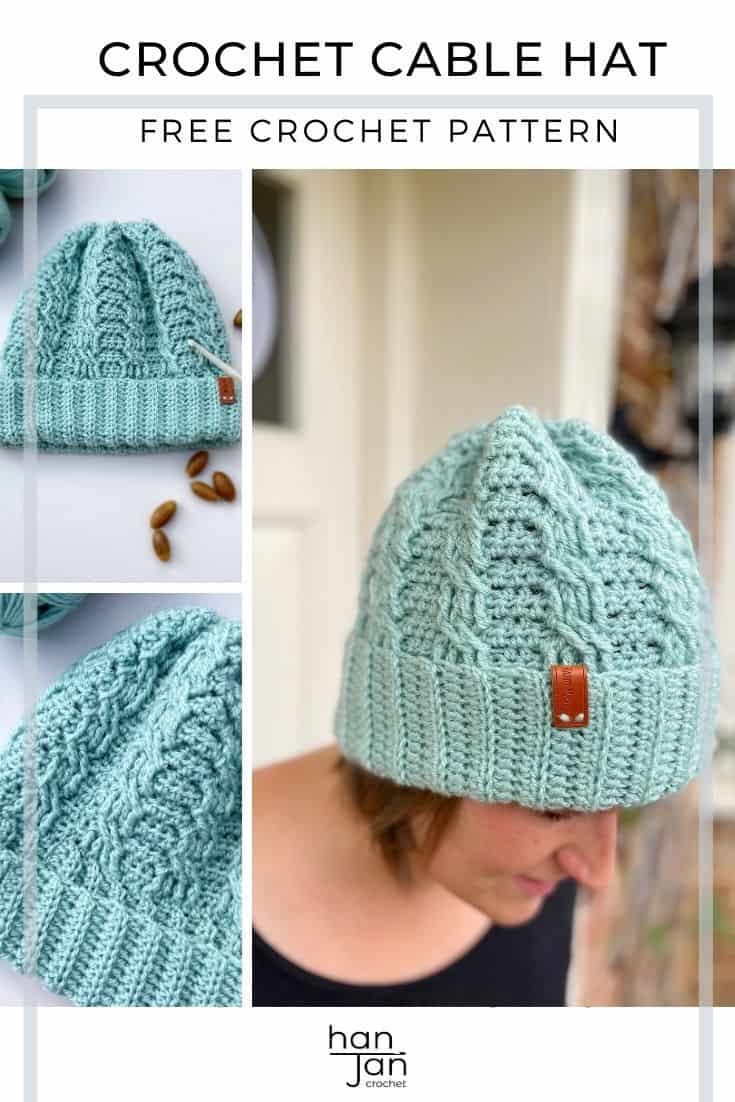
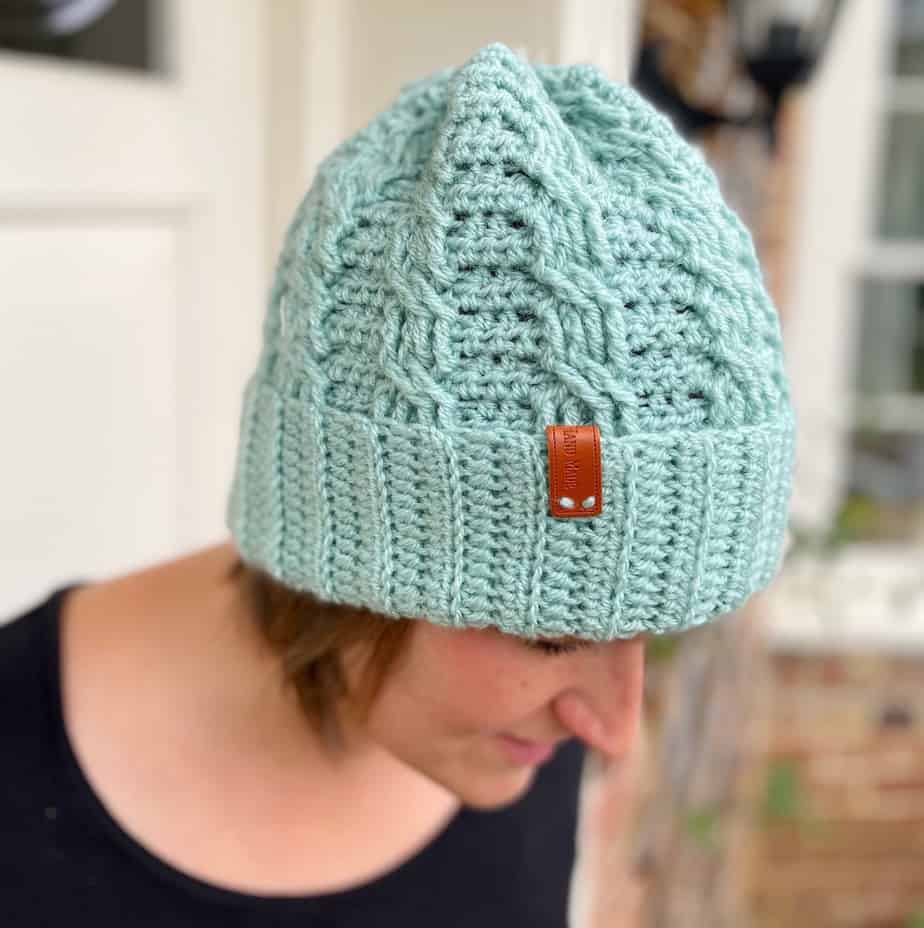
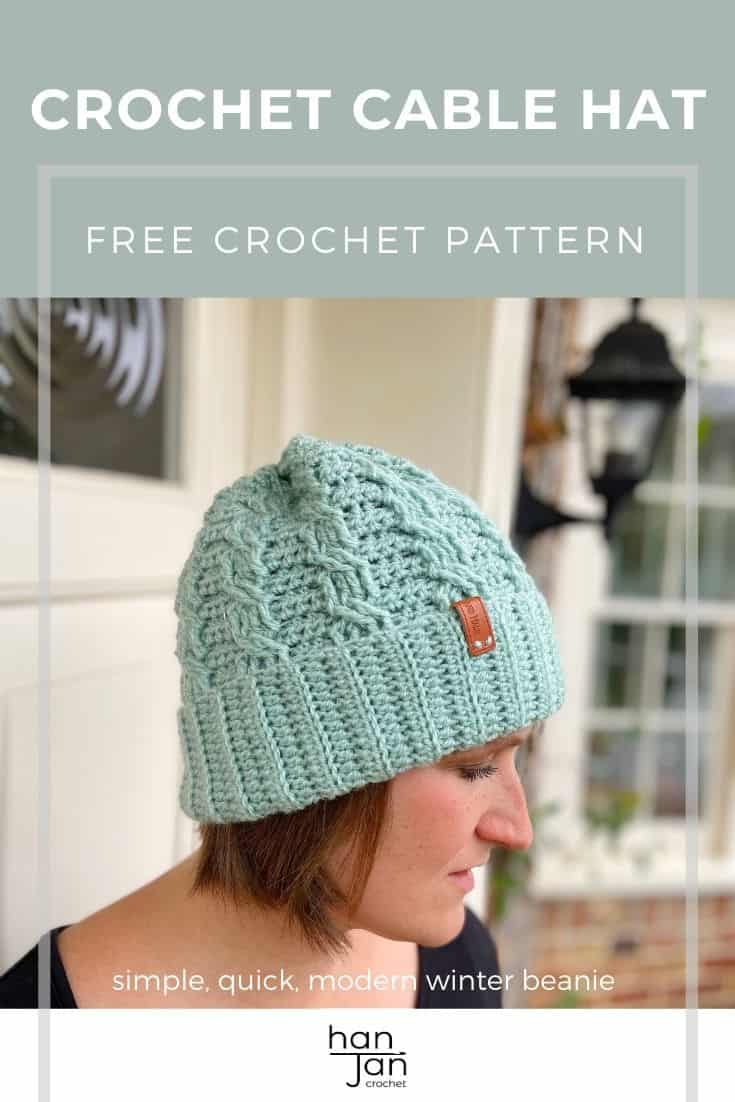
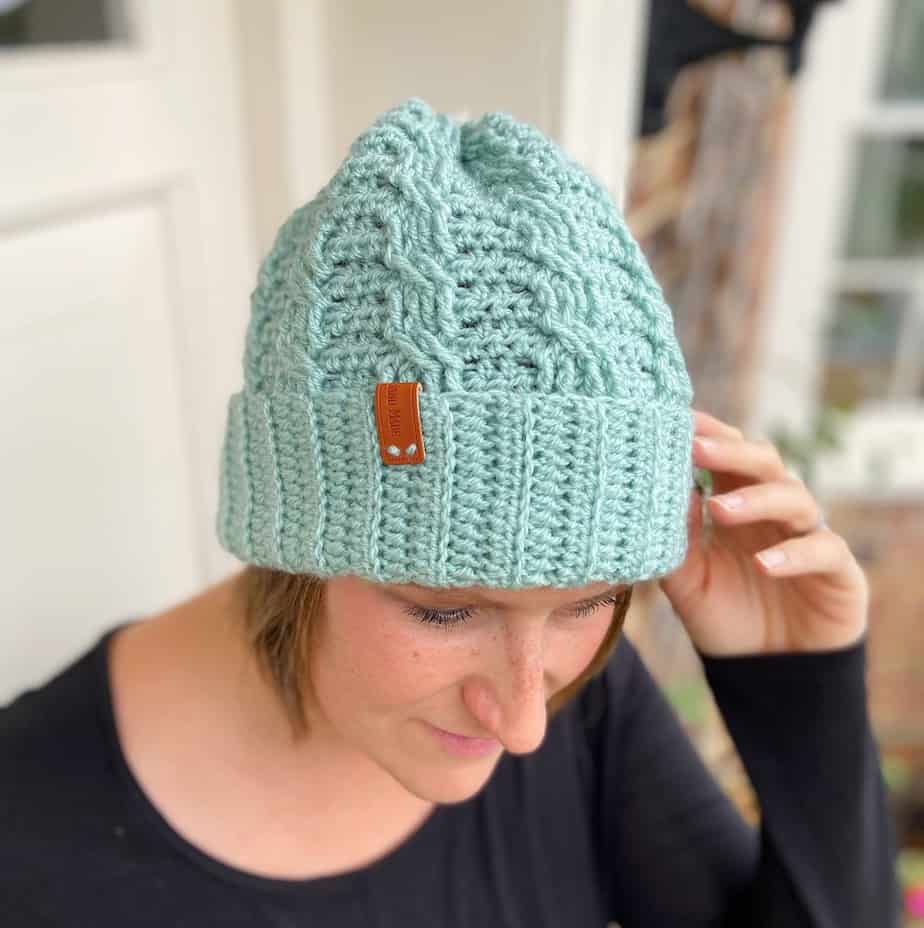
Sophisticated crochet cables and a deep, ribbed brim makes the Neo Mint crochet cable hat pattern the perfect winter beanie to make and add to your wardrobe. Worked completely flat, this quick and simple hat is effortlessly stylish and will suit everyone.
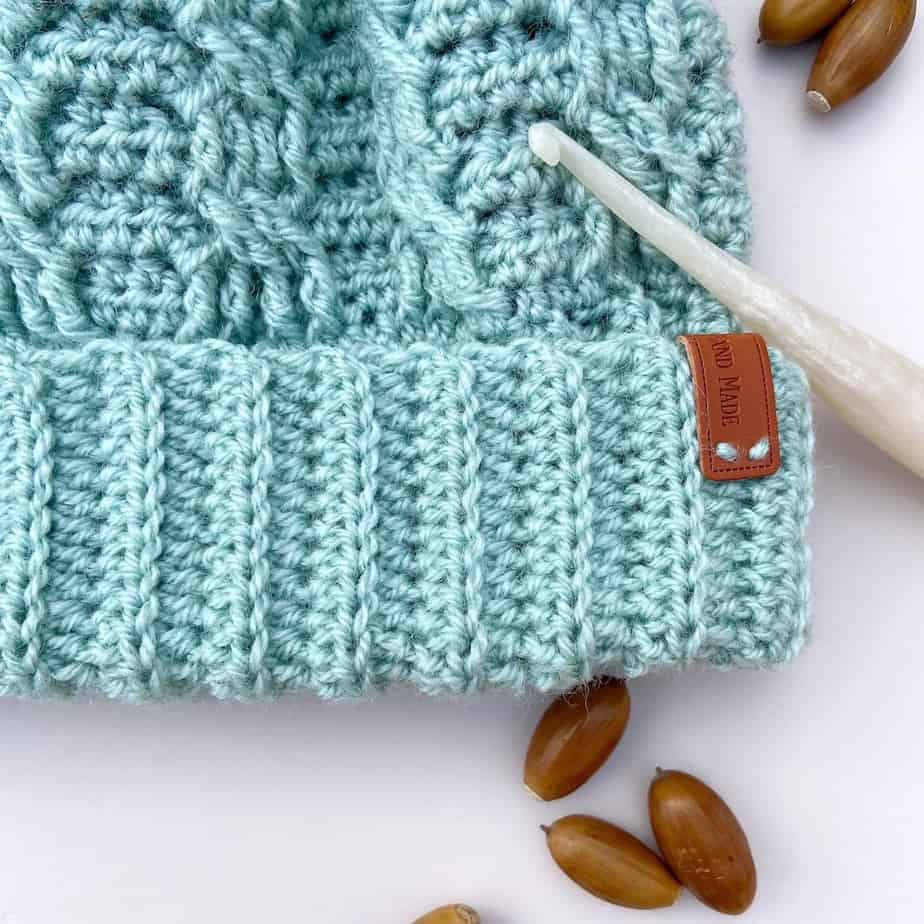
The cable stitch hat is constructed by working the brim band flat in rows then rotating to work the body in flat rows along the edge of the brim band. The hat is seamed up the side and gathered at the top to ensure a cosy, snug fit.
This post may contain affiliate links. Please see my full disclosure and privacy policy for details.
Scroll down for the free crochet cable hat pattern, or purchase an ad-free, printable PDF version here:
Want to remove Ads?
- Get ad-free access on all posts; 200+ patterns & tutorials!
- Member-only resource library with downloadable PDF guides
- Bonus eBook (Worth over $30)
Table of Contents
About the Neo Mint Crochet Cable Hat
Designing this simple crochet hat was an absolute joy! I had the idea in my head and it literally flew off the hook. I wanted it to be slouchy, comfy, and cosy, but delicate too.
I don’t know about you but I really like working hats flat and then seaming them. I also like to work them in one piece so there’s hardly any sewing to do either.
For this pattern, I designed it to be worked from the brim upwards, using simple crochet cable stitches that repeat around the hat.
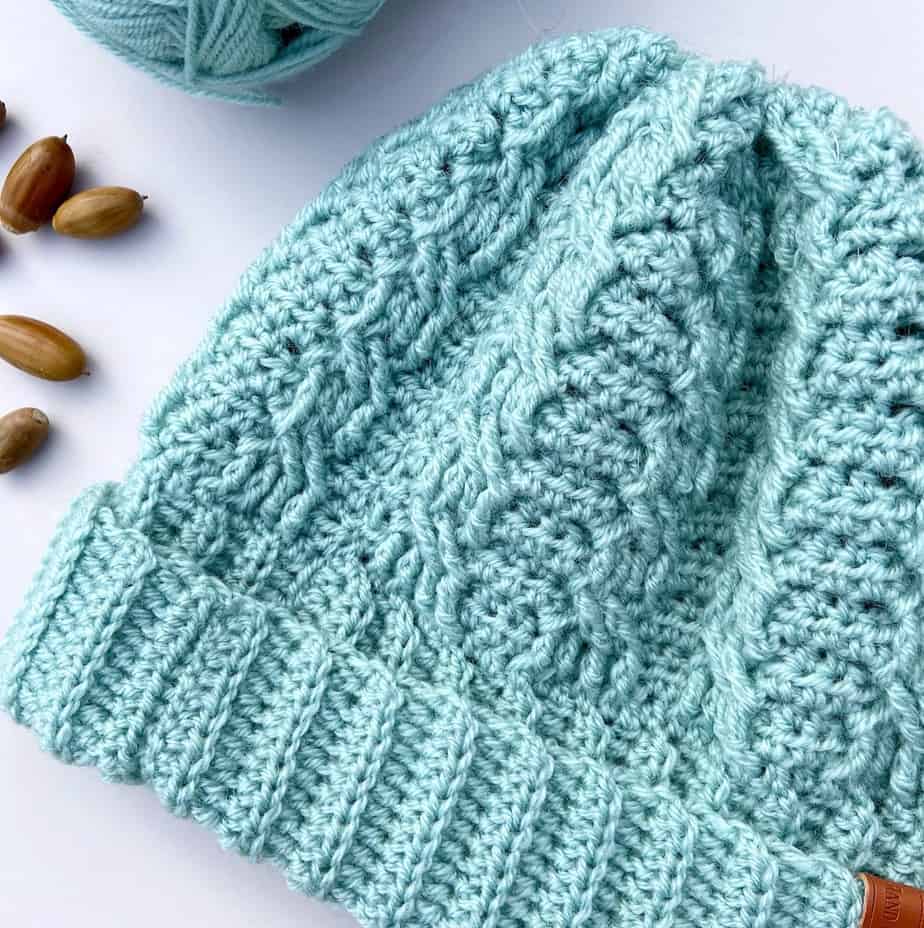
The crochet cable stitches mean that I would class this as an intermediate crochet pattern but don’t let that put you off if you’d like to give it a go – it’s a great first cable project to try your hand at!
I know that crochet cables can be tricky and confusing as to what goes around the who and where now so I’ve put together a video tutorial for the Neo Mint Cable Hat pattern to walk you through the whole thing.

If crochet cables are your thing then I’ve also used this very cable stitch in my crochet cable pillow and wall hanging patterns too. Crochet cables really are so versatile!
I’ve also used a very similar (but not quite the same) cable stitch in my Henrietta cable headband pattern. It’s super quick and each so great for gifts.
Yarn
To make the crochet cable hat I used Stylecraft Life DK which is 75% acrylic, 25% wool, 100g/298m and has the most lovely feel to it. It seems almost slightly bulkier than some double knit yarn I’ve used but that just added to the cosy feel of the hat.
You will need 2 balls of Mint to crochet the hat.
A great alternative yarn is Paintbox Yarns Simply DK which is 100% acrylic, 276m/100g and so a great option if you have sensitive skin or don’t want to use natural fibres.
Tension and Sizing
To fit an average adult head (circumference around 50cm with plenty of stretch)
19st and 10 rows = 4in x 4 in (10cm x 10cm) over band section
Materials
| 5mm (US H/8) crochet hook – my favourites are Furls Streamline Swirl crochet hooks or Clover Amour crochet hooks. |
| Tapestry needle |
| Scissors |
| Stitch markers if desired |
Pattern Options
Get this crochet cable hat pattern free in this blog post – just scroll down! You can also purchase an ad-free, printable PDF with added extras in my pattern stores:
Purchase and Print
Get the ad-free, printable PDF with added extras in my pattern stores:

Don’t forget to join HanJan Crochet to receive regular discount codes (and more free patterns!) and Pin this cable crochet hat pattern to your crochet Pinterest board!
Glossary and Abbreviations (US Terminology)
- sc – single crochet
- hdc – half double crochet
- dc – double crochet
- tr – treble
- ch(s) – chain(s)
- ss – slip stitch st(s) – stitch(es)
- RS – right side
- tog – together
- rep – repeat
- FP – front post
- BL – back loop
Pattern Notes
- A ch1 at the beginning of a row or round does not count as a stitch.
- The crochet hat is constructed by working the Band flat in rows then rotating to work the Body in flat rows along the edge of the Band. The hat is then seamed up the side and gathered at the top.
- When working into a stitch that sits below the working row ( e.g. the FP sts that are 2 rows below), this counts as a stitch, therefore, skip the corresponding stitch that would normally have been used on the working edge.
Neo Mint Crochet Cable Hat Pattern
This free pattern is in standard US crochet terms. The printable PDF has both US and UK terms.
To unlock Exclusive Content on the HanJan Crochet Blog, all you need to do is click the box below and the Grow.me app will pop up, allowing you to enter your email and create a password.
Once you’ve created an account, every time you see Exclusive Content on my blog (or any others that use Grow), simply login to your Grow account. Be sure to switch to the login screen to enter your login credentials.
If you forget your password, click the “forgot password” link and follow the prompts. Please note that I’m unable to assist with resetting Grow passwords or accessing your Grow account, so be sure to save your login information in a safe place.
Thank you for subscribing and for joining me at HanJan Crochet! I hope you enjoy the exclusive content available on the site and I can’t wait to see what you create 🙂
Row 7: Repeat Row 3
Rows 4-7 create the pattern.
Rows 8-15: Repeat the pattern twice more.
Row 16: Repeat Row 4
Row 17: ch1 hdc in first st, *skip next 3 sts, FPtr around next 2 Front Post stitches 2 rows below, hdc in 3rd skipped st, FPtr around next 2 Front Post stitches 2 rows below skipped sts, hdc2tog; rep from * to last 6 sts, skip next 3 sts, FPtr around next 2 Front Post sts 2 rows below, hdc in 3rd skipped st, FPtr around 2 Front Post sts 2 rows below skipped sts, hdc in last st, turn [67]
Row 18: Repeat Row 6
Row 19: ch1, hdc in first st, *FPtr around next 2 sts two rows below, hdc in next st; rep from * to end, turn
Row 20: Repeat Row 4
Row 21: ch1, hdc in first st, skip next 3 sts, FPtr around next 2 Front Post sts 2 rows below, hdc in 3rd skipped stitch, FPtr around 2 Front Post sts 2 rows below skipped sts, *skip next 4 sts, FPtr around next 2 Front Post sts 2 rows below, hdc in 4th skipped stitch, FPtr around Front Post sts 2 rows below 2nd and 3rd skipped sts; rep from * to last st, hdc in last st, turn [57]
Row 22: ch1, hdc in first st, (hdc2tog) to end [29]
TO MAKE UP
Turn to WS facing, seam crown and side of Hat with whip stitch.
Turn to RS facing and turn up Band.
Add handmade tag on brim if desired.
If you love this cable hat, I also have a mint green matching crochet cable scarf pattern that you might enjoy making! The two patterns make the perfect crochet hat and scarf gift set for Christmas.
Join HanJan and Share Your Crochet With Us!
I’d love to hear from you and see your HanJan Crochet project! Here’s where you can do that:
📌 PIN THIS POST – save it to your Pinterest crochet board so you can come back to it again and make more!
↗️ SHARE – Share your yarn choices, progress pics, and finished projects on Facebook or Instagram (make sure to use the hashtag) #hanjancrochet
🧶 JOIN – Join thousands of amazing crafters in the HanJan Crochet Community Group on Facebook ready to cheer you on!
✉️📩📬 SUBSCRIBE – It’s an honour to be able to create and share my free crochet patterns with you. I’d love to stay connected and send you regular discount codes and free patterns! Please sign up for my subscriber list to get a free gift right now!
More Crochet Patterns You Might Enjoy
Alongside my own accessory crochet patterns, I have a few accessory and winter pattern round ups that you might also enjoy too:
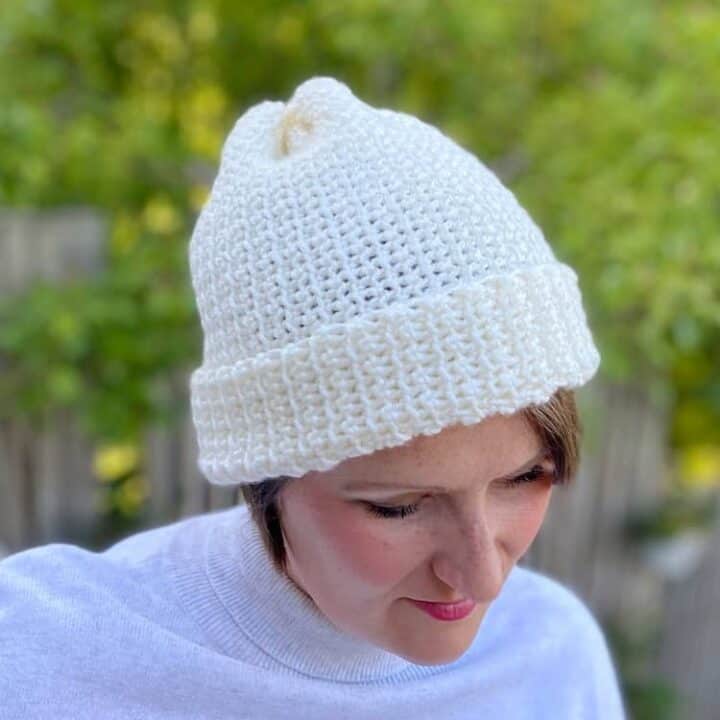
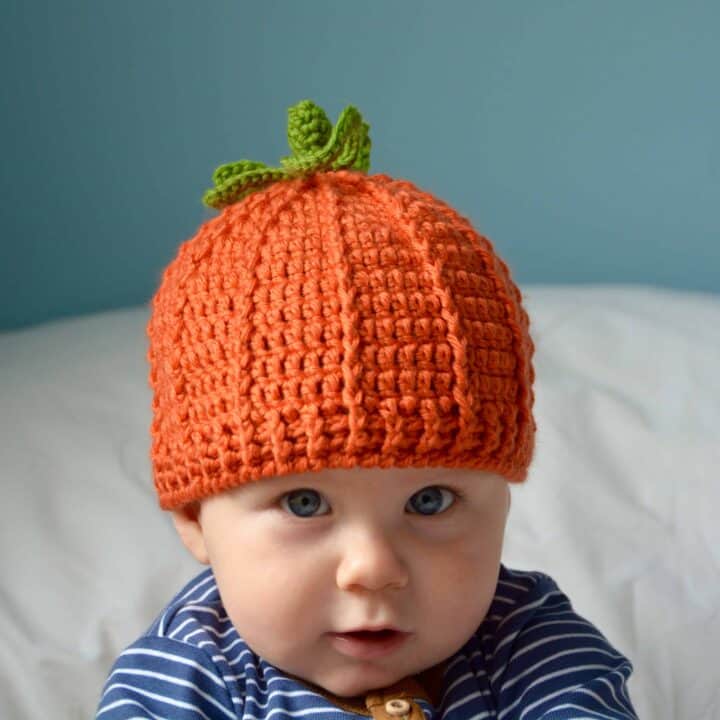
- 7 Easy Crochet Hat Patterns for All the Family
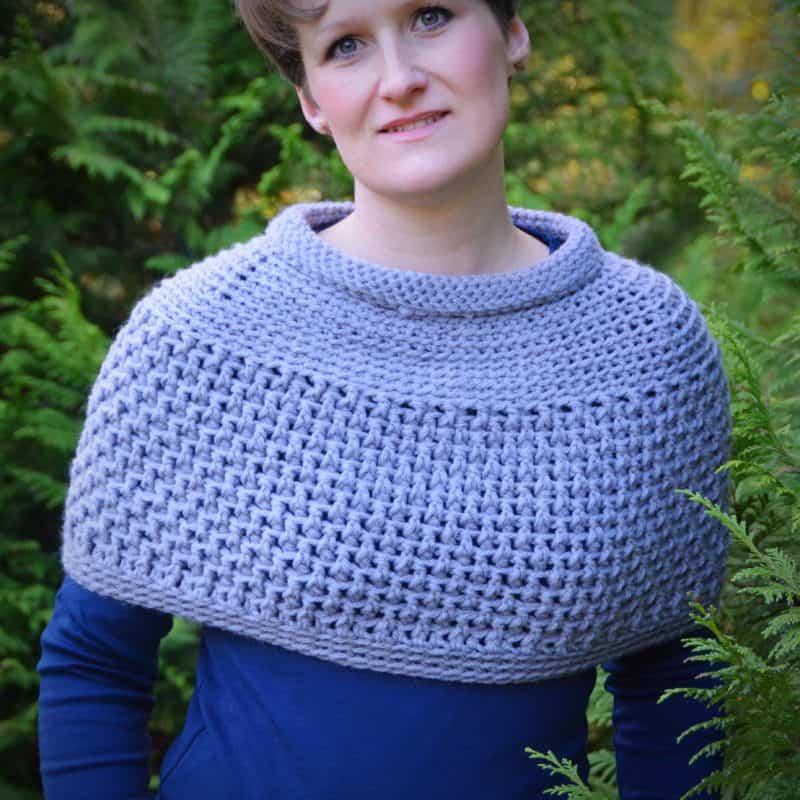
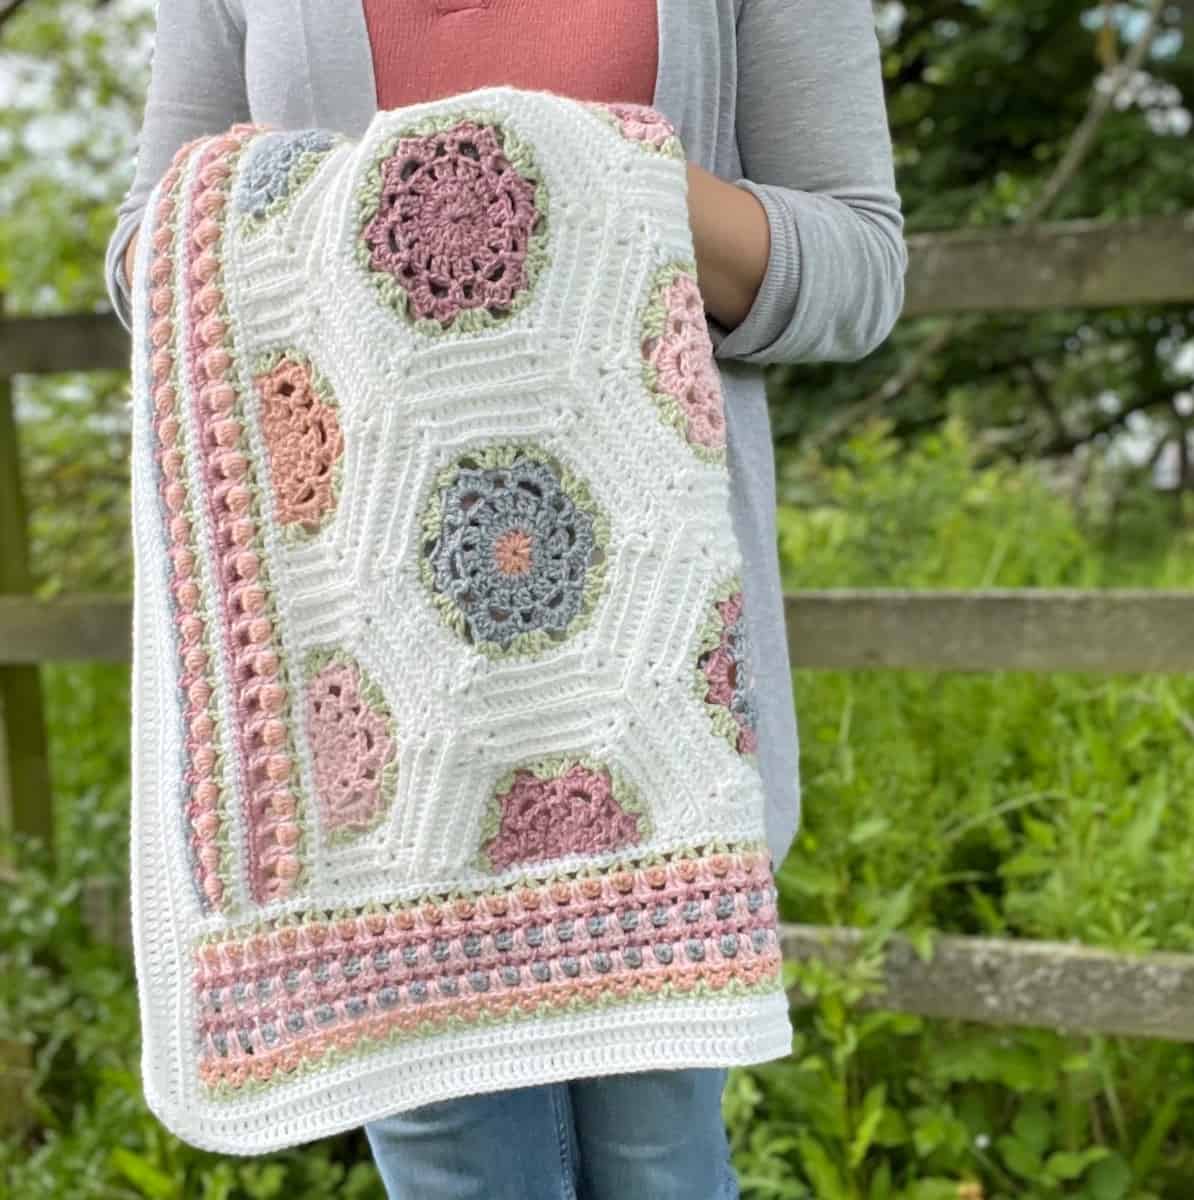
- 19 Stunning Cozy Crochet Patterns
- 6 Modern Crochet Fingerless Gloves and Mitts Patterns
If crochet hats and beanies are something you enjoy making then here are a few more of my designs that you might enjoy:
If crochet hats and beanies are something you enjoy making then here are a few more of my designs that you might enjoy too: