This post may contain affiliate links. Please see my full disclosure and privacy policy for details.
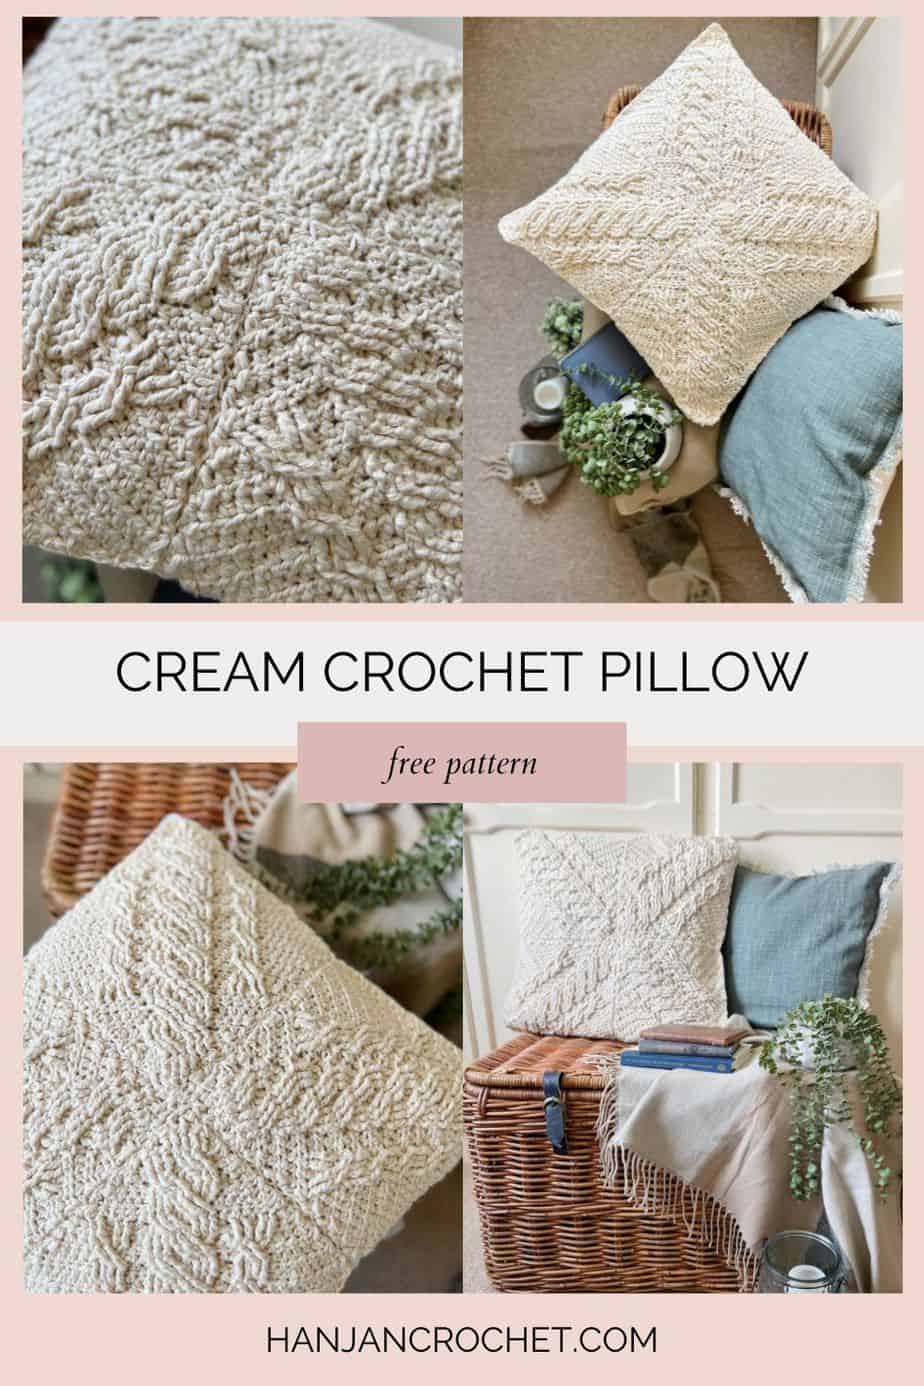
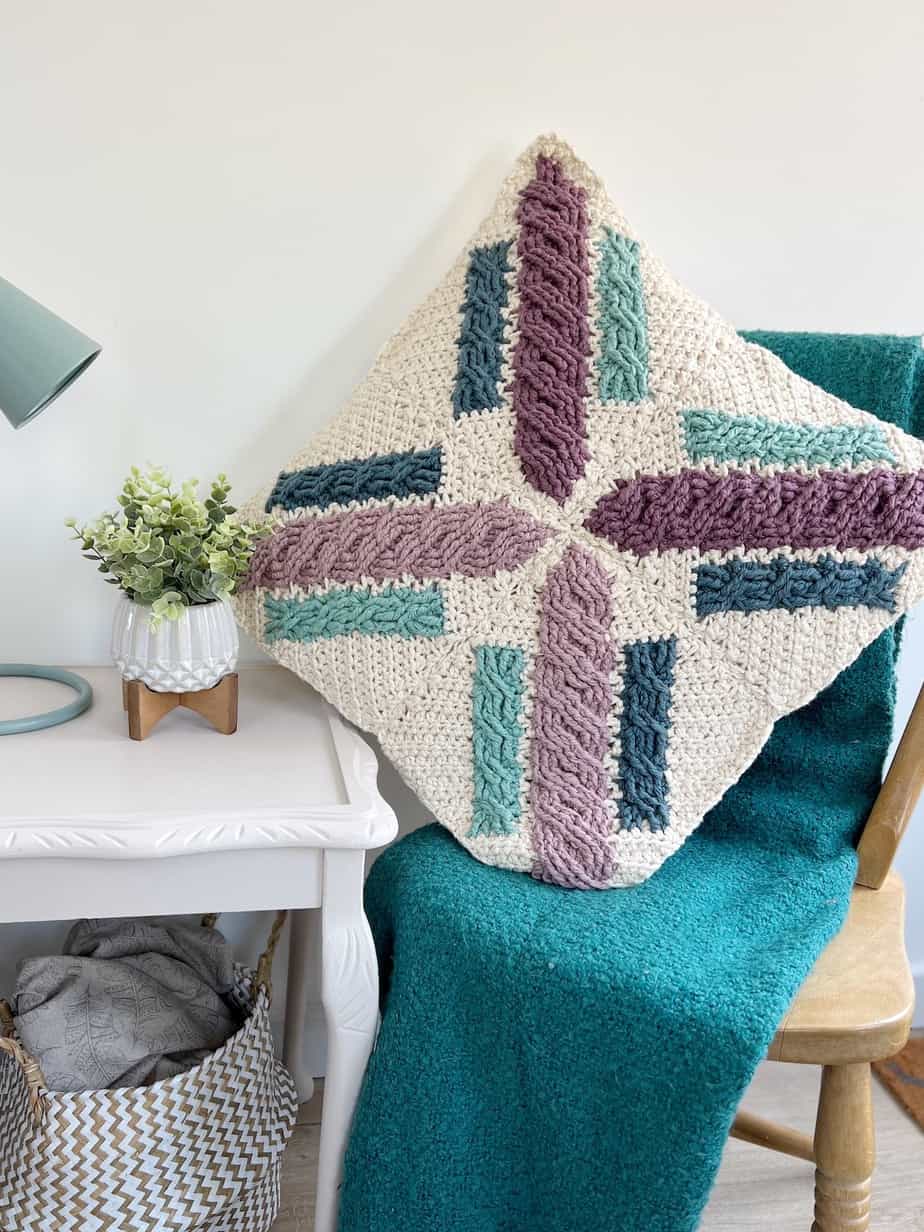
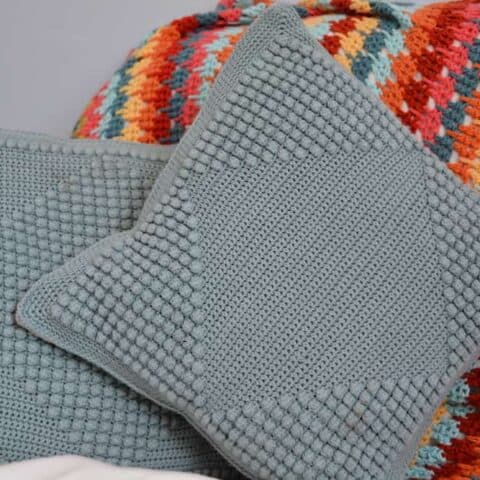
This cable crochet pillow pattern is stylish, sophisticated and endlessly customisable to suit your own home decor. With a boho yet modern feel, you simply crochet 4 matching crochet cable squares for the front and 4 for the back.
They are seamed together to form the stunning cross cable design and then joined to form the pillow cover with an optional zip added too.
You can carry on reading to find the free pattern here in this blogpost or purchase an ad-free, printable PDF version of the Cross Cable crochet pillow pattern in my stores to download and print.
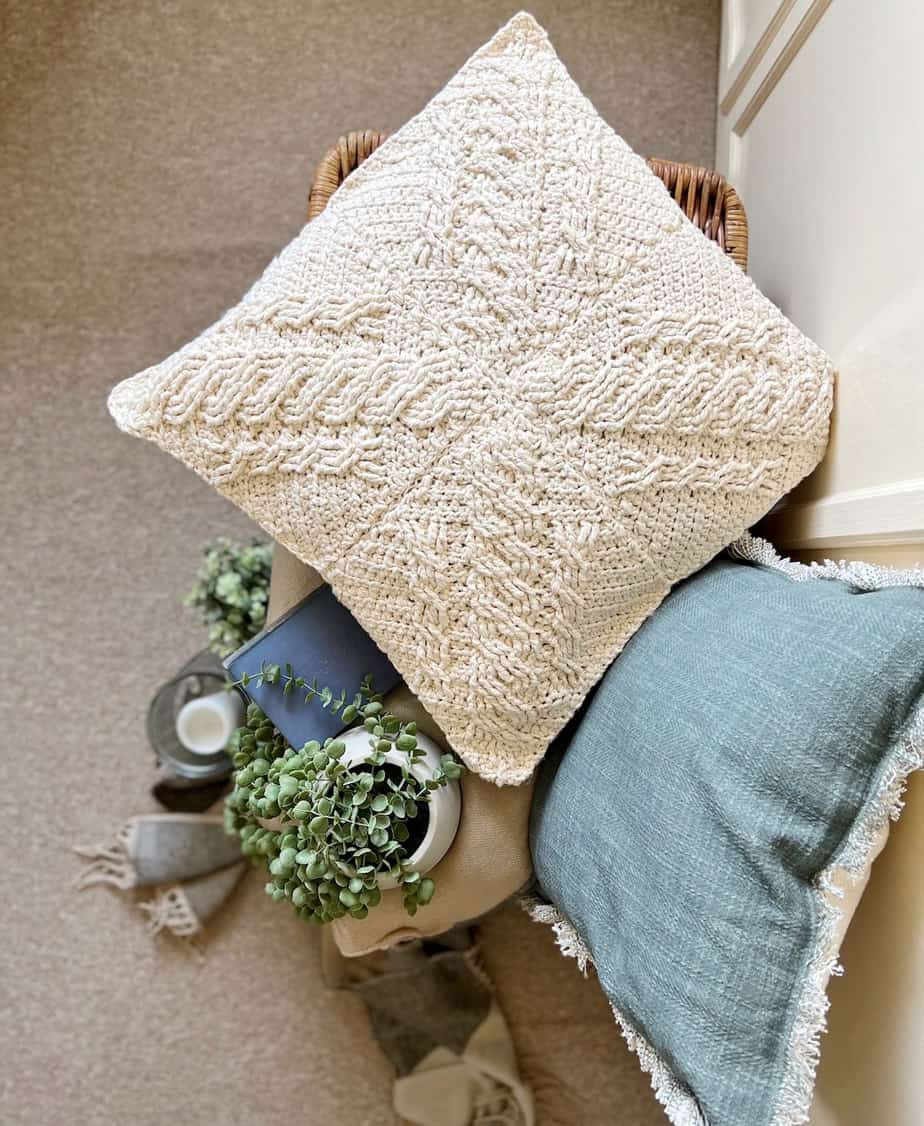
Table of Contents
About the Cross Cable Crochet Pillow Pattern
When I was designing the pillow (or cushion as we would call it in the UK) I wanted to make sure that it looked like something you’d find in a really nice homeware boutique or home decor place.
Want to remove Ads?
- Get ad-free access on all posts; 200+ patterns & tutorials!
- Member-only resource library with downloadable PDF guides
- Bonus eBook (Worth over $30)
I think too often that crochet homeware gets a bad reputation because it can look a little clumsy but hopefully this will show you that it doesn’t need to be that way!
I wanted it to be a mix between a boho crochet pillow and a simple and sophisticated one and so I went about creating one that was adaptable enough to be both. I hope I got it right!
The wonderful thing about the design is that it’s customisable in both terms of colours (you can work your crochet cables in different colours and/or your background) and you can also use the cable square motif to create a wall hanging, blanket, bag, basket, anything you like really!
With a full video tutorial for the cable square it’s a pattern that anyone can achieve, even those with no experience of crochet cables or colour work.
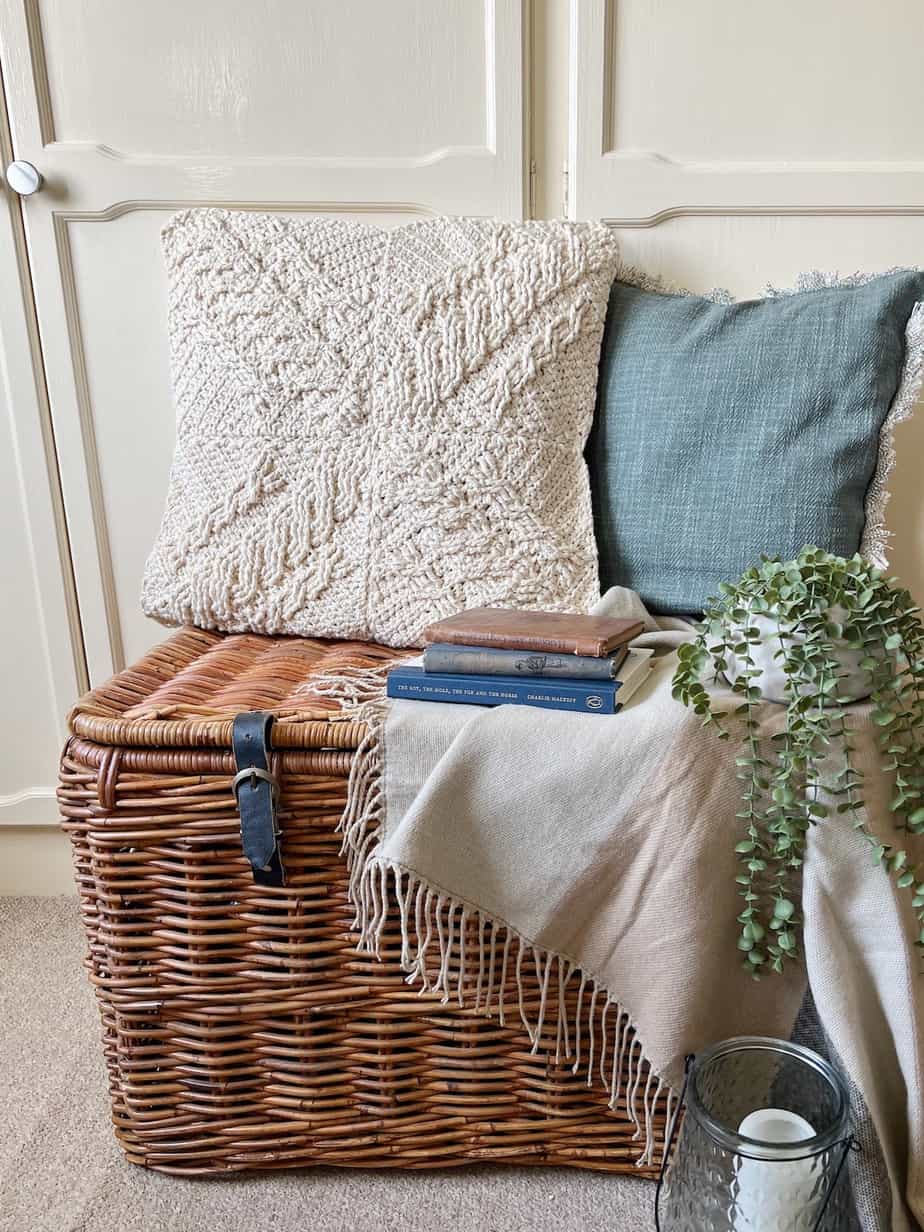
Make a Matching Wall Hanging
If you fancy making a matching crochet wall hanging for your pillow then you are in luck! I have made a separate video and blogpost about how I made mine and added it as a bonus to the PDF pattern too 🙂
The Crochet Pillow Gauge and Sizing
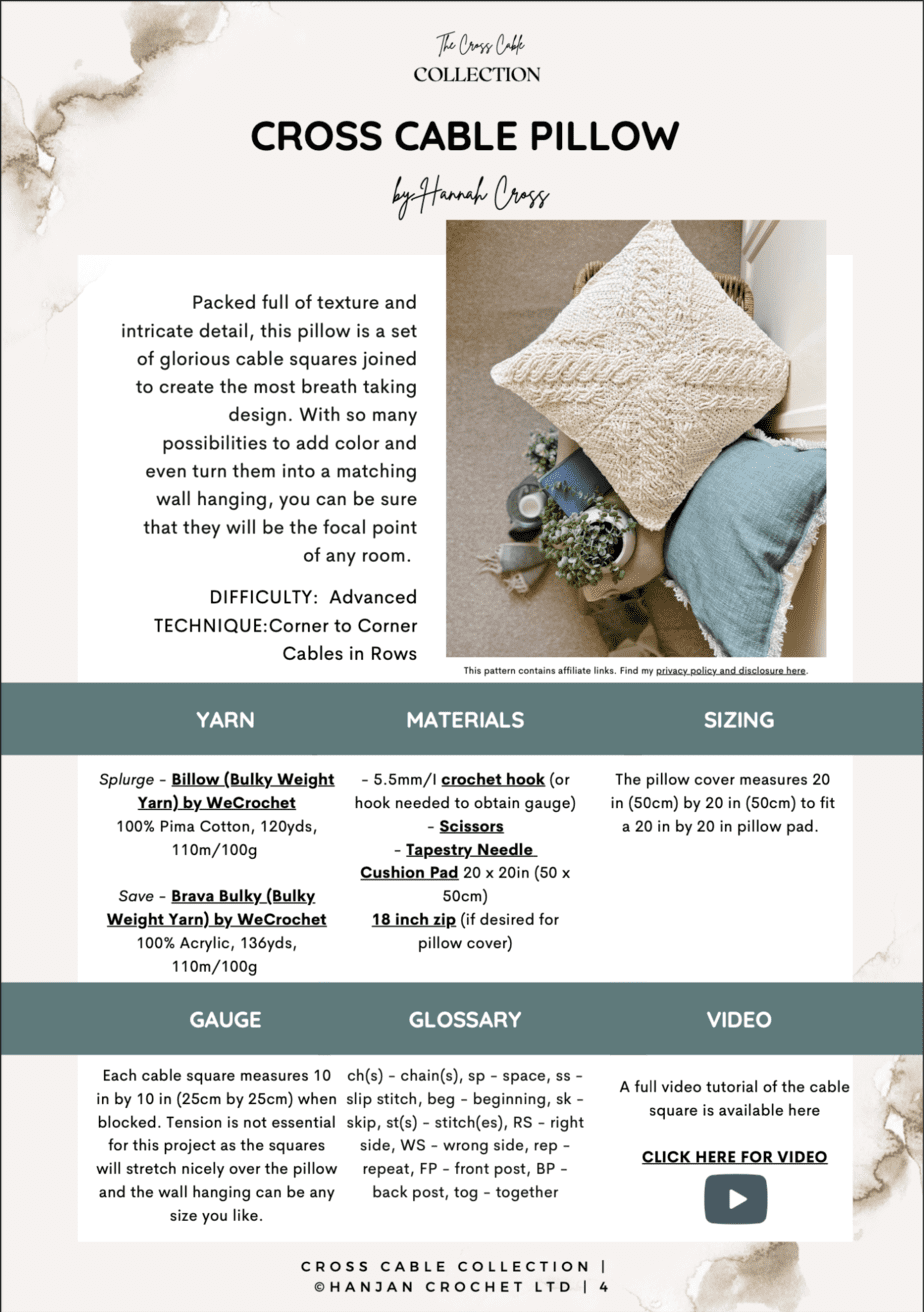
The pillow cover measures 20 in (50cm) by 20 in (50cm) to fit a 20 in by 20 in pillow pad.
Each cable square measures 10 in by 10 in (25cm by 25cm) when blocked. Tension is not essential for this project as the squares will stretch nicely over the pillow.
Recommended Yarn
To make the cable pillow I used Billow (Bulky Weight Yarn) by WeCrochet, 100% Pima Cotton, 120yds, 110m/100g , approx 9 hanks/1000yds for each pillow cover.
Each cable square uses approximately 100g, 120 yds of yarn
For a plain pillow cover made up of 8 squares you will need approximately 1000yds (9 skeins) to allow for seaming and joining.
For a colored pillow cover as shown you will need 5 skeins of Color A and 2 skeins each of Colors B, C, D and E. (There will be enough left over to make something lovely to coordinate!)
| Colors Shown | Skeins/ YDS for Option 1 | Skeins/ YDS for Option 2 |
| Color B: Natural | 9/1000 | 5/560 |
| Color A: Ice Lily | – | 2/170 |
| Color A: Comfrey | – | 2/170 |
| Color A: Cadet | – | 2/170 |
| Color A: Sagebrush | – | 2/170 |
What Alternative Yarn Could You Use?
If you’re looking for an acrylic option then I’d go with Brava Bulky by WeCrochet as it has so many colours to choose from and is at a great price point.
Other Materials You Will Need
Along with your yarn, you will need the following:
| 5.5mm (US I) crochet hook or size needed to obtain gauge – my favourites are Furls Streamline Swirl crochet hooks or Caspian Regular crochet hook |
| Tapestry needle |
| Scissors |
| Cushion Pad 20 x 20in (50 x 50cm) 18 inch zip (if desired for pillow cover) |
Crochet Abbreviations and Glossary
ch(s)- chain(s)
sp- space
ss- slip stitch
beg- beginning
sk- skip
st(s)- stitch(es)
RS- right side
WS- wrong side
rep- repeat
FP- front post
BP-back post
tog- together
Crochet Stitches used in the Pattern
The pattern uses the following crochet stitches.
| Standard US Crochet Term |
| hdc – half double crochet |
| dc – double crochet |
| tr – treble crochet |
Special Stitches
BACK POST HALF DOUBLE CROCHET : BPhdc
Yarn over hook, insert hook from back to front to back around post of desired stitch below, yarn over hook and pull up a loop, yarn over hook and pull through all 3 loops on hook.
FRONT POST DOUBLE CROCHET : FPdc
Yarn over hook, insert hook from front to back to front around post of desired stitch below, yarn over hook and pull up a loop, yarn over hook and pull through 2 loops on the hook, yarn over hook and pull through all 3 loops on hook.
FRONT POST TREBLE CROCHET : FPtr
Yarn over hook twice, insert hook from front to back to front around post of desired stitch below, yarn over hook and pull up a loop, yarn over hook and pull through 2 loops on the hook, yarn over hook and pull through 2 loops on the hook, yarn over hook and pull through all 3 loops on hook.
HALF DOUBLE CROCHET 2 TOGETHER : hdc2tog
(Yarn over hook, insert in next stitch, yarn over and pull up loop) 2 times, yarn over and pull through all loops on the hook.
HALF DOUBLE CROCHET 3 TOGETHER : hdc3tog
(Yarn over hook, insert in next stitch, yarn over and pull up loop) 3 times, yarn over and pull through all loops on the hook.
How to get the Crochet Pattern
This crochet pillow pattern is a free crochet pattern on the blog for everyone to enjoy, just scroll down to find it.
There are a few ways you can access and enjoy this crochet pattern and help support HanJan Crochet.
- You can find and use the crochet pattern here on the blog that is supplemented with ads.
- You can purchase, print and keep the 15 page ad-free pattern PDF in any of my stores below.
Purchase and Print
Get the ad-free, printable PDF with added extras in my pattern stores:
Notes
A ch1 at the beginning of a Row does not count as a stitch. Turn your work at the end of each Row.
Construction
Crochet four matching squares and then seam them together to form the front of the crochet pillow cover. Then crochet four more for the back and seam them together.
You can either sew or crochet the two panels together and insert the pillow pad before closing or add a zip to one side to make the cover removable.
The cable square is constructed corner-to-corner (c2c) by increasing the number of stitches at each side until a certain point then decreasing the number of stitches at each side until you are left with just one.
You will always be either increasing or decreasing at the beginning and end of a row.
- Increase Section – Rows 1-20: where we will increase either side of the work to make the panel the height it needs to be.
- Decrease Section – Rows 21-40: where we will decrease both sides of the panel to complete the square and end with just 1 stitch on the last row.
Cross Cable Crochet Pillow Video Tutorial

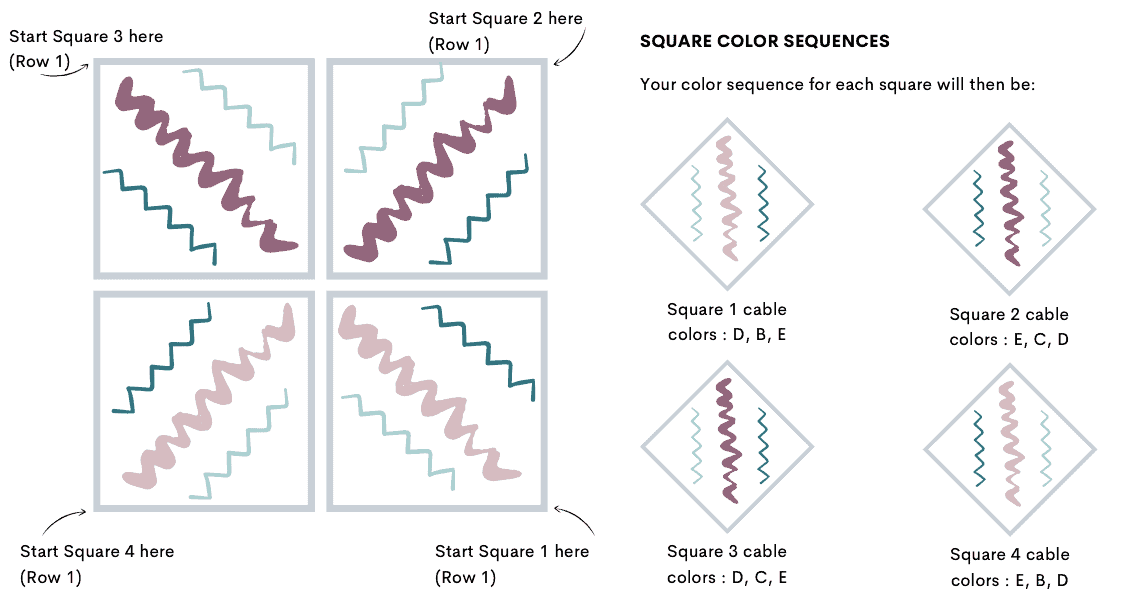
Planning your Color Sequence
If you’d like to create your own colour sequence I’d recommend sketching it out first to make sure that you use them in the right order for your squares.
When joining your squares you will lay them so that the final stitch (Row 40) will be in the centre. This will mean you need to work out which color to use for which cable as per the example below:
Using Color in your Squares
If you are planning on using multiple colours for your squares then here are a few tips to help –
Always change color on the last yrh and pull through of the stitch before you need the colour. This will make the color transitions much neater and almost invisible.
The WS of the work won’t be seen (unless you show someone!) so don’t be frightened of carrying your yarn across the back of the work. These are known as ‘floats’.
Make sure not to pull your floats tight as this will affect the symmetry of the square and pull it out of shape.
Try to catch your float in a stitch of another colour so that they are as short as possible.
Pattern
In standard US Crochet Terms
To unlock Exclusive Content on the HanJan Crochet Blog, all you need to do is click the box below and the Grow.me app will pop up, allowing you to enter your email and create a password.
Once you’ve created an account, every time you see Exclusive Content on my blog (or any others that use Grow), simply login to your Grow account. Be sure to switch to the login screen to enter your login credentials.
If you forget your password, click the “forgot password” link and follow the prompts. Please note that I’m unable to assist with resetting Grow passwords or accessing your Grow account, so be sure to save your login information in a safe place.
Thank you for subscribing and for joining me at HanJan Crochet! I hope you enjoy the exclusive content available on the site and I can’t wait to see what you create 🙂
Start decrease section –
Row 21: ch1, hdc2tog, hdc in next 8 sts, FPtr in next 2 sts two rows below, hdc in next st, FPtr in next 2 sts two rows below, hdc in next st, FPdc in next 3 sts, skip next 3 sts, FPtr in next 3 sts, working in front of the last 3 sts, FPtr in 3 skipped sts, hdc in next st, FPtr in next 2 sts two rows below, hdc in next st, FPtr in next 2 sts two rows below, hdc in next 8 sts, hdc2tog [39].
Row 22: ch1, hdc2tog, hdc in next 13 sts, BPhdc in next 9 sts, hdc in next 13 sts, hdc2tog [37].
Row 23: ch1, hdc2tog, hdc in next 6 sts, skip next 3 sts, FPtr in next 2 FPtr sts two rows below, working behind the last 2 sts, hdc in 3rd skipped st, working in front of the last 3 sts, FPtr in previous 2 FPtr sts two rows below, hdc in next st, skip next 3 sts, FPtr in next 3 sts, working in front of the last 3 sts, FPtr in 3 skipped sts, FPdc in next 3 sts, hdc in next st, skip next 3 sts, FPtr in next 2 FPtr sts two rows below, working behind the last 2 sts, hdc in 3rd skipped st, working in front of the last 3 sts, FPtr in previous 2 FPtr sts two rows below, hdc in next 6 sts, hdc2tog [35].
Row 24: ch1, hdc2tog, hdc in next 11 sts, BPhdc in next 9 sts, hdc in next 11 sts, hdc2tog [33].
Row 25: ch1, hdc2tog, hdc in next 4 sts, FPtr in next 2 sts two rows below, hdc in next st, FPtr in next 2 sts two rows below, hdc in next st, FPdc in next 3 sts, skip next 3 sts, FPtr in next 3 sts, working in front of the last 3 sts, FPtr in 3 skipped sts, hdc in next st, FPtr in next 2 sts two rows below, hdc in next st, FPtr in next 2 sts two rows below, hdc in next 4 sts, hdc2tog [31].
Row 26: ch1, hdc2tog, hdc in next 9 sts, BPhdc in next 9 sts, hdc in next 9 sts, hdc2tog [29].
Row 27: ch1, hdc2tog, hdc in next 2 sts, skip next 3 sts, FPtr in next 2 FPtr sts two rows behind, working behold the last 2 sts, hdc in 3rd skipped st, working in front of the last 3 sts, FPtr in previous 2 FPtr sts two rows below, hdc in next st, skip next 3 sts, FPtr in next 3 sts, working in front of the last 3 sts, FPtr in 3 skipped sts, FPdc in next 3 sts, hdc in next st, skip next 3 sts, FPtr in next 2 FPtr sts two rows below, working behind the last 2 sts, hdc in 3rd skipped st, working in front of the last 3 sts, FPtr in previous 2 FPtr sts two rows below, hdc in next 2 sts, hdc2tog [27].
Row 28: ch1, hdc2tog, hdc in next 7 sts, BPhdc in next 9 sts, hdc in next 7 sts, hdc2tog [25].
Row 29: ch1, hdc2tog, FPtr in next 2 sts two rows below, hdc in next st, FPtr in next 2 sts two rows below, hdc in next st, FPdc in next 3 sts, skip next 3 sts, FPtr in next 3 sts, working in front of the last 3 sts, FPtr in 3 skipped sts, hdc in next st, FPtr in next 2 sts two rows below, hdc in next st, FPtr in next 2 sts two rows below, hdc2tog.
Row 30: ch1, hdc2tog, hdc in next 5 sts, BPhdc in next 9 sts, hdc in next 5 sts, hdc2tog [21].
Row 31: ch1, hdc2tog, hdc in next 4 sts, skip next 3 sts, FPtr in next 3 sts, working in front of the last 3 sts, FPtr in 3 skipped sts, FPdc in next 3 sts, hdc in next 4 sts, hdc2tog [19].
Row 32: ch1, hdc2tog, hdc in next 3 sts, BPhdc in next 9 sts, hdc in next 3 sts, hdc2tog [17].
Row 33: ch1, hdc2tog, hdc in next 2 sts, FPdc in next 3 sts, skip next 3 sts, FPtr in next 3 sts, working in front of the last 3 sts, FPtr in 3 skipped sts, hdc in next 2 sts, hdc2tog [15].
Row 34: ch1, hdc2tog, hdc in next st, BPhdc in next 9 sts, hdc in next st, hdc2tog [13].
Row 35: ch1, hdc2tog, skip next 3 sts, FPtr in next 3 sts, working in front of the last 3 sts, FPtr in 3 skipped sts, FPdc in next 3 sts, hdc2tog [11].
Row 36: ch1, hdc2tog, BPhdc in next 7 sts, hdc2tog [9].
Row 37: ch1, hdc2tog, FPdc in next 5 sts, hdc2tog [7].
Row 38: ch1, hdc2tog, BPhdc in next 3 sts, hdc2tog [5].
Row 39: ch1, hdc2tog, FPdc in next st, hdc2tog [3].
Row 40: ch1, hdc3tog [1]. Fasten off and weave in ends.
Pillow Cover Assembly:
Here’s how to assemble your squares to make the crochet pillow cover in 9 simple steps:
- Make 4 squares for the Front and 4 squares for the Back = 8 squares in total.
- Block each square individually before joining.
- Lay out as per diagram to create the front and back panels.
- Join the squares with a whipstitch seam.
- Weave in all ends.
- Block the Front and Back panels again if needed.
- Using a whipstitch, join Front and Back with the RS facing inwards around 3 sides.
- If you’re adding a zip then do so here along the fourth side.
- If you’re not adding a zip then turn to RS facing you, insert the pillow cover and whipstitch the final side together.
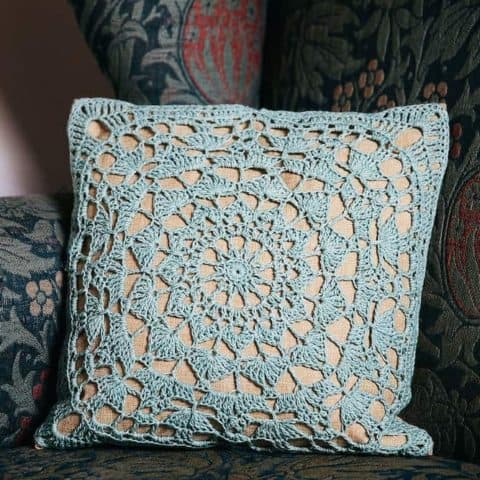
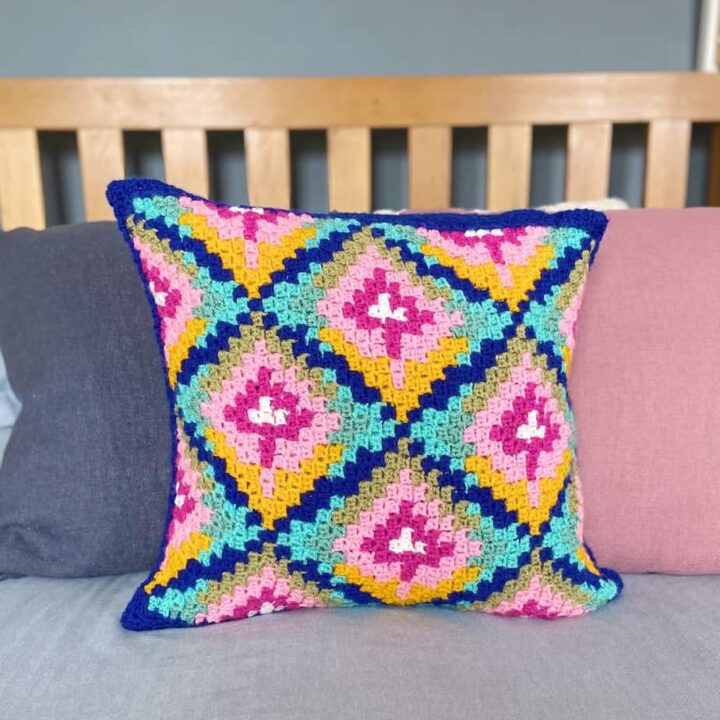
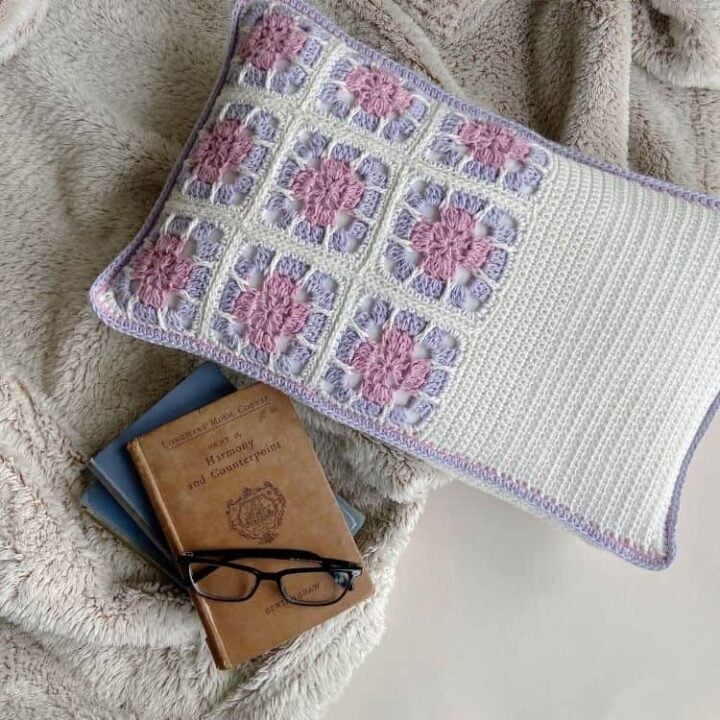
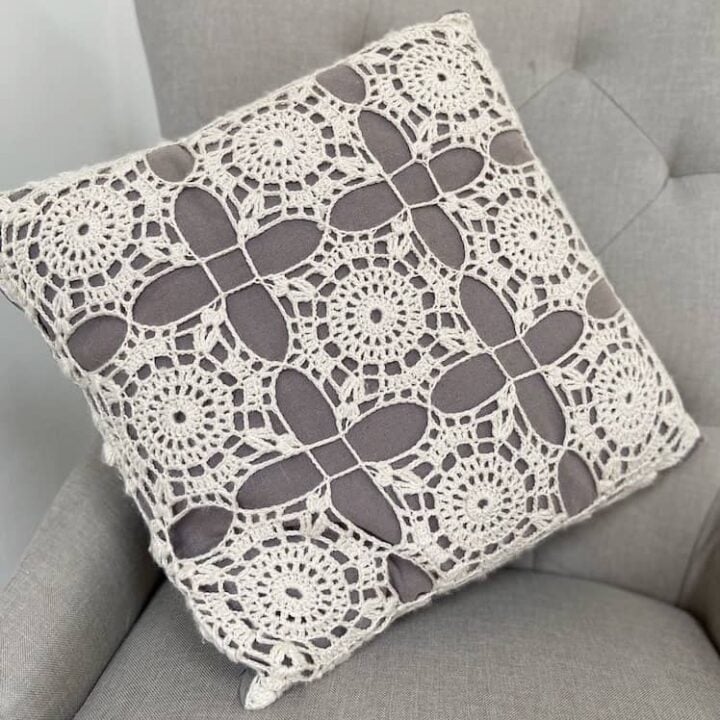
More Crochet Pillow Patterns
Turns out I have quite a few crochet pillow patterns in my design catalogue – I had not idea I had this many! They range from lacy ones to bobble ones and even a granny square style so hopefully there’s something here for everyone to enjoy. You might also enjoy these modern crochet pillow patterns too.
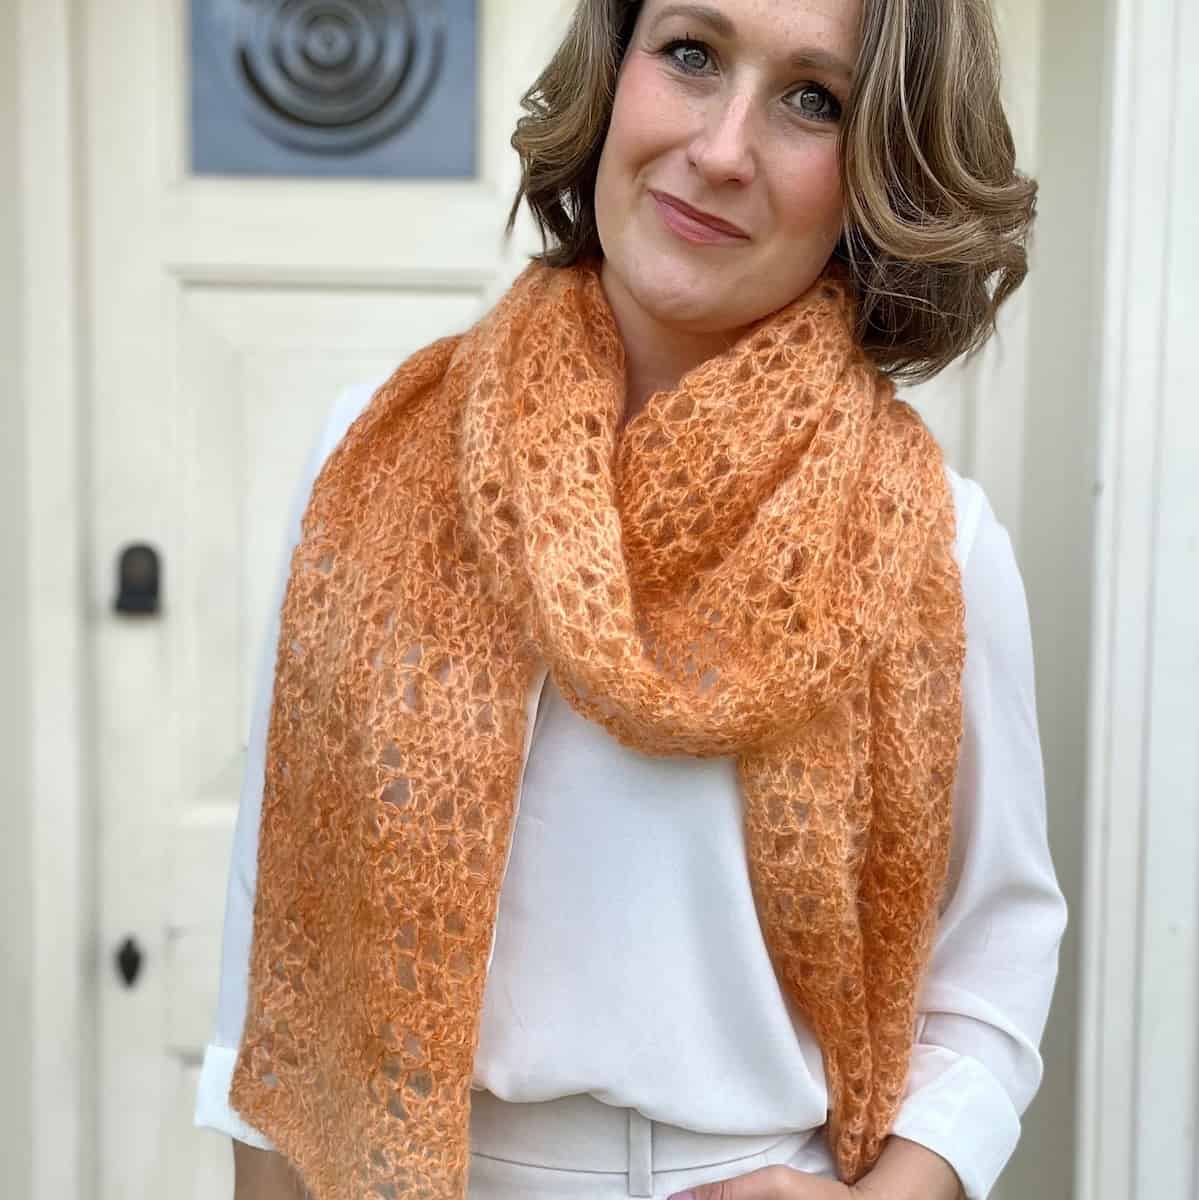
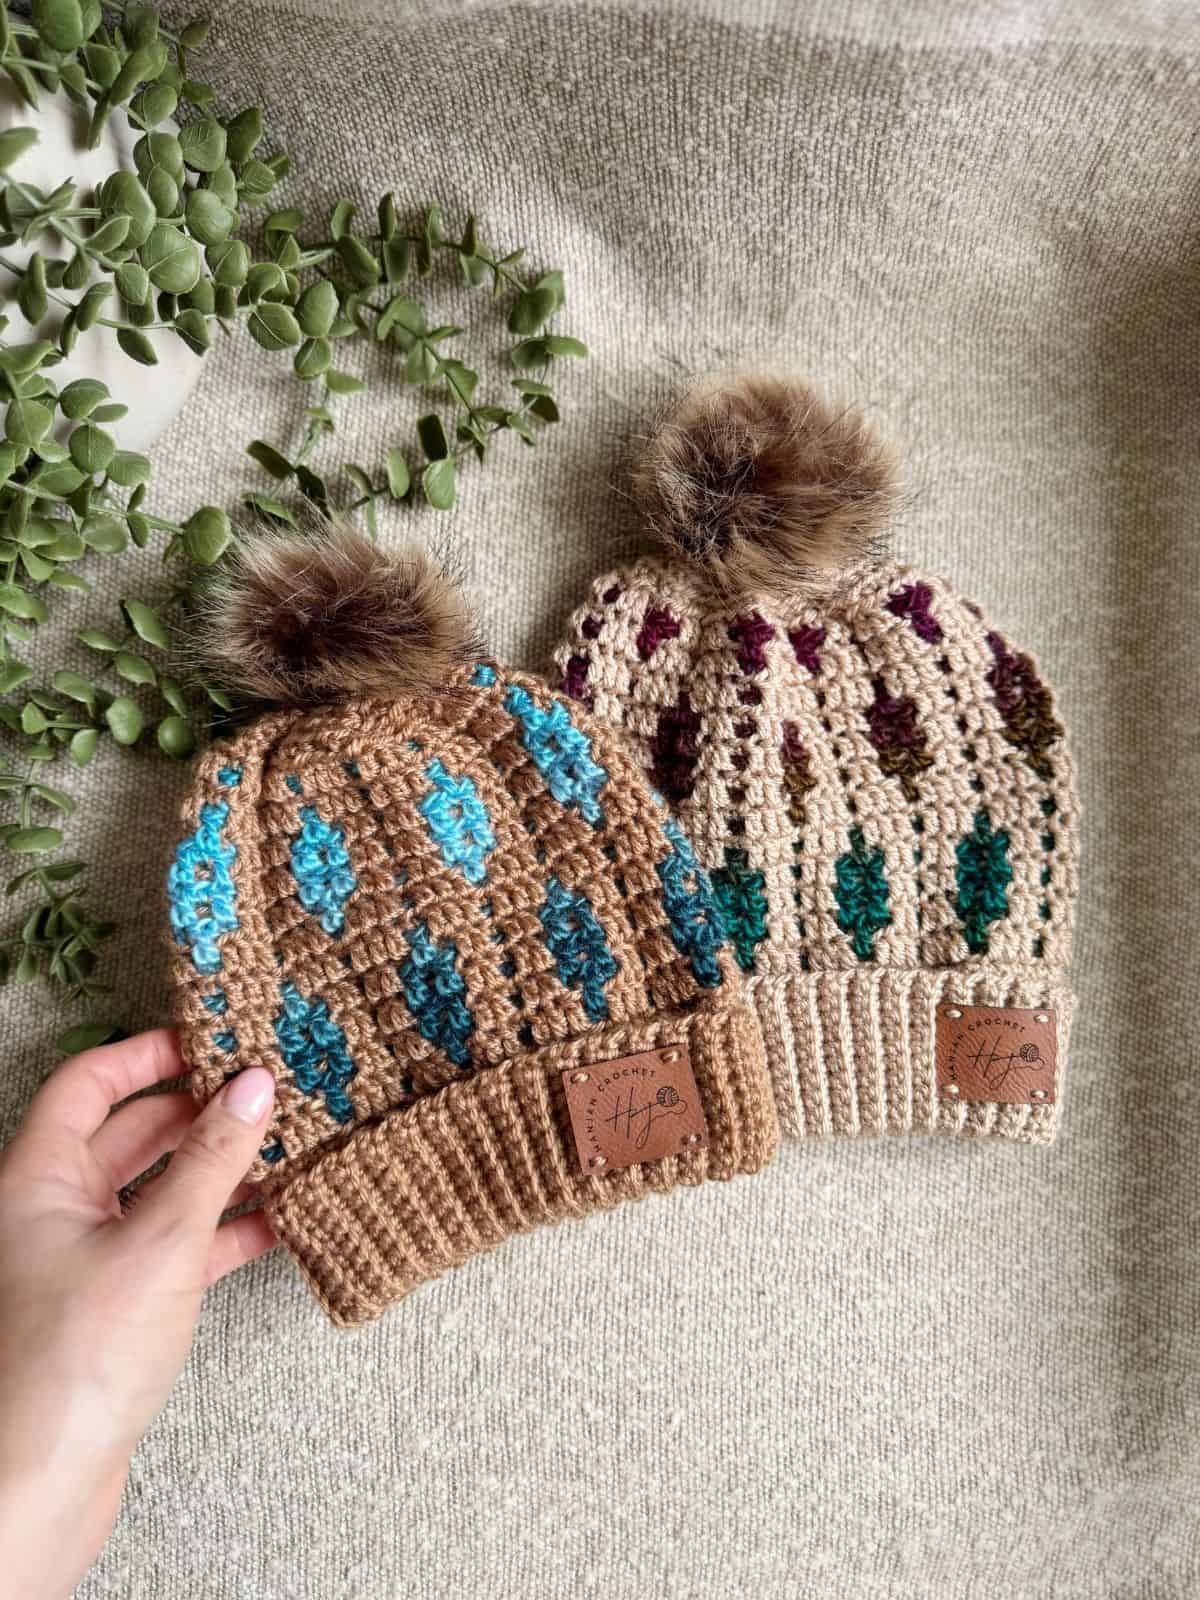
And if crochet cables are your thing but crochet pillow patterns aren’t then you might like my Neo Mint crochet cable scarf and cable hat pattern instead!
Join HanJan Crochet and Share Your Crochet!
I’d love to stay connected with you so please do sign up for my subscriber list if you’d like to. Looking forward to hearing from you and sending you your free gift!
Thank you so much for being here to share in my crochet patterns and supporting my blog. It’s such an honour to be able to create and share my craft with you.
I’d love to see your finished crochet projects and so please share them with me in one (or all!) of the following ways:
- Share a picture on Instagram and tag me #hanjancrochet
- Share your projects on Ravelry
- Share a picture in the HanJan Crochet Facebook group