This post may contain affiliate links. Please see my full disclosure and privacy policy for details.
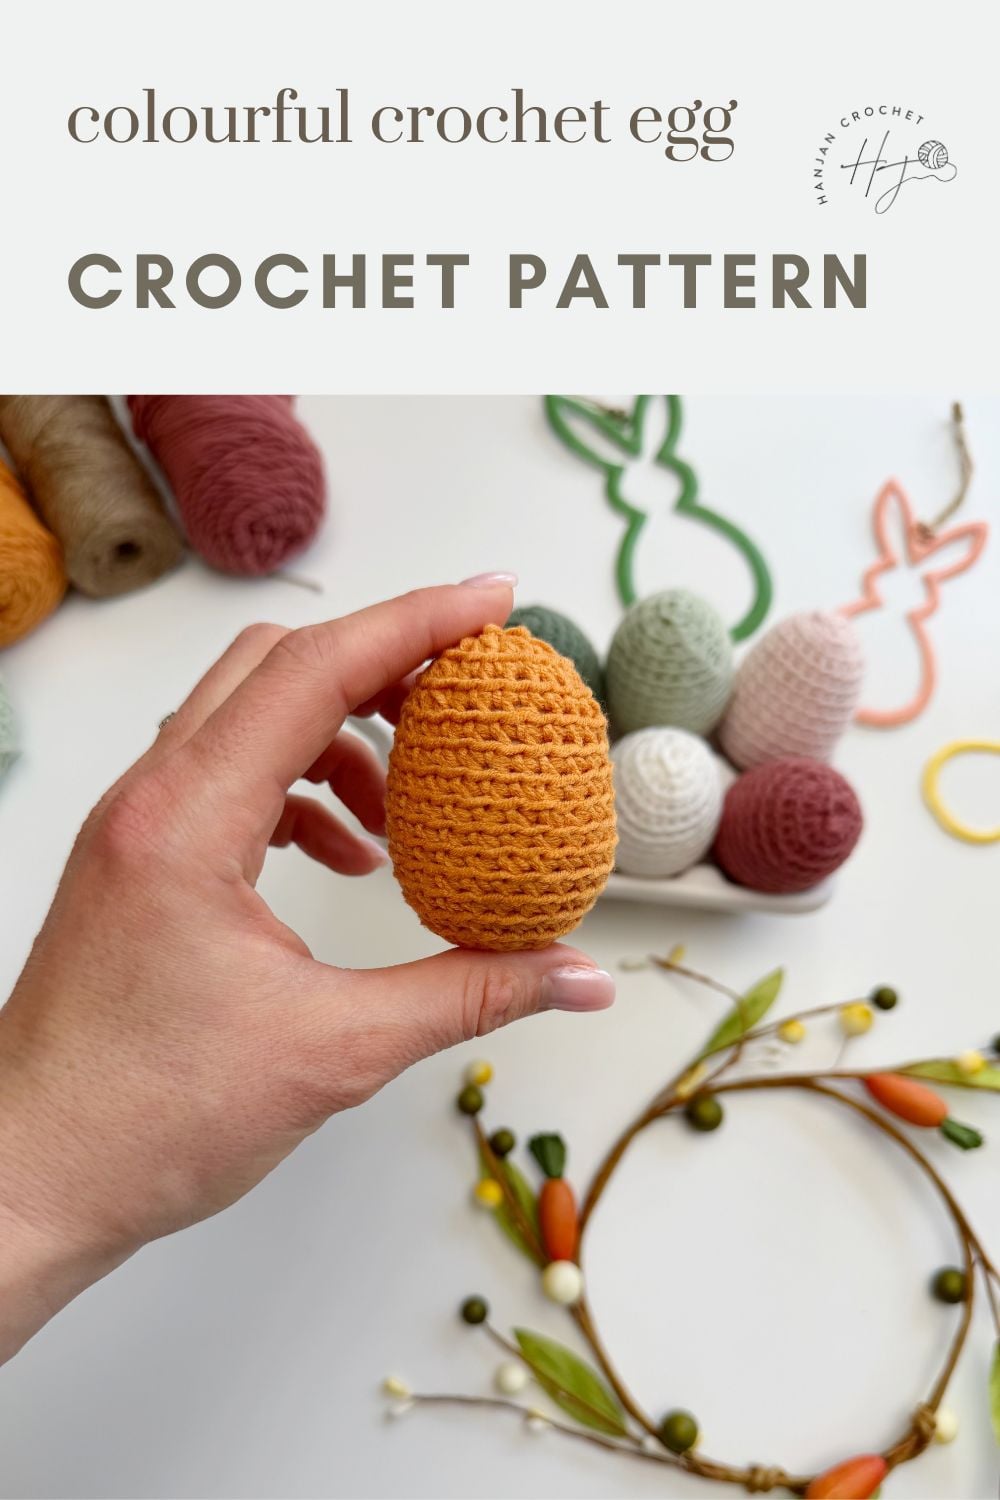
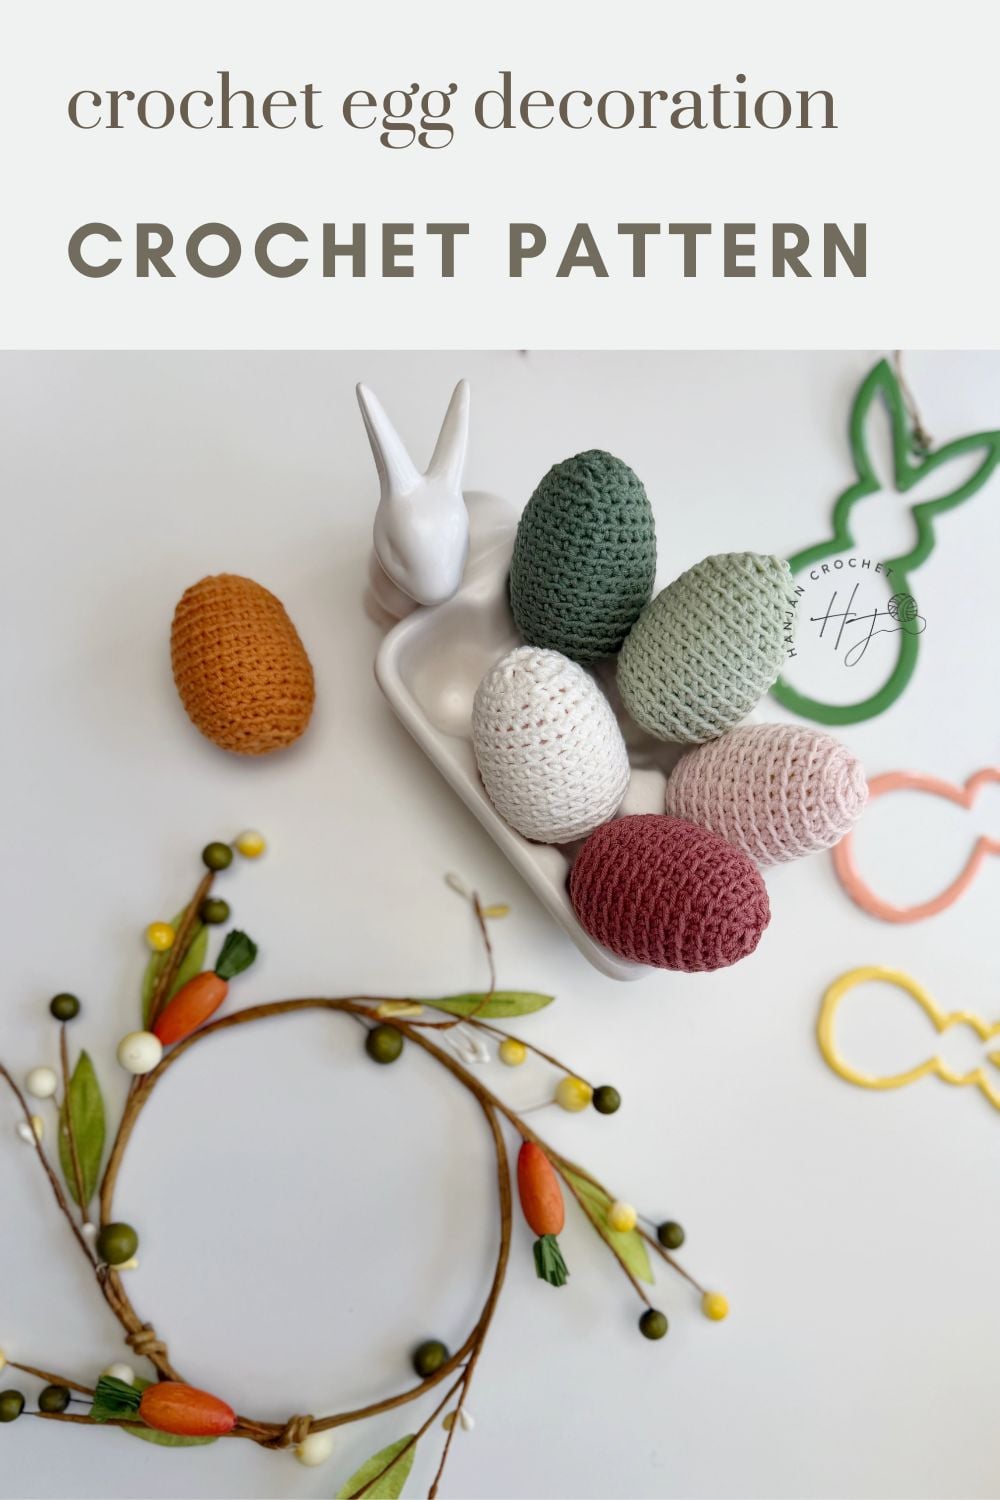
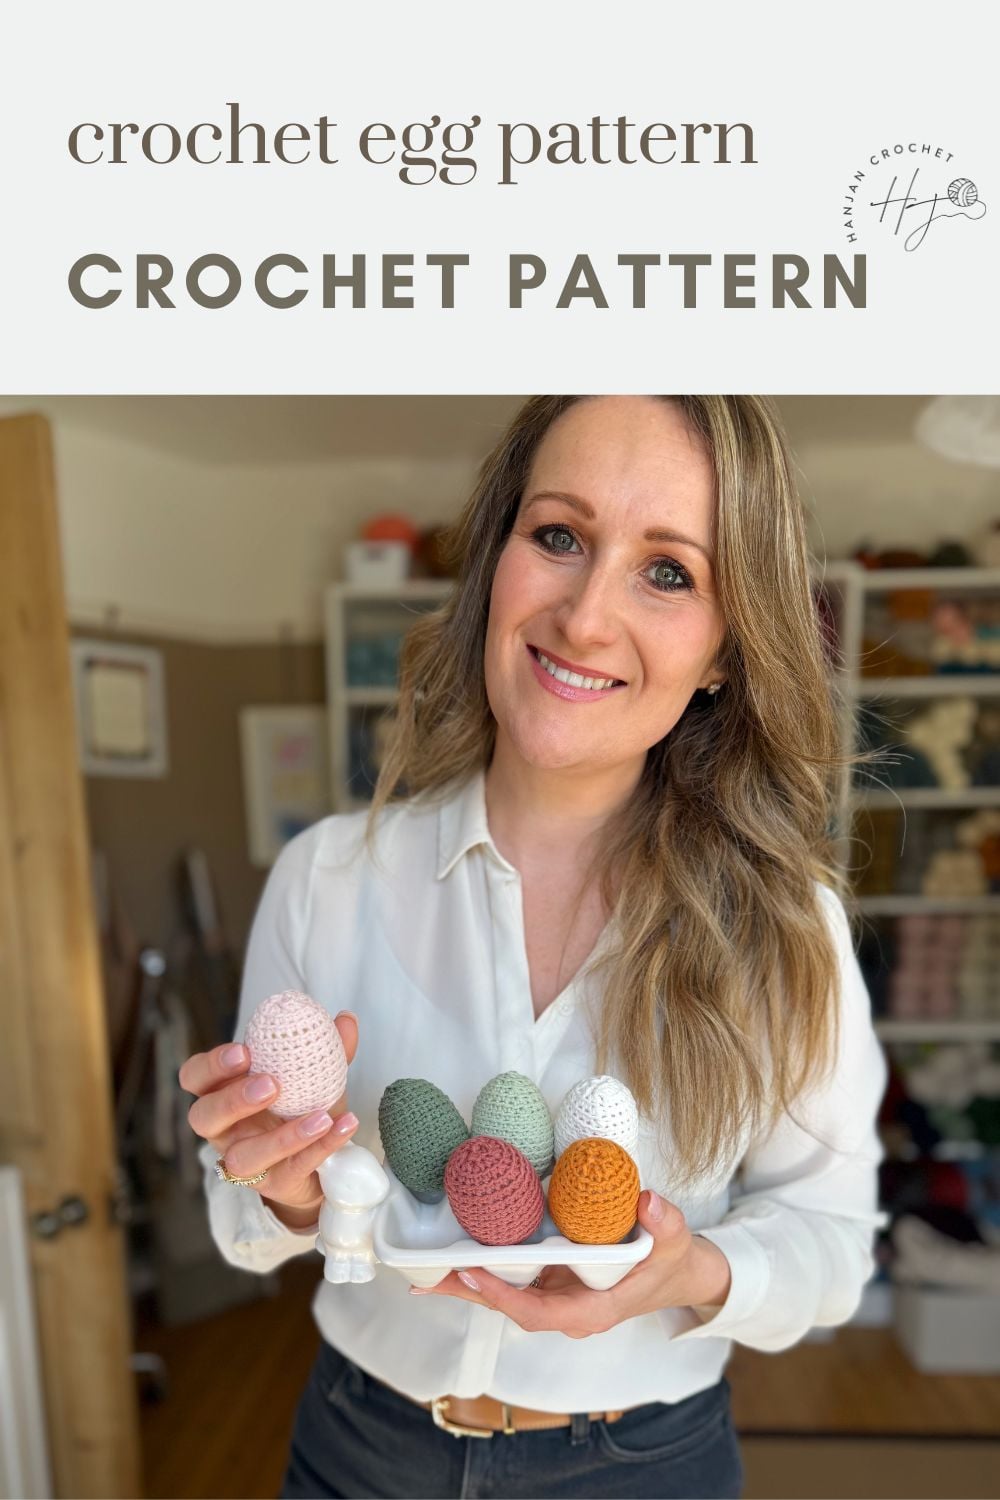
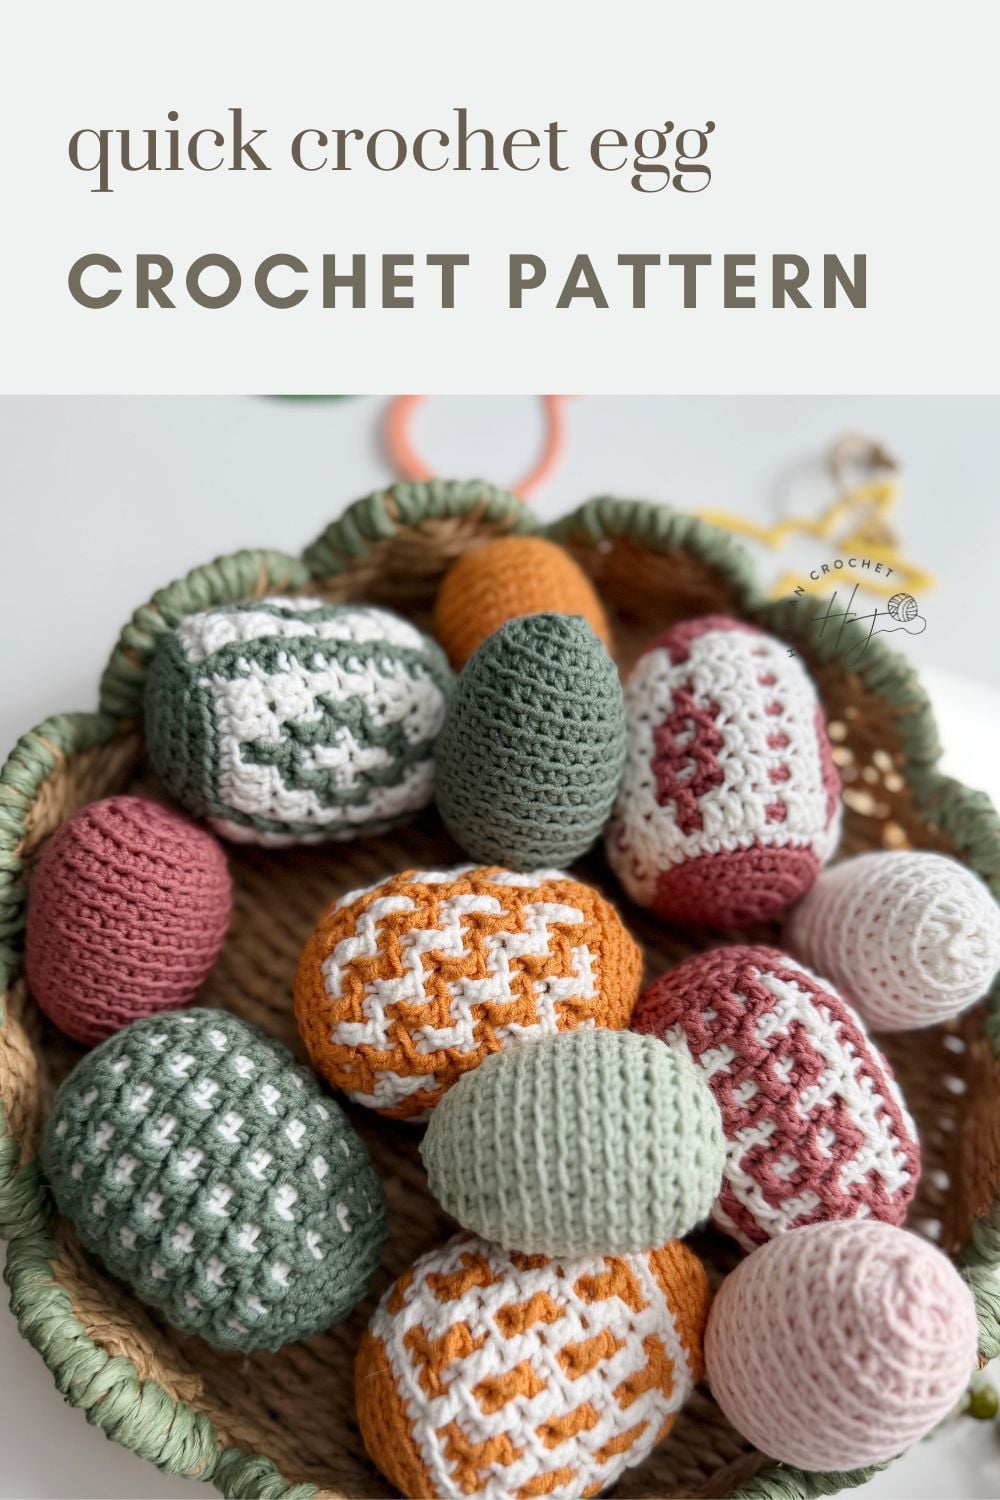
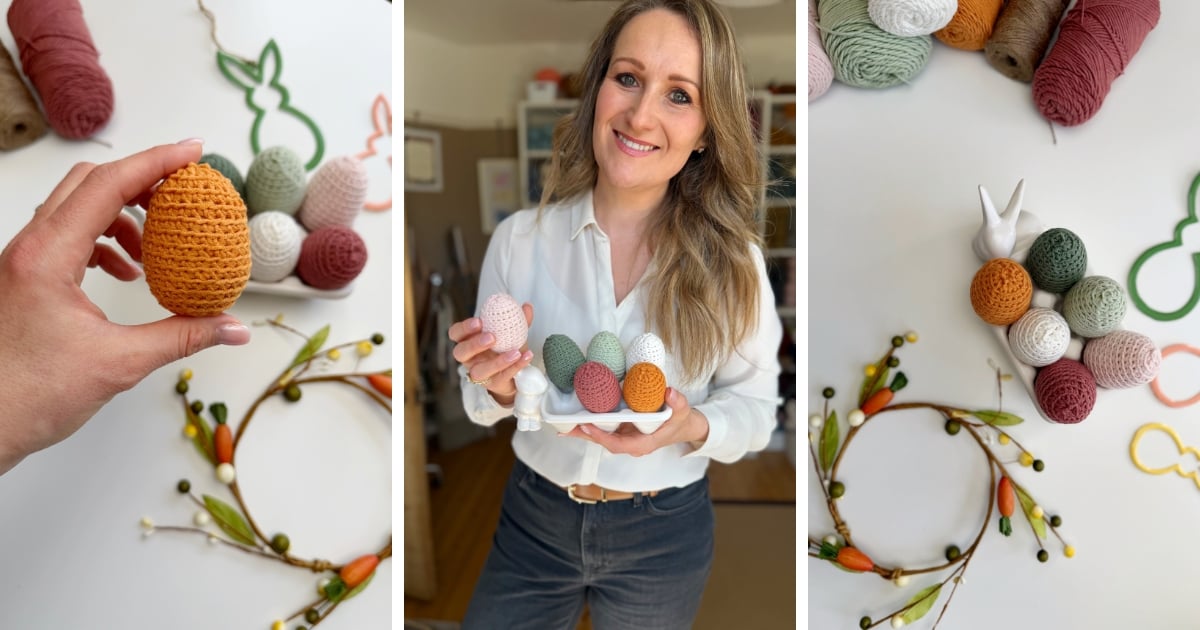
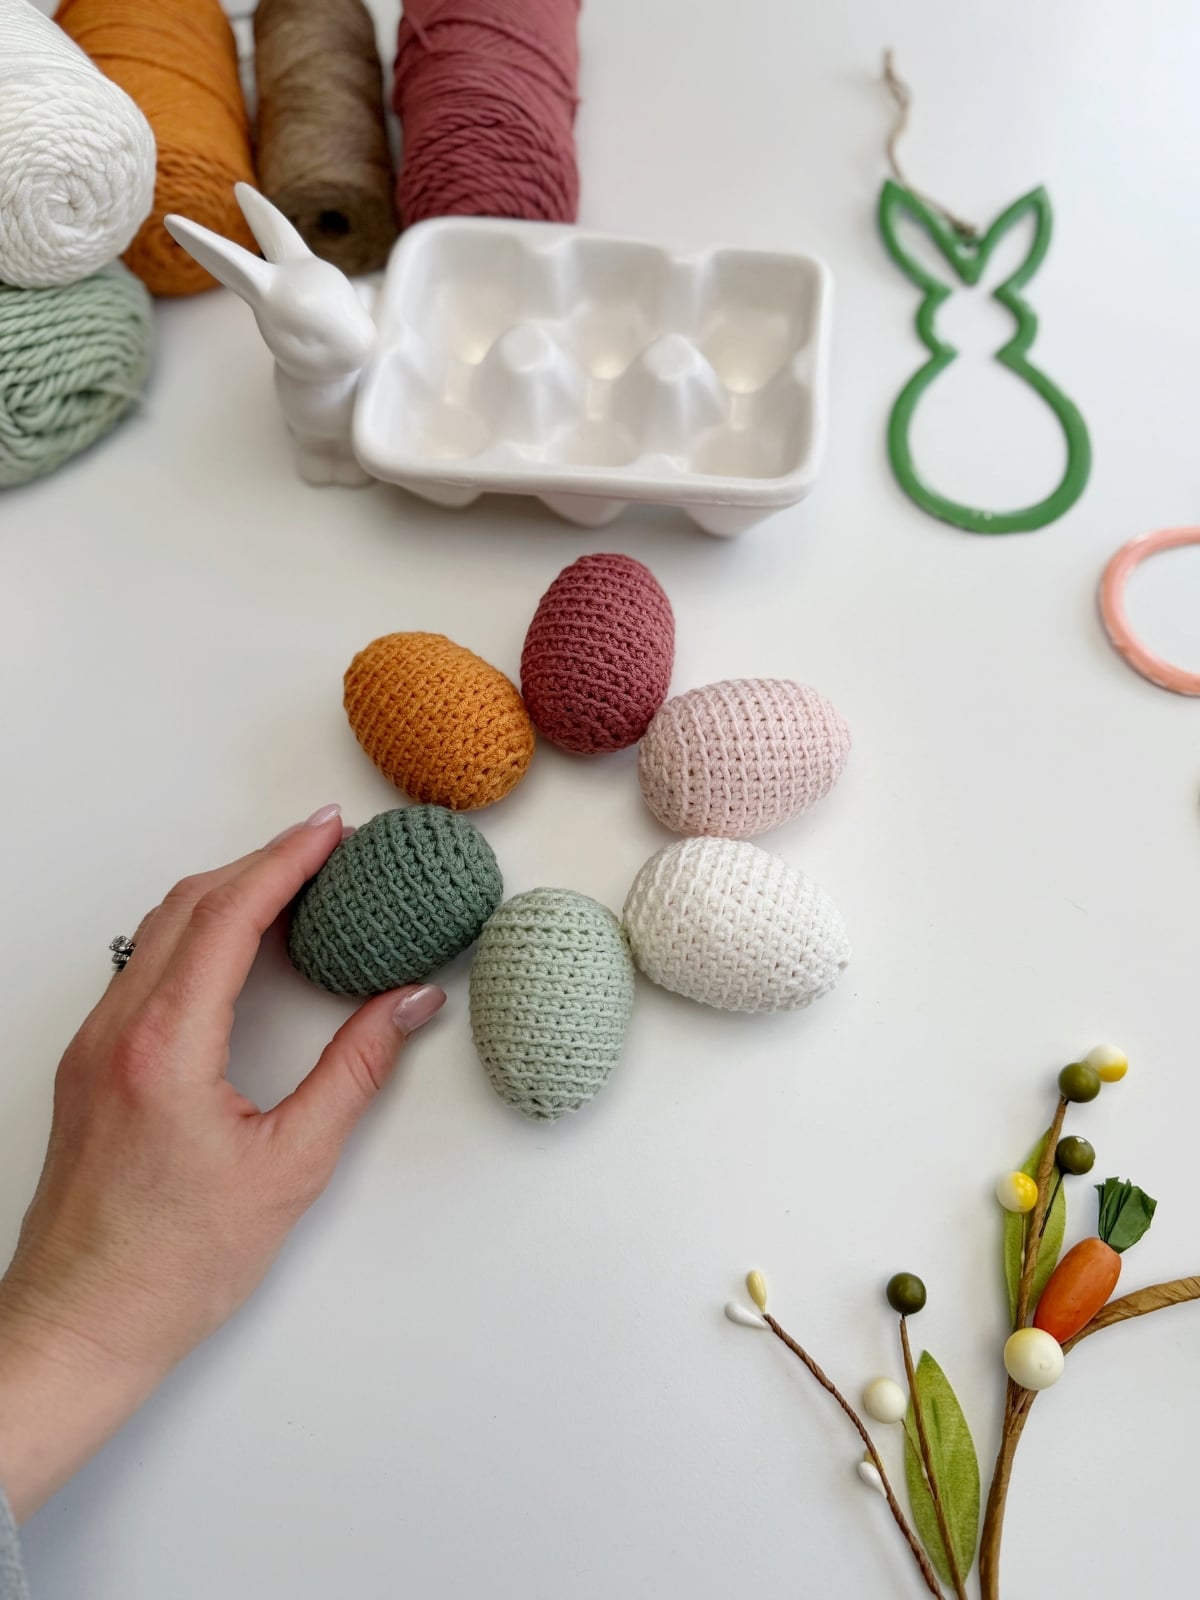
Who can resist these easy crochet Easter eggs at this time of year? This beginner-friendly crochet Easter egg pattern shows you how to make neat, perfectly shaped crochet egg covers that fit over a 6cm polystyrene egg form. They’re quick to make, use simple stitches, and create a smooth, classic egg shape that’s ideal for Easter displays, baskets or seasonal garlands.
Unlike stuffed crochet Easter eggs, this pattern is designed to cover a solid egg base, giving you a consistent shape every time with no need for stuffing. The pattern is worked in the round using basic increases and decreases, making it a great small project for beginners who are comfortable with single crochet and working in continuous rounds.
Crochet Easter Egg Pattern Overview
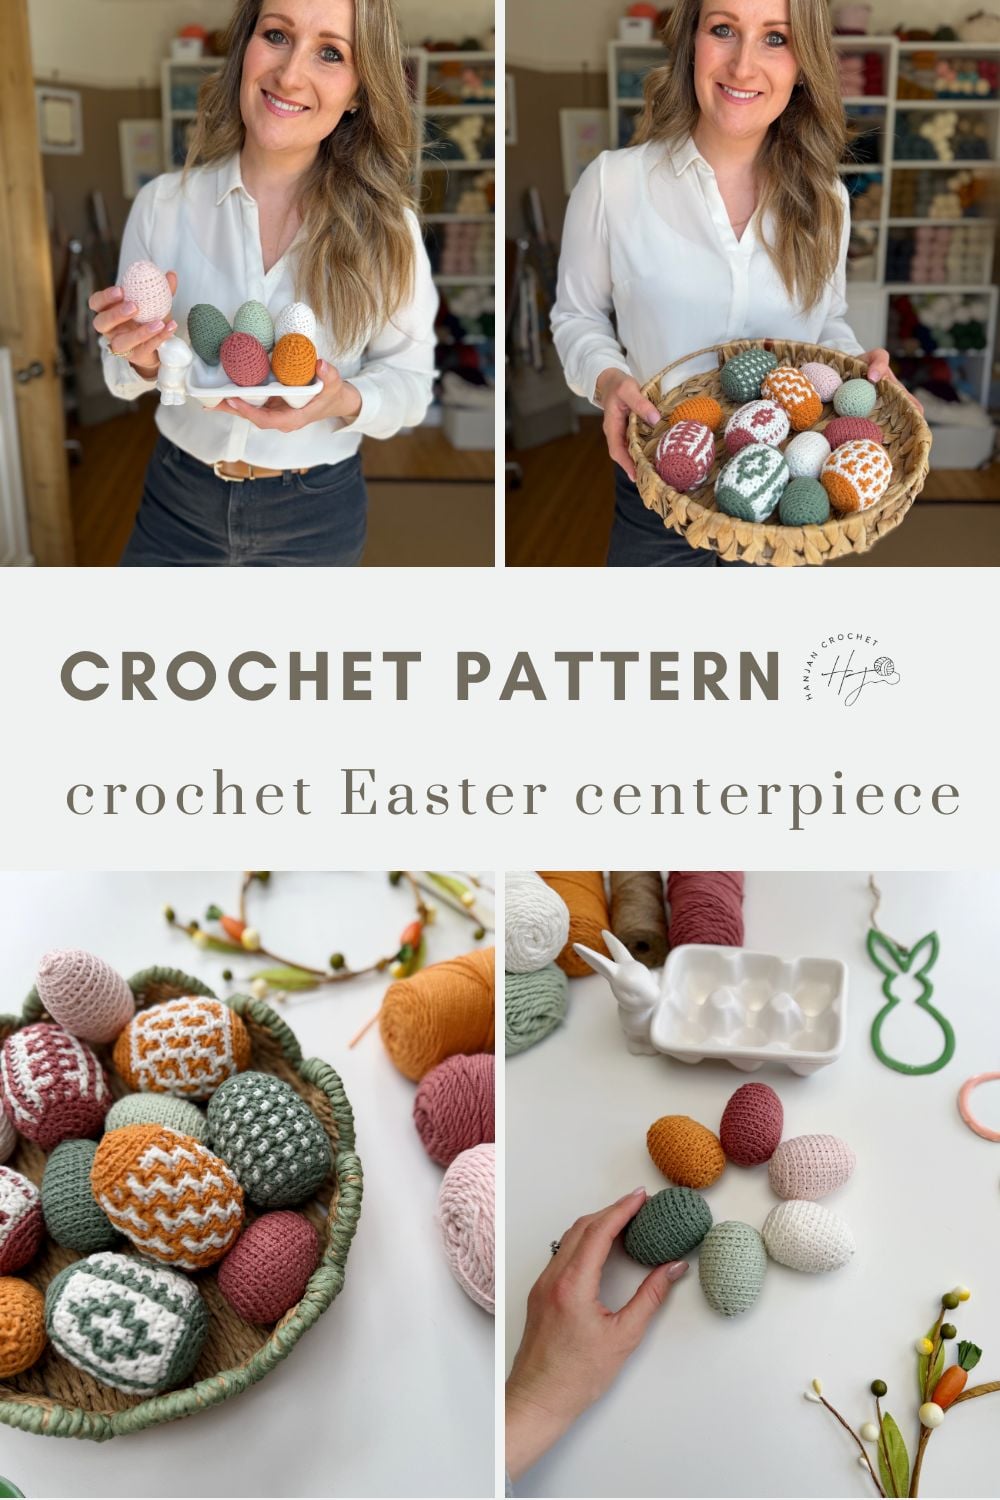
Whether you’re making crochet Easter eggs for a table centrepiece, decorating an Easter tree, or creating handmade gifts, this easy crochet Easter egg pattern is a simple and satisfying spring make.
⭐⭐⭐ Difficulty level: Beginner friendly
💬 Hook Size: 3mm
📏 Sizes: Fits egg approx 5.75” circumference, 2.75” height
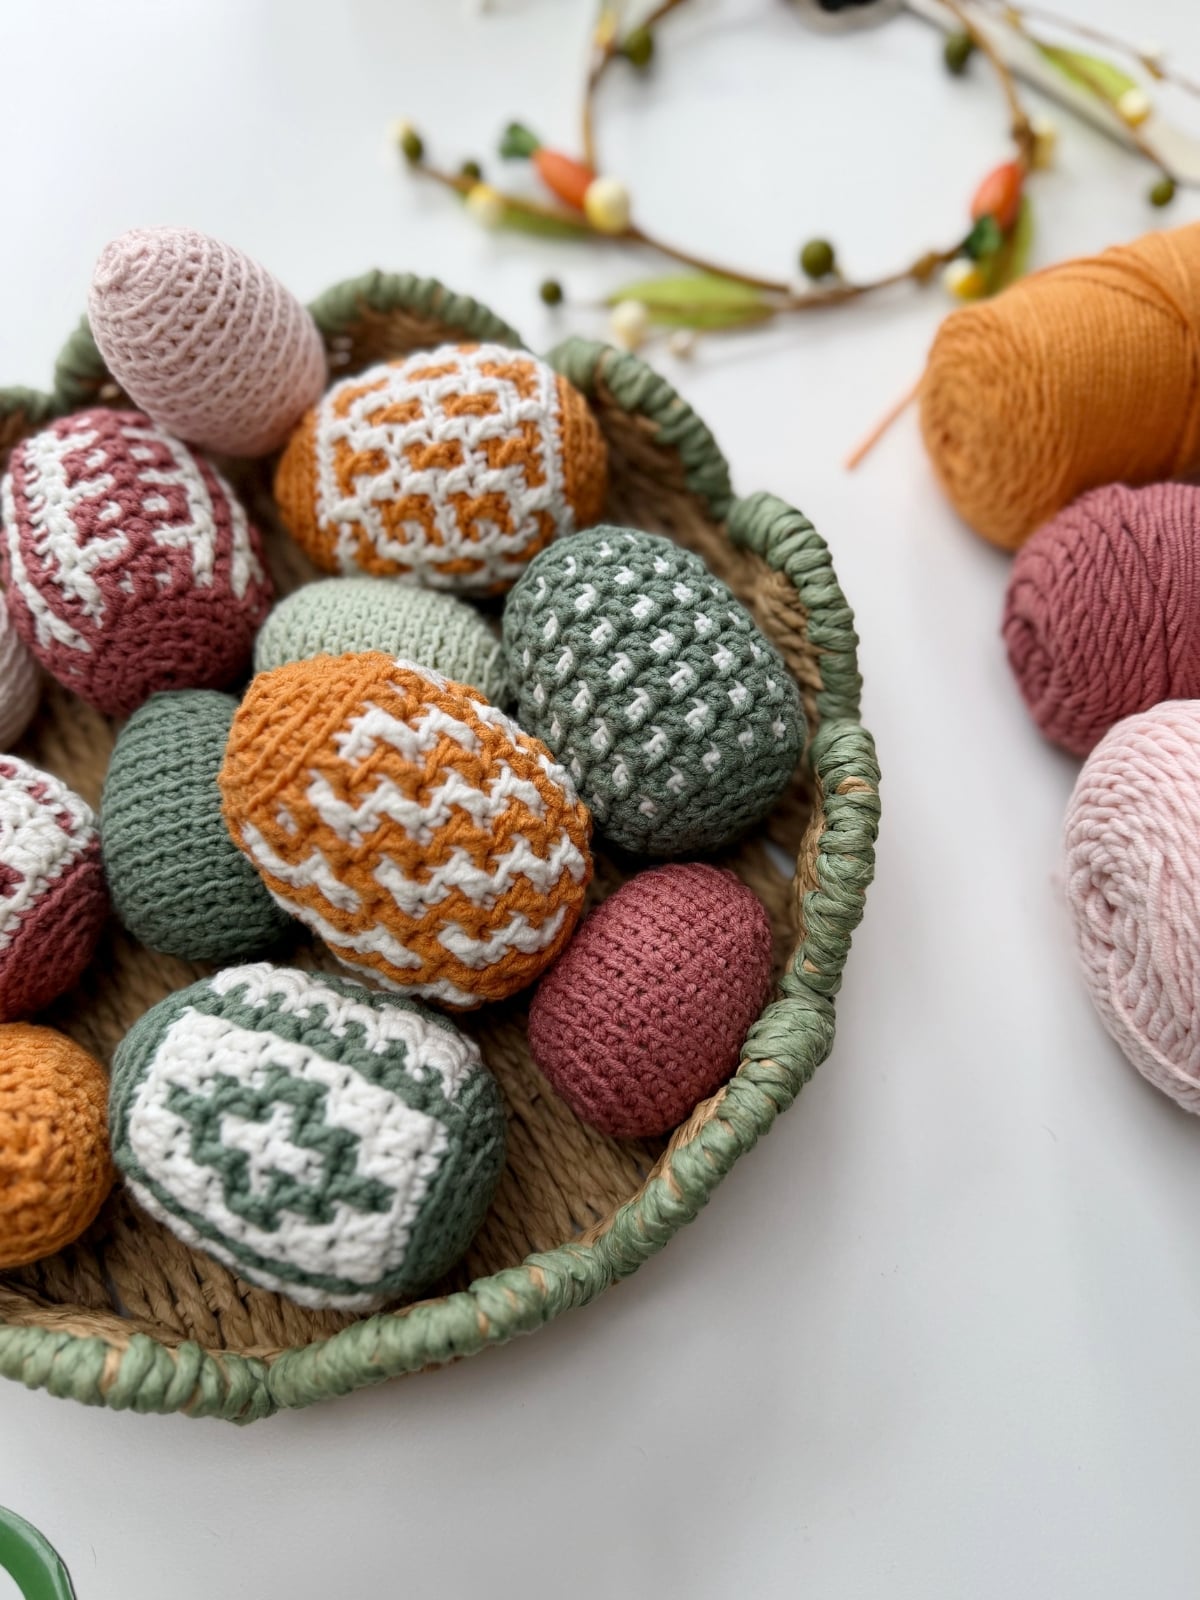
✨ Crochet Technique: back loop only amigurumi
⚖️ Yarn Weight: Worsted Weight (category 4)
🧶 Yarn Used: Cottage Cotton Yarn
🕐 Approx Crochet Time: 15-30 mins depending on your pace
👍 Perfect For: yarn stash busting and gift making!
Summarise and Save For Later:
Table of Contents
Things you’ll love about this crochet egg pattern
Easter Egg Pattern Materials
- A 3mm(D) crochet hook or hook needed to meet gauge
- Scissors
- Tapestry needle
- Stitch markers
- Polystyrene eggs (approx 2.75″ high)
Along with the above you will need the following yarn for your eggs:
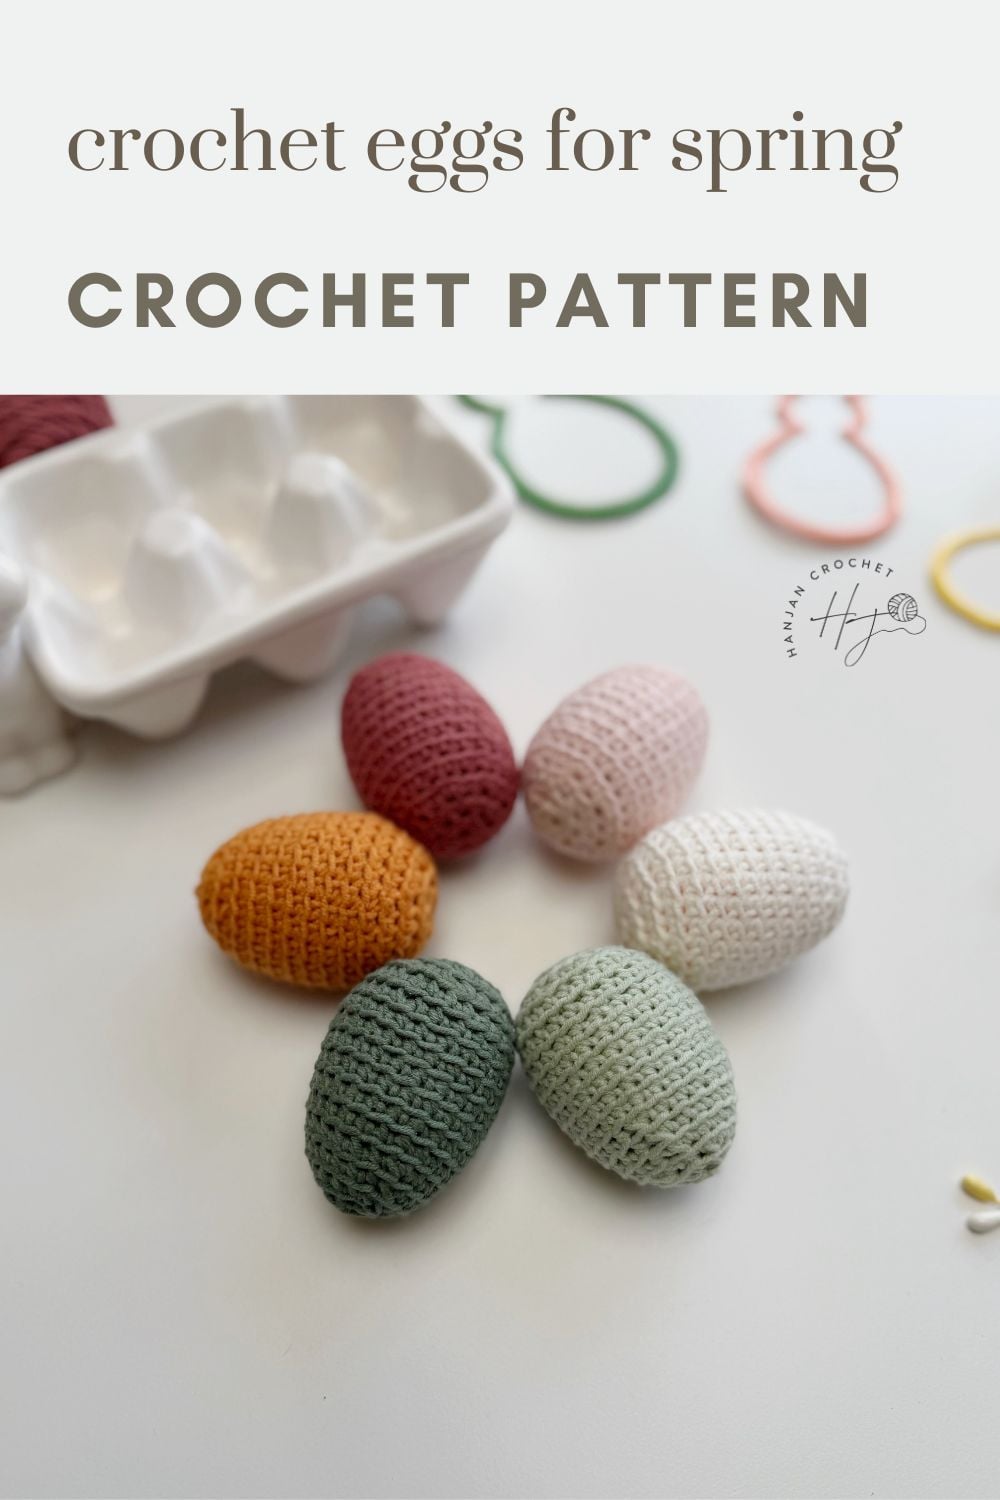
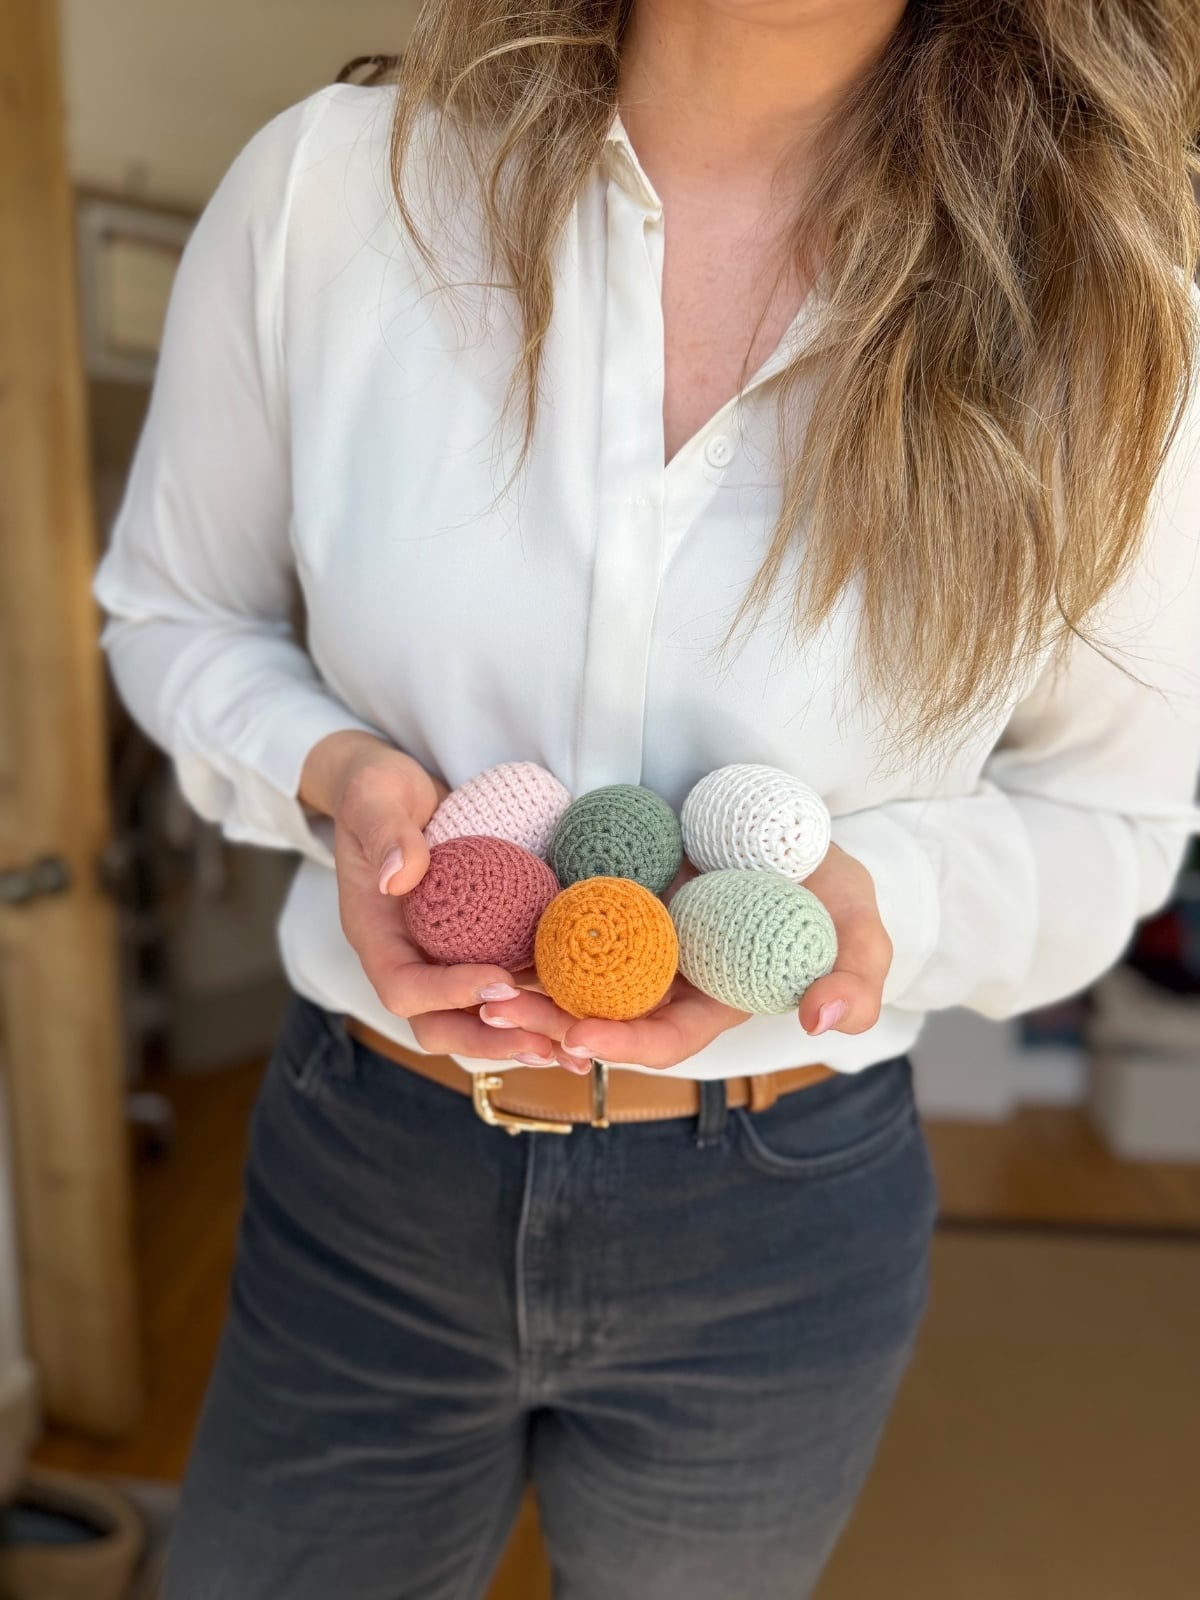
Cottage Cotton Yarn, 60% Cotton, 40% Acrylic 207yds/189m/100g. For mine I used Fired Clay, Chiffon, Hilltop, Silver Sage, Posy and Cherry Glow.
You will require approximately 60yds per egg.
It’s a category 4, worsted weight yarn which is what gives these baskets their sturdy structure. Find out more about yarn weights and categories.
See my other worsted weight crochet patterns – you might find your next project there too!
Yarn Substitutes
You can use any yarn that you like bearing in mind that you need to make sure you meet the gauge. Some options are:
- Comfy Worsted, Cotton acrylic blend, 109yds/100m/100g
- Dishie, 100% Cotton, 190yds/175m/100g
- Craft Cotton Yarn, 100% Cotton, 115yds/105m/71g
Size and Tension
Each egg measures approximately 5.75” circumference, 2.75” height.
Gauge isn’t too important for this project, just keep checking that it fits your egg and you’ll be fine.
Along with these cute little eggs, make sure to check out these other free Easter egg crochet patterns too!!
Glossary and Abbreviations
- ch(s) – chain(s) (chain stitch tutorial)
- sc – single crochet (learn how to do a single crochet)
- st(s) – stitch(es)
- sc2tog – single crochet two together ((insert hook in next st, yoh and draw loop through) twice, yoh and draw through all 3 loops on hook)
If you like this pattern, you might also like this baby beanie with bunny ears, perfect for cute Easter photos!
How do you Make these Crochet Easter Eggs – Quick Overview?
- Start with a magic ring.
- Increase evenly to shape the base.
- Work even rounds to build the middle.
- Decrease to form the top.
- Insert the polystyrene egg.
- Close and fasten off securely.
Video Tutorial for the Mini Crochet Egg
Come along as I make this quick crochet egg pattern and see just how easy it is in our step-by-step video tutorial.
Before you jump into crocheting your crochet Easter egg pattern, take a moment to read through the pattern notes—it’s a game-changer!
These handy insights will not only simplify your pattern-reading journey but also ensure a smoother crochet experience. You’ll find helpful tips on deciphering the sizing, customisation and more.
Trust me, a quick peek at these notes will set you up for crochet success!
- Work in continuous rounds throughout the pattern
- Try out your egg cover on the egg after a couple of rounds to make sure your tension is tight enough, otherwise you might see the polystyrene through it.
- Make sure you pop your polystyrene egg in before you decrease too much, otherwise it won’t fit!
Free Easter Egg Crochet Pattern
There are a few options for you to access and enjoy this crochet pattern:
- View the free pattern on the blog – all blog subscribers will be able to view the patterns supported by ads by logging into their Grow account.
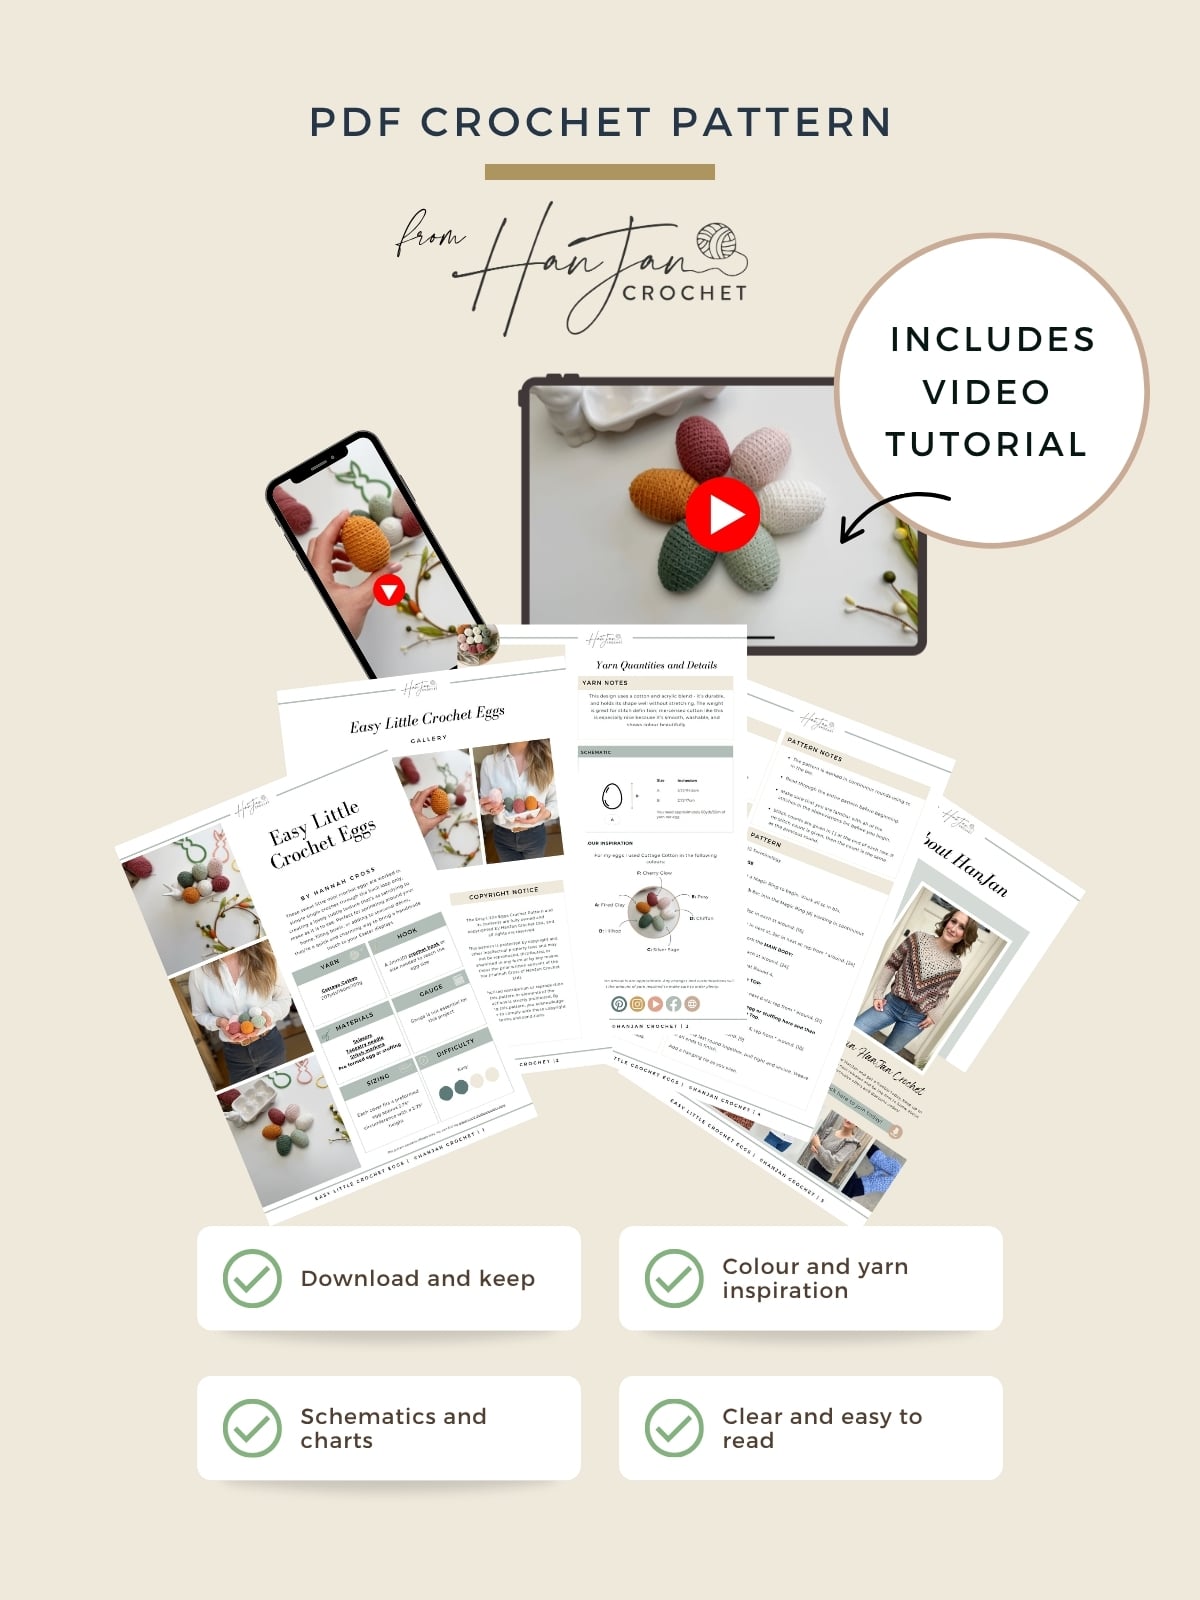
- Purchase the individual pattern on Etsy or Ravelry as a beautifully formatted PDF with extra stitch charts, schematic and colour information page and more!
Get this pattern ad free – plus bonus extra pattern!
Get the PDF Pattern
Perfect to print out or use on any device, with added schematic and charts, colour inspiration and stitch tutorials.
Pattern Support
I am delighted to invite you to join the HanJan Crochet Community Facebook Group where we host all pattern support queries and love to see your progress, yarn choices and finished projects!
US Terminology
Want to remove Ads?
- Get ad-free access on all posts; 200+ patterns & tutorials!
- Member-only resource library with downloadable PDF guides
- Bonus eBook (Worth over $30)
To unlock Exclusive Content on the HanJan Crochet Blog, all you need to do is click the box below and the Grow.me app will pop up, allowing you to enter your email and create a password.
Once you’ve created an account, every time you see Exclusive Content on my blog (or any others that use Grow), simply login to your Grow account. Be sure to switch to the login screen to enter your login credentials.
If you forget your password, click the “forgot password” link and follow the prompts. Please note that I’m unable to assist with resetting Grow passwords or accessing your Grow account, so be sure to save your login information in a safe place.
Thank you for subscribing and for joining me at HanJan Crochet! I hope you enjoy the exclusive content available on the site and I can’t wait to see what you create 🙂
Create a super cute crochet chicken using the same amigurumi technique here.
Round 13: sc2tog, sc in next 6 sts; rep from * around. [21]
Insert your pre formed egg or stuffing here and then continue to decrease the Top.
Round 14: sc2tog, sc in next 5; rep from * around. [18]
Round 15: sc2tog, sc in next 4; rep from * around. [15]
Join our pattern support group!
We’ve built an amazing community always ready to help each other. Join today!
Round 16: sc2tog, sc in next; rep from * around. [10]
Round 17: sc2tog around. [5]
Seam the last round together, pull tight and secure. Weave in all ends to finish. Add a hanging tie as you wish.
FAQs
Crochet Easter eggs are typically worked in the round using simple increases and decreases to create an egg shape.
Yes, this beginner-friendly crochet Easter egg pattern uses basic stitches and simple shaping.
No, this pattern is designed to cover a 6cm polystyrene egg form, so no stuffing is required.
You can use any yarn you like that is a sport or 4ply weight yarn to fit around the polystyrene egg.
Get your free guide!
Subscribe to get your free guide to choosing and combining colours!
Join HanJan and Share Your Crochet With Us!
I’d love to hear from you and see your HanJan Crochet project! Here’s where you can do that:
📌 PIN THIS POST – save it to your Pinterest crochet board so you can come back to it again and make more!
↗️ SHARE – Share your yarn choices, progress pics, and finished projects on Facebook or Instagram (make sure to use the hashtag) #hanjancrochet
🧶 JOIN – Join thousands of amazing crafters in the HanJan Crochet Community Group on Facebook ready to cheer you on!
✉️📩📬 SUBSCRIBE – It’s an honour to be able to create and share my free crochet patterns with you. I’d love to stay connected and send you regular discount codes and free patterns! Please sign up for my subscriber list to get a free gift right now!
Congratulations on crocheting your very own crochet Easter egg! 🌟 Now that you’ve crafted this fun project, why stop here? See my other Easter crochet patterns, each waiting to be transformed into your next crochet masterpiece.
Don’t forget to check out this crochet Easter bunny pattern too! Perfect for an Easter display or as an egg cosy!