This post may contain affiliate links. Please see my full disclosure and privacy policy for details.
Learning how to neatly whip stitch crochet together is easily overlooked as an important crochet skill to master.
A whip stitch is a simple sewing technique that you can use to join any fabric together.
It works especially well for crochet and knitting as you have stitches and loops to go through to stay nice and level!
It might not be rocket science to most but I know an awful lot of people worry about how to join or seam their crochet projects and I can see why – they can make or break a finished item.
Want to remove Ads?
- Get ad-free access on all posts; 200+ patterns & tutorials!
- Member-only resource library with downloadable PDF guides
- Bonus eBook (Worth over $30)
After all the effort and love that goes into your projects I think they deserve the best whip stitch seam that we can give them, don’t you?
So let’s go through it step by step from threading your needle to finding the stitches to join to actually working a whip stitch in this little tutorial.
(Also, interestingly people seem to class is as either ‘whip stitch‘ or join the words together to write ‘whipstitch‘. I don’t think it matters how you write it though, the technique is still the same!)
This post may contain affiliate links. Please see my full disclosure and privacy policy for details.
Table of Contents
Is a whip stitch better than other crochet joining techniques?
Now, don’t get me wrong, I absolutely love crocheting seams together, but sometimes the style of project, the yarn you use and the finish you’d like call for a sewn seam rather than crochet. That’s why I also love the whip stitch.
You will undoubtedly have a personal preference and I know some people that wouldn’t consider doing anything other than sewing their crochet seams but my best advise would be once you’re ready to join your seams, sit back and think about your project.
Have a look at the drape of your crochet. Think about how sturdy the seams need to be. Would you like it to be invisible or are you happy to make a feature of it?
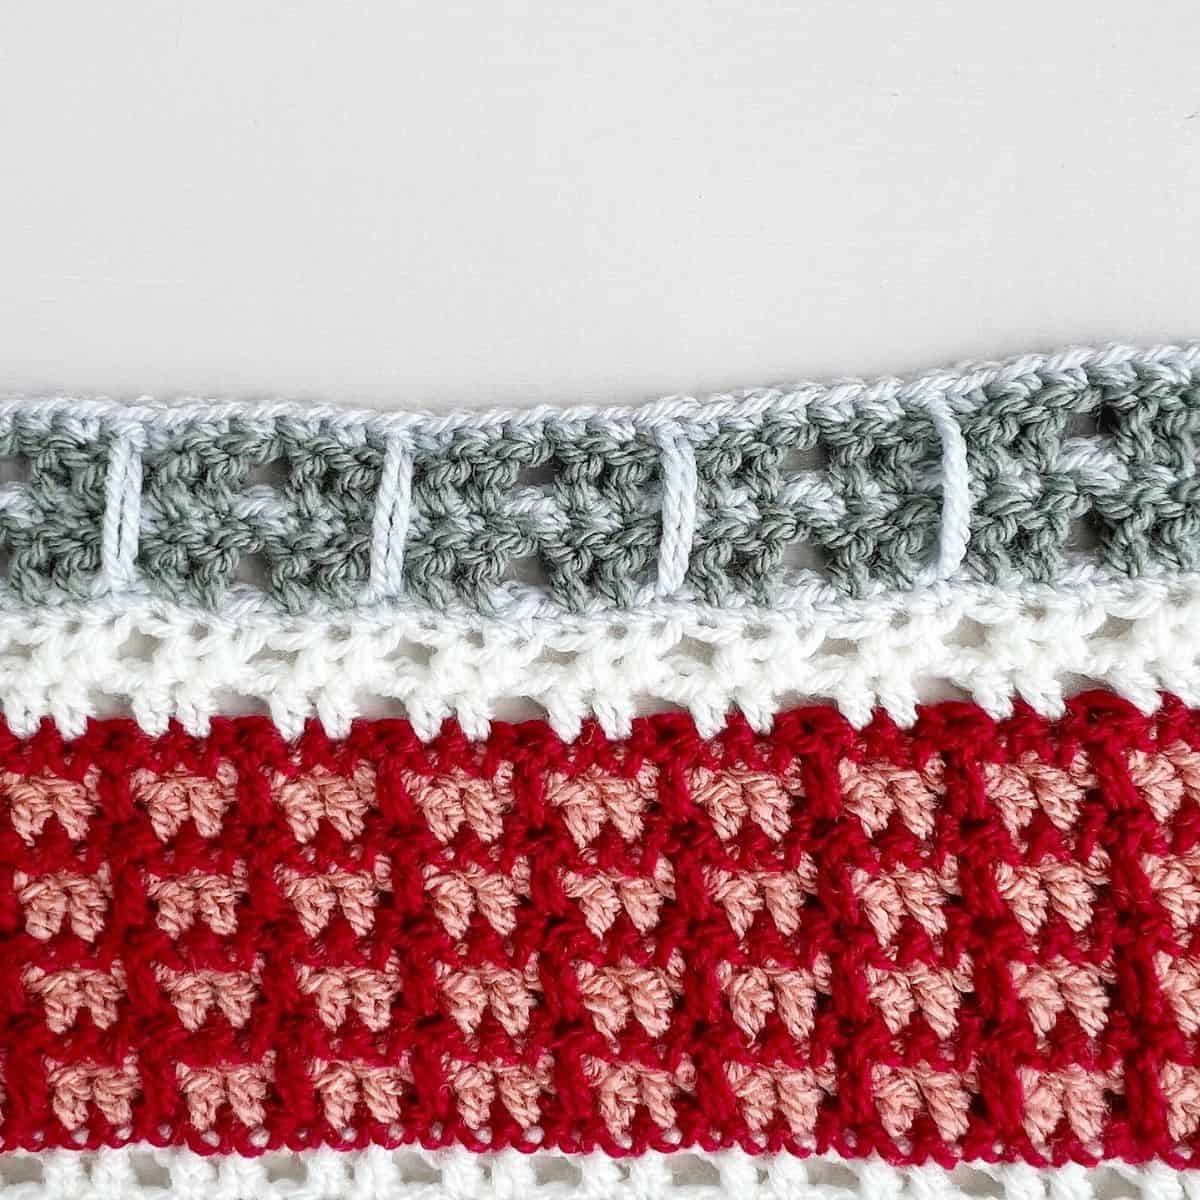
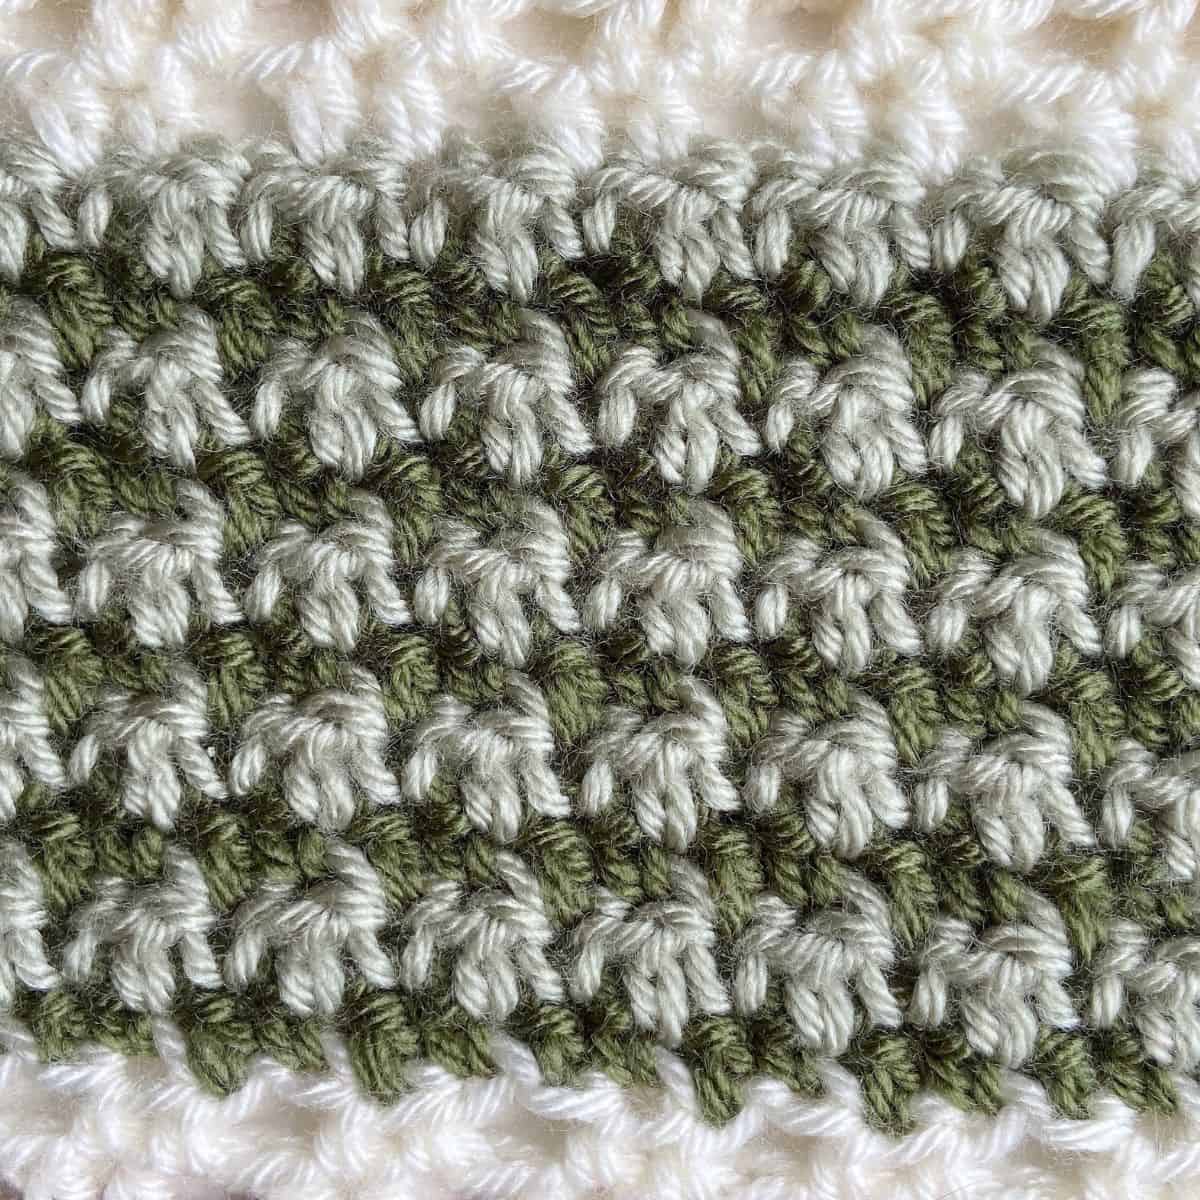
The whip stitch is great for joining delicate crochet fabrics I think and creates a wonderfully sturdy seam – you’ll see why in a minute. Plus, it’s almost an invisible seaming method (as long as you don’t use contrasting yarn like me!).
How do you whip stitch crochet together?
Let’s dive right into it and look at how to work the whip stitch to join any pieces of crochet together you like.
Supplies you’ll need
- You’ll need 2 pieces of crochet that you want to join together (I just chose some easy hdc stitch swatches)
- A tapestry needle.
- A length of yarn that is about 6 inches longer than the length of seam you want to join.
A note about yarn colour –
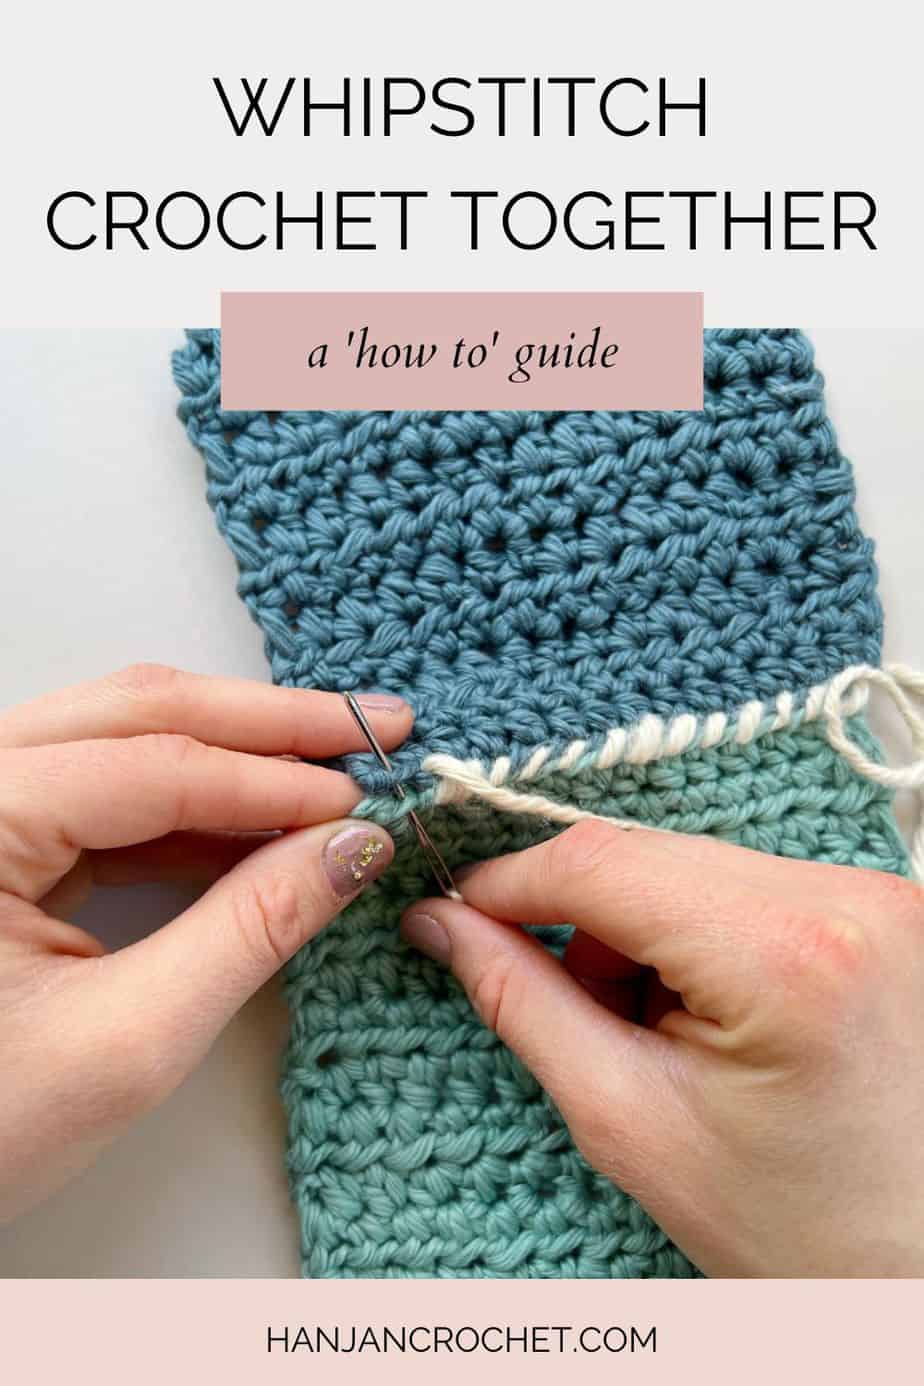
I’ve deliberately chosen a contrasting colour of yarn here to stand out and show you where the stitches go but I wouldn’t recommend this for your project unless you want to see your seam!
If you’re making a single colour project then I would go with the same colour yarn.
If your project has different colours at the seams then I would just choose one of them to whip stitch with that you think looks best.
Or if you want to make a feature of it then go as bold as you like with the contrast colour!
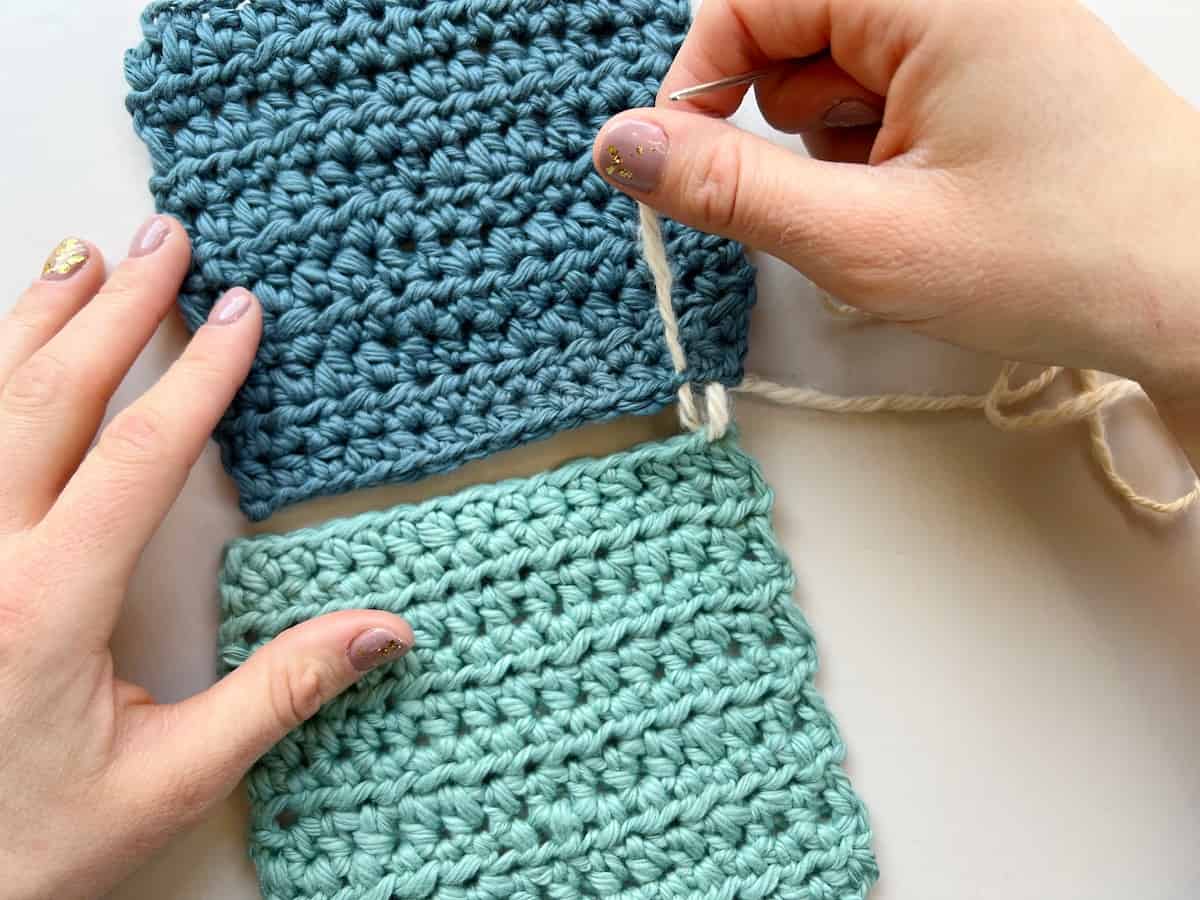
1. Line up your crochet pieces ready to be seamed together and thread your needle
You can line up your crochet on your lap, on a table or held in your hands, whatever works for you. I find it best to do it at a table but sometimes I even do it on the floor if it’s a big blanket for example!
Make sure that you align the stitches in your crochet pieces as you’ll need to be sure to work in them in sequence along both as you go.
You can work a whip stitch (or any seam) from right to left or left to right depending on what you prefer. I’ll be doing mine right to left here.
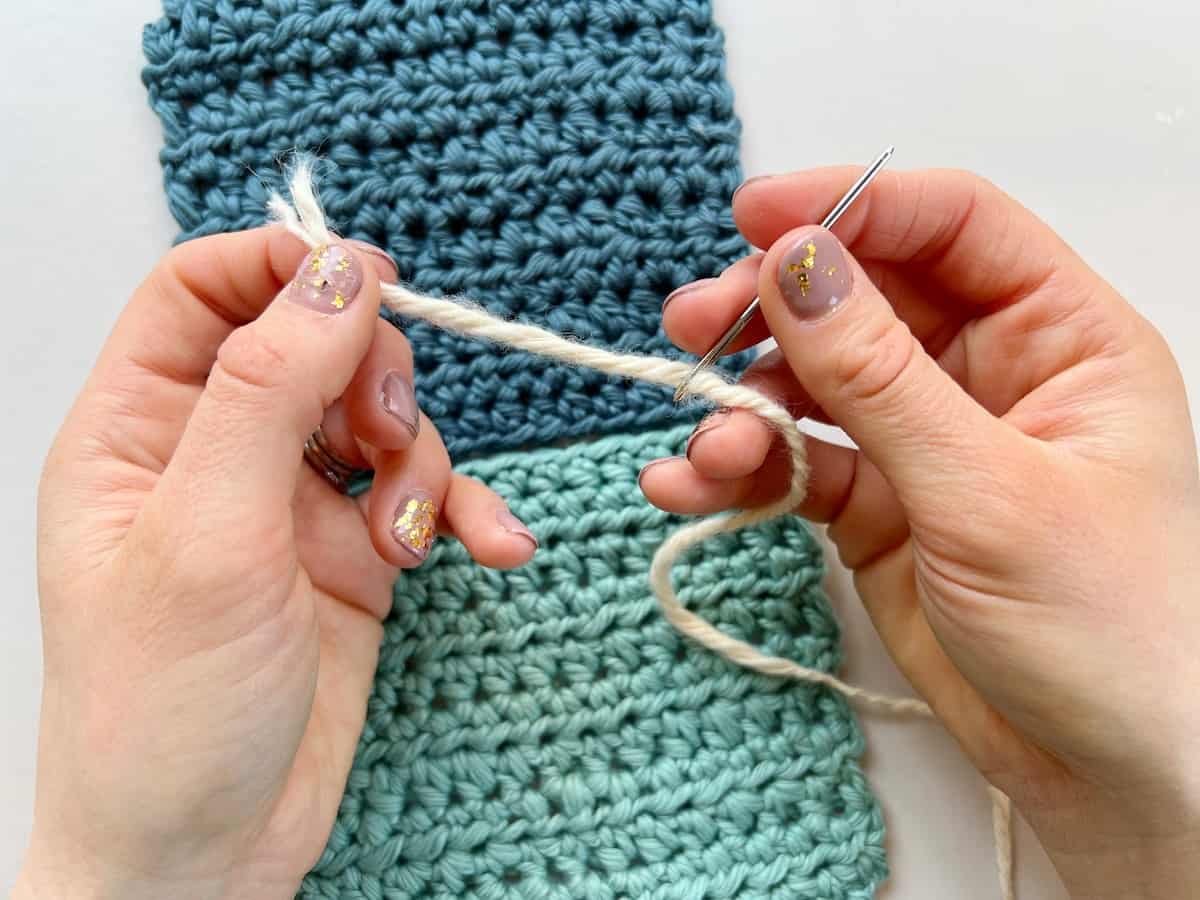
Thread your yarn onto your needle and you’re ready to begin.
2. Begin the whip stitch
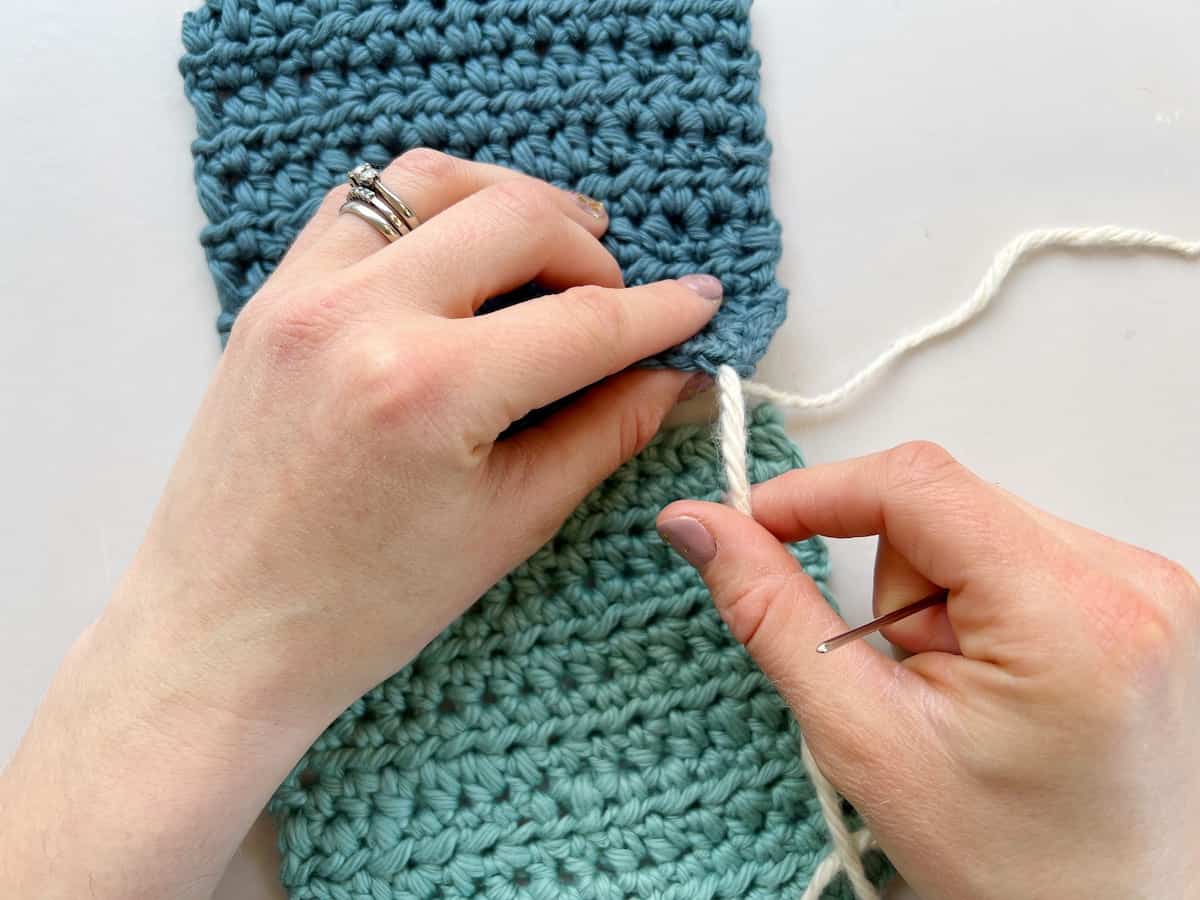
Find the very first stitch on the piece of crochet furthest away from you and insert your needle through it.
Top tip – At this point it’s a good idea to check that you have you crochet stitches facing the direction that you’d like them to. I’ve seamed no end of crochet projects only to find when I’m finished something is upside down or back to front!
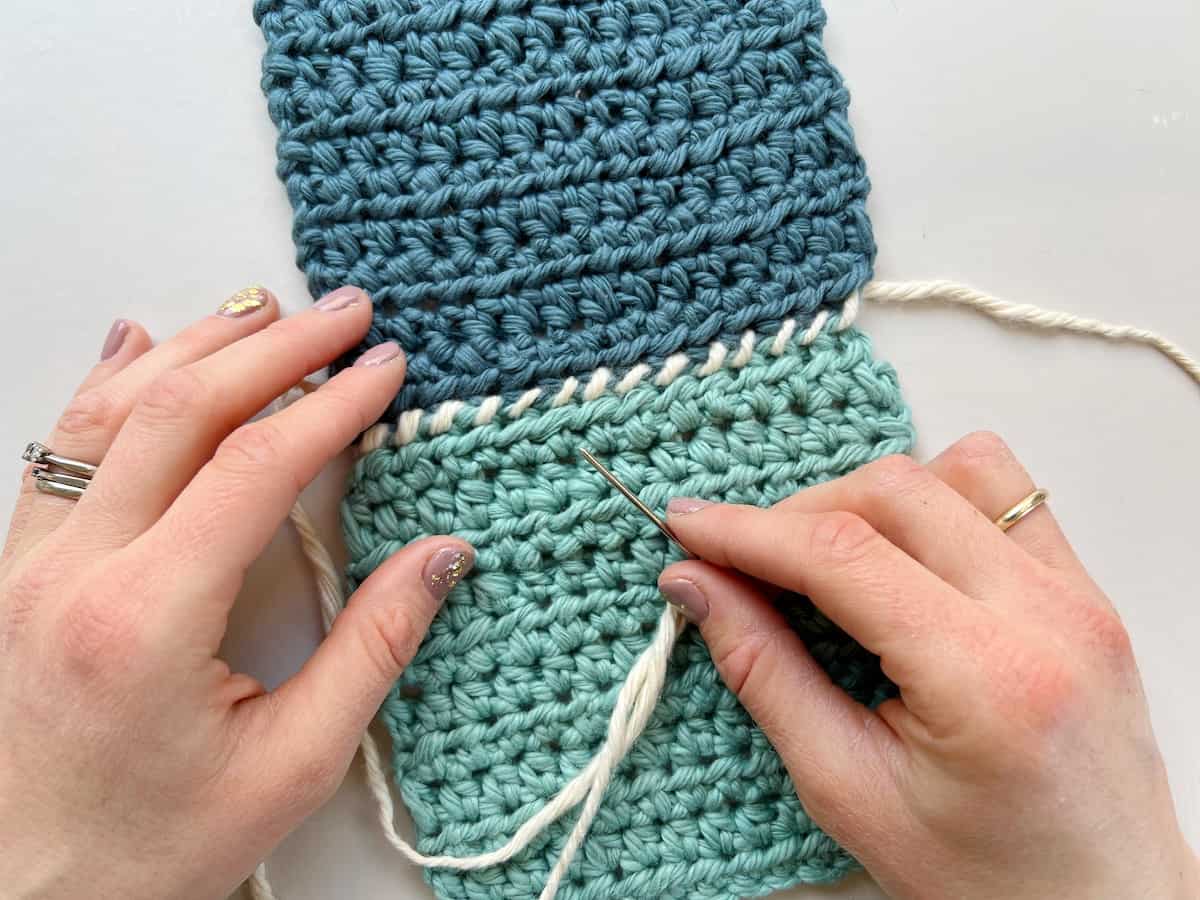
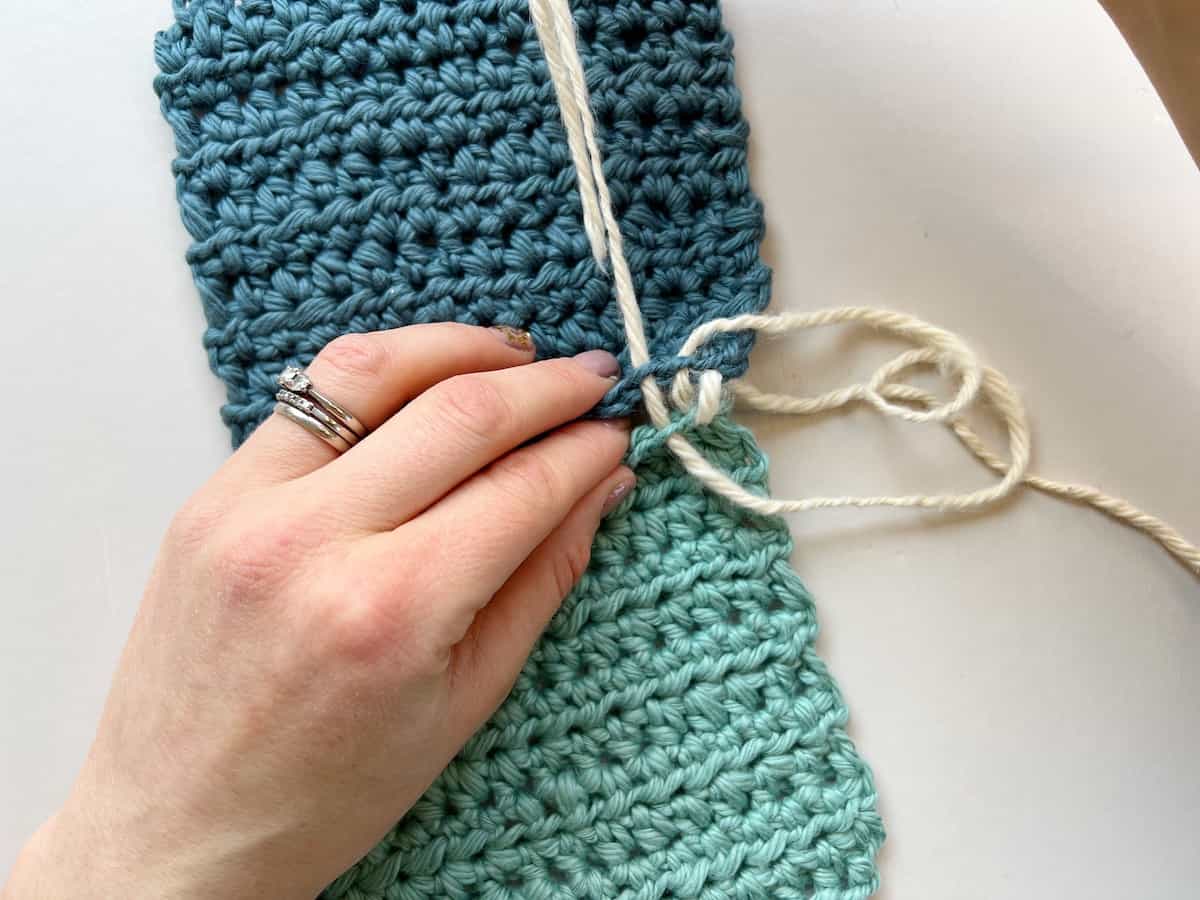
3. Pull your yarn through the first loop and leave a tail to weave in
Gently but firmly (you don’t want it loose but you don’t want it tight) pull the yarn through that first stitch and leave a 5-6 inch tail at the end. This is show on the right on the image below.
You will need to weave in this tail at the end of the process because (I say from bitter experience) if you do it before you’re sure everything is as you want it you’ll have to undo all your hard work!
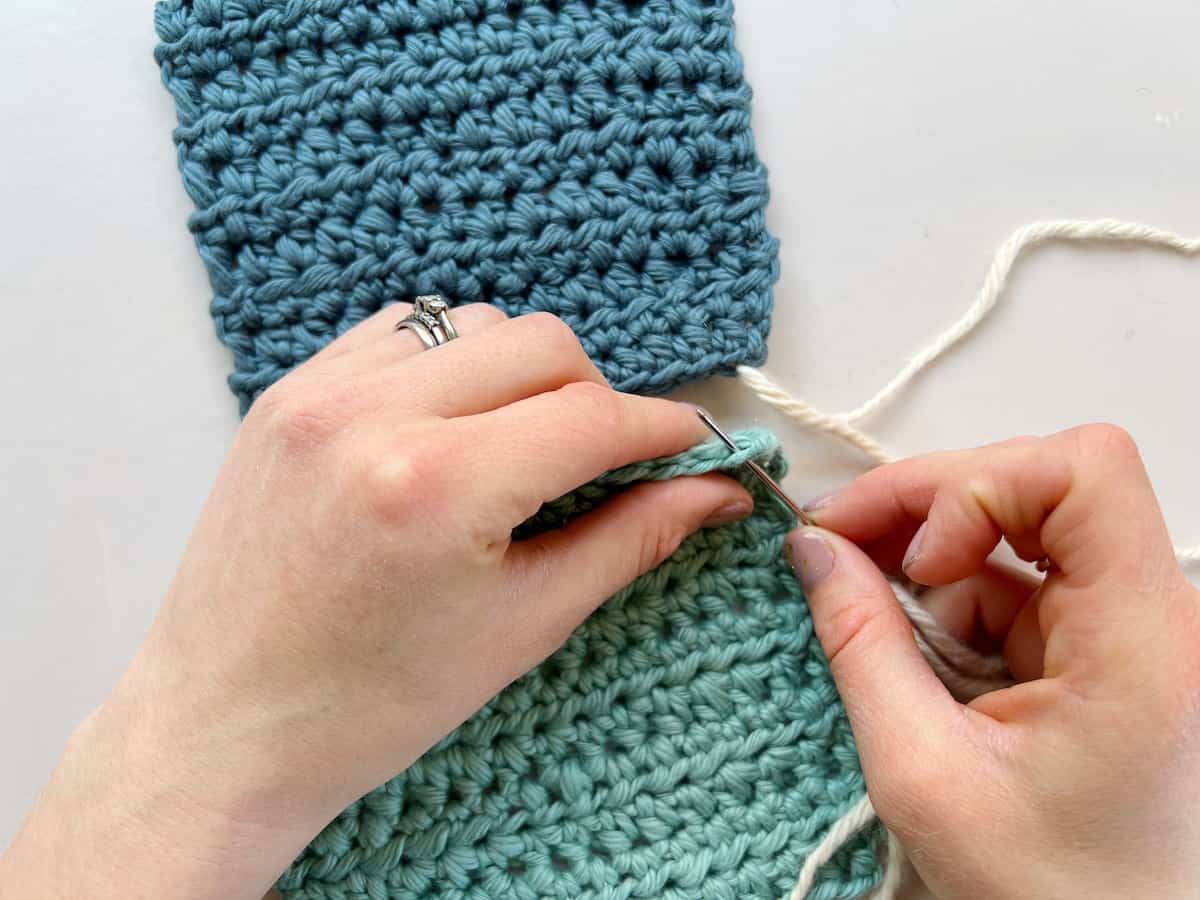
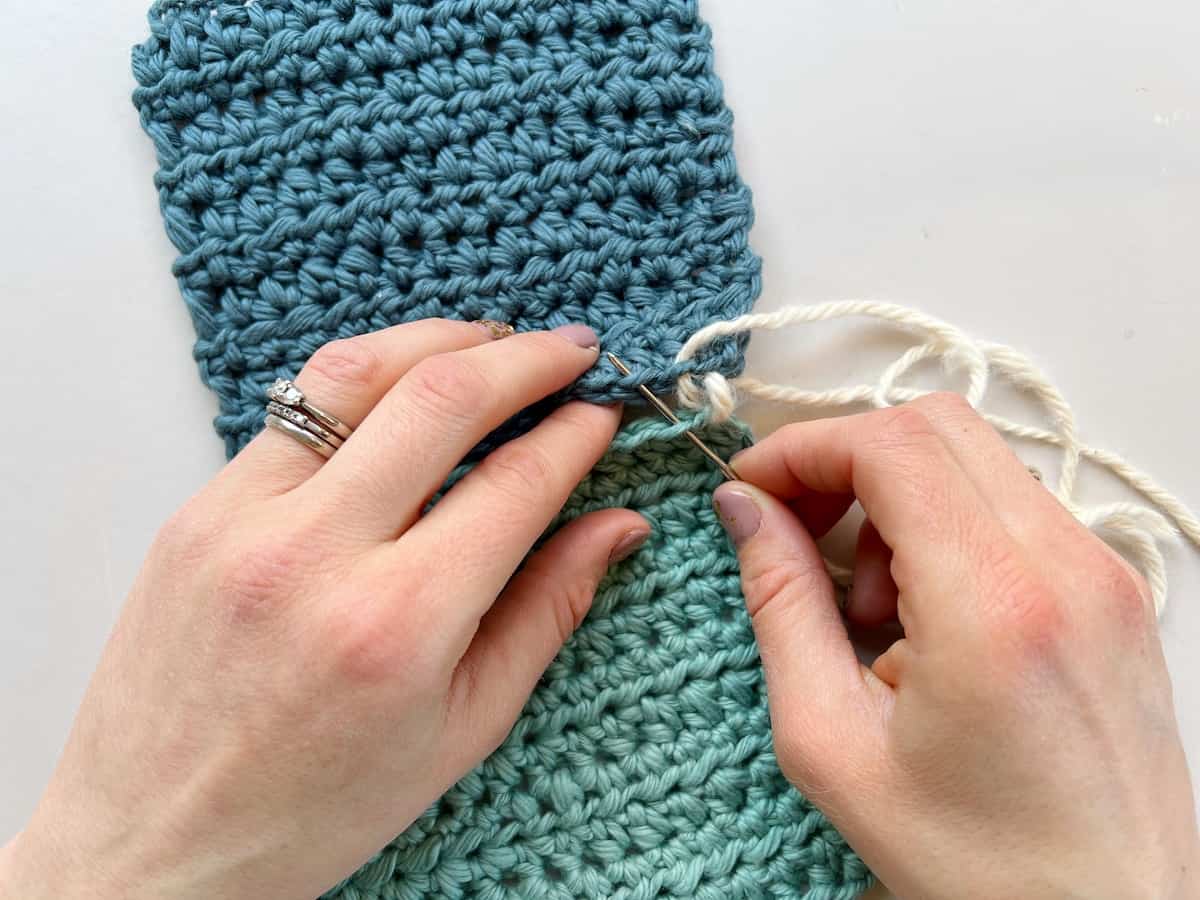
4. Insert the needle into the first stitch of the second crochet piece
Making sure that your crochet is still lined up, pop your needle into the first stitch of the other piece of crochet (it’s at the bottom for me here).
You can use any of the loops you like from your stitches but the key is consistency. Whatever you choose to do, do that throughout your whip stitch seam.
Top tip – if you would like your seam to be really sturdy then go through all the loops of the stitch. If you’d like it to be less rigid only use one loop from each stitch.
5. Pull the yarn through the stitch
Now pull the yarn through the stitch making sure that it is taut (that way it’s less likely to get tangled).
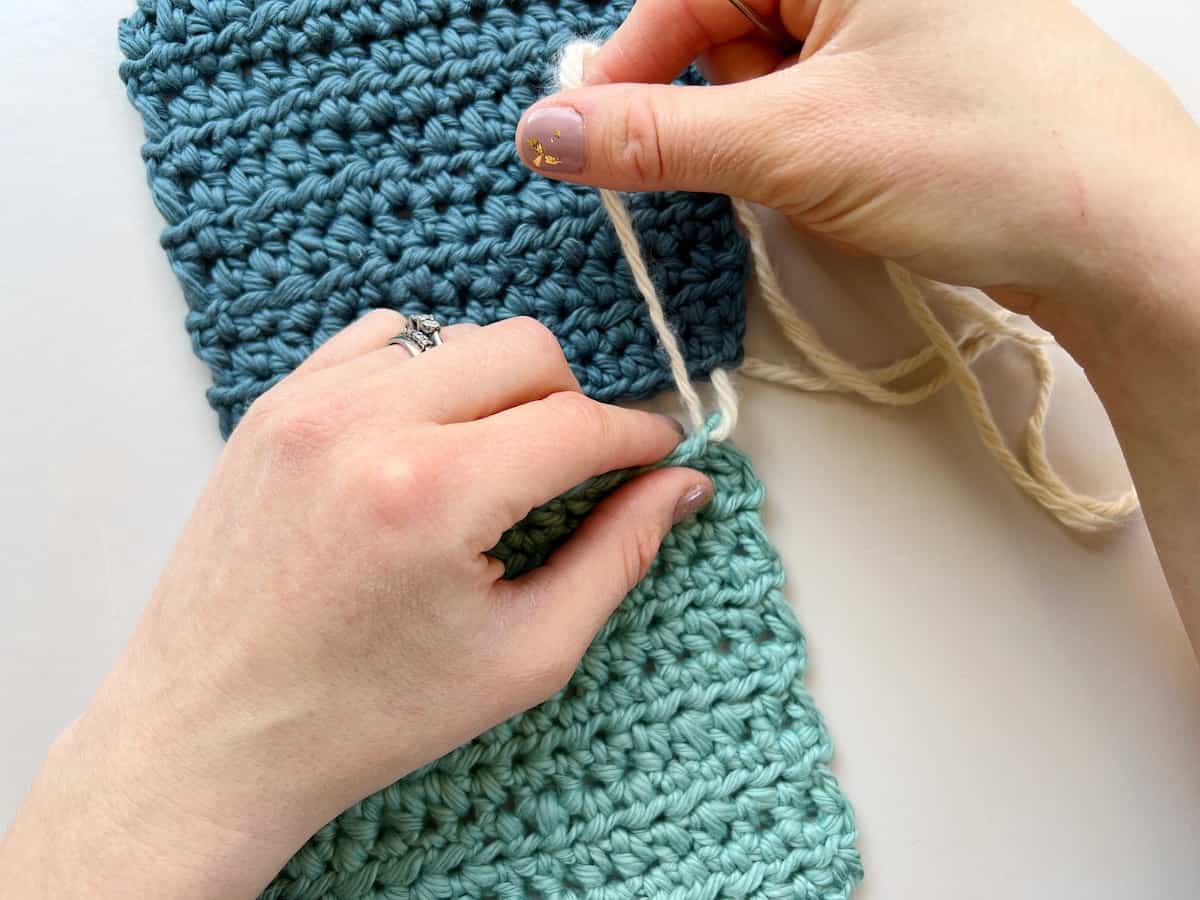
6. Insert needle into the next stitch on the first piece of crochet
Now it’s time to find the next stitch along on the first piece of crochet (the one that’s furthest away from me here).
Make sure to go through the same loop/s on that stitch as you did for the previous stitches.
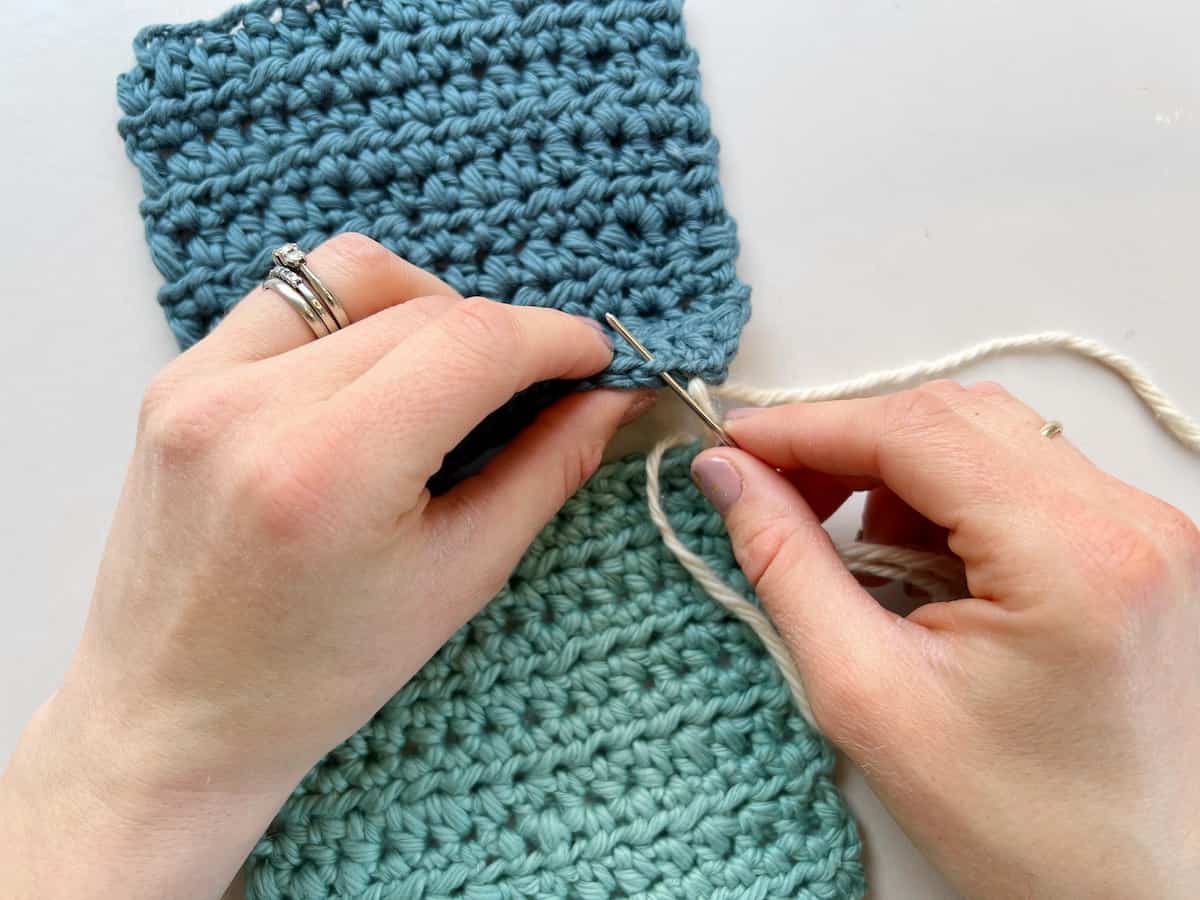
7. Pull the yarn through to create your next whip stitch
Repeat the process of pulling your yarn through the stitch nice and carefully.
Top tip – I know that most people dread this part of the process and try to rush through it but please don’t! If you take care with your seams and go at a steady pace you will have much more professional looking crochet seams!
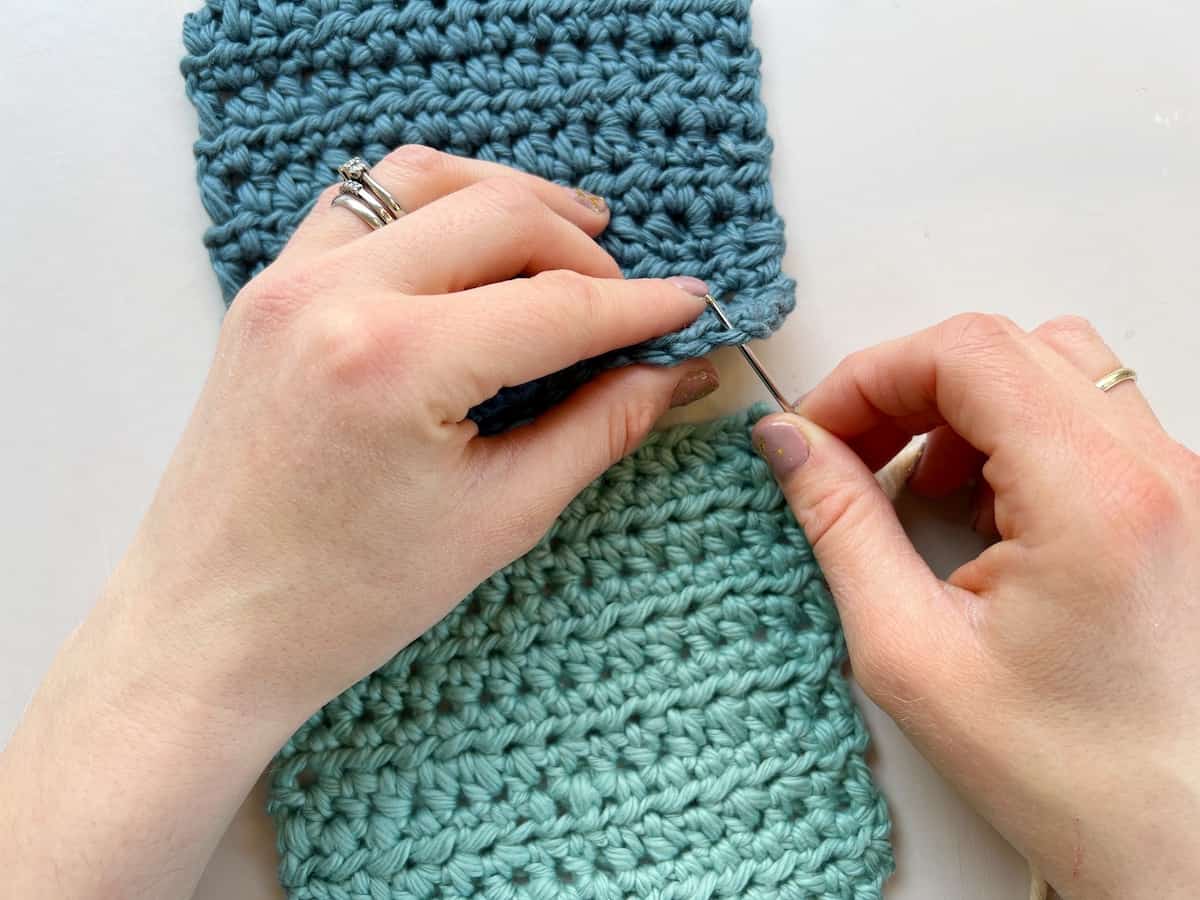
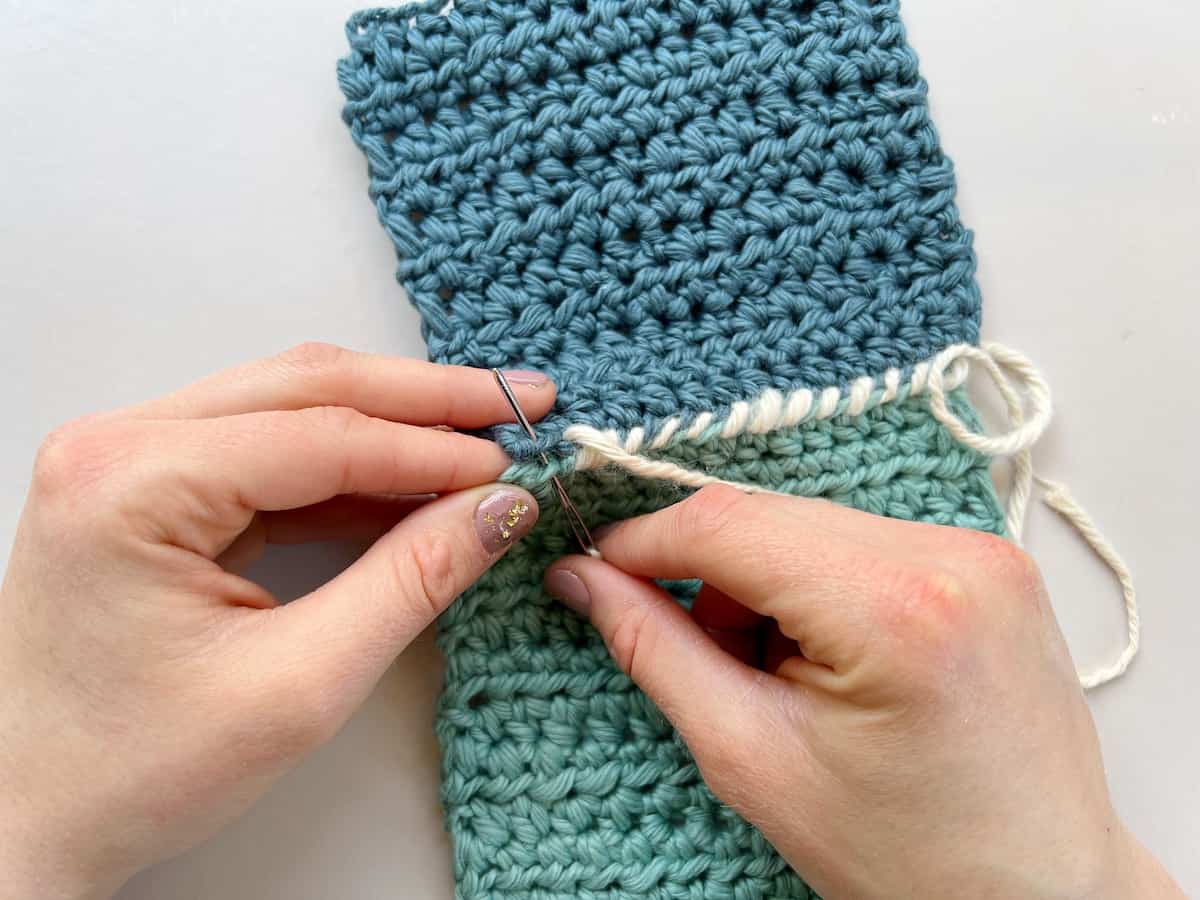
8. Insert your needle through both pieces of crochet for the next stitch
I know I said take you time but one way you can speed up sewing your crochet seams is by inserting the needle through both pieces of your crochet at the same time like this.
It’s a great way of making sure you don’t miss any stitches when you’re joining crochet. It’s easy to do it flat like this and also held in your hands if you fold the two pieces of crochet together and have the stitches facing you.
9. Pull the yarn through the stitches
Making sure to keep the crochet steady with your other hand, pull the yarn through the two stitches that you have put the needle through to make your next whip stitch.
10. Repeat the process
All you need to do now is repeat the process until you have joined all of the stitches together along the edge.
Once you have finished all the seams of your project (not just this one) then you are ready to weave in your ends and complete it!
Now that you know exactly how to work the stitch, here are a few more questions I thought you might have and my top tips for getting neat crochet seams:
What projects can I use a whip stitch for?
You can use this technique for pretty much any project you like!
I have used it lots on crochet garments as it gives you a nice flat but strong seam that is almost invisible and very comfortable to wear.
It’s great for joining crochet granny squares together (or any motifs worked in the round I suppose!) and also for small accessories and items for children too.
I find it’s also really useful for ribbings and small amounts of stitches too.
Can I whip stitch an edge without stitches?
Absolutely! You don’t need to have stitches to work into to create a whip stitch seam.
If you are going to use it to join the ends of rows together for example then you just need to be extra careful to line the rows up as you go along. It’s very easy to lose track of where you are and it end up wonky (I say from experience again…!).
A good way to avoid the seam going wonky in crochet (or knitting I suppose) is to use either stitch markers or scraps of yarn to anchor the sides of the rows together before you seam them. It makes it much easier I find and is well worth the time it takes to do.
Can I use a whip stitch for any type of fabric?
Definitely! You can use a whip stitch to join any fabric whether it’s knitting, crochet, sewing fabric, or anything else you’d like to craft with.
The technique is the same for whatever fabric you choose although you obviously won’t have stitches to work into in sewing fabric and you might need to pin it together to keep it aligned.
Other top tips for the whip stitch
- Don’t pull your yarn too tight on your stitches. This will distort your crochet and leave you with a wobbly seam.
- Insert your needle through whole stitch if you’d like your seam sturdier.
- You can also double your yarn or use a heavier weight for a sturdier seam too.
- Don’t weave in your ends in until the very last moment!
- Experiment with how you hold your crochet to seam it. You don’t have to do it like I do, just find what works for you!
Materials used in this tutorial
I used Billow by WeCrochet for the tutorial photos which is a lovely, soft bulky weight yarn, 100% cotton, 120yds/100g.
The only other things you’ll need is a pair of sharp scissors and a tapestry needle to work the whip stitch and weave in your ends.
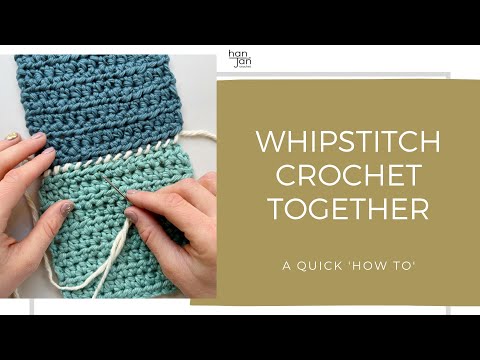
Video Tutorial
If you’d like to see a whip stitch video tutorial then you can watch it below –
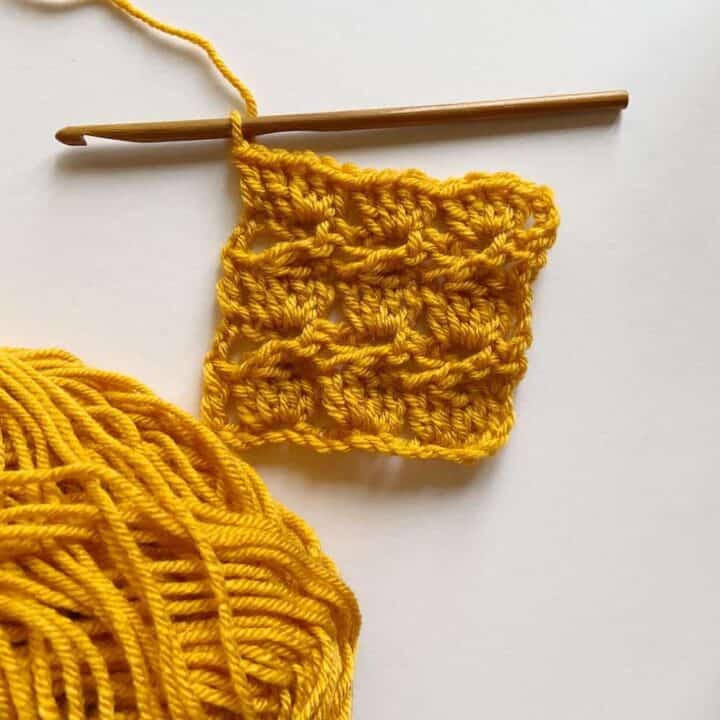
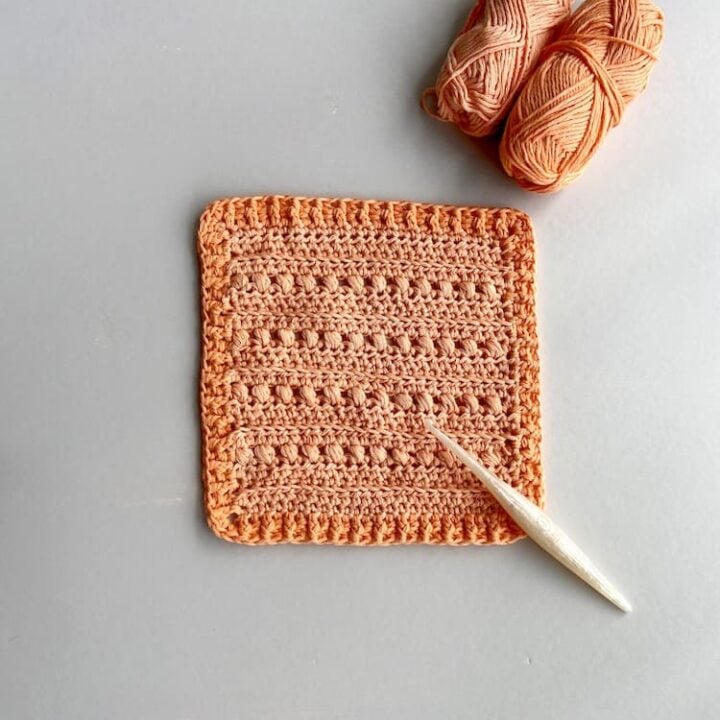
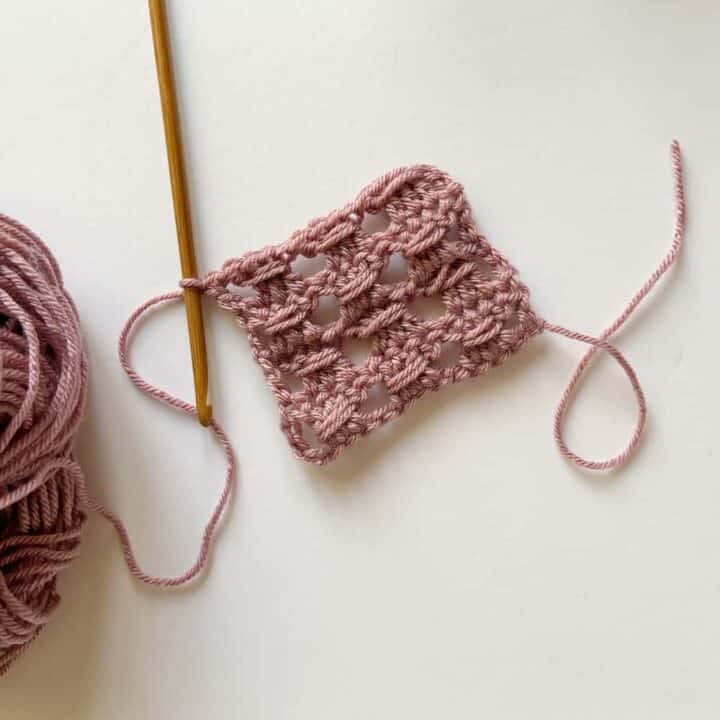
Learn Some More Crochet Stitches With Me
If, like me, you’re eager to learn all the crochet stitches and techniques you possibly can then I’d love you to take a look at my crochet stitch tutorials – here are some of my favourites though:
Pin It For Later
I hope you’ve enjoyed learning how to whip stitch with me! I’d love to know if you decide to make any of patterns using it or if you create your own! You can sign up to become a member of HanJan Crochet and I’ll let you know about all the fabulous crochet adventures, offers, lives and more too!
See you there!