This post may contain affiliate links. Please see my full disclosure and privacy policy for details.
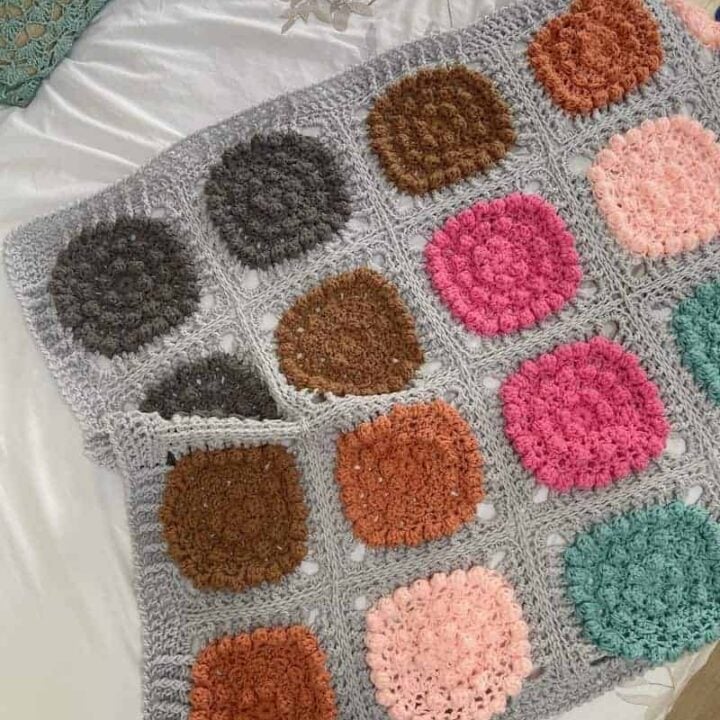
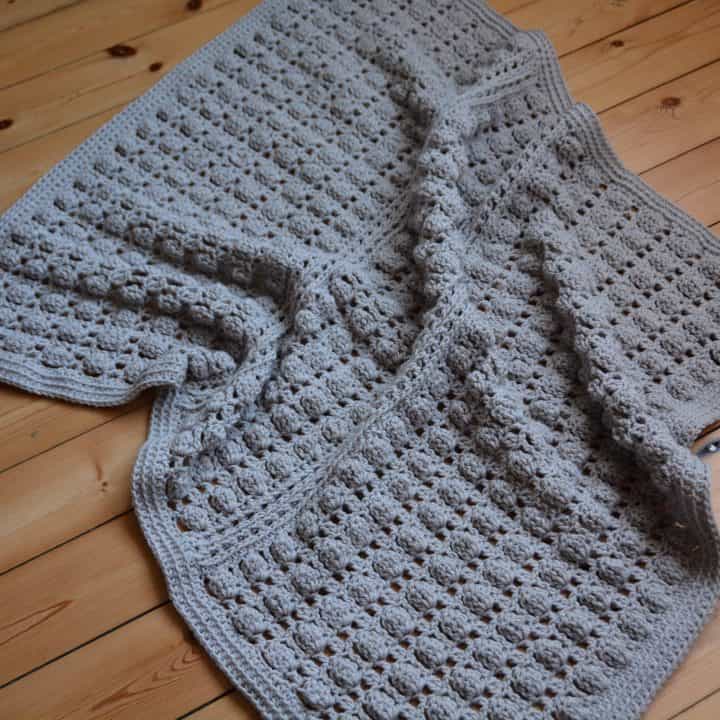
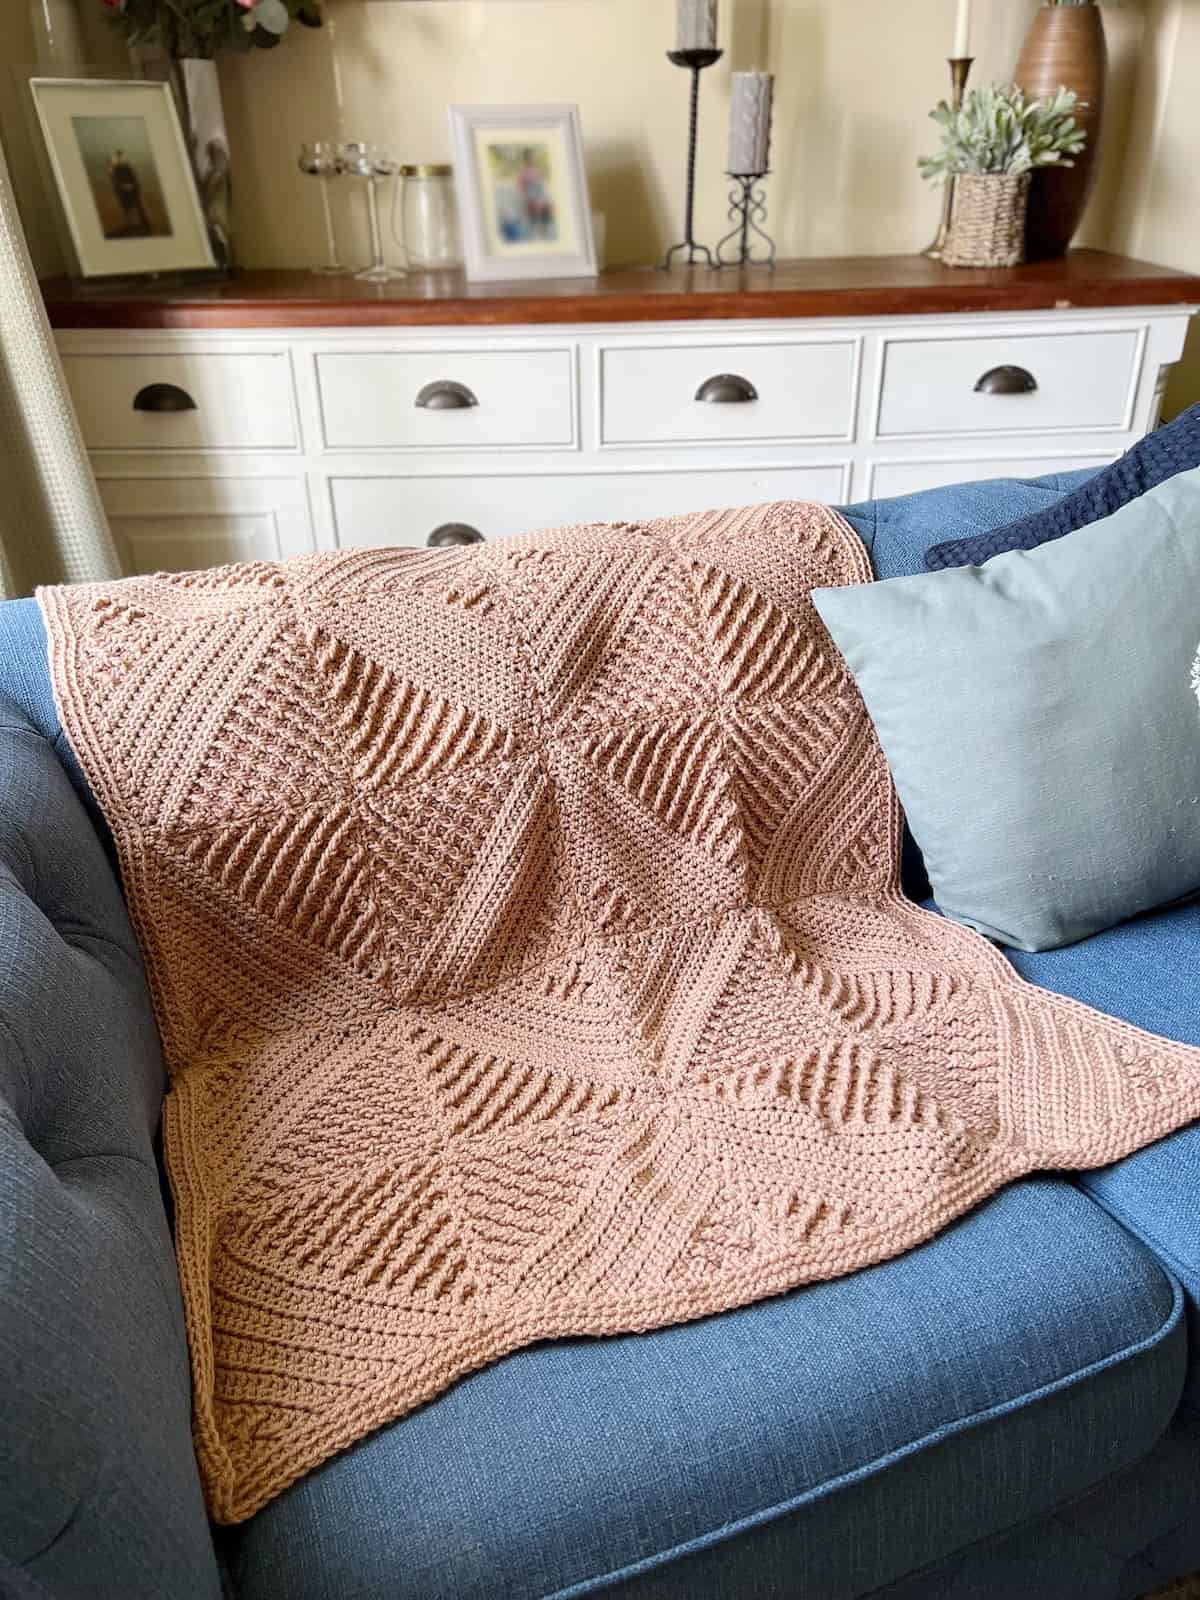
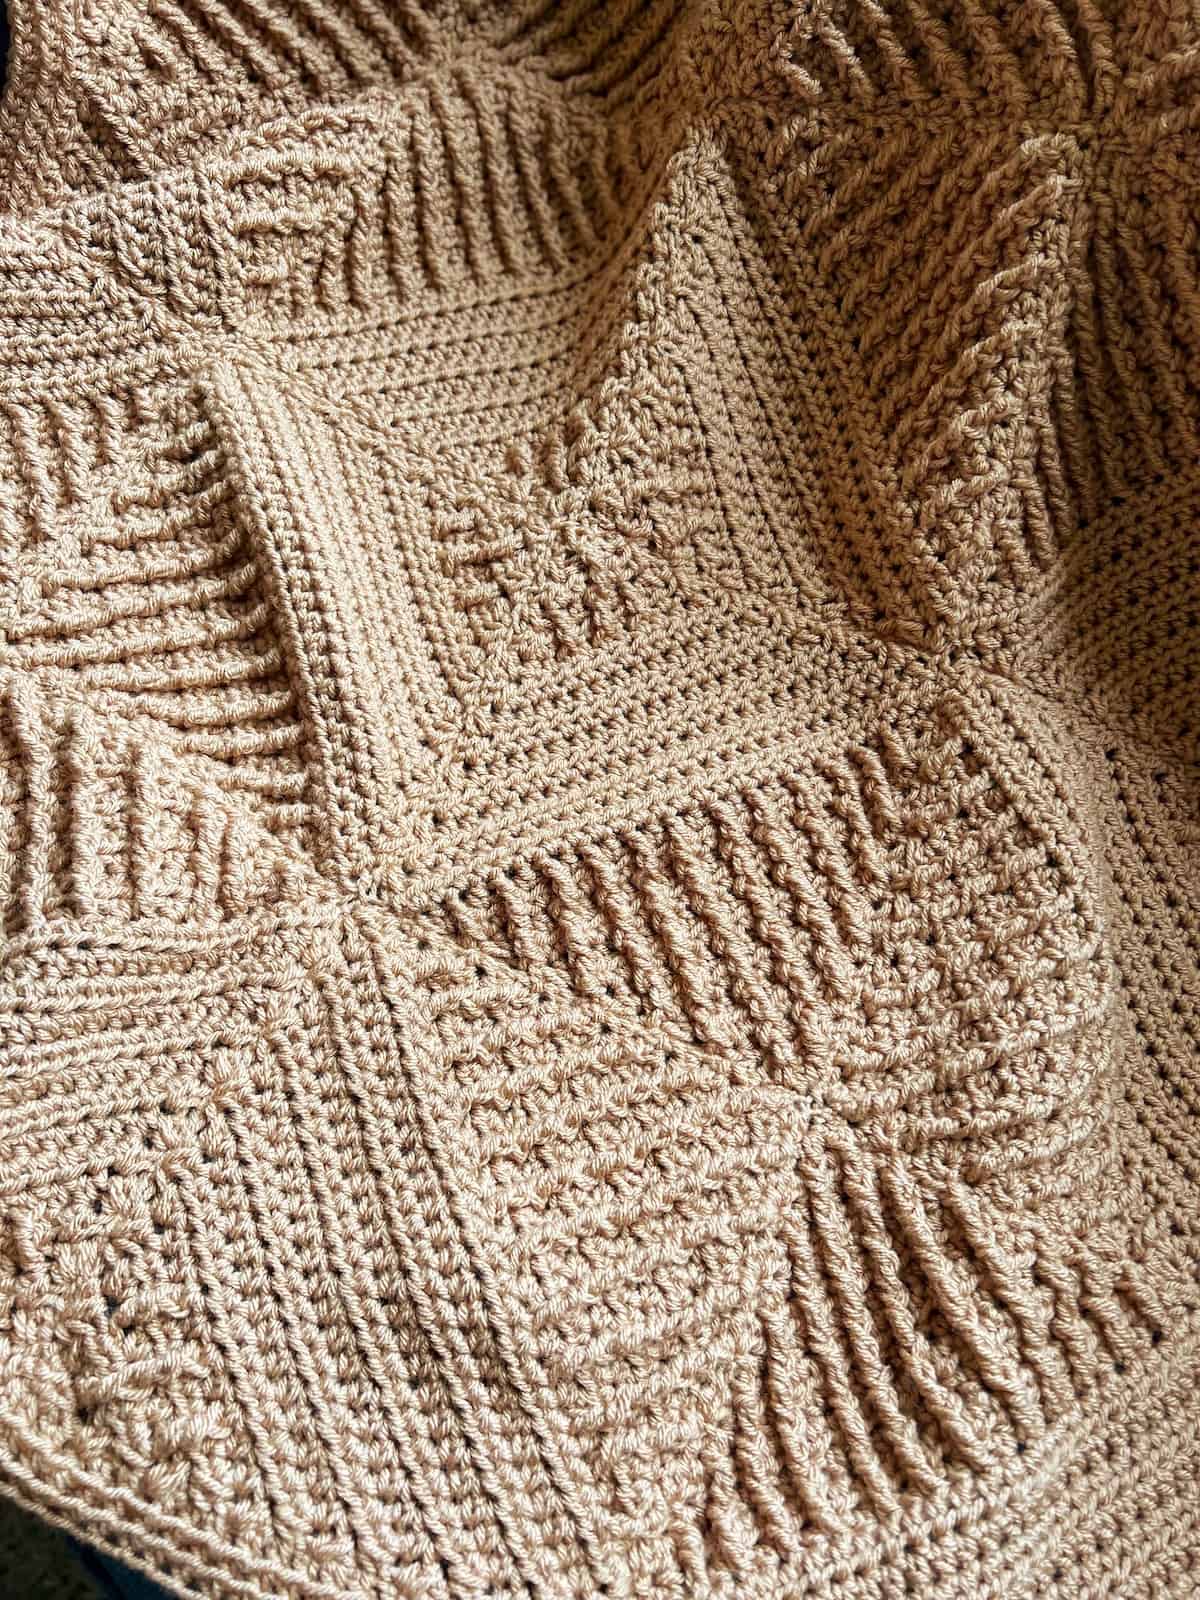
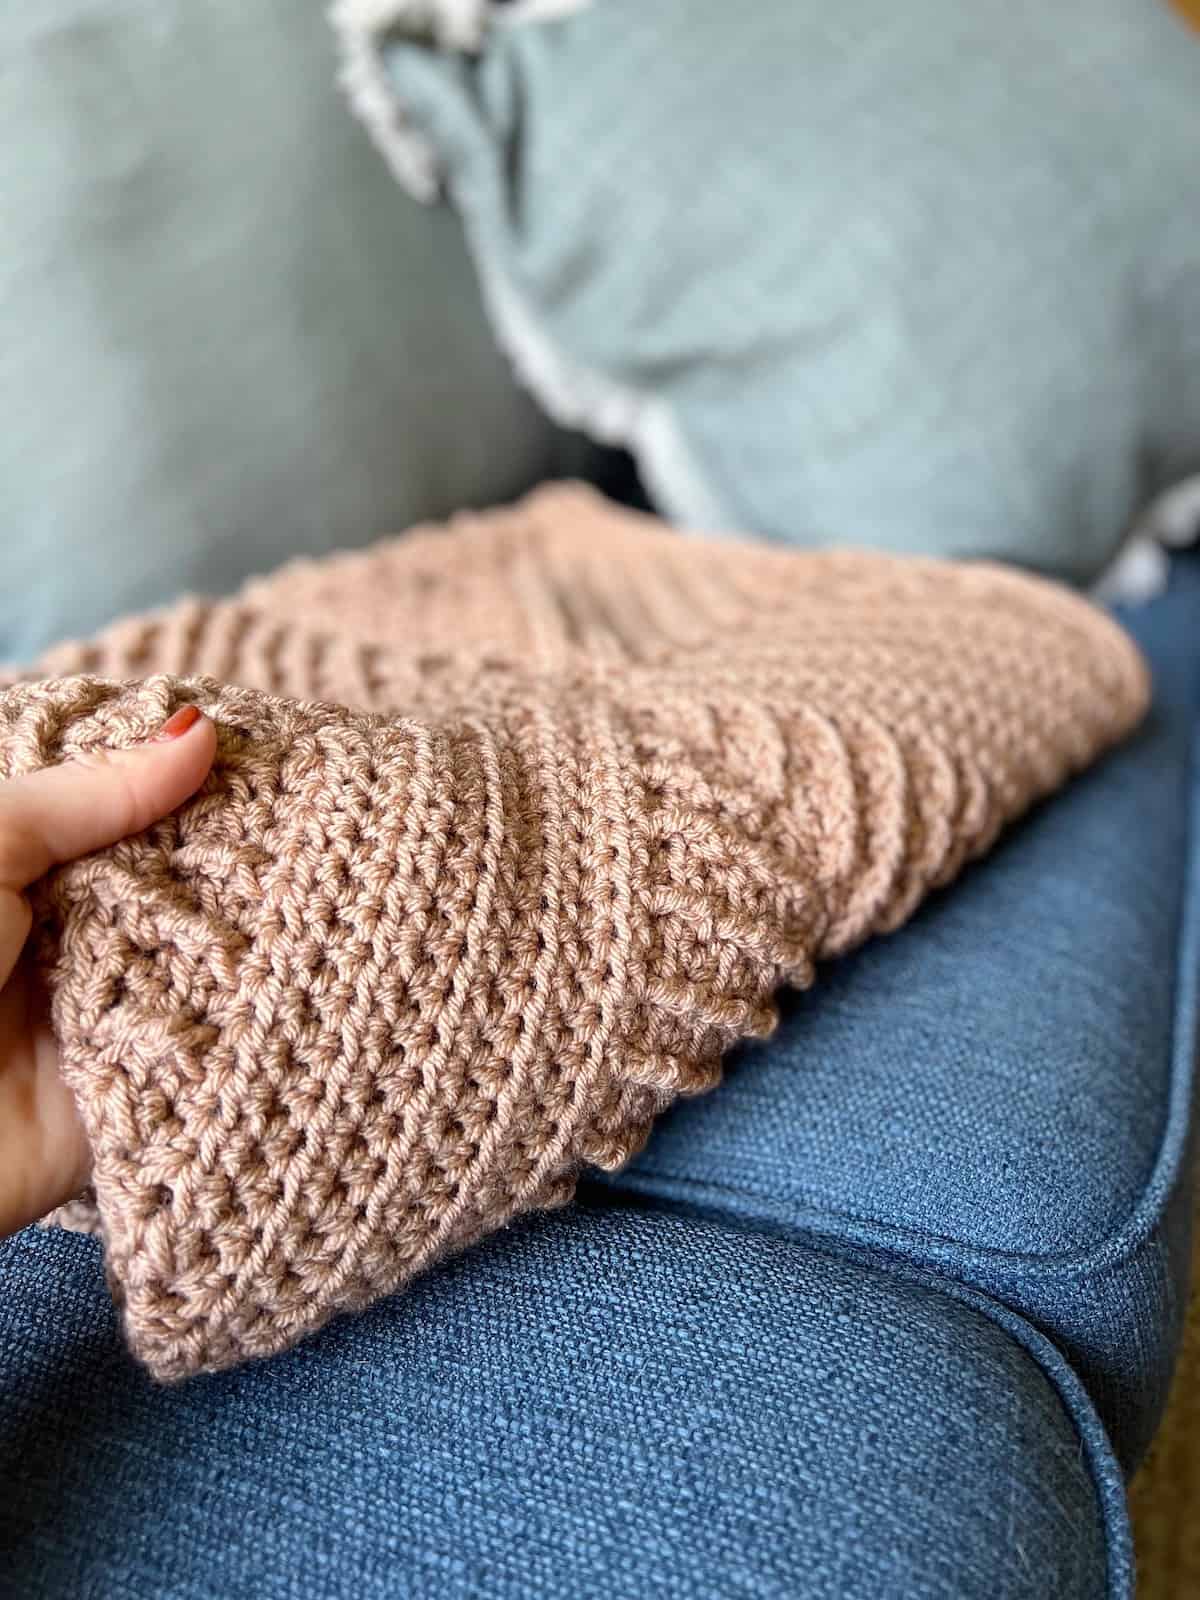
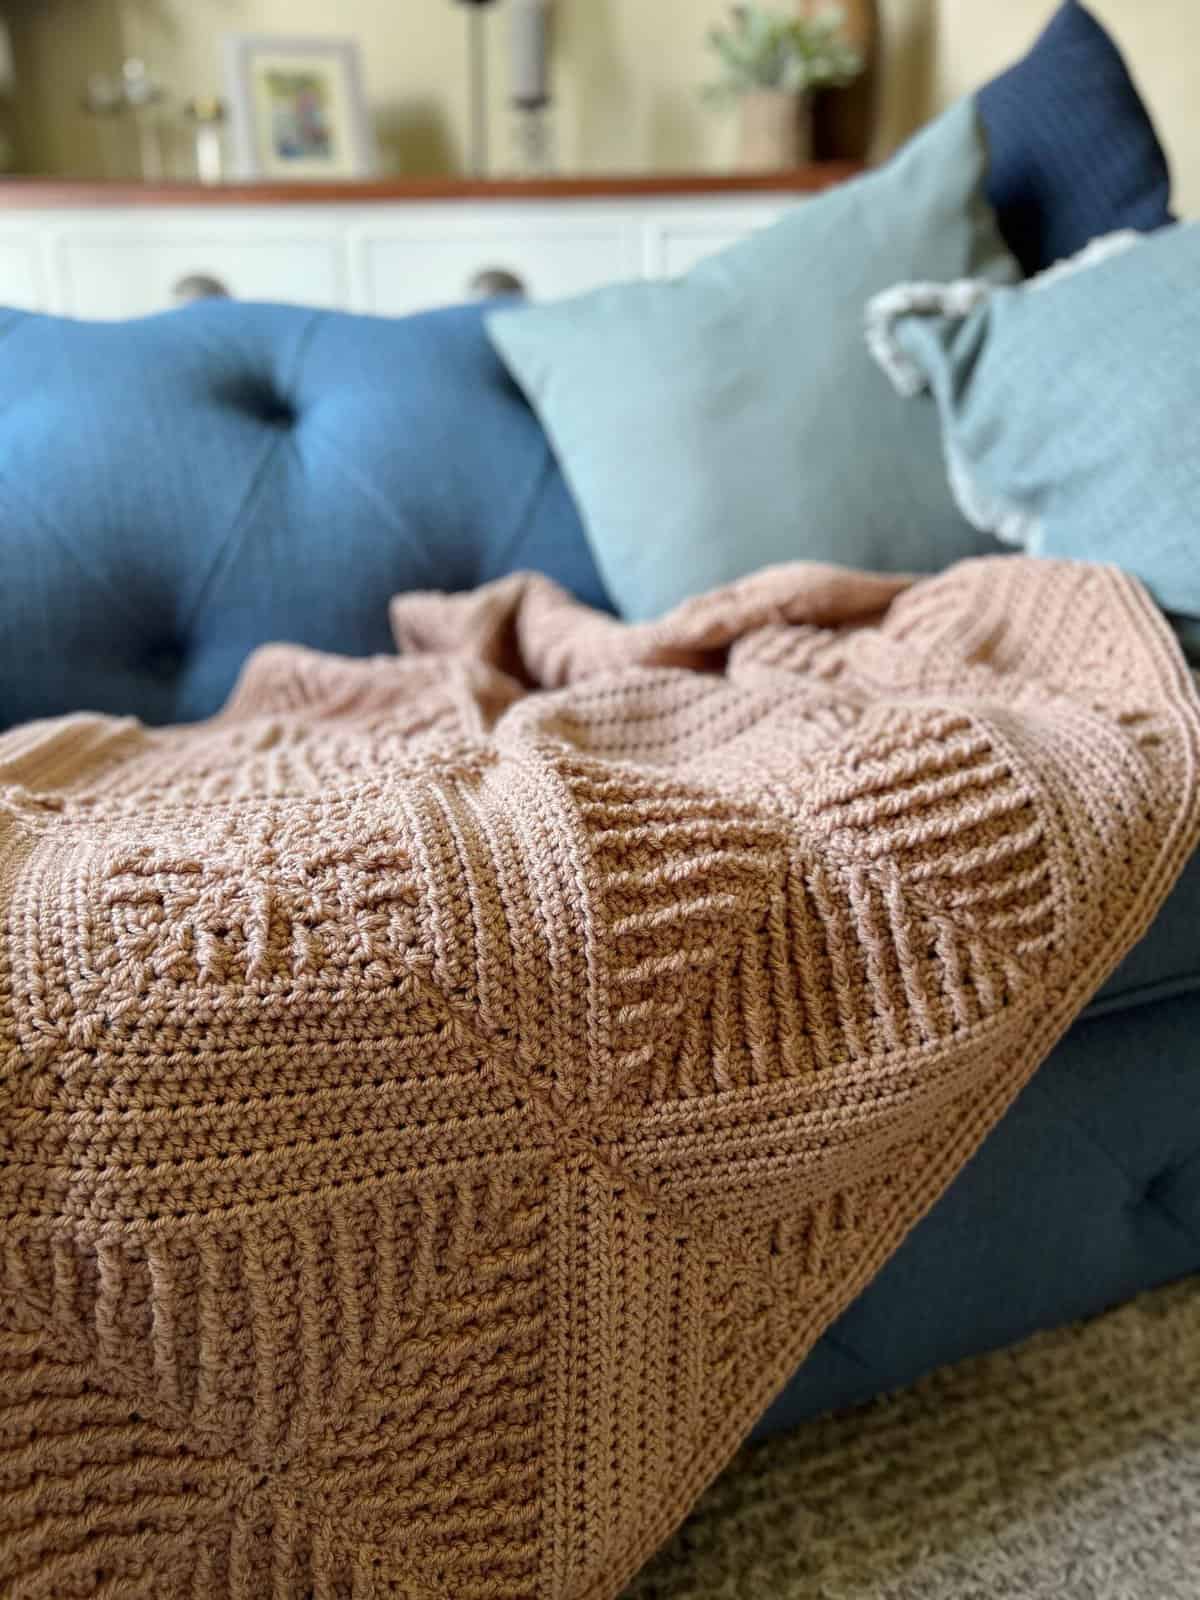
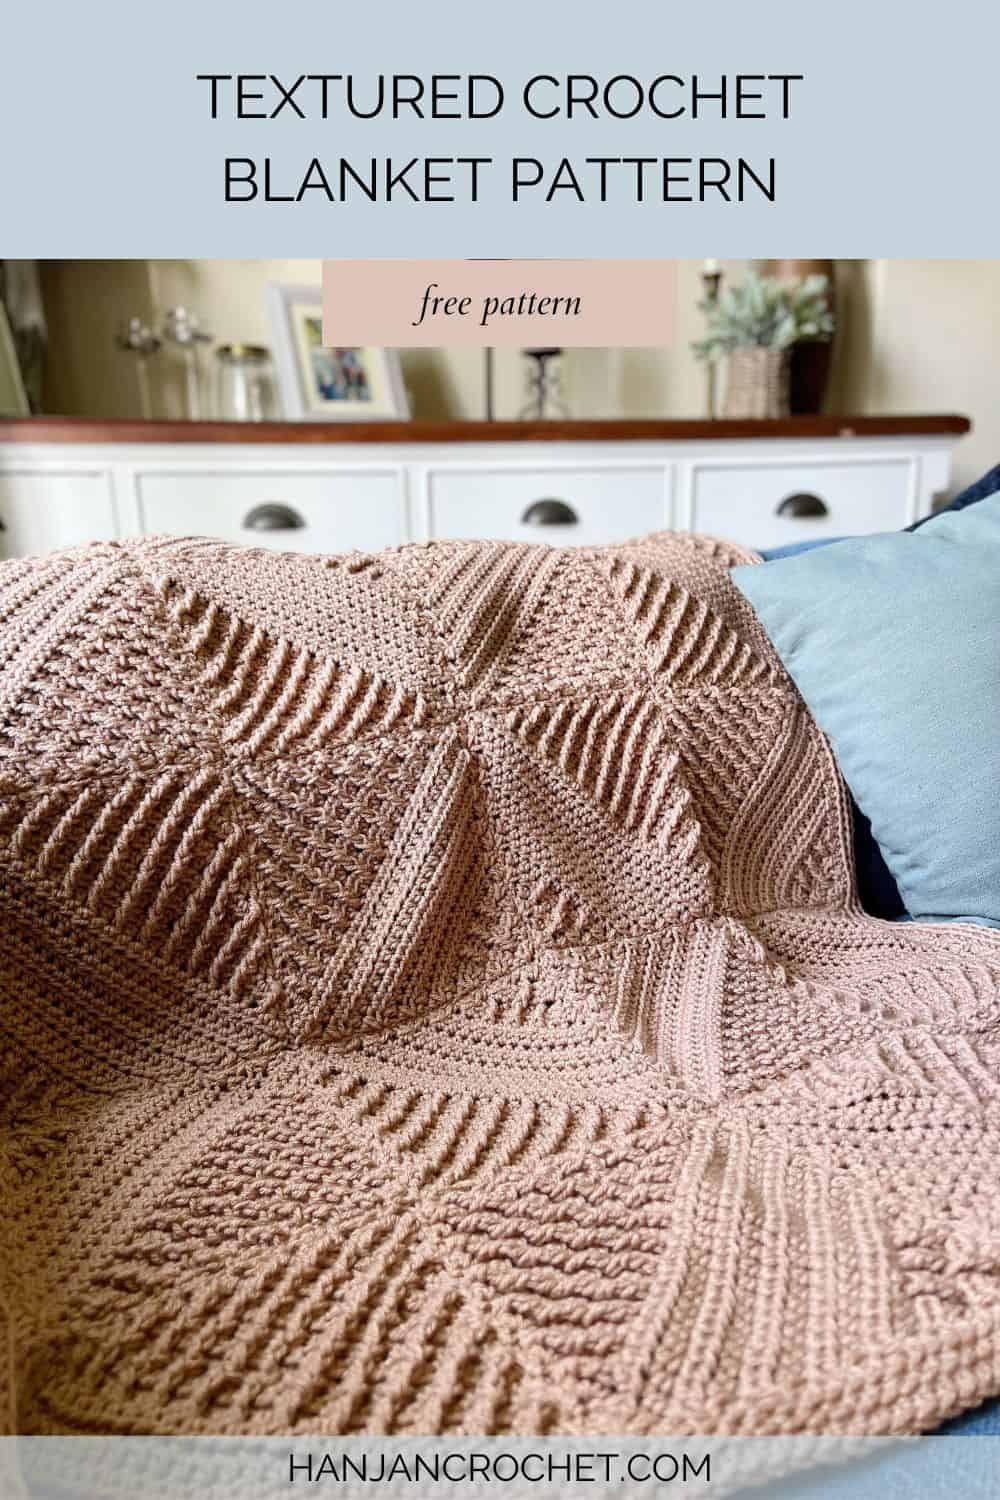
The Broadquay Blanket is a triumph of texture and geometry. Using matching simple square motifs joined in different orientations to form a stunning textured crochet blanket pattern that seems to magically appear.
It’s endlessly adaptable to make as big or small as you like by changing the amount of squares, the size of your squares or the weight of yarn you use!
This cleverly textured crochet pattern contains all of the information you’ll need to make one of your own. As the cold winters set in, wouldn’t you like to have a geometric blanket like this to wrap around your shoulders or drape over your knees while you crochet away?
This post may contain affiliate links. Please see my full disclosure and privacy policy for details.
Want to remove Ads?
- Get ad-free access on all posts; 200+ patterns & tutorials!
- Member-only resource library with downloadable PDF guides
- Bonus eBook (Worth over $30)
Scroll down and sign in to find the Broadquay Crochet Blanket Pattern, or purchase an ad-free, printable PDF version here:
You can also find it in Issue 4 of Studio Crochet Magazine with 6 other stunning textured crochet patterns!
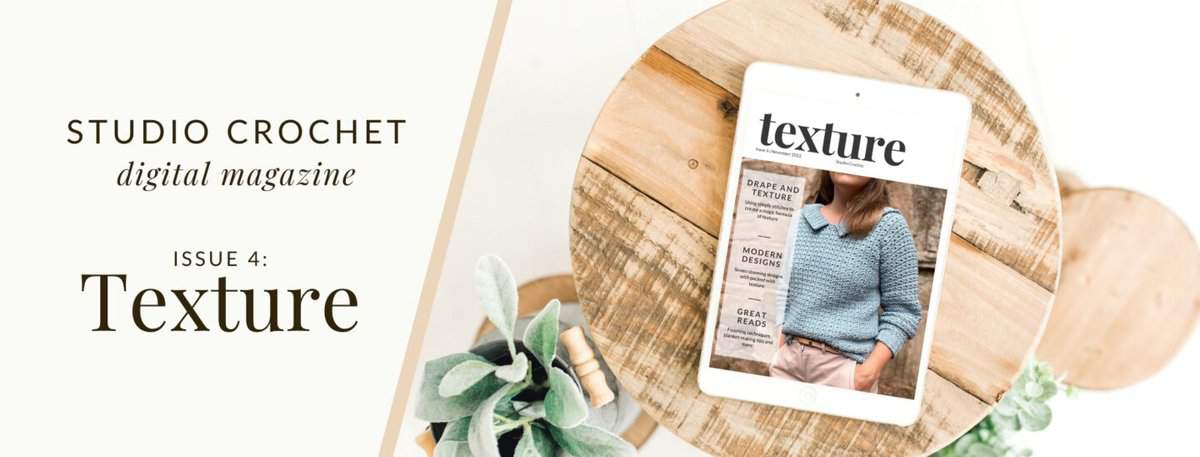
Table of Contents
More about this geometric textured crochet blanket pattern
One of the best parts of working with motifs in a blanket is that you can make them on the go. Once you get the square pattern down, which isn’t that difficult when there are only basic stitches being used, you can grab a ball of yarn and your favorite 6mm (J) hook and make these squares anywhere.
It’s all very portable. Instead of lugging around a big project with so many balls of yarn hanging off of it, you can put the essentials in your bag and crochet anywhere (ride home from work or while waiting for a cup of coffee at the local café).
And another great part is that after you’ve gone through this pattern and seen how it all works out, you can switch around the colours and hook sizes as you want. The list of possibilities is never-ending!
How do you crochet a motif blanket like this?
Don’t be daunted by all of the textures and shapes you’re seeing — it all comes together so simply and easily! All you really need to know, aside from the basics, are half double crochet and front post treble crochet.
The blanket is made up of 24 matching squares that are crocheted from corner to corner. You’ll be increasing in the first 14 rows and then decreasing in the next 14 to create a square shape.
You can adapt the finished size by working the increasing until the straight edge measures the size you’d like.
Once you’ve made all your squares, you can block them so they’re nice and neat and then stitch them together however which way you like (I personally prefer the whip stitch).
Yarn
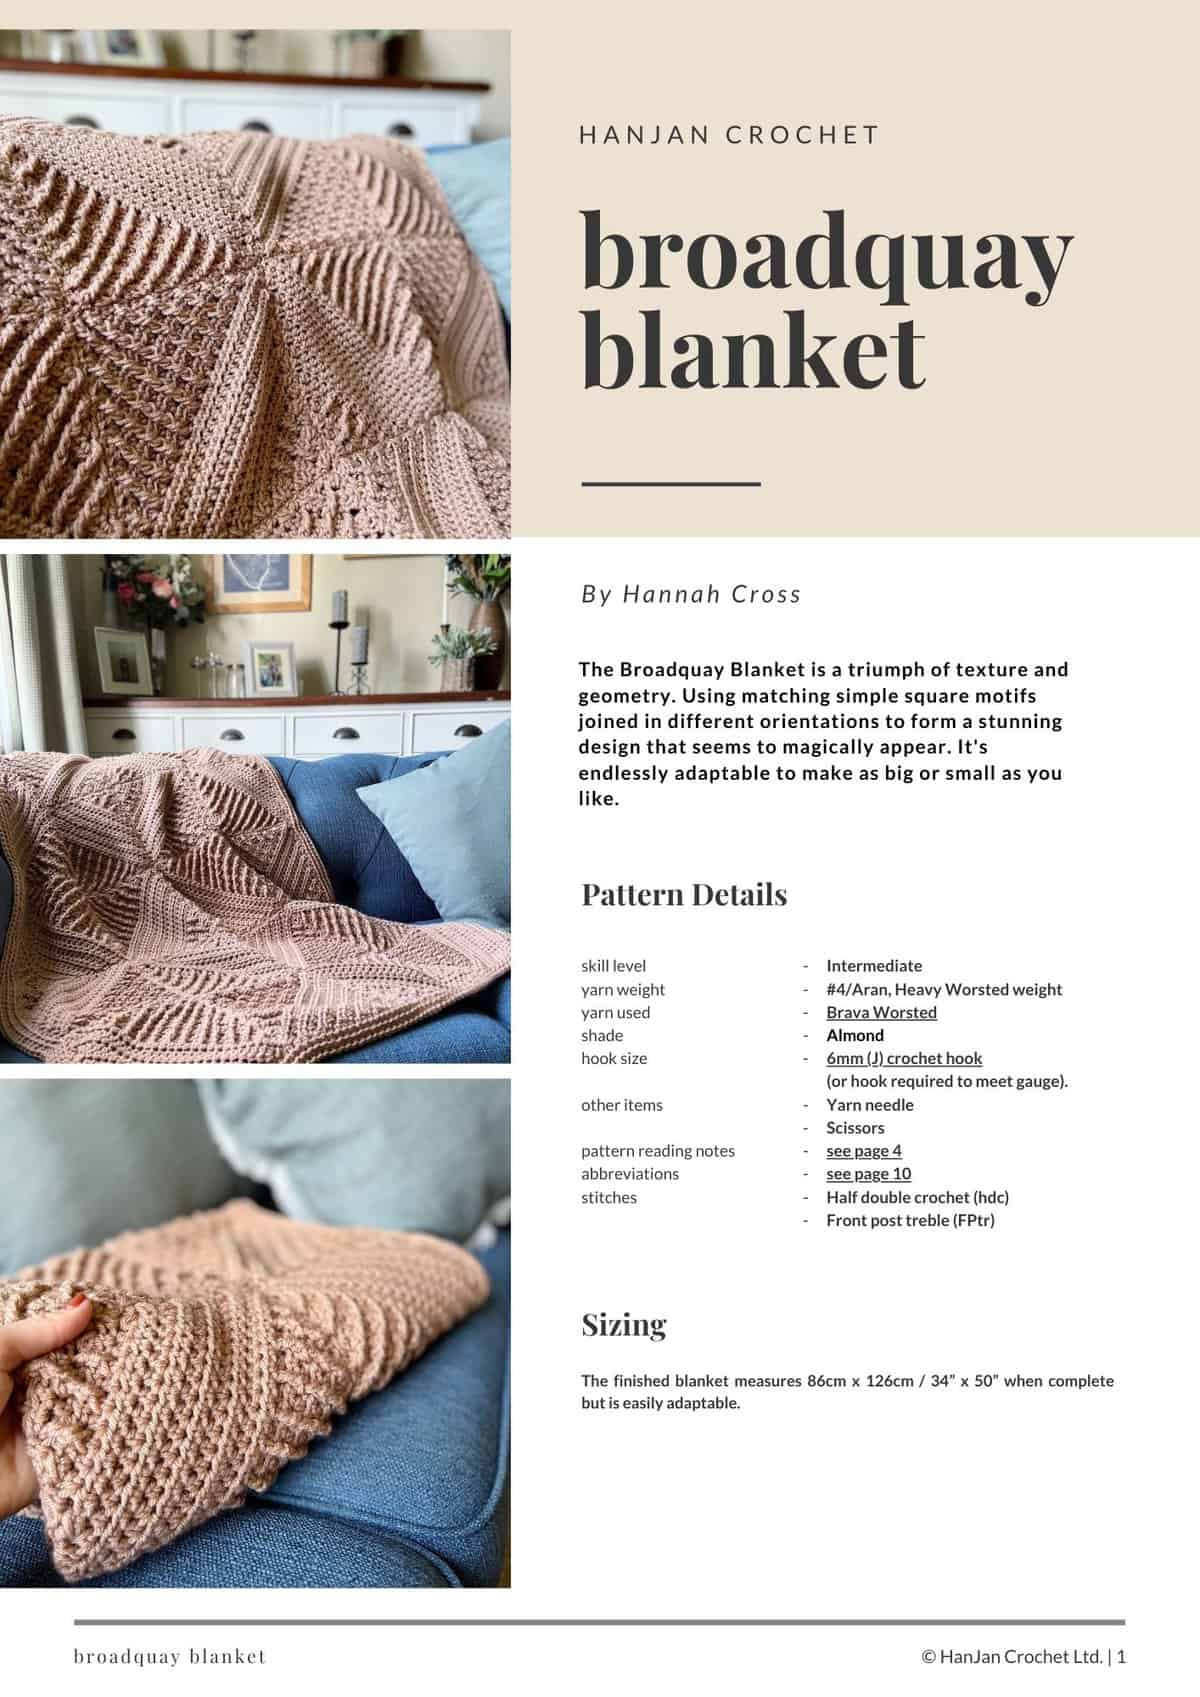
For this blanket, I used Brava Worsted (100% acrylic, 208yds/100g) in the shade Almond which I think is just this fabulously warm buttery colour which really accentuates the texture.
You’ll need 8 balls (approx. 1660yds).
Other than this, any #4/Aran/Worsted weight yarn will work great for this project.
Here are some other options that I think would make wonderful geometric crochet blankets:
- Heartland by Lion Brand: 100% Acrylic; 252yds / 230m/140g
- Swish Worsted by WeCrochet: 100% Superwash Merino Wool; 110yds / 100m /50g
- Color Theory by Lion Brand: 100% Acrylic; 246yds / 225m / 100g
Tension and Sizing
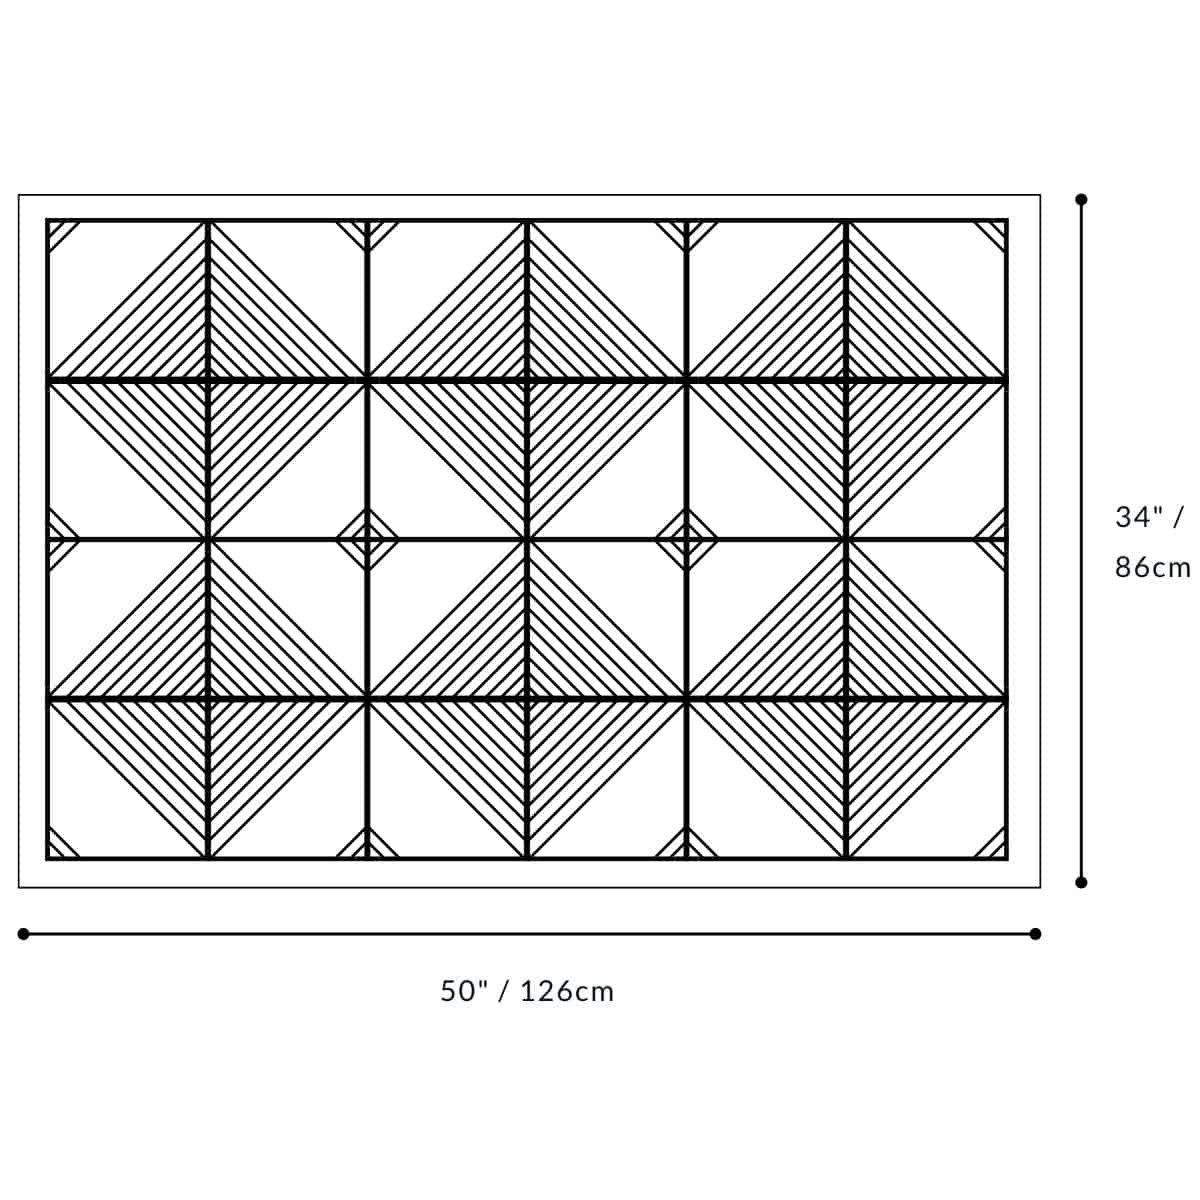
The finished blanket measures 86cm x 126cm / 34” x 50” when complete but is easily adaptable.
Each square measures 20cm x 20cm (8″ x 8”) but gauge isn’t essential, as long as you are consistent throughout your squares.
Customisation
You can customise the blanket to be any size or shape that you would like.
Change the number of squares:
The design works best in groups of 4 squares but you can use as many or as few as you like.
Change the yarn weight:
There is also the option to make your squares larger or smaller by either using a different yarn weight or by changing the amount of rows you work in the Increase Section of the pattern.
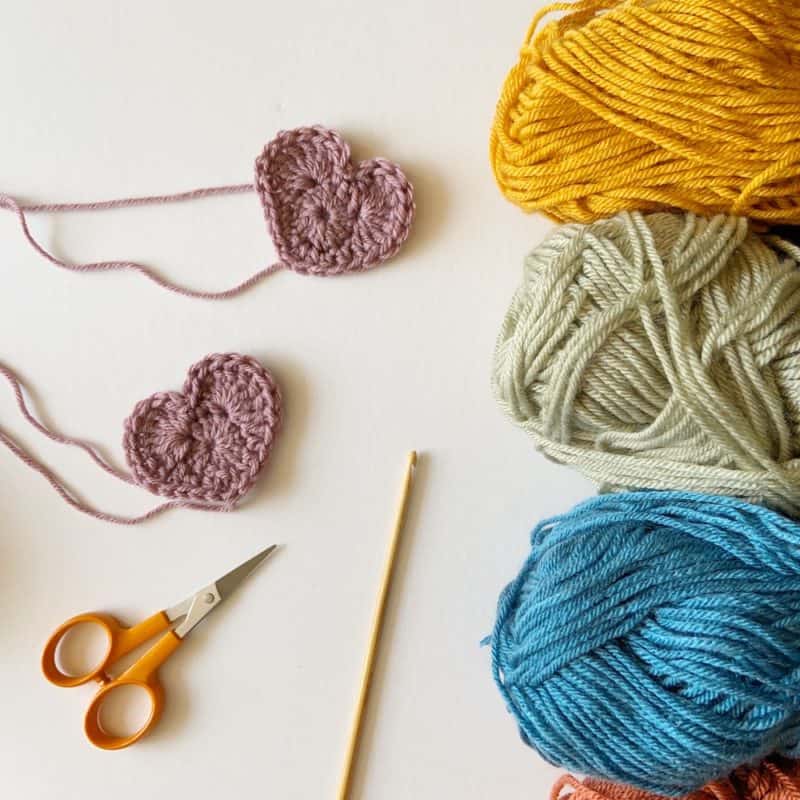
Materials
Along with your yarn, you will need the following:
- 6mm (J) crochet hook (or hook required to meet gauge)
- Yarn needle
- Scissors
Video Tutorial
You can watch a full video tutorial for the Broadquay Crochet Blanket here:

Pattern Options
Get this crochet pattern free in this blog post in US terms – just scroll down to find it in the exclusive members area! You can also purchase an ad-free, printable PDF in US terms with added extras in my pattern stores:
Purchase and Print
Get the ad-free, printable PDF with added extras in my pattern stores:
Don’t forget to join HanJan Crochet to receive regular discount codes (and more free patterns!) and Pin this free crochet textured blanket pattern to your crochet Pinterest board!
Glossary and Abbreviations
ch(s) – chain(s)
sp – space
ss – slip stitch
RS – right side
WS – wrong side
sk – skip
rep – repeat
yo – yarn over
FP – front post
BP – back post
Crochet Stitches
The stitches used are as follows:
sc – single crochet (UK dc – double crochet)
hdc – half double crochet (UK htr – half treble crochet)
tr – treble crochet (UK dtr – double treble crochet)
Special Stitches
If you know the half double crochet stitch, it’ll be so easy to learn how to do 2 or 3 of them together and the only other stitch you have to know is the FPTr. With a combination of these, we’ll create this beautifully textured blanket.
If you want to make more of such blankets (I know how chilly it can get these days), here are some suggestions:
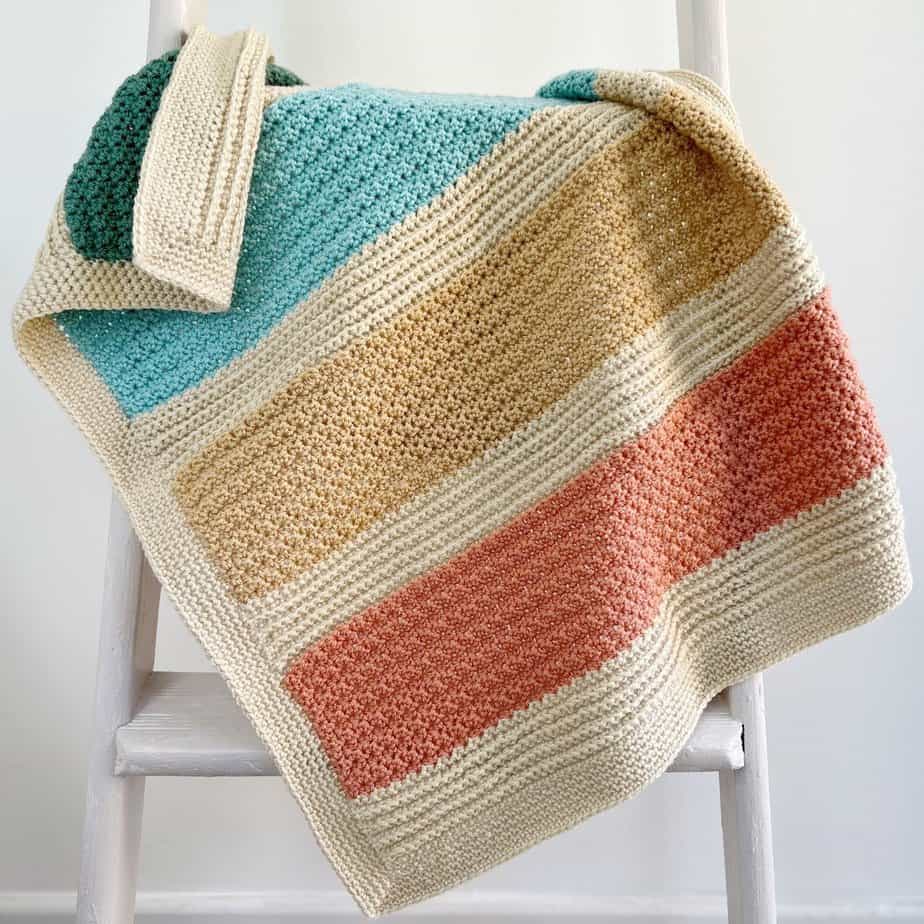
- Striped Baby Blanket Crochet Pattern (this one comes in FIVE sizes!)
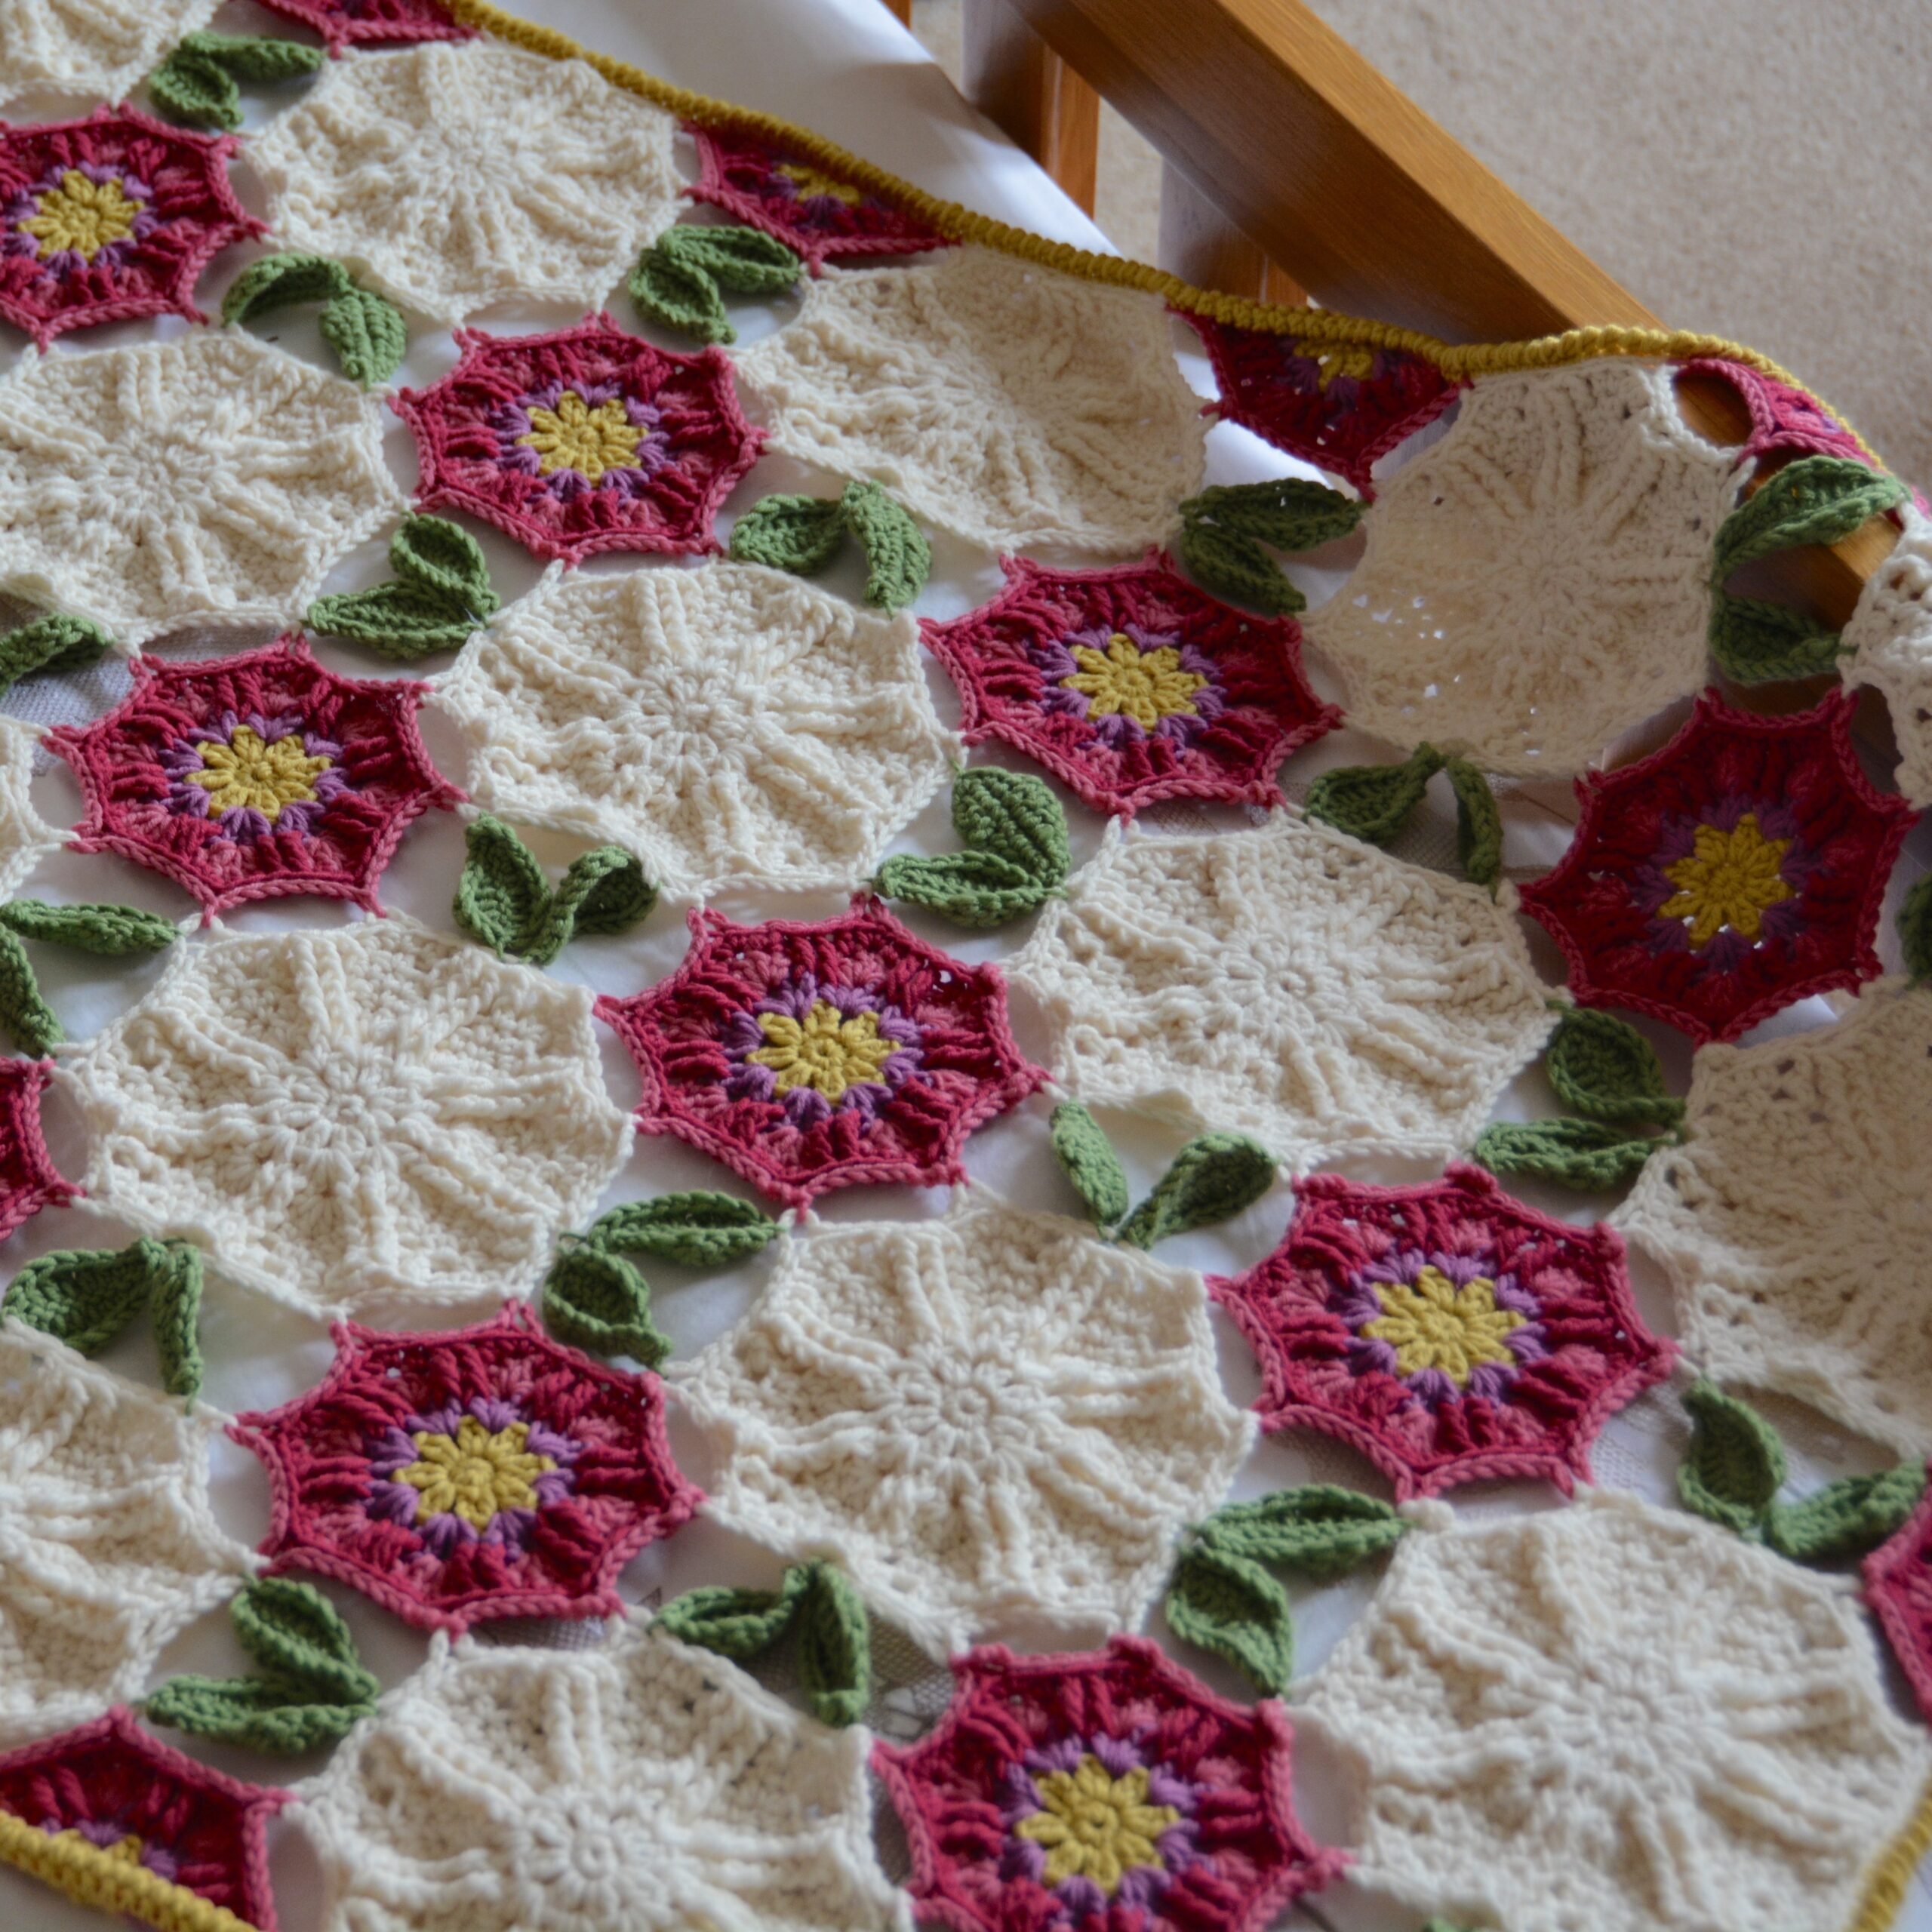
- Flower Crochet Blanket Pattern (there are motifs in this blanket too)
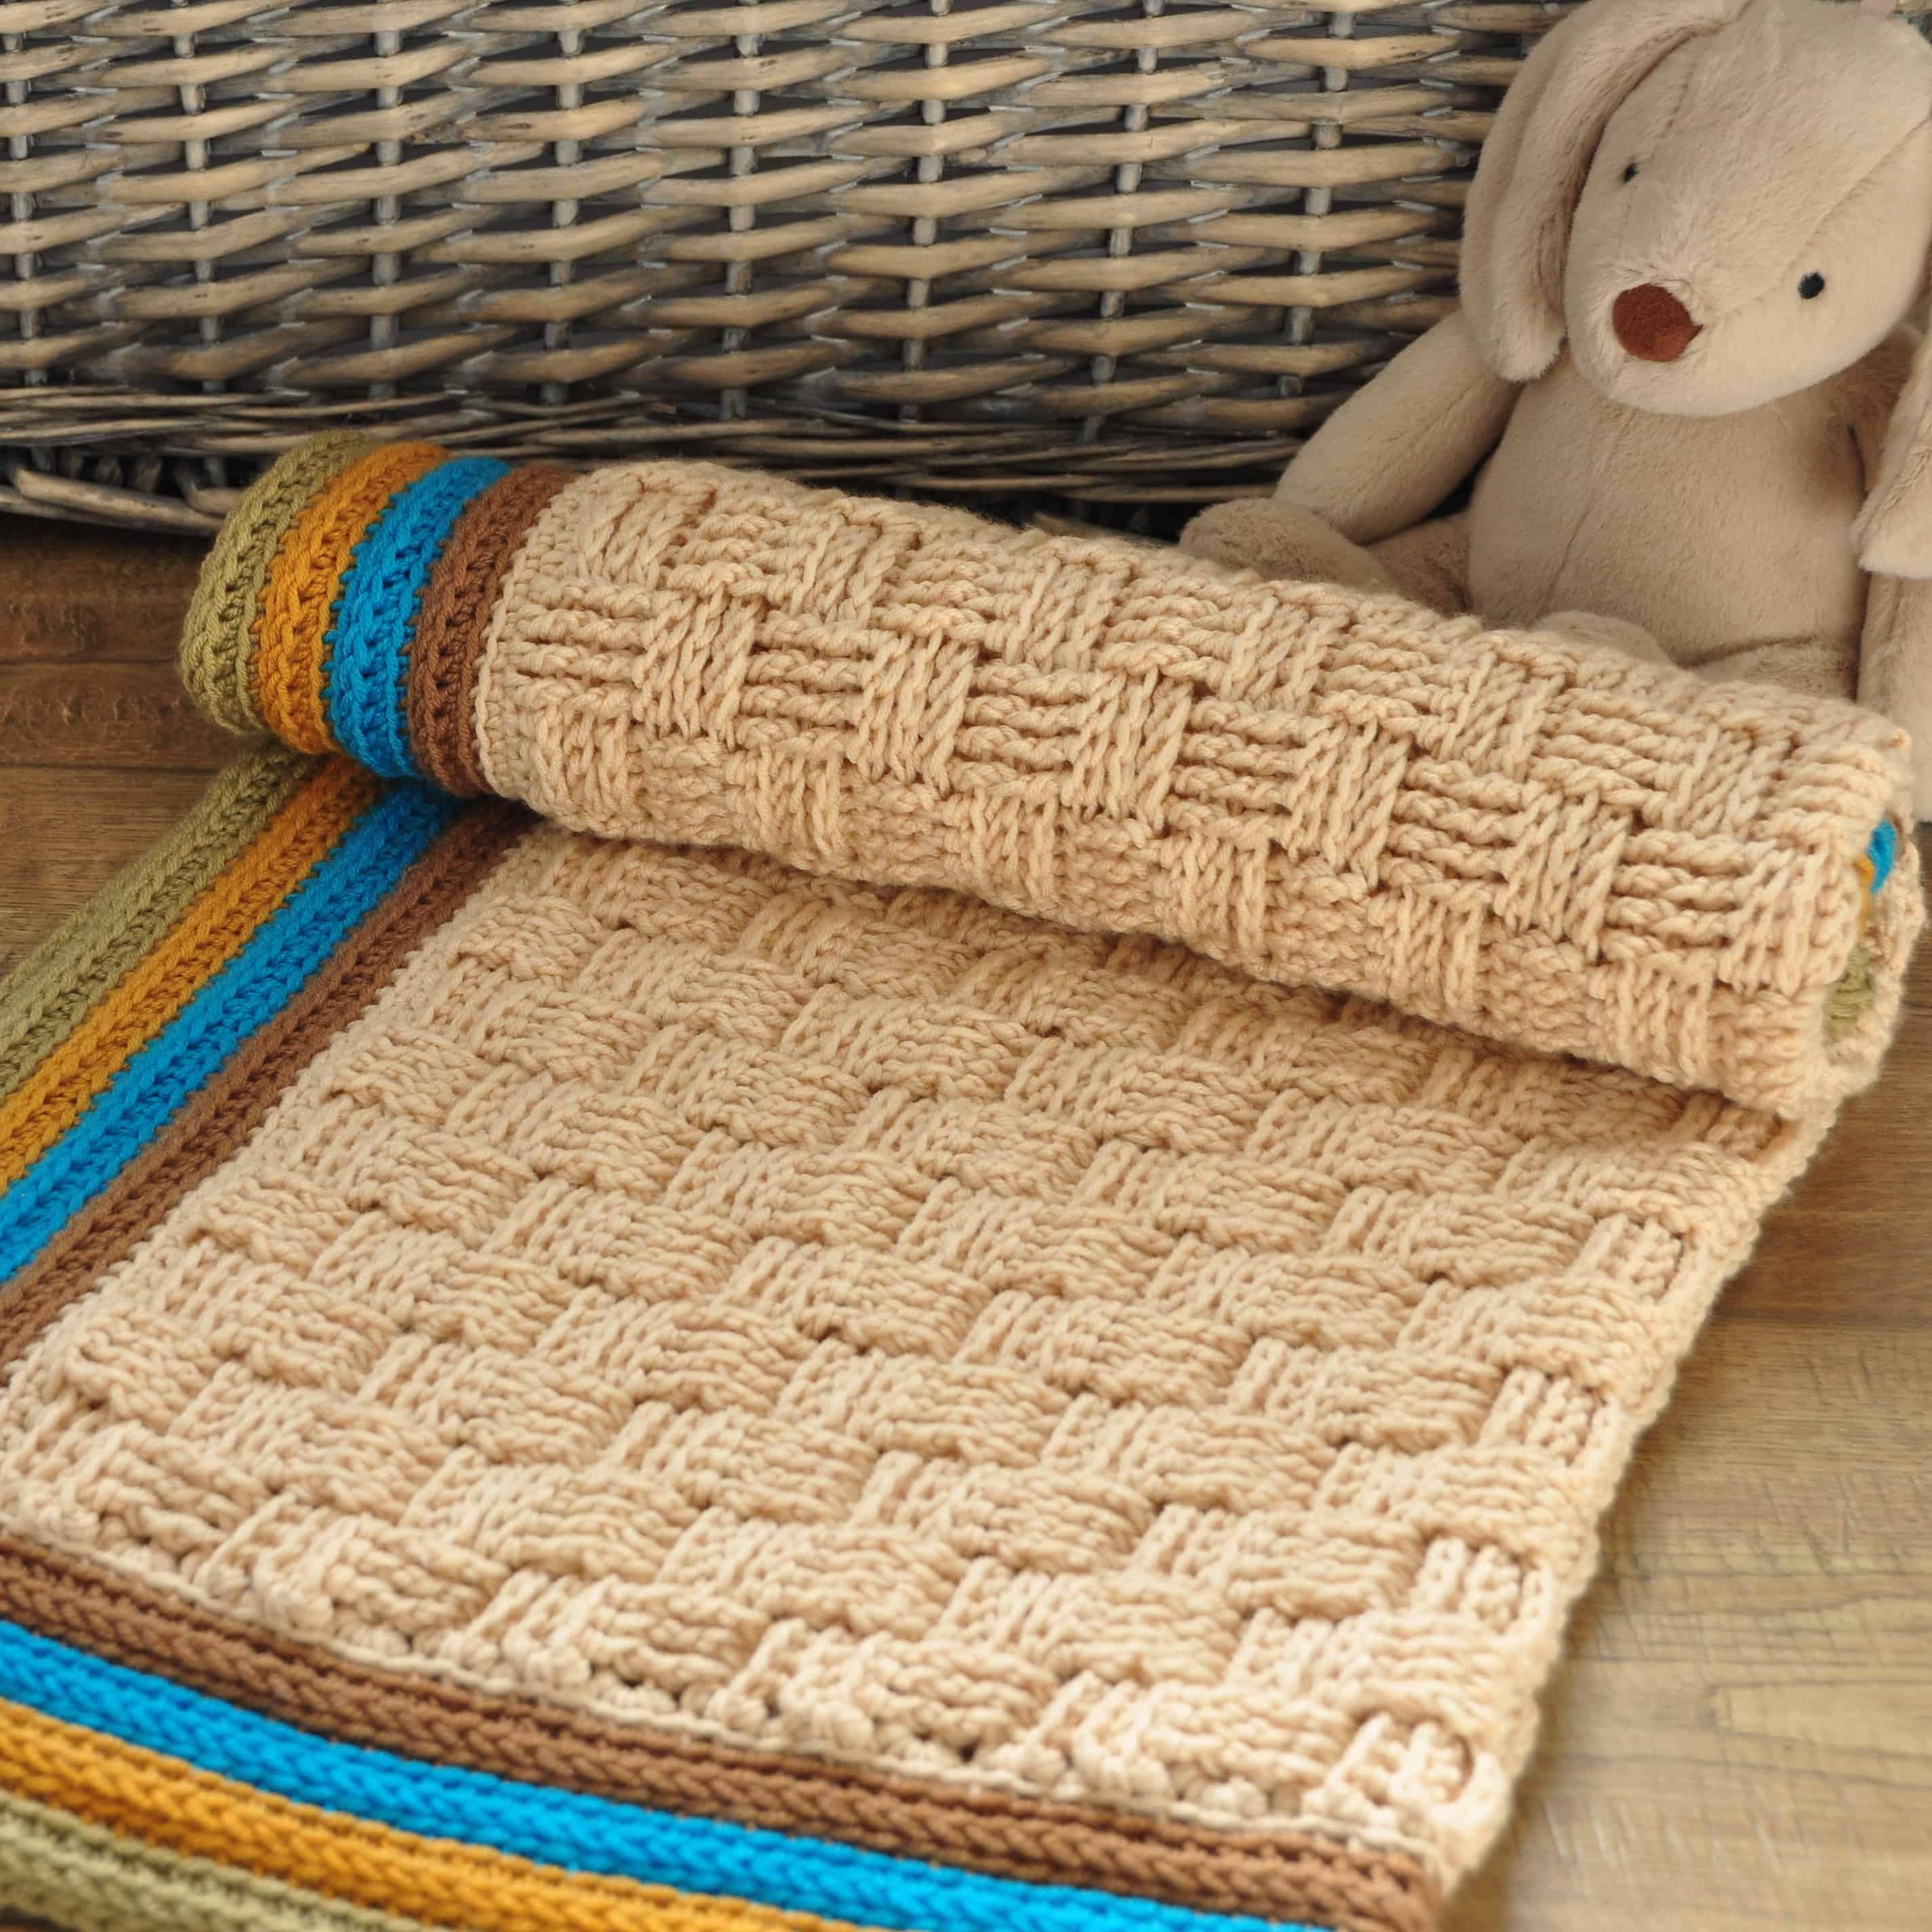
- Retro Baby Blanket (another blanket featuring the front post treble stitch)
The stitches used in this blanket are as follows:
Half Double Crochet 2 Together
To work two half double crochet stitches together, yarn over (yo) the hook, insert hook into the designated stitch, yo the hook, pull the yarn through the stitch on your hook.
You should now have 3 loops on the hook. Insert the hook into the next stitch, yo the hook again, pull the yarn through the stitch on your hook (4 loops on hook).
Yo the hook, and pull the yarn through all 4 loops on your crochet hook.
Half Double Crochet 3 Together
To work three half double crochet stitches together, yo the hook, insert hook into the designated stitch, yo the hook, and pull the yarn through the stitch on your hook.
You should now have 3 loops on the hook. Insert the hook into the next stitch, yo the hook again, pull the yarn through the stitch on your hook for 4 loops on hook.
Yo the hook, insert the crochet hook into the next stitch, yo the crochet hook again, and pull the yarn through the stitch on your crochet hook.
There should be 5 loops on hook. Yo the hook and pull the yarn through all 5 loops on your crochet hook.
Front Post Treble Crochet
Note that all of the FPtr stitches in the pattern are worked into the stitch 2 rows below.
Yo twice, insert your hook from front to back to front around the post of the next st 2 rows below and yo the crochet hook.
Pull the yarn through the stitch.
Yo the hook and pull through the first 2 sts on your hook.
Yo the hook and pull through the next 2 sts on your hook.
Yo the hook and pull through the remaining 2 sts on your hook.
Pattern Notes
Please read through the entire pattern before beginning.
A ch 1 at the start of a row does not count as a st.
You will turn at the end of every row.
Stitch counts are given in [ ] at the end of each row. If no stitch count is given, then the count is the same as the previous row. It’s a good idea to do a stitch count at the end of each row before continuing.
The pattern is written in standard US crochet terms.
Broadquay Textured Crochet Blanket Pattern
To unlock Exclusive Content on the HanJan Crochet Blog, all you need to do is click the box below and the Grow.me app will pop up, allowing you to enter your email and create a password.
Once you’ve created an account, every time you see Exclusive Content on my blog (or any others that use Grow), simply login to your Grow account. Be sure to switch to the login screen to enter your login credentials.
If you forget your password, click the “forgot password” link and follow the prompts. Please note that I’m unable to assist with resetting Grow passwords or accessing your Grow account, so be sure to save your login information in a safe place.
Thank you for subscribing and for joining me at HanJan Crochet! I hope you enjoy the exclusive content available on the site and I can’t wait to see what you create 🙂
US Crochet Terminology
Make 24 squares as follows to make a 6 x 4 blanket.
INCREASE SECTION
Foundation chain: ch2
Row 1: RS: 3hdc in the 2nd ch from hook. [3]
Row 2: WS: ch1, 2hdc in 1st st, hdc in next st, 2hdc in last st. [5]
Row 3: ch1, 2hdc in 1st st, FPtr in next st 2 rows below, hdc in next st, FPtr in next st 2 rows below, 2hdc in last st. [7]
Row 4: ch1, 2hdc in 1st st, hdc in each st to final st, 2hdc in last st. [9]
Row 5: ch1, 2hdc in 1st st, FPtr in next st 2 rows below, *hdc in next st, FPtr in next st 2 rows below; rep from * to last st, 2hdc in last st. [11]
Rows 6-13: Rep Rows 4-5 four more times. [27]
Row 14: Rep Row 4. [29]
DECREASE SECTION
Row 15: ch1, hdc2tog, hdc in each st to final 2 sts, hdc2tog [27]
Rows 16-24: Rep Row 15. [9]
Row 25: ch1, hdc2tog, FPtr in next st 2 rows below, *hdc in next st, FPtr in next st 2 rows below; rep from * once more, hdc2tog. [7]
Row 26: Rep Row 15. [5]
Row 27: ch1, hdc2tog, FPtr in next st 2 rows below, hdc2tog. [3]
Row 28: ch1, hdc3tog. [1]
Break yarn and weave in ends.
Once all squares are complete, block them to measure 8” by 8” before joining them.
Joining the squares
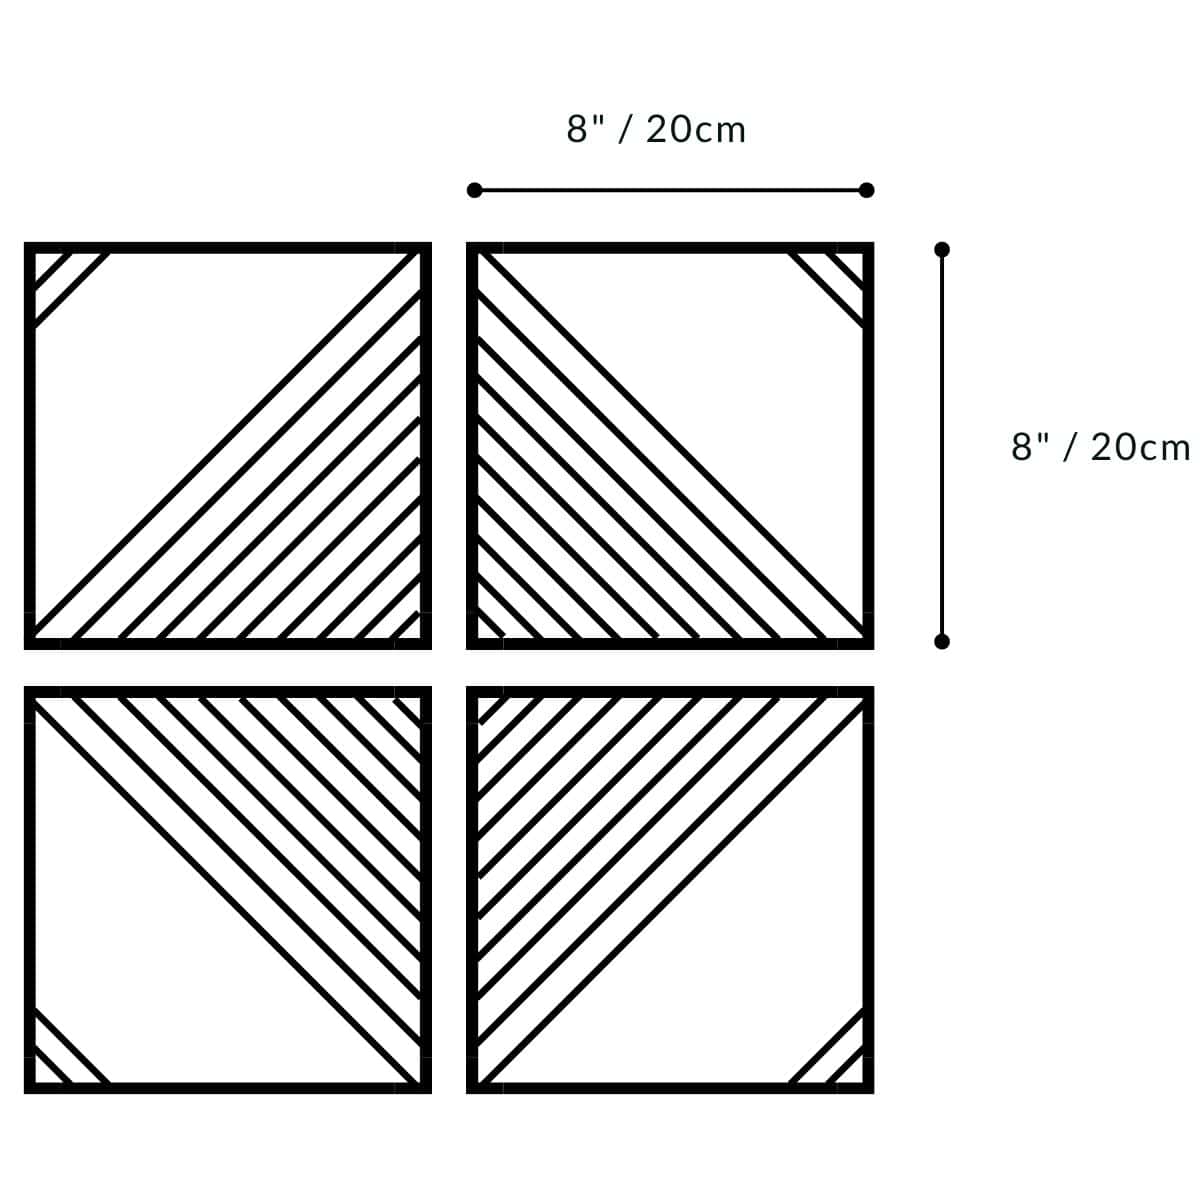
Lay your blocked squares in the format shown in the images and diagram with the WS facing you.
You can seam the squares together using whichever method you feel most comfortable with. I used a whip stitch to join mine but you could crochet them together using a slip stitch seam if you prefer.
Border
With the squares joined and RS facing, join the yarn to any corner of the blanket.
Round 1: ch1, *(hdc ch1, hdc) in the corner st, hdc is the side of each stitch along the edge; rep from * around, ss in 1st st to join.
Round 2: ss into ch1-sp, *(hdc ch1, hdc) in the corner st, hdc is the side of each stitch along the edge; rep from * around, ss in 1st st to join.
Round 3: Repeat Round 2.
Weave in all ends and lightly block border to finish.
Join HanJan and Share Your Crochet!
It’s an honour to be able to create and share my free crochet patterns with you. I’d love to stay connected and send you regular discount codes and free patterns! Please sign up for my subscriber list to get a free gift right now!
I look forward to seeing your finished crochet projects, especially this easy crochet pattern, so please share them with me in the HanJan Crochet Facebook group or on Instagram and tag #hanjancrochet.
Purchase and Print
Get the ad-free, printable PDF with added extras in my pattern stores:
More Textured and Geometric Crochet Patterns You Might Enjoy
If you enjoy textured crochet blanket patterns, motifs, geometric crochet, or just plain ol’ easy-to-make blankets, here are a few more of my designs you might enjoy crocheting!