This post may contain affiliate links. Please see my full disclosure and privacy policy for details.
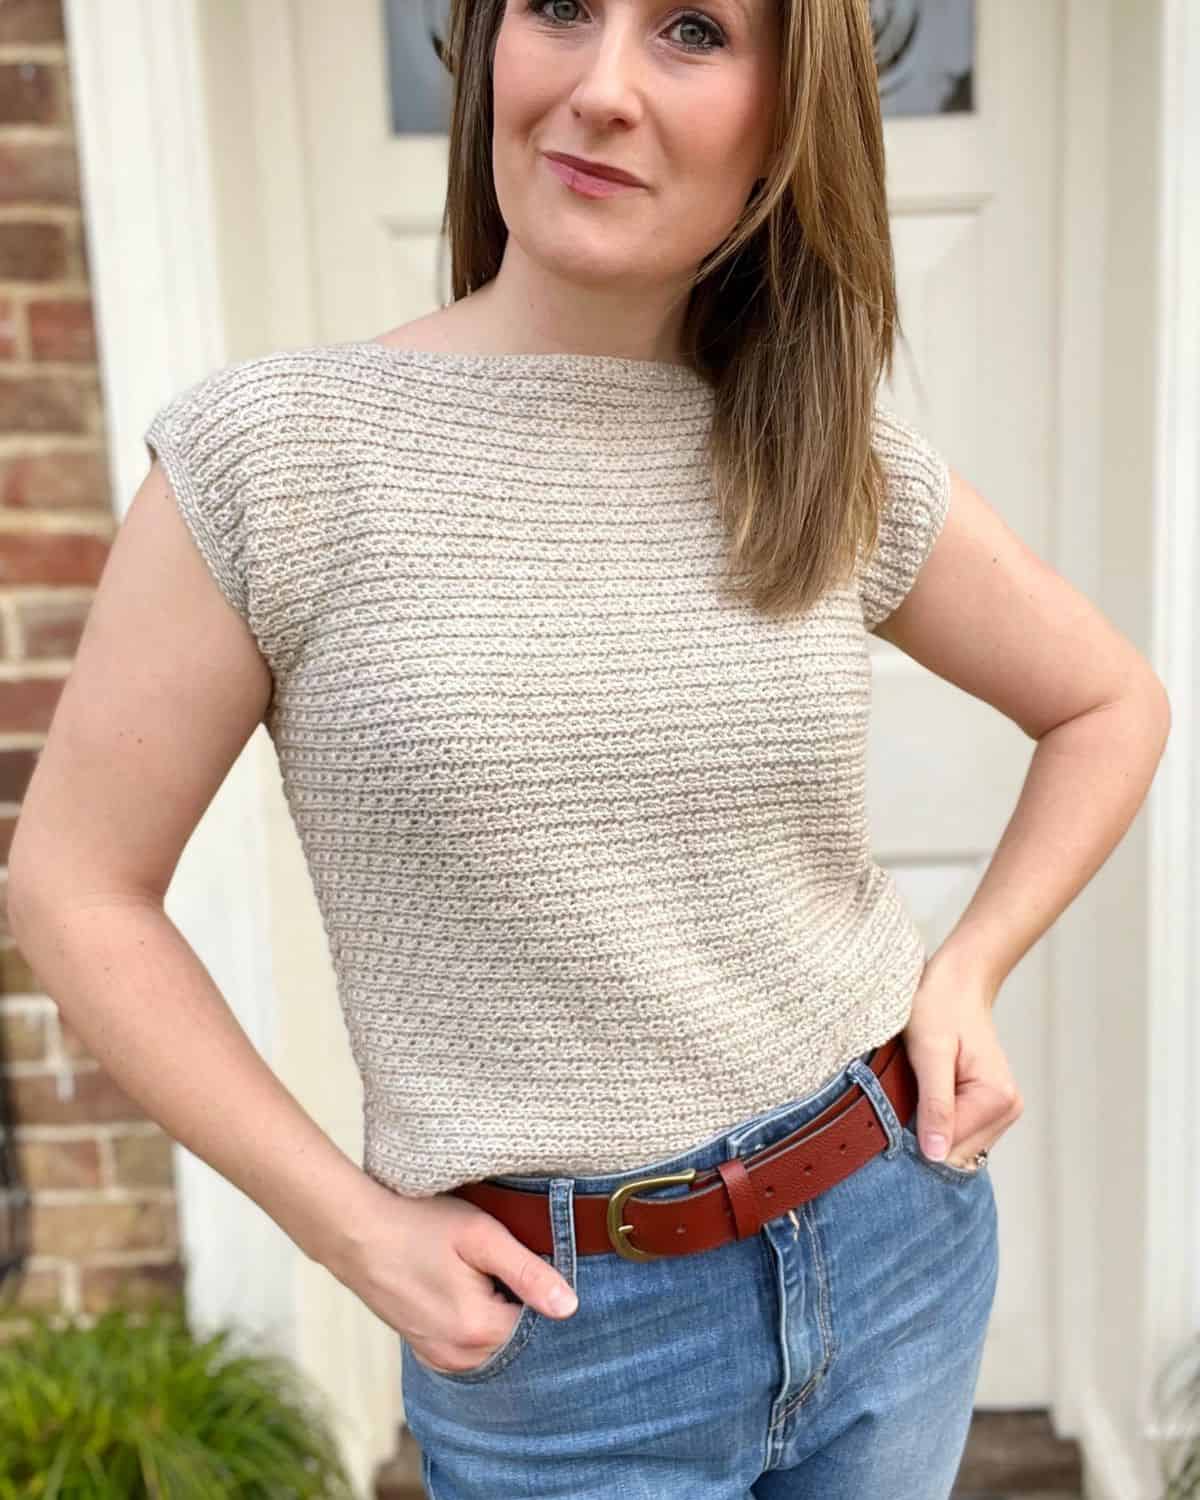
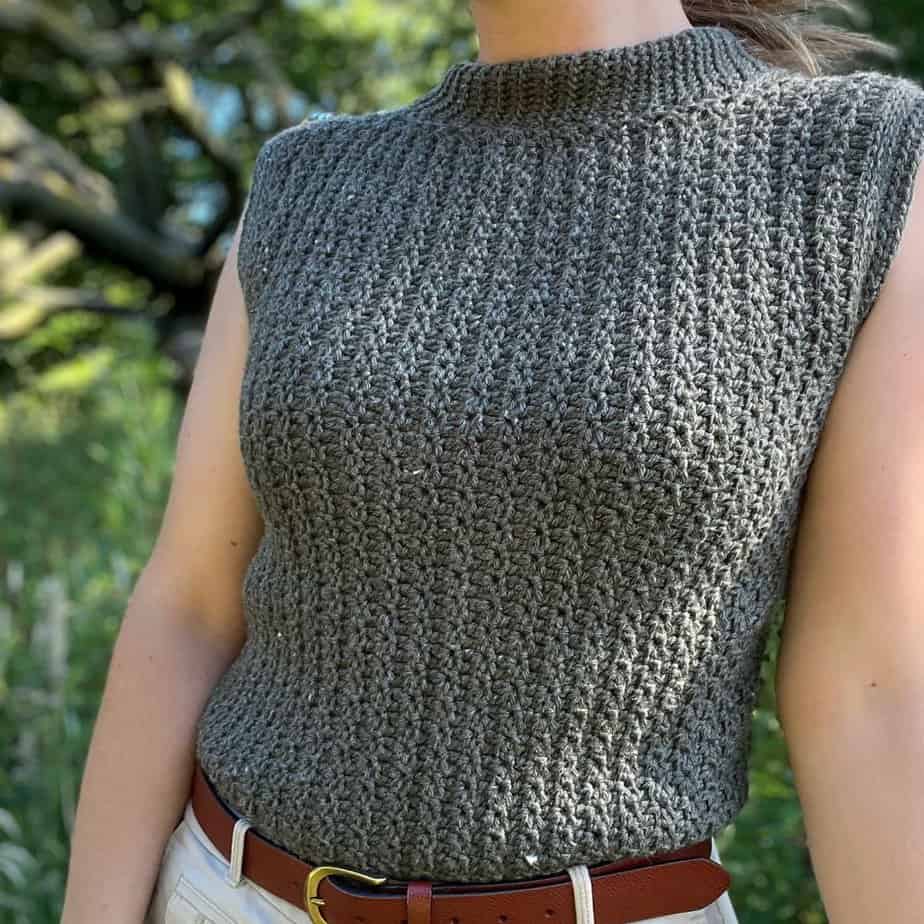
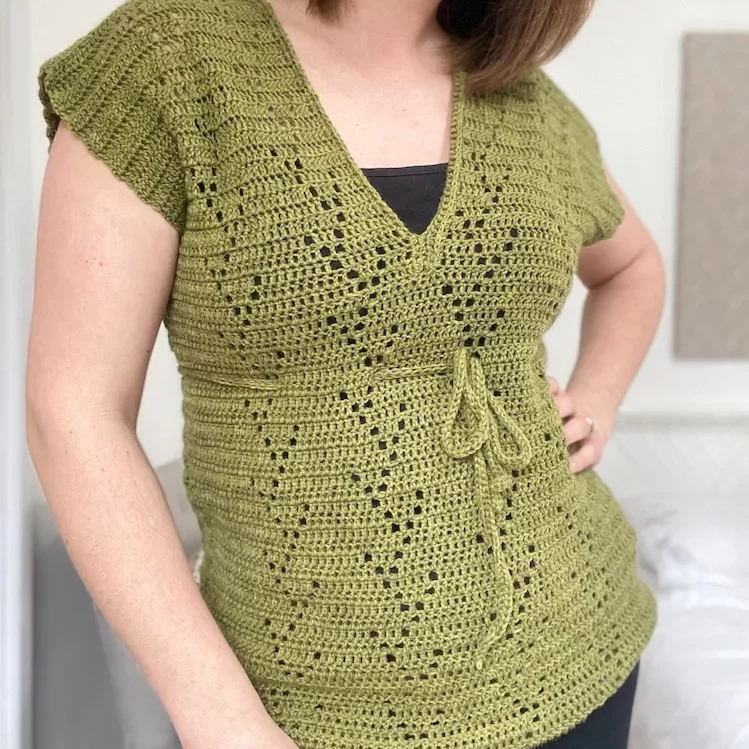
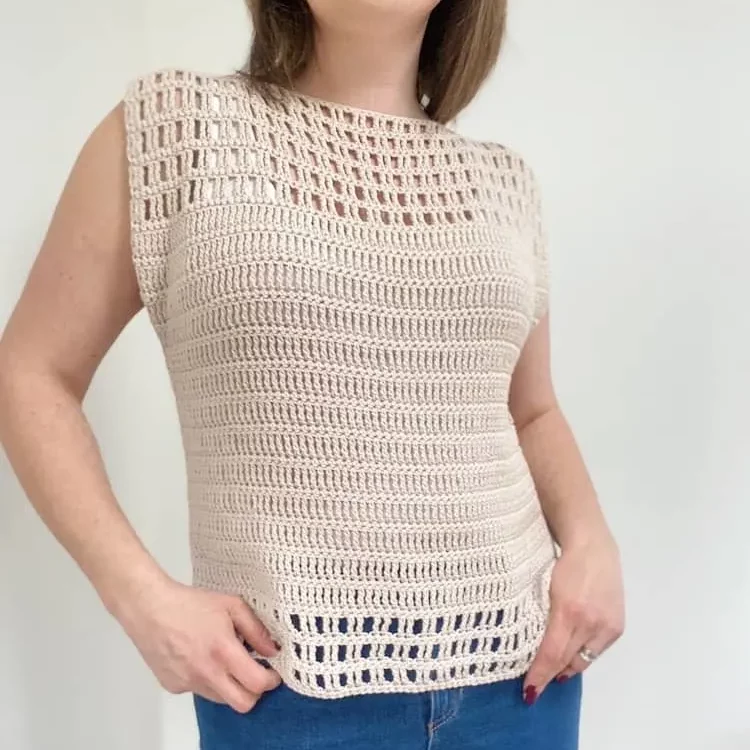
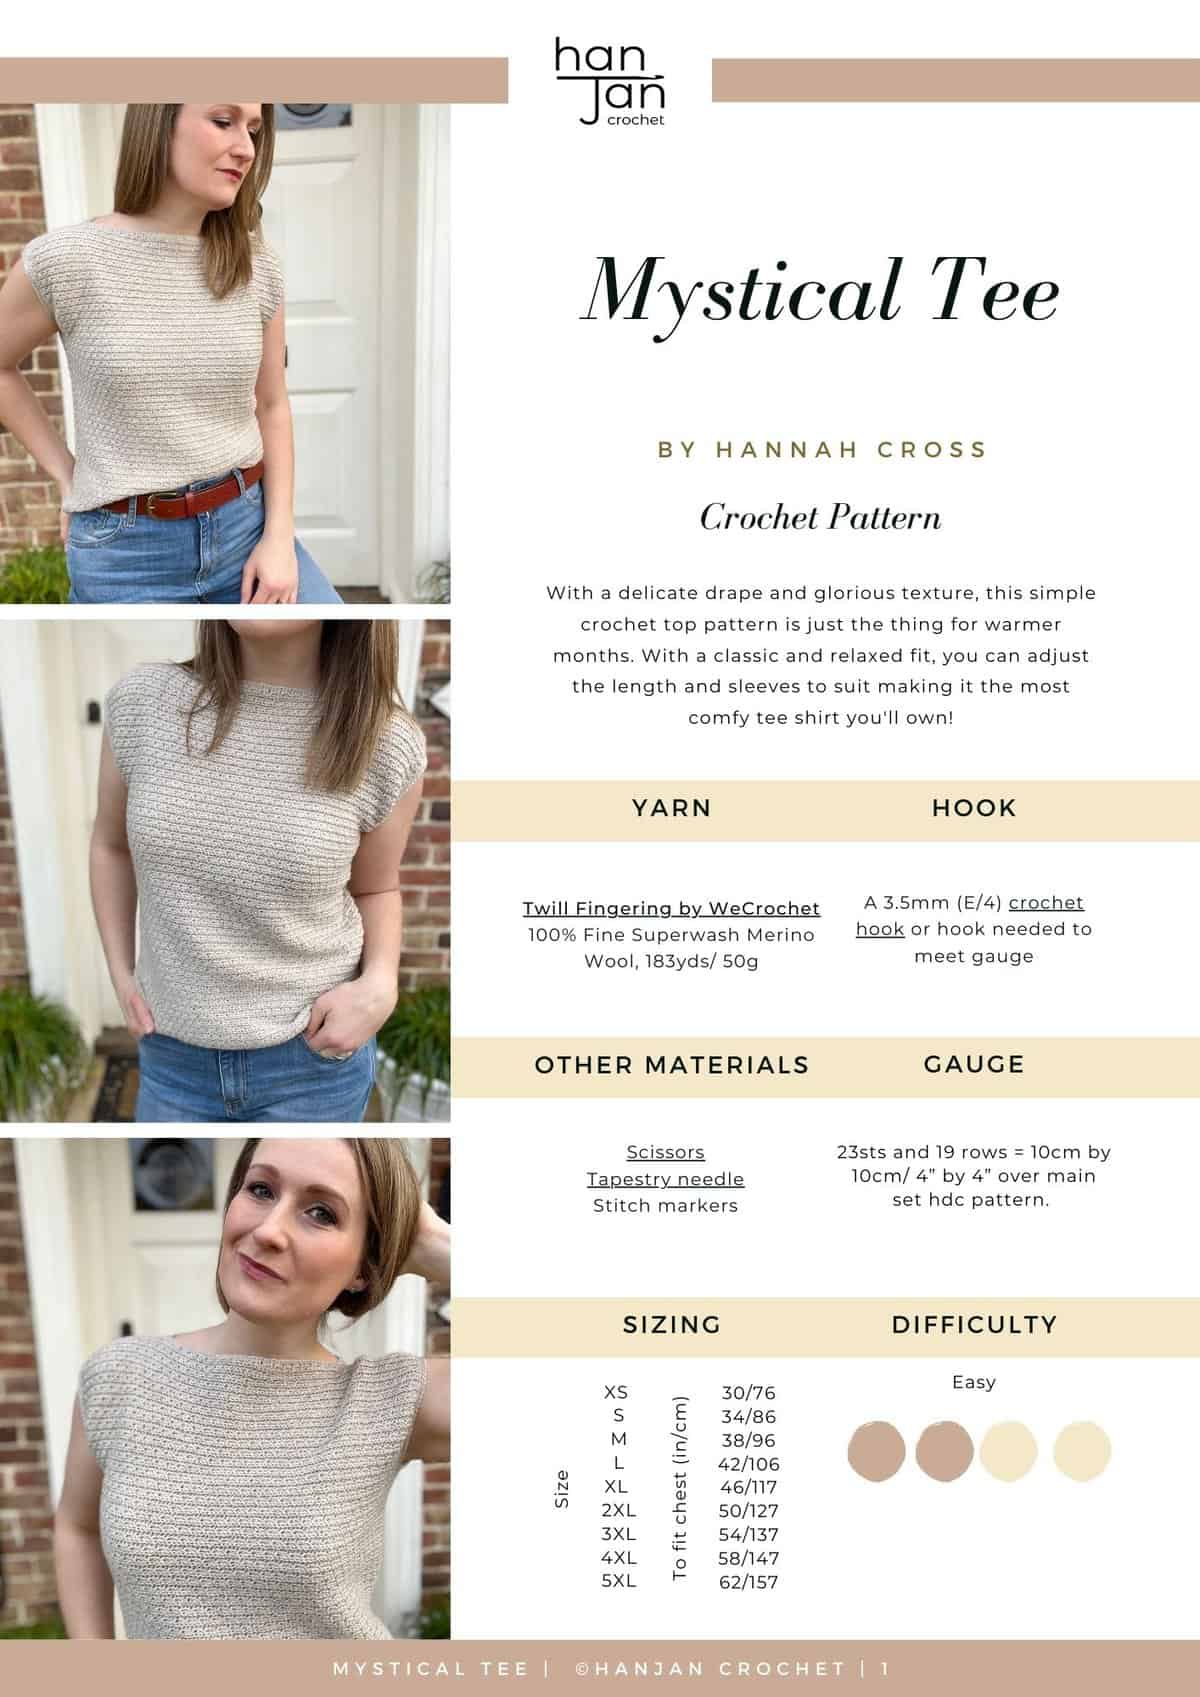
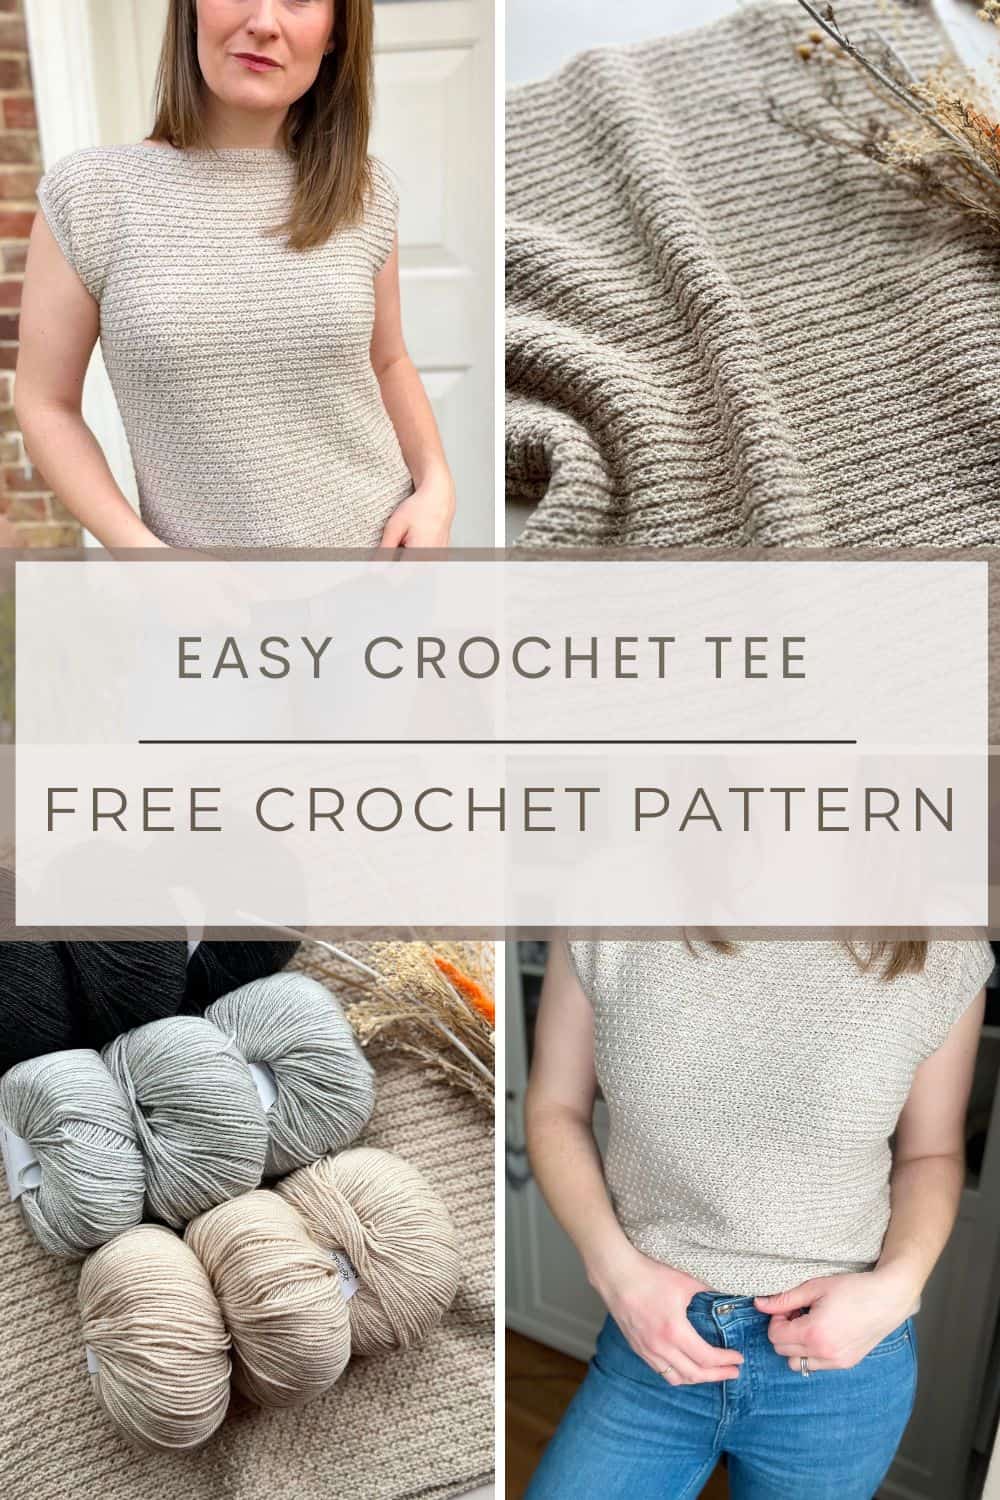
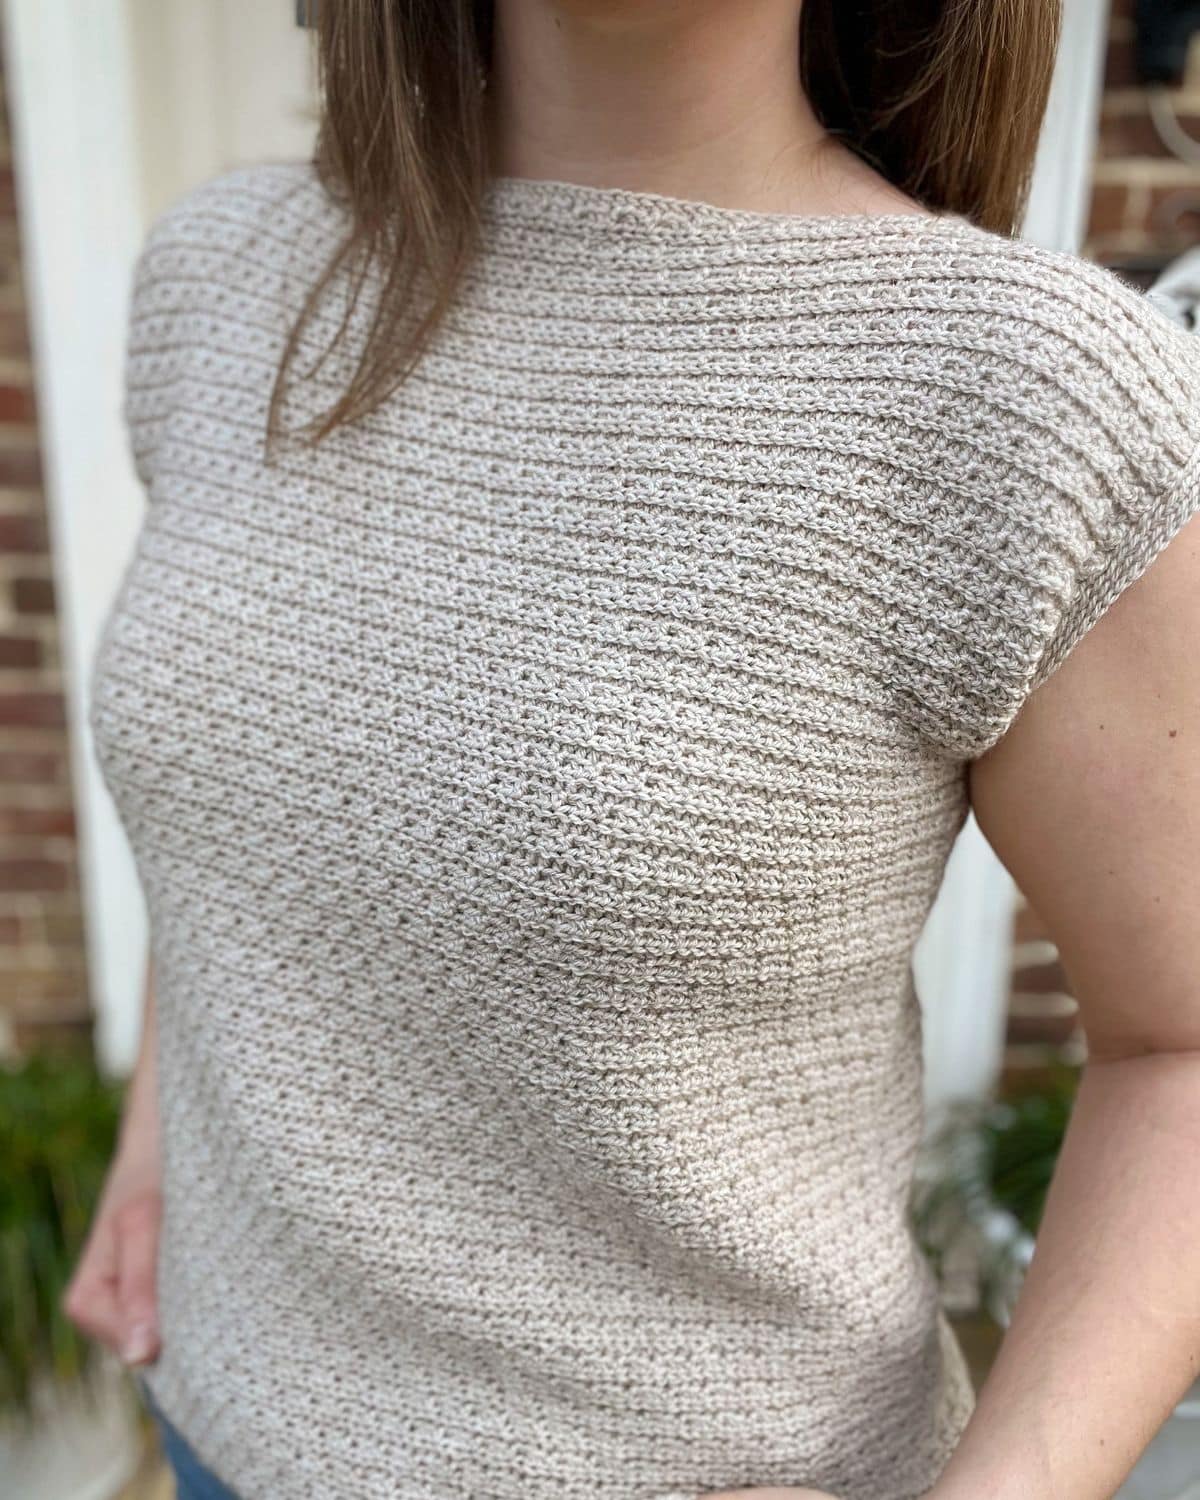
With a delicate drape and glorious texture, this simple crochet top pattern is just the thing for warmer months. With a classic and relaxed fit, you can adjust the length and sleeves to suit you making it the most comfy tee shirt you’ll own!
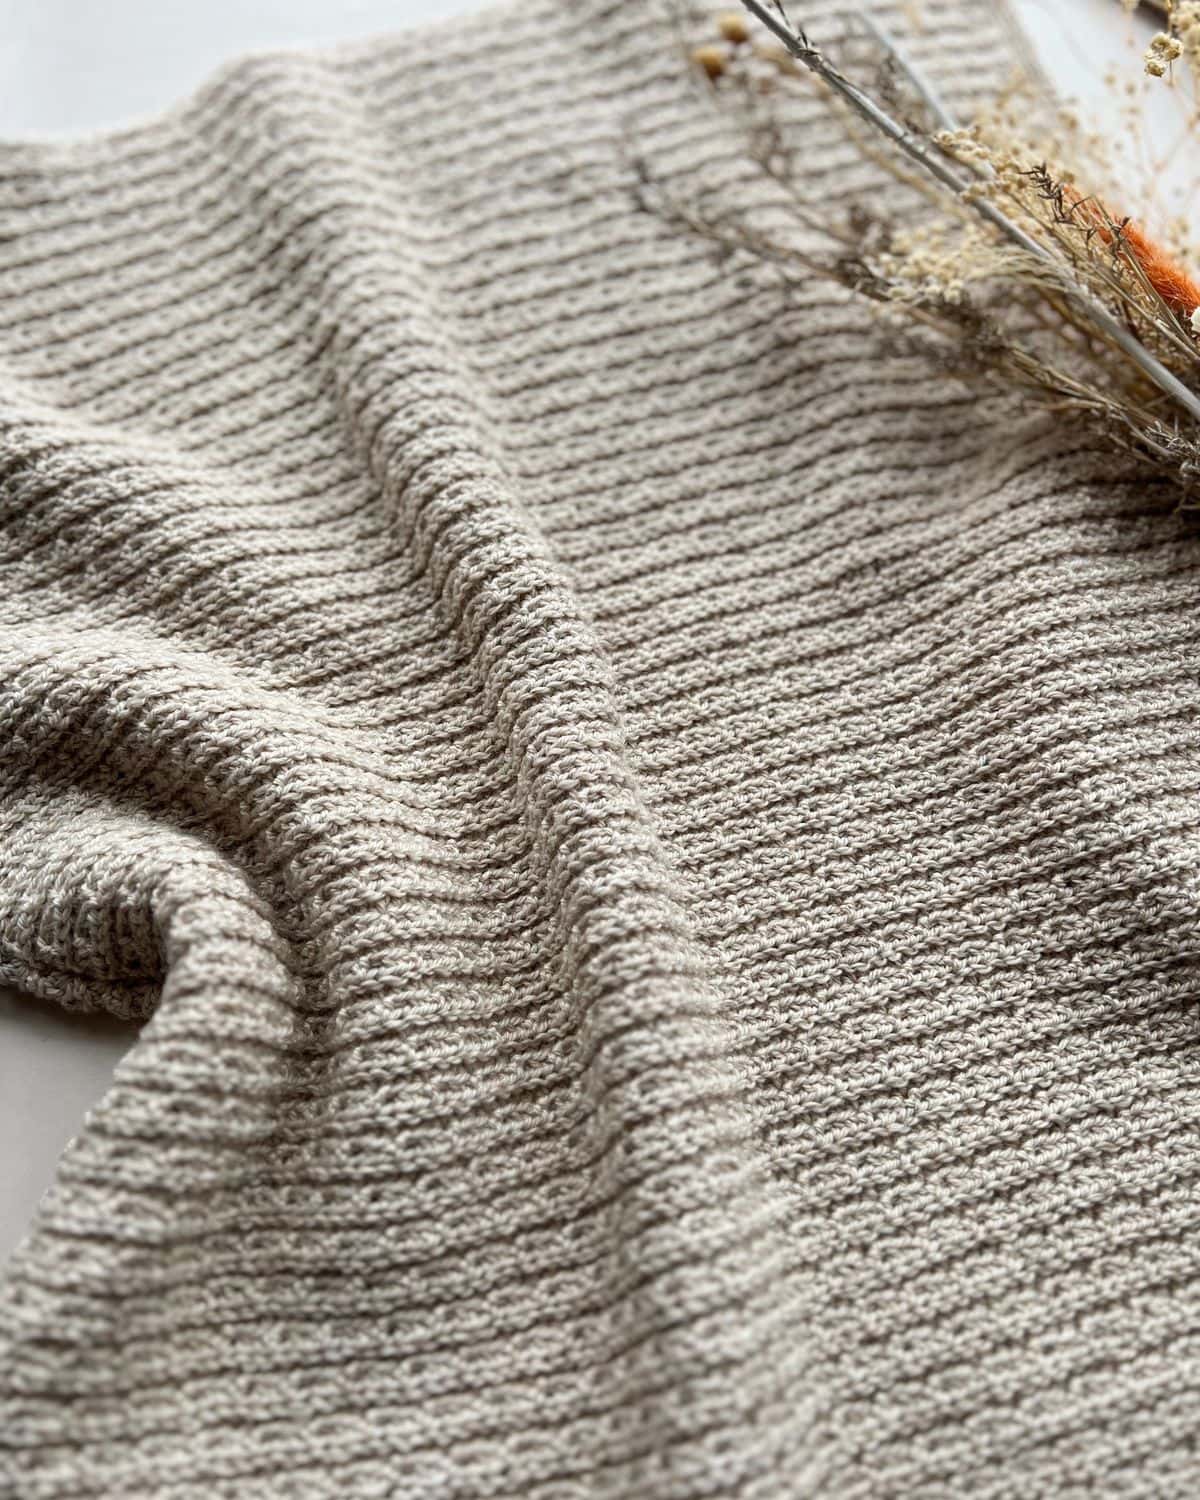
This is a basic crochet t-shirt made from two rectangles but it’s worked from the top down so the only seams you’ll have are at the sides. The mindful pattern uses simple stitches that alternate between front, back and 3rd loops to create a stunning texture in this summer crochet top.
I made it in a nice neutral shade of yarn but you’re welcome to experiment and see what color you like it in best. The construction is super easy and I’ve got a video tutorial to help along the way too!
Want to remove Ads?
- Get ad-free access on all posts; 200+ patterns & tutorials!
- Member-only resource library with downloadable PDF guides
- Bonus eBook (Worth over $30)
Table of Contents
More about this simple crochet top pattern
I’m already wearing mine here with layers so it’s turning out to be both a spring and summer wardrobe staple for me!
How do you crochet an easy summer crochet top like this?
Yarn
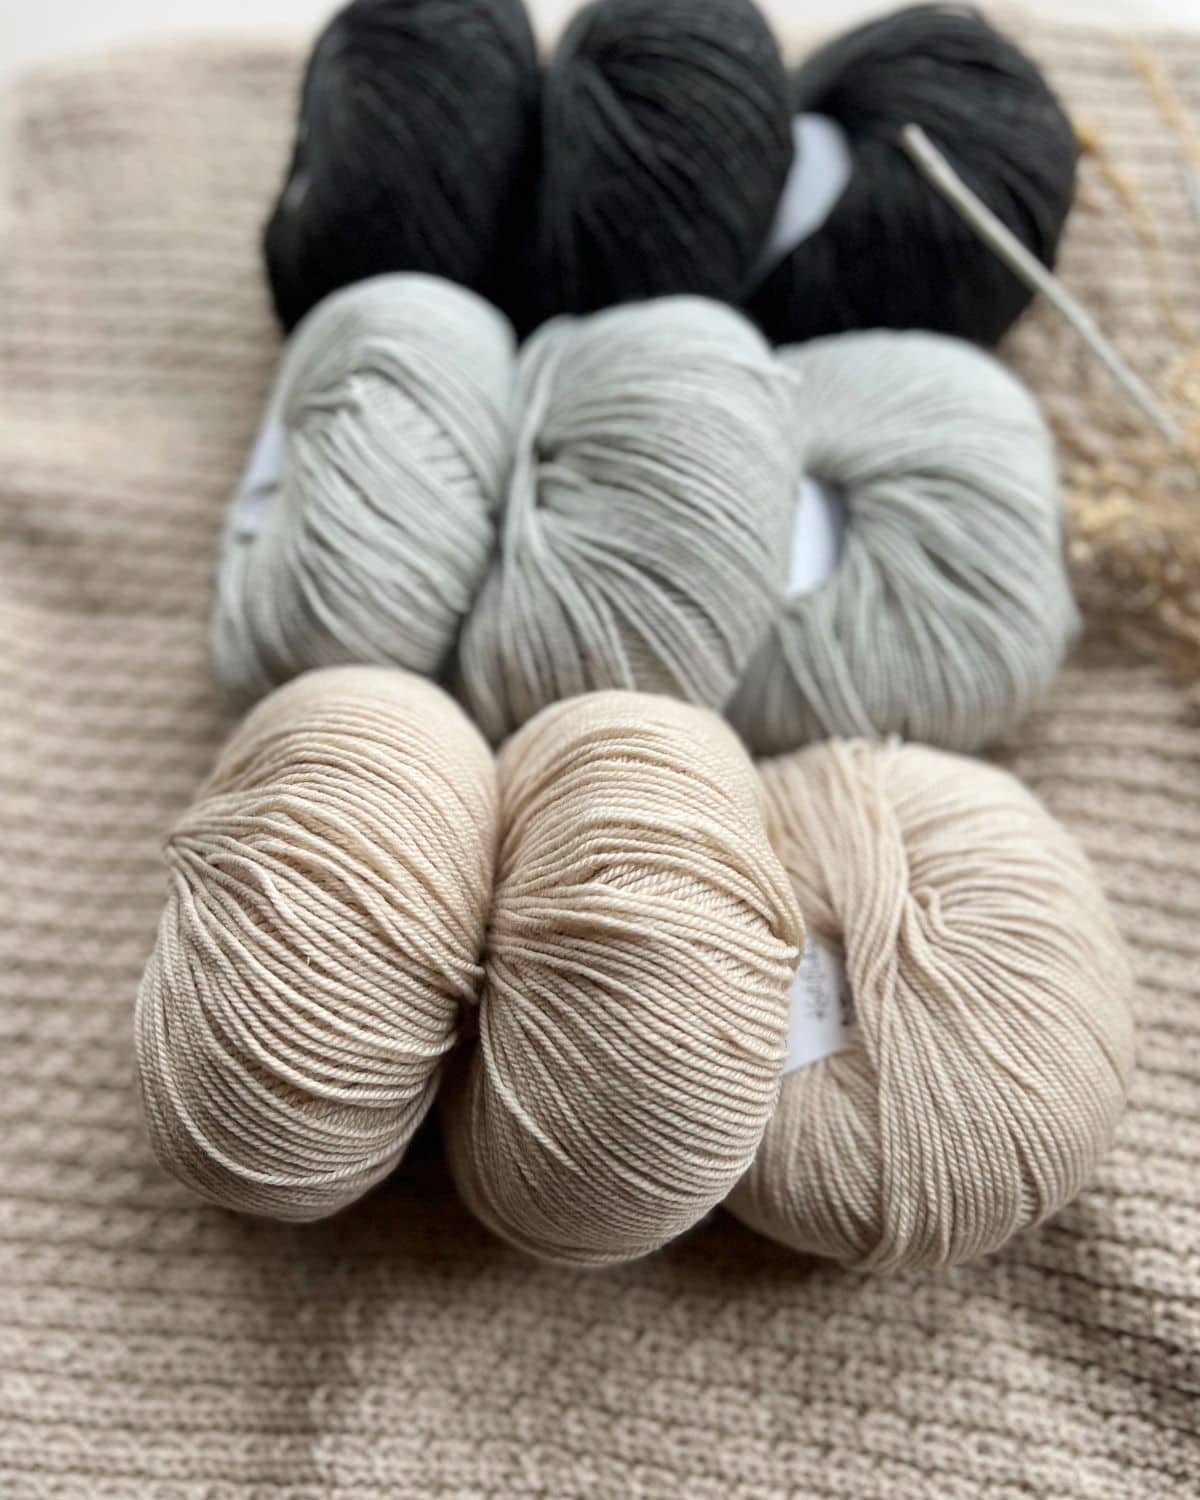
Mostly, it seems that people lean towards cotton blend yarn when making things for the summer season but I love using other fibres that, with the right stitch and drape can be just as cool!
Sizes: XS (S, M, L, XL) (2XL, 3XL, 4XL, 5XL)
Approximate m/yds: 1015/1110 (1050/1150, 1180/1290, 1310/1430, 1435/1570) (1565/1710, 1695/1850, 1820/1990, 1945/2125)
No. of balls: 6 (7, 8, 8, 9) (10, 11, 12, 12)
- Stroll Fingering (75% Fine Superwash Merino Wool, 25% Nylon, 211m/50g)
- Comfy Fingering (75% Pima Cotton, 25% acrylic, 218yds/50g)
- Stylecraft Special 4ply (100% acrylic, 422m/100g)
Materials
Tension and Sizing
The pattern contains a full schematic and sizing details but this might help you decide which size to make too.
The easy summer crochet top pattern is designed for sizes XS to 5XL with the following finished garment measurements:
XS (S, M, L, XL) (2X, 3X, 4X, 5X)
Width: 15 (17, 19, 21, 23) (25.25, 27.25, 29.25, 31.25) inches
Length: 20 inches all sizes
Armhole Depth: 8 (8, 9, 9, 10) (10, 11, 11, 12) inches
Garment circumference: 30 (34, 38, 42, 46) (50.5, 54.5, 58.5, 62.5) inches
Neckline: 9.75 inches all sizes
So, if for example you want yours to fit how my version does on me then you need to measure your chest circumference and make the size that is about 3-4 inches smaller than your measurement.
If you want a loose fitting crochet top then choose the size that is 3-4 inches bigger than your measurement.
Don’t worry about what the size label tells you. Make the one that will give you the fit you want.
Gauge: 23sts and 19 rows = 10cm by 10cm/ 4” by 4” over main set hdc pattern.
Video Tutorial
You can watch a full video tutorial for the Mystical Tee here:

Pattern Options
Purchase and Print
Get the ad-free, printable PDF with added extras in my pattern stores:
Glossary and Abbreviations
ss – slip stitch
sc – single crochet
hdc – half double crochet
ch – chain
sts(s) – stitch(es)
rep – repeat
RS – right side
WS – wrong side
blo – back loop only
flo – front loop only
Yoh – yarn over hook
Stitches
Special Stitches
3rd loop
Extra loop created on hdc or Exhdc from the yarn over. When working in rows this will be the first loop you come to when looking at the stitch.
flo – Front Loop Only
To work the front loop only, Turn your work so that the top is facing you to see the front and back loops. Work into the front loop by inserting the hook into the loop of the ‘V’ nearest you.
blo – Back Loop Only
To work the back loop only, Turn your work so that the top is facing you to see the front and back loops. Work into the back loop by inserting the hook into the loop furthest from you.
Learning to Crochet Garments
If you’re new to crochet garments and worried about all the sizing, seaming, gauge and other things that might seem really daunting, please don’t worry. I used to feel exactly the same! If you can make a blanket, then you can make this garment. I promise!
I’ve written all about my experience with learning to both make and design garments and you can learn about crochet garment making and make sure you explore all of these fabulous easy crochet cardigan patterns too. There are so many options out there for every skill level and style!
We also have an article all about how to make perfect crochet garments which is a great read packed full of experience and tips!
If you’re ready to dive and get all of the garment making info in one place then you will LOVE our Crochet Garments with Confidence Course! You get lifetime access to world class crochet garment designers teaching you everything they know!
Pattern Notes
A ch1 at the beginning of a row does not count as st.
Turn at the end of every row.
Read through the entire pattern before beginning.
Before you start, go through the pattern and highlight/mark the stitch and row counts that correspond to the size you are making (this will make your life much easier!).
Make sure that you are familiar with all of the stitches in the abbreviations list before you begin.
Stitch counts are given in [ ] at the end of each row. If no stitch count is given, then the count is the same as the previous row.
The count number referring to each size is laid out as follows: XS (S, M, L, XL), (2X, 3X, 4X, 5X).
Customisation
The pattern is really simple to adjust to suit you and your style. It’s perfect for summer weather but you could make it with long sleeves for other seasons!
If you would like your top looser or tighter then follow the instructions for a bigger or smaller size.
Length – you can easily adjust the length of your top by working as many repeats of the Main Set Pattern as you would like on both the Front and Back. The tee is worked from the top down and so is easy to try on as you go and make as long or short as you like (note that you may need more yarn than stated if you lengthen you top).
Armhole depth – the pattern instructs for average armhole depths but you can seam as many or as few rows as you like to create your armholes. A good idea is to use stitch markers to see where you would like to seam and try it on before doing it.
If you’re looking for a beginner-friendly single crochet sweater pattern, the Blueprint Sweater is a wonderful place to start.
Free Simple Crochet Top Pattern
To unlock Exclusive Content on the HanJan Crochet Blog, all you need to do is click the box below and the Grow.me app will pop up, allowing you to enter your email and create a password.
Once you’ve created an account, every time you see Exclusive Content on my blog (or any others that use Grow), simply login to your Grow account. Be sure to switch to the login screen to enter your login credentials.
If you forget your password, click the “forgot password” link and follow the prompts. Please note that I’m unable to assist with resetting Grow passwords or accessing your Grow account, so be sure to save your login information in a safe place.
Thank you for subscribing and for joining me at HanJan Crochet! I hope you enjoy the exclusive content available on the site and I can’t wait to see what you create 🙂
Join HanJan and Share Your Crochet!
Purchase and Print
Get the ad-free, printable PDF with added extras in my pattern stores: