This post may contain affiliate links. Please see my full disclosure and privacy policy for details.
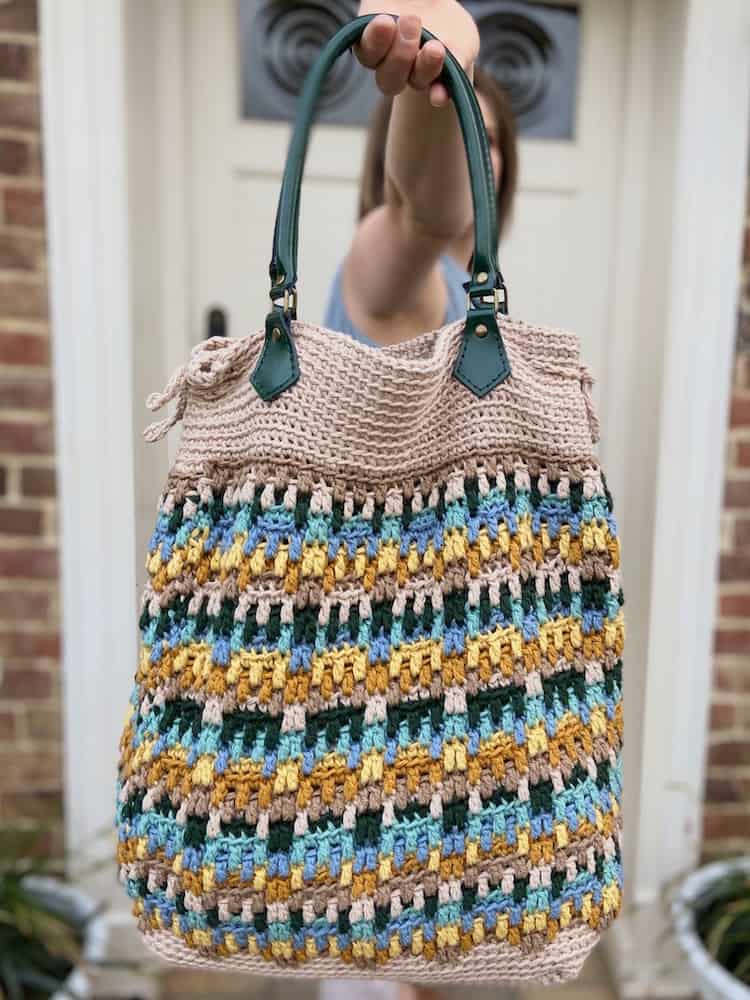
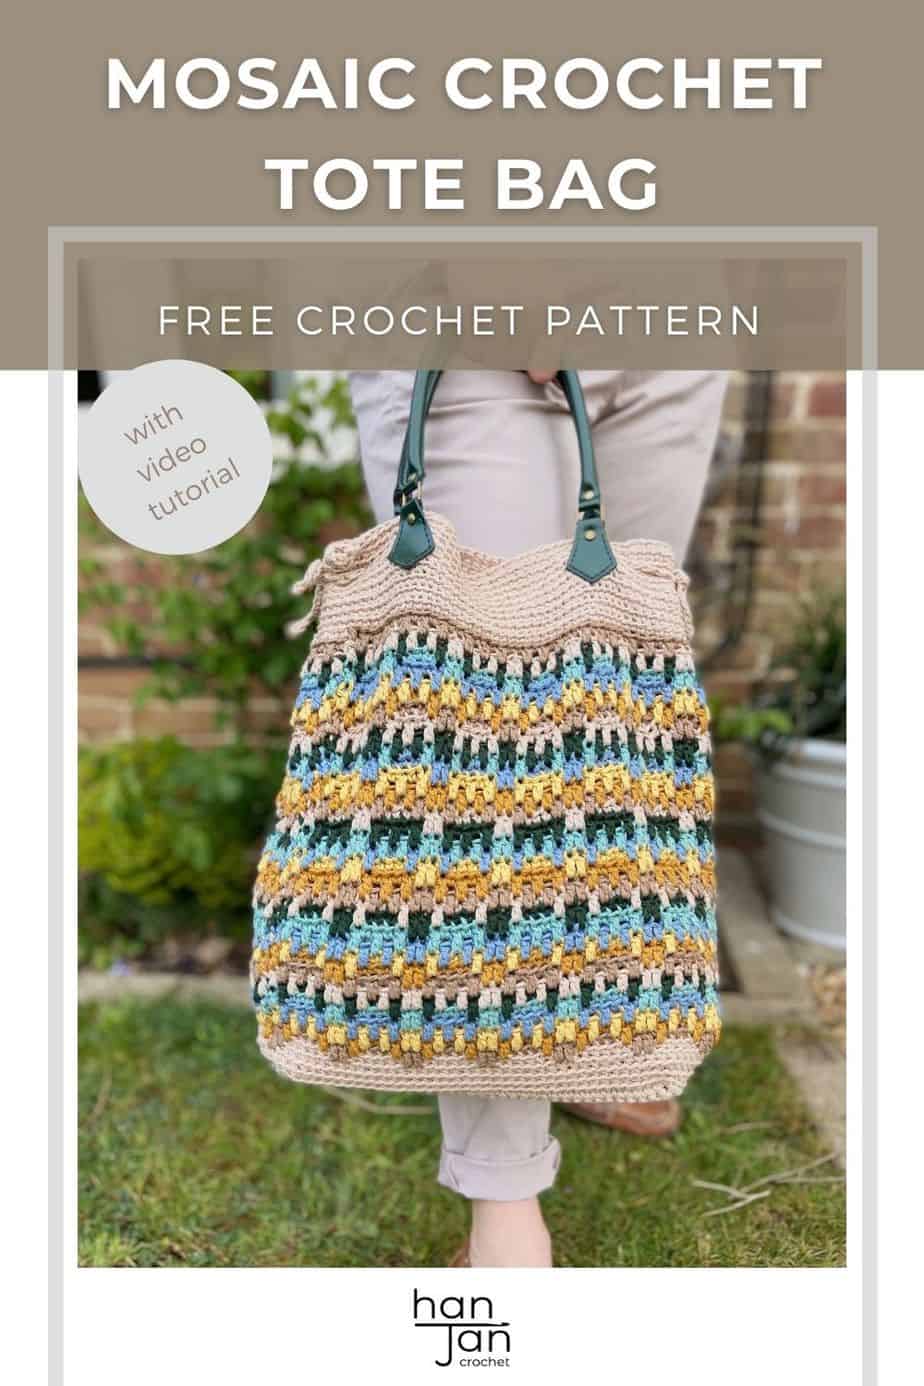
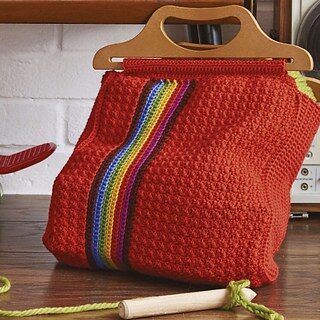
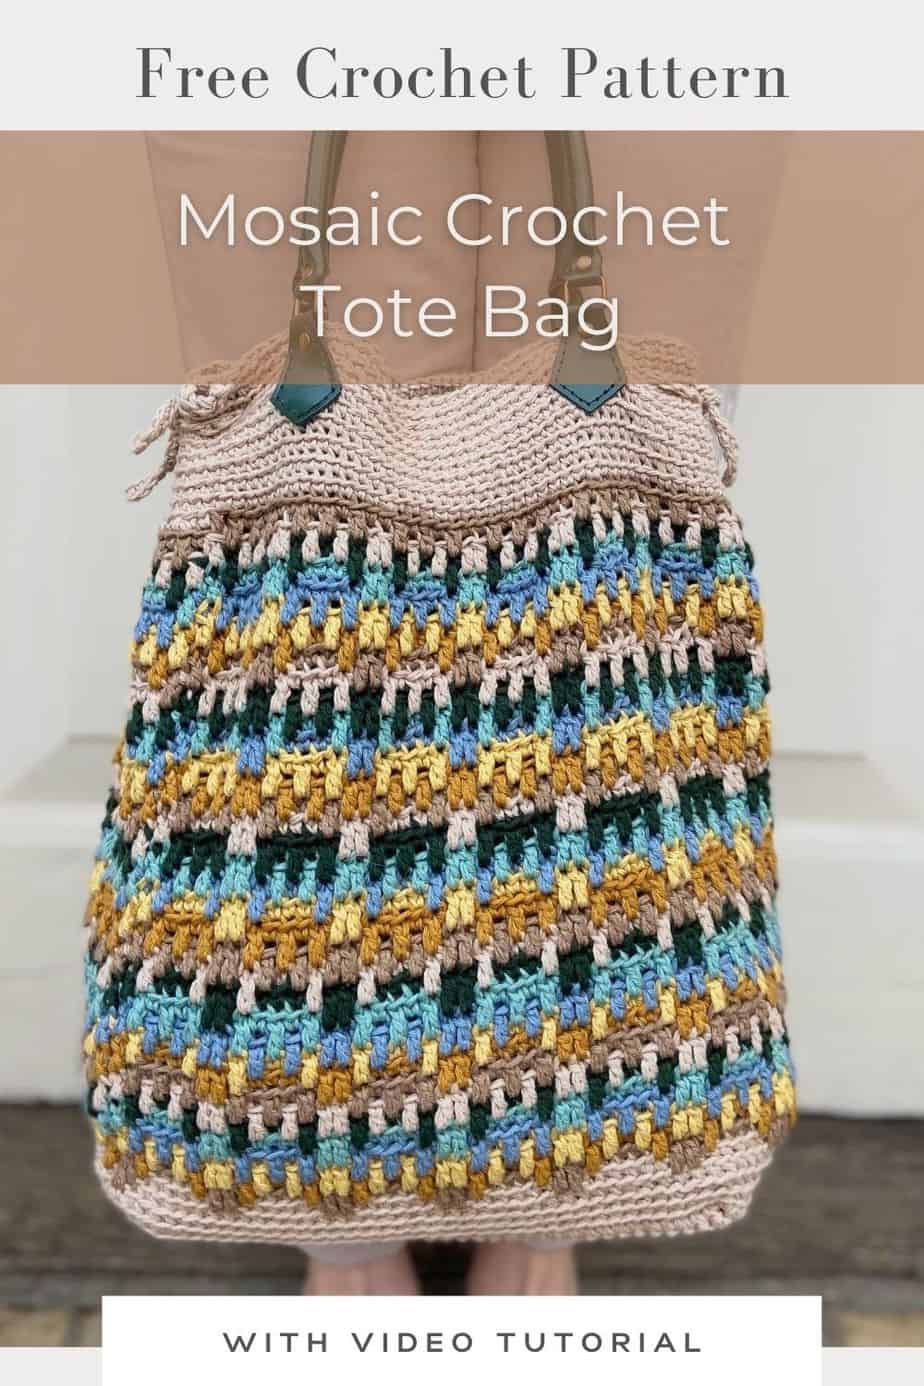
The Hayden Bag is a fabulous summer crochet tote bag pattern using mosaic crochet in the round. The bag is made in one piece and uses a clever play of colour and a simple seven stitch repeat to achieve the detail.
Add the side ties and straps of your choice to personalise and finish.
If you’ve fancied giving overlay mosaic crochet a go then this is the one for you!
You can carry on reading to find the free pattern here in this blogpost or purchase an ad-free, printable PDF version of the Hayden Tote Bag pattern in my pattern store to download and print.
Want to remove Ads?
- Get ad-free access on all posts; 200+ patterns & tutorials!
- Member-only resource library with downloadable PDF guides
- Bonus eBook (Worth over $30)
This post may contain affiliate links. Please see my full disclosure and privacy policy for details.
Table of Contents
About the Hayden Crochet Tote Bag Pattern
I’ve always been a fan of lovely big crochet bags for summer and as the Mum to two young boys now a big bag is a must!
Whether we’re off to the park, beach, town or just for a walk I wanted to make a bag that would be sturdy enough to carry everything we need but that would also look fabulous too.
I’ve recently been really enjoying the mosaic crochet technique and so thought I’d create a seamless crochet bag with a nice short stitch repeat so that once you got the hang of it you’d be able to work away without thinking too much!
Are you new to overlay mosaic crochet?
Learn all about the overlay mosaic crochet technique and find out that it’s really not as tricky as it looks in the mosaic crochet tutorial.
Oftentimes mosaic crochet is read from a chart rather than written instructions and this can be super intimidating at first! If it’s the mosaic crochet charts that have you running for the hills, then check out this blogpost all about how to read a mosaic crochet chart.
Once you’ve got the technique mastered, head on over to this collection of overlay mosaic crochet patterns and choose your next project!
Pattern Options
This crochet cushion pattern is a free crochet pattern in both UK and US terms on the blog for everyone to enjoy, just scroll down to find it.
There are a few ways you can access and enjoy this crochet pattern:
Purchase and Print
Get the ad-free, printable PDF with added extras in my pattern stores:
Access for free >>> Scroll down to find the pattern in this blogpost.
Join and save>>> Join HanJan Crochet and receive regular discount codes (and more free patterns too!)
Pin for later >>> Pin the crochet pattern to your crochet Pinterest board.
Other Patterns You Might Enjoy
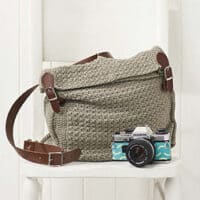
I love designing bags! Here are a few more of my crochet bag patterns that I thought you might enjoy.
I love how adaptabe bags can be - as clutch bags, tote bags, beach bags, pouch bags, cross body bags and much more. Here are my top crochet bag patterns you might like to give a try too!
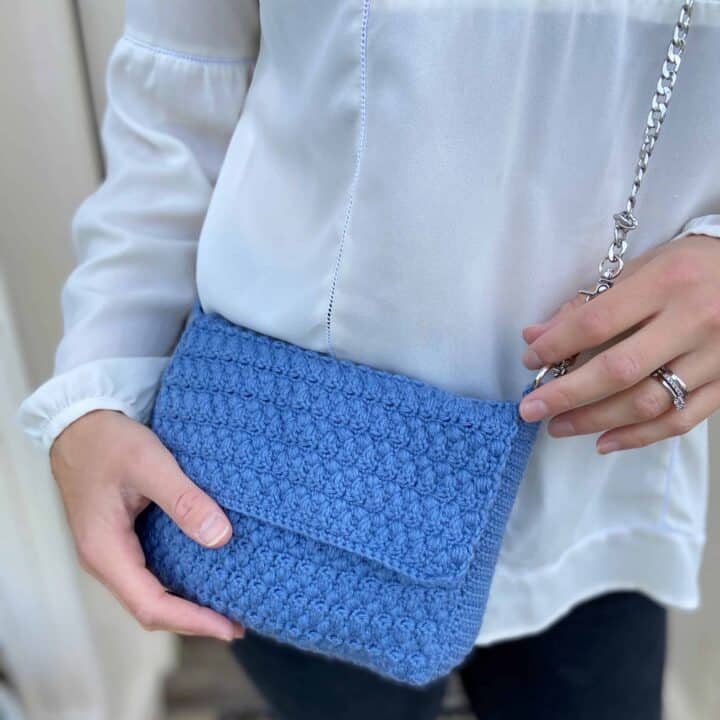
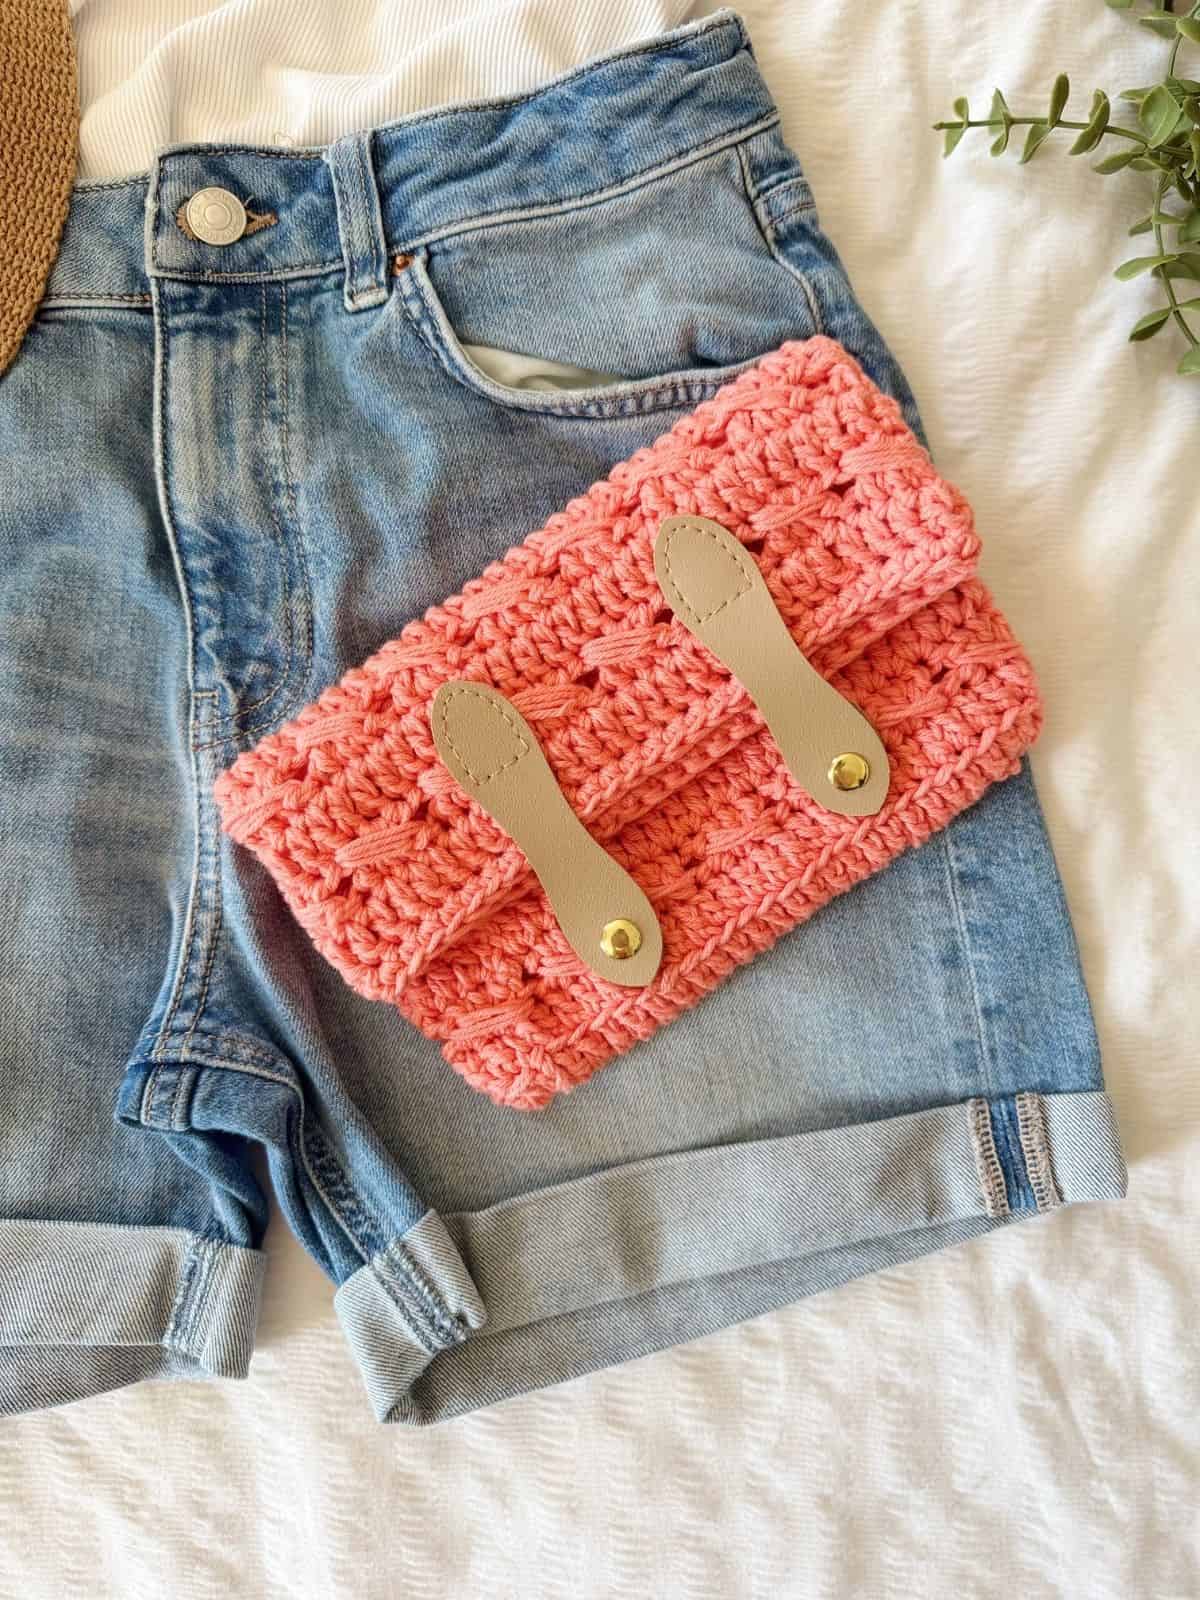
Denim Envelope Crochet Shoulder Bag
A Free Crochet Pattern
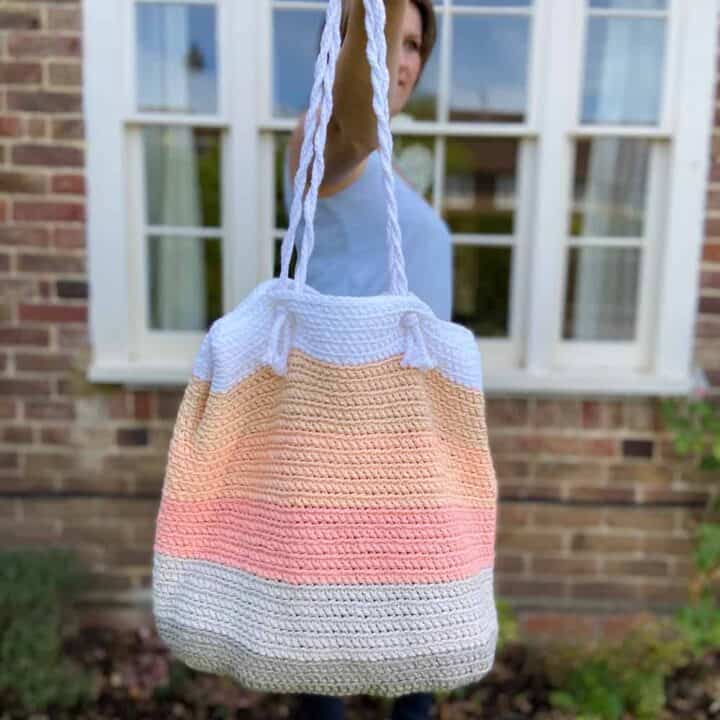
Summer Stripes Beach Bag
A Free Crochet Pattern
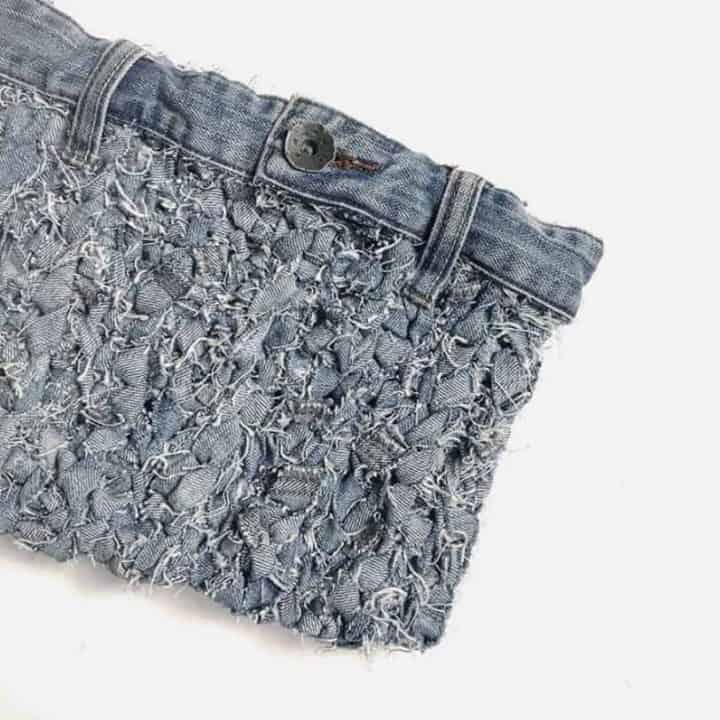
Recycled Jeans Bag
A Free Crochet Pattern
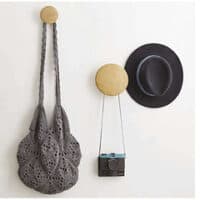
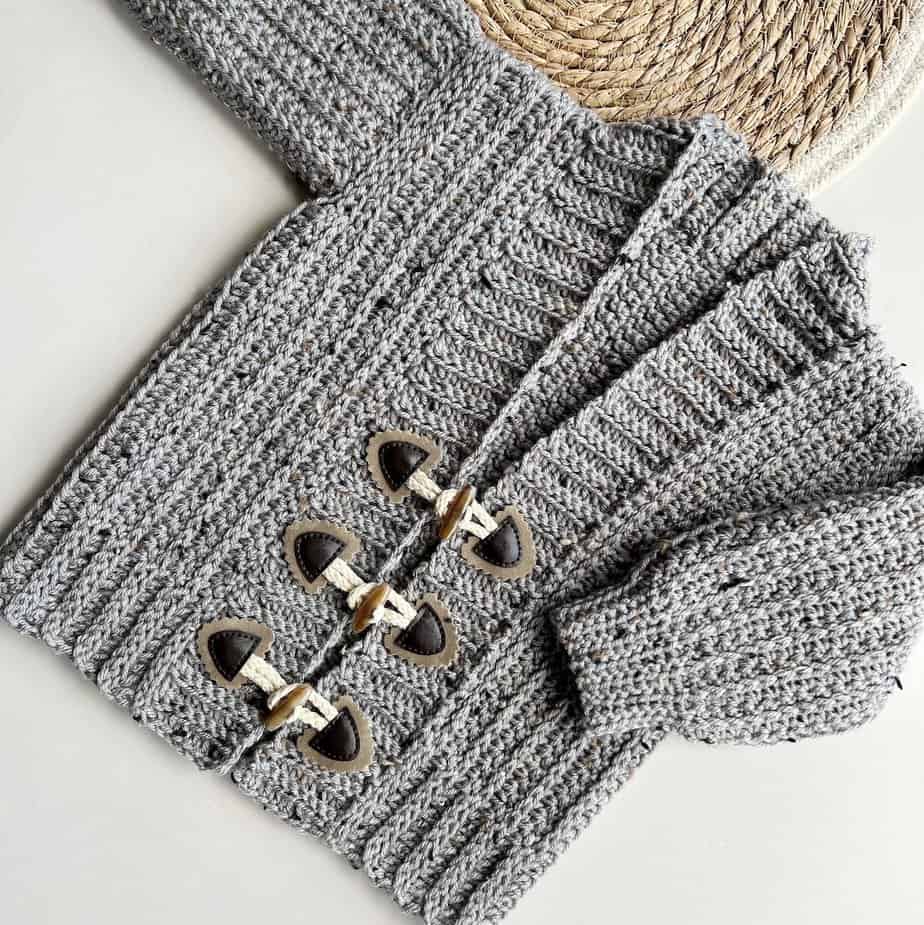
Slouchy Grey Handbag
Premium Crochet Pattern
Perky Project Bag
Premium Crochet Pattern
The Man Bag
Premium Crochet Pattern
Yarn
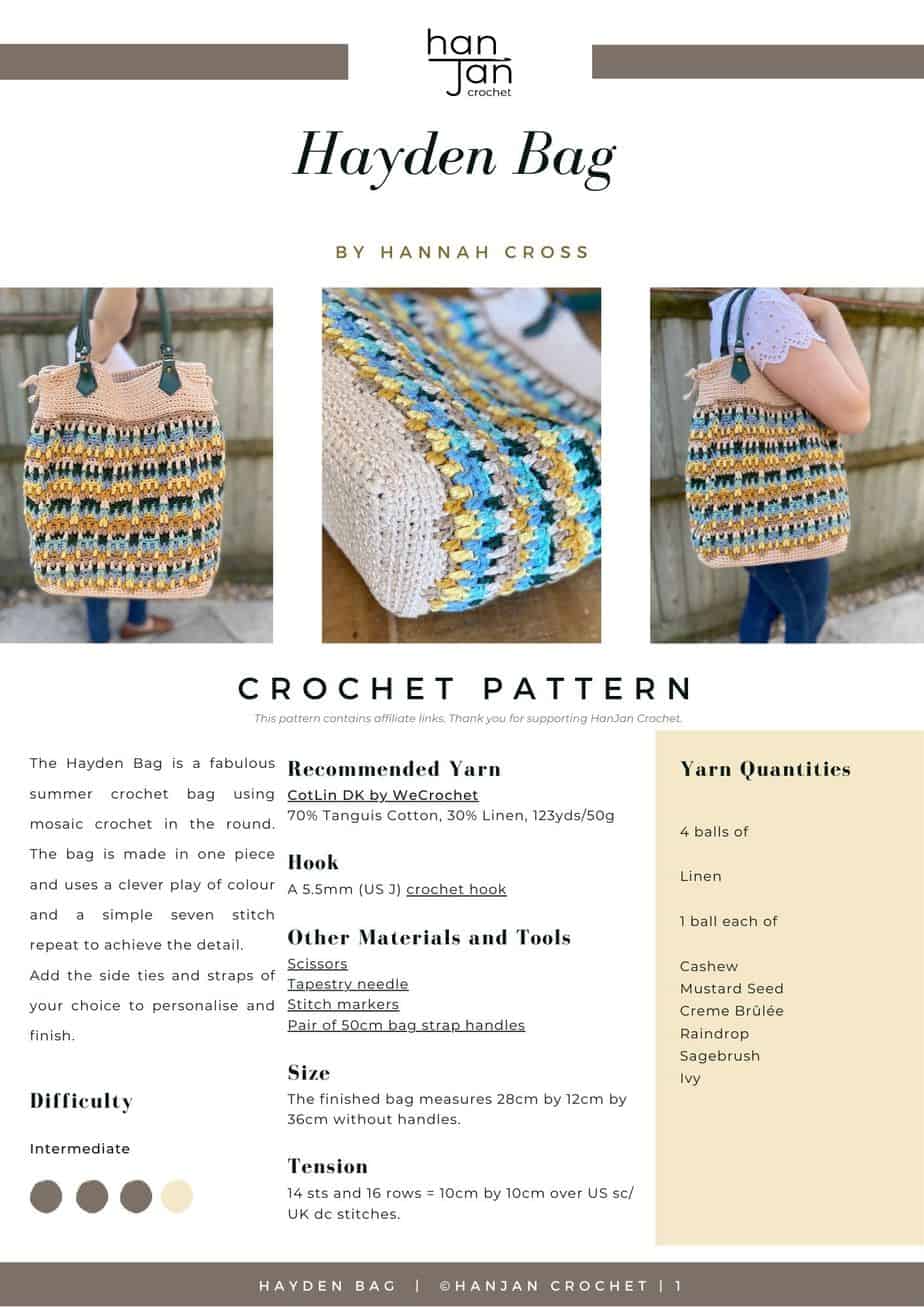
To make the crochet tote bag I used CotLin DK yarn by WeCrochet.
It’s a really lovely double knit weight yarn that is 70% Tanguis Cotton, 30% Linen, 123yds/50g.
I used:
4 balls of Linen
1 ball each of:
Cashew
Mustard Seed
Creme Brûlée
Raindrop
Sagebrush
Ivy
A great alternative yarn if you wanted something a bit more robust is Rico Creative Cotton which is 100% cotton, 115m/50g and comes in fabulous colours too!

Tension and Sizing
The finished bag measures 28cm by 12cm by 36cm without handles.
14 sts and 16 rows = 10cm by 10cm over US sc/ UK dc stitches.
Materials
Along with your yarn, you will need the following:
- 5.5mm (US J) crochet hook – my favourites are Furls Streamline Swirl crochet hooks or Clover Amour crochet hooks.
- Tapestry needle
- Scissors
- Stitch markers if desired
- Pair of 50cm bag straps – I used these replacement green bag straps that come in lots of other colours too.
Glossary and Abbreviations
ch(s) – chain(s)
ss – slip stitch
st(s) – stitch(es)
RS – right side
rep – repeat
sk – skip
ch-sp – chain space
RS – right side
blo – back loop only
flo – front loop only
If you’re enjoying this bag, then you’ll love this easy crochet beach bag pattern too!
Crochet Stitches
The mosaic crochet tote bag uses the following crochet stitches:
| Standard UK Crochet Term | Standard US Crochet Term |
| dc – double crochet | sc – single crochet |
| tr – treble | dc – double crochet |
Pattern Notes
The bag is constructed by a base made in rows and then a top section worked in rounds using the mosaic crochet technique.
Use the yarn doubled throughout.
See the chart notes for details on how to read the charts.
Overlay Mosaic Crochet in the Round Technique
The technique for overlay mosaic crochet may look quite complicated and fiddly but I promise it isn’t once you get the hang of it!
If you are a visual learner then make sure to watch my mosaic crochet video tutorial which might make more sense of it for you.
There are a few different ways to achieve a mosaic crochet design. I will describe the way that I made this bag in the round.
The easiest way to create the pattern is by reading the chart rather than the word pattern but I will provide a worded version of the entire pattern for you to refer to and get your confidence and help you to read the chart.
So, to begin with, a few words on how to read a mosaic crochet pattern and chart.
I would suggest that you have a little go at a swatch with some of your scrap yarn before you start the pattern in full unless you’ve done mosaic crochet before.
Then working mosaic crochet in the round you will always be working a US sc/ UK dc into the back loop only (blo) of every stitch of the round unless instructed otherwise.
When indicated, you need to work a US dc/ UK tr into the front loop only (flo) of the stitch 2 rounds below.
This is what makes the stitches look like they are overlapping each other and creates the pattern.
Each square on the chart represents a blo st to work for the round. Every star (*) symbol indicates where to place a flo st 2 rounds below.
Every st in the round needs to either have a US sc/ UK dc in the blo or a US dc/ UK tr in the flo.
Change colour on the last yarn over on the last st of the round and work in continuous rounds for the entire bag.
Watch the video tutorial here


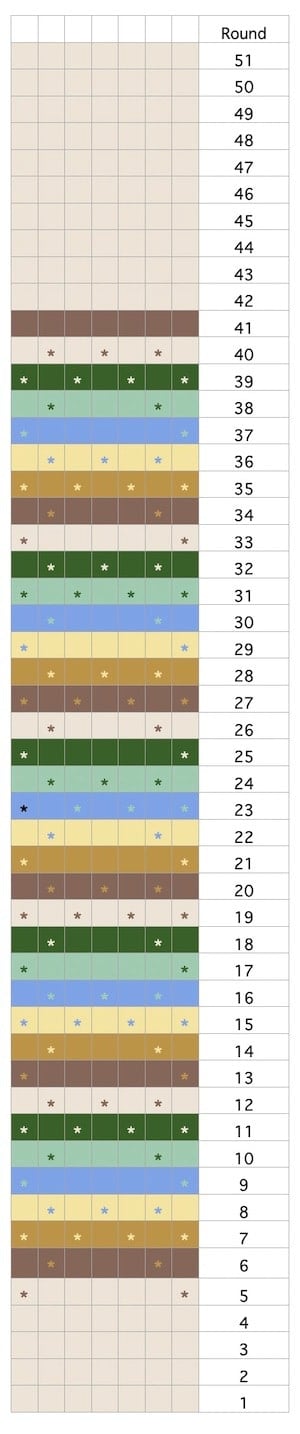
Reading the chart
The chart is read from the bottom to the top with each row of the chart representing a round of crochet.
Each square on the chart represents a stitch. A stitch will either be a UK dc/ US sc in the black loop only or a UK tr/ US dc in the front loop only of the stitch 2 rows below.
When reading the chart, the background colour indicates with colour to use for every stitch in that round.
A star in the square below indicates where to work a UK tr/ US dc in the front loop only of the stitch 2 rows below.
If there isn’t a star in the square below then work a UK dc/ US sc in the black loop only.
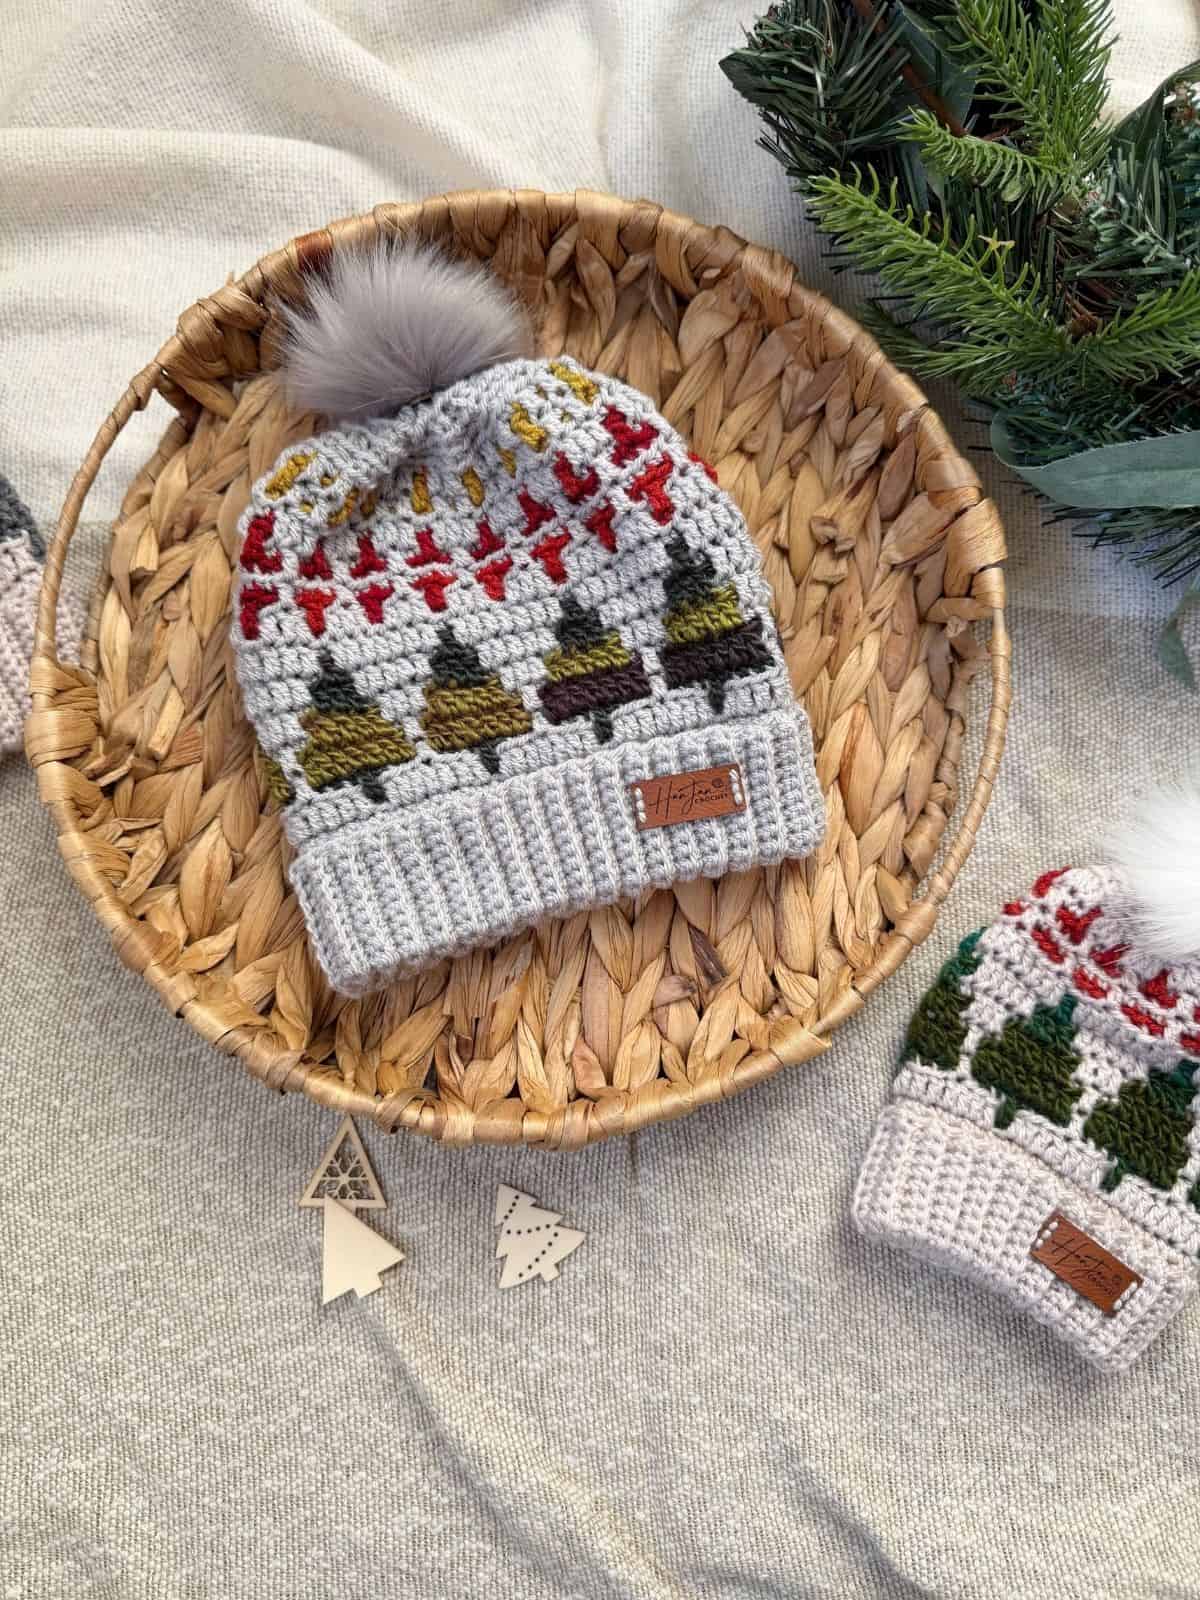
Mosaic Crochet Patterns
If like me you are loving all things mosaic in crochet at the moment then I’d love you to check out my other patterns and posts about it:
You might fancy making my knee high crochet socks that use the overlay mosaic crochet technique – you can make them any length you like!
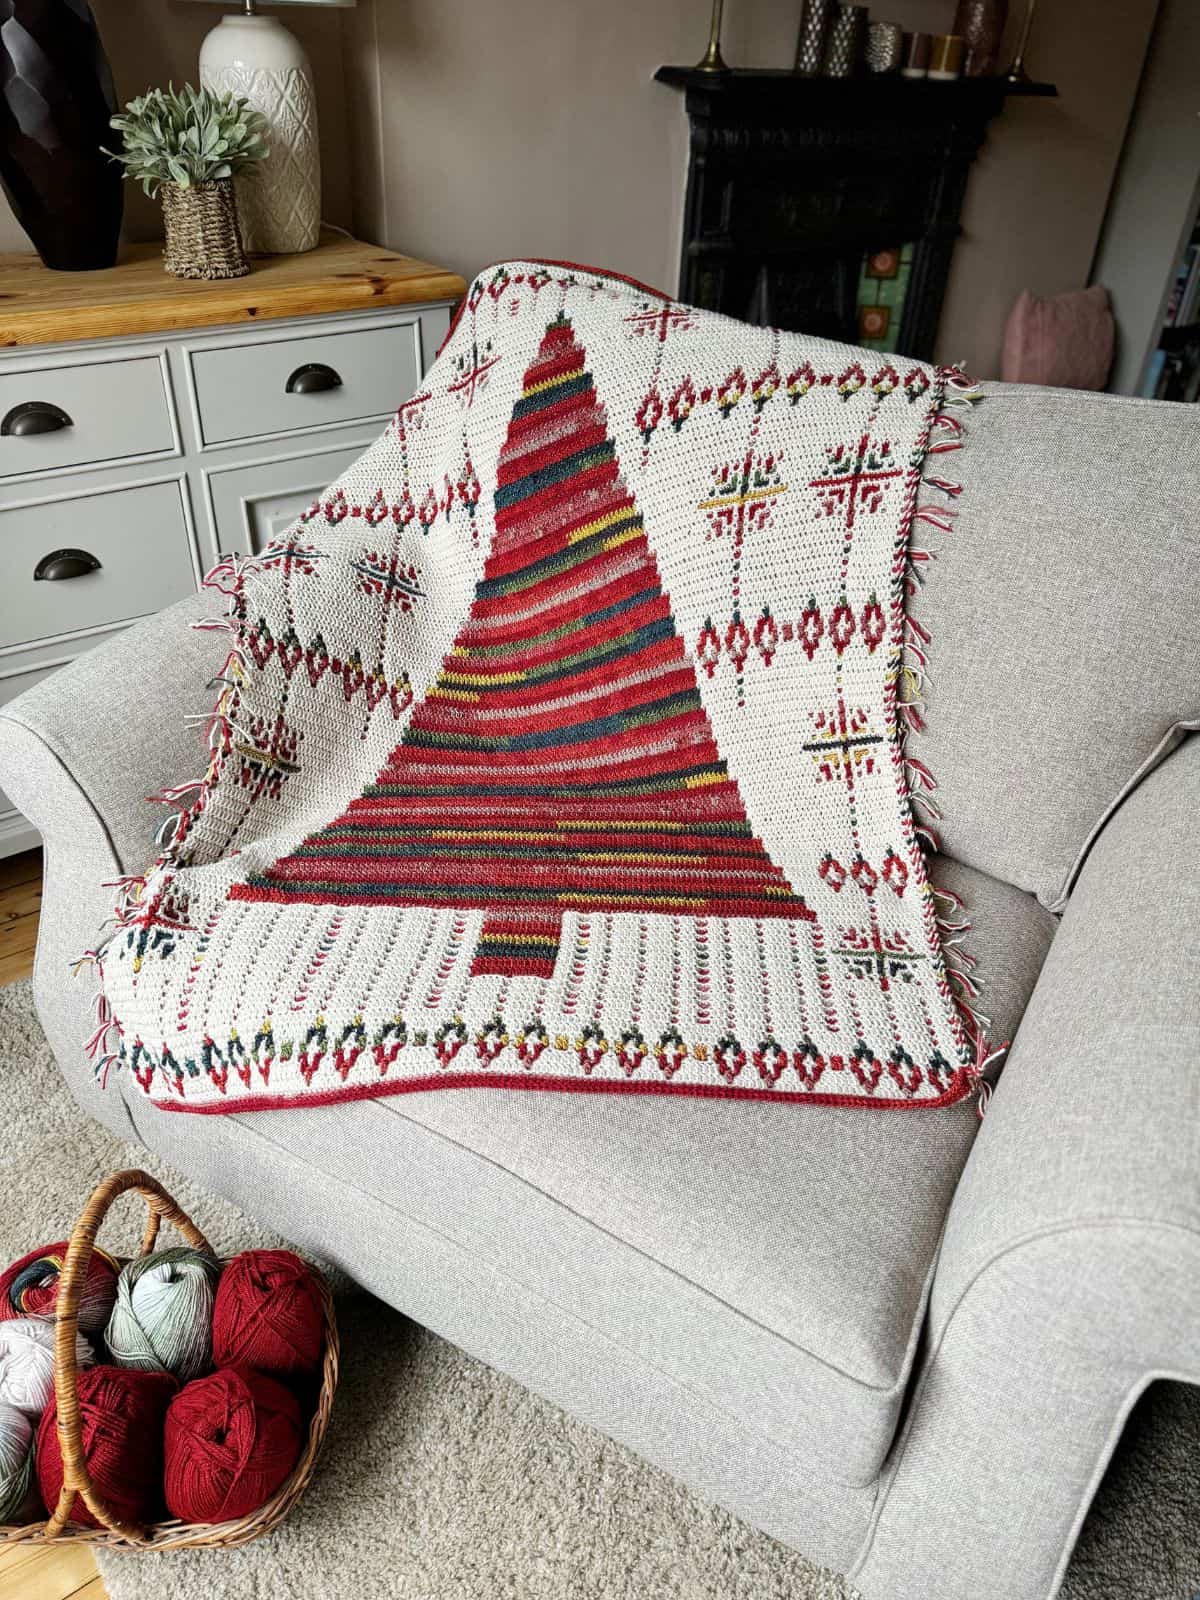
The Wanderers Blanket – a free inset mosaic crochet blanket pattern.
The Rainbow Splash blanket – a free overlay mosaic crochet blanket pattern
The Diamond Blanket – a free overlay mosaic crochet blanket great for beginners.
How to work the inset mosaic crochet technique.
A guide to the 14 best mosaic crochet patterns on Etsy.
Hayden Mosaic Crochet Tote Pattern
Standard UK CrochetTerms
To unlock Exclusive Content on the HanJan Crochet Blog, all you need to do is click the box below and the Grow.me app will pop up, allowing you to enter your email and create a password.
Once you’ve created an account, every time you see Exclusive Content on my blog (or any others that use Grow), simply login to your Grow account. Be sure to switch to the login screen to enter your login credentials.
If you forget your password, click the “forgot password” link and follow the prompts. Please note that I’m unable to assist with resetting Grow passwords or accessing your Grow account, so be sure to save your login information in a safe place.
Thank you for subscribing and for joining me at HanJan Crochet! I hope you enjoy the exclusive content available on the site and I can’t wait to see what you create 🙂
Rounds 6-9 form the set pattern.
Rounds 10-41: Using the chart for colour changes repeat the set pattern.
Change to Linen.
Rounds 42-51: Repeat Round 2
Fasten off and weave in ends.
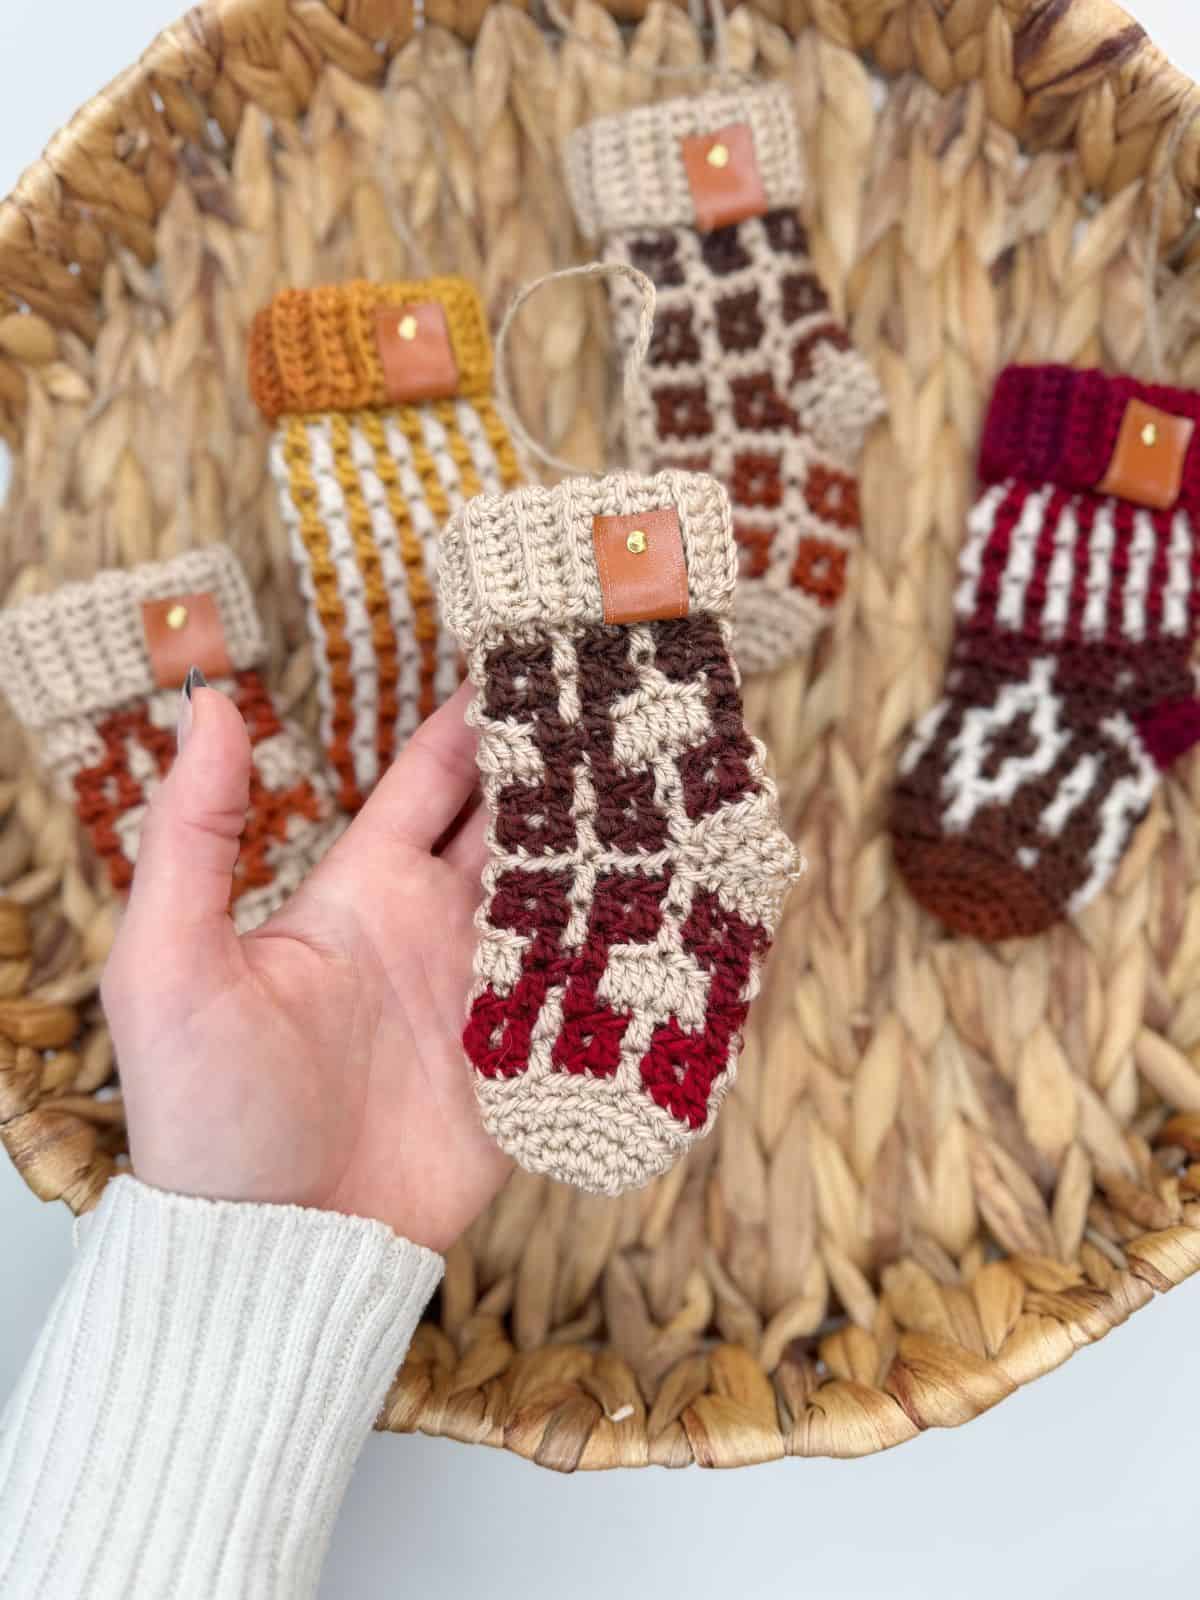
A different mosaic crochet pattern you might like is this mini crochet Christmas stocking pattern.
Make these mini crochet stockings to hang on your Christmas tree, or how about using them as cutlery holders as part of your festive table setting?
SIDE TIES
Make 2 side ties to shape the top of your bag as follows:
Foundation chain: ch41
Row 1: dc in 2nd ch from hook and each across [40]
You can make these ties as long or short as you’d like to.
Locate the 18 stitches on either side of the bag and thread the ties through these stitches, making sure they also pass through a stitch in the middle of those 18 stitches to fold the side of the bag up.
SEW ON STRAPS
Position your straps where you would like them and carefully sew in place on either side of the bag using embroidery thread.
Standard US Crochet Terms
Rounds 6-9 form the set pattern.
Rounds 10-41: Using the chart for colour changes repeat the set pattern.
Change to Linen.
Rounds 42-51: Repeat Round 2
Fasten off and weave in ends.
SIDE TIES
Make 2 side ties to shape the top of your bag as follows:
Foundation chain: ch41
Row 1: sc in 2nd ch from hook and each across [40]
You can make these ties as long or short as you’d like to.
Locate the 18 stitches on either side of the bag and thread the ties through these stitches, making sure they also pass through a stitch in the middle of those 18 stitches to fold the side of the bag up.
SEW ON STRAPS
Position your straps where you would like them and carefully sew in place on either side of the bag using embroidery thread.
Join HanJan and Share Your Crochet!
I’d love to stay connected with you so please do sign up for my subscriber list if you’d like to. Looking forward to hearing from you and sending you your free gift!
Thank you so much for being here to share in my free crochet patterns and supporting my blog. It’s such an honour to be able to create and share my craft with you.
I’d love to see your finished crochet projects and so please share them with me in one (or all!) of the following ways:
- Share a picture on Instagram and tag me #hanjancrochet
- Share your projects on Ravelry
- Share your projects on LoveCrafts
- Share a picture in the HanJan Crochet Facebook group