This post may contain affiliate links. Please see my full disclosure and privacy policy for details.
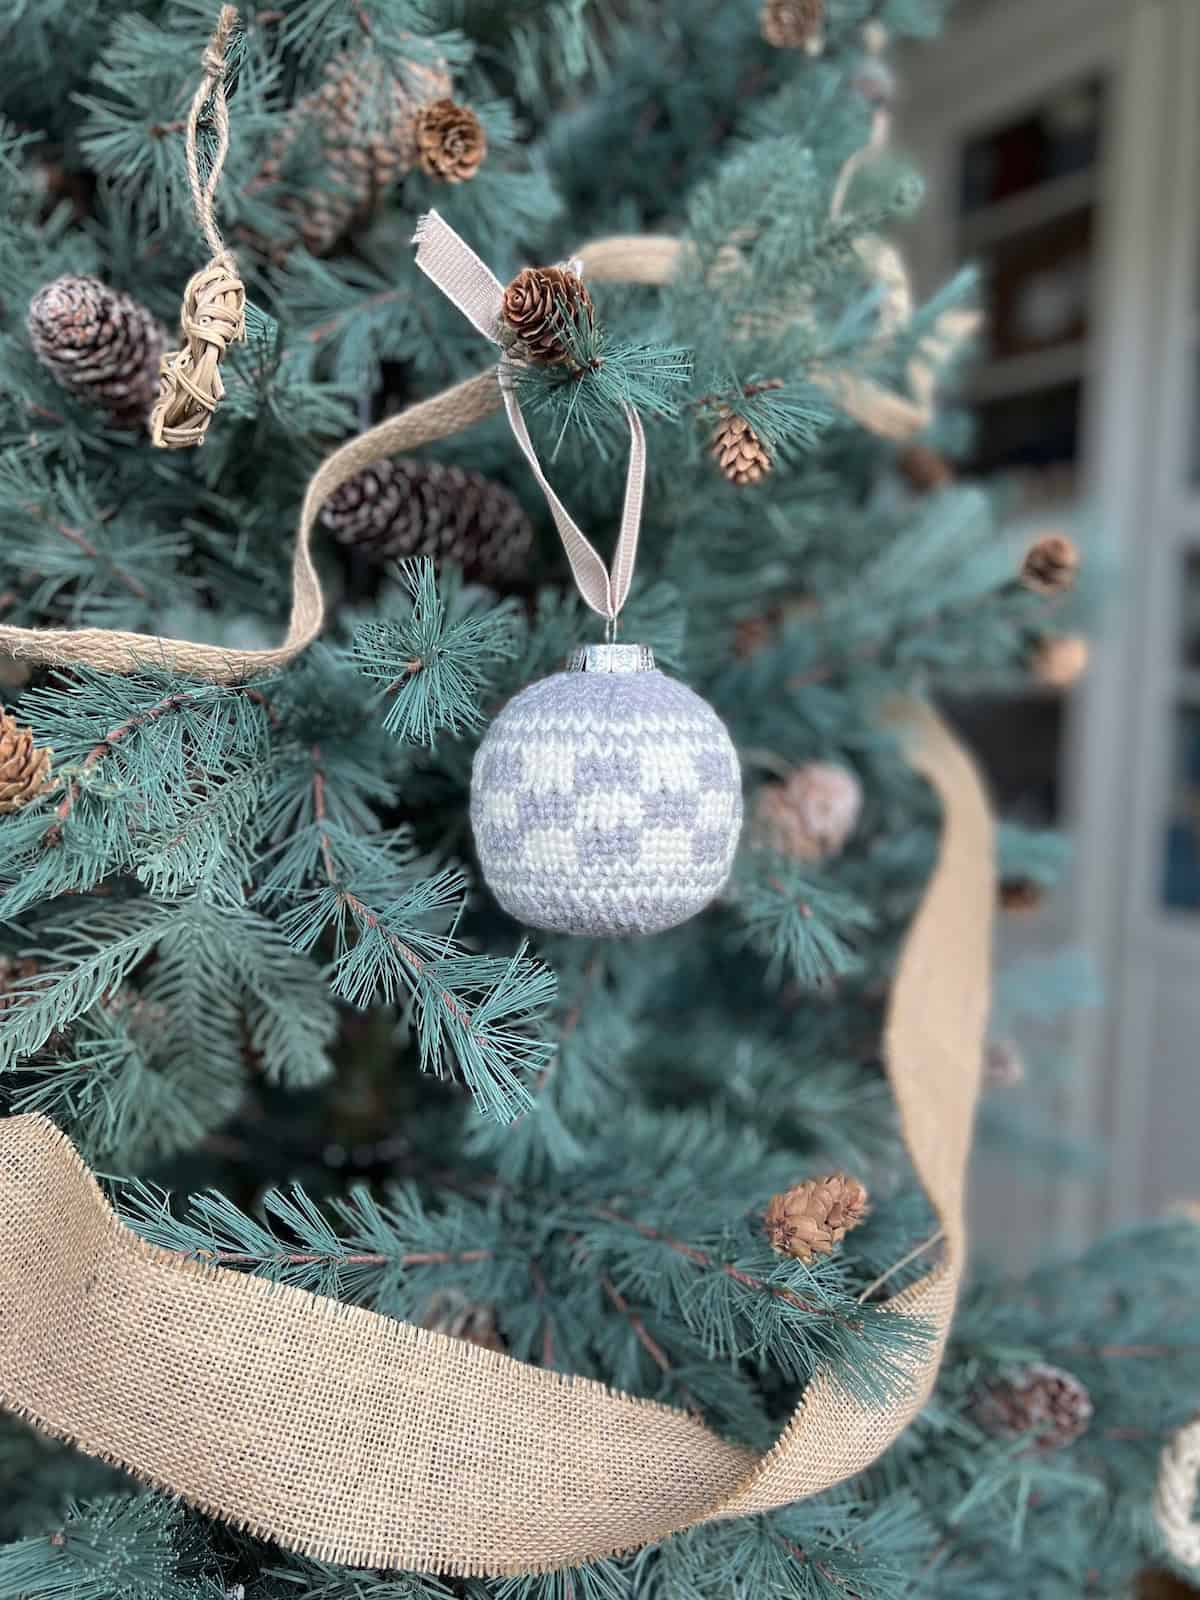
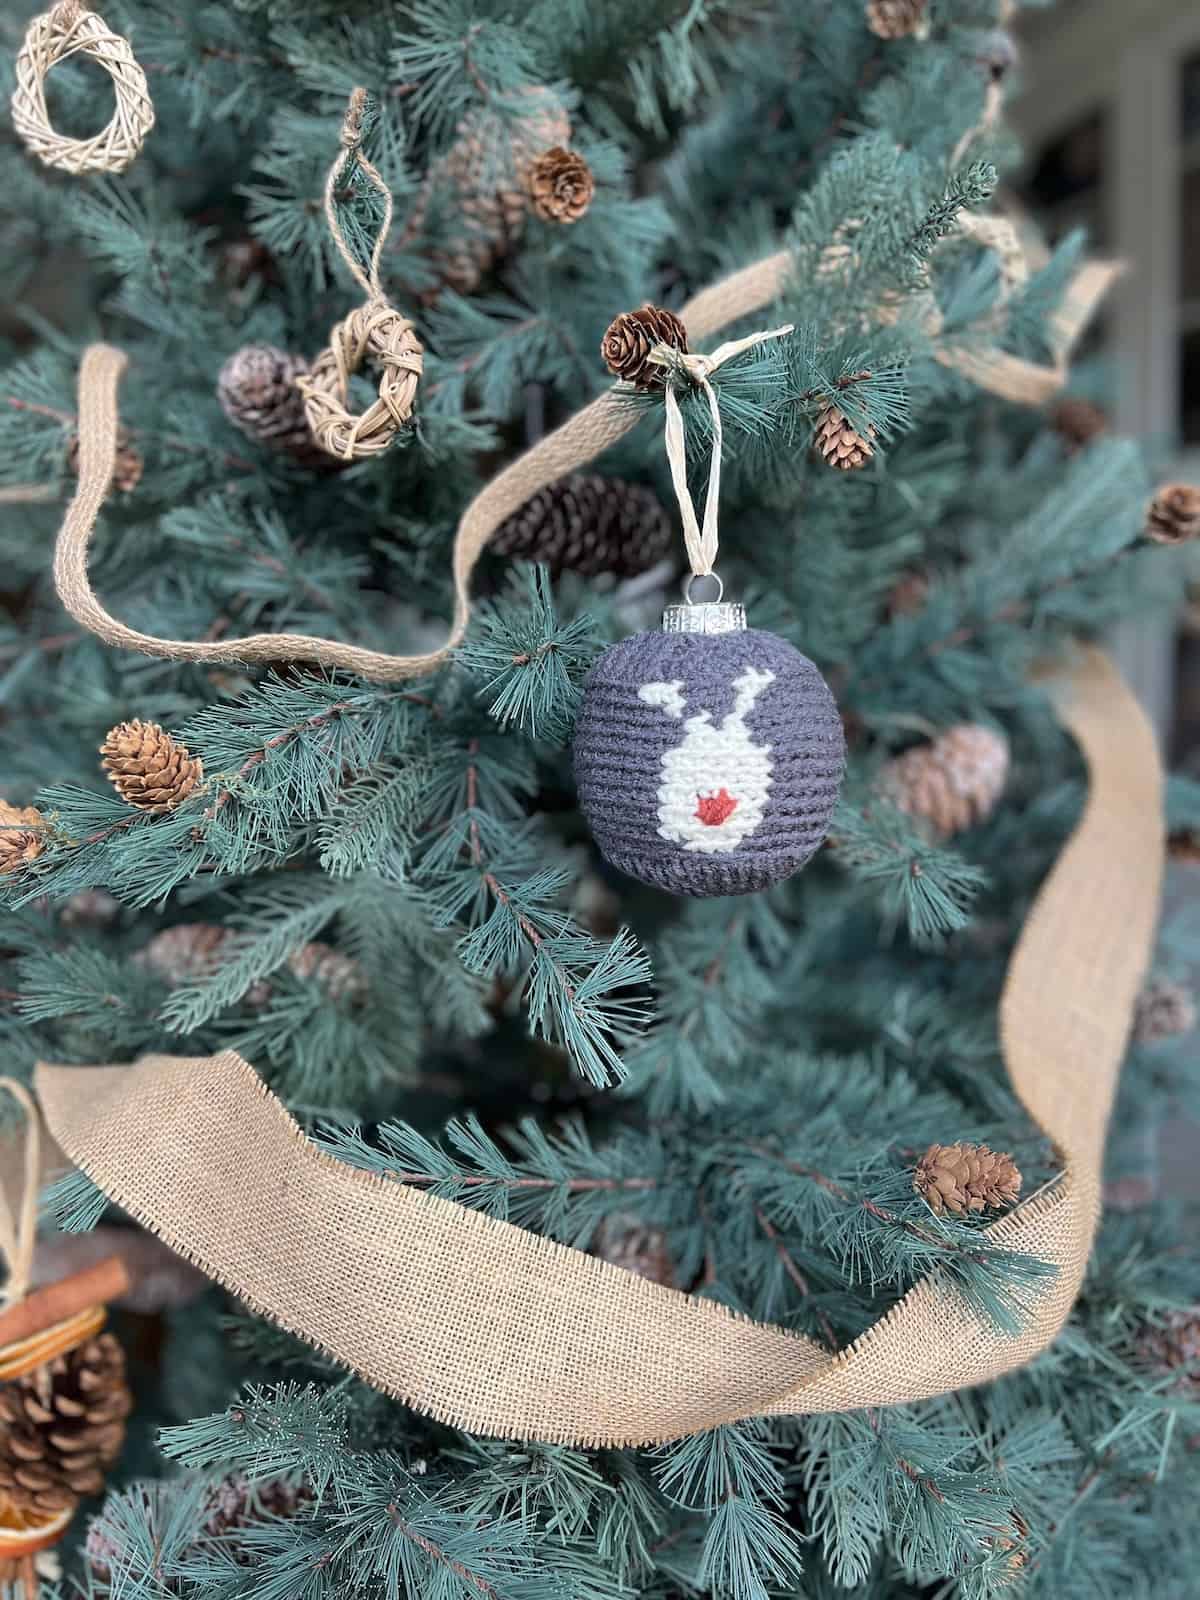
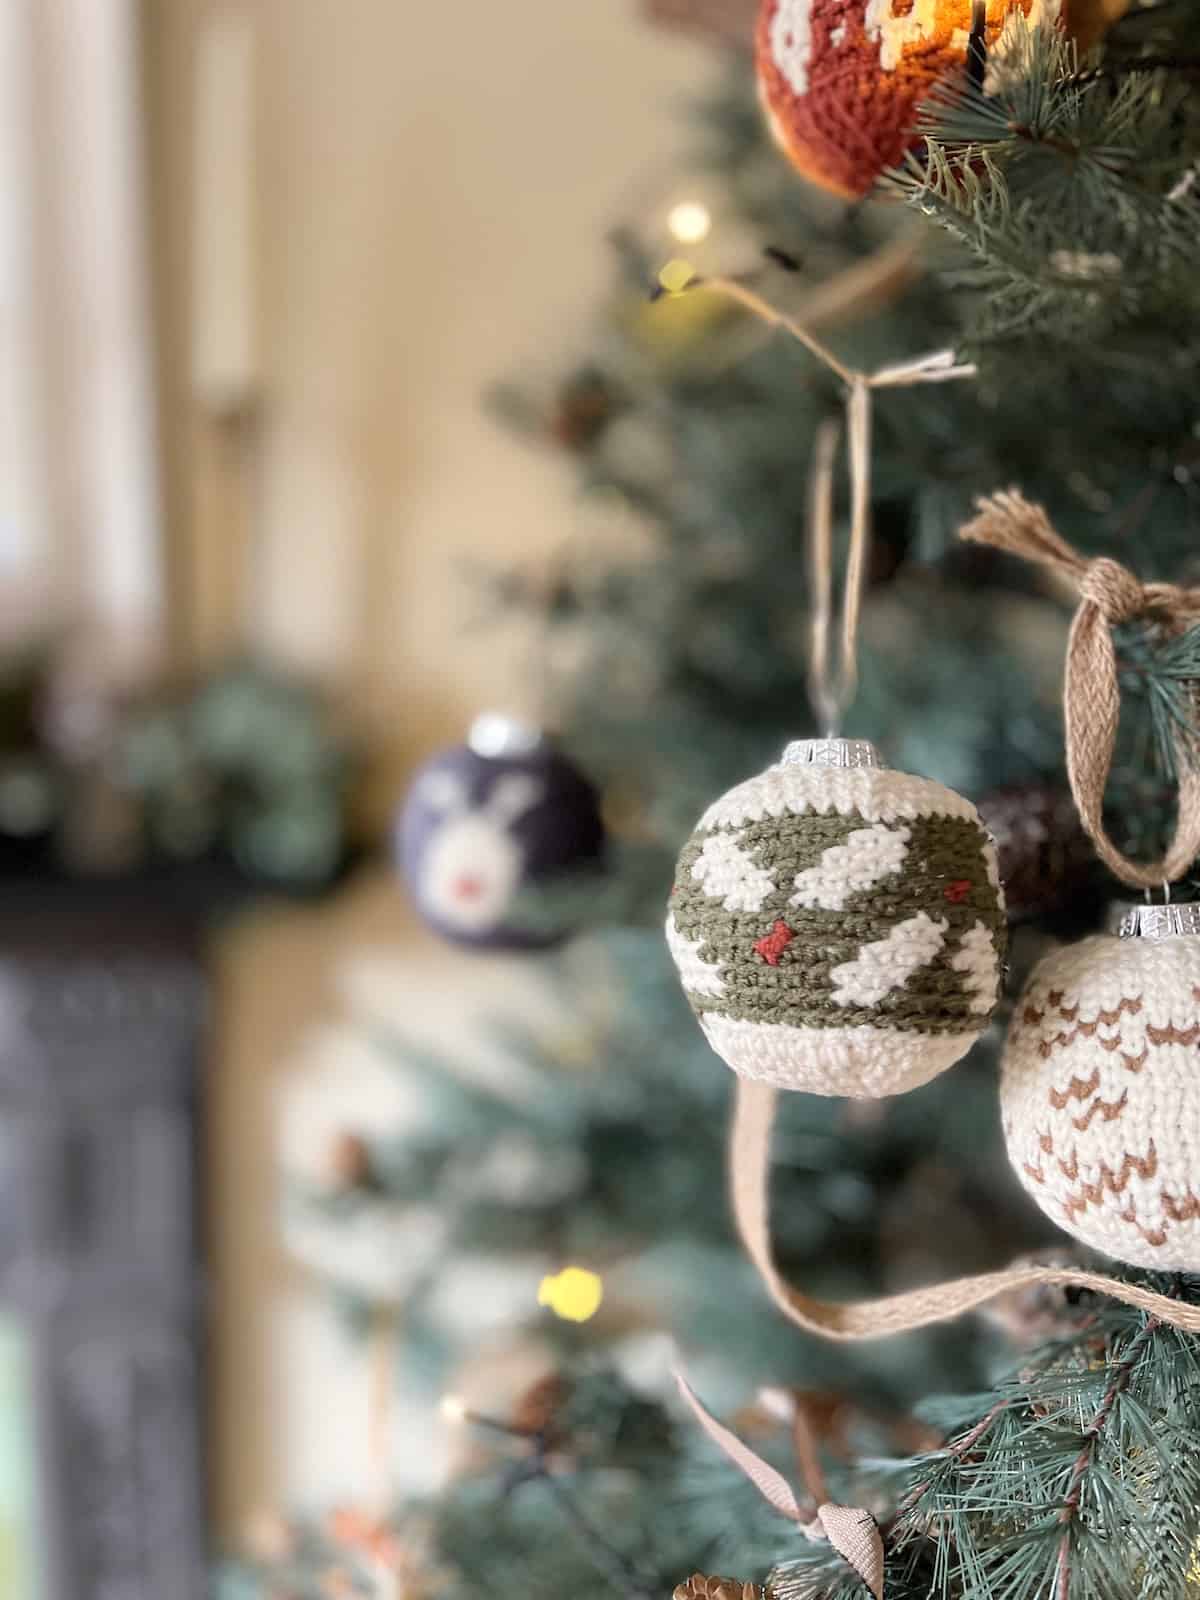
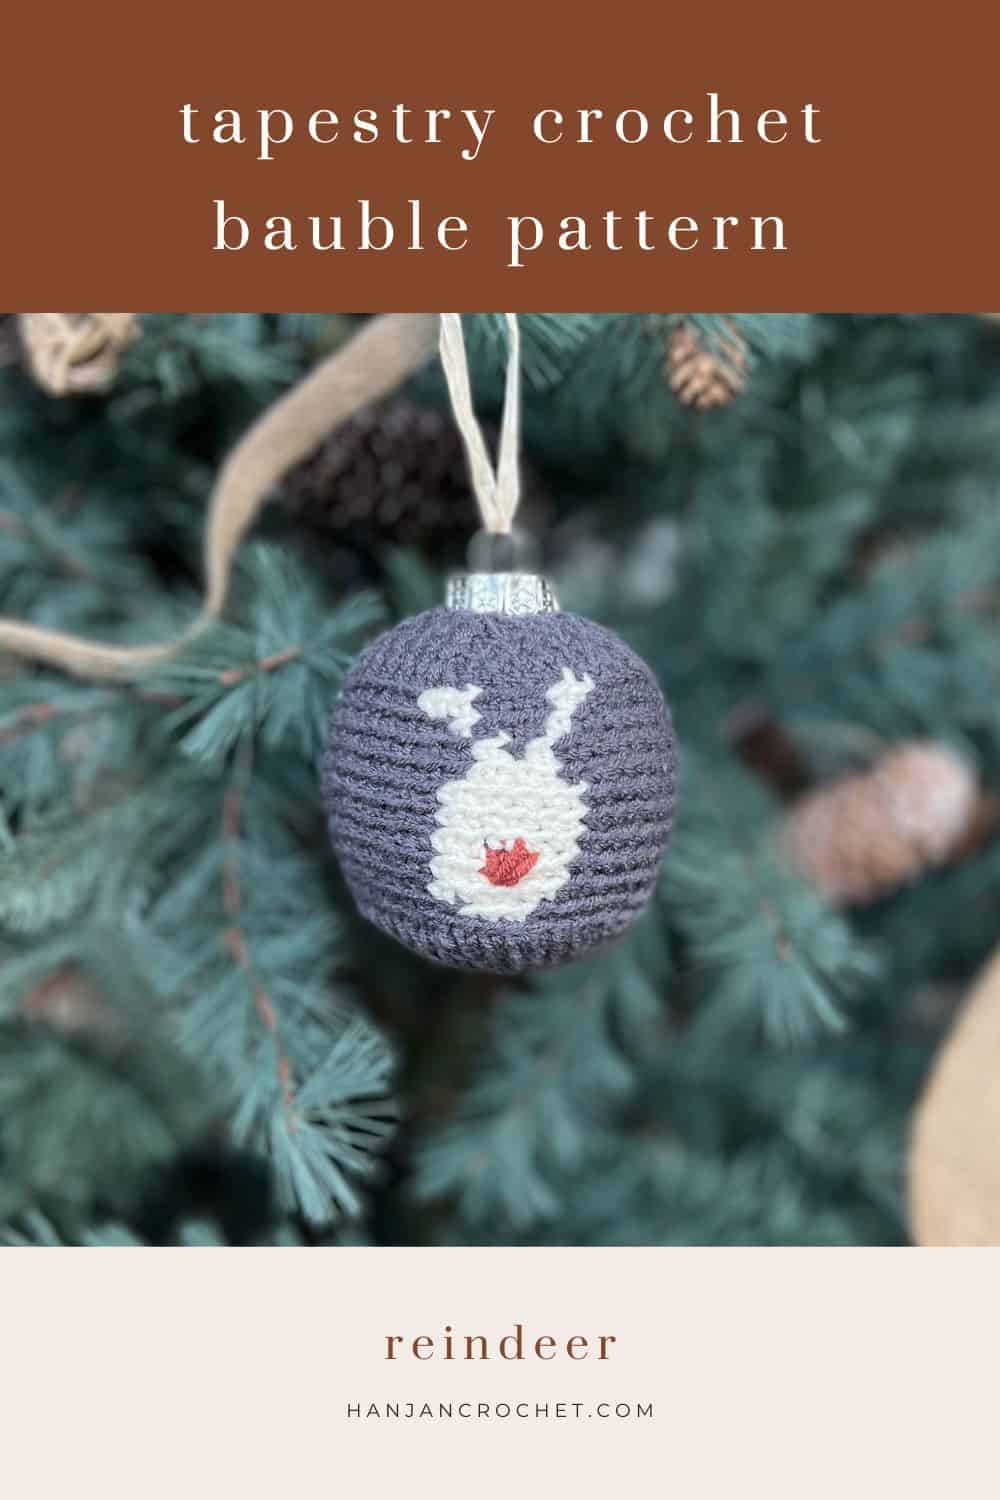
Do you love creating quick, easy and cite crochet decorations for the festive season like me? I’m excited to share my next design in my new collection of bauble patterns with you – a crochet reindeer decoration pattern!
This one has a few little reindeer faces on it and a little pop of colour for the nose which you can make as big as you like!
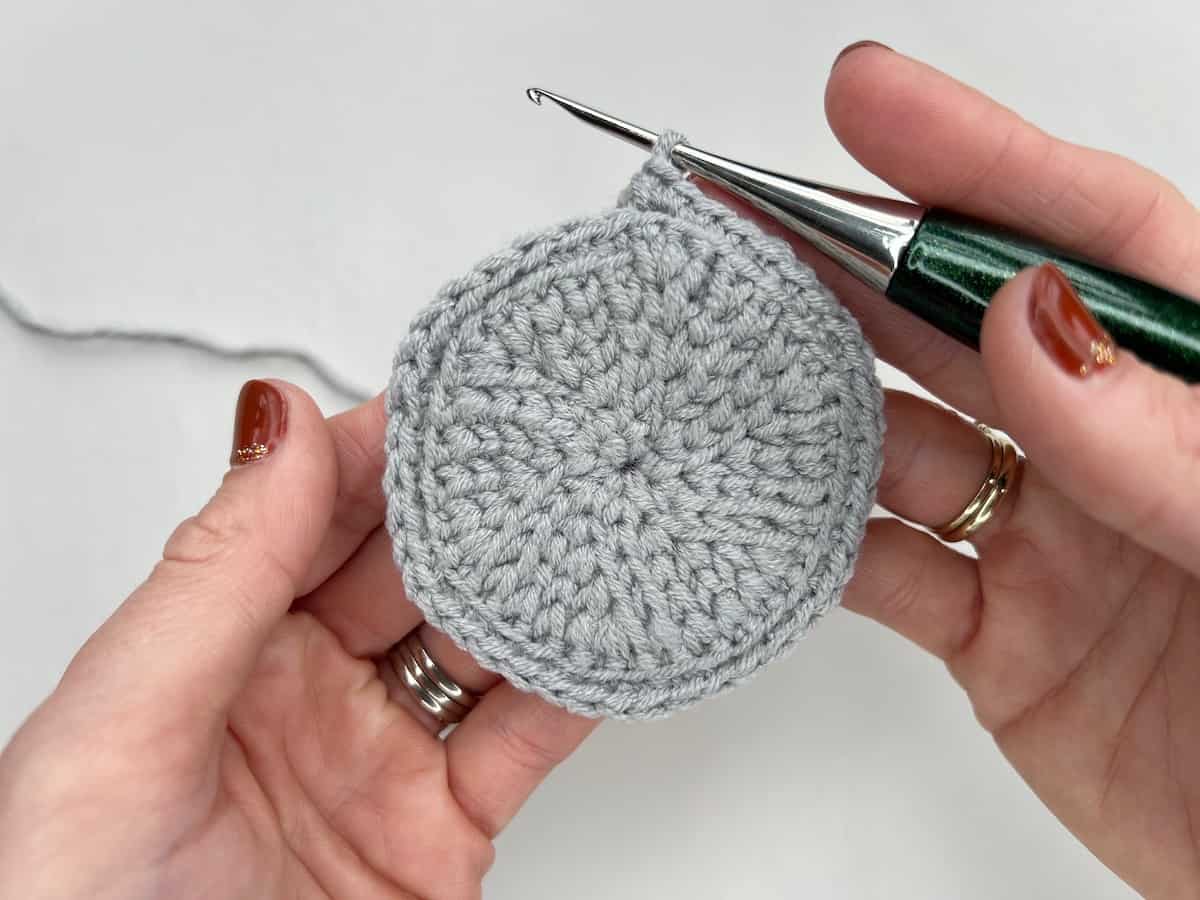
Made in rounds it uses split crochet stitches at the bottom and top then single crochet in the back loop only for the tapestry section. You can either pop a ready made bauble in it like I have or stuff it to create the shape.
Want to remove Ads?
- Get ad-free access on all posts; 200+ patterns & tutorials!
- Member-only resource library with downloadable PDF guides
- Bonus eBook (Worth over $30)
Table of Contents
More about the Reindeer Crochet Decoration Pattern
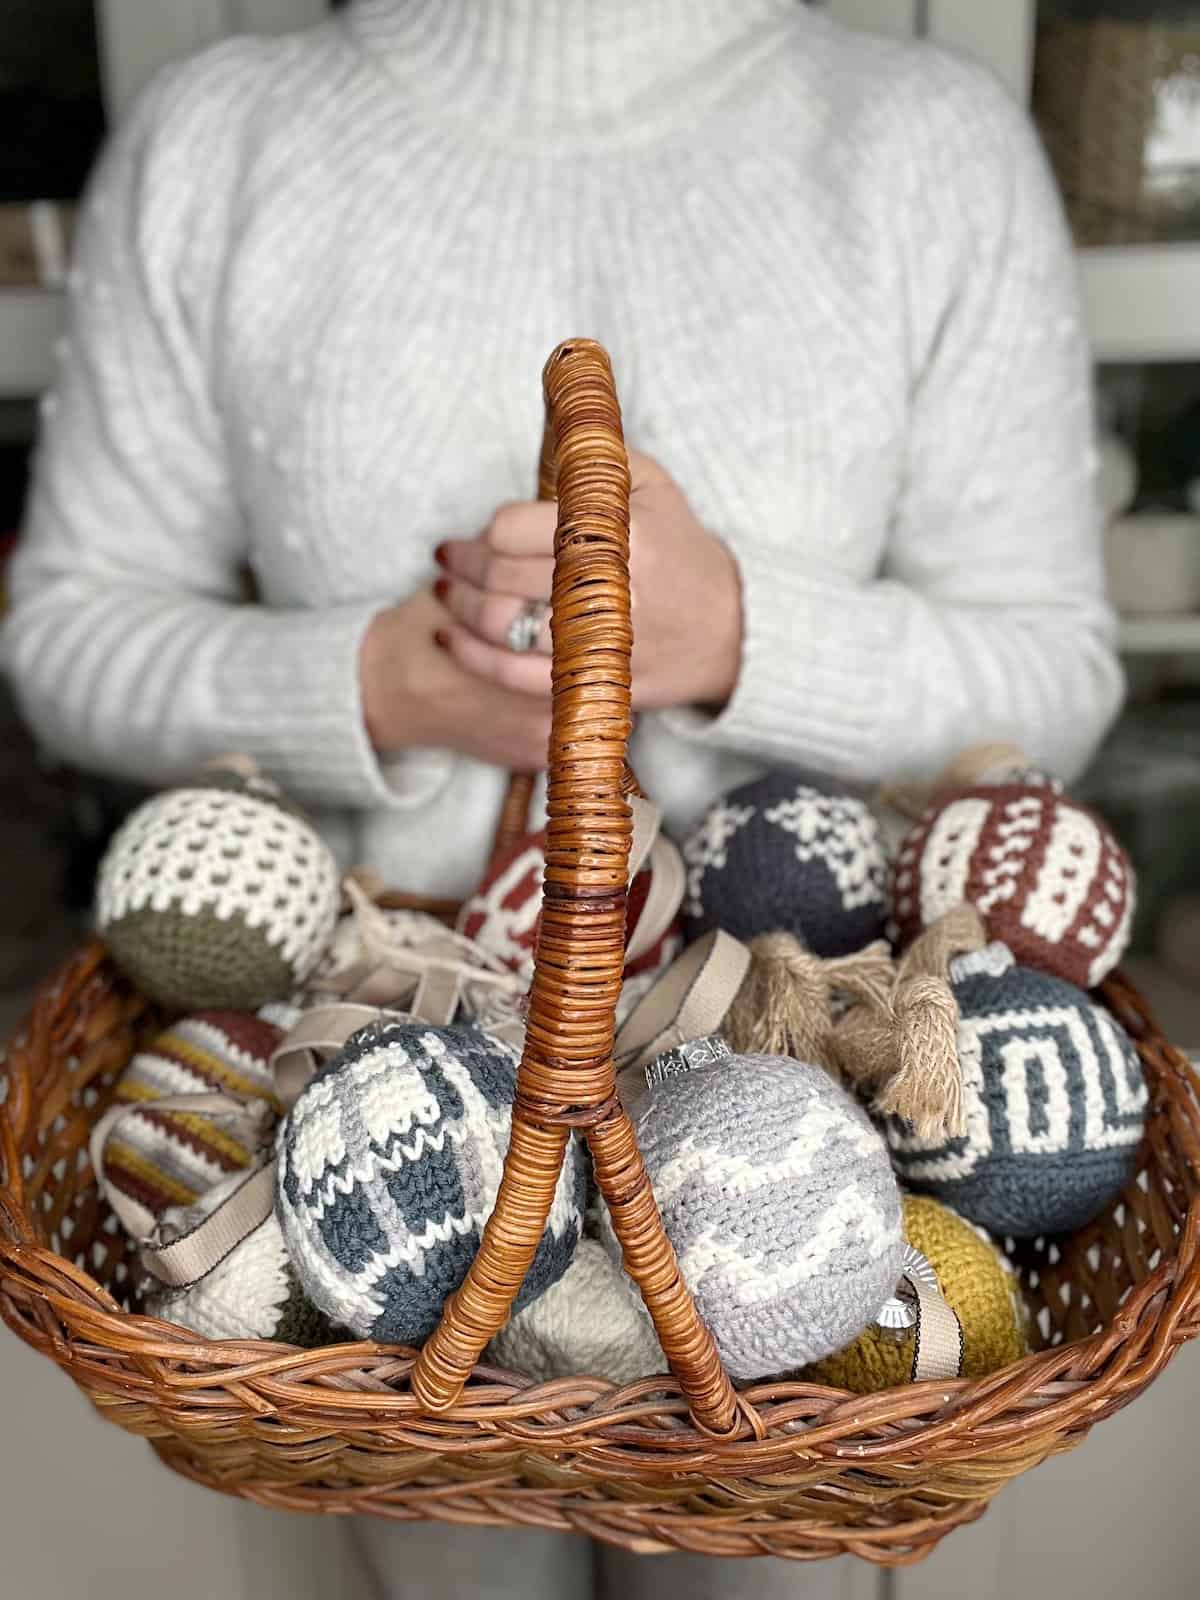
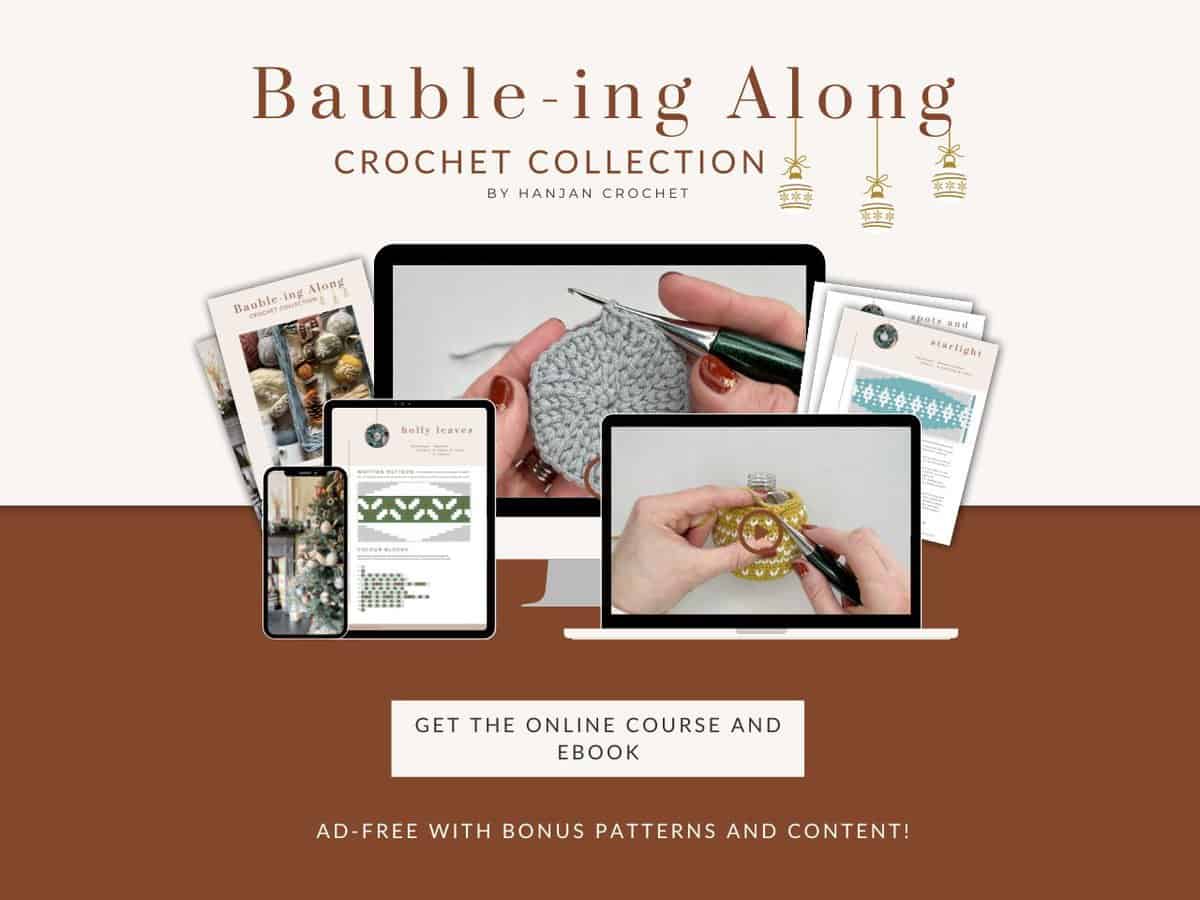
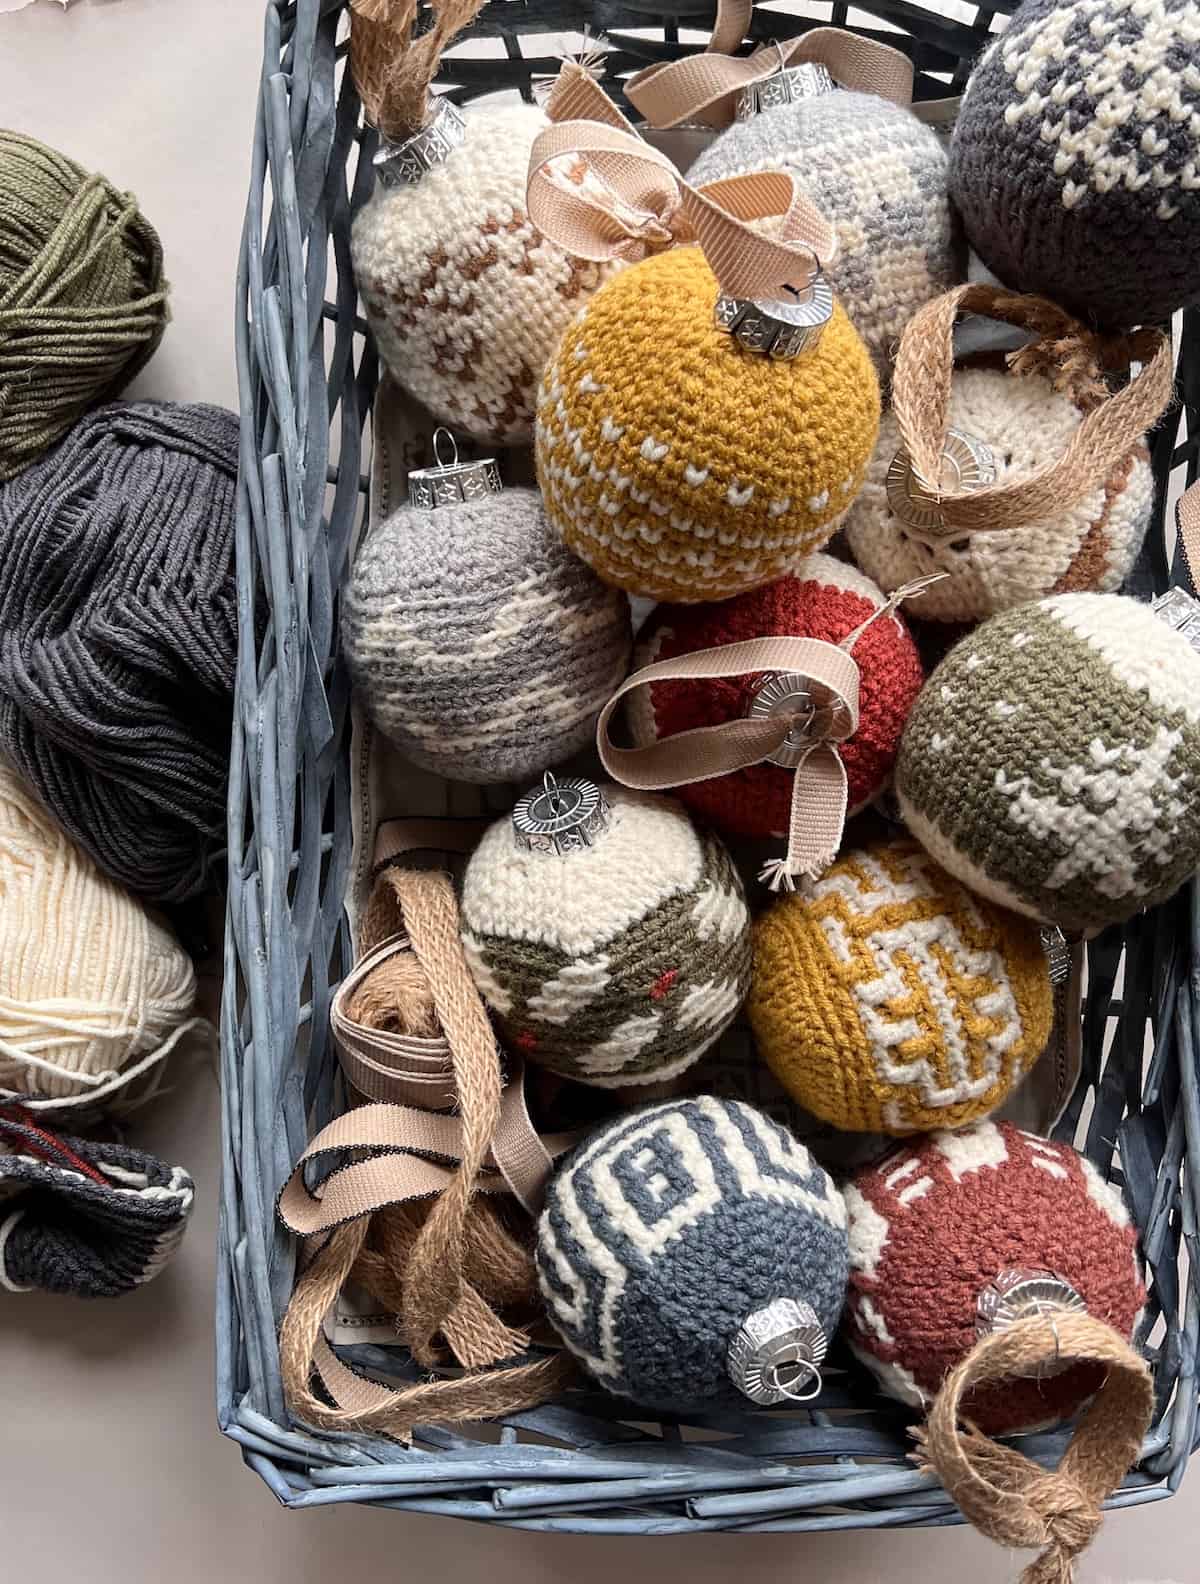
The bauble pattern collection has 21 different designs and so a great mix of styles in it! Some have repeating geometric patterns, some have images like this one and others have words.
Whilst designing them I asked our youngest son Oliver what he would like on his and he said ‘reindeer!’ and so of course, that’s what he got!
You can make yours in any colour you like to match your theme. Oliver chose these for me and of course the red nose!
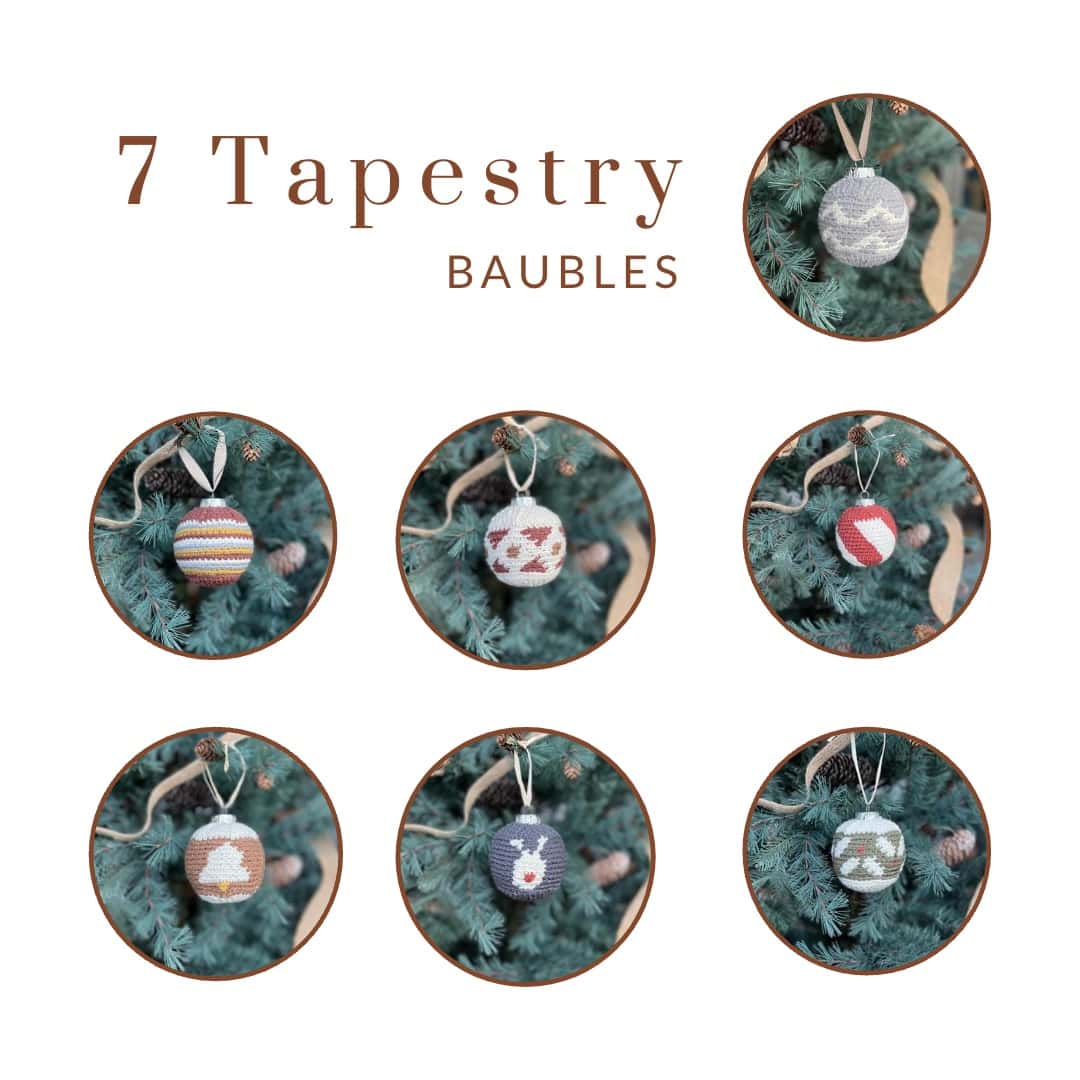
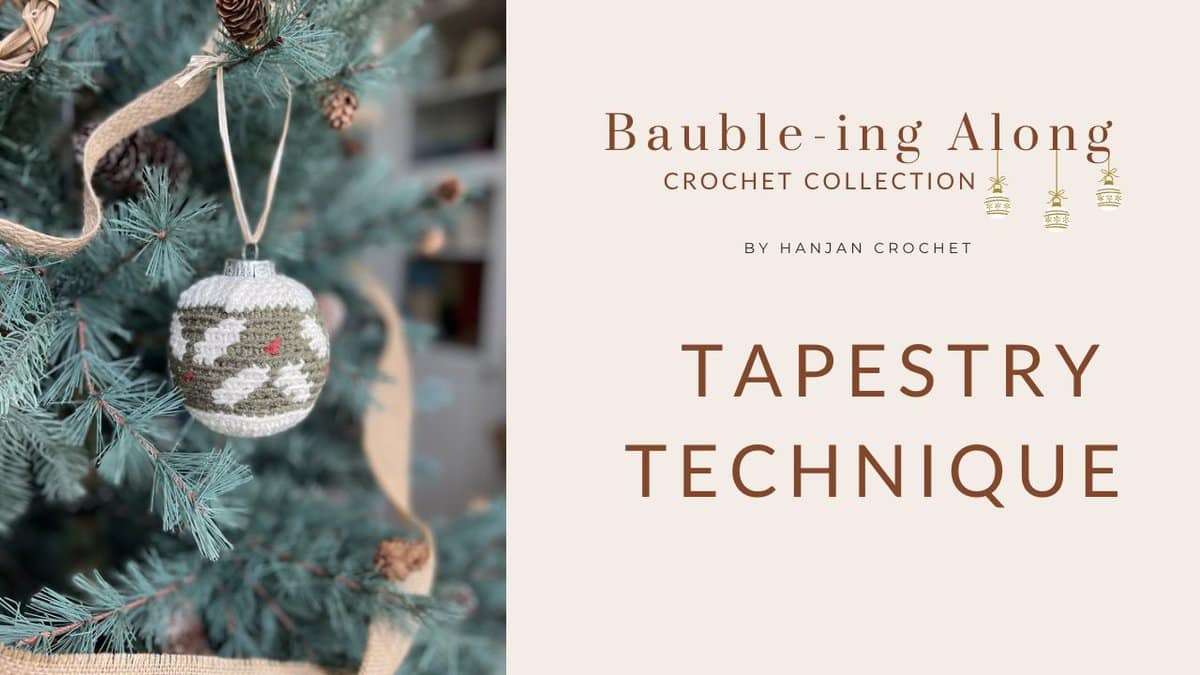
More about Tapestry Crochet Baubles
I designed 7 tapestry crochet bauble patterns in all (along with 7 Fair Isle and 7 mosaic ones) and love all of them!
Tapestry crochet is such a great technique that only uses beginner stitches in a really easy way to create awesome patterns and images on your work.
The only stitch you’ll need to know for the tapestry section of the baubles is a single crochet stitch worked in the back loop only.
Here are the other baubles in the collection to show you how fun the technique can be!
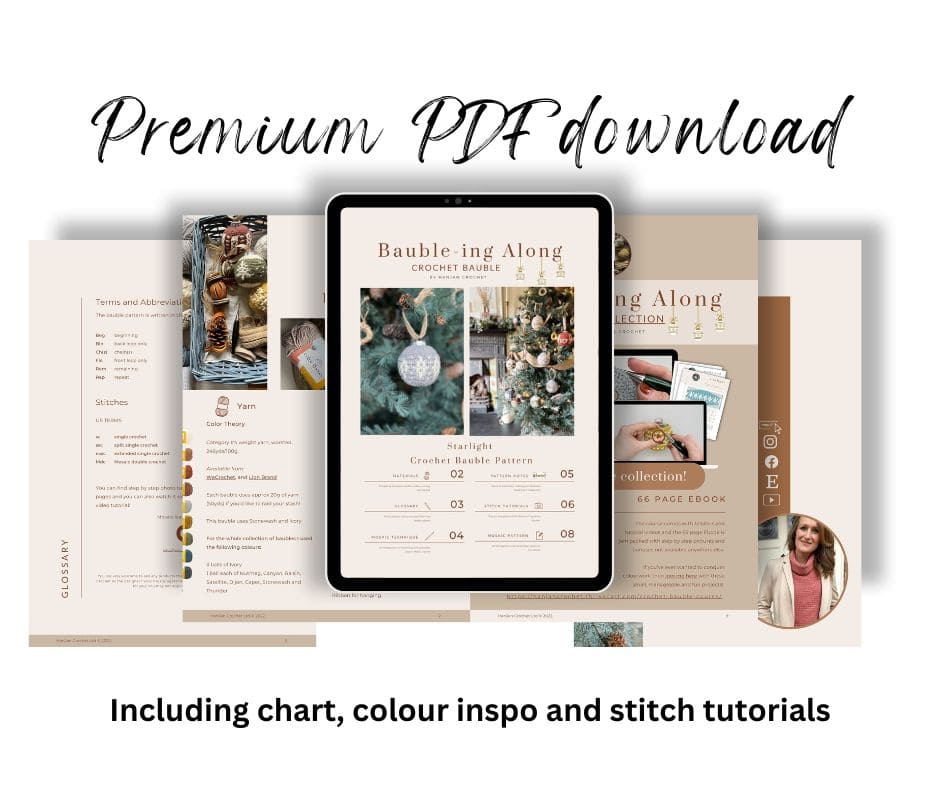
Scroll down to find a free version of the pattern to view, or purchase an ad-free, printable PDF Ebook of all 21 bauble patterns with charts and written colour block changes in the collection here:
Purchase the Ebook
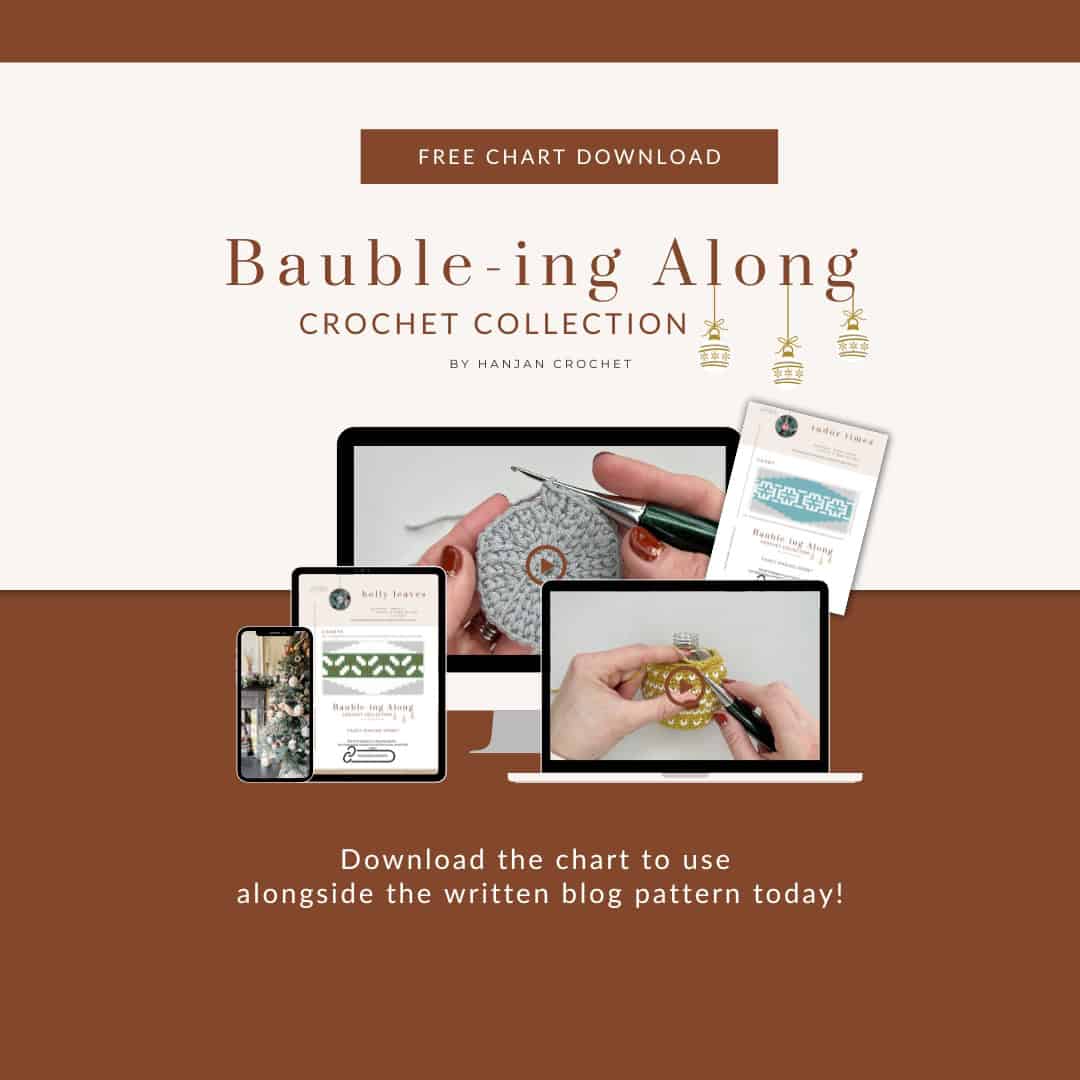
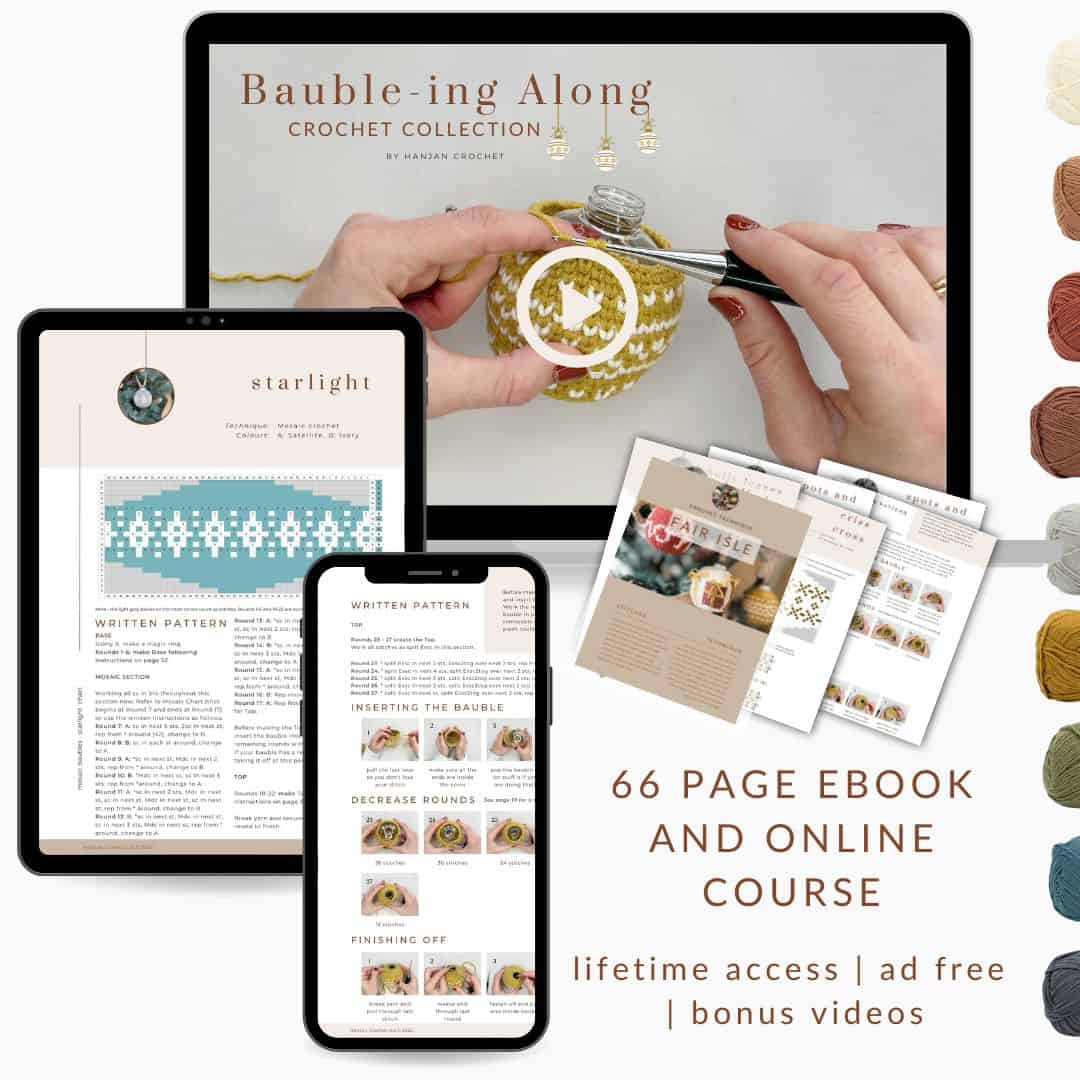
If you’d rather have everything all in one place then you can get the 66 page Ebook with extra step by step tutorials, technique classes and 3 bonus patterns! Get your copy here:
Purchase the Ebook and Course
The Ebook is great but what if I told you I’ve made ad-free video tutorials and created a course for you to work through at your own pace with lifetime access? Upgrade for all the crochet goodies here:
Yarn
To make my version of the crochet bauble decoration I used Color Theory yarn, 100% acrylic, 246yds/100g, Category #4 weight.
Each bauble uses approx 20g of yarn (50yds) if you’d like to raid your stash!
For the whole collection of baubles I used the following colours:
3 balls of Ivory
1 ball each of Nutmeg, Canyon, Raisin, Satellite, Dijon, Caper, Stonewash and Thunder
Yarn Substitutes
Here are some that I think would work really well for this pattern in various price ranges:
- Lion Brand Heartland:100% acrylic; 252yds, 230m/140g
- Sirdar Country Classic Worsted: 50% wool, 50% acrylic; 218yds, 200m/100g
- Swish Worsted by WeCrochet: 100% superwash merino wool, 110yds, 100m/50g
Sizing
My baubles cover an 8cm/3.15″ plastic bauble with slight negative ease.
Other Materials
Along with your yarn, you will need the following:
- A 2.75mm (C) crochet hook – my favourites are Clover Soft Touch or Furls Odyssey
- 8cm/3.15″ plastic baubles available here in a pack of 24: Fillable plastic baubles
- Alternatively, you could cover existing baubles that you have at home.
- You could also use Fibre Fill to stuff them or scraps of yarn ends! You just need to make sure to stuff them really full to get a good shape.
- Pair of sharp scissors
- Needle
- Ribbon for hanging
Don’t forget to join HanJan Crochet to receive regular discount codes (and more free patterns!) and Pin this free crochet bauble pattern to your crochet Pinterest board!

Video Tutorial
Step by Step Video Tutorial
You can watch a video tutorial for the tapestry crochet bauble technique here
Crochet Terms You’ll Need to Know
Glossary and Abbreviations
ch(s) – chain(s)
sp – space
ss – slip stitch
RS – right side
WS – wrong side
sk – skip
rep – repeat
yoh – yarn over hook
blo – back loop only
flo – front loop only
rem – remaining
tog – together
Crochet Stitches
The stitches used in the baubles are as follows:
sc – single crochet (UK dc – double crochet)
exsc – extended single crochet (UK exdc – extended double crochet)
Special Stitches
The baubles use basic stitches but worked in perhaps a new way. It’s great fun and not much of a change to create something really different!
Extended split single crochet
Insert hook into the centre (between the ‘legs’) of stitch. Yarn over and pull through a loop. Yarn over and pull through one loop on the hook. Yarn over and pull through both loops on the hook.
Extended split single crochet 2 together
Insert hook into the centre (between the ‘legs’) of stitch. Yarn over and pull through a loop. Yarn over and pull through one loop on the hook. Insert hook into the centre (between the ‘legs’) of next stitch. Yarn over and pull through a loop. Yarn over and pull through one loop on the hook. Yarn over and pull through all loops on the hook.
Single crochet in the back loop only
Insert hook into back loop of next stitch. Yarn over and pull through a loop. Yarn over and pull through both loops on the hook.
Before you dive into crocheting your bauble, take a moment to read through the pattern notes—it’s a game-changer!
These handy insights will not only simplify your pattern-reading journey but also ensure a smoother crochet experience. You’ll find helpful tips on deciphering the sizing, transitioning yarn colours, and tips on turning your work.
Trust me, a quick peek at these notes will set you up for crochet success!
- The Tapestry baubles are worked in continuous rounds with increases until Round 7, a set amount of 42 sts until Round 17 and then decreases until Round 22 to complete.
- Always change yarn on the the last ‘yarn over and pull through’ when you need to change colour.
- All stitches in the Tapestry Section are worked as back loop only (blo) single crochet.
- Carrying your colours across the back of the work is a great idea! These are known as ‘floats’. make sure to catch your floats regularly in long sections that don’t use that colour to avoid them pulling too tight.
- A ch1 at the beginning of a Round does not count as a stitch.
- The pattern is written in standard US crochet terms.
Reindeer Crochet Bauble Pattern
There are a few options for you to access and enjoy this crochet pattern:
- View the free pattern on the blog – all blog subscribers will be able to view the patterns supported by ads by logging into their Grow account.
- Purchase the individual pattern on Etsy or Ravelry as a beautifully formatted PDF with extra stitch charts, schematic and colour information page and more!
Don’t fancy waiting for the patterns?
Get them all in one place today!
Upgrade to the ad-free PDF download
Perfect to print out or use on any device, with added schematic and charts, colour inspiration and stitch tutorials
Copyright Notice
The Reindeer Bauble Crochet Pattern and its contents are fully owned and copyrighted by HanJan Crochet Ltd., and all rights are reserved.
This pattern is protected by copyright and other intellectual property laws and may not be reproduced, distributed, or transmitted in any form or by any means without the prior written consent of the author (Hannah Cross of HanJan Crochet Ltd).
Unauthorised distribution or reproduction of this pattern or elements of the instructions is strictly prohibited. The free to view crochet pattern is intended for personal viewing only. By accessing this pattern, you acknowledge and agree to comply with these copyright terms and conditions.
Pattern Support
I am delighted to invite you to join the HanJan Crochet Community Facebook Group where we host all pattern support queries and love to see your progress, yarn choices and finished projects!
Crochet Pattern Free for Blog Subscribers to View
US Terminology
Pattern Gauge
Tension isn’t essential for this project so just make sure to match up the Base to your bauble so that you know it will fit before working the main body.
If you are going to stuff your baubles then you don’t need to worry about tension at all and they can be as big or small as you like 🙂
To unlock Exclusive Content on the HanJan Crochet Blog, all you need to do is click the box below and the Grow.me app will pop up, allowing you to enter your email and create a password.
Once you’ve created an account, every time you see Exclusive Content on my blog (or any others that use Grow), simply login to your Grow account. Be sure to switch to the login screen to enter your login credentials.
If you forget your password, click the “forgot password” link and follow the prompts. Please note that I’m unable to assist with resetting Grow passwords or accessing your Grow account, so be sure to save your login information in a safe place.
Thank you for subscribing and for joining me at HanJan Crochet! I hope you enjoy the exclusive content available on the site and I can’t wait to see what you create 🙂
Using 3 colours of your choice: A, B and C. I used A: Thunder, B: Ivory, C: Canyon.
BASE
Work all stitches as split Exsc in this section using B.
Make a magic ring.
Round 1: 6 Exsc into the ring [6].
Round 2: 2 split Exsc into each stitch around [12].
Round 3: * split Exsc in next st, 2 split Exsc in next st; rep from * around [18].
Round 4: * split Exsc in next 2 sts, 2 split Exsc in next st; rep from * around [24].
Round 5: * split Exsc in next 3 sts, 2 split Exsc in next st; rep from * around [30].
Round 6: * split Exsc in next 4 sts, 2 split Exsc in next st; rep from * around [36].
To download your basic chart all you need to do is click on the button below that says ‘DOWNLOAD THE CHART’
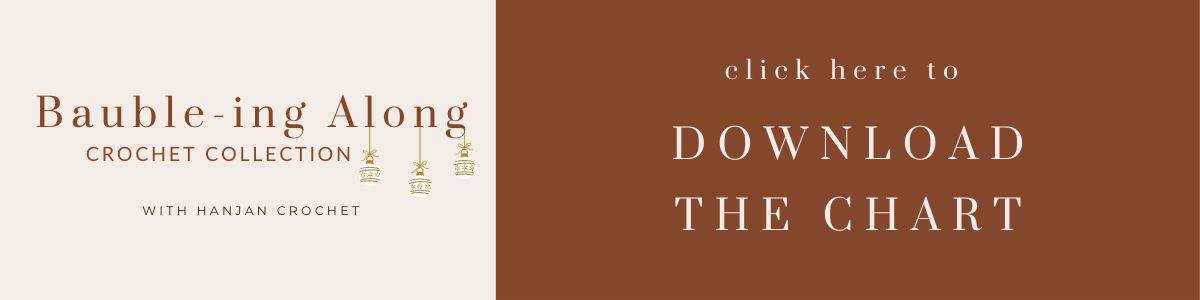
The PDF will open up in another tab for you and you can save it to your device however you would normally with a download and then print it off too if you would like.
TAPESTRY SECTION
Work all stitches as sc in blo in this section working colour changes as follows.
At the end of each Round ss in 1st st to join.
At the beginning of each Round ch1 to begin (this does not count as a st).
Round 7: (A) sc in blo next 5 sts, 2sc in blo next st; rep from * around [42]
Round 8: (A) x 2, (B) x 3, (A) x 11, (B) x 3, (A) x 11, (B) x 3, (A) x 9
Round 9: (A) x 1, (B) x 5, (A) x 9, (B) x 5, (A) x 9, (B) x 5, (A) x 8
Round 10: (A) x 1, (B) x 2, (C) x 1, (B) x 2, (A) x 9, (B) x 2, (C) x 1, (B) x 2, (A) x 9, (B) x 2, (C) x 1, (B) x 2, (A) x 8
Round 11: (A) x 1, (B) x 5, (A) x 9, (B) x 5, (A) x 9, (B) x 5, (A) x 8
Round 12: (A) x 1, (B) x 5, (A) x 9, (B) x 5, (A) x 9, (B) x 5, (A) x 8
Round 13: (A) x 1, (B) x 5, (A) x 9, (B) x 5, (A) x 9, (B) x 5, (A) x 8
Round 14: (A) x 2, (B) x 3, (A) x 11, (B) x 3, (A) x 11, (B) x 3, (A) x 9
Round 15: (A) x 2, (B) x 1, (A) x 1, (B) x 1, (A) x 11, (B) x 1, (A) x 1, (B) x 1, (A) x 11, (B) x 1, (A) x 1, (B) x 1, (A) x 9
FREE CHART DOWNLOAD 🙂
Would you like to download the chart for this bauble to work alongside the written pattern on the blog? For a limited time only you can find it here:
And now it’s time to go collect the rest! Next up is this art deco crochet bauble pattern with straight swirls.
Round 16: (A) x 1, (B) x 1, (A) x 3, (B) x 1, (A) x 9, (B) x 1, (A) x 3, (B) x 1, (A) x 9, (B) x 1, (A) x 3, (B) x 1, (A) x 8
Round 17: (B) x 2, (A) x 3, (B) x 2, (A) x 7, (B) x 2, (A) x 3, (B) x 2, (A) x 7, (B) x 2, (A) x 3, (B) x 2, (A) x 7
TOP
Before making the Top, weave in ends and insert the bauble into the cover. Work the remaining rounds with the bauble in place. If your bauble has a removable cap then taking it off at this point could be helpful.
Round 18: using B * Exsc in blo in next 5 sts, Exsc2tog in blo over next 2 sts; rep from * around [36].
Work all stitches as split Exsc in this section using B.
Work all stitches from now on as split Exsc.
Round 19: * split Exsc in next 4 sts, split Exsc2tog over next 2 sts; rep from * around [30].
Round 20: * split Exsc in next 3 sts, split Exsc2tog over next 2 sts; rep from * around [24].
Round 21: * split Exsc in next 2 sts, split Exsc2tog over next 2 sts; rep from * around [18].
Round 22: * split Exsc in next st, split Exsc2tog over next 2 sts; rep from * around [12].
TO FINISH
Weave in ends and add a ribbon to hang if desired.
Join HanJan and Share Your Crochet With Us!
I’d love to hear from you and see your HanJan Crochet project! Here’s where you can do that:
📌 PIN THIS POST – save it to your Pinterest crochet board so you can come back to it again and make more!
↗️ SHARE – Share your yarn choices, progress pics, and finished projects on Facebook or Instagram (make sure to use the hashtag) #hanjancrochet
🧶 JOIN – Join thousands of amazing crafters in the HanJan Crochet Community Group on Facebook ready to cheer you on!
✉️📩📬 SUBSCRIBE – It’s an honour to be able to create and share my free crochet patterns with you. I’d love to stay connected and send you regular discount codes and free patterns! Please sign up for my subscriber list to get a free gift right now!
Ready to take your colour work to the next level?
Join me for the entire course!
Packed with videos, tutorials, charts, colour blocks; completely ad-free and lifetime access!
Looking for pattern support?
Not only will you find pattern support in the HanJan Crochet Facebook Community Group but we have over 16,200 like minded crocheters eager to chat with you!
It is a fun, supportive and educational group where we all support each other to be the best we can be. Everyone is always happy to share their knowledge and experience so do come and join us!
More Christmas Crochet Patterns You Might Enjoy
I adore crocheting Christmas decorations! They are so quick, easy and make perfect gifts. Here’s a few other of my designs you might like:
- Easy Crochet Stocking Pattern – with granny stitch detail!
- C2C Christmas crochet blanket – can be personalised with any name you like!
- Christmas Crochet Gnome Pattern – super cute and beginner friendly.
Congratulations on crocheting your very own reindeer crochet bauble! 🌟 Now that you’ve crafted this fun project, why stop here? Dive into my other fun Christmas Crochet Patterns each waiting to be transformed into your next crochet masterpiece.
Don’t forget to share your creations with me on social media—I love seeing your unique twists and colourful creations! Join our community of crochet enthusiasts, where we share tips, tricks, and plenty of crafting inspiration. So, grab your hooks, explore more patterns, and let’s continue this crochet adventure together! Happy stitching! 🧶✨