This post may contain affiliate links. Please see my full disclosure and privacy policy for details.
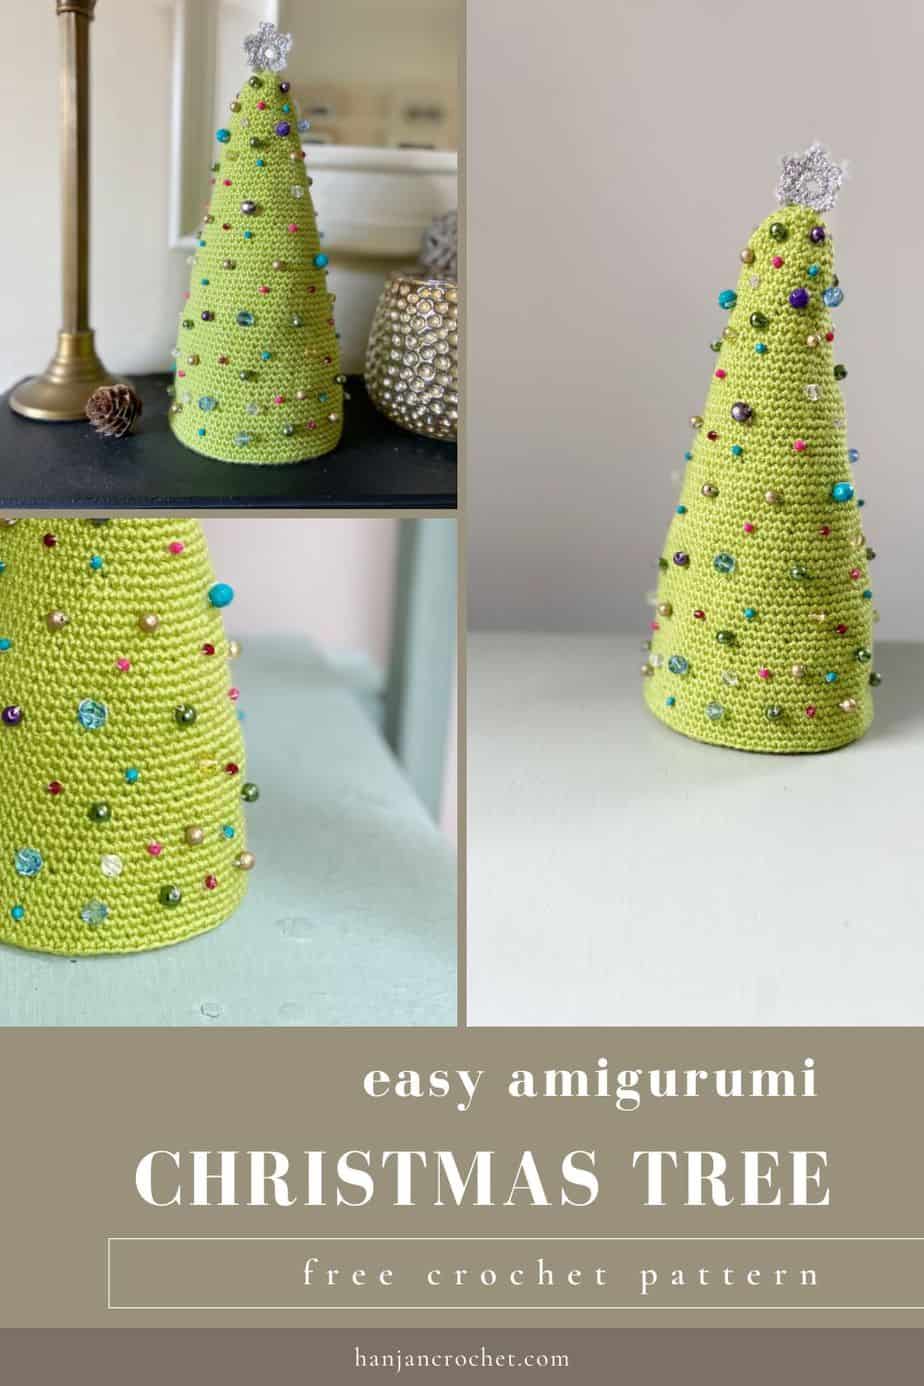
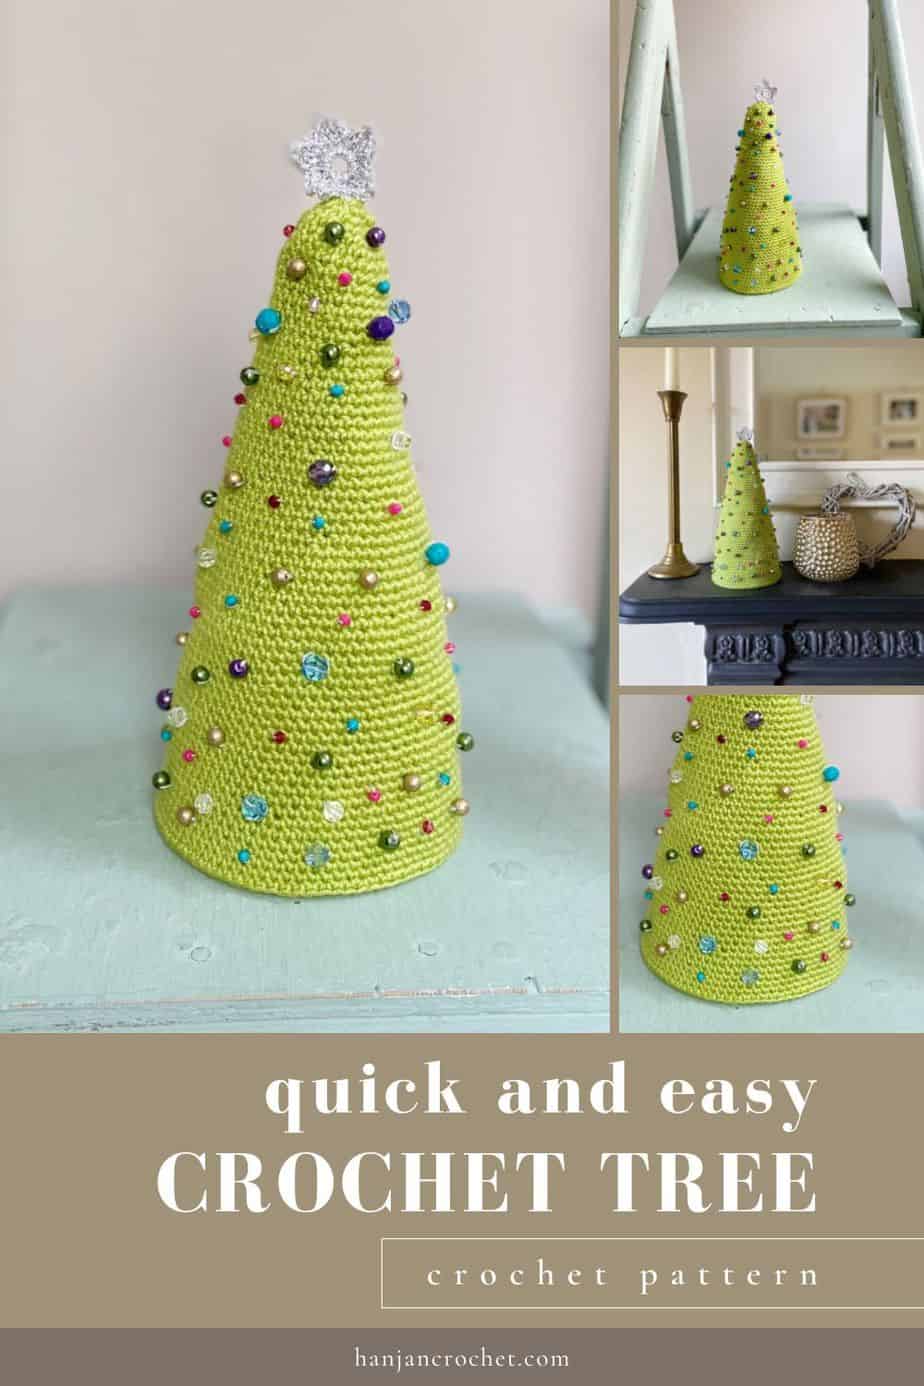
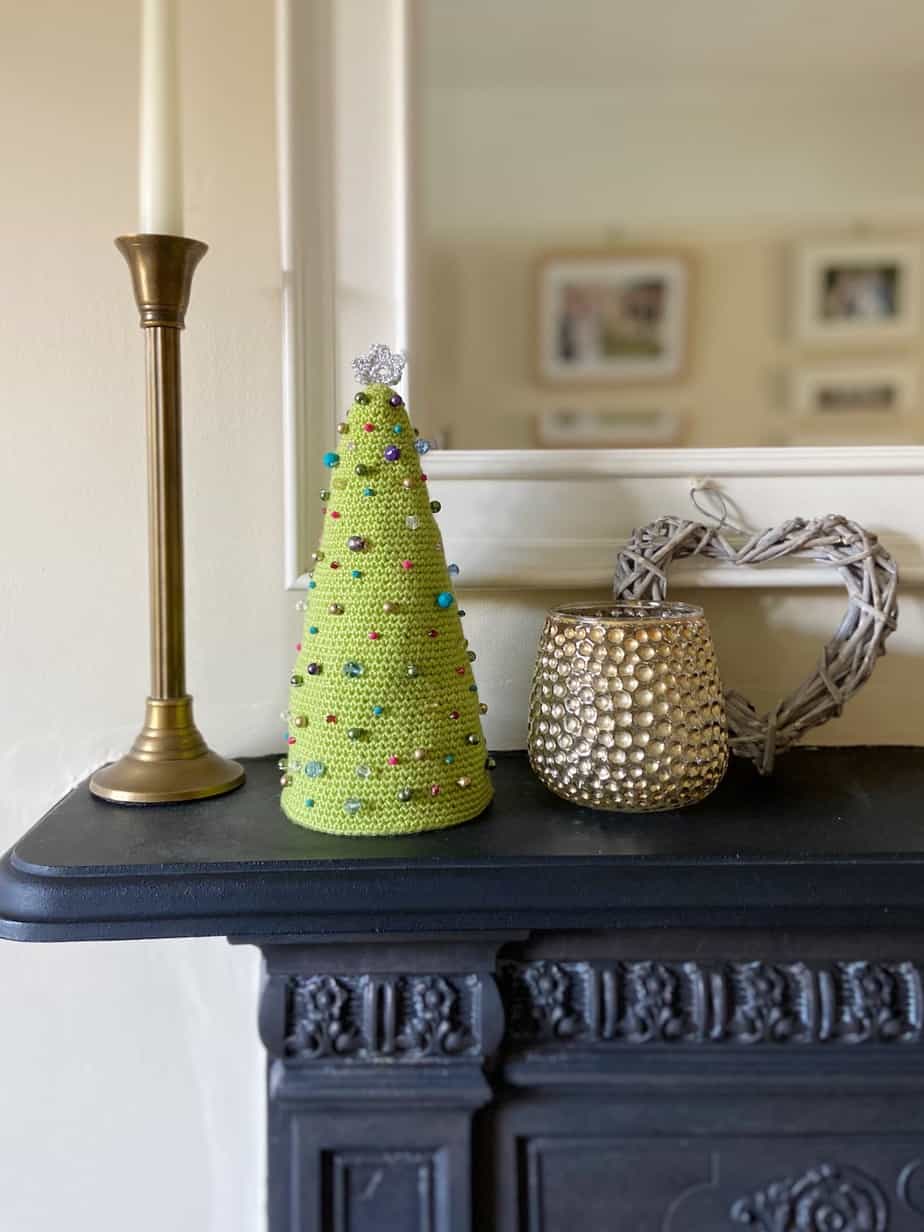
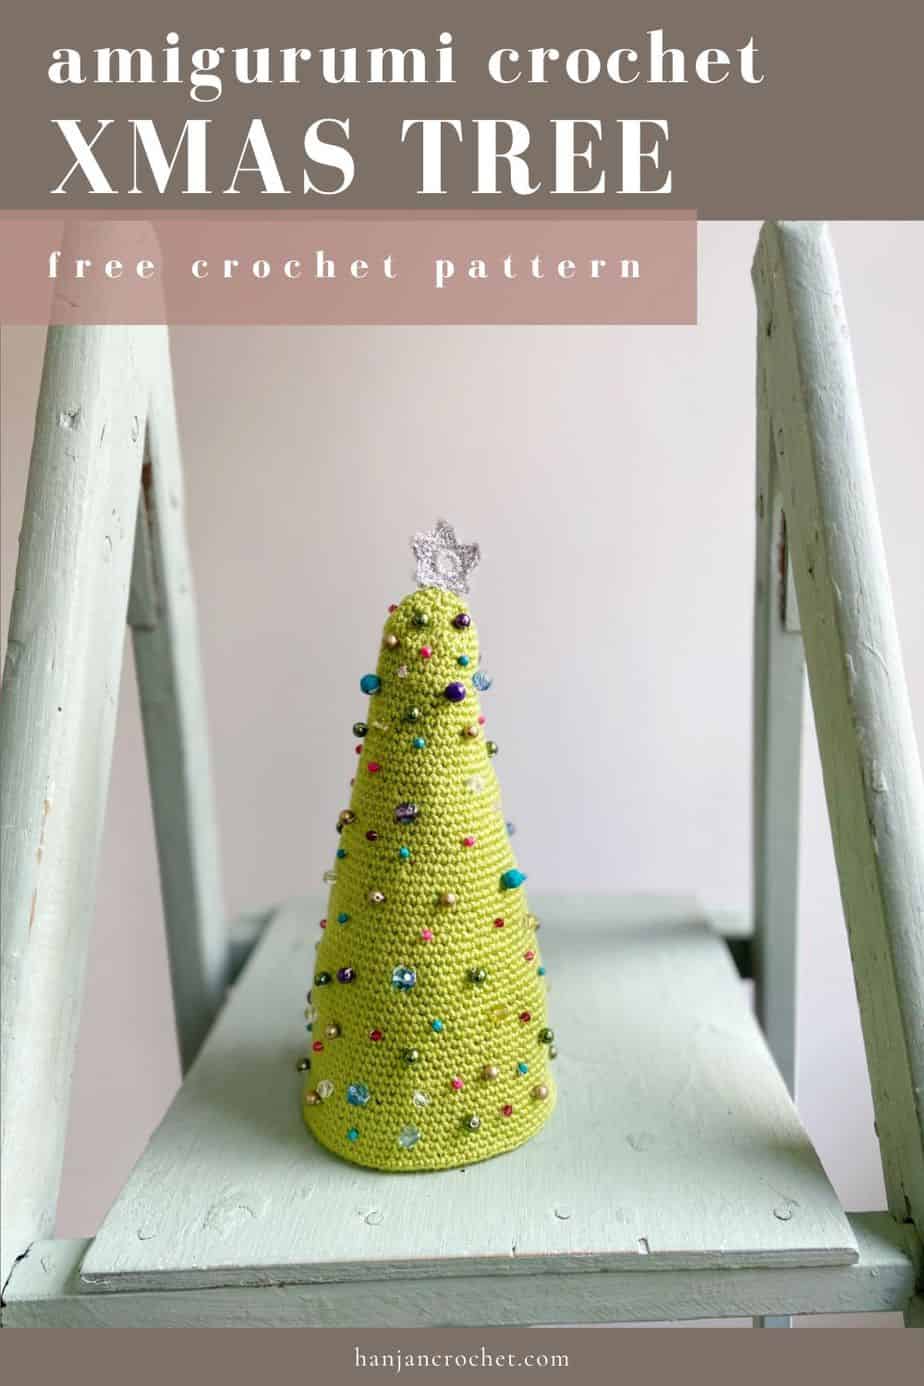
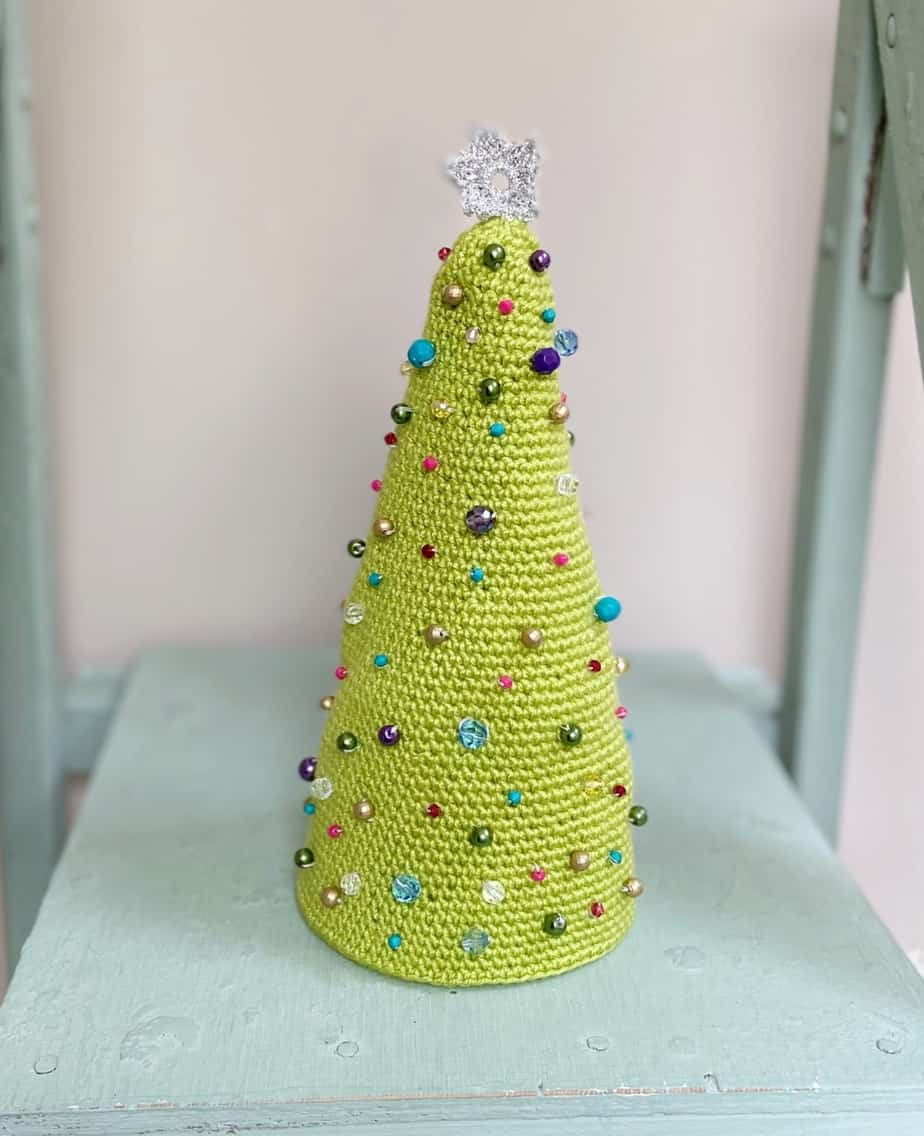
Get in the holiday spirit with this cute amigurumi crochet Christmas tree pattern! Great for beginners who want to try out the amigurumi method and the perfect addition to your festive crochet decor collection.
At 29cm high and 15cm across, it’s just the right size to adorn your mantel piece or Christmas table. Go for it and add a glittery star on top and as many as beads as you like or leave it plain for a more rustic feel, the choice is yours! Personally I love a bit of beaded crochet so I say go for it and make it sparkle!
You can carry on reading to find the free pattern here in this blogpost or purchase an ad-free, printable PDF version of this crochet tree pattern in my stores to download and print:
This post may contain affiliate links. Please see my full disclosure and privacy policy for details.
Table of Contents
About the Amigurumi crochet Christmas Tree Pattern
I’ve always been a little intimidated by the amigurumi crochet method even though it just uses basic crochet stitches – the single crochet (US) and double crochet (UK). I think it’s the worry of getting lost, losing count, not working the spiral method properly and so on.
Want to remove Ads?
- Get ad-free access on all posts; 200+ patterns & tutorials!
- Member-only resource library with downloadable PDF guides
- Bonus eBook (Worth over $30)
Like most things in crochet (and in life in fact) it’s not as bad as you think once you have a go!
This little amigurumi tree decoration is a great place to start if you’re new to the technique because the increases as you work round and round are symmetrical and so much easier to keep track of.
There are a few things that will help you with this project and any other ami patterns you want to try –
- Have a stitch marker at the ready! Pop the marker in the first stitch of each round so even if you do lose count you know where to work back to.
- Think in continuous spirals – you won’t be joining the end of each round with a slip stitch as you would in other crochet methods. This means it’s much easier to get lost BUT it looks so beautiful when it’s done and you won’t be able to tell where the rounds start and finish.
- Find a comfortable hook to work with. The nature of amigurumi means that it has a tight tension so make sure you find a hook that is comfy for you to use so that your hands aren’t tight too!
If you fall in love with crochet amigurumi too then I have some other little projects you might like to try that are a bit more advanced than this one. How about an amigurumi crochet Easter egg pattern? Or a cute chick, lamb and bunny shelfie set with little dangly legs?!
If you don’t have chance to make this right now then don’t worry, just make sure to pin it for later so you don’t lose it using this image:
Tension and Sizing Options
The finished tree including the star measures 29cm by 15cm (11 1/2in by 6in).
Tension (gauge) is 20 sts and 20 rows to measure 10 by 10cm over pattern using a 3.5mm hook, or size needed to obtain correct tension.
Yarn for this Christmas Tree Pattern
To make this crochet tree I used Yarn and Colors Must Have 4ply yarn. It’s 100% cotton yarn, 50g/125m/137yds and used 2 Balls of Yarn A (Peridot).
For the star on top I used Anchor Artiste Metallic, 80% viscose, 20% metallized polyester. 25g/100m. 1 Ball of yarn B (Gold and Silver)
A great alternative yarn if you’d like to go for luxury is Scheepjes Bamboo Soft. Perfect for a treat and to give a slightly different texture to your crochet tree.
Other Materials You Will Need
Along with your yarn, you will need the following:
| 2.5mm US B/1 or C/2 and 3.5mm US E/4 crochet hooks – my favourites are Furls Streamline Swirl crochet hooks or Clover Amour crochet hooks. |
| Coloured Beads Tapestry needle |
| Scissors |
| Stitch markers if desired |
| Card to form insert – approximately 40cm by 25cm (so that you can create the cone shape). |
Crochet Abbreviations and Glossary
ch(s) – chain(s)
st(s) – stitch(es)
ss- slip stitch
rep – repeat
Crochet Stitches used in the Amigurumi Pattern
The pattern uses the following crochet stitches.
| Standard UK Crochet Term | Standard US Crochet Term |
| dc- double crochet | sc- single crochet |
| tr- treble crochet | dc- double crochet |
How to get the Beaded Amigurumi Crochet Christmas Tree Pattern
This crochet tree pattern is a free crochet pattern in US and UK terms on the blog for everyone to enjoy, just scroll down to find it.
There are a few ways you can access and enjoy this crochet pattern and help support HanJan Crochet.
- You can find and use the crochet Christmas tree pattern here on the blog that is supplemented with ads.
- You can purchase, print and keep the 4 page ad-free pattern PDF in any of my stores below:
Purchase and Print
Get the ad-free, printable PDF with added extras in my pattern stores:
Crochet Christmas Tree Construction
The tree is crocheted from the top down and is worked in continuous spirals and shaped by increasing on certain rounds.
Once the main body of the tree decoration is complete, I’d recommend shaping your card insert to fit and try it out before adding the beads. Shape the card into a cone and tape it together before inserting it into the crochet tree shape.
Once you are happy the insert fits well remove it and sew on the beads using invisible thread wherever you’d like them on the tree.
Next, crochet the star and sew it in place on the top.
Finish by inserting the card cone and pop it up to display!
Don’t forget to browse all of my other easy Christmas crochet patterns for more inspiration.
Pattern Notes
The Tree is worked using the amigurumi method.
Work in continuous spiral without closing off each round with a slip stitch.
You may find it helpful to place a marker in the first st of each round and move it up as you work.
Christmas Tree Crochet Pattern
Standard UK Terms
To unlock Exclusive Content on the HanJan Crochet Blog, all you need to do is click the box below and the Grow.me app will pop up, allowing you to enter your email and create a password.
Once you’ve created an account, every time you see Exclusive Content on my blog (or any others that use Grow), simply login to your Grow account. Be sure to switch to the login screen to enter your login credentials.
If you forget your password, click the “forgot password” link and follow the prompts. Please note that I’m unable to assist with resetting Grow passwords or accessing your Grow account, so be sure to save your login information in a safe place.
Thank you for subscribing and for joining me at HanJan Crochet! I hope you enjoy the exclusive content available on the site and I can’t wait to see what you create 🙂
Round 54: (2dc in next dc, dc in next 35 dc) twice. [74 dc]
Rounds 55-56: Repeat Rounds 7-8.
Round 57: (2dc in next dc, dc in next 36 dc) twice. [76 dc]
Rounds 58-59: Repeat Rounds 7-8.
Round 60: (2dc in next dc, dc in next 37 dc) twice. [78 dc]
Rounds 61-62: Repeat Rounds 7-8.
Round 63: Dc in each dc around. [78 dc]
Fasten off and weave in ends.
Cut the card to make a cone to line the tree and insert.
Star
Using 2.5mm hook and Yarn B, ch6, ss to first ch to join into a ring.
Round 1: Ch1 (does not count as st, 15 dc into ring, ss in first dc to join. [15 dc]
Round 2: Ch1 (does not count as a st), *(dc, tr) in next dc, ch2, ss to second ch from hook, (tr,dc) in next dc, ss to next dc repeat from * around, ss in first dc to join.
Fasten off and weave in ends. Place star on top of the tree and sew in place.
To Finish- Using the invisible thread, sew the beads into place as baubles, spreading them evenly over the tree.

Standard US Crochet Terms
Rounds 43-44: Repeat Rounds 7-8.
Round 45: (2sc in next sc, sc in next 32 sc) twice. [68 sc]
Rounds 46-47: Repeat Rounds 7-8.
Round 48: (2sc in next sc, sc in next 33 sc) twice. [70 sc]
Rounds 49-50: Repeat Rounds 7-8.
Round 51: (2sc in next sc, sc in next 34 sc) twice. [72 sc]
Rounds 43-44: Repeat Rounds 7-8.
Round 45: (2sc in next sc, sc in next 32 sc) twice. [68 sc]
Rounds 46-47: Repeat Rounds 7-8.
Round 48: (2sc in next sc, sc in next 33 sc) twice. [70 sc]
Rounds 49-50: Repeat Rounds 7-8.
Round 51: (2sc in next sc, sc in next 34 sc) twice. [72 sc]
Rounds 52-53: Repeat Rounds 7-8.
Round 54: (2sc in next sc, sc in next 35 sc) twice. [74 sc]
Rounds 55-56: Repeat Rounds 7-8.
Round 57: (2sc in next sc, sc in next 36 sc) twice. [76 sc]
Rounds 58-59: Repeat Rounds 7-8.
Round 60: (2sc in next sc, sc in next 37 sc) twice. [78 sc]
Rounds 61-62: Repeat Rounds 7-8.
Round 63: sc in each sc around. [78 sc]
Fasten off and weave in ends.
Cut the card to make a cone to line the tree and insert.
Star
Using 2.5mm hook and Yarn B, ch6, ss to first ch to join into a ring.
Round 1: Ch1 (does not count as st, 15 sc into ring, ss in first sc to join. [15 sc]
Round 2: Ch1 (does not count as a st), *(sc, dc) in next sc, ch2, ss to second ch from hook, (dc,sc) in next sc, ss to next sc repeat from * around, ss in first sc to join.
Fasten off and weave in ends. Place star on top of the tree and sew in place.
To Finish- Using the invisible thread, sew the beads into place as baubles, spreading them evenly over the tree.
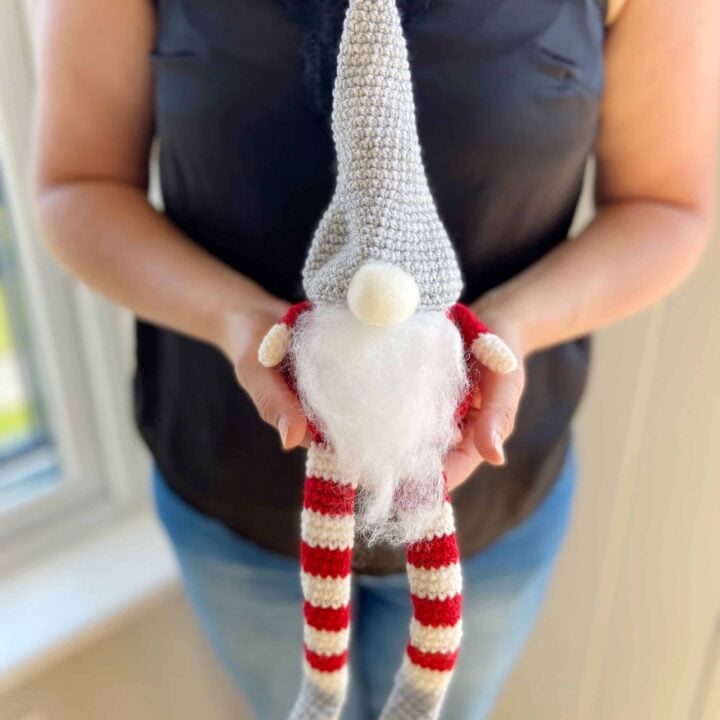
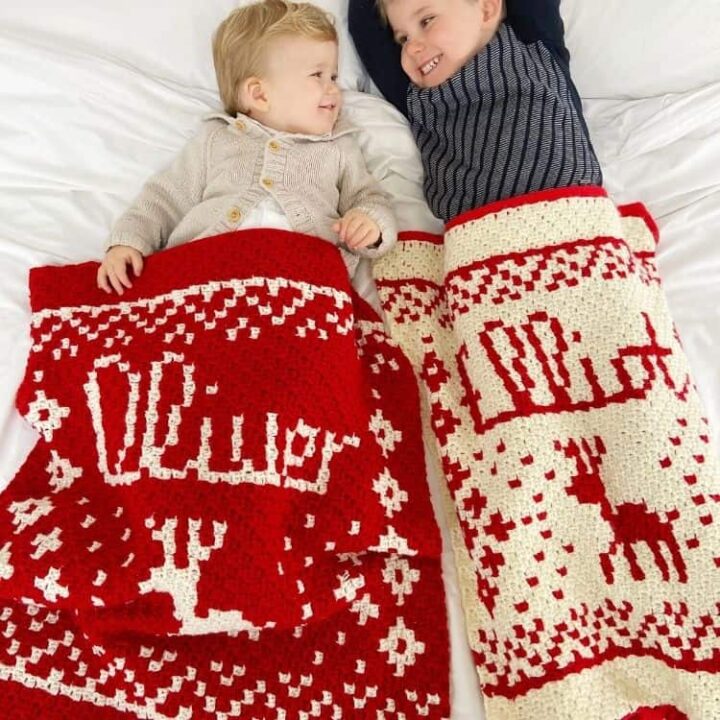
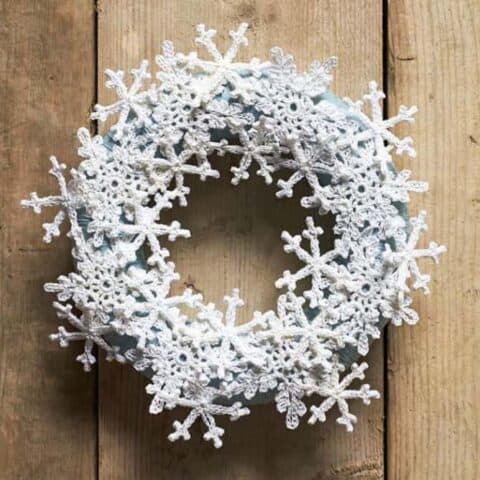
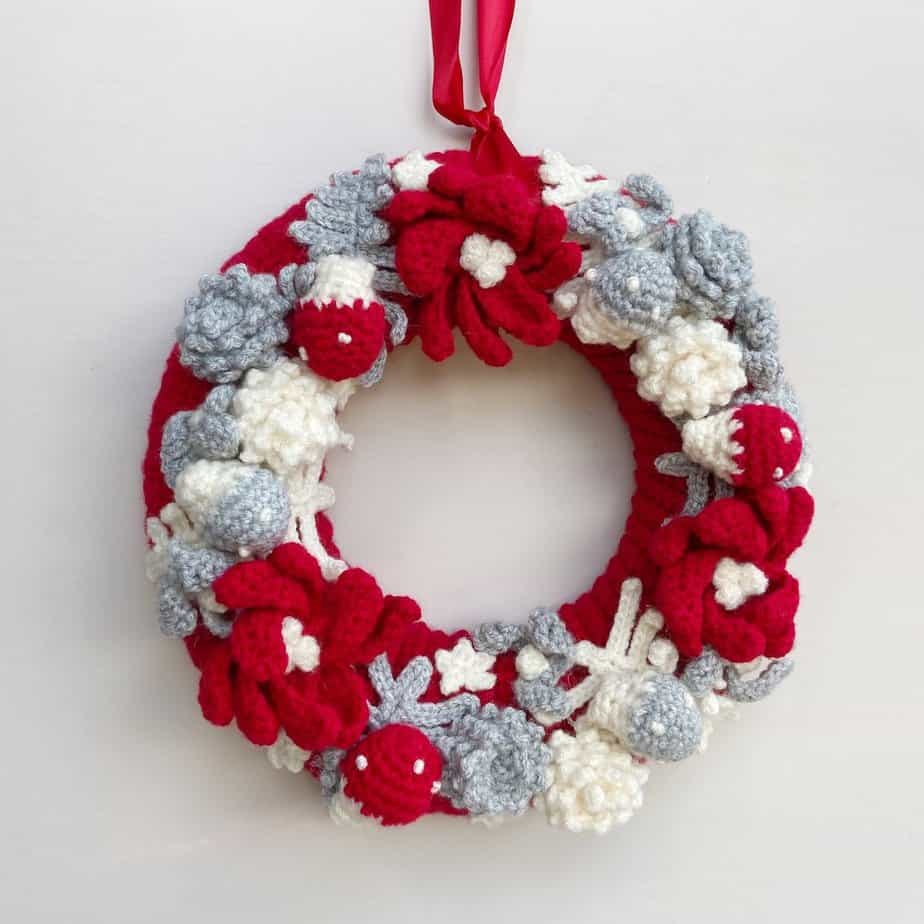
Other Christmas Holiday Patterns to Try
If you are in the mood to do more holiday themed crocheting, then you might enjoy these patterns too –

Join HanJan Crochet and Share Your Crochet!
I’d love to stay connected with you so please do sign up for my subscriber list if you’d like to. Looking forward to hearing from you and sending you your free gift!
Thank you so much for being here to share in my free crochet patterns and supporting my blog. It’s such an honour to be able to create and share my craft with you.
I’d love to see your finished crochet projects and so please share them with me in one (or all!) of the following ways:
- Share a picture on Instagram and tag me #hanjancrochet
- Share your projects on Ravelry
- Share a picture in the HanJan Crochet Facebook group