This post may contain affiliate links. Please see my full disclosure and privacy policy for details.
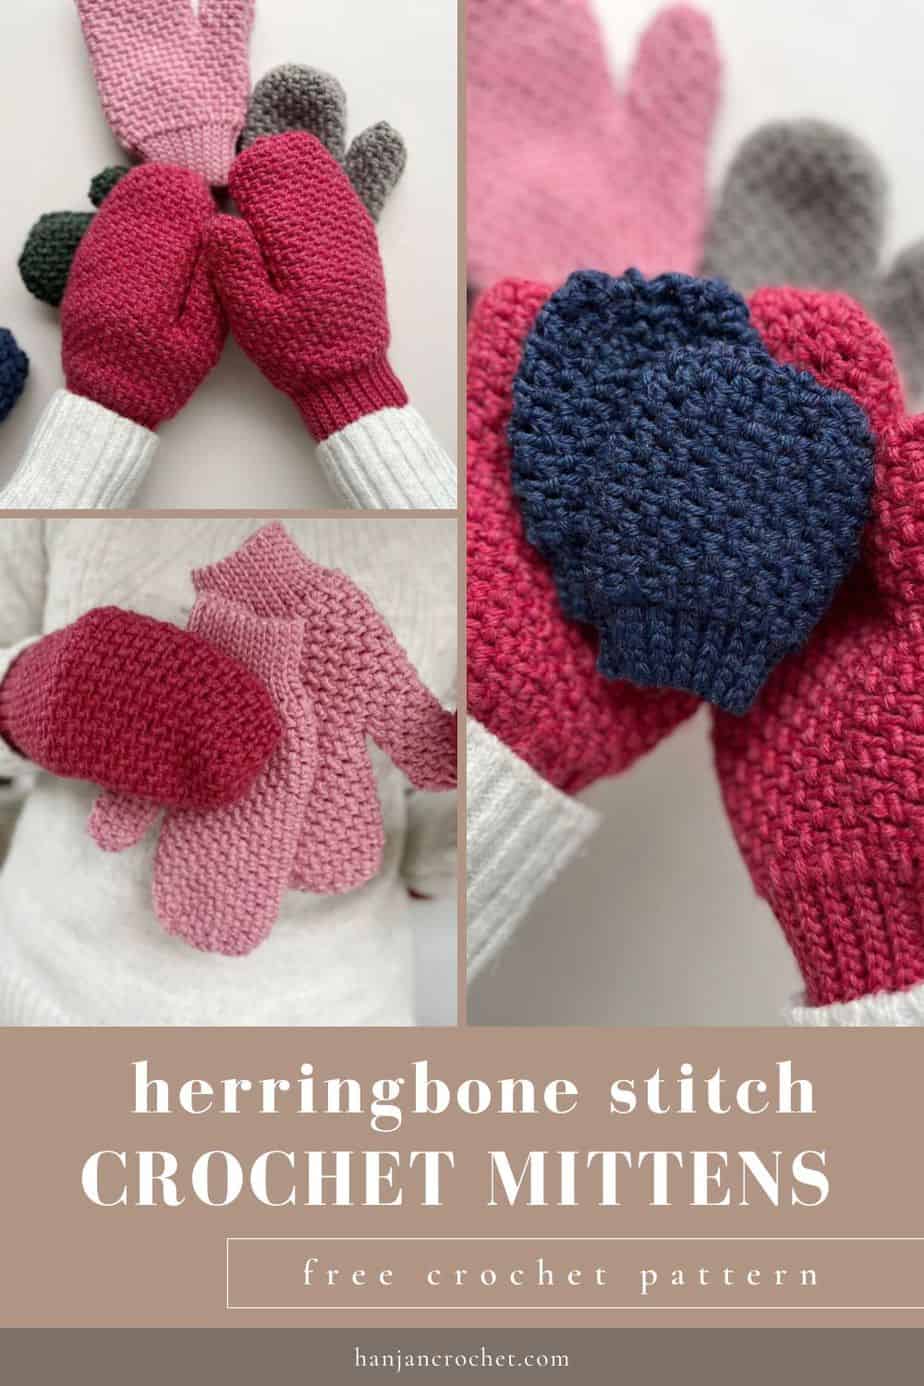
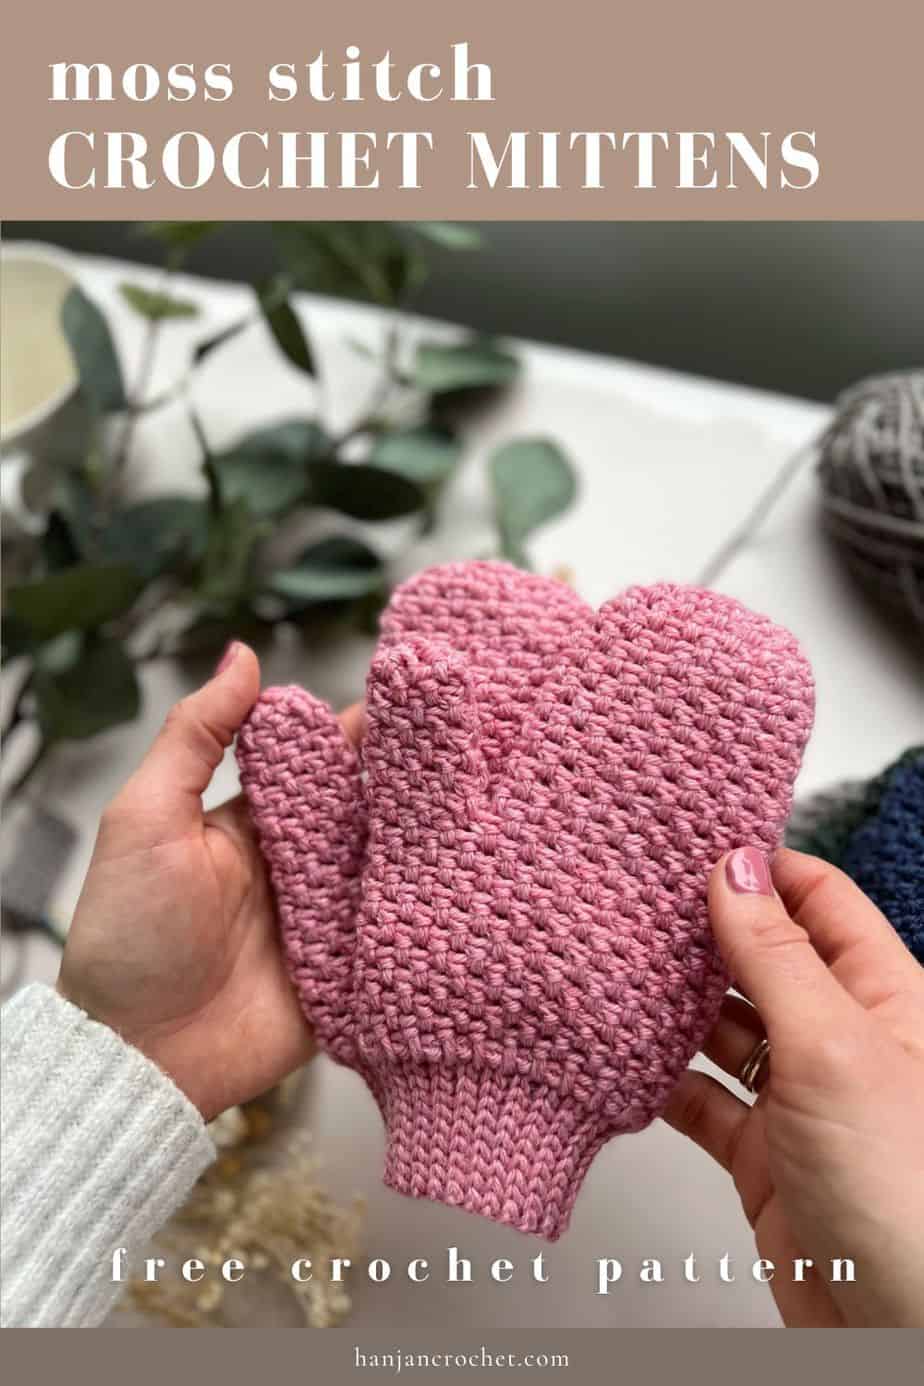
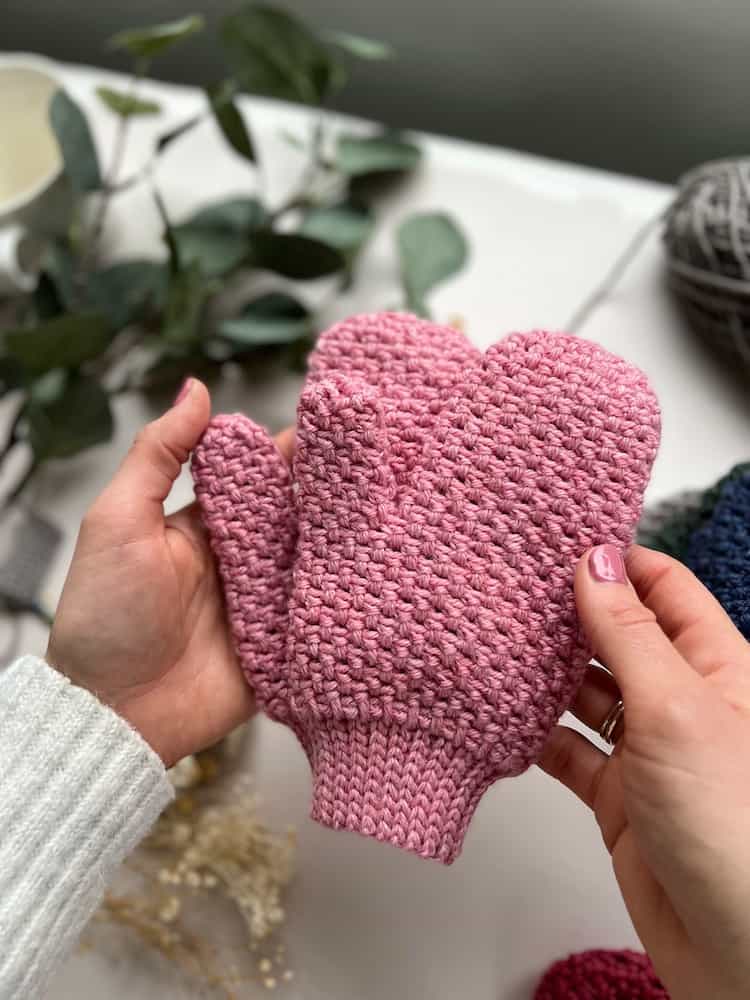
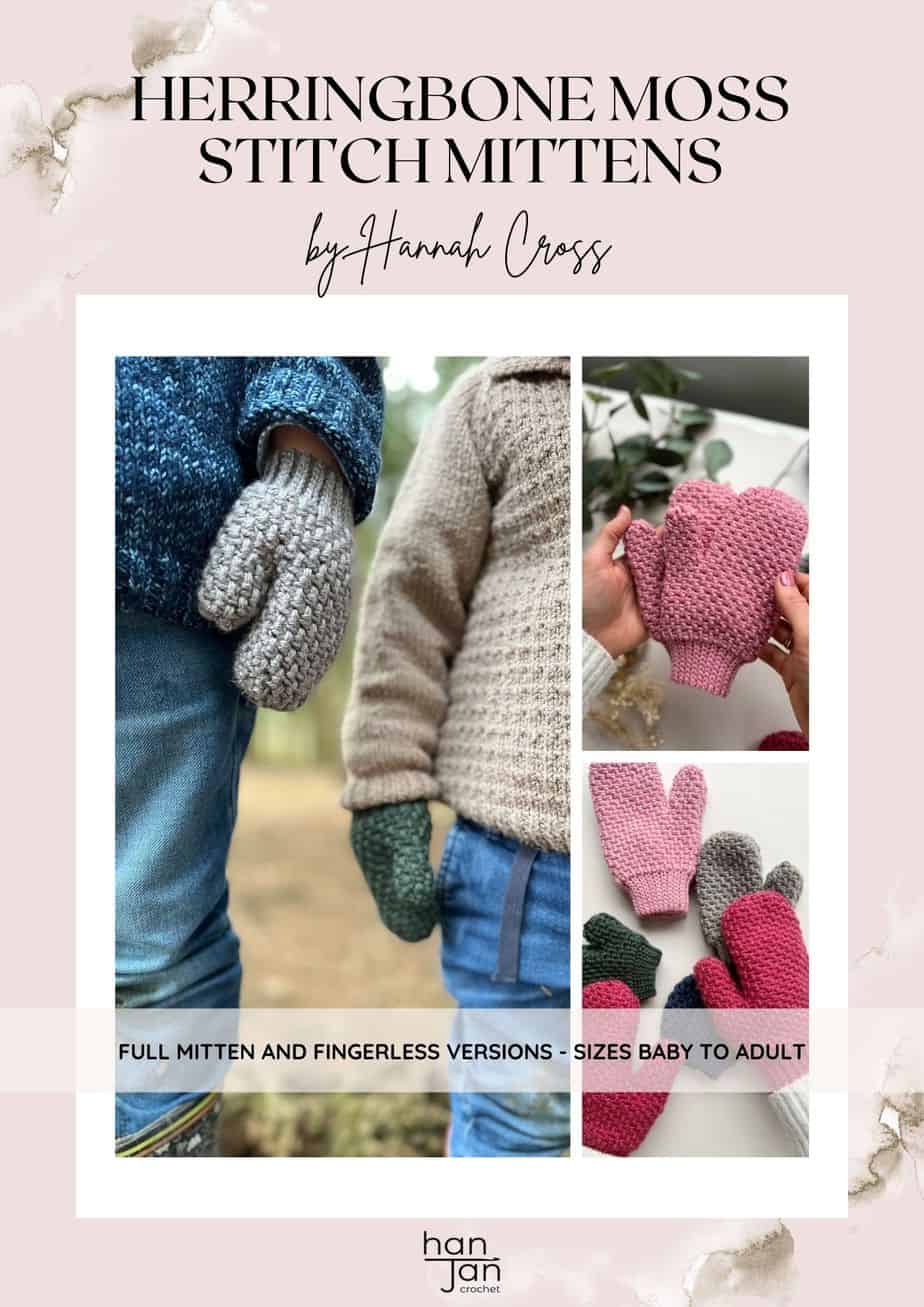
Packed with texture yet delicately soft, these herringbone moss stitch crochet mittens pattern is a must make for all the family.
Worked in the round from the bottom up with clever detailing you are sure to get a stunning finish and the perfect fit. A quick, easy and seamless project that is perfect for using up your yarn stash!
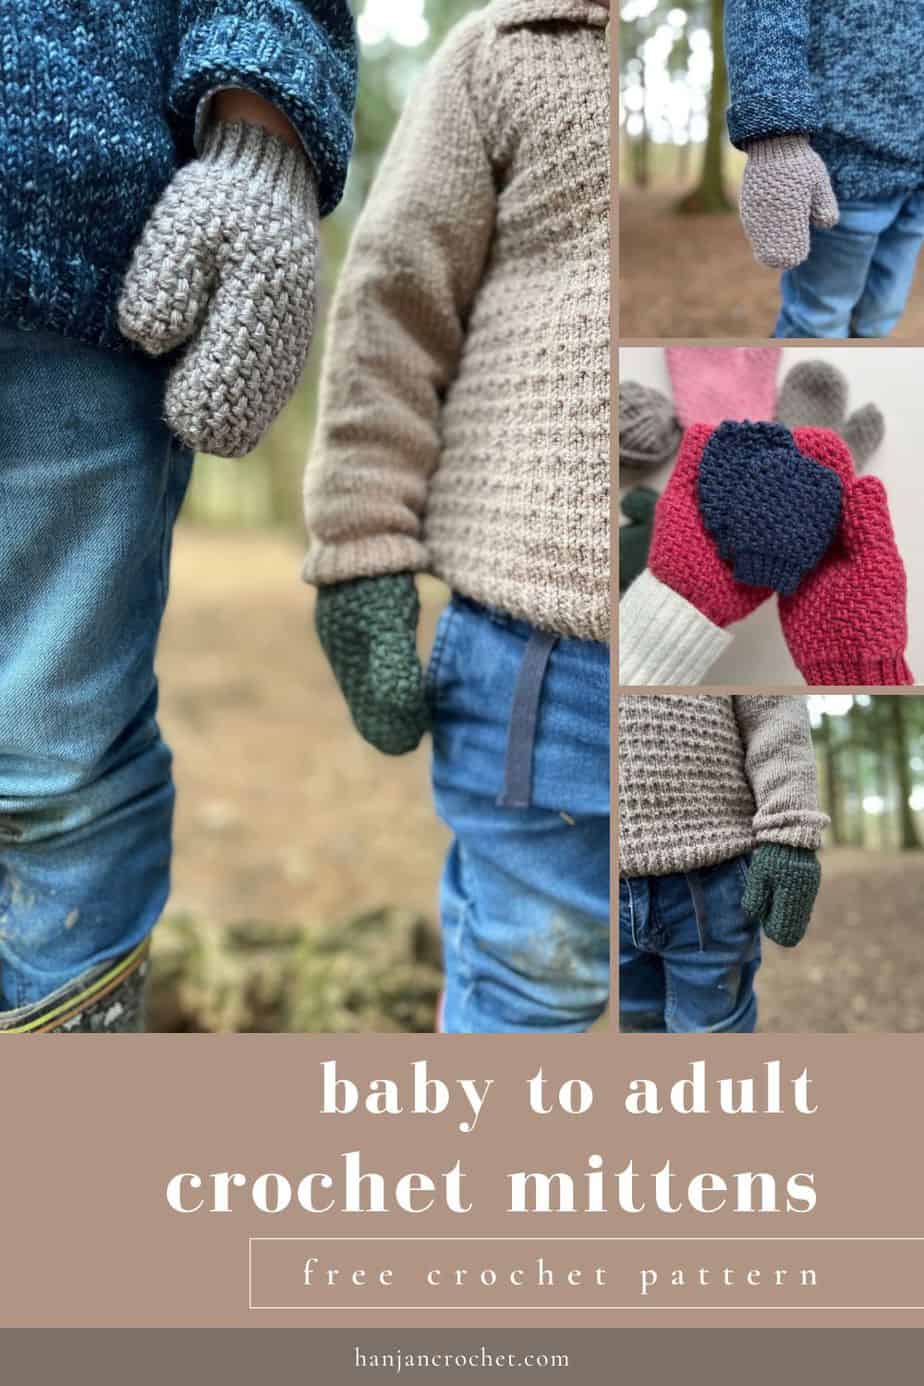
In sizes from Baby to Adult you can make some for the whole family to enjoy. With options for a fingerless version and a a full video tutorial to walk you through every step I can’t wait to see your textured crochet mittens.
You can carry on reading to find the free pattern here in this blogpost or purchase an ad-free, printable PDF version of the Herringbone Moss Stitch crochet mittens pattern in my stores to download and print.
Want to remove Ads?
- Get ad-free access on all posts; 200+ patterns & tutorials!
- Member-only resource library with downloadable PDF guides
- Bonus eBook (Worth over $30)
Table of Contents
About the Herringbone Crochet Mittens Pattern
Some of my most popular patterns by far have been fingerless crochet mittens and for years I have wanted to design a really snuggly fitting full fingered mitten pattern in every size you can think of that can also be fingerless!
Not only that, I also wanted to make the mittens seamless and as simple as possible but packed with texture – I hope I managed it all!
Anyone that has followed me for a time will know about my love affair with textured crochet mittens. My absolute favourites (and yours too) are the Mystical Fingerless Mitts pattern and the Quick Puff Stitch Mitts pattern. I’m so glad to add this new design to the mitten family now!
As with our designs for the last CAL, Michelle, Briana and I have done a detailed video tutorial to help you with all of the stitches, techniques and more. I really hope you enjoy it!
Watch the Herringbone Moss Stitch Crochet Mittens Video Tutorial here.

If you’re in need of some other ideas then I have lots of free crochet accessory patterns for you to choose from too!
How to Make a Fingerless Version of the Crochet Mittens
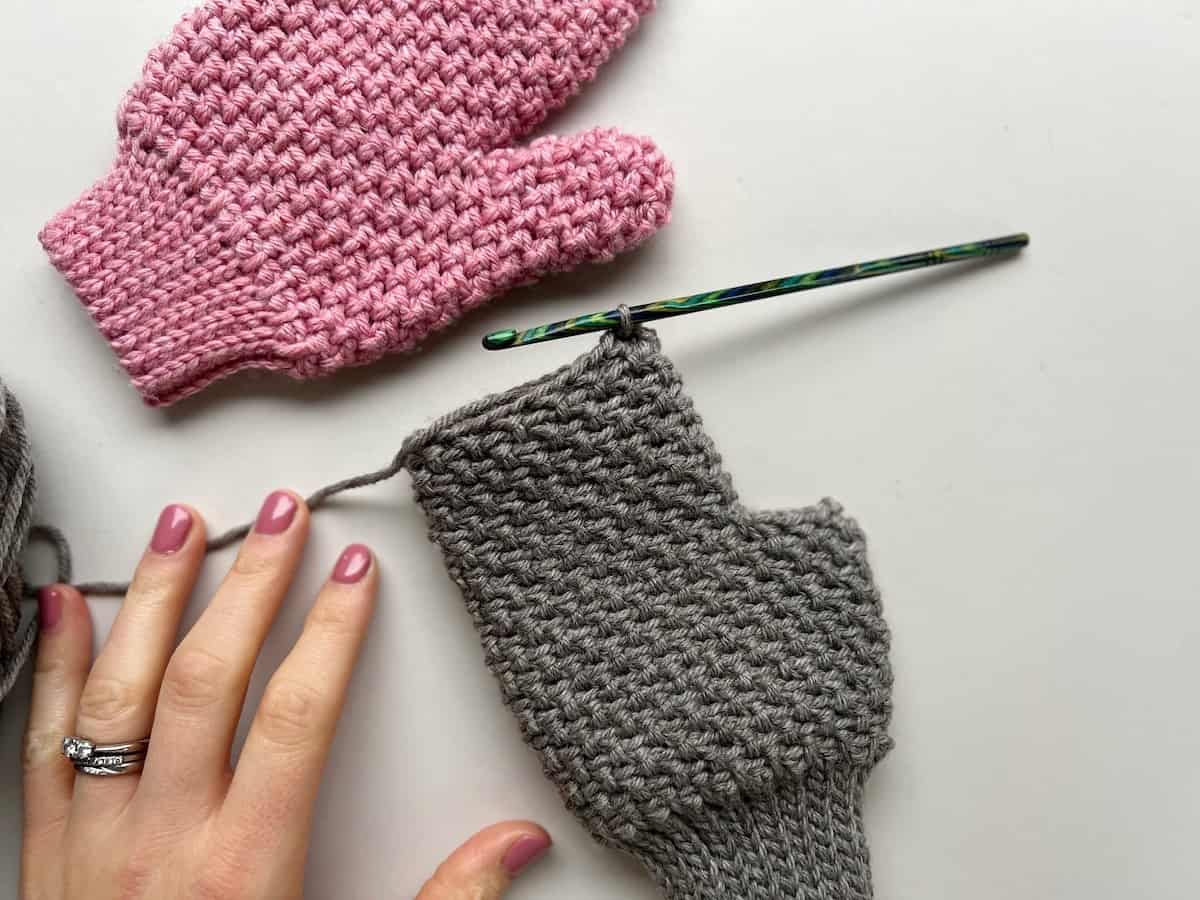
As I said I normally gravitate towards fingerless gloves (because that’s what I prefer to wear) and so made sure that I worked out a fingerless version for this design too!
Because the herringbone mittens are crocheted in the round it makes it super easy to adjust them to being fingerless. You can pretty much just stop crocheting wherever feels good for you (also great to try on as you go) and then work a final closing round as I’ll pop in the pattern below.
If you decide to make yours fingerless then do let me know and tag me on social media – I’d love to see them!
What is the half double crochet herringbone moss stitch?
I think it may be the ‘wordiest’ description of a stitch that I’ve ever used but I promise it is much easier than it sounds and the texture of the stitch is absolutely worth the effort of learning it!
It works really nicely crocheted back and forth in flat rows but I like it best in rounds without turning like in the mittens here. I have plenty more patterns in mind for this stitch – it mimics a knitted moss stitch so nicely that I’m loving working with it!
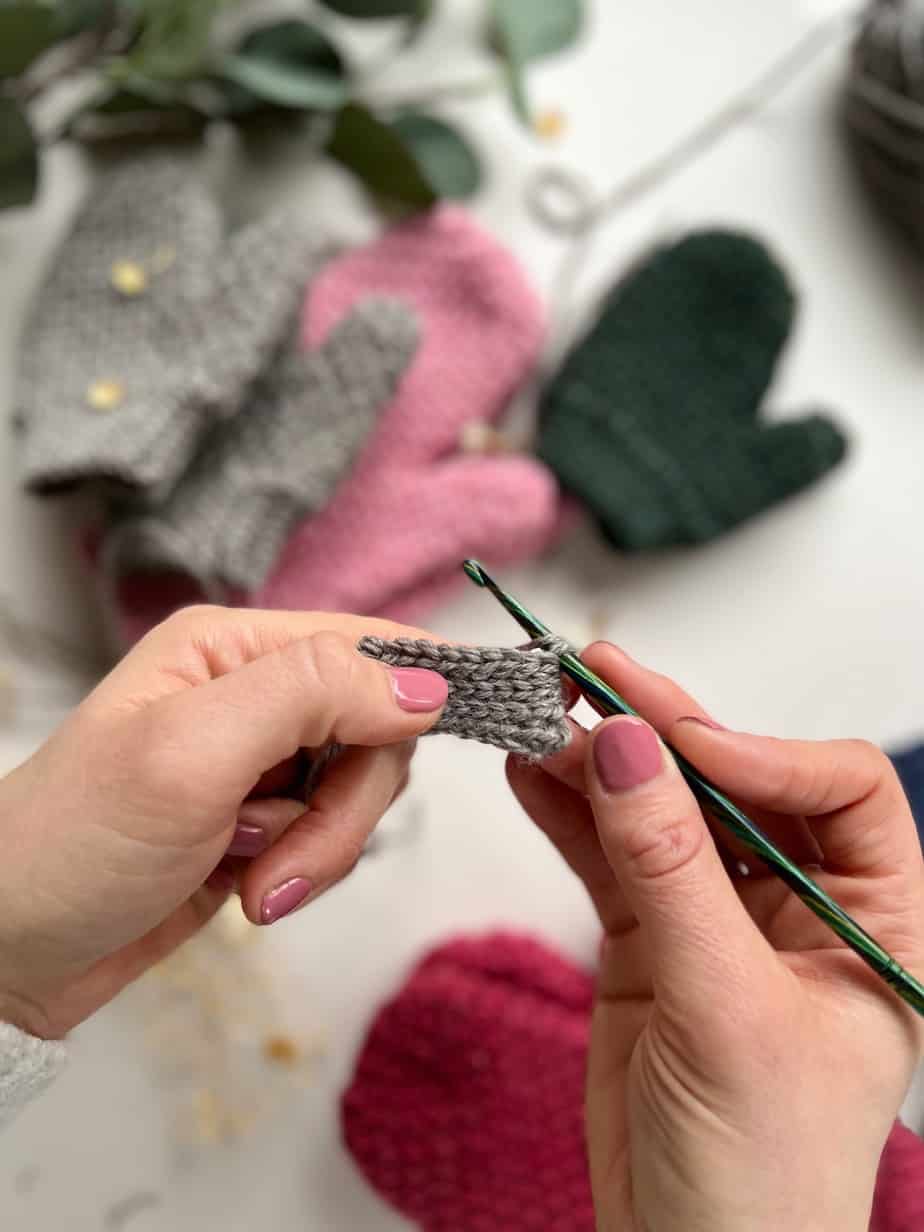
I’ve taken some step by step pictures if you fancy studying them or you can watch the video and slow it down to get the hang of it too –
Read my herringbone half double crochet moss stitch tutorial here.
I’m also delighted to say that I’ve designed a few other patterns using this stitch!
- free crochet winter hat pattern – it co-ordinates perfectly with the mittens.
- free chunky crochet headband pattern – you can make one in less than half an hour it’s so quick!
- free crochet dickie pattern – this one works in rows rather than rounds and is great fun.
- free crochet backpack pattern – very simple and chic to grab with any outfit
The Mittens Tension and Sizing Options
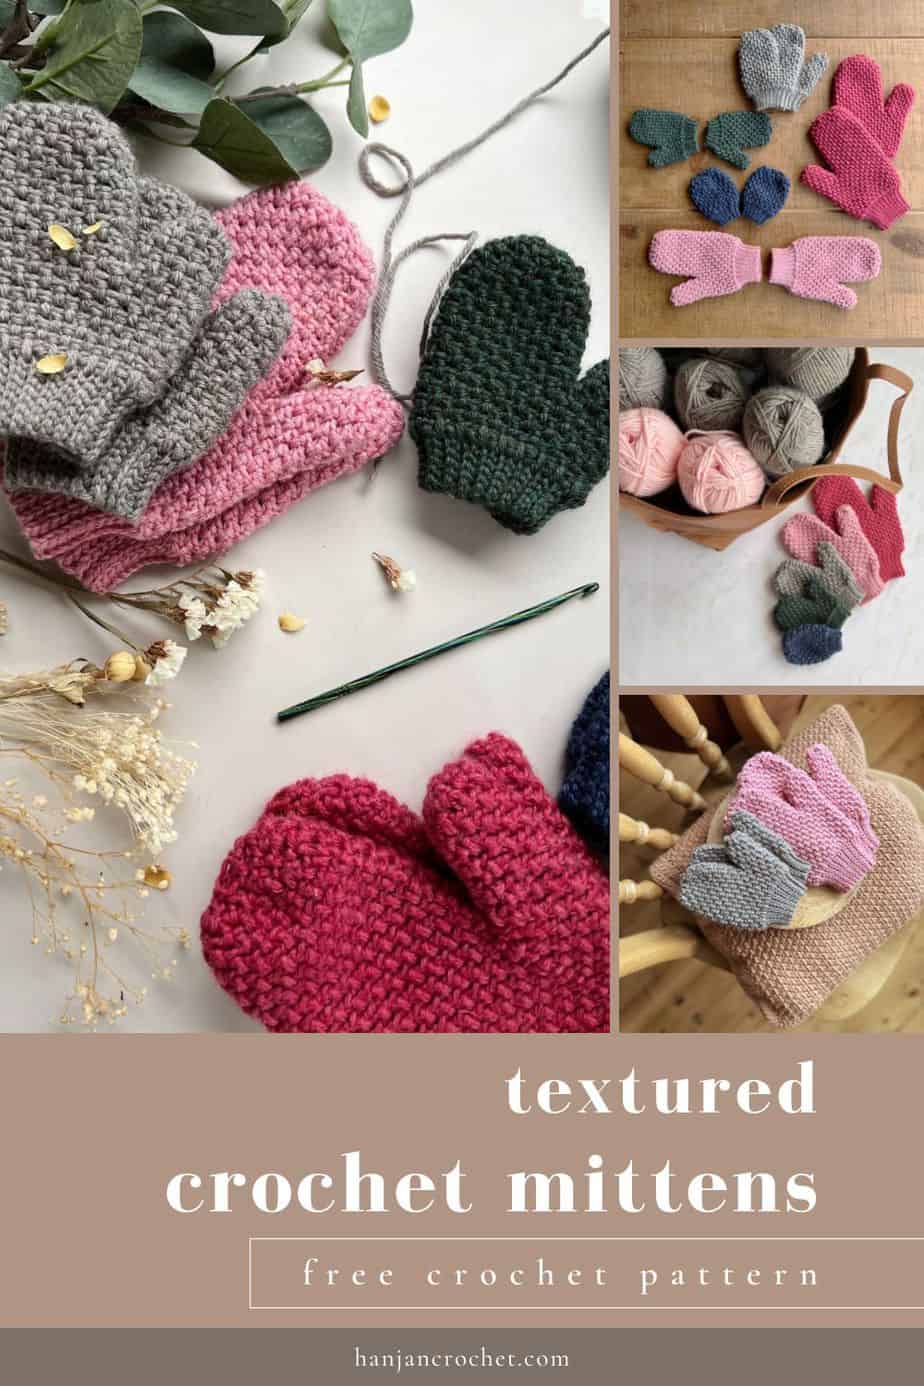
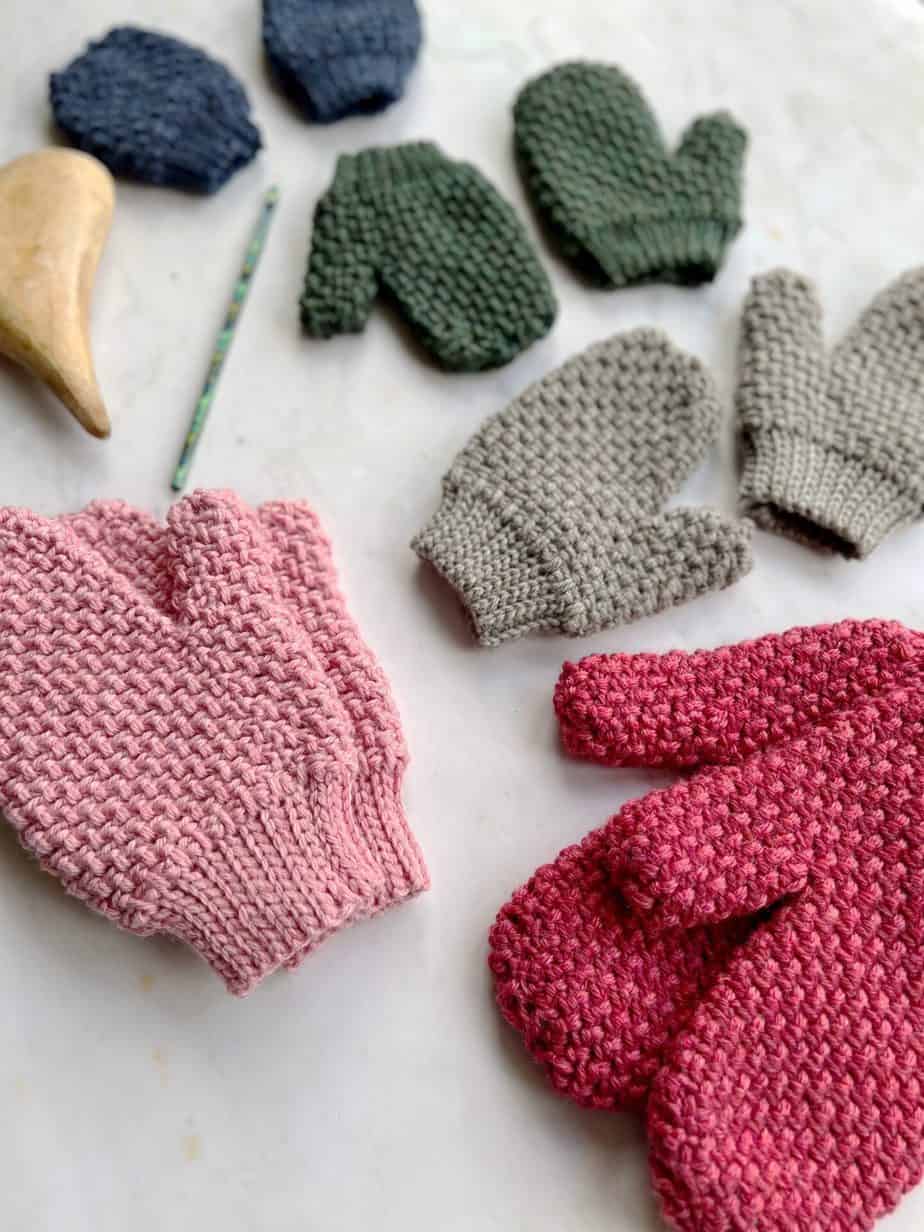
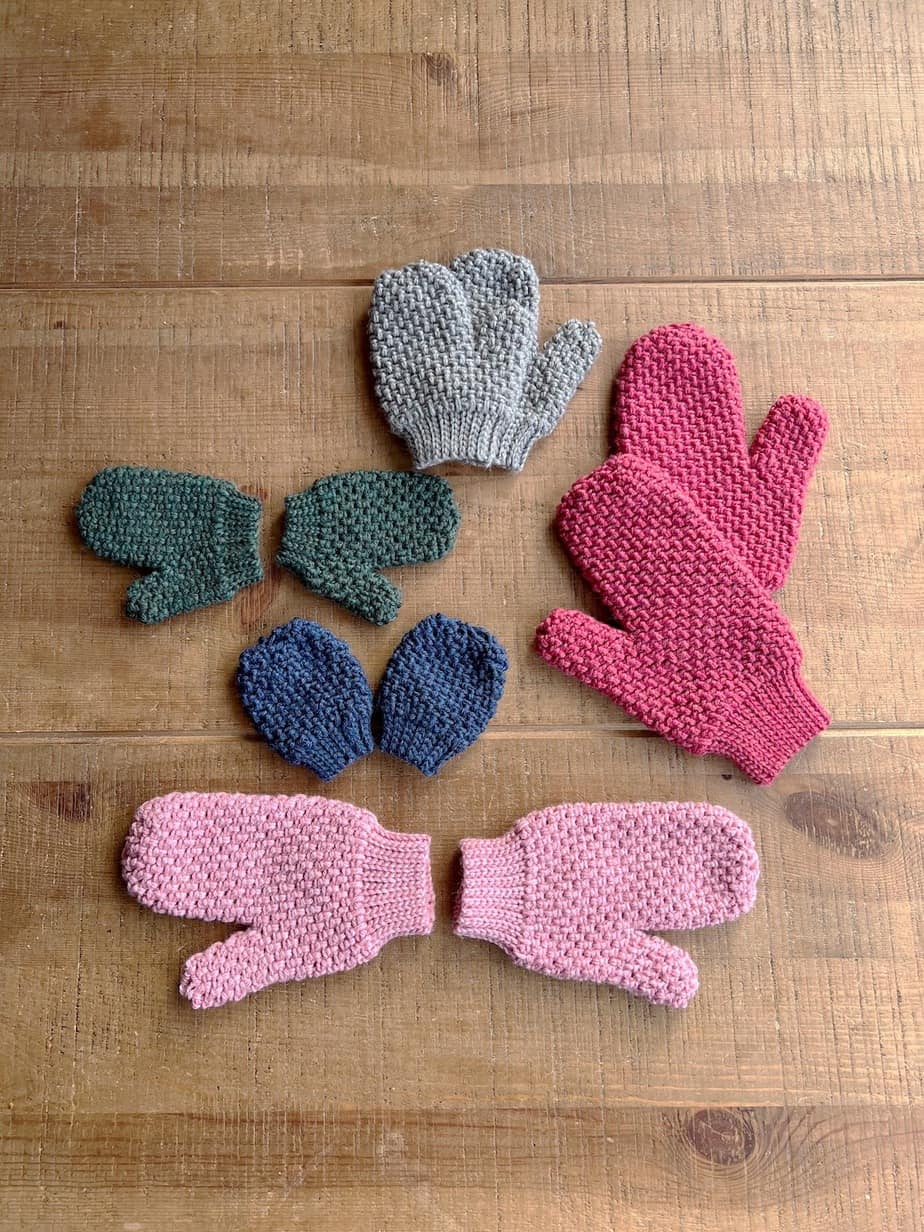
The Herringbone Moss Stitch Mittens come in sizes Baby (Toddler, Child, Teen/Small, Medium, Large) so you can make one for the whole family! See the sizing chart below for measurements.
Tension (gauge) for the cuff is 15 sts and 18 rows of slip stitch in blo = 2in by 2in using a 4.5mm hook, or size needed to obtain correct tension.
Tension for the main stitch is 18 sts and 20 rounds of Hhdc moss stitch = 4in by 4in using a 4.5mm hook, or size needed to obtain correct tension.
| Size | Total Length (in) | Cuff Length (in) | Base Circumference (in) |
| Baby | 3.25 | 0.75 | 6.25 |
| Toddler | 4.25 | 0.75 | 7.5 |
| Child | 5.25 | 1 | 8.5 |
| Teen/S | 6.75 | 1.25 | 9 |
| Medium | 8.25 | 1.5 | 9.75 |
| Large | 10 | 1.75 | 11 |
How to Work a Gauge Swatch
Figuring out how to match gauge on projects like this can be tricky (so I think that’s why I do everything I can to avoid it!).
To get started with the mittens I would work the number of stitches for the size of cuff that you’d like to make and then work a number of rows of the cuff instructions. Once you have a good few inches you’ll have an idea if your gauge matches.
If you’re bang on then great, if you’re a little off then I would finish the cuff, join it and work a few rounds of the main stitch to see if it’s working. It’s amazing how stretchy the cuff is so you might be quite surprised that you actually meet the gauge!
If you’re a long way off the gauge then you either need to go up or down a hook size to adjust.
If you have more stitches and rows than you need then you need to go up in hook size. If you have less stitches and rows than you need then you need to go down in hook size.
Yarn for the Textured Crochet Mittens
To make these cozy crochet mittens I used Swish DK by Worsted WeCrochet (100% Fine Superwash Merino wool, 50g/123yds) yarn which is a fabulous superwash merino yarn that I’ve really fallen for! It comes in the most beautiful shades and really does wash so nicely (my children have already put it to the test!).
You will need for the following sizes: Baby (Toddler, Child, Teen/Small, Medium, Large)
Yarn required (balls): 1 (1, 2, 2, 2, 2)
Choosing colours is so much fun and definitely my favourite part of the process! Here are the colours I used in the photos shown:
- Blossom Heather
- Squirrel Heather
- Lost Lake Heather
- Delft Heather
- Rose Heather
What Alternative Yarn Could You Use?
We are so very happy that people are joining us from all over the world and so realise that there will be some that will want to source yarn locally or even better still, from their stash!
The yarn I used is on the lighter side of double knit weight but I’ve found that plenty of double knit yarns over here in the UK work really well too.
Here are some great alternatives including some acrylic options:
Acrylic Yarns
- Paintbox Yarns Simply DK – 100% acrylic, 276m/100g
- Stylecraft Bellisima – 100% acrylic, 268m/100g
- Deramores Studio DK – 100% acrylic – 250m/100g
- Lion Brand Heartland #3 yarn, 100% acrylic
Wool Mix Yarns
- Alpaca Cloud DK #3 yarn, 100% Baby Alpaca
Other Materials You Will Need
Along with your yarn, you will need the following:
| 4.5mm (US G+) crochet hook – my favourites are Furls Streamline Swirl crochet hooks or Caspian Regular crochet hook |
| Tapestry needle |
| Scissors |
| Stitch markers if desired |
Crochet Abbreviations and Glossary
hdc – half double crochet, sc – single crochet,
ch(s) – chain(s)
sp – space
ss – slip stitch
beg – beginning
sk – skip
st(s) – stitch(es)
RS – right side
WS – wrong side
rep – repeat
yrh – yarn round hook
blo – back loop only
Crochet Stitches used in the Pattern
The pattern uses the following crochet stitches.
| Standard UK Crochet Term | Standard US Crochet Term |
| dc – double crochet | sc – single crochet |
| htr – half treble crochet | hdc – half double crochet |
Herringbone Half Double Crochet Moss Stitch
If the stitch is new to you then make sure to check out my video tutorial or herringbone half double crochet moss stitch step by step tutorial.
The moss stitch (often known as the granite or linen stitch too) is by far one of my favourites. It has such a lovely texture, delicate drape and works so well for all sorts of designs.
Here are the written instruction for each of the special stitches you’ll need for the mittens –
Herringbone half double crochet: Hhdc
Yarn over, insert hook into next stitch, yarn over and pull up a loop (3 loops on hook). Pull first loop straight through the second loop (similar to a slip stitch to leave 2 loops on the hook). Yarn over, pull through two remaining loops on hook.
Back loop only herringbone half double crochet moss stitch: Hhdc-moss
Work as for Hhdc but insert hook into back loop only of unworked stitch 2 rounds below. Work over the chain 1 space on the previous round.
Back loop only herringbone half double crochet moss stitch 2 together : Hhdc-moss2tog
Yarn over, insert hook into back loop only of next stitch 2 rounds below (working over the ch1 on round below), yarn over and pull up a loop (3 loops on hook). Pull first loop straight through the second loop (similar to a slip stitch to leave 2 loops on the hook). Yarn over, skip next st on previous round, insert hook into back loop only of next stitch 2 rounds below (working over the ch1 on round below), yarn over and pull up a loop (4 loops on hook). Pull first loop straight through the second loop (similar to a slip stitch to leave 3 loops on the hook). Yarn over, pull through three remaining loops on hook.
If you love the look of the moss stitch then you might also like to have a go at the double crochet moss stitch – I have a tutorial and lots of patterns featuring that too!
How to get the Crochet Pattern
This crochet mittens pattern is a free crochet pattern on the blog for everyone to enjoy, just scroll down to find it.
There are a few ways you can access and enjoy this crochet pattern and help support HanJan Crochet.
- You can find and use the crochet pattern here on the blog that is supplemented with ads.
- You can purchase, print and keep the 10 page ad-free pattern PDF in any of my stores below.
Purchase and Print
Get the ad-free, printable PDF with added extras in my pattern stores:
Pattern Notes
A ch1 at the beginning of a round does not count as a stitch.
A ch2 at the beginning of a round counts as a ch1-sp in stitch count.
Work in back loops only throughout.
Turn the cuff after each row.
Work the body and thumb of the mitten in rounds without turning.
Mitten Construction
The Cuff is worked in rows then joined to make the base of the mitten.
Continue with the same yarn to now work in rounds into the sides of the Cuff rows.
This creates the Main Hand Section of the mitten until you split for the Thumb.
Once you split for the Thumb you will continue to work in rounds for the Main Finger Section of the mitten.
The final rounds decrease to gather the top of the Finger Section.
Rejoin your yarn at the point you split for the Thumb and work in rounds to make the Thumb.
The final rounds decrease to gather the Thumb.
Fingerless Version
If you would like to make your mittens fingerless for the Toddler (Child, Teen/Small, Medium, Large) then complete your work at the rounds for the Main Finger Section at Round 3 (5, 7, 9, 11) and Thumb at Round 2 (2, 3, 4, 5).
Final Rounds: Complete both the Main Finger Section and the Thumb with a round in pattern replacing any ch1 with a sc.
Pattern
To unlock Exclusive Content on the HanJan Crochet Blog, all you need to do is click the box below and the Grow.me app will pop up, allowing you to enter your email and create a password.
Once you’ve created an account, every time you see Exclusive Content on my blog (or any others that use Grow), simply login to your Grow account. Be sure to switch to the login screen to enter your login credentials.
If you forget your password, click the “forgot password” link and follow the prompts. Please note that I’m unable to assist with resetting Grow passwords or accessing your Grow account, so be sure to save your login information in a safe place.
Thank you for subscribing and for joining me at HanJan Crochet! I hope you enjoy the exclusive content available on the site and I can’t wait to see what you create 🙂
FIRST MITTEN
Cuff
Foundation chain: ch 7 (7, 9, 11, 13, 15) turn.
Row 1: ss in blo 2nd ch from hook and each across, turn. [ 6 (6, 8, 10, 12, 14)]
Row 2: ch1, ss in blo each across, turn.
Rows 3 – 28 (34, 38, 40, 44, 50): Repeat Row 2.
At the end of the final row turn and join the penultimate row to the foundation chain with a slip stitch seam. Joining the penultimate row will make a much neater finish (make sure to watch my video to see more details on this).
Turn the work to RS facing and rotate to work into the sides of the rows for the Main Hand Section.
Main Hand Section
Round 1: ch1, *Hhdc in side of next row, ch1, skip side of next row; rep from * around, ss in 1st to join. [28, (34, 38, 40, 44, 50)]
Round 2: ch2 (counts as ch1-sp), Hhdc-moss in side of next row on cuff, *ch1, skip next st, Hhdc-moss in side of next row on cuff; rep from * around, ss in 1st ch of beginning ch2 to join.
Round 3: work all moss stitches in blo from now onwards, ch1, Hhdc-moss in skipped st below ch-1 sp, ch1, skip next st, *Hhdc-moss in next skipped st below ch1-sp, ch1, skip next st; rep from * around, ss in 1st Hhdc-moss to join.
Round 4: ch2 (counts as ch1-sp), Hhdc-moss in next skipped st below ch-1 sp, *ch1, skip next st, Hhdc-moss in next skipped st below ch-1 sp; rep from * around, ss in 1st ch of beginning ch2 to join.
Rounds 3 and 4 create the first set pattern.
(Note – the Baby size does not have a thumb so will continue here without splitting)
Rounds 5 – 10 (6, 8, 12, 14, 18): Repeat the first set pattern.
For the Baby size, move to the Finger Decrease Section now.
For all other sizes – Note – sizes are now written as Toddler (Child, Teen/Small, Medium, Large) until the Finger Decrease Section.
On completing the final round of the Main Hand Section, ss into the 11th (13th, 13th, 15th, 17th) st from hook to split for the thumb. Continue working in rounds now for the Main Finger Section with the remaining 24 (26, 28, 30, 34) sts.
Main Finger Section
Rounds 1-8 (10, 12, 16, 20): Repeat the first set pattern.
Finger Decrease Section
Decrease Round 1: ch1, Hhdc-moss2tog, ch1, skip next st, (Hhdc-moss in skipped st below next ch-1 sp, ch1, skip next st) 5, (4, 5, 5, 6, 7) times, ch1, Hhdc-moss2tog ch1, skip next st, (Hhdc-moss in skipped st below next ch-1 sp, ch1, skip next st) 5, (4, 4, 5, 5, 6) times, ss in 1st Hhdc-moss2tog to join. [24 (20, 22, 24, 26, 30)]
Decrease Round 2: ch2, (Hhdc-moss in skipped st below next ch-1 sp, ch1, skip next st) 4 (3, 4, 4, 5, 6) times, Hhdc-moss2tog, ch1, skip next st, (Hhdc-moss in skipped st below next ch-1 sp, ch1, skip next st) 4, (3, 3, 4, 4, 5) times, Hhdc-moss2tog, ss in 1st of beginning ch2 to join. [20, (16, 18, 20, 22, 26)]
Sizes Baby, Toddler and Teen/Small only –
Decrease Round 3: ch1, Hhdc-moss2tog 5 (4, 5) times, ss in 1st Hhdc-moss2tog to join [ 5, (4, 5)]
Sizes Child, Medium and Large only –
Decrease Round 3: ch1, Hhdc-moss2tog 4 (5, 6) times, Hhdc-moss in skipped st below last ch-1 sp, skip last Hhdc-moss2tog, ss in 1st Hhdc-moss2tog to join. [5 (6, 7)]
Break yarn and gather the last round to close before weaving in the end.
Thumb
For sizes Toddler (Child, Teen/Small, Medium, Large)
Join yarn to 1st ch1-sp where thumbhole starts and work in rounds.
Round 1 (increase round): ch1, Hhdc-moss in skipped st below ch-1 sp, ch1, skip next st; rep from 5 (6, 6, 7, 8) times, Hhdc-moss in join at base of thumb, ch1, ss in 1st Hhdc-moss to join [ 12, (14, 14, 16, 18)]
Round 2: ch2 (counts as ch1-sp), Hhdc-moss in skipped st below next ch-1 sp, *ch1, skip next st, Hhdc-moss in skipped st below next ch-1 sp; rep from * around, ss in 1st to join.
Round 3: ch1, *Hhdc-moss in skipped st below next ch-1 sp, ch1, skip next st; rep from * around, ss in 1st to join.
Round 4: Rep Round 2.
For Toddler size only –
Round 5: ch1, Hhdc-moss2tog around, ss in 1st Hhdc-moss2tog to join [3].
For Child size only –
Round 5: ch1, (Hhdc-moss in skipped st below next ch-1sp, ch1, skip next st) 5 times, Hhdc-moss2tog, ch1, skip next st, ss in 1st Hhdc-moss to join [12]
Round 6: ch1, Hhdc-moss2tog around, ss in 1st Hhdc-moss2tog to join [3].
Thumb Continued
Teen/Small, Medium, Large sizes –
Rounds 3 and 4 create the Thumb set pattern.
Round 5- 6 (8, 10): Repeat the Thumb set pattern.
For Teen/Small only –
Round 7: ch1, (Hhdc-moss in skipped st below next ch-1 sp, ch1, skip next st) 5 times, Hhdc-moss2tog, ch1, skip next st, ss in 1st Hhdc-moss to join [12]
Round 8: ch1, Hhdc-moss2tog around, ss in 1st Hhdc-moss2tog to join [3].
For Medium only –
Round 9: ch1, Hhdc-moss2tog around, ss in 1st Hhdc-moss2tog to join [4].
For Large size only –
Round 11: ch1, (Hhdc-moss in skipped st below next ch-1 sp, ch1, skip next st) 7 times, Hhdc-moss2tog, ch1, skip next st, ss in 1st Hhdc-moss to join [16].
Round 12: ch1, Hhdc-moss2tog around, ss in 1st Hhdc-moss2tog to join [4].
Break yarn and gather the last round to close before weaving in the end.
SECOND MITTEN
Work as for first mitten until the last round of the Main Hand Section. Slip stitch to 25th (27th, 27th, 31st, 35th) st of previous round to create the thumbhole.
Continue to work instructions as for the first mitten.
The seam won’t be very obvious but if you’d like to stay consistent then when joining the yarn to work the thumb, join into ch1-sp before the thumbhole starts.
Round 1: ch1, Hhdc-moss in skipped st below ch-1 sp, ch1, skip next st, Hhdc-moss in join at base of thumb, ch1, *Hhdc-moss in skipped st below next ch-1sp, ch1, skip next st rep from 4 (5, 5, 6, 7) times, ss in 1st st to join [ 12, (14, 14, 16, 18)]
Continue with the rest of the thumb as for first hand.
Ready for your next crochet accessories pattern? Here are some other mitts and gloves you might like to try next:
- Deidra Fingerless Mitts – with easy short row thumbs
- Cable Crochet Wrist Warmers – long and luxurious
- Feather Stitch Mittens – textured and soft
- Mystical Fingerless Gloves Pattern – quick and easy for gifts
- Crochet Heart Mittens – perfect for Valentines!
Join HanJan Crochet and Share Your Crochet!
I’d love to stay connected with you so please do sign up for my subscriber list if you’d like to. Looking forward to hearing from you and sending you your free gift!
Thank you so much for being here to share in my free crochet patterns and supporting my blog. It’s such an honour to be able to create and share my craft with you.
I’d love to see your finished crochet projects and so please share them with me in one (or all!) of the following ways:
- Share a picture on Instagram and tag me #hanjancrochet
- Share your projects on Ravelry
- Share a picture in the HanJan Crochet Facebook group