This post may contain affiliate links. Please see my full disclosure and privacy policy for details.
If you’ve ever admired crochet projects with deep ridges, ribbing, or beautifully textured patterns, chances are you’ve seen the magic of front post and back post double crochet stitches.
These simple variations of the standard double crochet let you “pop” stitches forward or push them back, creating stunning raised designs without any complicated techniques.
In this tutorial, we’ll break down exactly what front and back post double crochet are, how to work them step-by-step, and tips for keeping your tension even so your texture looks neat and professional.
Whether you’re making cosy blankets, snug hats, or decorative edgings, these stitches will quickly become favourites in your crochet toolkit.
If you’re just starting out your crochet journey, you might want to check out some of the previous posts in the series to make sure you don’t skip the foundations. You’ll definitely need to know how to do a double crochet stitch before you carry on!
- how to make a slip knot
- how to crochet a chain stitch
- this single crochet stitch tutorial
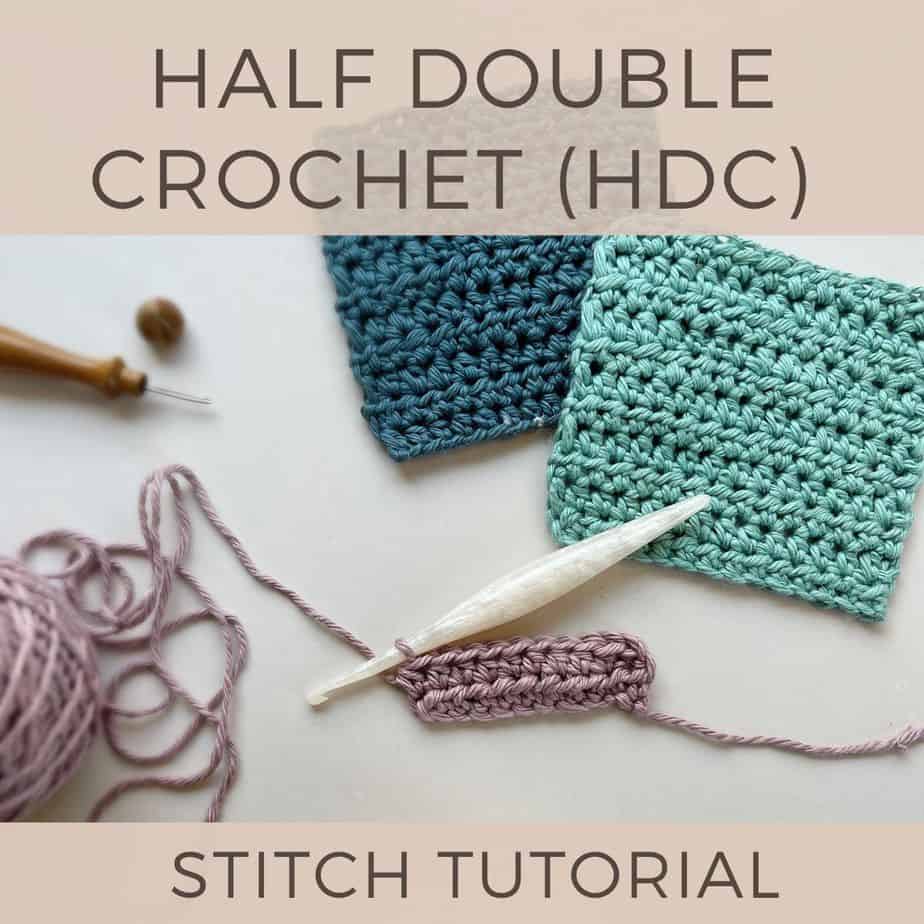
- how to half double crochet stitch
- how to do a double crochet stitch
Table of Contents
How do you Make a Front or Back Post Double Crochet Stitch?
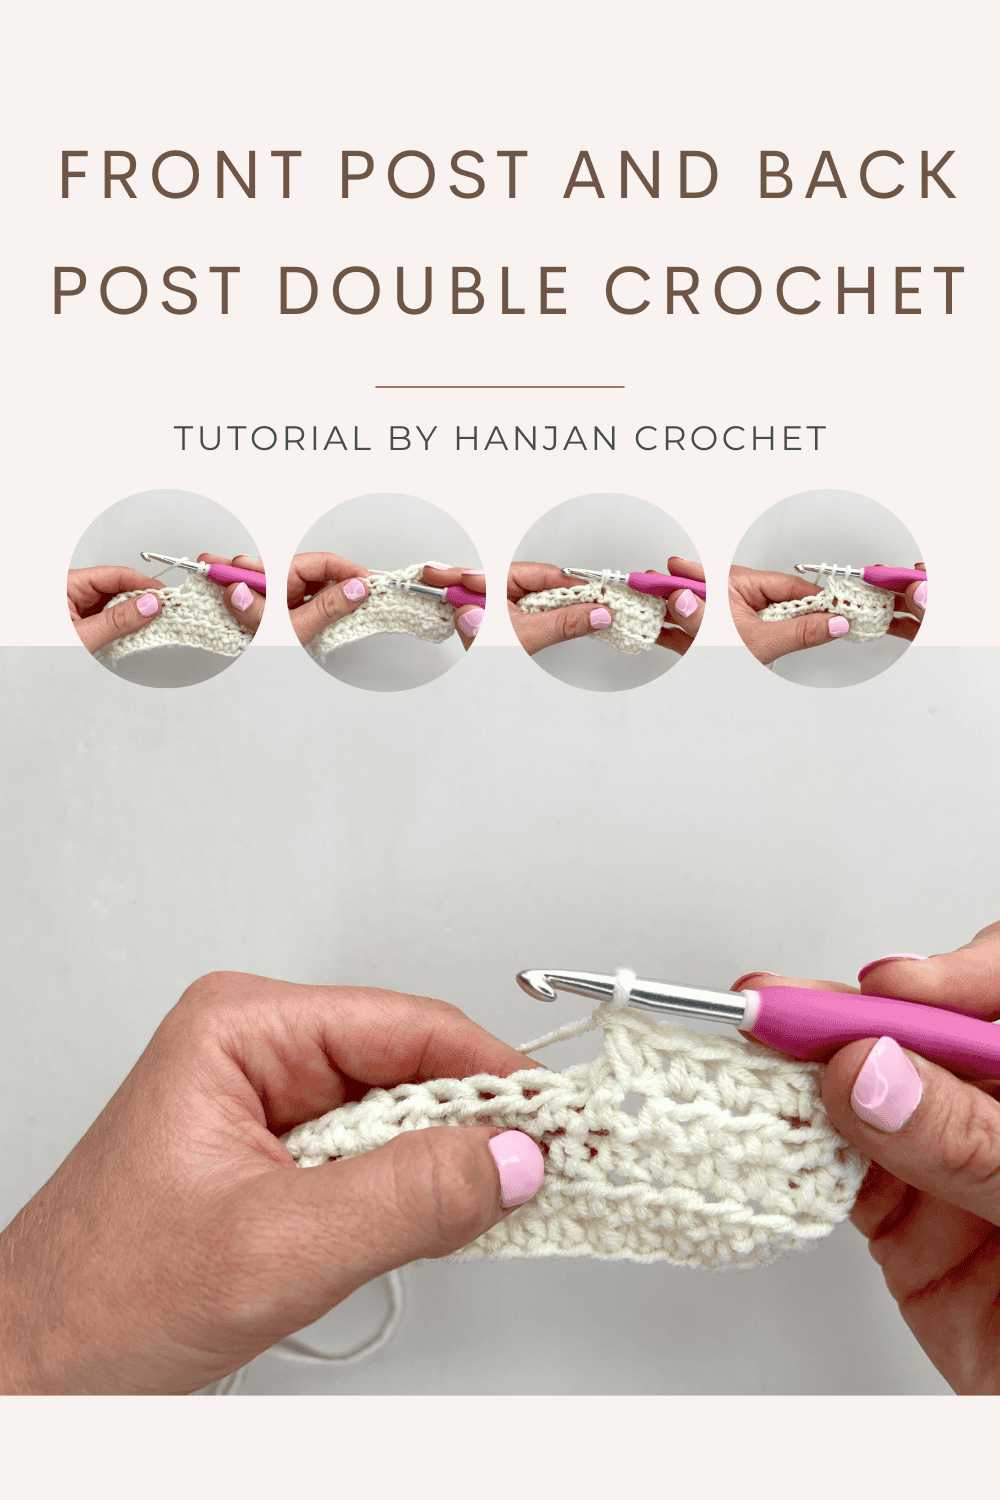
To make a double crochet post stitch, there is just one fundamental difference to a normal US double crochet.
Instead of working your stitch through the loops at the top of the stitch, you make it around the post of the stitch. The post of a stitch is most obvious in a double crochet stitch and is the part below the top of the stitch.
For front post stitches, we go around the post from front to back to front. For back post stitches, we insert our hook around the post from back to front to back.
Let’s see what this looks like for each stitch. This is where you’ll insert your hook for a front post double crochet. You can see the post of the stitch below the top loops, and the needle shows how you insert your hook from front to back to front again around the post.
For a back post double crochet, we insert our hook from the back of the work first, going to the front and then back out the back as shown below.
You might be able to see this more clearly if you look at the back of the work here:
A front post double crochet is a US crochet term. In UK terms, this is a front post treble crochet stitch. And likewise a back post double crochet in US terms is a back post treble crochet in UK terms.
The front post double crochet is often abbreviated to FPdc (FPtr in UK terms). A back post double crochet stitch is abbreviated to BPdc (BPtr in UK terms).
Step by Step Front Post Double Crochet Tutorial
Before you start this post stitch tutorial, you’re going to want to make a slip knot on your hook and a foundation chain (a row of crochet chain stitches).
You’ll then need a row of stitches with posts to work around. The easiest way to do this is to make a row of double crochet stitches.
Supplies you’ll need
I used Wildflower Worsted by Herrschners in Rose Clover for the tutorial photos which is a lovely, category 4 (worsted) weight yarn, 100% Acrylic, 448m, 489yds, 226g, but you can use any yarn that you like. If you’re a beginner I’d recommend using a category 4 or 5 weight yarn so you can see your stitches easily.
You’ll need a corresponding crochet hook for the yarn you choose. If you look at the ball band, it usually gives you the recommended hook size. The hook I’m using is a Dots hook from WeCrochet.
If you only have one hook and ball of yarn though, just use what you’ve got. The important thing is to start crocheting!
Here is a short description of how to make a front post double crochet.
How to make a front post double crochet stitch –
- Yarn over
- Insert your hook around the post of the stitch from front to back to front
- Yarn over and pull through a loop
- Yarn over and pull through 2 loops
- Yarn over and pull through the remaining 2 loops on your hook
And that’s it! Let’s have a look at it in more detail with some pictures!
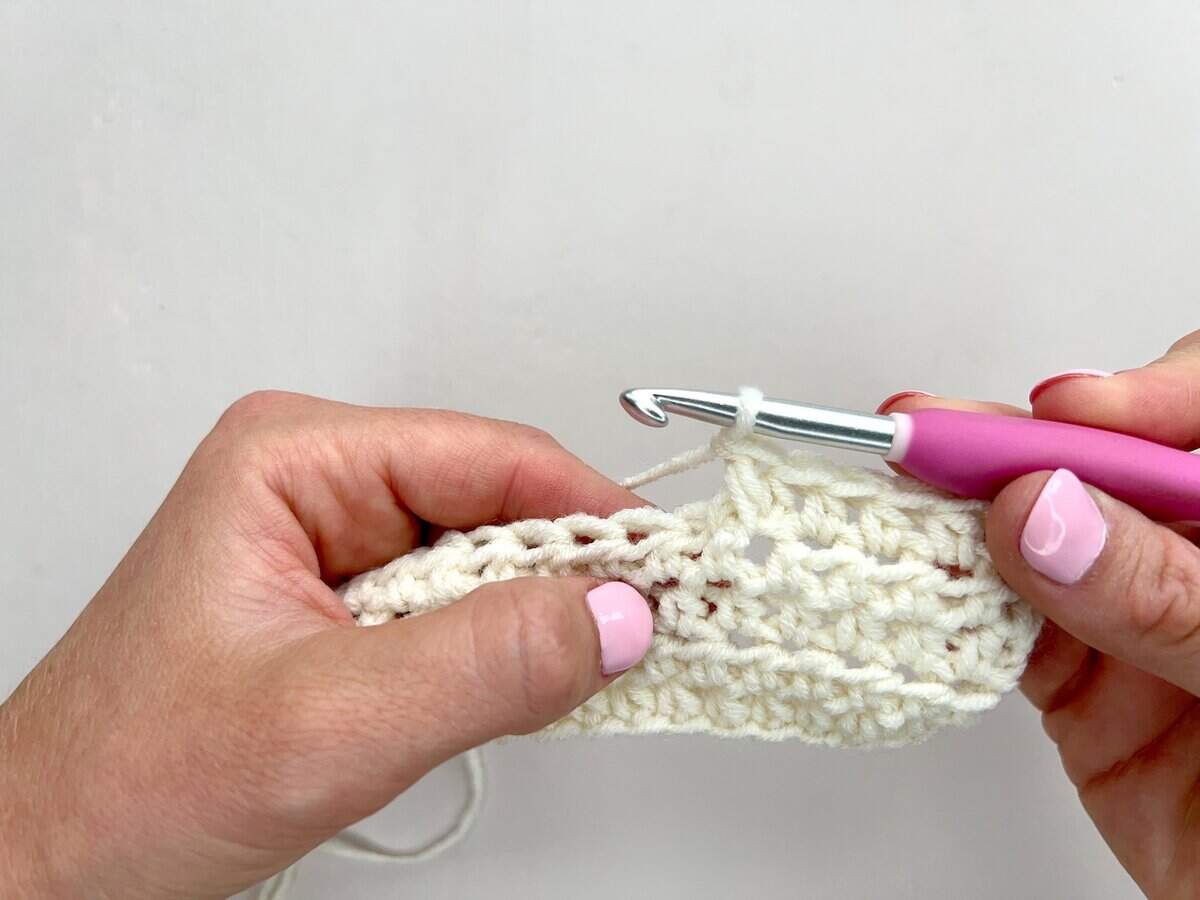
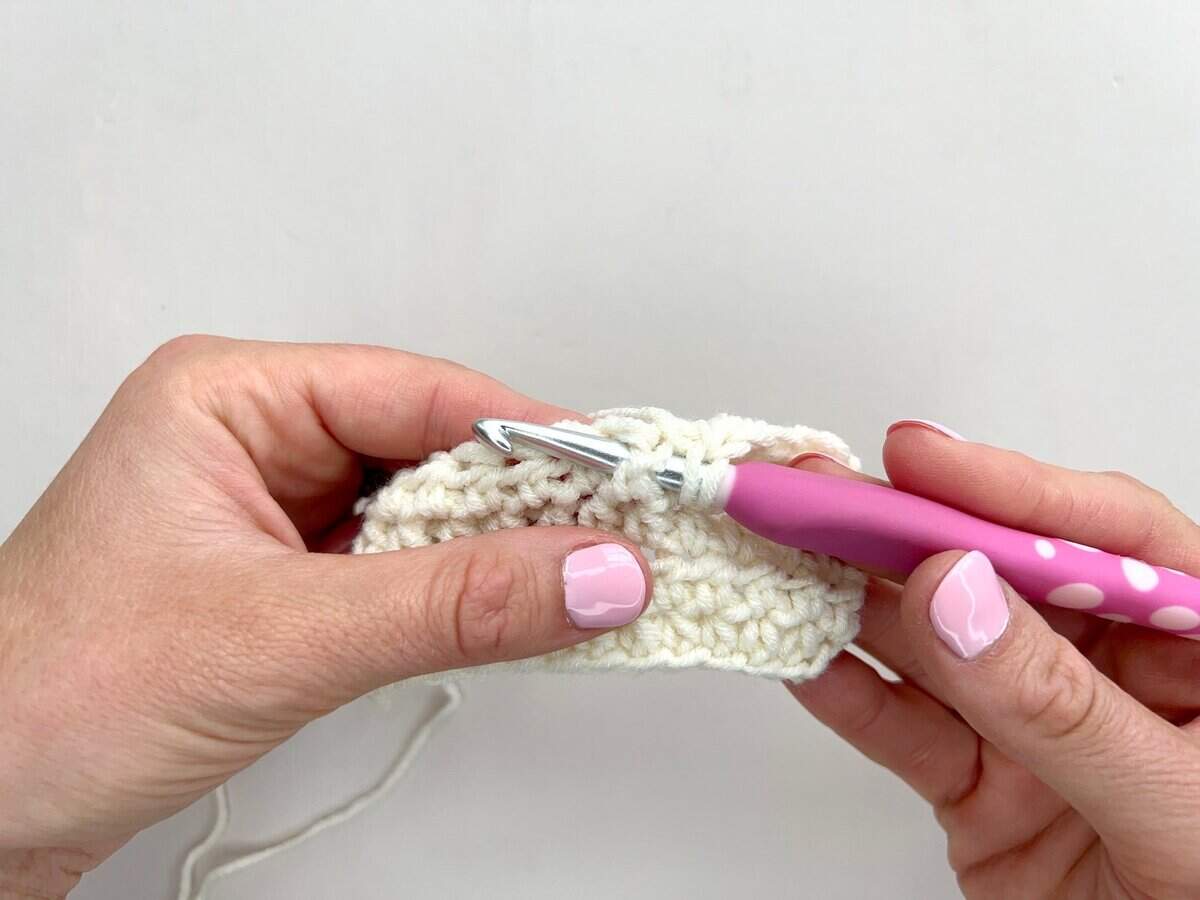
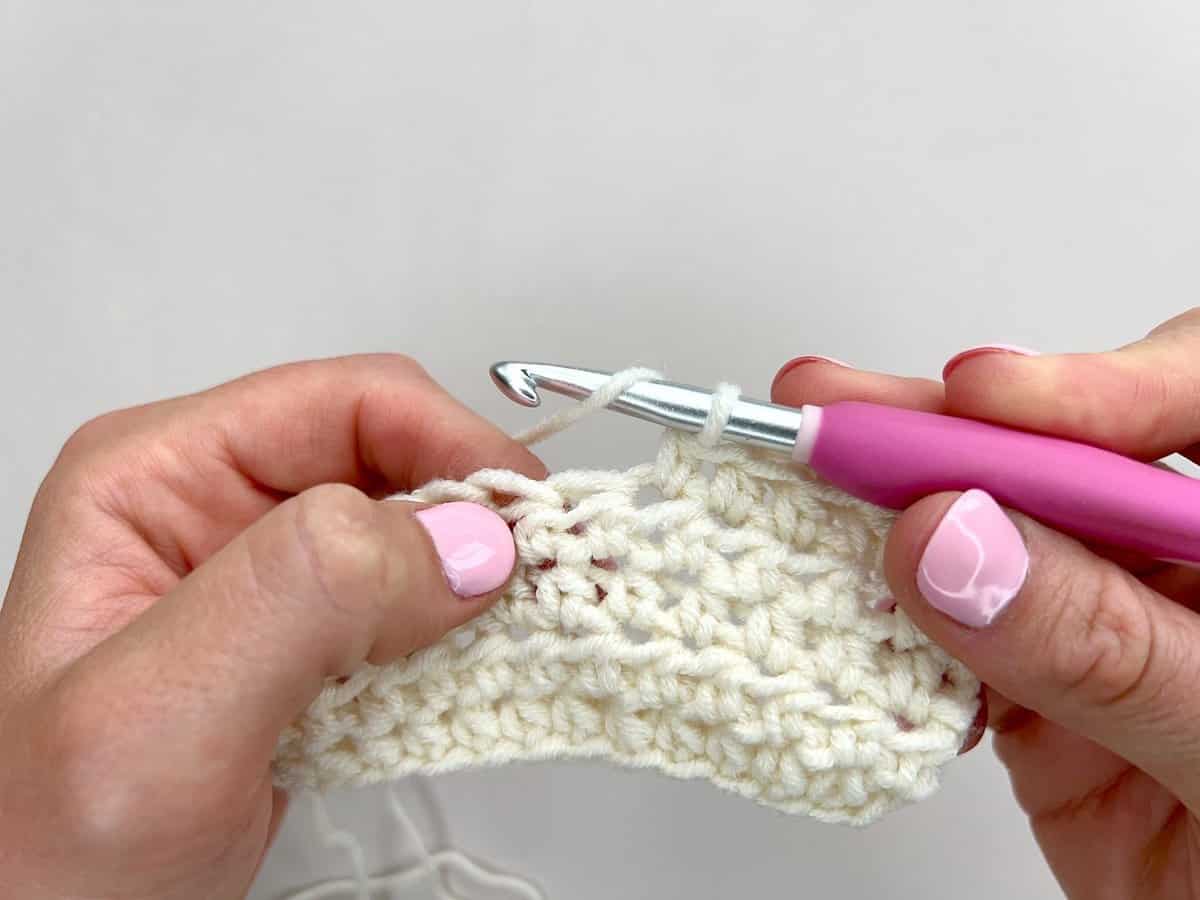
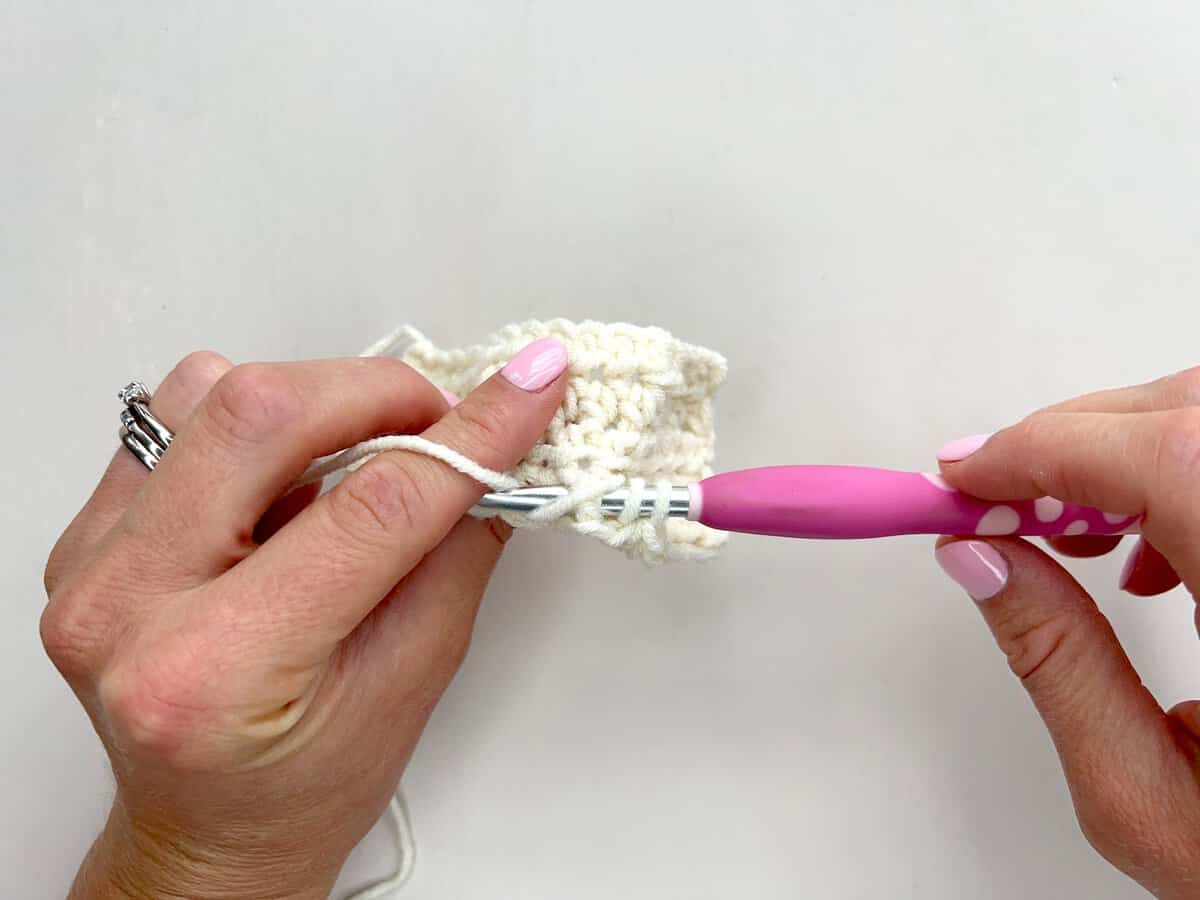
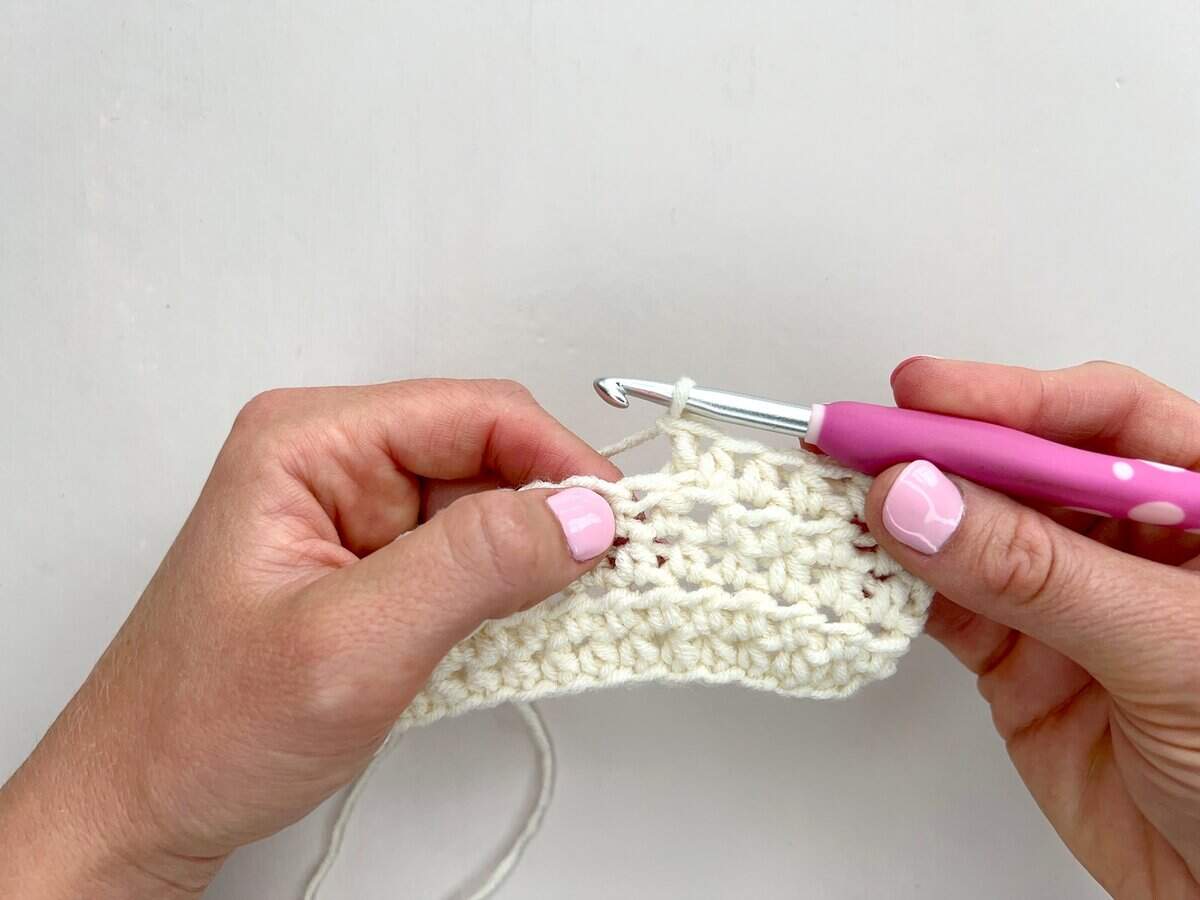
1. Yarn over
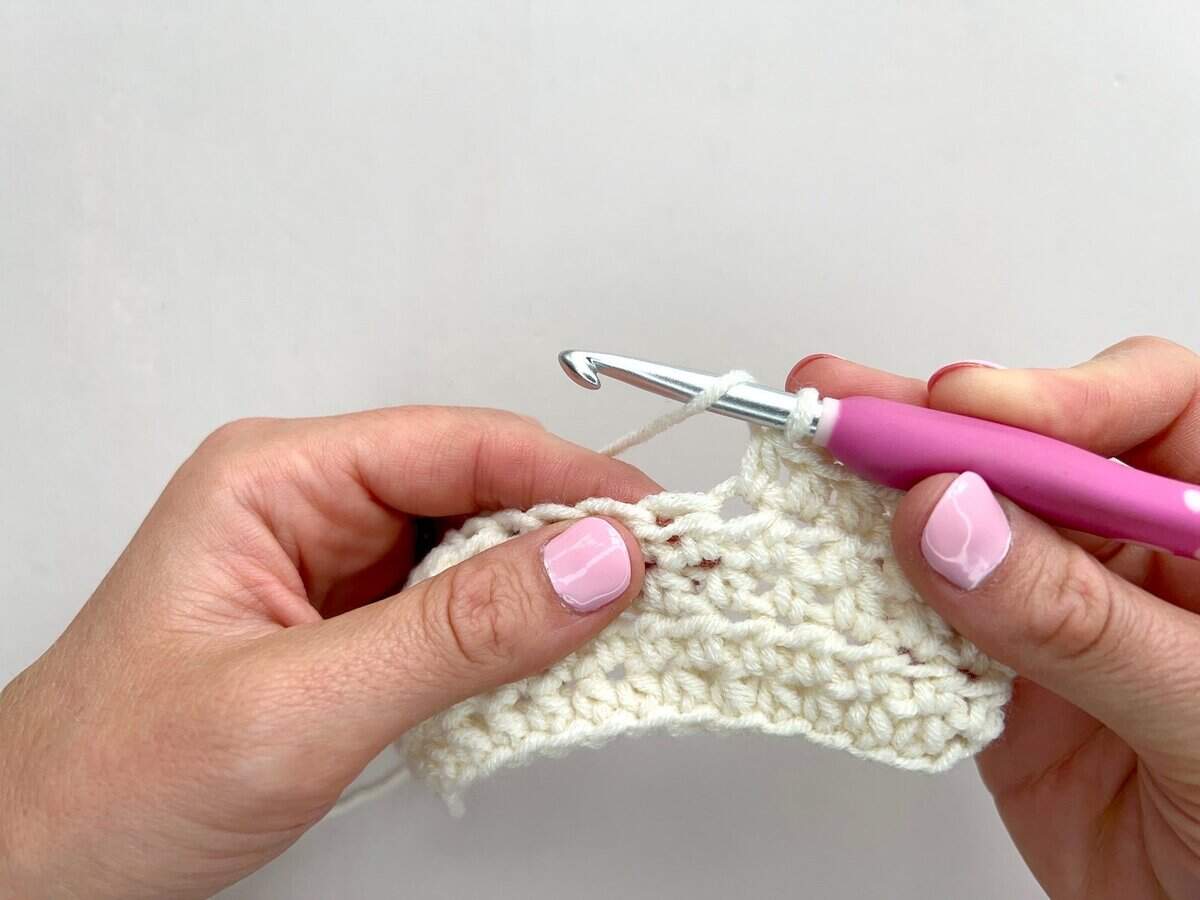
2. Insert your hook around the post from front to back…
…to front
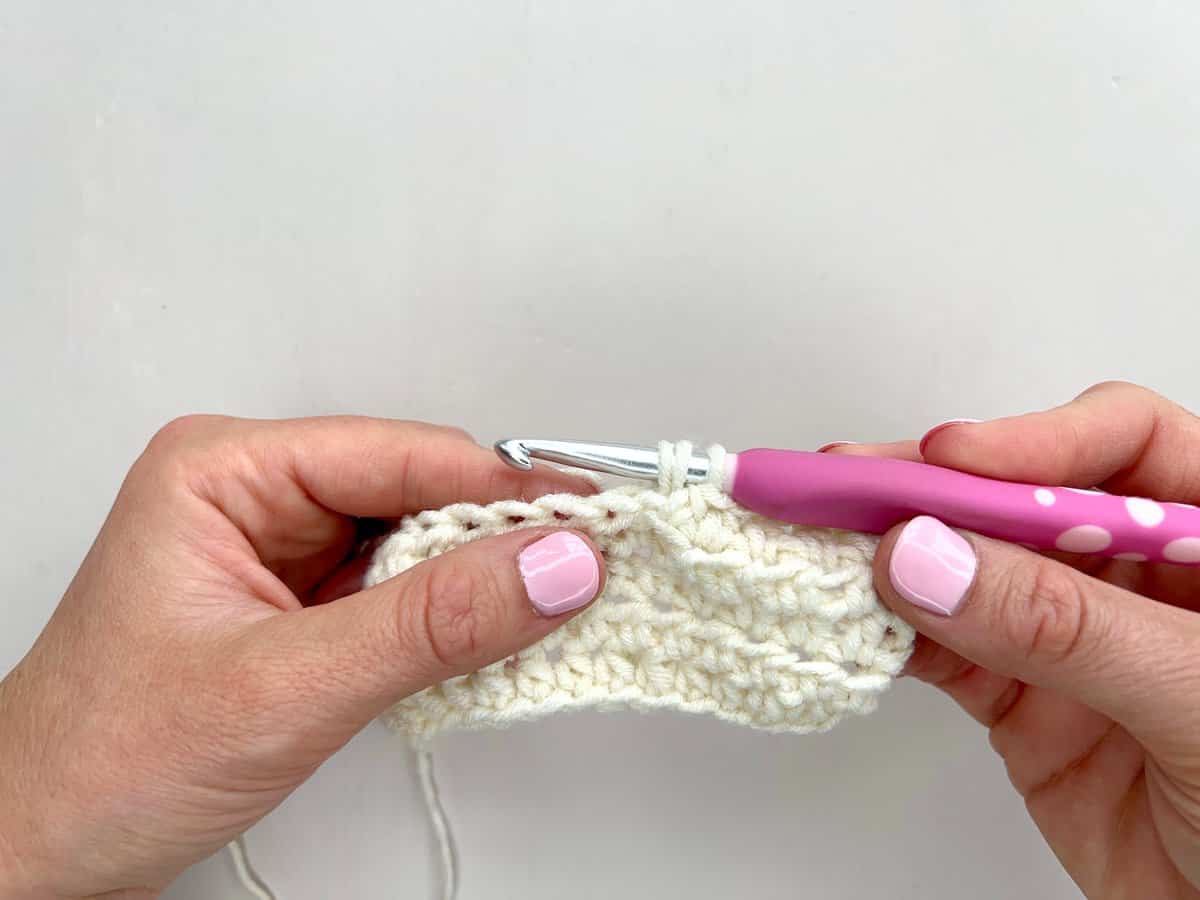
3. Yarn over
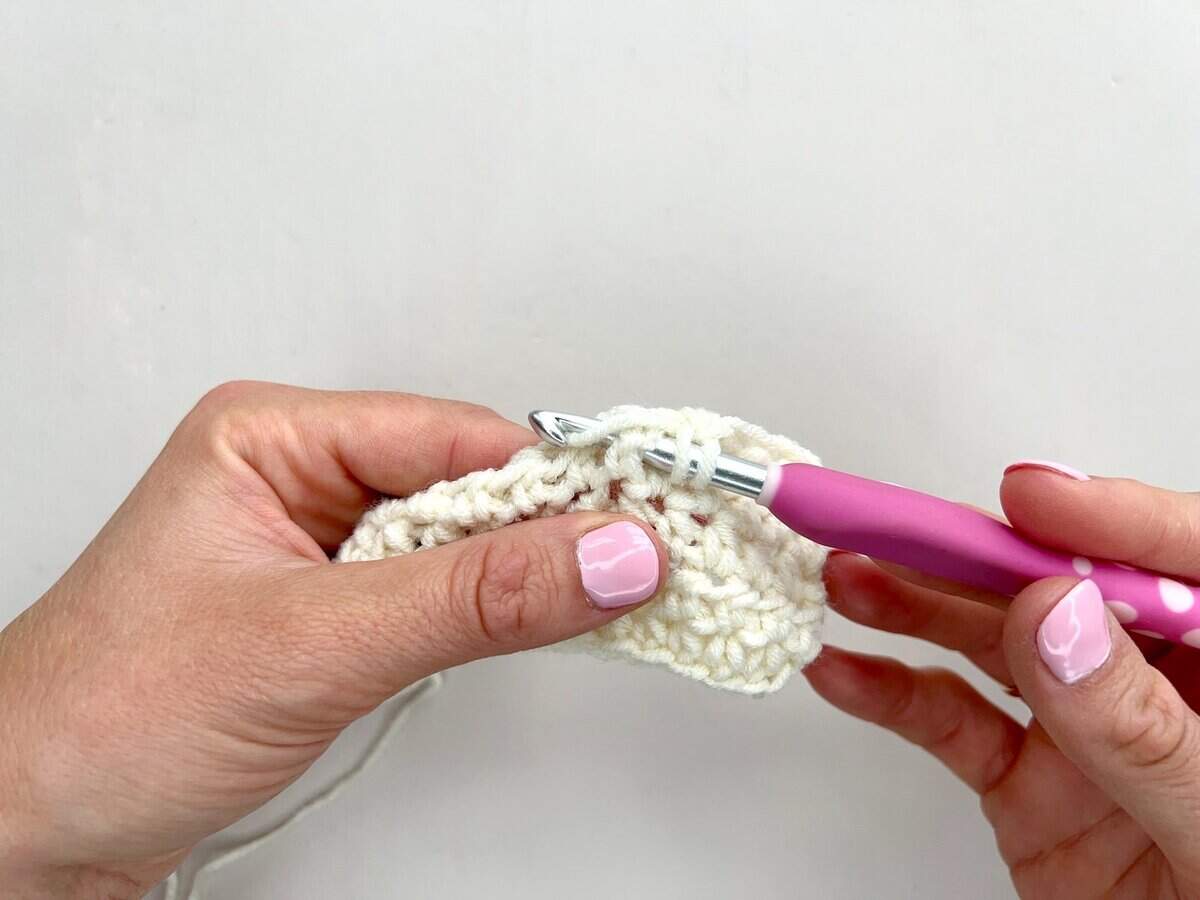
4. Pull the loop back through
5. Yarn over and pull through 2 loops
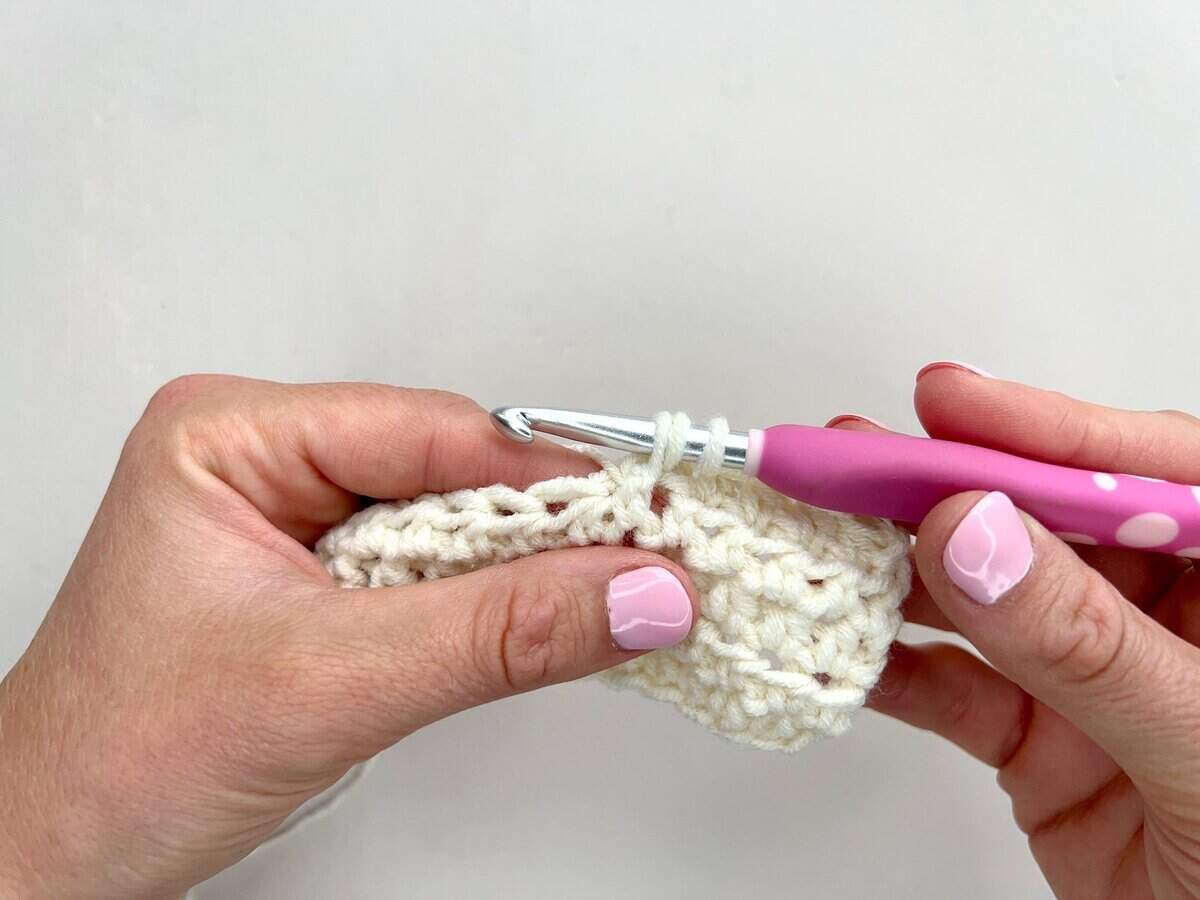
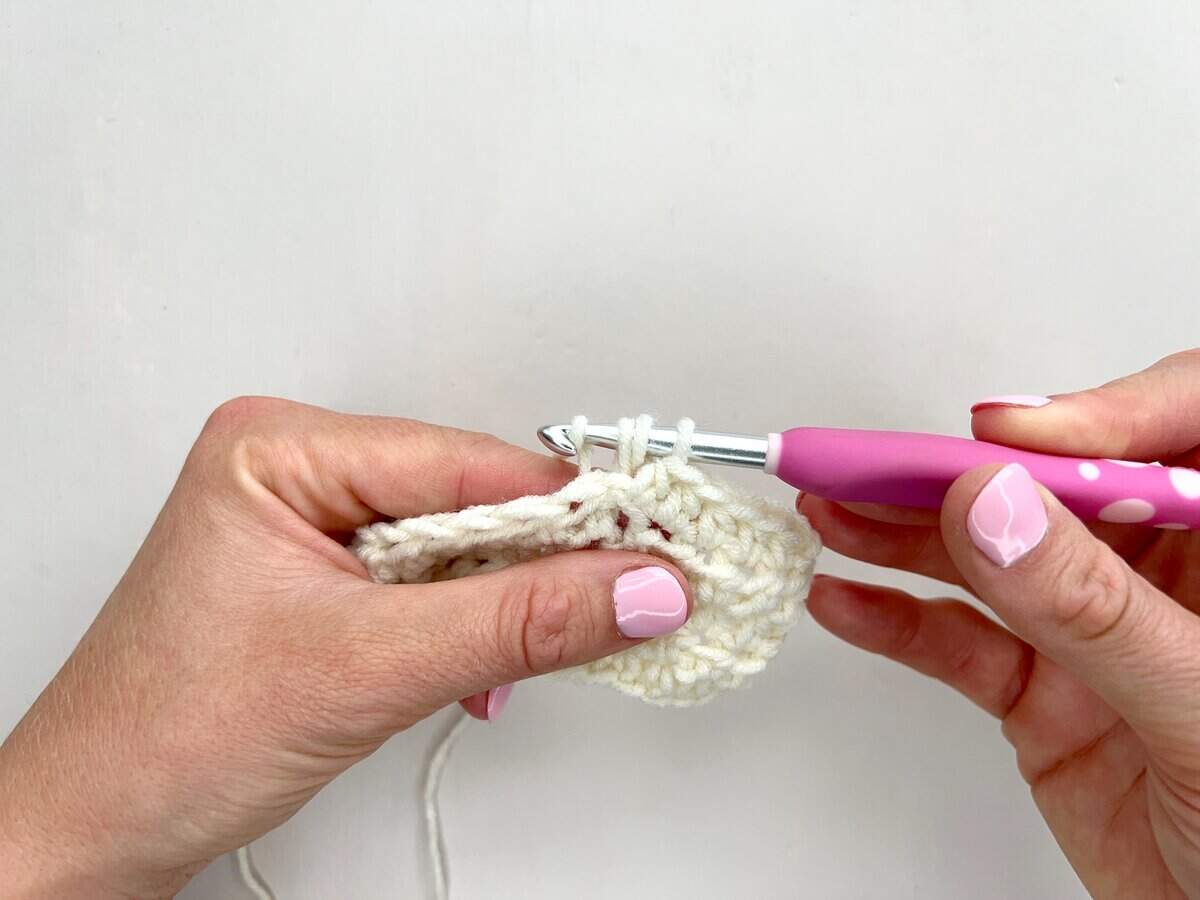
6. Yarn over and pull through the remaining 2 loops on your hook

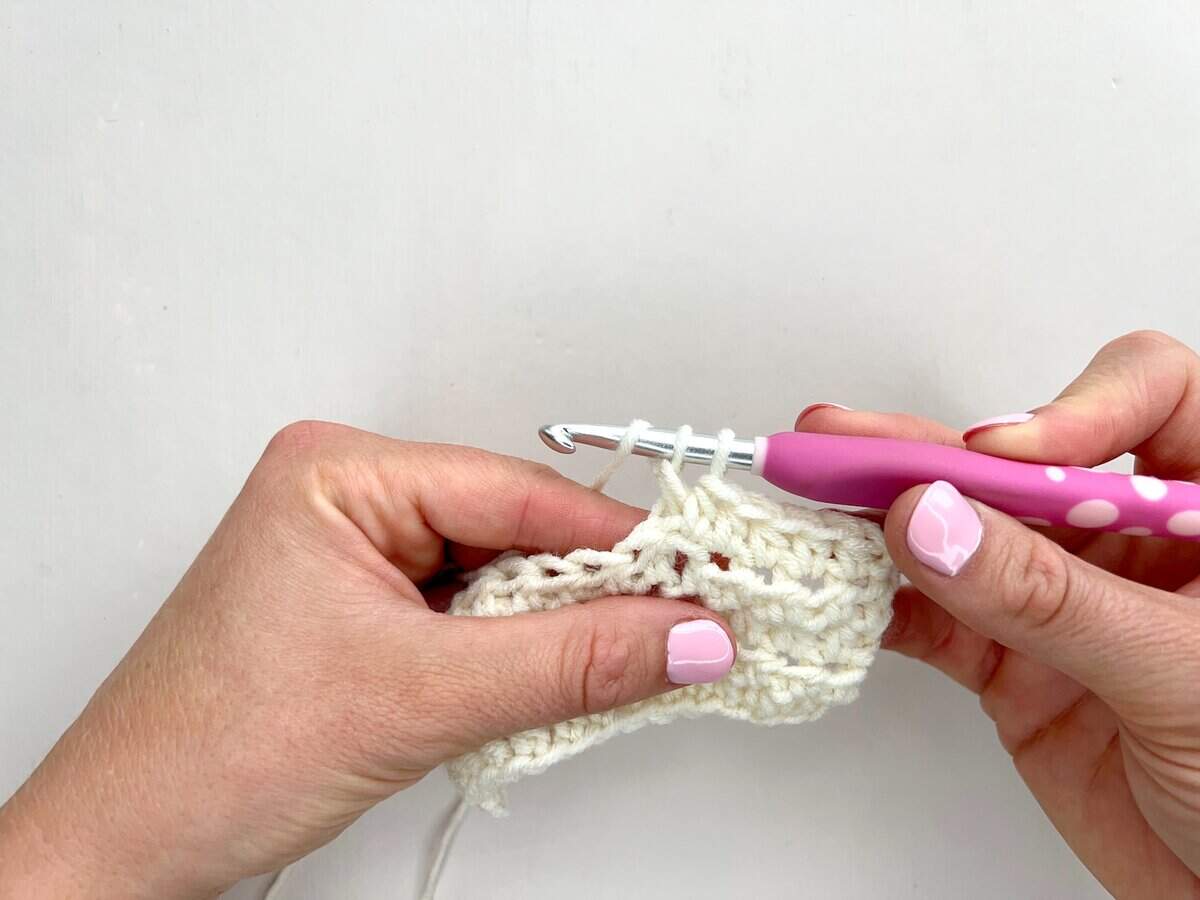
Once you’ve completed your first front post double crochet stitch, continue to repeat this across your row, working around the posts of each subsequent stitch.
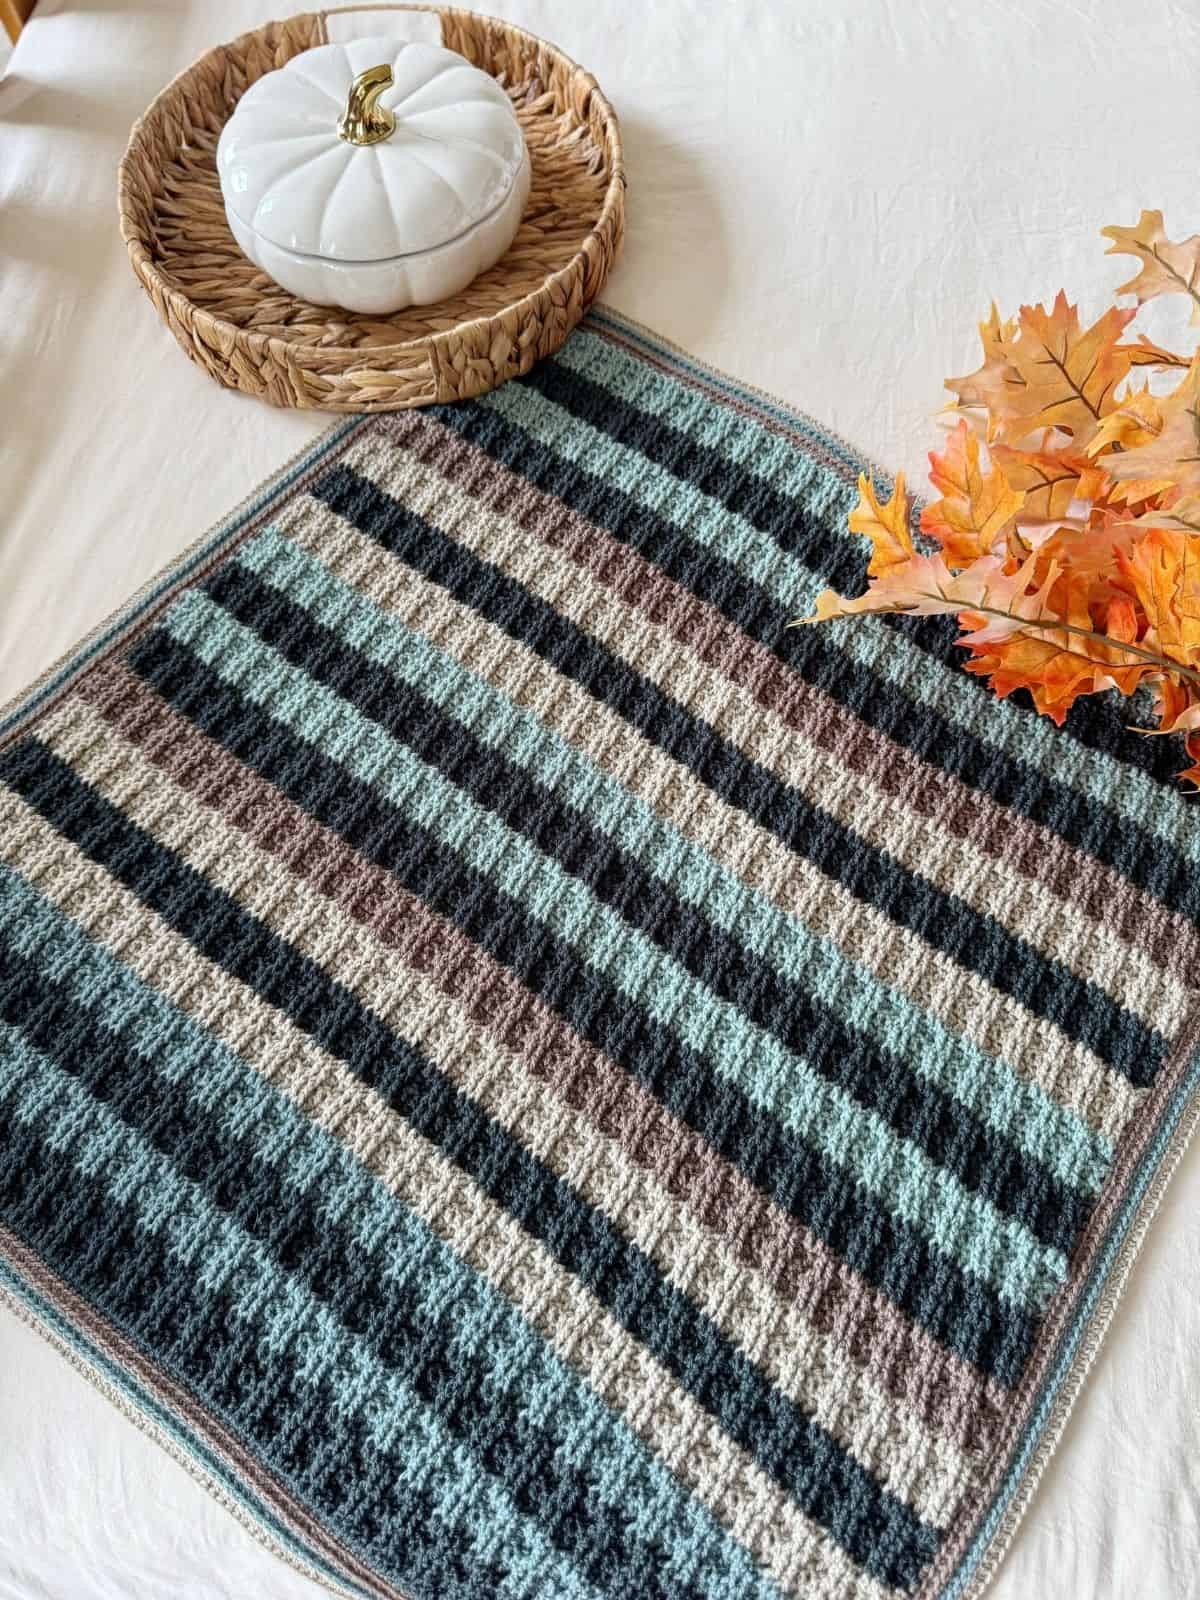
If you love this stitch then look no further!
This gorgeous crochet blanket for boys (or anyone you want it for actually!) uses alternating front and back post crochet stitches and is a complete winner for everyone!
Step by Step Back Post Double Crochet Tutorial
Here is a short description of how to make a back post double crochet.
How to make a back post double crochet stitch –
- Yarn over
- Insert your hook around the post of the stitch from back to front to back
- Yarn over and pull through a loop
- Yarn over and pull through 2 loops
- Yarn over and pull through the remaining 2 loops on your hook
And that’s it! Let’s have a look at it in more detail with some pictures!
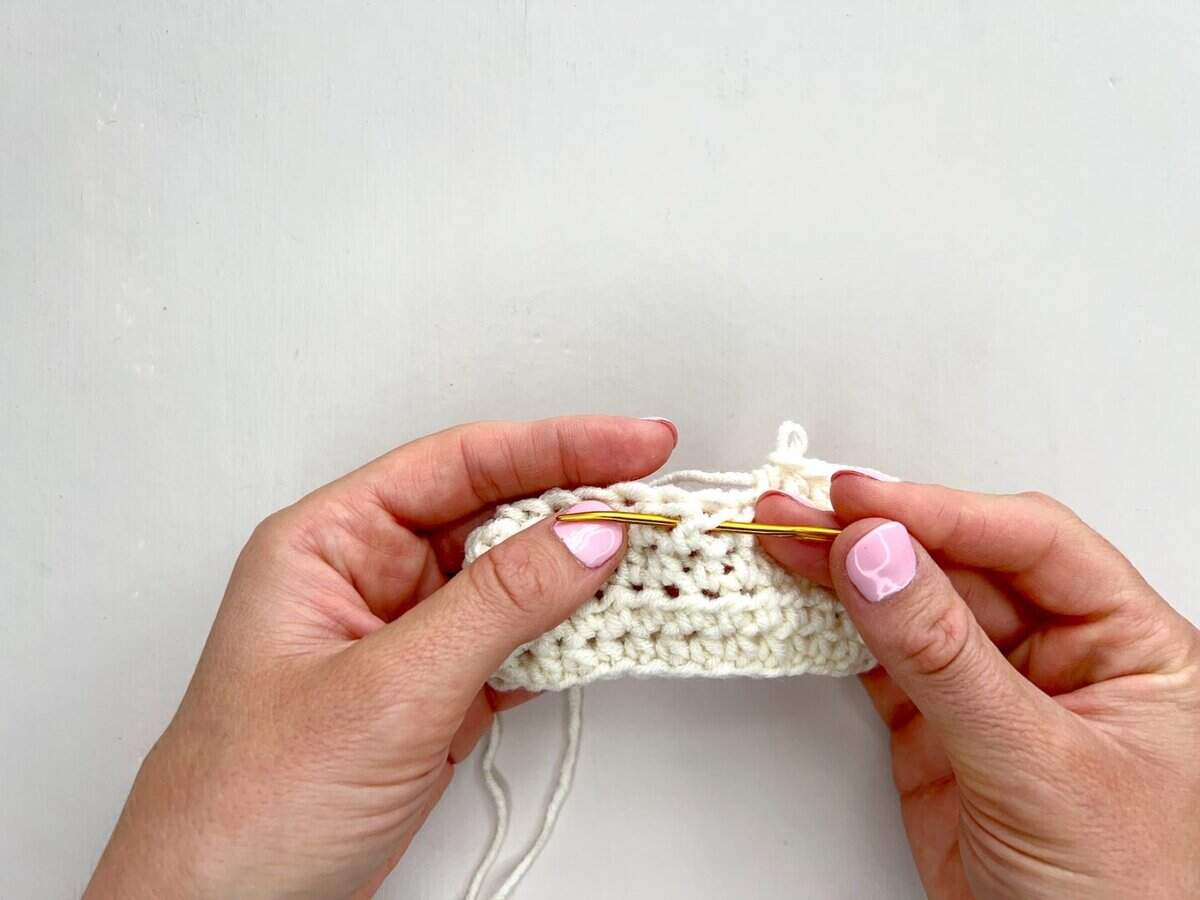
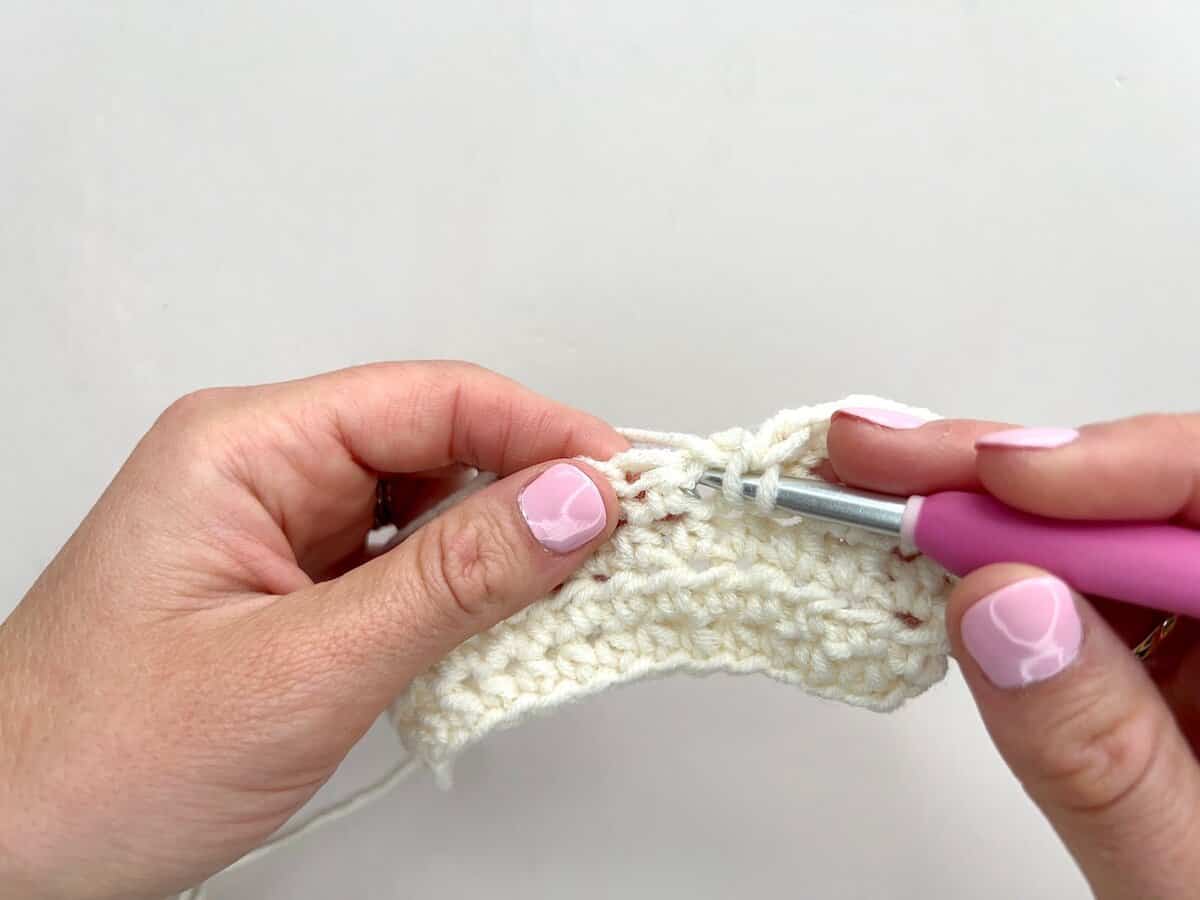
1. Yarn over
2. Insert your hook around the post from back to front…
…to back
3. Yarn over
4. Pull the loop back through
5. Yarn over and pull through 2 loops
6. Yarn over and pull through the remaining 2 loops on your hook
Once you’ve completed your first front post double crochet stitch, continue to repeat this across your row, working around the posts of each subsequent stitch.
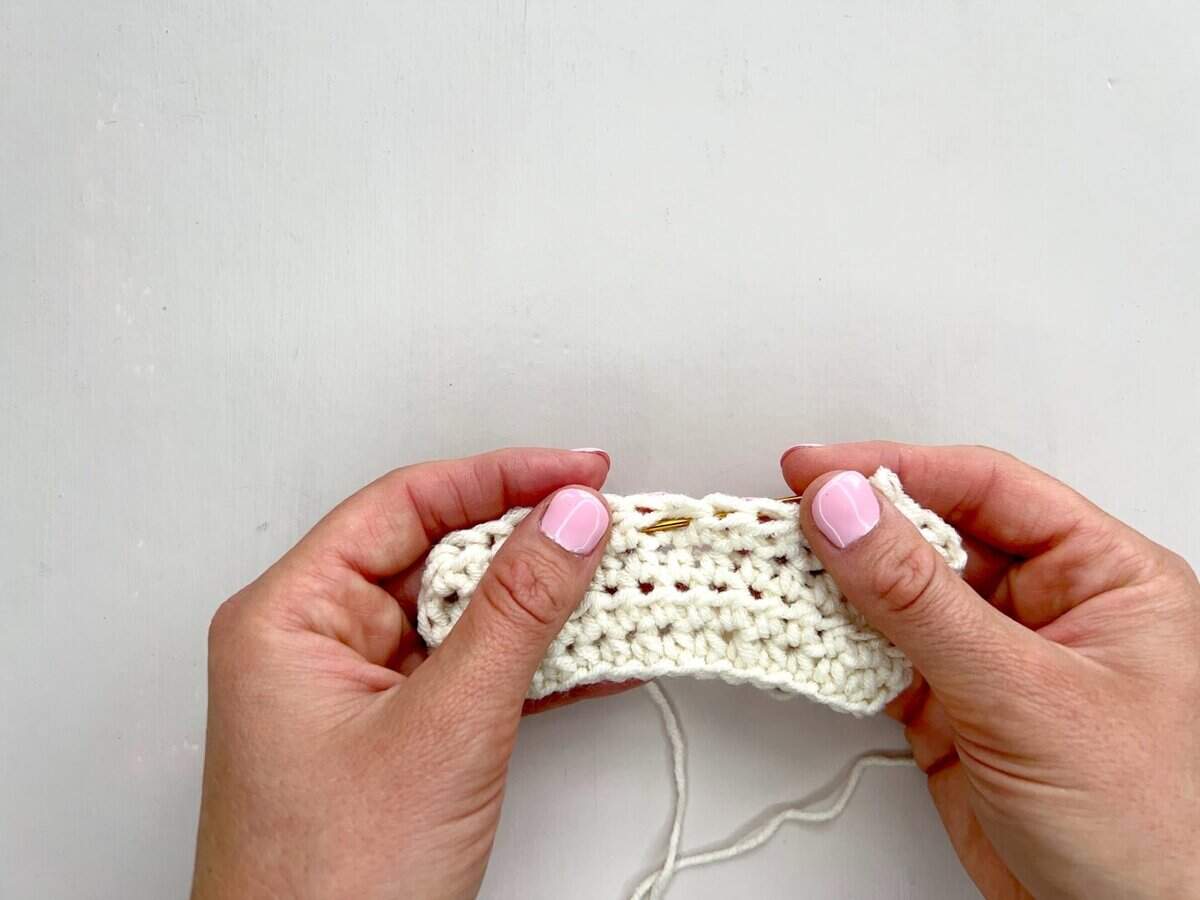
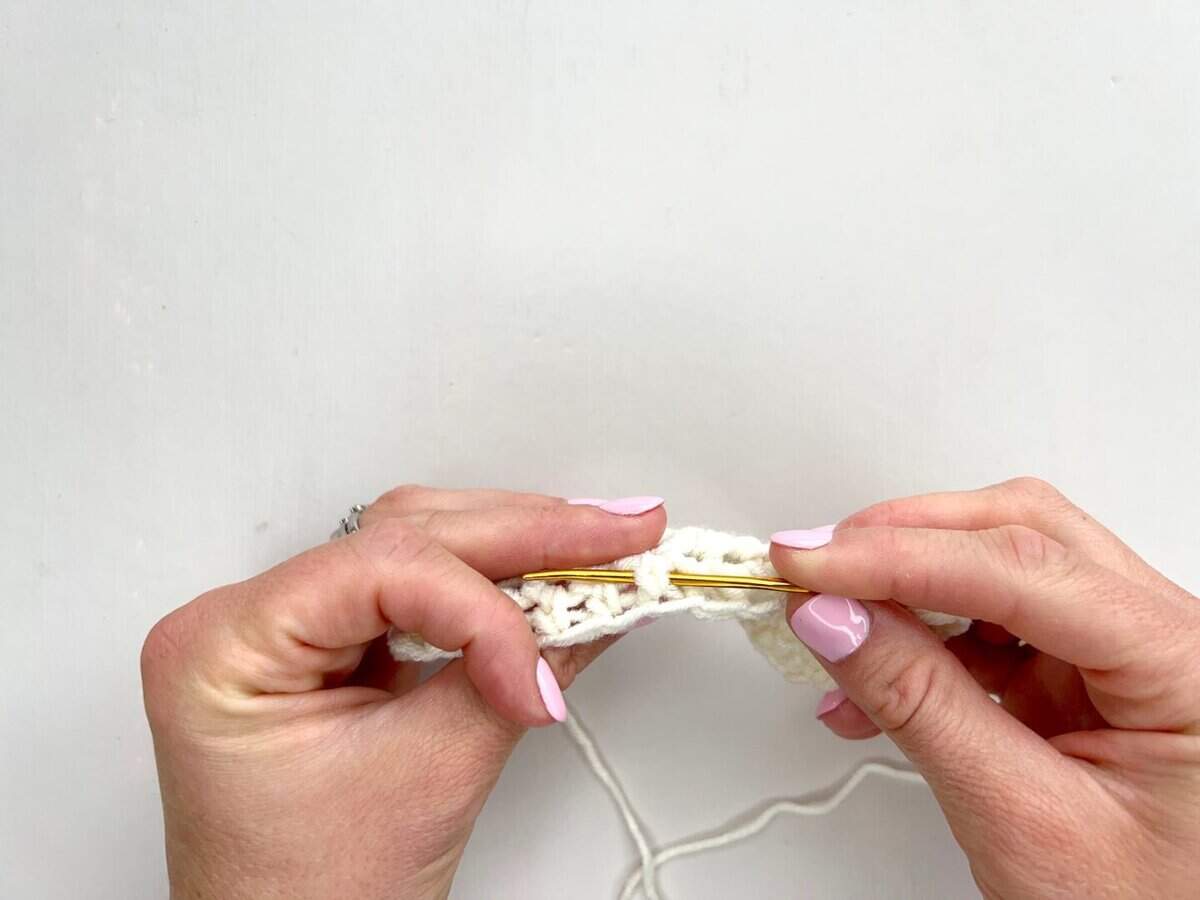
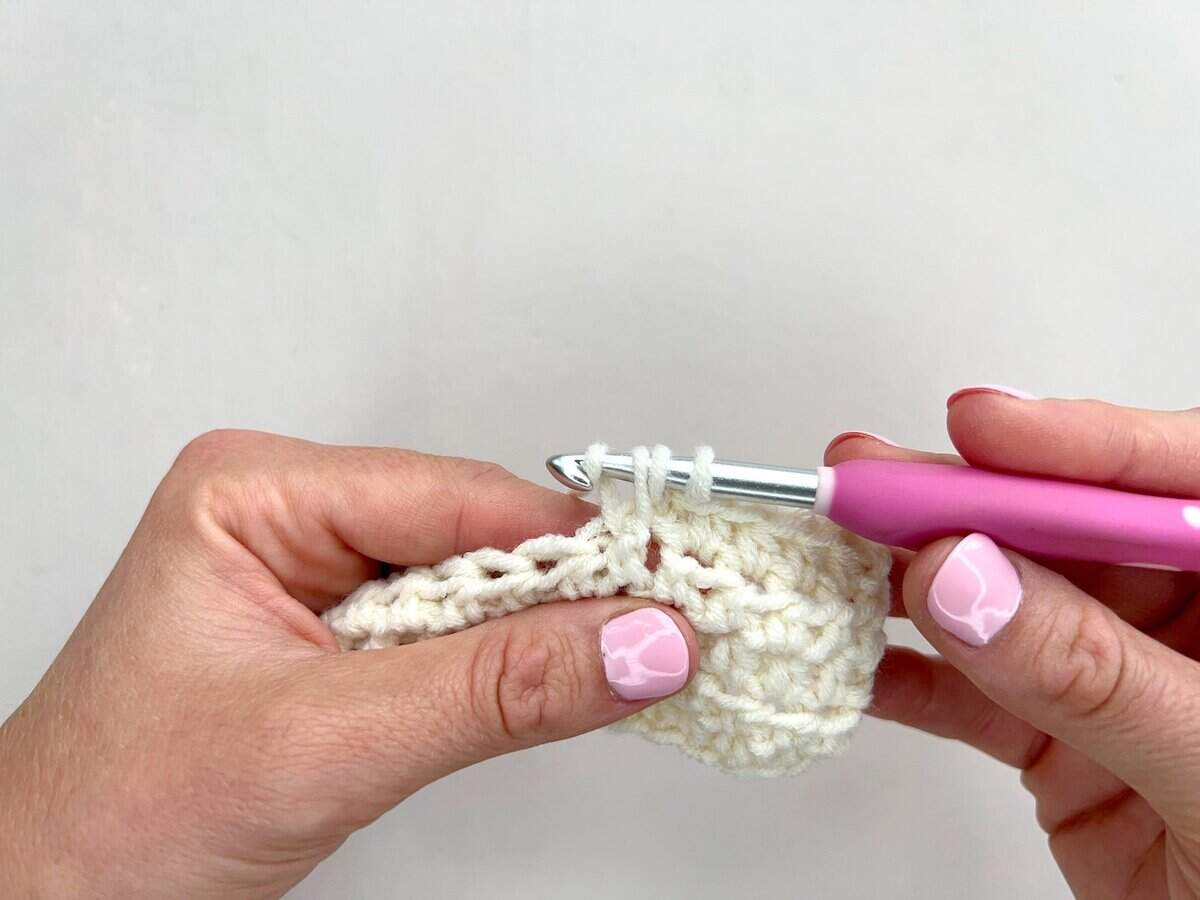
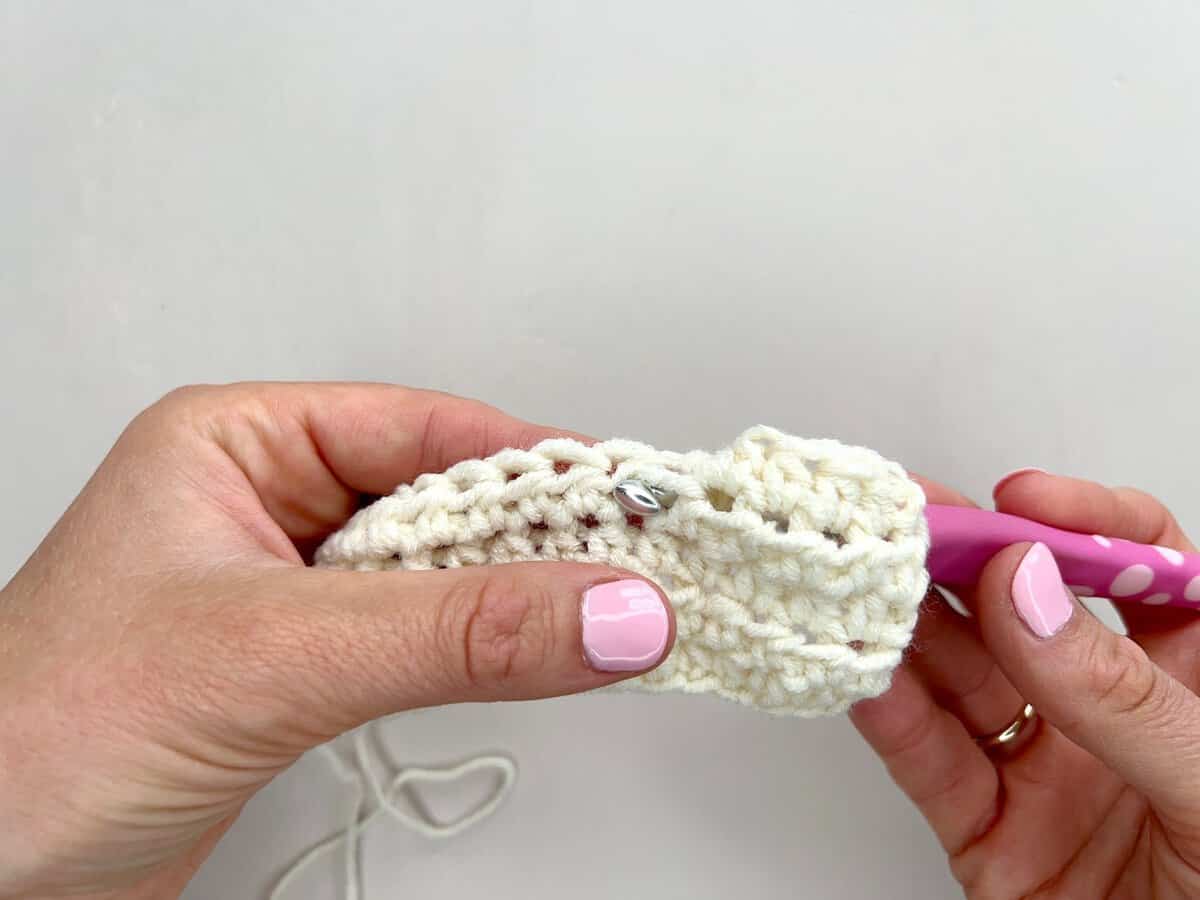
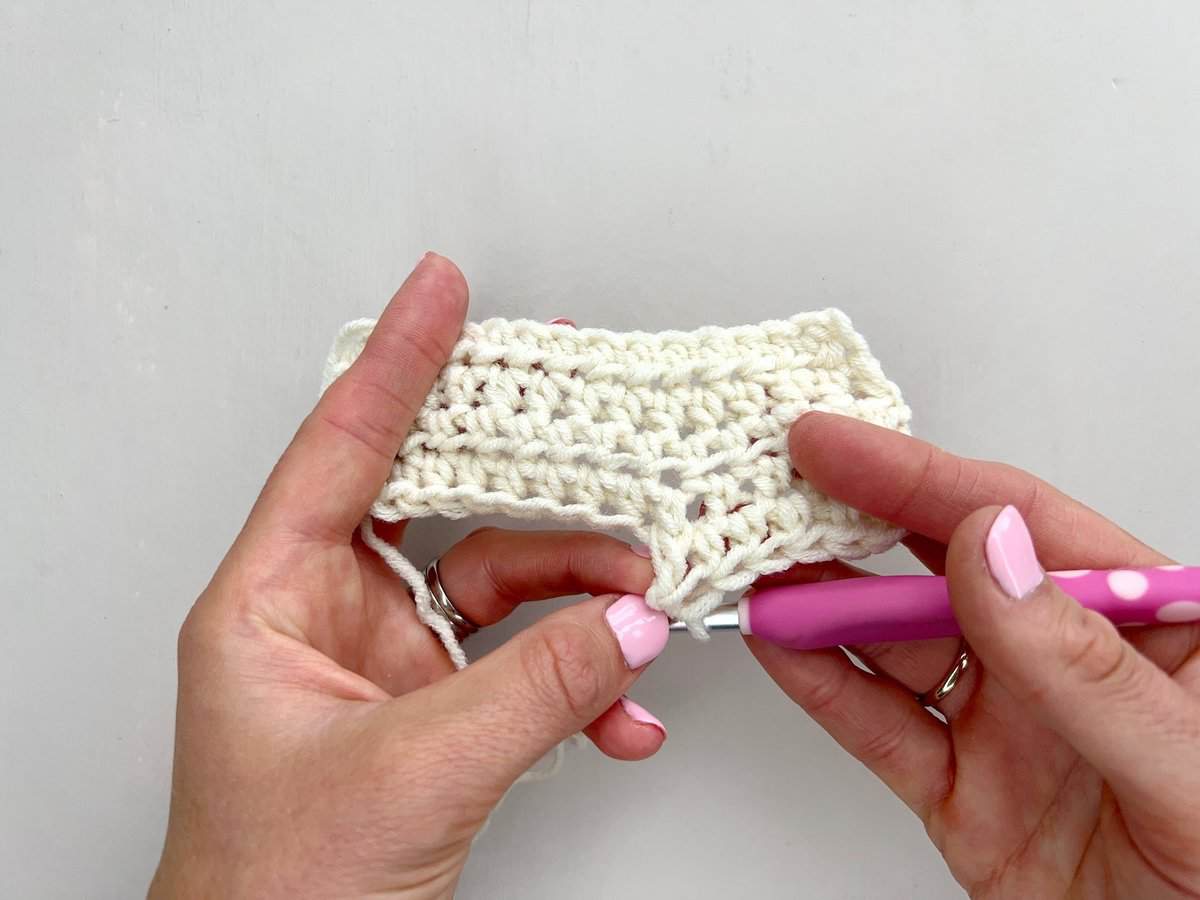
This is what a completed back post double crochet stitch looks like.
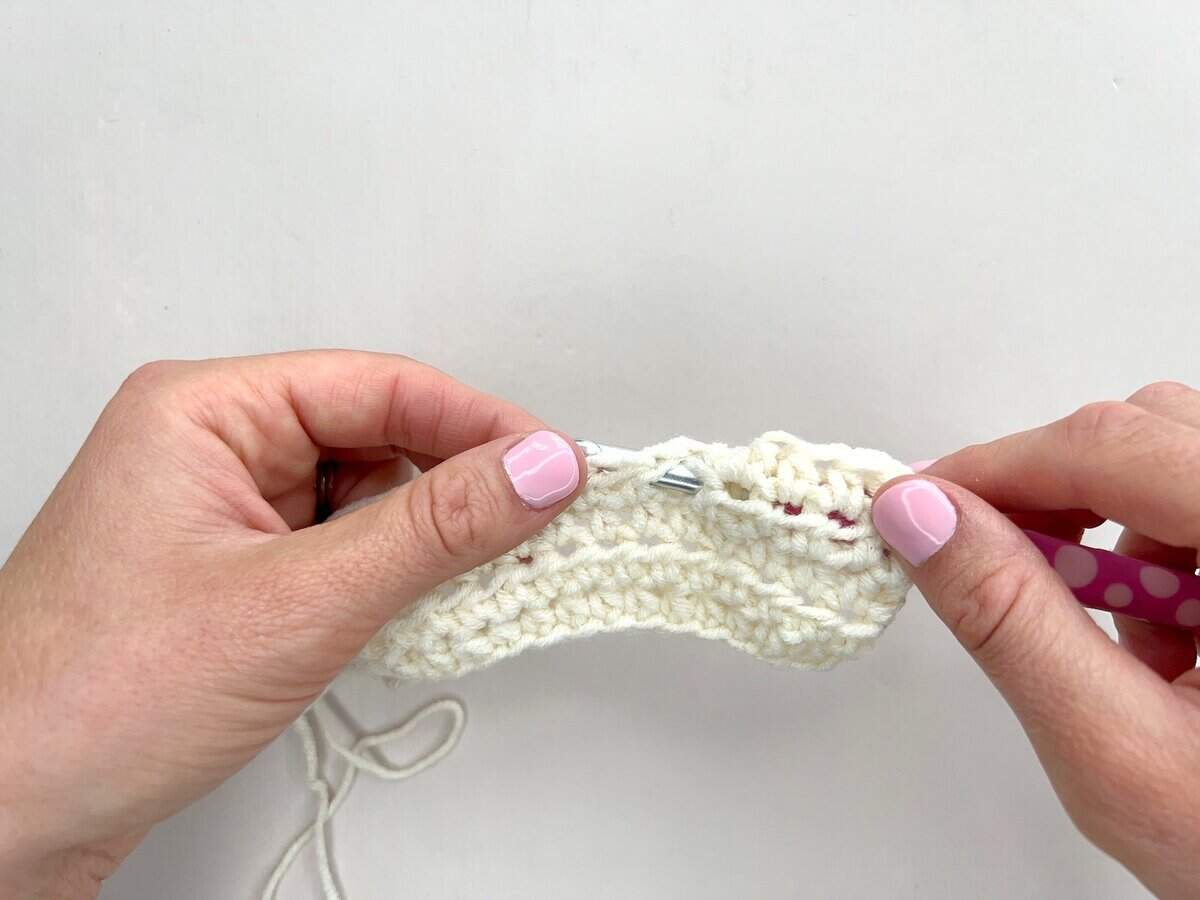
And here you can see what it looks like from the back of the piece.
Turning
At the end of the row, turn the piece around to work back along it. You will notice now that the front post stitches you worked on the previous row will now look like back post stitches and vice versa.
Because of this, we need to pay attention to the pattern as to whether you work back post stitches into the front post stitches, or the other way around. Both are used for different effects, such as ribbing.
Equally, check your pattern with regards to turning chains, as these can vary depending how the post stitches are being used.
Top Tips for Crocheting Post Stitches
- Be careful not to pull the stitches too tight. This will cause the post stitches to pull the rest of the row downwards.
- Count your stitches regularly to make sure you haven’t accidentally added or missed stitches. When working post stitches and normal stitches in the same row, this can be particularly difficult.
- You can use post stitches with virtually any crochet stitch by working the stitch as you normally would and just working around the post, rather than into the top of the stitch. So you can make front post single crochet, as well as front post treble crochet stitches.
What are Front Post and Back Post Stitches used for?
Ribbing
By alternating front post and back post stitches in a row or round, we can create a ribbing, which is perfect for adding to garments, blankets and more.
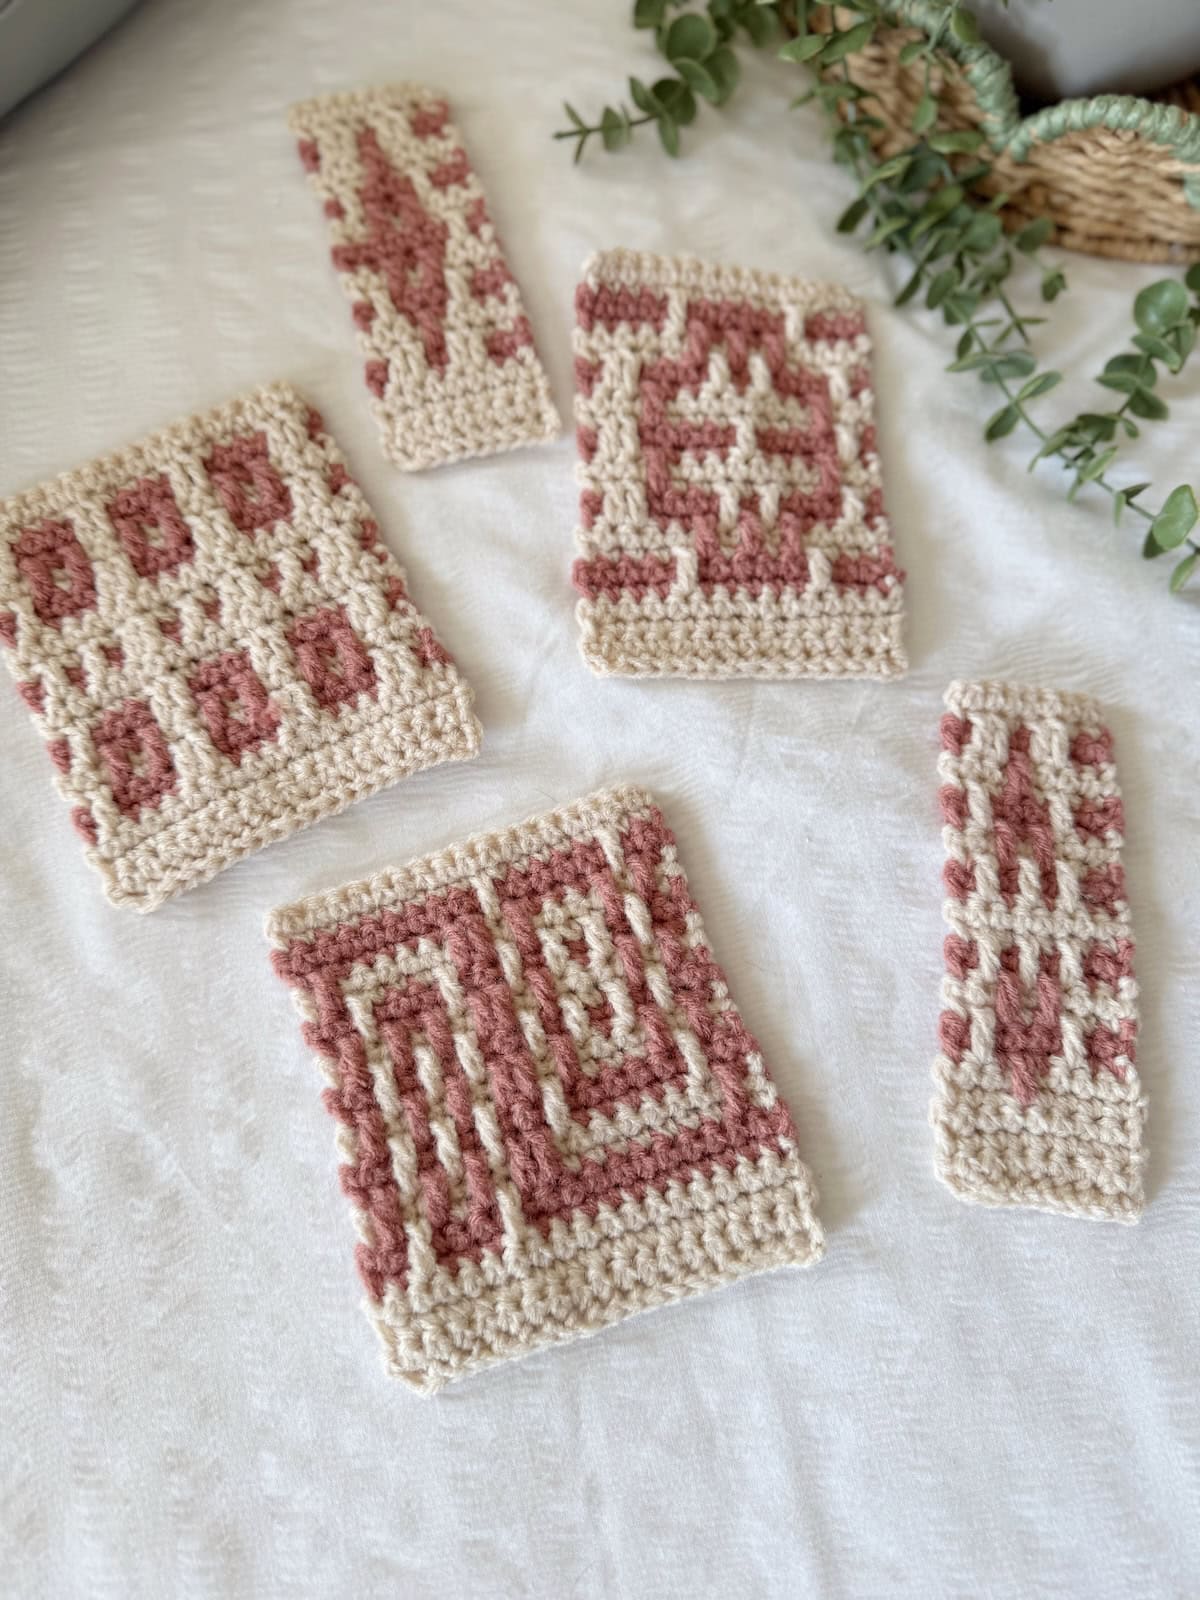
Post stitches are used to create crochet cables. By placing your post stitch around different stitches, we can easily make them slant one way or another, and even make them cross over.
Texture
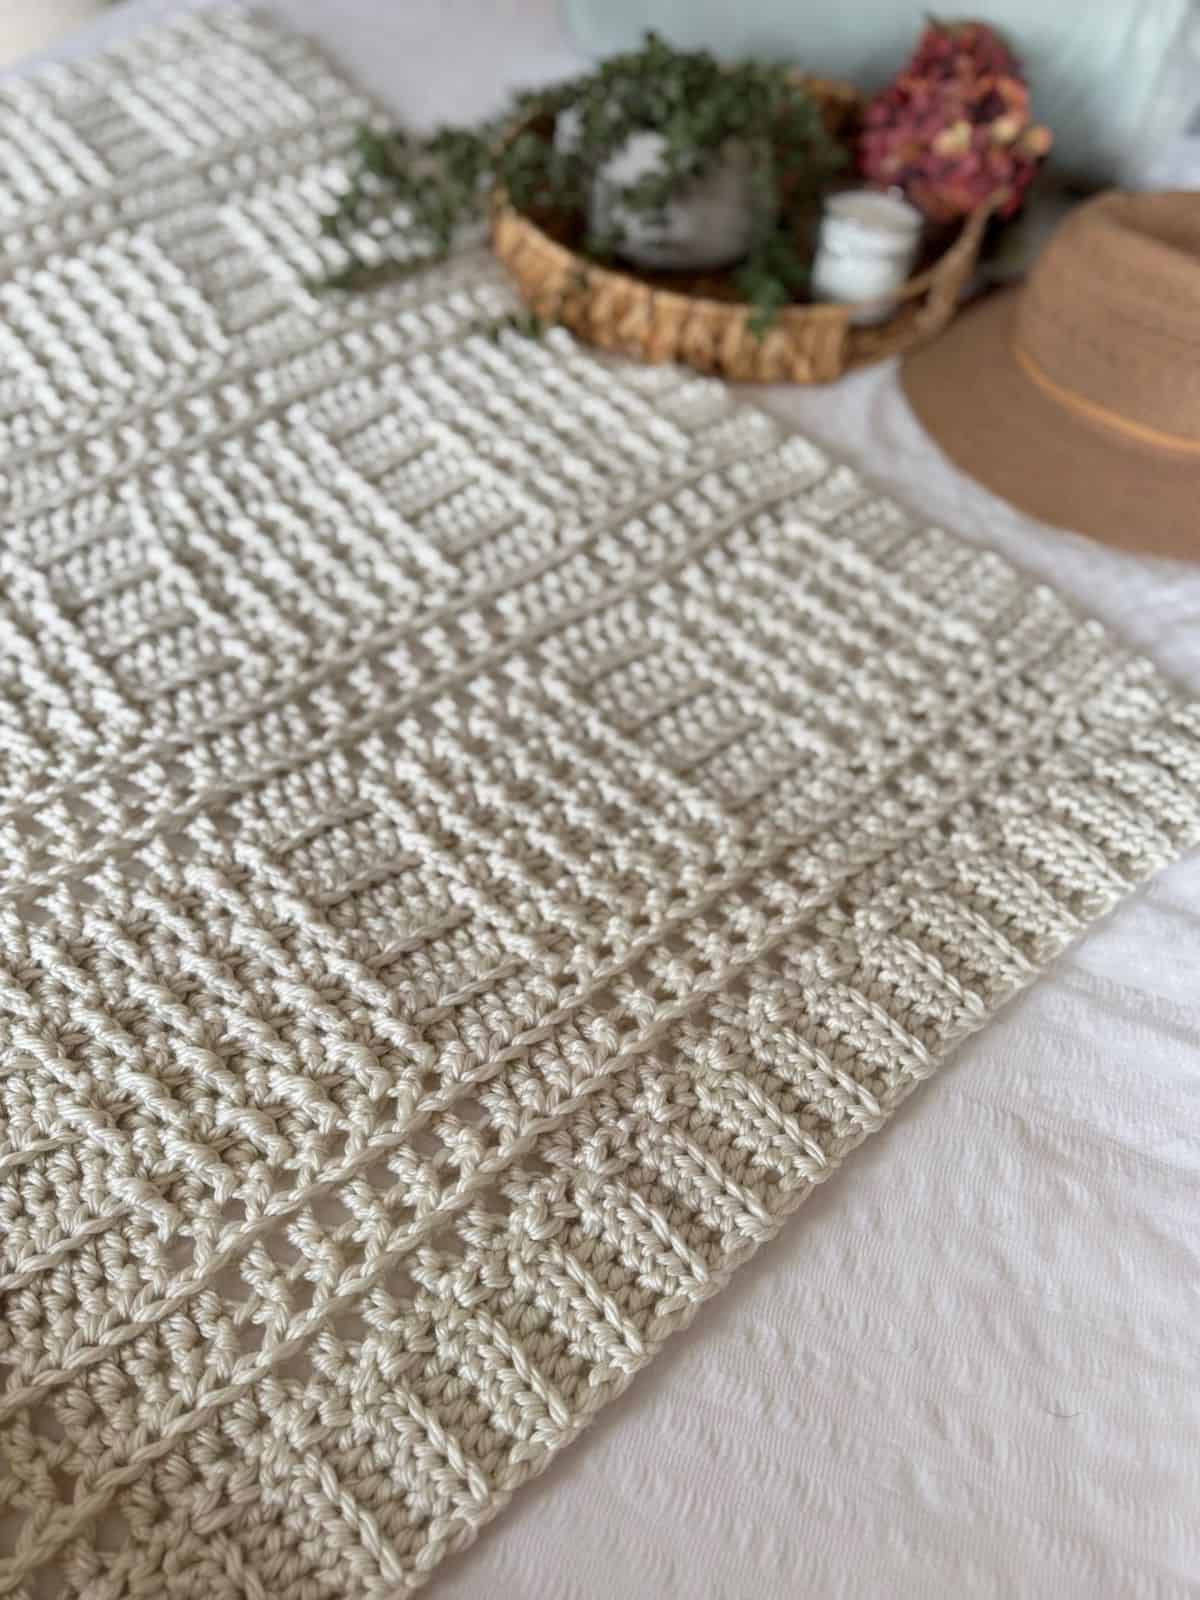
One of the fabulous things about front and back post double crochet stitches is the amount of texture they create.
Whether you use them in certain stitch patterns like the basketweave, alpine stitch or waffle stitch; or you’re following a specific pattern that uses them, post stitches create a stunning texture either way!
Projects Using Post Stitches
When you’re ready to use your new post stitch skills in a pattern, have a look at these ones:
Snuggle up with this cozy, one-piece thick crochet blanket pattern made with super bulky yarn! It’s quick, easy, and full of texture—perfect for a weekend project or a heartfelt gift.
This blanket is made using half double crochets and front post double crochet stitches.
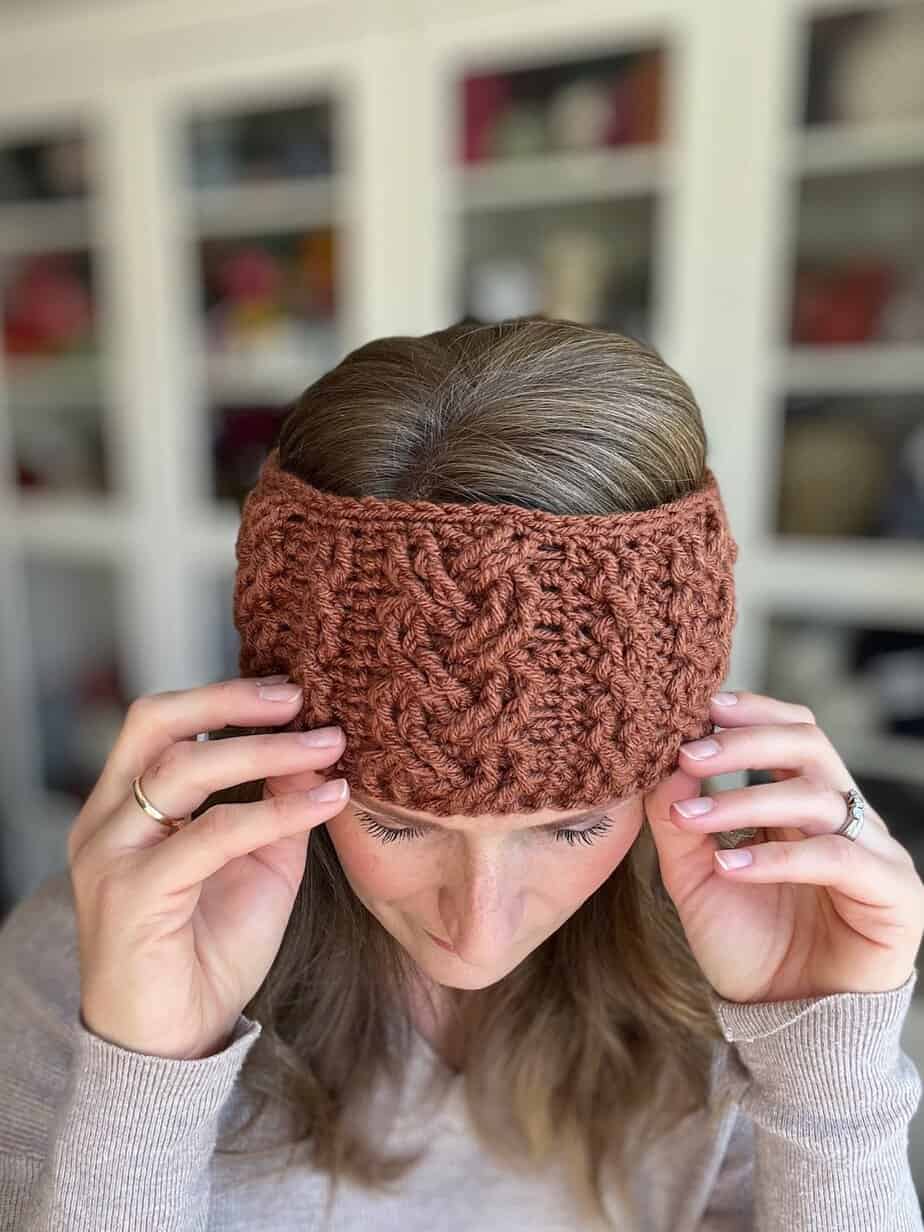
Warm, cozy, and packed full of texture, this elegant cable crochet headband pattern is one for all the family.
Made in rounds using 2 different cable stitches you’ll be amazed at how fast this one works up. The cables are created using front and back post stitches. A great stash buster and perfect for last minute crochet gifts.
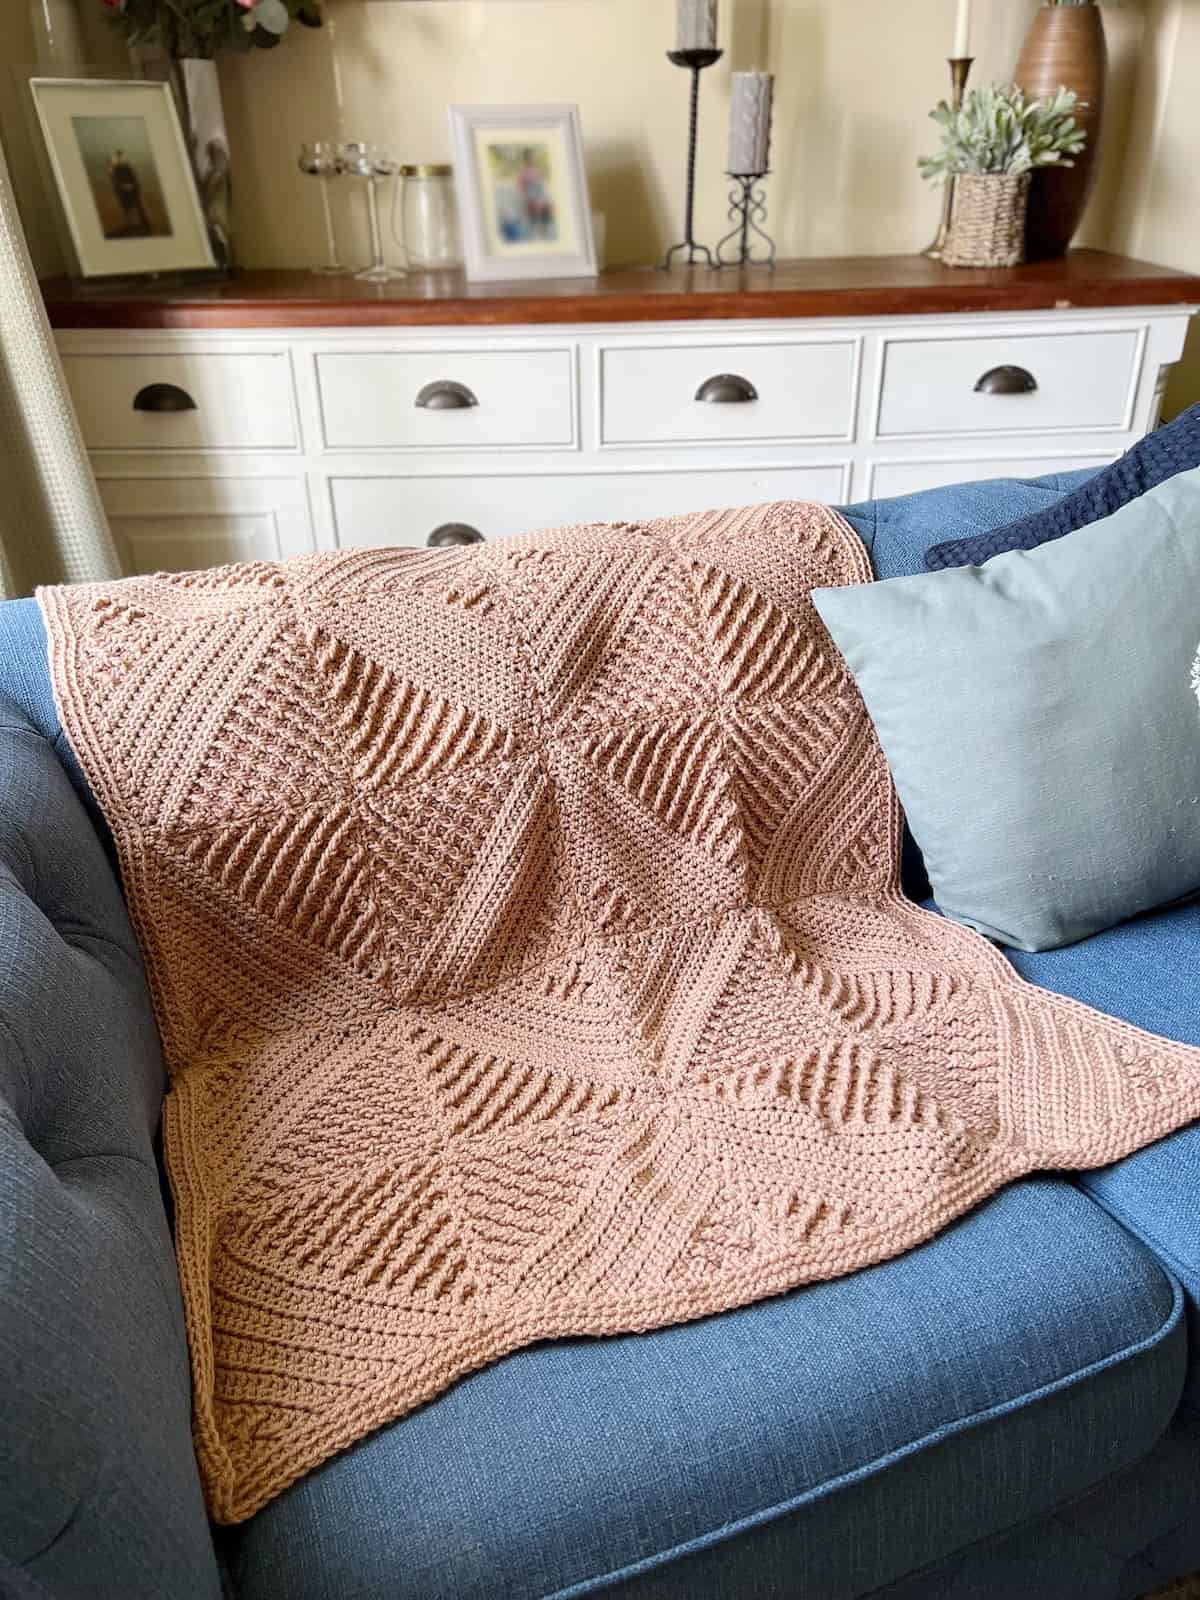
The Broadquay Blanket is a triumph of texture and geometry. Using matching simple square motifs joined in different orientations to form a stunning textured crochet blanket pattern that seems to magically appear.
This one uses front post treble crochet stitches, if you fancy a challenge.
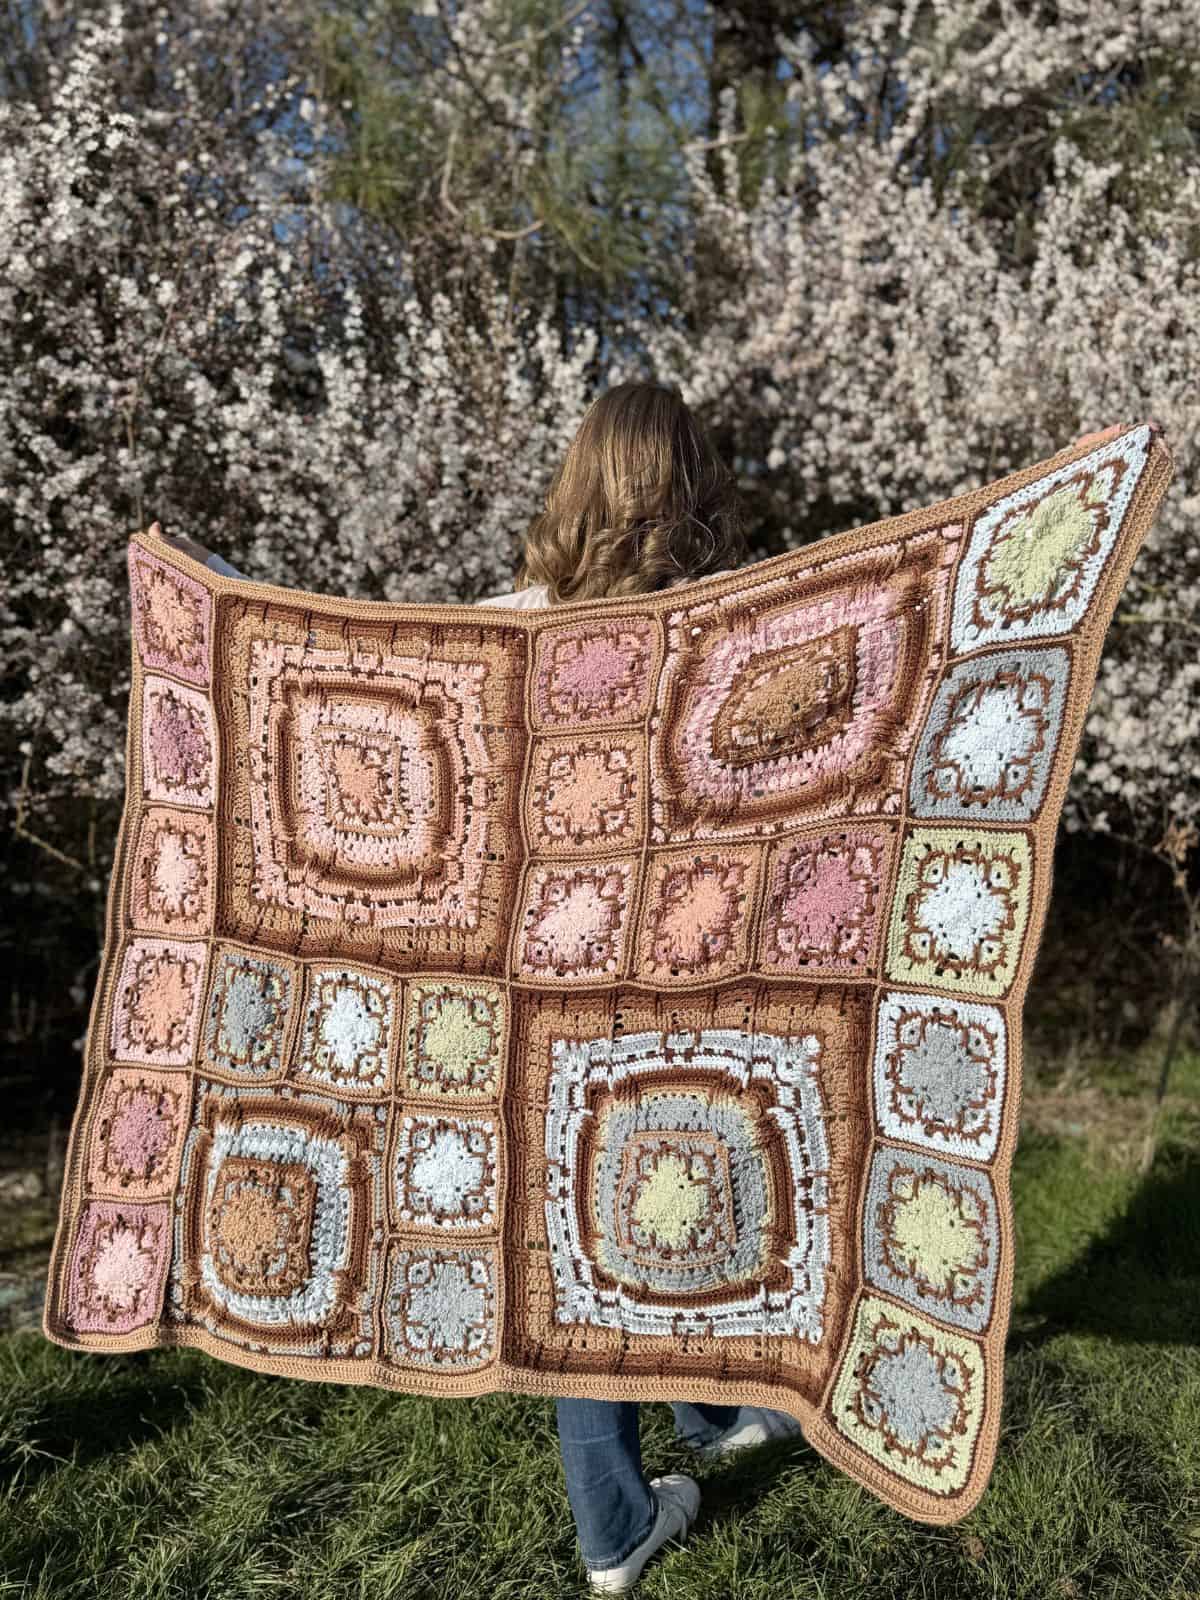
This beautiful crochet blanket is made from 3 different sized square motifs that you can join together in so many different layouts.
This one will be a real challenge for beginner crocheters, as it includes lots of different post stitches, clusters and trebles along with the basic stitches.
Next Steps in Your Crochet Journey
Now that you’ve mastered post stitches and all of the other beginner crochet stitches, you really are well on your way to becoming a pro crocheter! Why not check out some more of my beginner crochet patterns and see what you fancy having a go at making?
Get your free guide!
Subscribe to get your free guide to choosing and combining colours!
Learn Some More Crochet Stitches With Me
Now that you’ve cracked the basics, it’s time to learn some more crochet stitch tutorials – here are some of my favourite beginner stitches:
35 Easy Crochet Stitches for Beginners
I hope you’ve enjoyed learning how to do front post and back post double crochet stitches with me! I really hope you’ve caught the crochet bug and I’d love to share in your crochet journey with you! You can sign up to become a member of HanJan Crochet and I’ll let you know about all the fabulous crochet adventures, offers, lives and more too!
See you there!
Join our community group!
We’ve built an amazing community always ready to help each other. Join today!
Pin It For Later