This post may contain affiliate links. Please see my full disclosure and privacy policy for details.
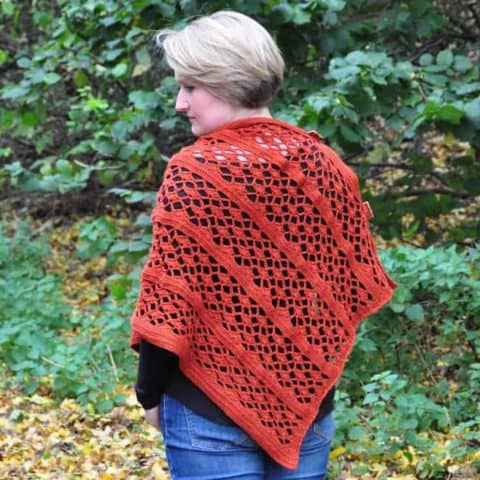
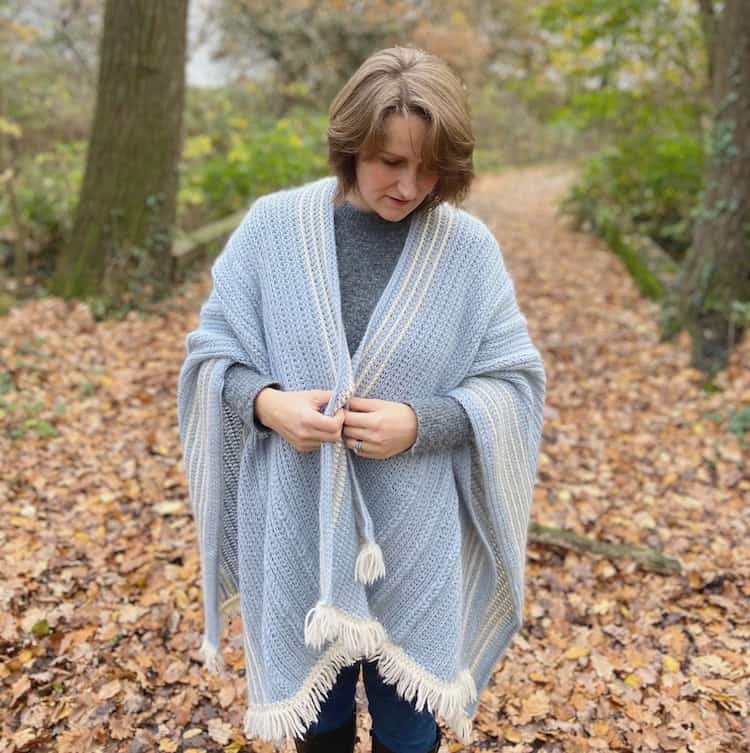
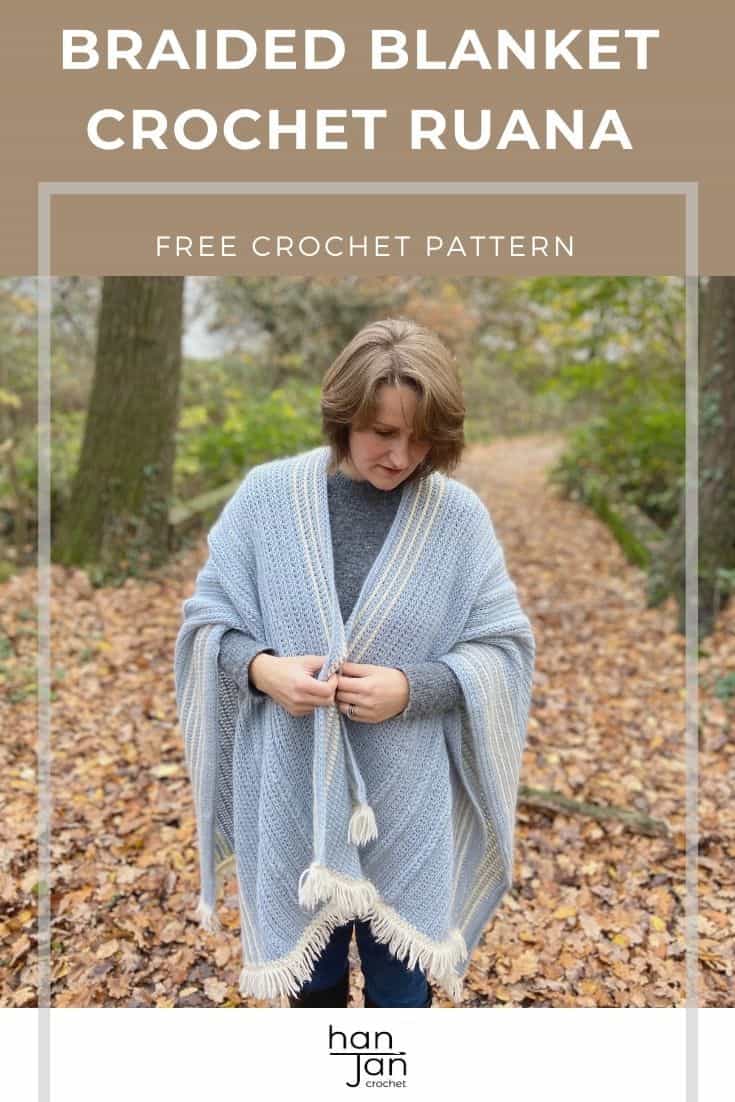
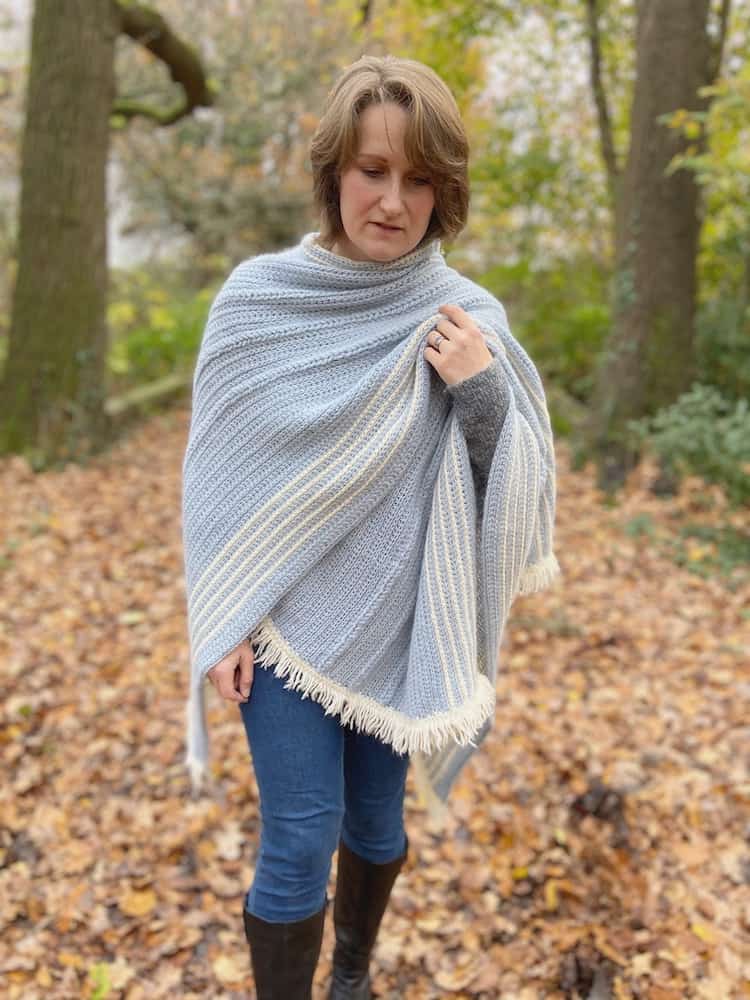
This braided crochet ruana pattern makes an effortlessly stylish addition to any crochet wardrobe. With delicate braid and loop stitch detail, finished off with a fluffy fringe, it’s just the right oversized wrap to snuggle yourself in!
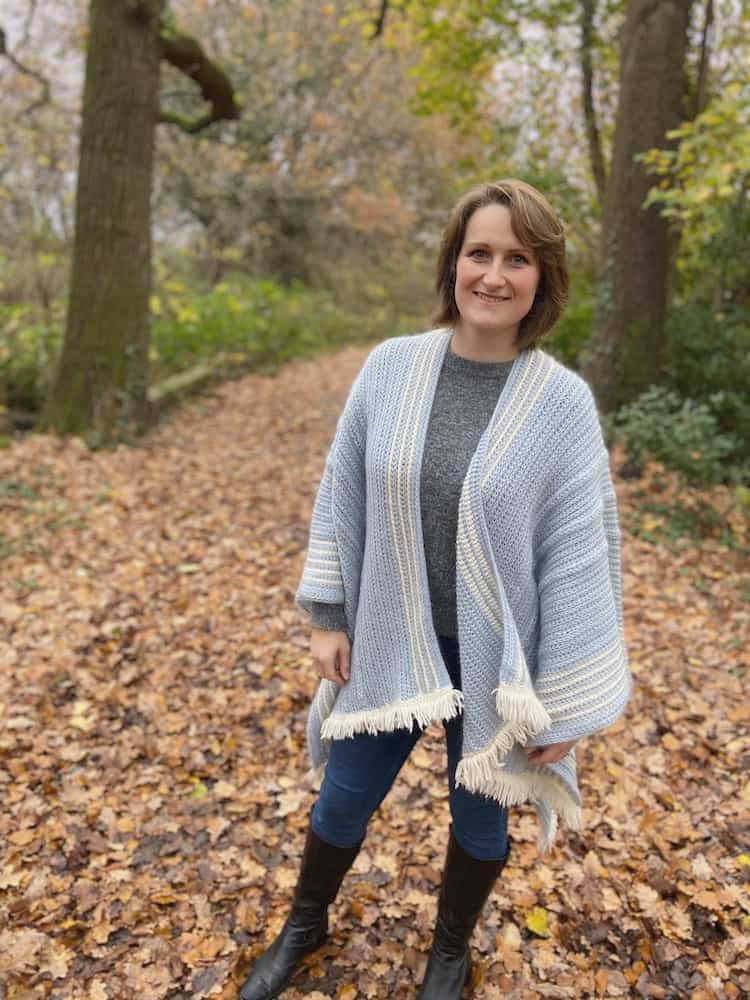
The one-size-fits-all pattern is easily customisable to style and wear as you like. Throw it on over any outfit and it instantly lifts it to another level. With helpful video tutorials to show you the trickier bits, it’s’ something that even a beginner can tackle.
Scroll down for the free crochet ruana pattern, or purchase an ad-free, printable PDF version here:
This post may contain affiliate links. Please see my full disclosure and privacy policy for details.
Want to remove Ads?
- Get ad-free access on all posts; 200+ patterns & tutorials!
- Member-only resource library with downloadable PDF guides
- Bonus eBook (Worth over $30)
Table of Contents
About the Braided Blanket Crochet Ruana
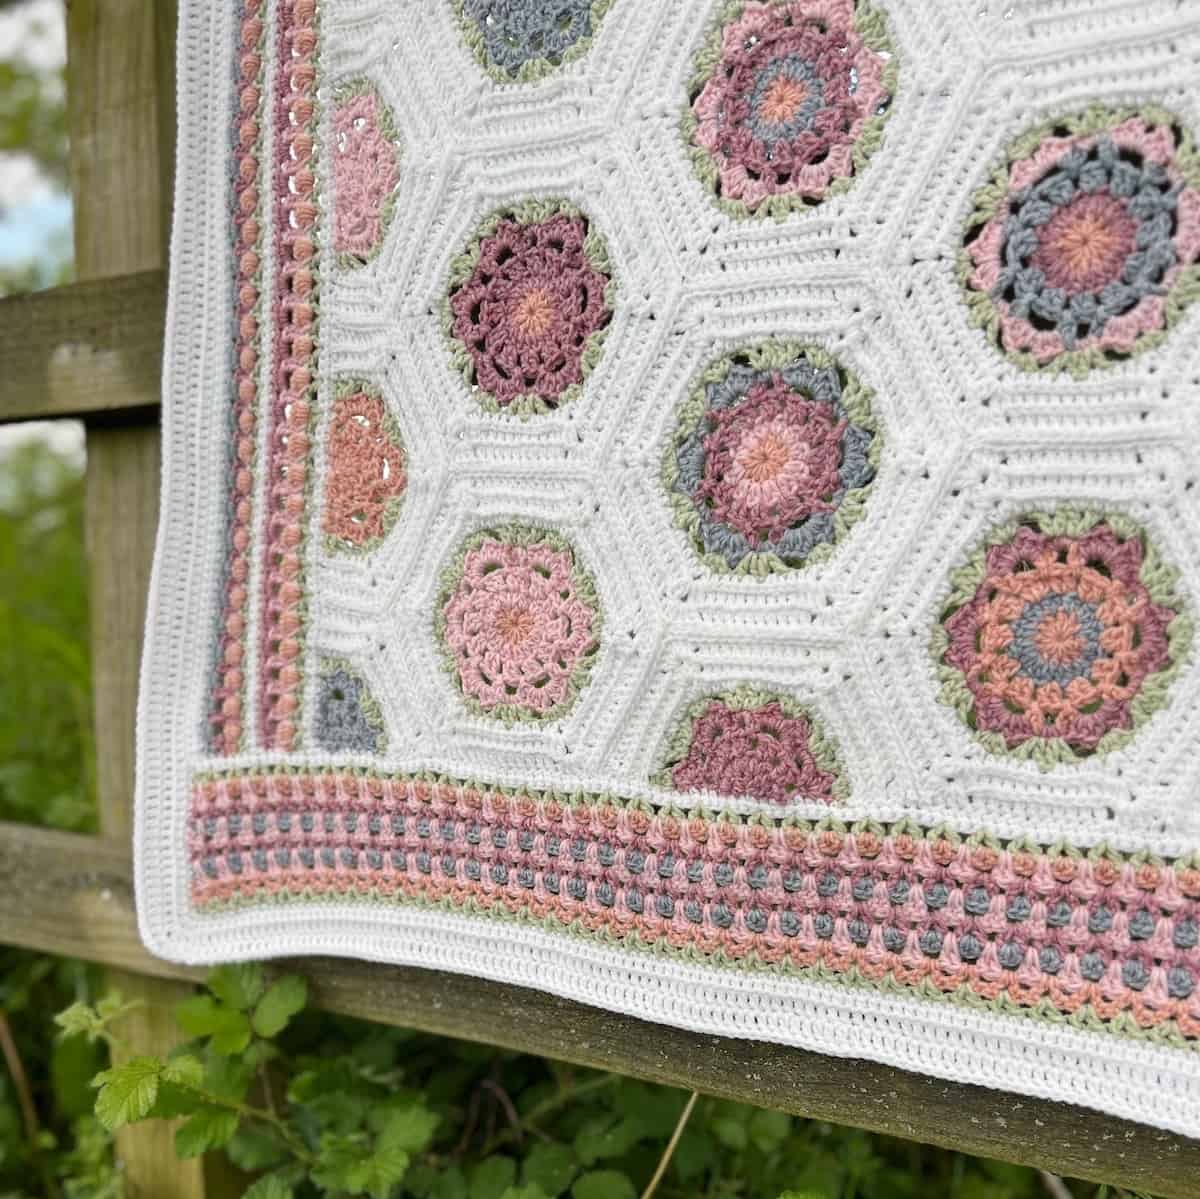
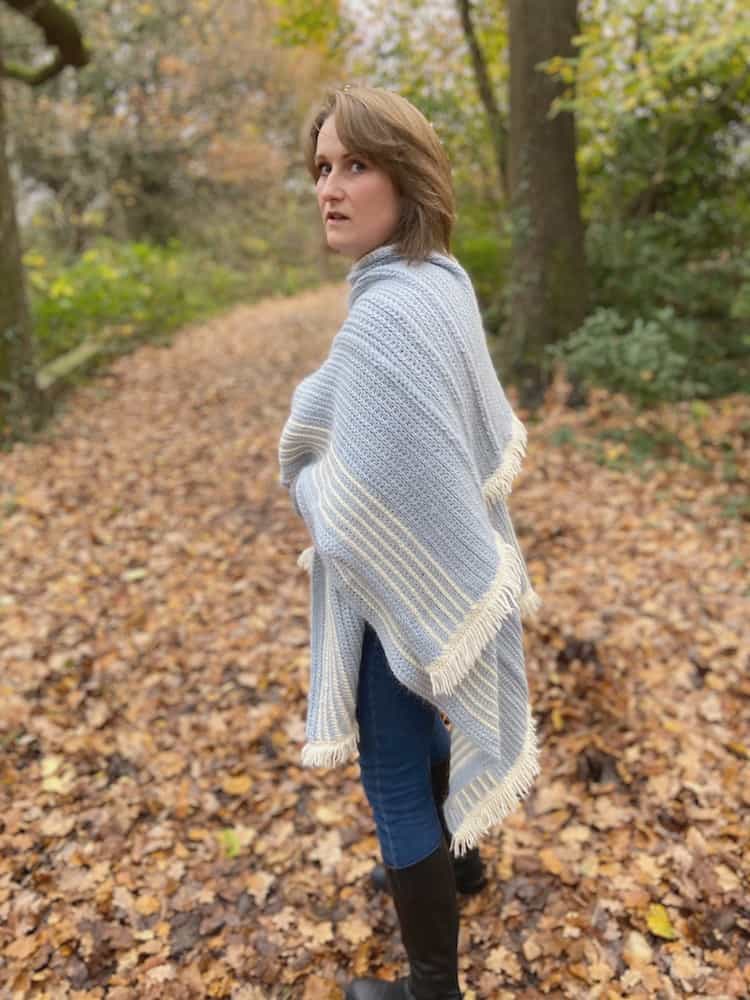
What is a ruana? A ruanas is a cross between a poncho and a wrap. Unlike a poncho, it has a slit down the front so you can wrap yourself in it, but it’s typically larger than a standard wrap and more square in shape. It’s like wrapping yourself in a blanket!
I designed this crochet wrap pattern a number of years ago for Simply Crochet Magazine and have worn it so much over the years that I thought it was about time I shared it with everyone here too!
I wanted to make sure that I made video tutorials to walk you through the two aspects in the pattern that might be new to some crocheters – the crochet braid section and the loop stitch fringe to complete the edges. I’m so excited for you to watch them and I really hope they help.
The rest of the free ruana pattern is worked in a mindful, rhythmical repeat of simple half treble/half double crochet stitches worked into the front and back loops to create a fabulous knitted look with crochet which I love.
Yarn
To make the crochet ruana I used Rowan Kid Classic which is 70% wool, 22% mohair, 8% polyamide, 50g/140m and the most luxurious yarn to work with. It has a really lovely feel to it and a fabulous texture when crocheted.
You will need: 13 balls of Drought (approx 1700m) and 3 balls of Feather (approx 400m) to make the crochet wrap.
A great alternative yarn is Wonderfluff by WeCrochet which is 70% Baby Alpaca, 7% Merino Wool, 23% Nylon 130m/50g and feels just as luxurious.
A less expensive option to go with is Drops Air Yarn which is 72% alpaca, 28% polyamide, 150m/50g and great value for money.
Tension and Sizing
15 sts and 9 rows = 4in x 4in (10cm x 10cm) over main stitch pattern.
Materials
Along with your yarn, you will also need:
- 6mm (US J/10) crochet hook – my favourites are Furls Streamline Swirl crochet hooks or Clover Amour crochet hooks.
- Tapestry needle
- Scissors
- Stitch markers if desired
Pattern Options
Get this ruana crochet pattern free in this blog post – just scroll down! You can also purchase an ad-free, printable PDF with added extras in my pattern stores:
Don’t forget to join HanJan Crochet to receive regular discount codes (and more free patterns!) and Pin this ruana crochet pattern to your crochet Pinterest board!
Glossary and Abbreviations
- ch(s) – chain(s)
- ss – slip stitch
- RS – right side
- WS – wrong side
- RS – right side
- sk – skip
- rep – repeat
- tog – together
- FL – front loop
- BL – back loop
Crochet Stitches
Standard Crochet Stitches
The crochet pattern uses the following stitches:
| Standard UK Crochet Stitches | Standard US Crochet Stitches |
| dc – double crochet | sc – single crochet |
| htr – half treble | hdc – half double crochet |
| ttr – triple treble | dtr – double treble crochet |
Special Crochet Stitches and Techniques
The easy corchet ruana pattern uses simple braid and loop stitch fringe techniques. You can find video tutorials and step by step instructions here:
Pattern Notes
- A ch1 at the beginning of a row does not count as a stitch.
- The ruana wrap pattern is worked in rows, turn your work after each row unless told otherwise.
- The ruana is made in one piece with a split halfway across the centre row. The fringing is added by working loop stitch across both ends and cutting the loops.
- Once finished, you will use a technique to braid the rows of triple treble stitches.
- If you would like to make your wrap longer or shorter then simply add or subtract stitches from your foundation chain in multiples of 2. Then work half of that number when you split for the neckline.
- If you would like to make your wrap thinner or wider then work less or more repeats of Rows 2 and 3 in Rows 44-55 and also in Rows 72-85.
Braided Crochet Ruana Pattern
UK terms (US terms in italics)
To unlock Exclusive Content on the HanJan Crochet Blog, all you need to do is click the box below and the Grow.me app will pop up, allowing you to enter your email and create a password.
Once you’ve created an account, every time you see Exclusive Content on my blog (or any others that use Grow), simply login to your Grow account. Be sure to switch to the login screen to enter your login credentials.
If you forget your password, click the “forgot password” link and follow the prompts. Please note that I’m unable to assist with resetting Grow passwords or accessing your Grow account, so be sure to save your login information in a safe place.
Thank you for subscribing and for joining me at HanJan Crochet! I hope you enjoy the exclusive content available on the site and I can’t wait to see what you create 🙂
Row 98: Repeat Row 2
Row 99: Repeat Row 29
Rows 100-113: Repeat Rows 2 and 3
Rows 114-123: Repeat Rows 4 and 5
Rows 124-127: Repeat Rows 2 and 3
Fasten off.
INNER EDGE
Join A to inner edge (at beginning of the split that will form the neckline) with RS facing.
Row 1: RS: ch1, ss in each st to one st before centre, ss2tog at centre of neck, ss in each st along other side.
Fasten off.
BRAIDS
Make Rows 29, 35, 41, 87, 93 and 99 into braids, running in the same direction as the rest of the shawl.
To make a braid, make a loop from the post of the first stitch of each of the rows listed above. Do this by twisting the stitch so that the post is crossed.
You only need to cross the first st of the row.
Pass the post of the next st through this loop to create another loop, and continue all the way along the row.
Tuck over and sew the last loop to the back of the shawl to secure.
Repeat for all the rows listed.
Find a crochet braid video tutorial here.
FRINGES
Working along each short edge:
Row 1: RS: Using B, ch1, dc evenly across the edge (the actual stitch count isn’t important here)
Row 2: ch1, dc in FL of each st to end
Row 3: ch1, loop st in the BL of each st to end
Row 4: ch1, loop st in the remaining loop of each st of Row 2
Fasten off.
Find a loop stitch fringe video tutorial here.
Cut each loop stitch open at the end to create the fringe.
Gently block entire shawl and weave in ends to finish.
Join HanJan and Share Your Crochet With Us!
I’d love to hear from you and see your HanJan Crochet project! Here’s where you can do that:
📌 PIN THIS POST – save it to your Pinterest crochet board so you can come back to it again and make more!
↗️ SHARE – Share your yarn choices, progress pics, and finished projects on Facebook or Instagram (make sure to use the hashtag) #hanjancrochet
🧶 JOIN – Join thousands of amazing crafters in the HanJan Crochet Community Group on Facebook ready to cheer you on!
✉️📩📬 SUBSCRIBE – It’s an honour to be able to create and share my free crochet patterns with you. I’d love to stay connected and send you regular discount codes and free patterns! Please sign up for my subscriber list to get a free gift right now!