This post may contain affiliate links. Please see my full disclosure and privacy policy for details.

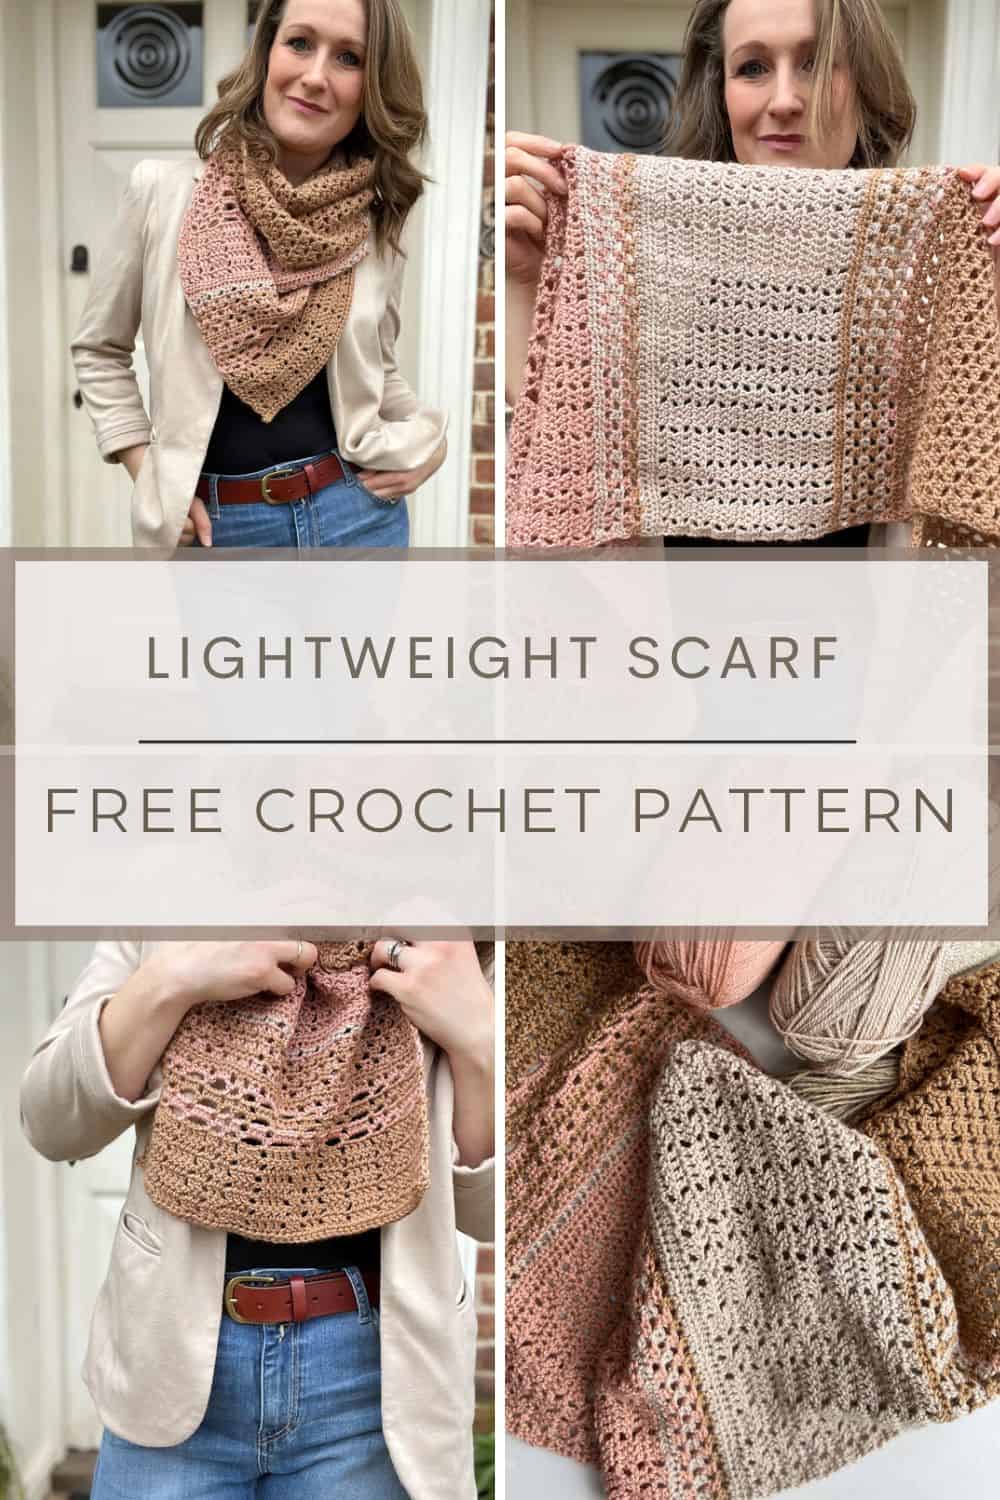
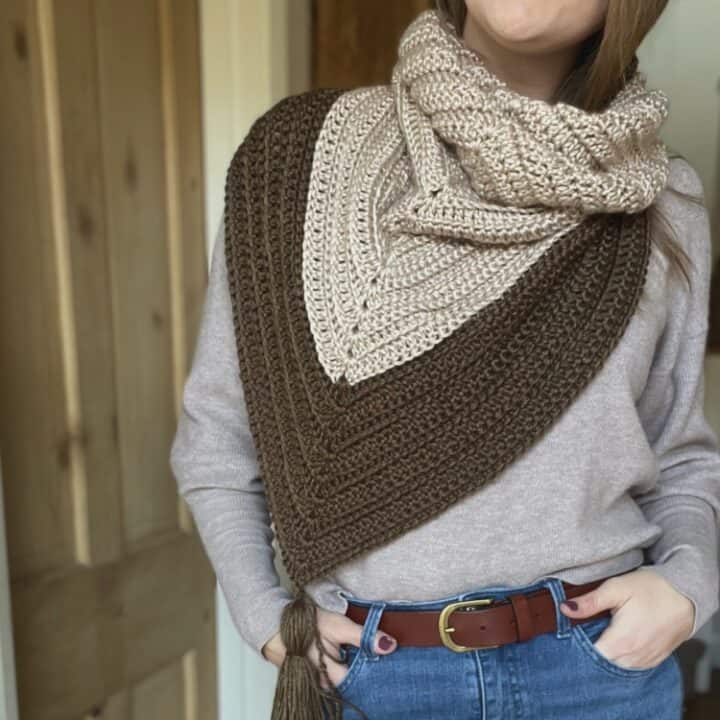
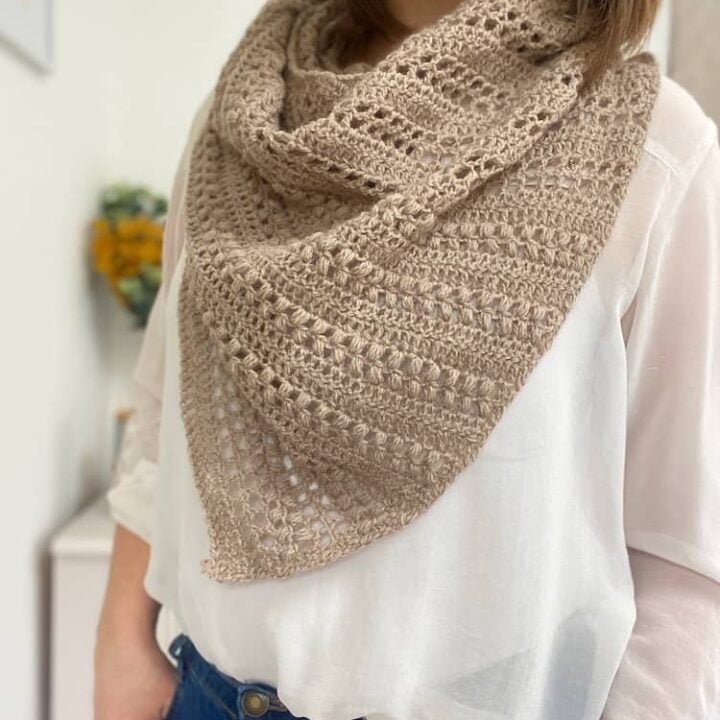
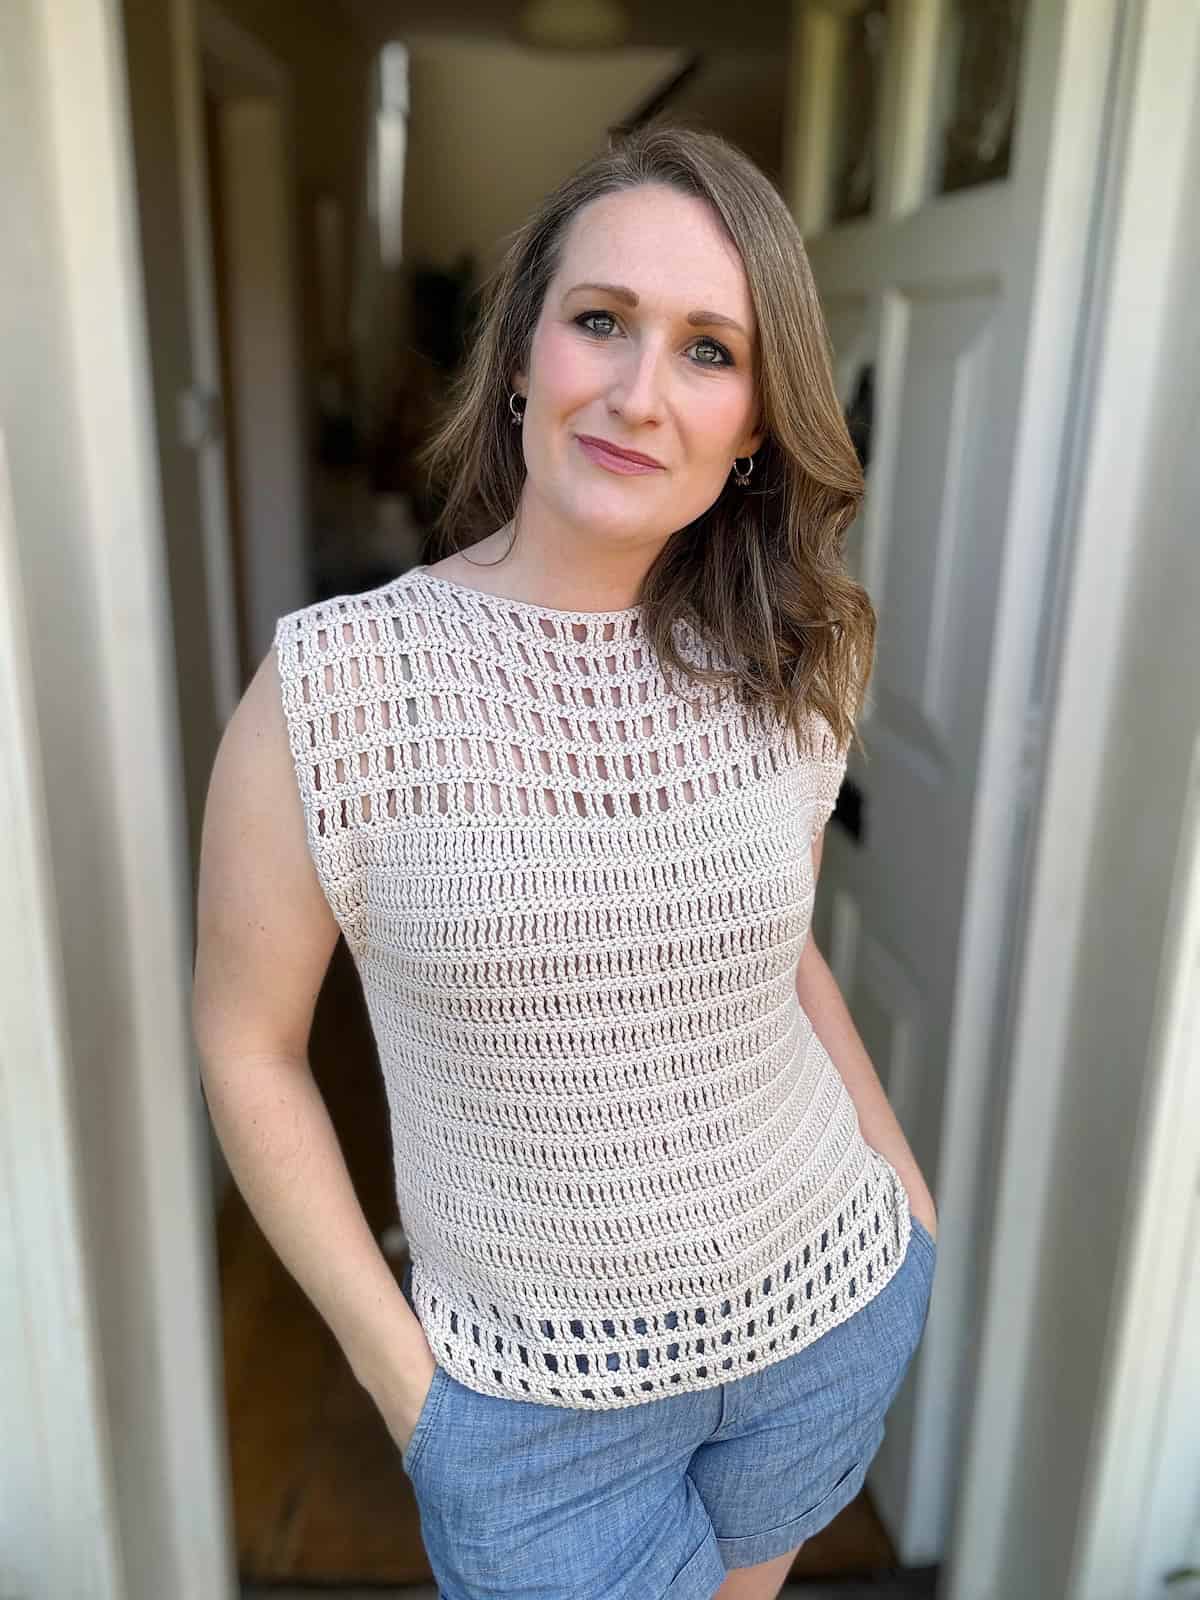
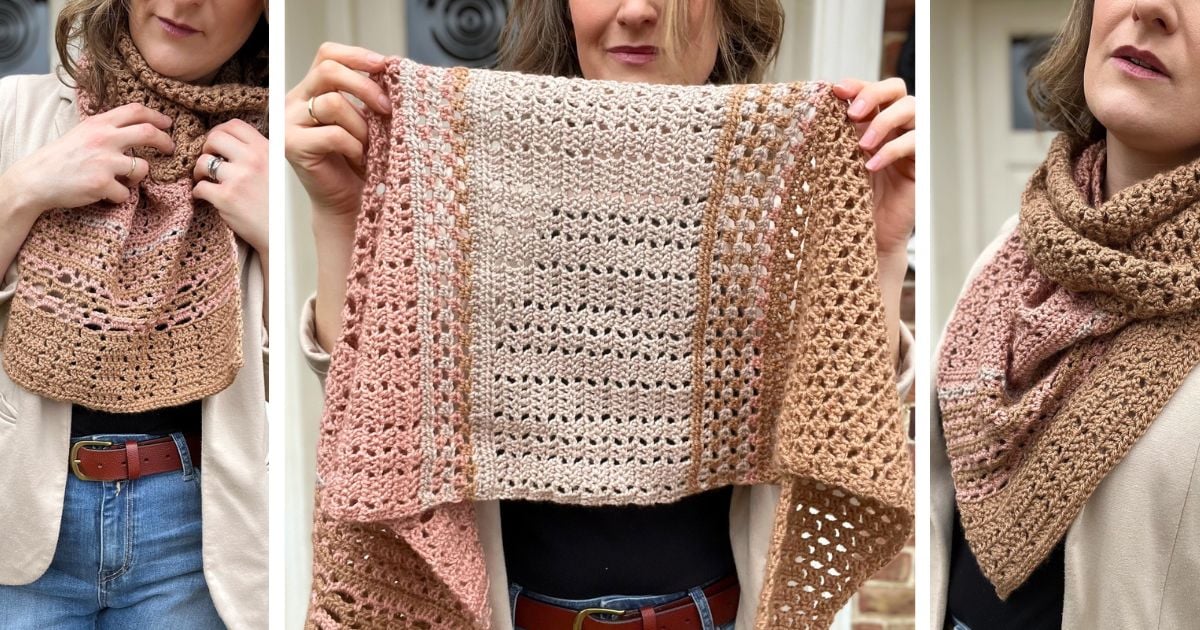
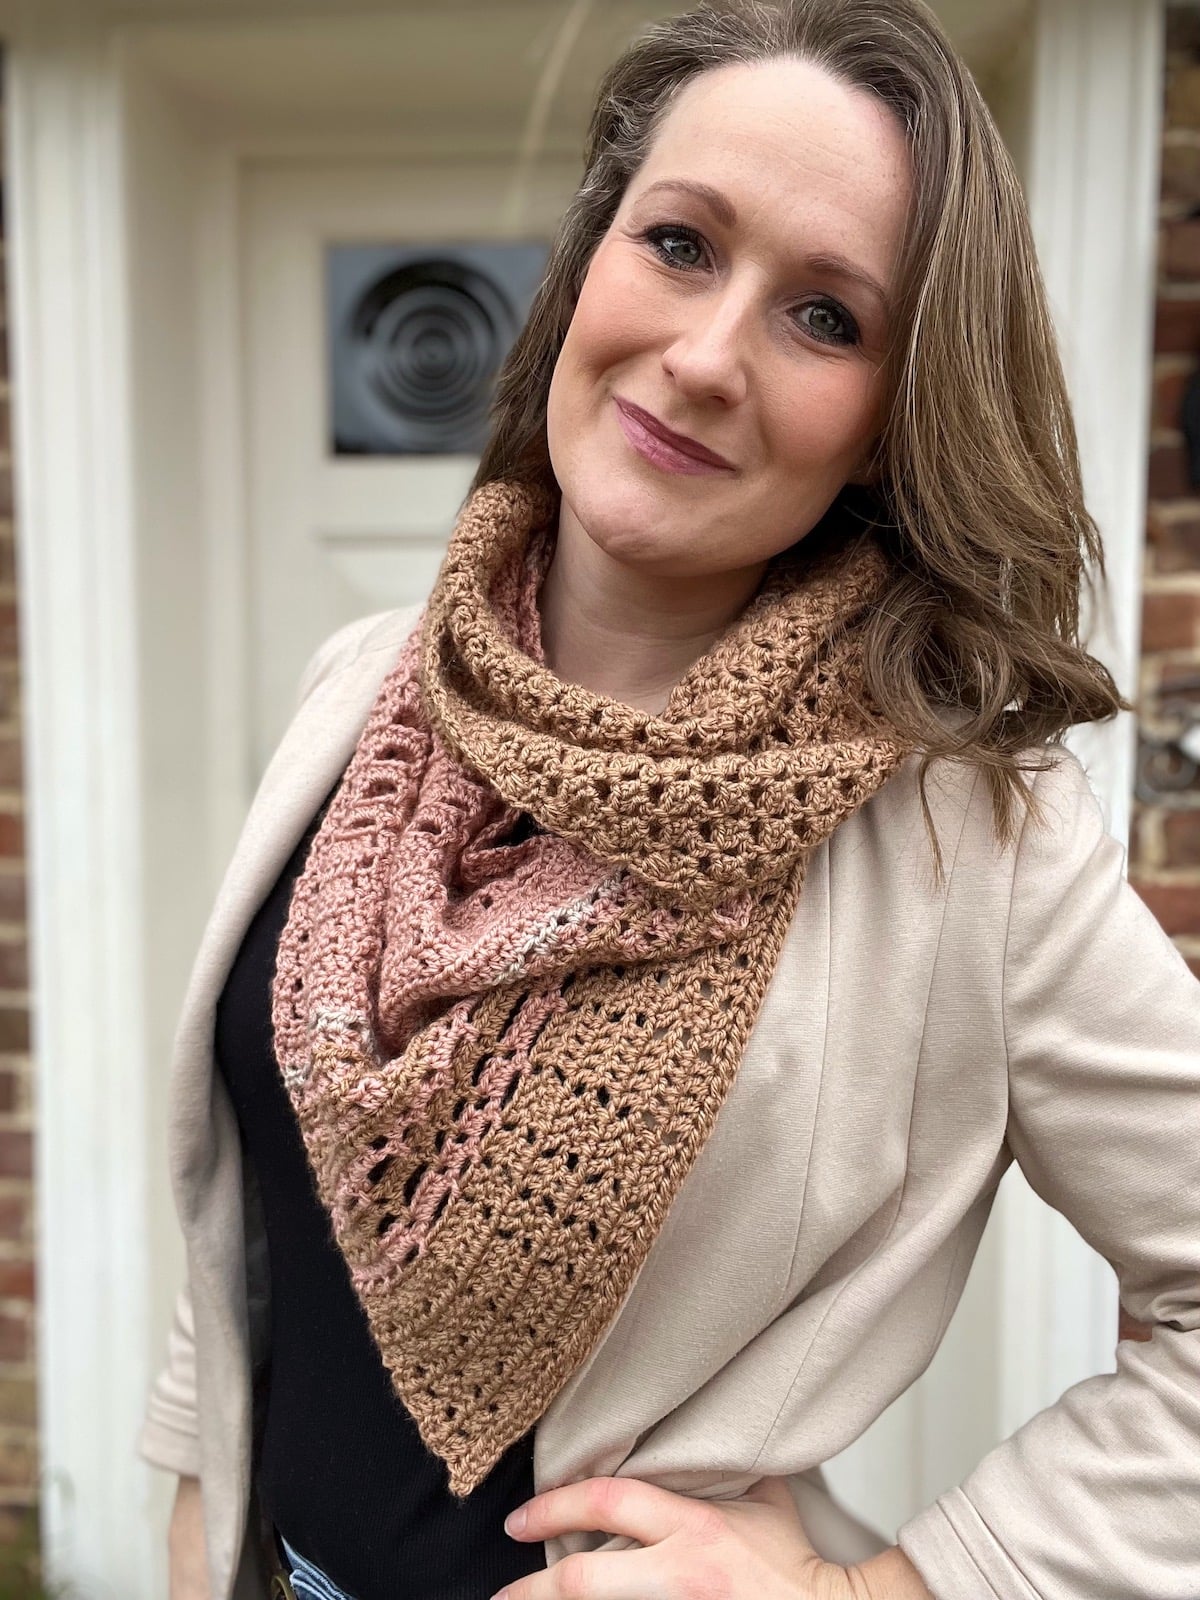
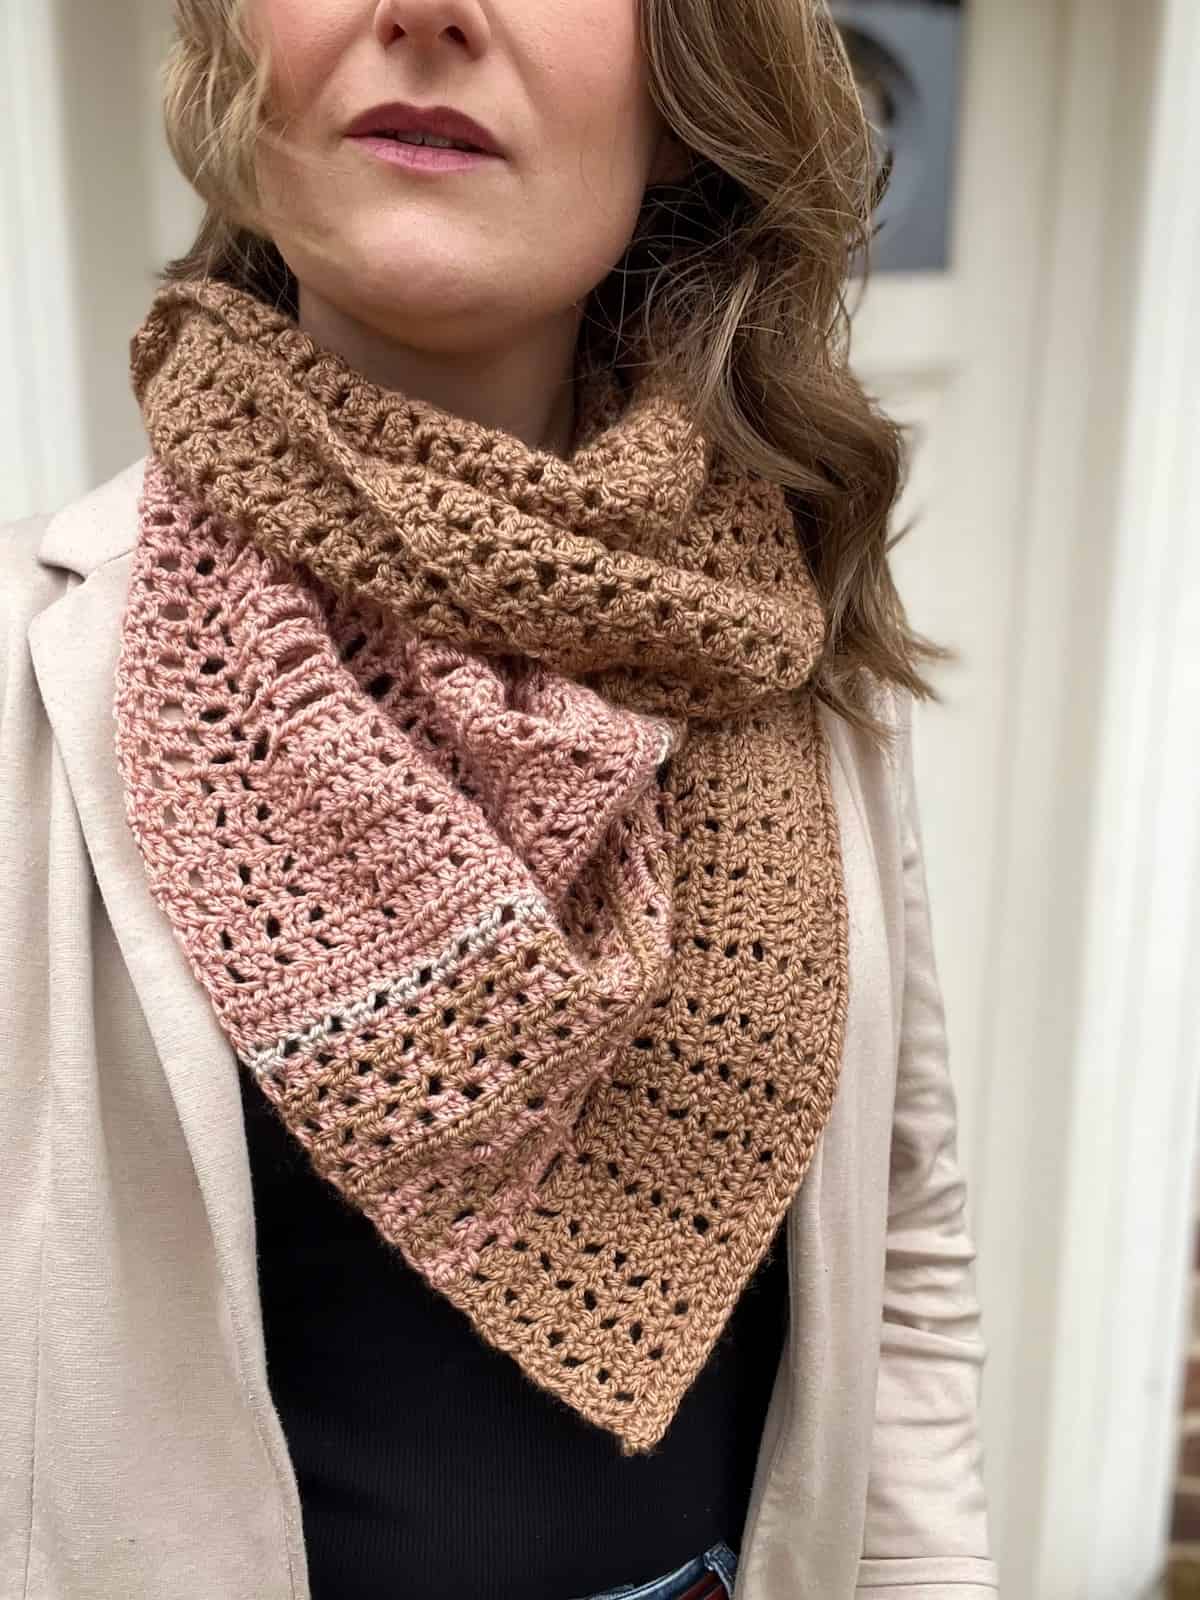
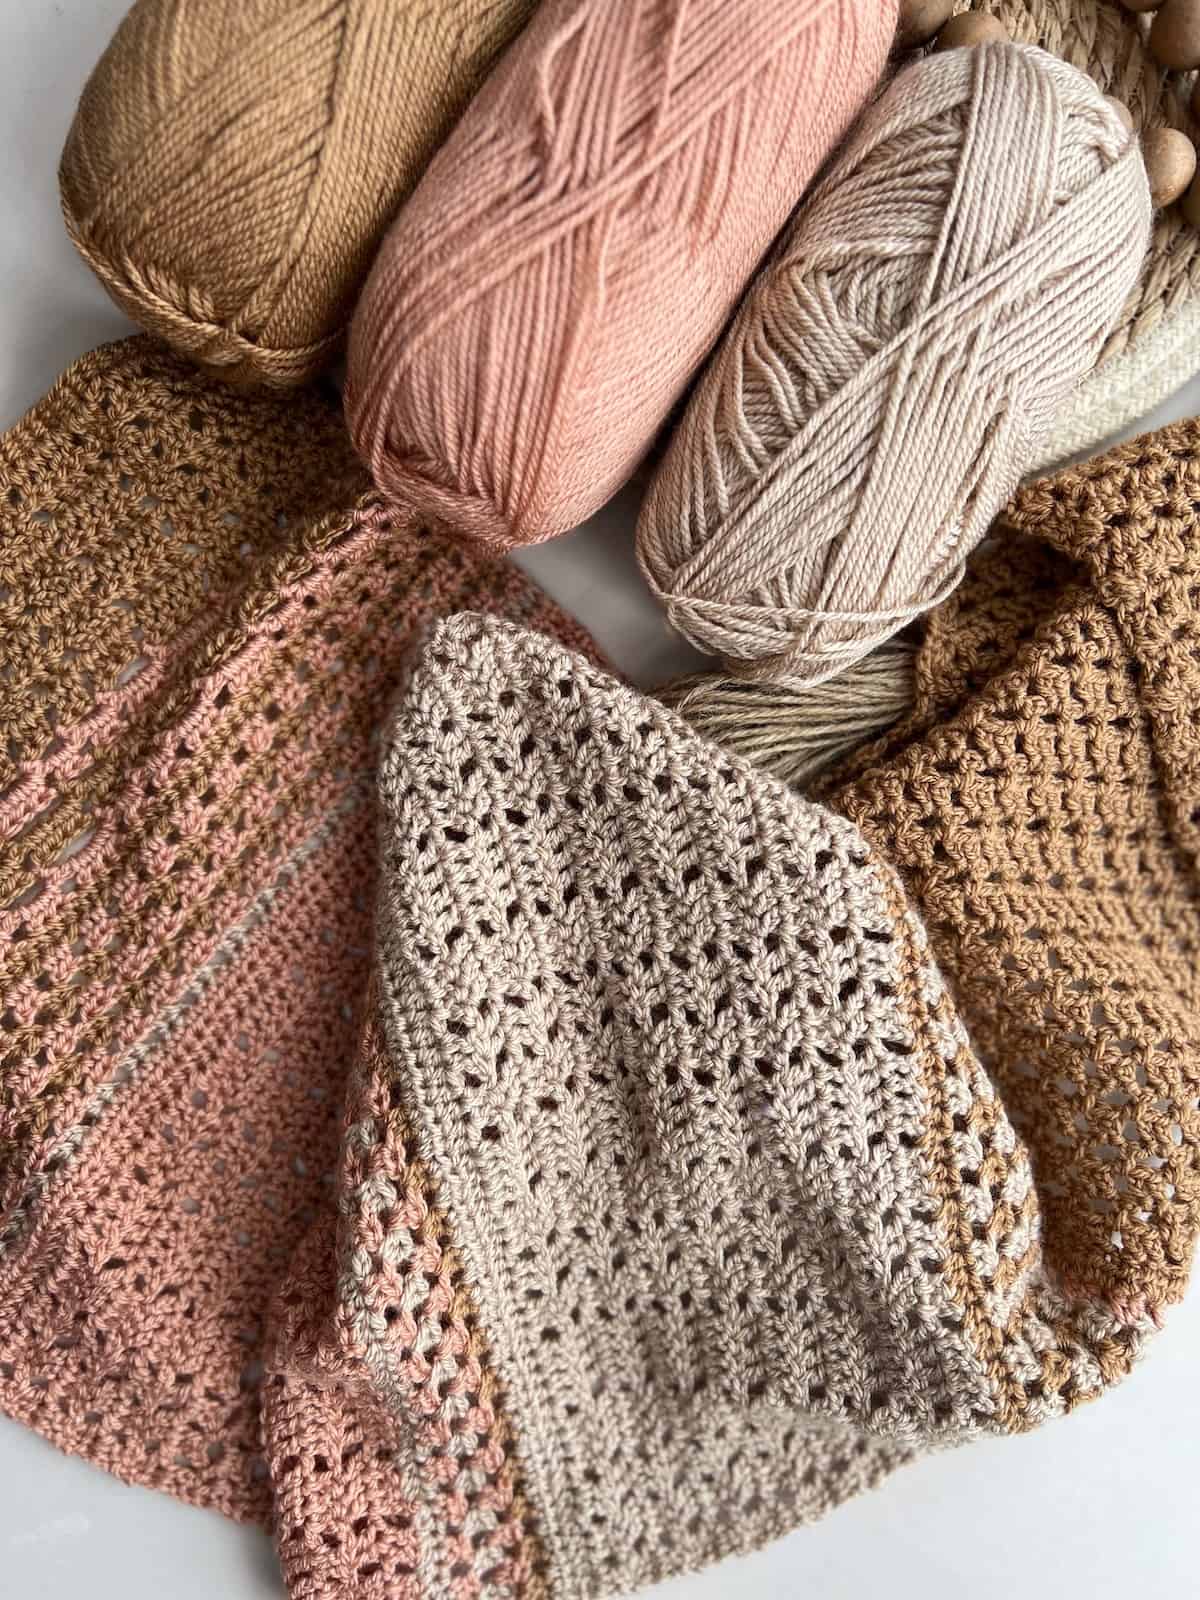
This lightweight crochet scarf pattern might be the most unique piece I have in my handmade wardrobe! It’s an amalgamation of different stitches to give you an end result that’s stylish, fun and so easy to wear!
Depending on the colours you use to make it, and your yarn choice, this elegant crochet scarf will be a gorgeous piece for you to style year-round. It’s light and lacy enough for warmer months but can be wrapped up a few times to keep the cool breeze out in winters.
Lightweight Crochet Scarf Pattern Overview
For beginners out there looking for a challenge, this elegant crochet scarf is a great pattern to get into. You’ll be using variations of the herringbone stitch which gives a nice slanted texture to your work.
Other than a few special stitches, you’ll just be using good ol’ half double crochet and double crochet stitches to work up your scarf. It begins with straight rows for the main body and then a subtle decrease towards the end of the shawl to help it drape effortlessly and make it comfy and easy to wear with any outfit.
⭐⭐⭐ Difficulty level: Intermediate – but really just a few different stitches to learn
💬 Hook Size: 4.5mm
📏 Sizes: 36cm by 132cm ( 14” by 52”)
✨ Crochet Technique: Just straight forward stitches in turned rows
⚖️ Yarn Weight: DK Weight (category 3)
🧶 Yarn Used: Mary Maxim Mellowspun DK
🕐 Approx Crochet Time: 2-4 hours depending on your pace
👍 Perfect For: Wearing with any outfit in any season!
Table of Contents
💫 Why you’ll love this unique crochet scarf pattern
How do you crochet a lightweight crochet scarf pattern like this?
This scarf is crocheted up in one piece with a tapered end by repeating sets of rows. You can switch colors whenever you’d like (or stick to the changes I’ve used).
The construction allows you to style the finished scarf in a variety of ways such as with the pointed end downwards or as a traditional rectangular scarf end. You can even wrap it around your neck several times like a warm cowl. It all depends on your preference!
I do love a good versatile piece and I hope you’ll love your Blossom Scarf once it’s ready too.
Blossom Crochet Scarf Materials
- A 4.5mm (G+) crochet hook or hook needed to meet gauge
- Scissors
- Tapestry needle
- Stitch markers
Along with the above you will need the following yarn for your colorful crochet scarf pattern:
3 shades of Mary Maxim Mellowspun DK (100% acrylic, 284yds, 260m/100g), namely, Nutmeg, Dusty Peach, and Sand.
Approx 1 ball of each colour.
These are a category 3 DK weight yarns which are perfect for this project to make it nice and drapey. Check out our handy yarn weight chart and guide to find out more about yarn weights and categories.
Want to remove Ads?
- Get ad-free access on all posts; 200+ patterns & tutorials!
- Member-only resource library with downloadable PDF guides
- Bonus eBook (Worth over $30)
Yarn Alternatives
- Swish DK by WeCrochet (100% Fine Superwash Merino Wool; 123yds/50g)
- Capra DK by WeCrochet (85% fine merino, 15% cashmere, 123yds/50g)
- Paintbox Simply DK (100% Acrylic, 276m, 302yds/100g)
Sizing
The finished scarf measures 36cm by 132cm ( 14” by 52”) after I blocked it.
Glossary and Abbreviations
- ch(s) – chain(s) (chain stitch tutorial)
- sp – space
- RS – right side
- WS – wrong side
- rep – repeat
- yoh – yarn over hook
- blo – back loop only
- flo – front loop only
Stitches
The pattern is written in standard US terms and uses the following crochet stitches:
hdc – half double crochet (half double crochet tutorial)
dc – double crochet (double crochet tutorial)
Special Stitches
This scarf is made by using variations of the herringbone stitch. This stitch gives a nice slanted look to your crochet and you can work it in different ways. I’ve used two different types in my scarf which I’ll explain further below.
If you want to make more crochet patterns which combine a variety of techniques and stitches for a truly beautiful end result, here are a few suggestions for you (and you can search my blog for more inspiration too):
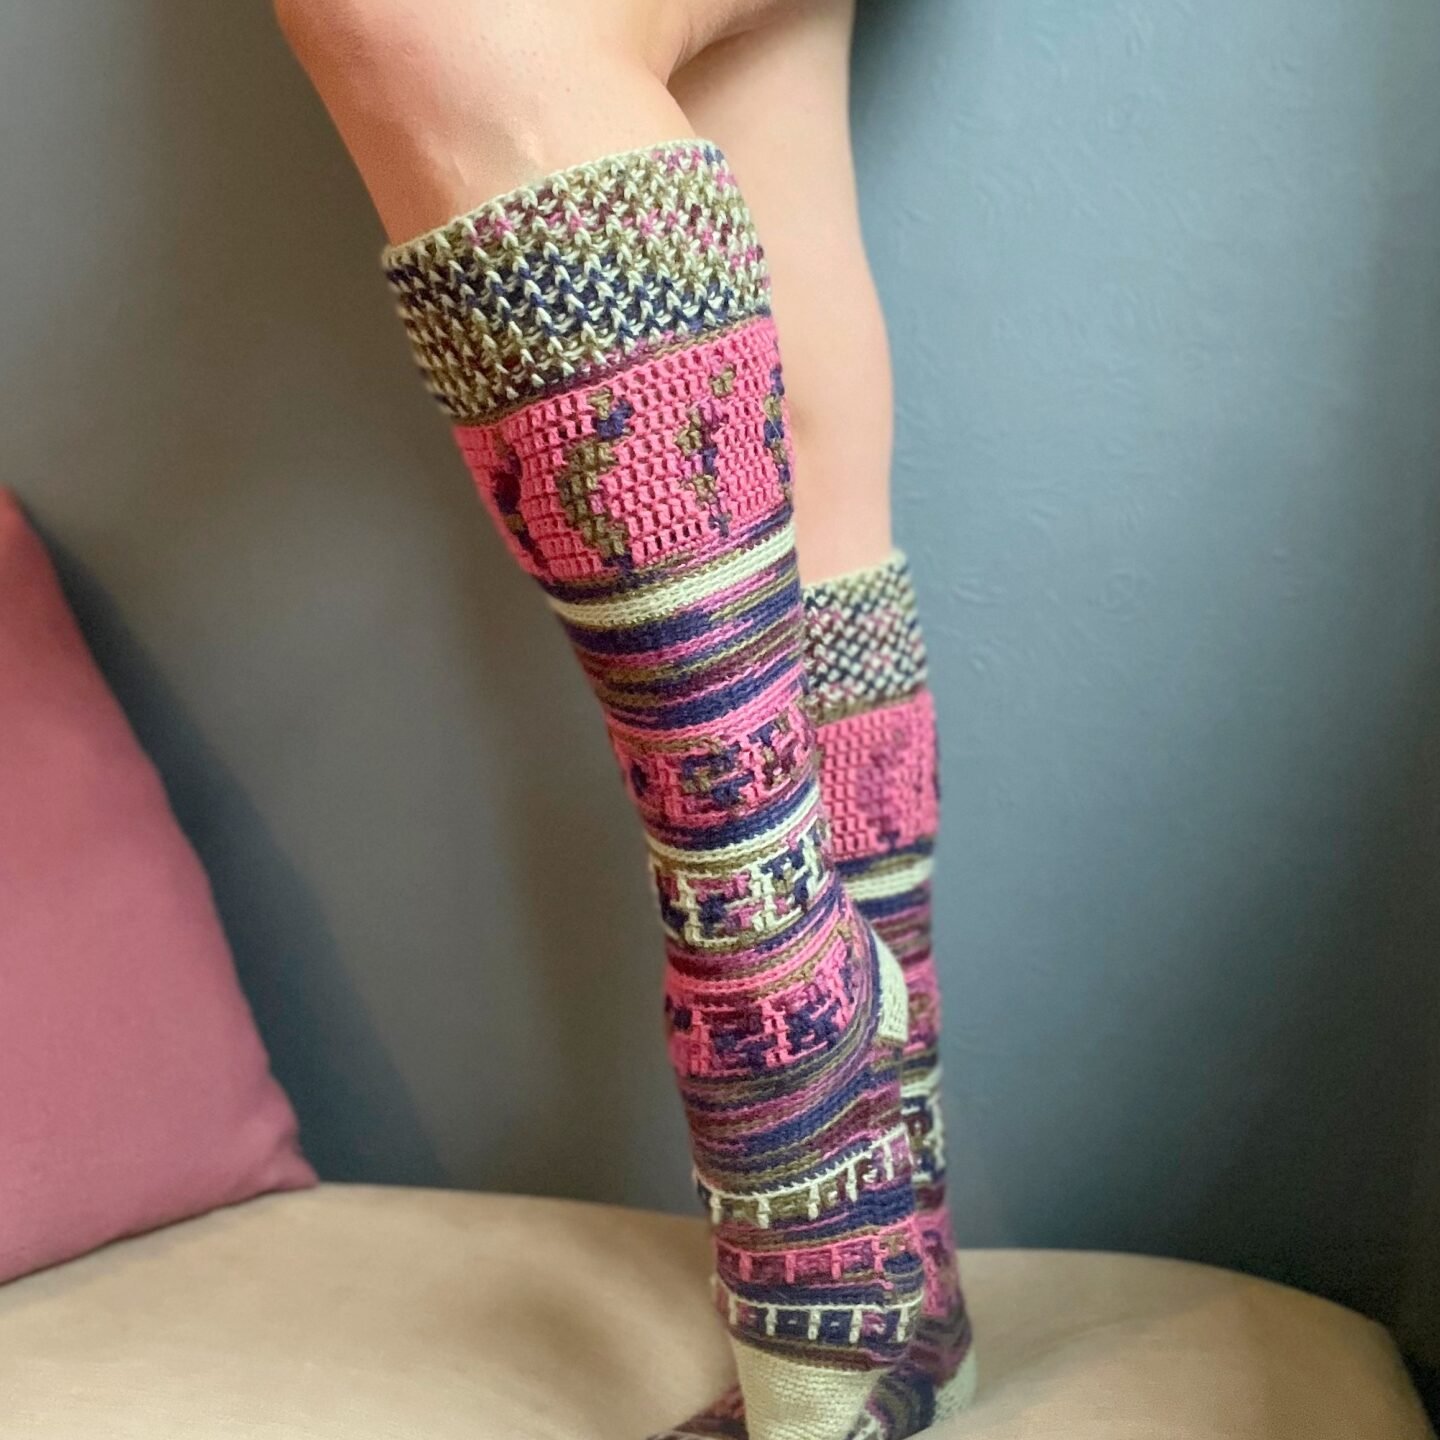
- Mosaic Socks (showstopper adjustable crochet sock pattern)
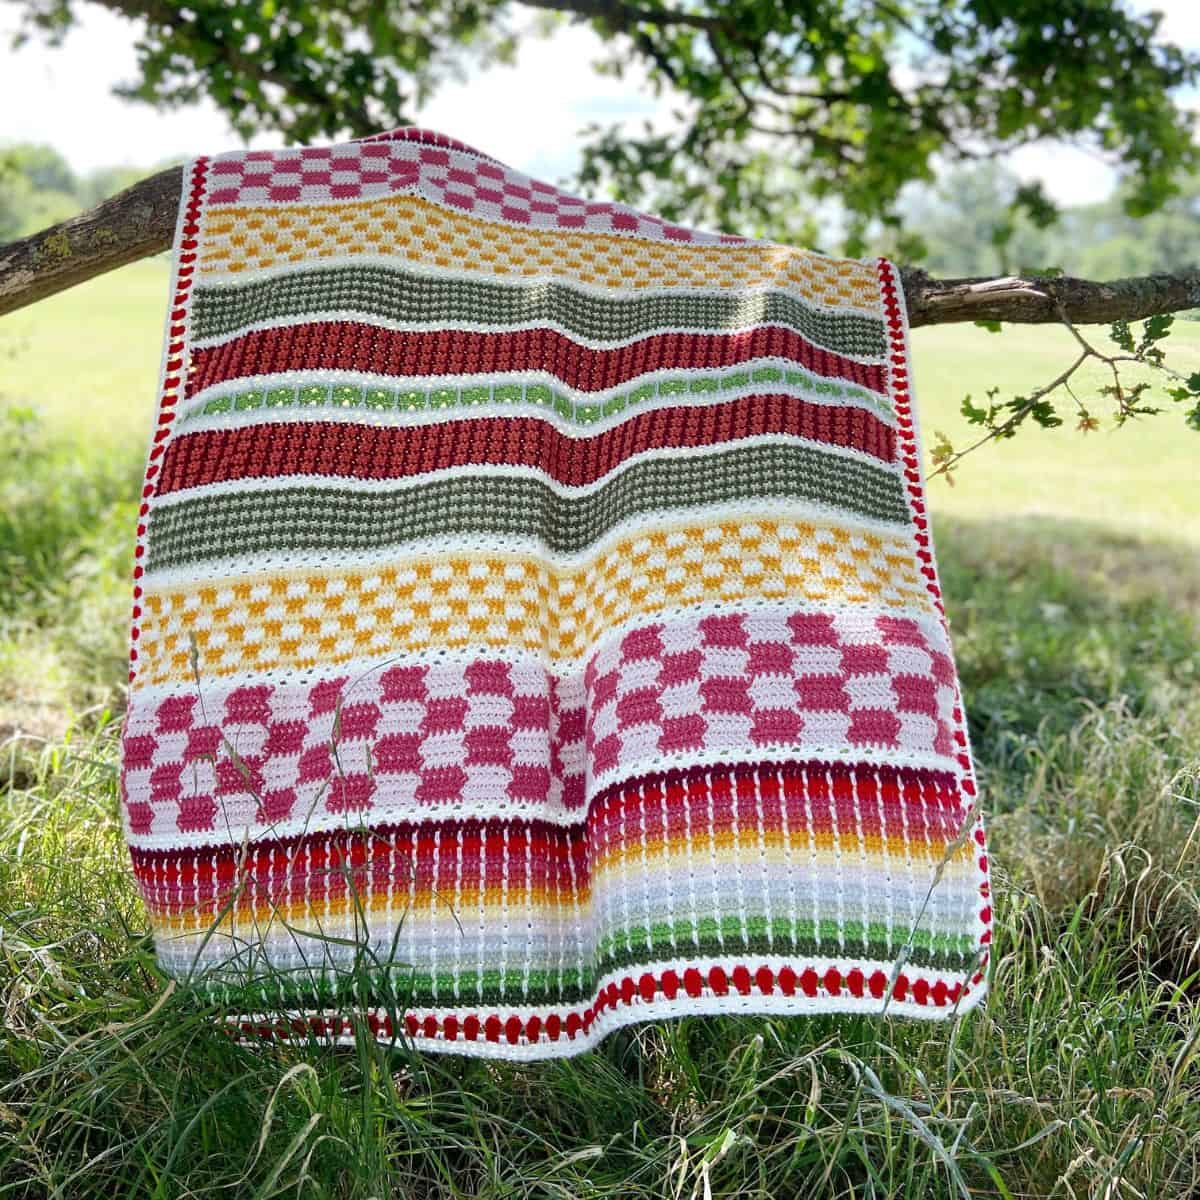
- Strawberries and Cream Blanket (featuring six different crochet colorwork stitches!)
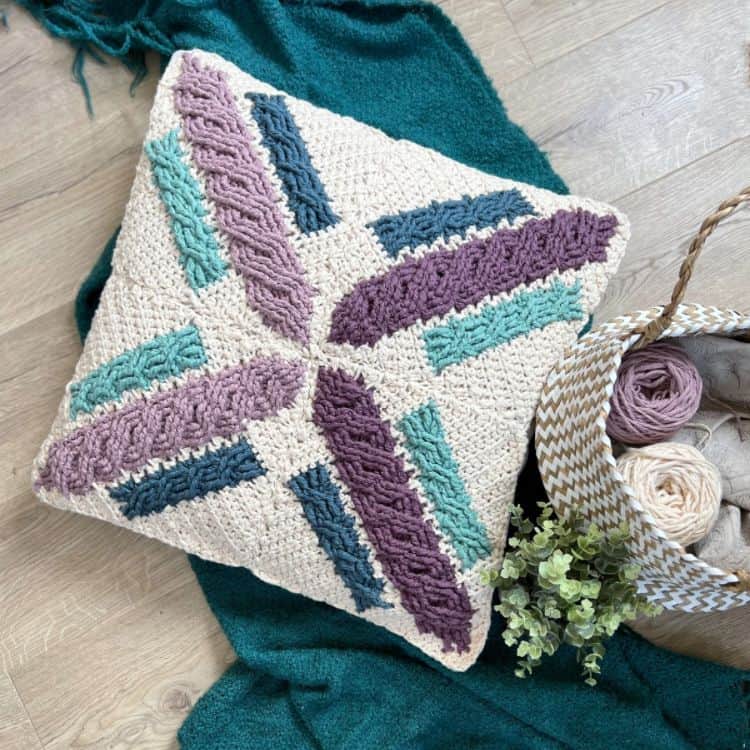
- Cross Cable Pillow (stylish, sophisticated and endlessly customisable)
The special stitches used in this elegant lightweight crochet scarf pattern are given below:
Herringbone Double Crochet: HBdc
Yarn over, insert hook into stitch, yarn over and pull through stitch (3 loops on the hook) pull 1st loop though the 2nd loop on the hook. Yarn over and pull though 1 loop (2 loops on the hook). Yarn over and pull though both loops on the hook.
Herringbone Half Double Crochet: HBhdc
Yarn over, insert hook into stitch, yarn over and pull through stitch (3 loops on the hook) pull 1st loop though the 2nd loop on the hook. Yarn over and pull though both loops on the hook.
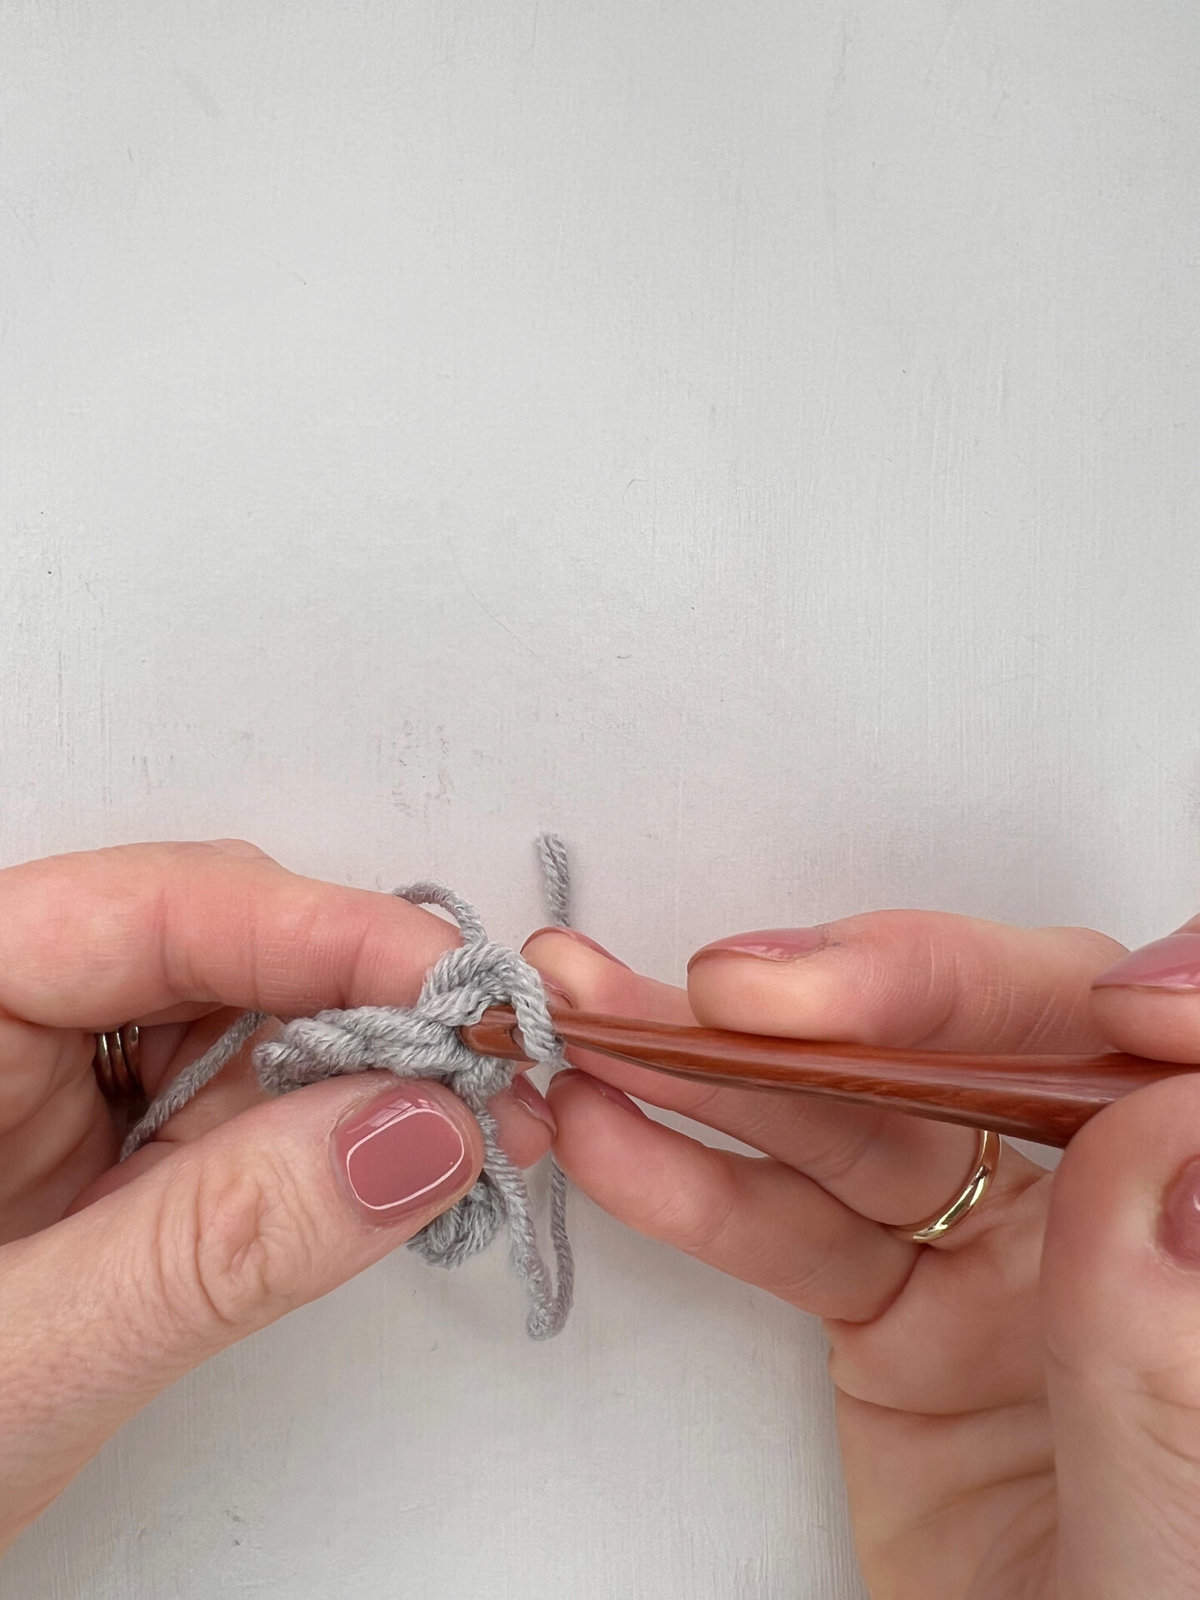
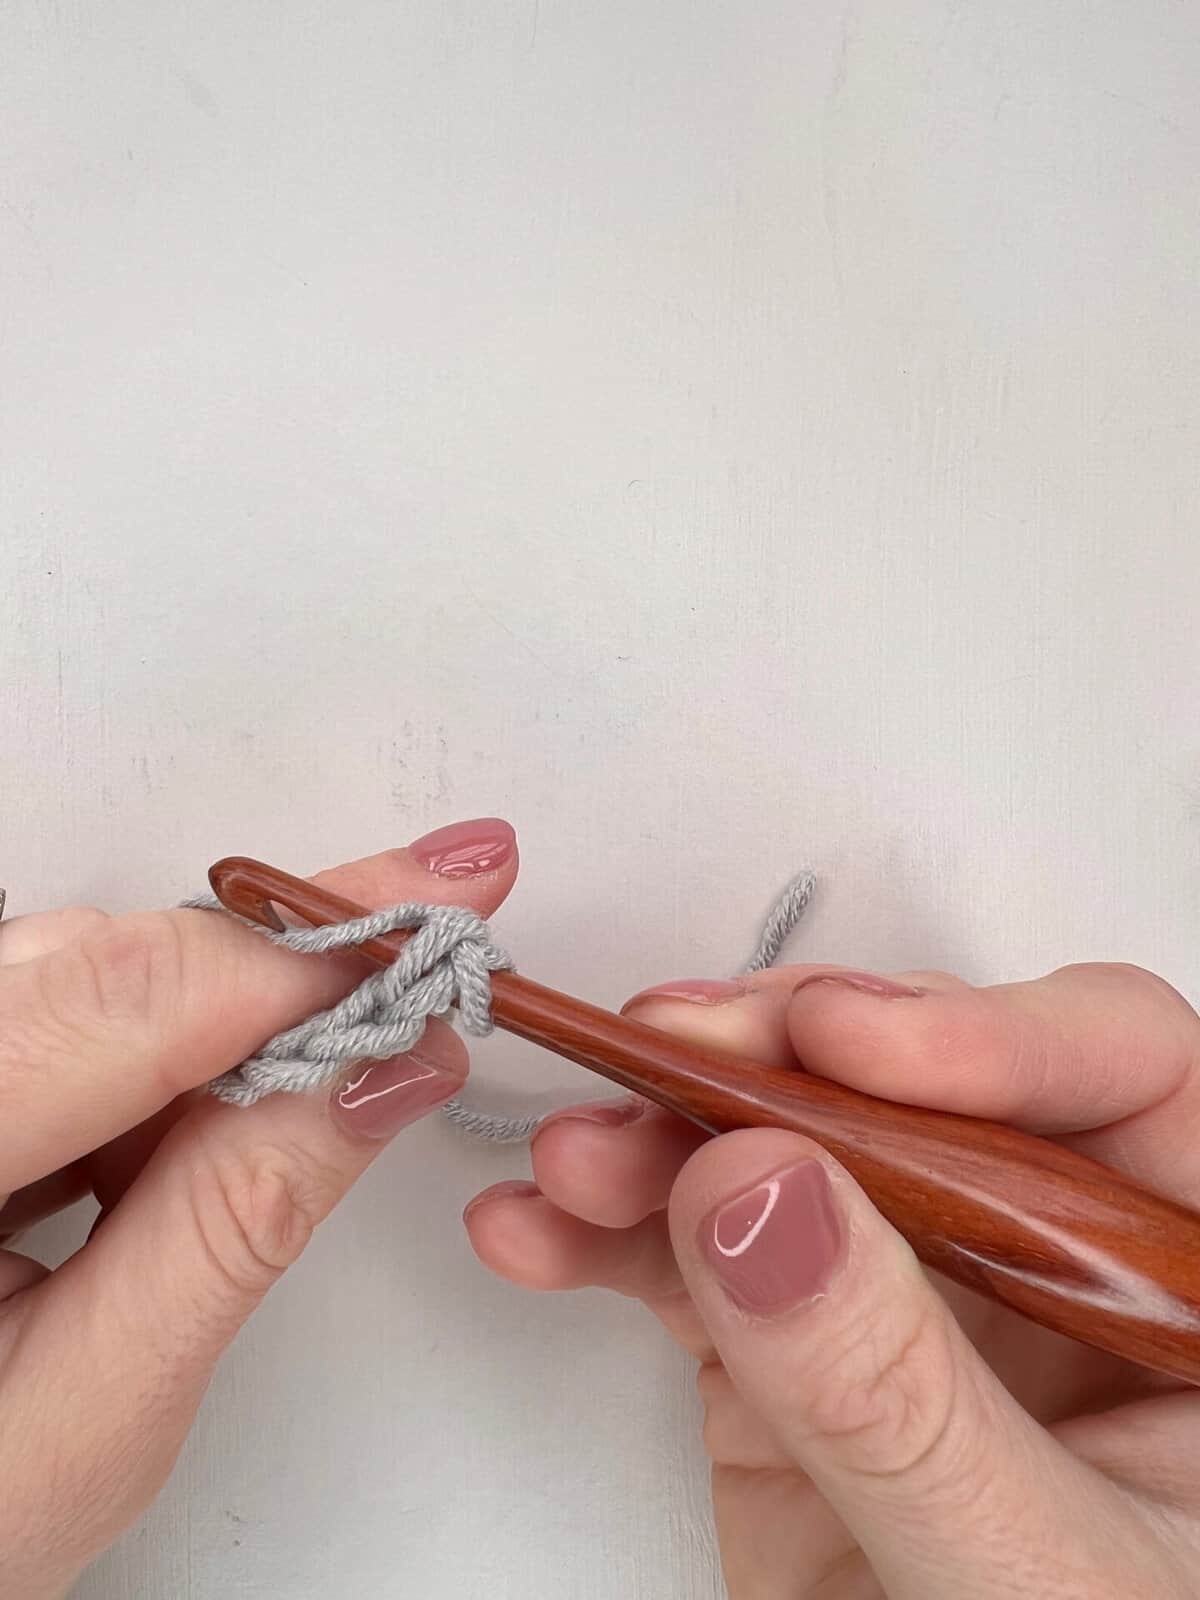
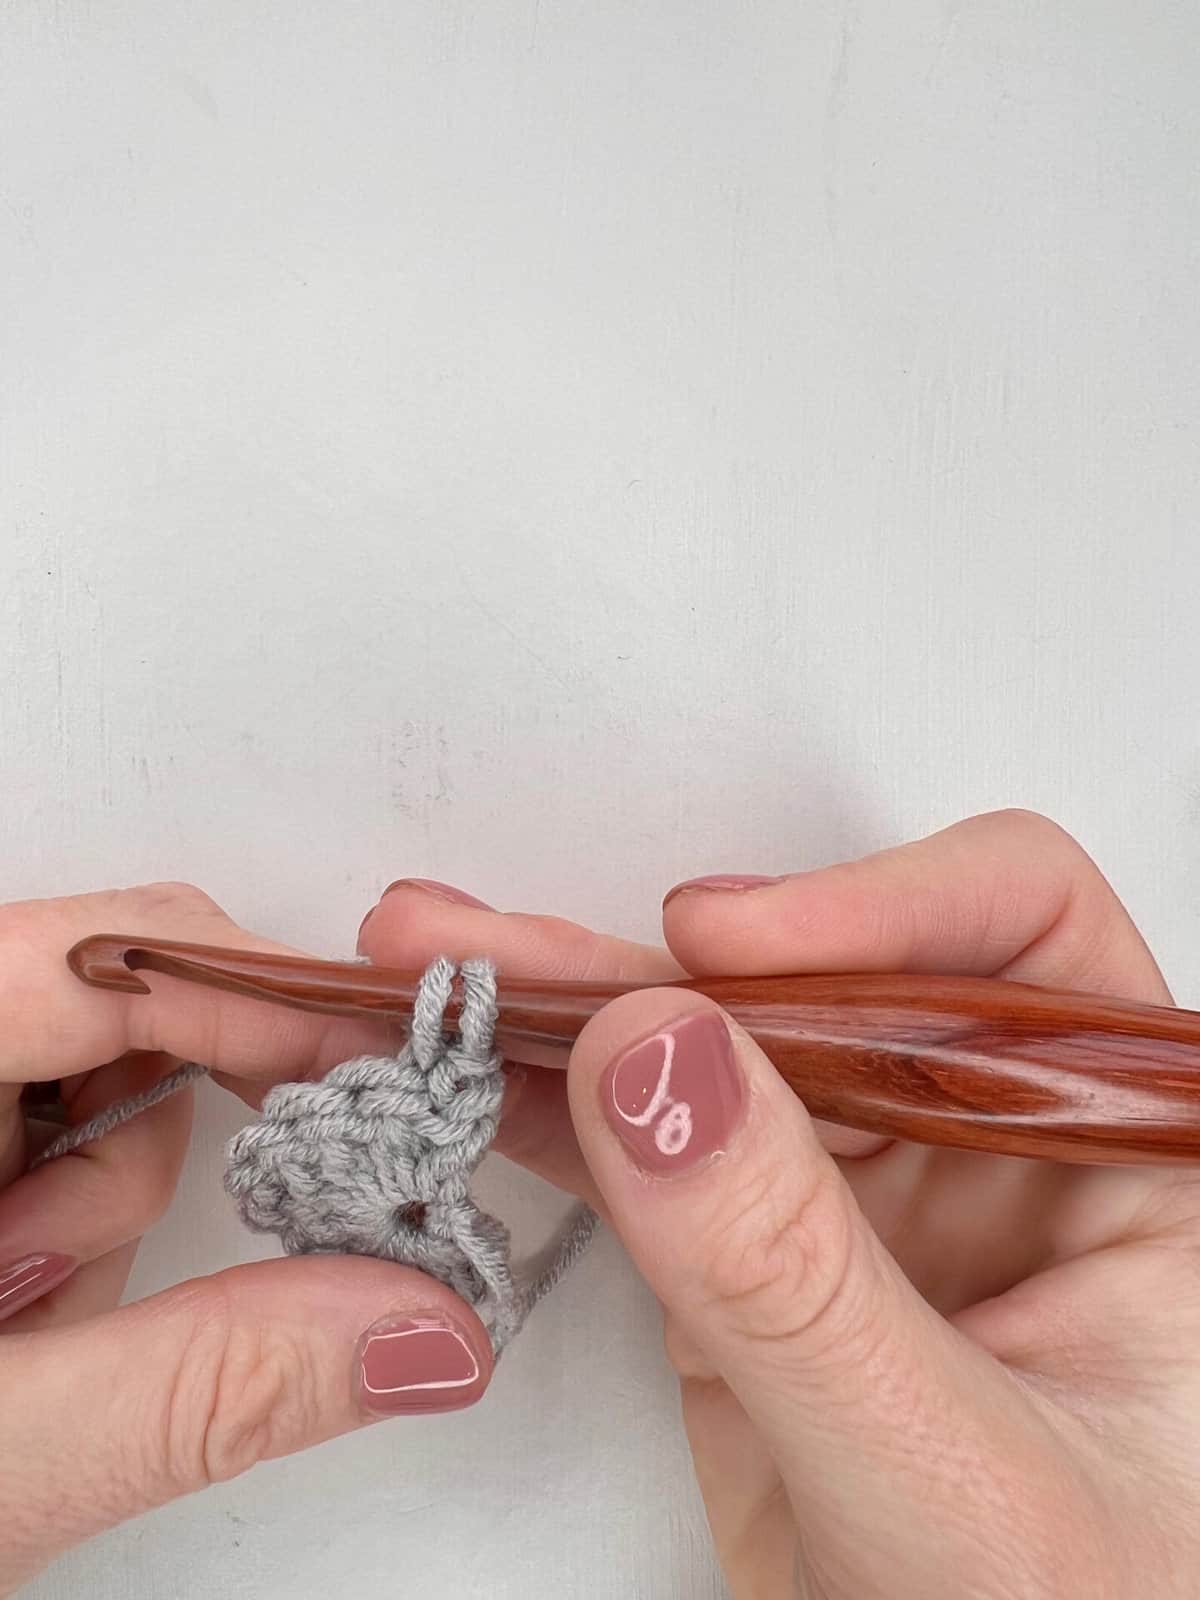
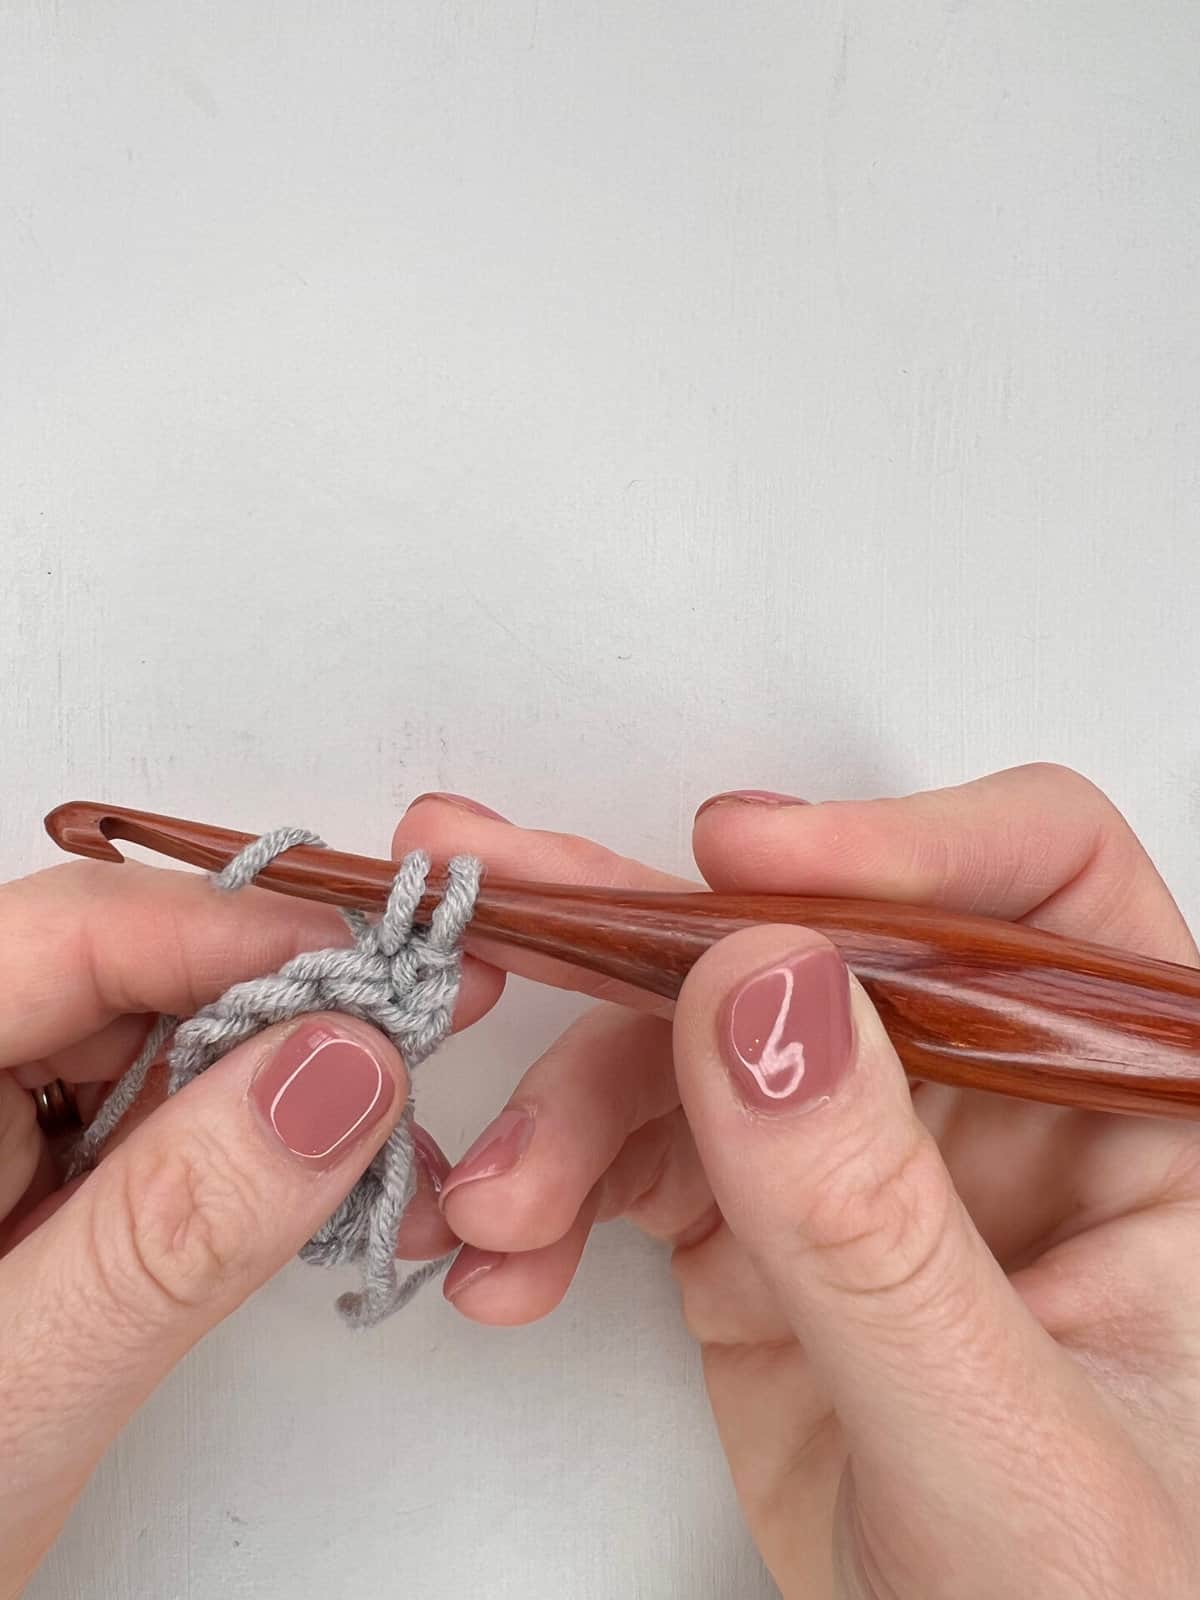
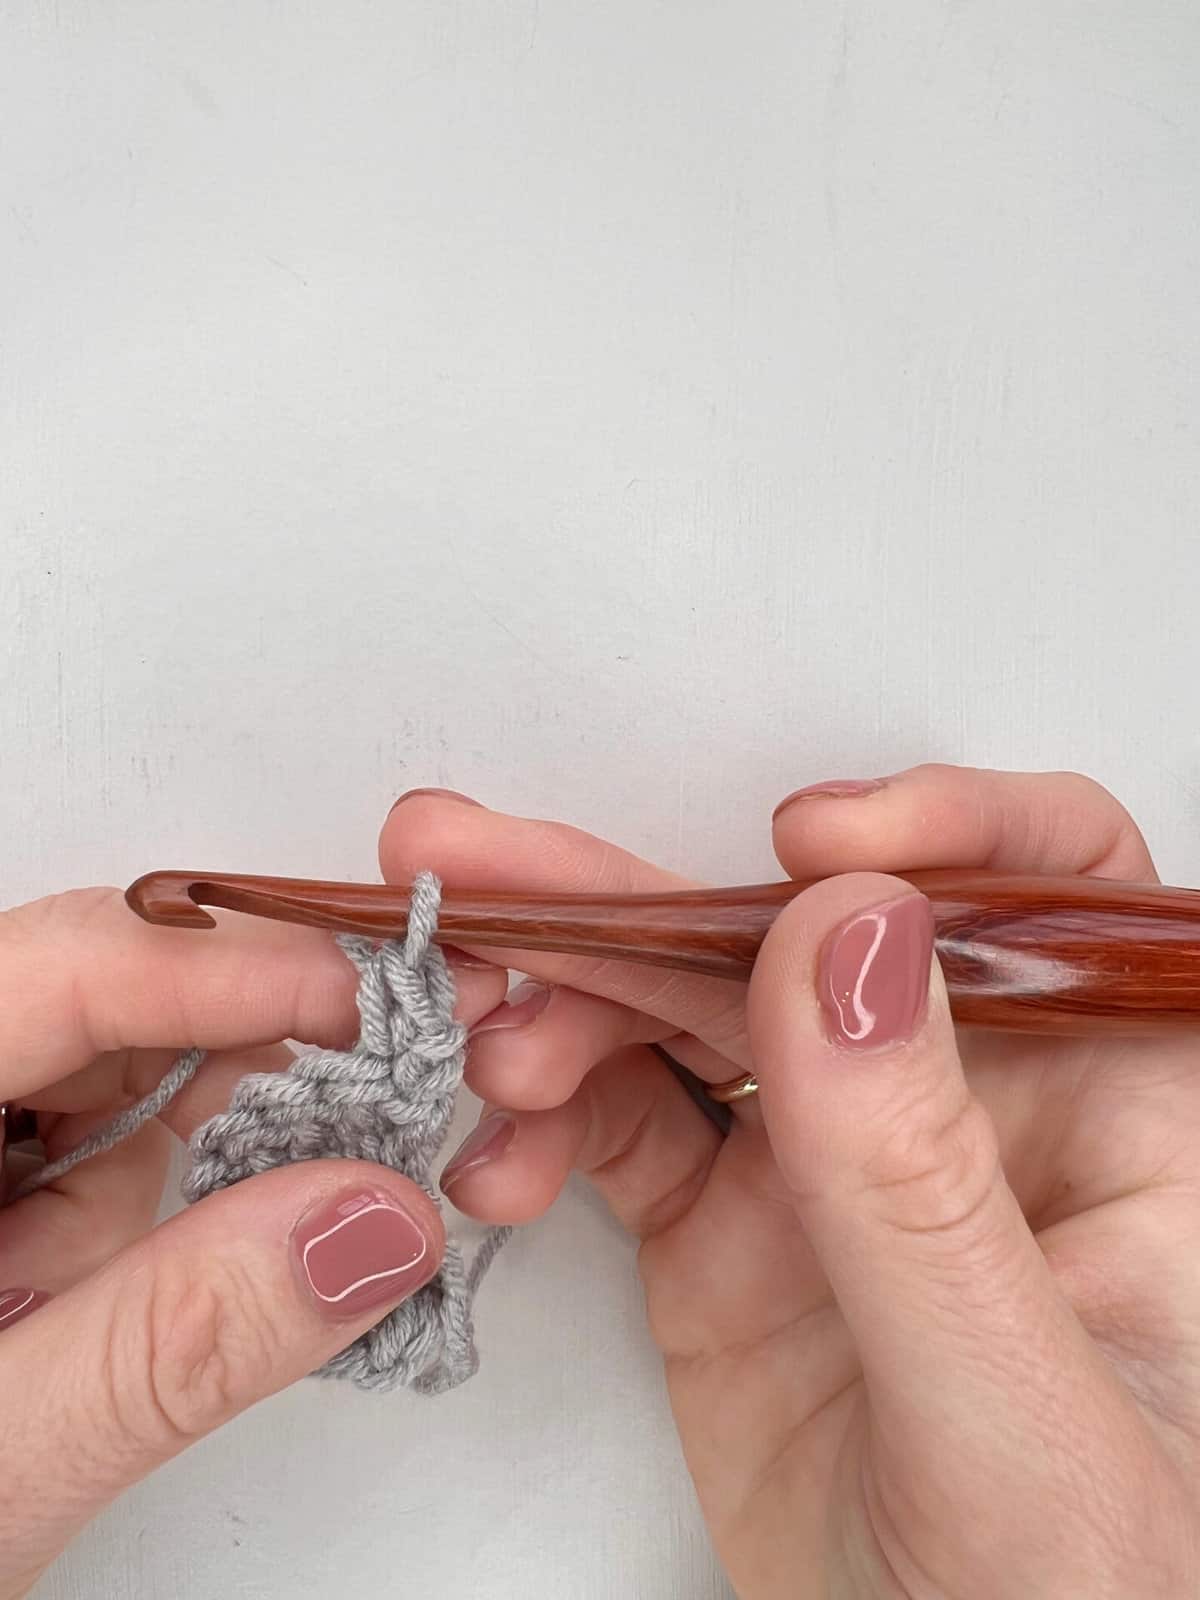
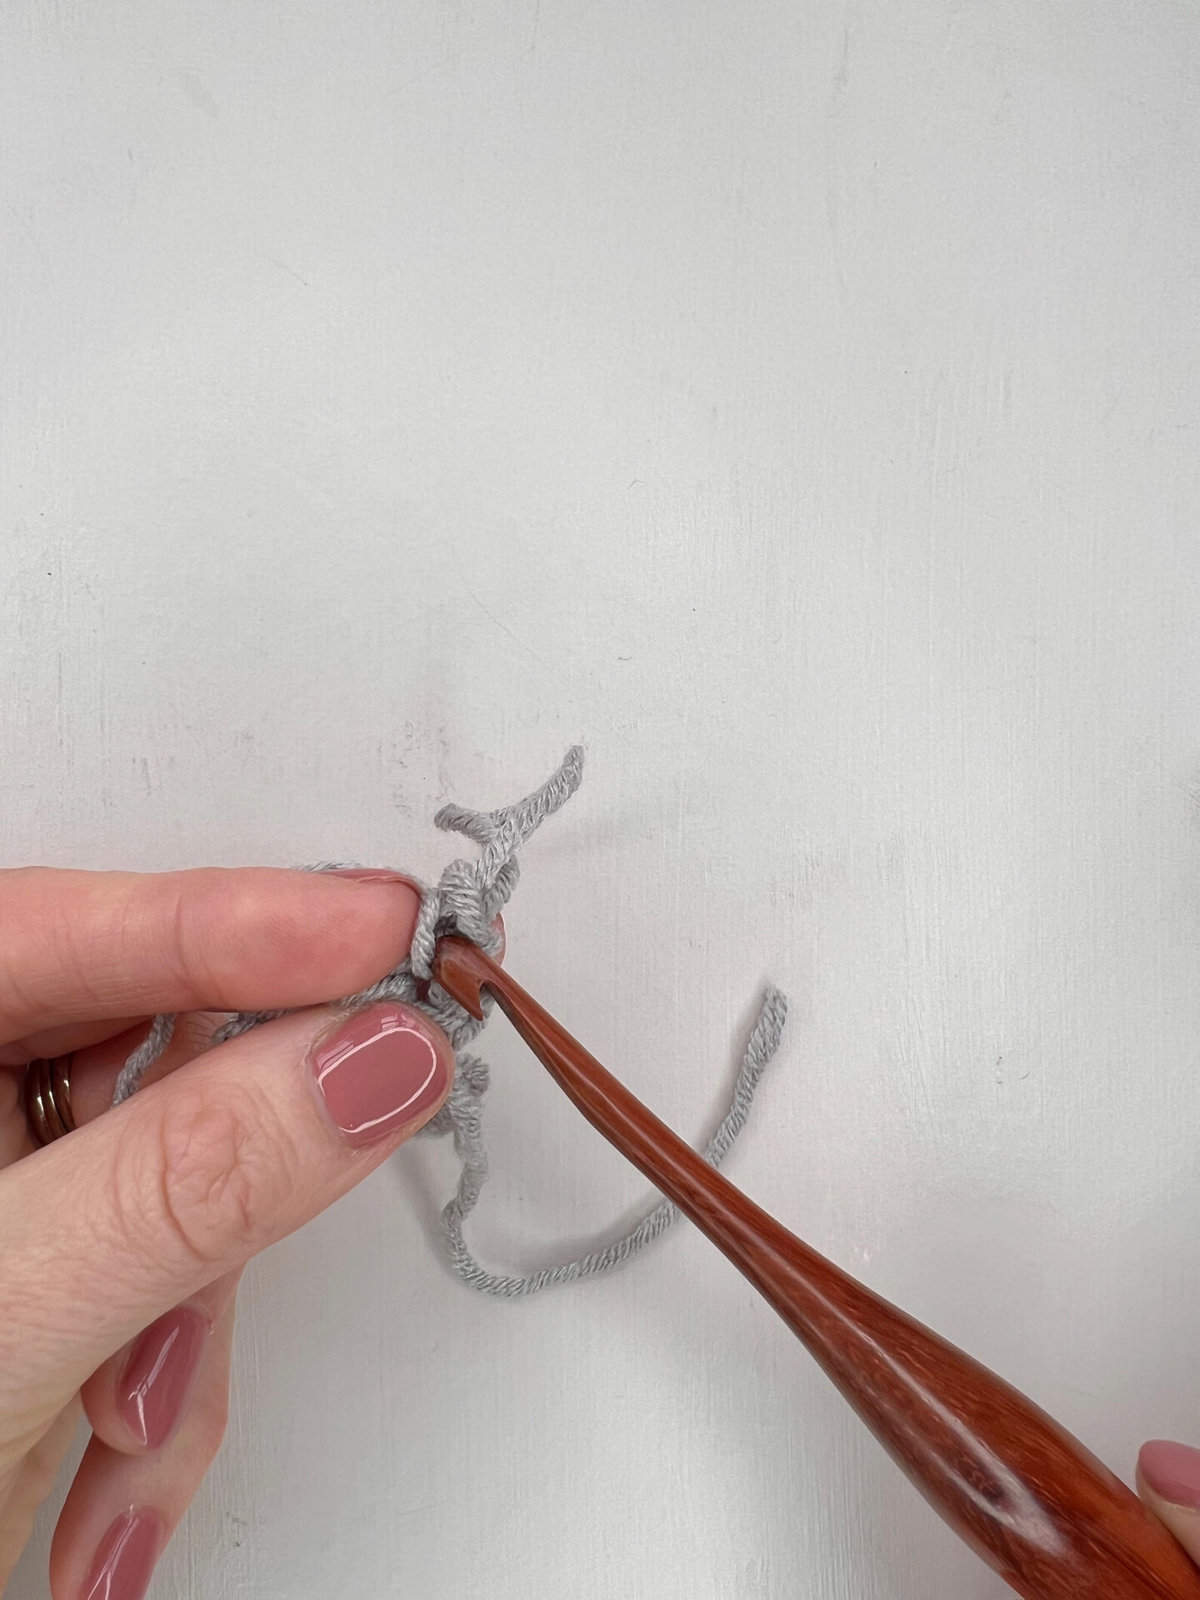
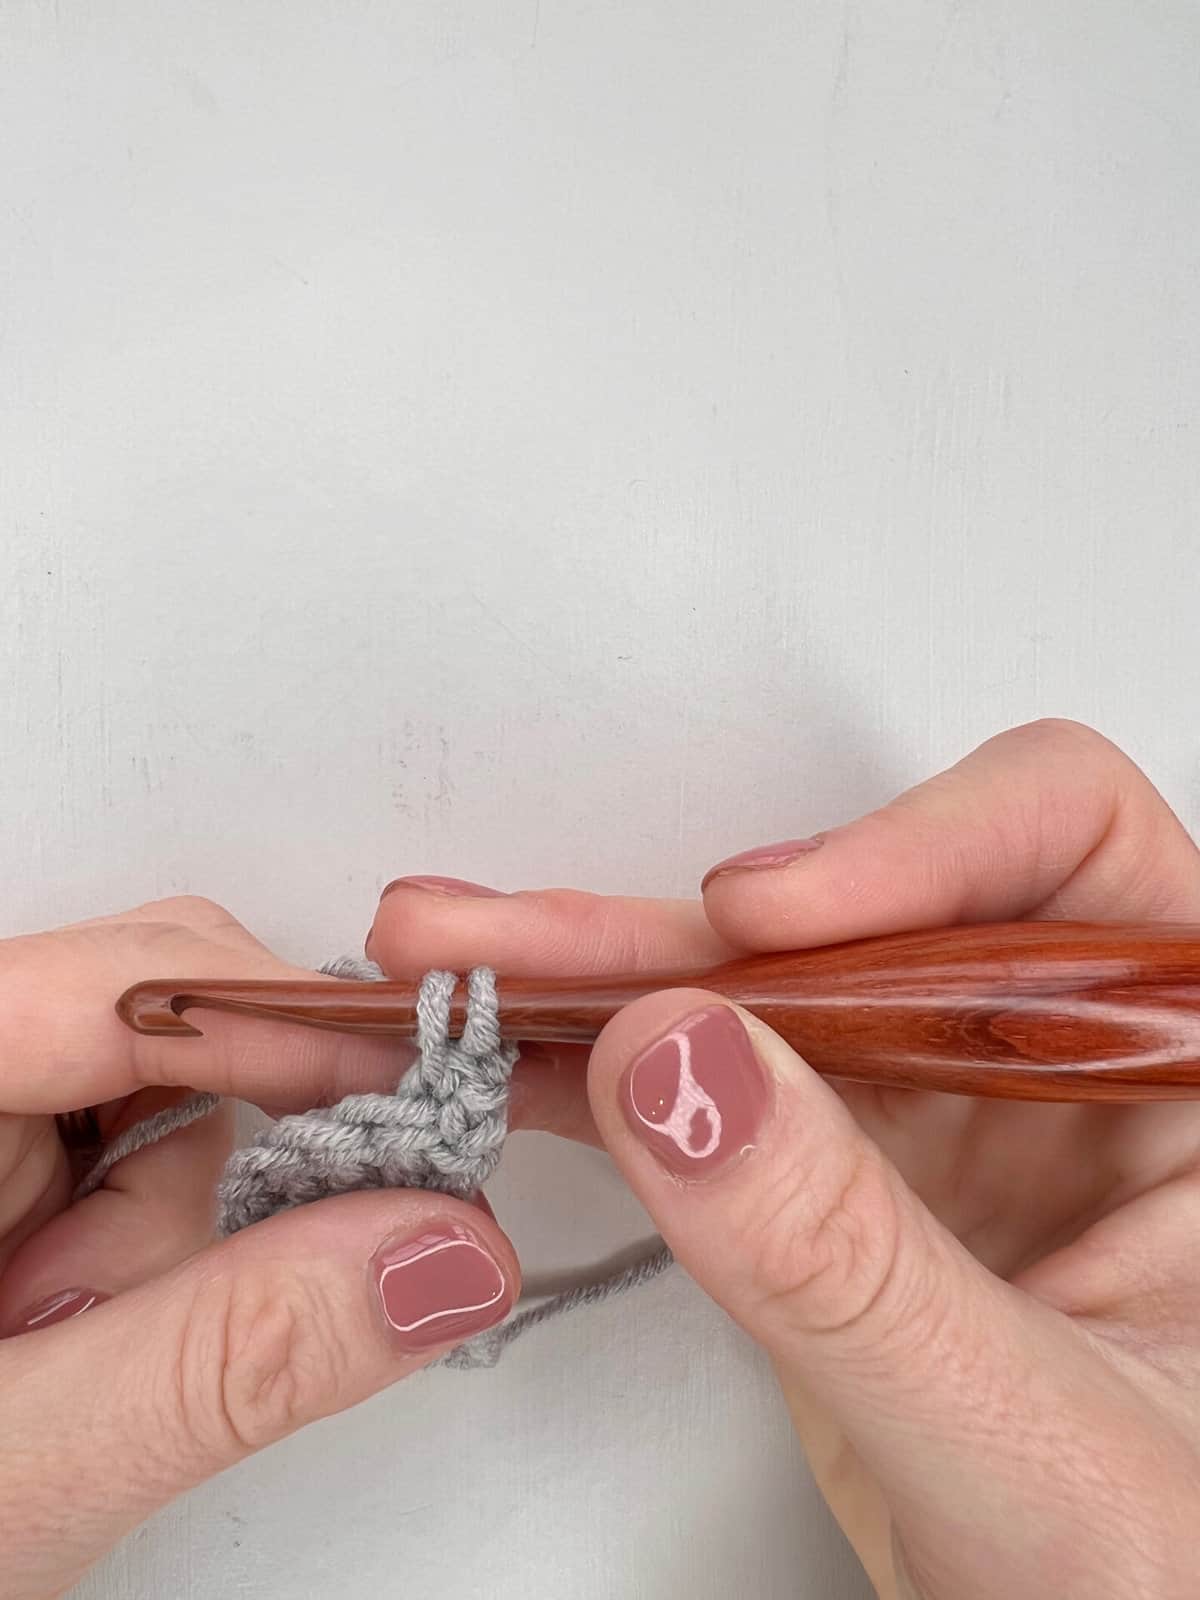
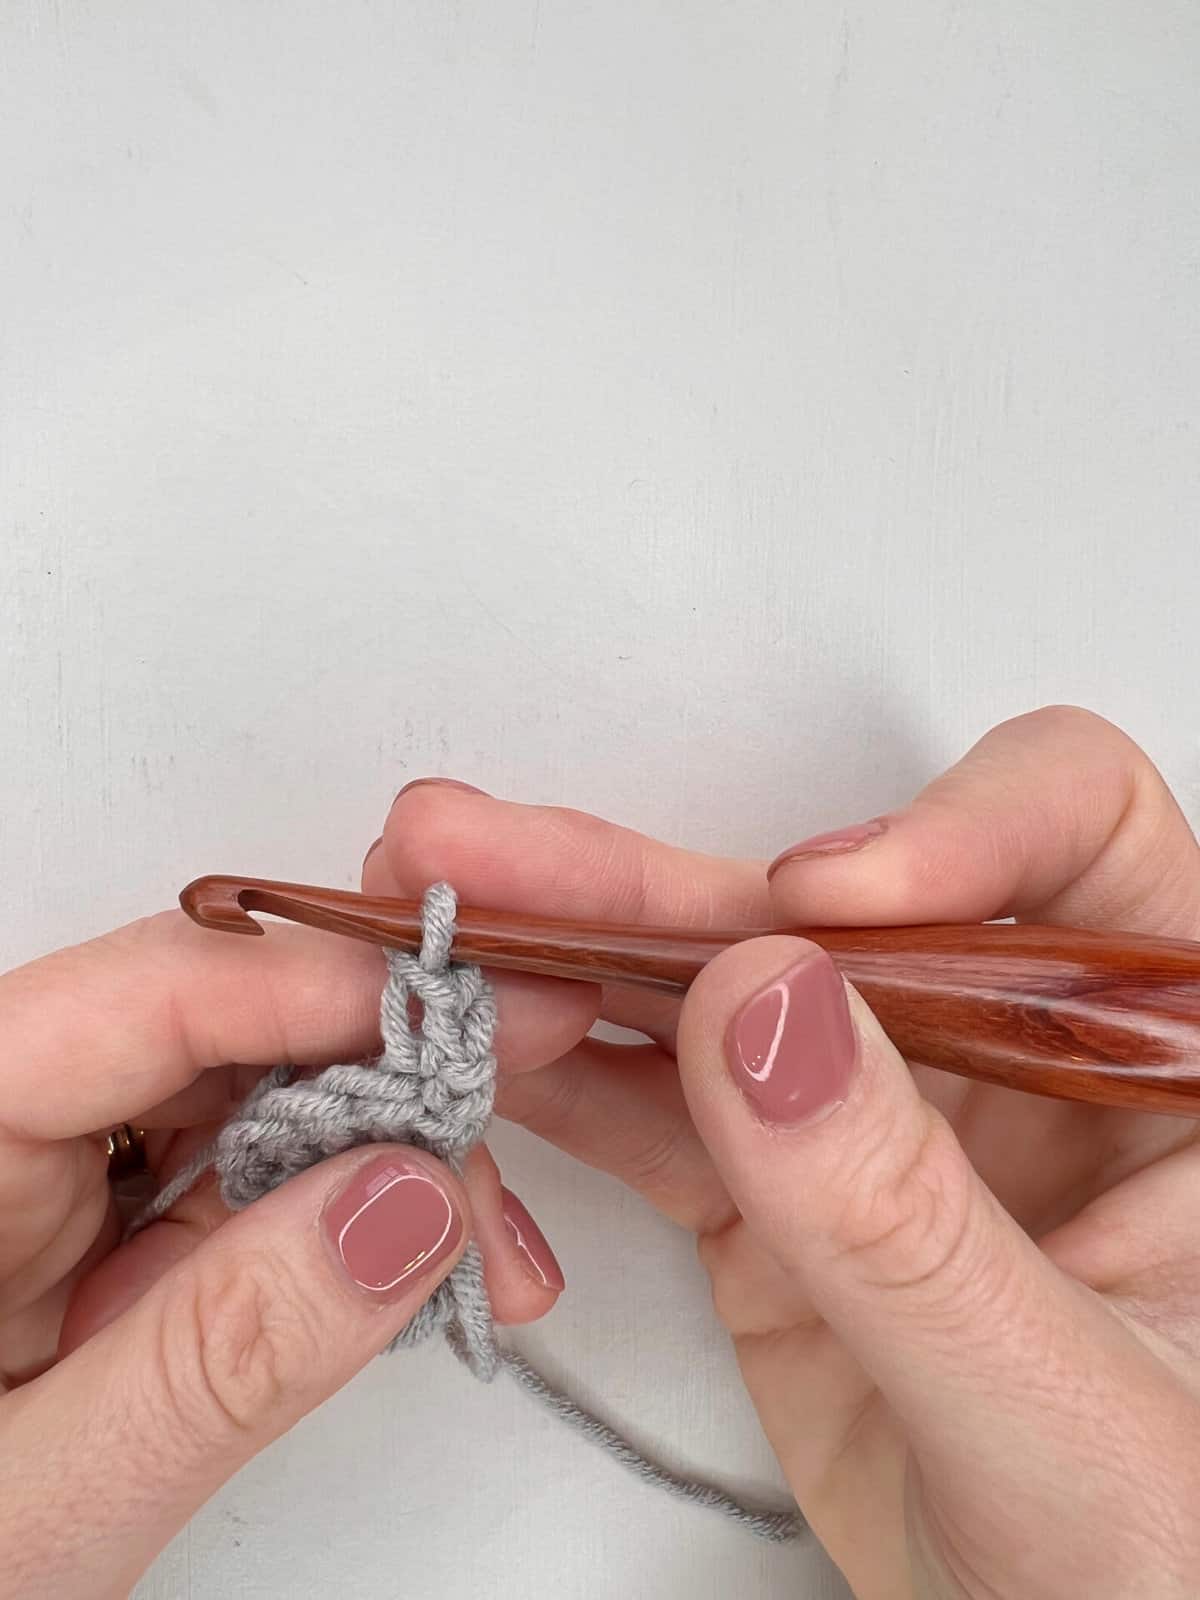
Stacked stitches
To create a stacked double crochet you need to make 2 stacked single crochet stitches. Work a single crochet as you would normally and then work another single crochet into the side bar of the first single crochet so that they sit on top of each other.
It’s a great alternative to turning chains!
Before you jump into crocheting your crochet bunny basket pattern, take a moment to read through the pattern notes—it’s a game-changer!
These handy insights will not only simplify your pattern-reading journey but also ensure a smoother crochet experience. You’ll find helpful tips on deciphering the sizing, customisation and more.
Trust me, a quick peek at these notes will set you up for crochet success!
- The pattern is written in standard US crochet terms.
- The scarf is made in rows and you will turn at the end of each row.
- A stacked stitch at the beginning of a row counts as a stitch. If you would prefer not to work stacked stitches then you can chain 3 that counts as a stitch instead.
- A ch1 at the beginning of a row does not count as a stitch.
- Change colour in whatever sequence you like on the scarf but always do it at the end of a row on the last ‘yarn over and pull through’ of the last stitch.
Pattern Gauge
Gauge: 16sts and 10 rows = 4”by 4” but gauge isn’t essential as long as you are happy with the drape of your fabric.
Free Lightweight Crochet Scarf Pattern
Not ready to start? Summarise and Save For Later:
There are a few options for you to access and enjoy this crochet pattern:
- View the free pattern on the blog – all blog subscribers will be able to view the patterns supported by ads by logging into their Grow account.
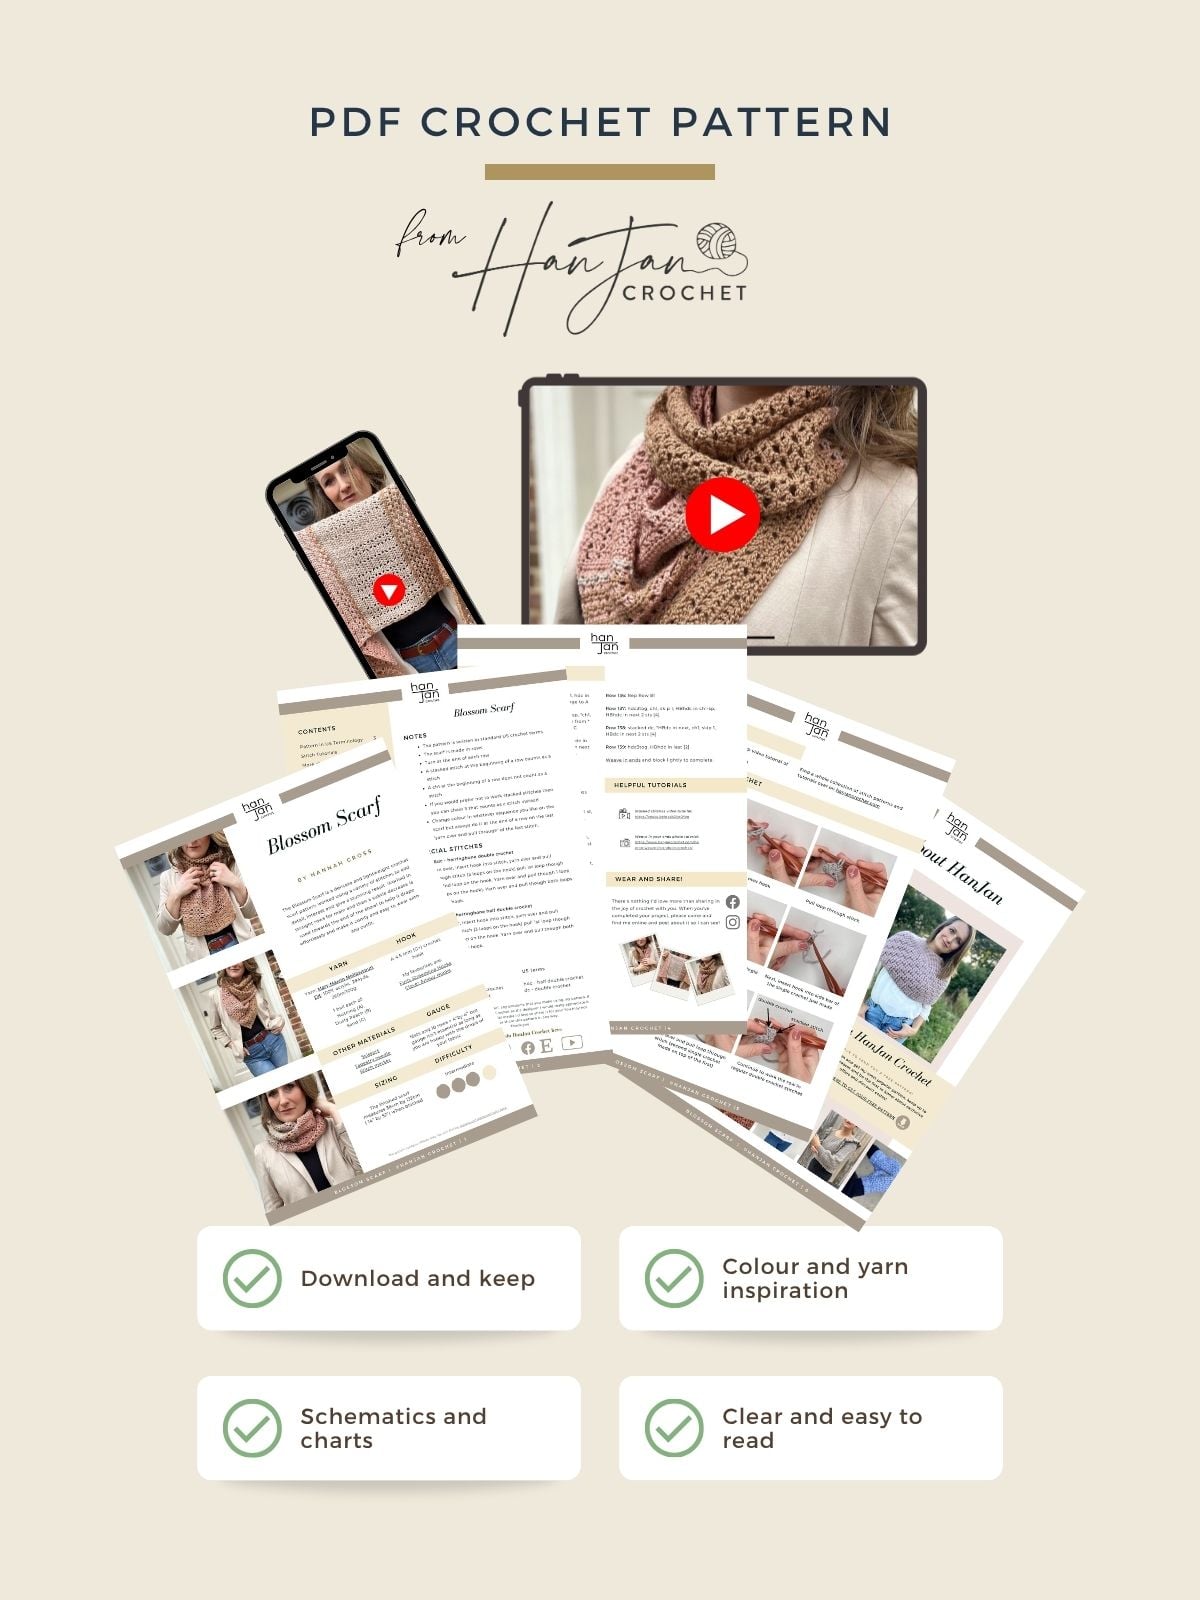
- Purchase the individual pattern on Etsy or Ravelry as a beautifully formatted PDF with extra stitch charts, schematic and colour information page and more!
Get the PDF Pattern!
Perfect to print out or use on any device, with schematic, colour inspiration and stitch tutorials.
Pattern Support
I am delighted to invite you to join the HanJan Crochet Community Facebook Group where we host all pattern support queries and love to see your progress, yarn choices and finished projects!
US Terminology
To unlock Exclusive Content on the HanJan Crochet Blog, all you need to do is click the box below and the Grow.me app will pop up, allowing you to enter your email and create a password.
Once you’ve created an account, every time you see Exclusive Content on my blog (or any others that use Grow), simply login to your Grow account. Be sure to switch to the login screen to enter your login credentials.
If you forget your password, click the “forgot password” link and follow the prompts. Please note that I’m unable to assist with resetting Grow passwords or accessing your Grow account, so be sure to save your login information in a safe place.
Thank you for subscribing and for joining me at HanJan Crochet! I hope you enjoy the exclusive content available on the site and I can’t wait to see what you create 🙂
Join our pattern support group!
We’ve built an amazing community always ready to help each other. Join today!
Row 41: Repeat Row 9
Rows 42-47: Repeat Pattern One
Row 48: Repeat Row 2, change to C
Row 49: ch1, hdc in each st and ch-sp across, change to B [60]
Row 50: ch1, *hdc in next st, ch1, skip 1, hdc in next st, rep from * across to end, change to C
Row 51: ch1, hdc in next st, hdc in ch1-sp, *ch1, skip 1, hdc in next st, hdc in ch1-sp, rep from * across to last, hdc in last st, change to B
Row 52: ch1, hdc in next st, ch1, skip 1, hdc in next st, * hdc in ch1-sp, ch1, skip 1, hdc in next st, rep from * across to end, change to C
Row 53: Rep Row 17, change to B
Row 54: Rep Row 18, change to A
Row 55: Rep Row 17, change to C
Row 56: ch1, hdc in each st and ch-sp across [60]
Row 57: Rep Row 22
Rows 58-71: Repeat Pattern One (rows 2 and 3)
Row 72: Repeat Row 2, change to A
Row 73: ch1, hdc in each st and ch-sp across, change to C [60]
Row 74: ch1, *hdc in next st, ch1, skip 1, hdc in next st, rep from * across to end, change to A
Row 75: ch1, hdc in next st, hdc in ch1-sp, *ch1, skip 1, hdc in next st, hdc in ch1-sp, rep from * across to last, hdc in last st, change to C
Row 76: ch1, hdc in next st, ch1, skip 1, hdc in next st, * hdc in ch1-sp, ch1, skip 1, hdc in next st, rep from * across to end, change to A
Row 77: Rep Row 17, change to C
Row 78: Rep Row 18, change to B
Row 79: Rep Row 17, change to A
Row 80: ch1, hdc in each st and ch-sp across [60]
Row 81: stacked dc, *HBdc in next st, ch1, skip 1, HBdc in next st, rep from * across to end
Row 82: hdc3tog, ch1, skip 1, HBhdc in ch1-sp, *ch2, skip 2, HBhdc in ch1-sp, rep from * to last st, HBhdc in last st [58]
Row 83: stacked dc, *HBdc in next st, ch1, skip 1, HBdc in next st, rep from * across to last st, HBdc in last st [58]
Row 84: hdc3tog, *ch2, skip 2, HBhdc in ch1-sp, rep from * to last st, HBhdc in last st [56]
Row 85: stacked dc, *HBdc in next st, ch1, skip 1, HBdc in next st, rep from * across to last 2sts, HBdc in last 2 sts [56]
Row 86: hdc3tog, HBhdc in ch1-sp, *ch2, skip 2, HBhdc in ch1-sp, rep from * to last st, HBhdc in last st [54]
Rows 81-86 form the decrease pattern – Pattern Three.
Every even row decreases by 2 sts.
Rows 87- 135: Repeat Pattern Three [6]
Row 136: Rep Row 81
Row 137: hdc3tog, ch1, skip 1, HBhdc in ch1-sp, HBhdc in next 2 sts [4]
Row 138: stacked dc, *HBdc in next, ch1, skip 1, HBdc in next 2 sts [4]
Row 139: hdc3tog, HBhdc in last [2]
Weave in ends and block lightly to complete.
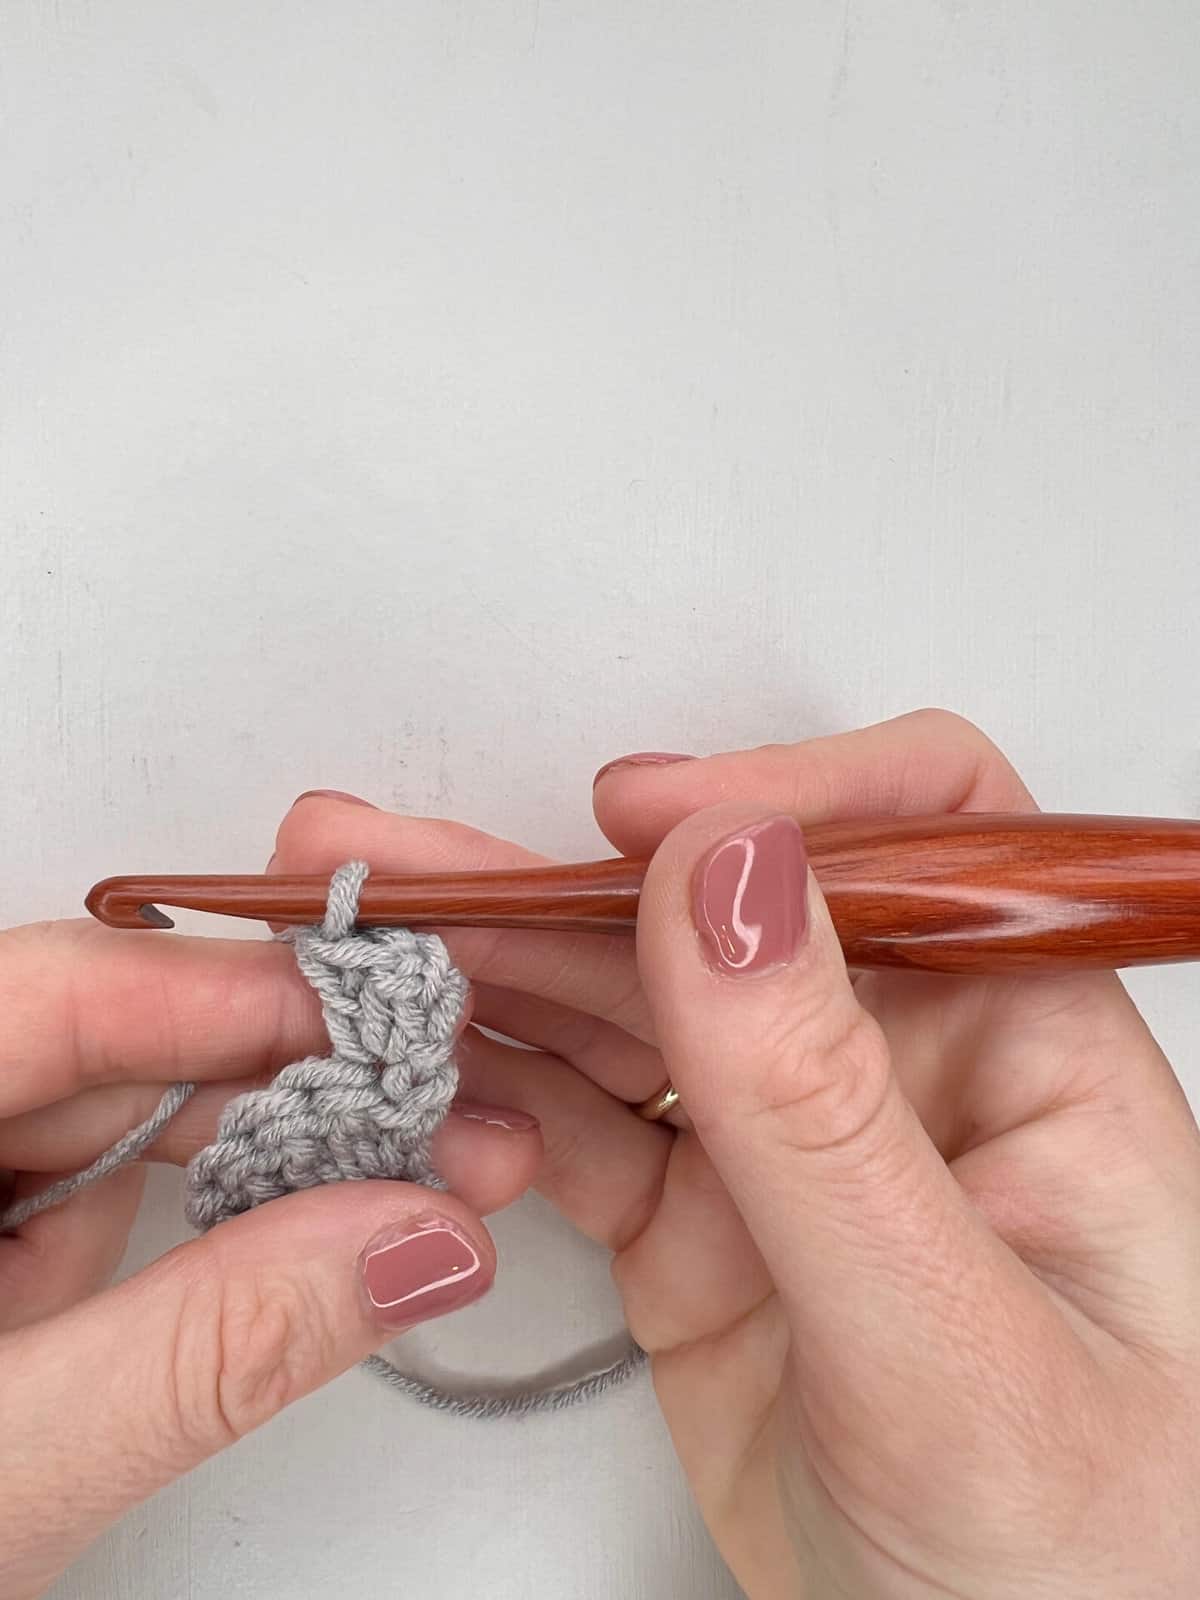
Photo Stitch Tutorial:
You can watch a step by step video tutorial of the following stitch, plus here are some step by step pictures that will help too.
Stacked Double Crochet
Get your free guide!
Subscribe to get your free guide to choosing and combining colours!
Join HanJan and Share Your Crochet With Us!
I’d love to hear from you and see your HanJan Crochet project! Here’s where you can do that:
📌 PIN THIS POST – save it to your Pinterest crochet board so you can come back to it again and make more!
↗️ SHARE – Share your yarn choices, progress pics, and finished projects on Facebook or Instagram (make sure to use the hashtag) #hanjancrochet
🧶 JOIN – Join thousands of amazing crafters in the HanJan Crochet Community Group on Facebook ready to cheer you on!
✉️📩📬 SUBSCRIBE – It’s an honour to be able to create and share my free crochet patterns with you. I’d love to stay connected and send you regular discount codes and free patterns! Please sign up for my subscriber list to get a free gift right now!
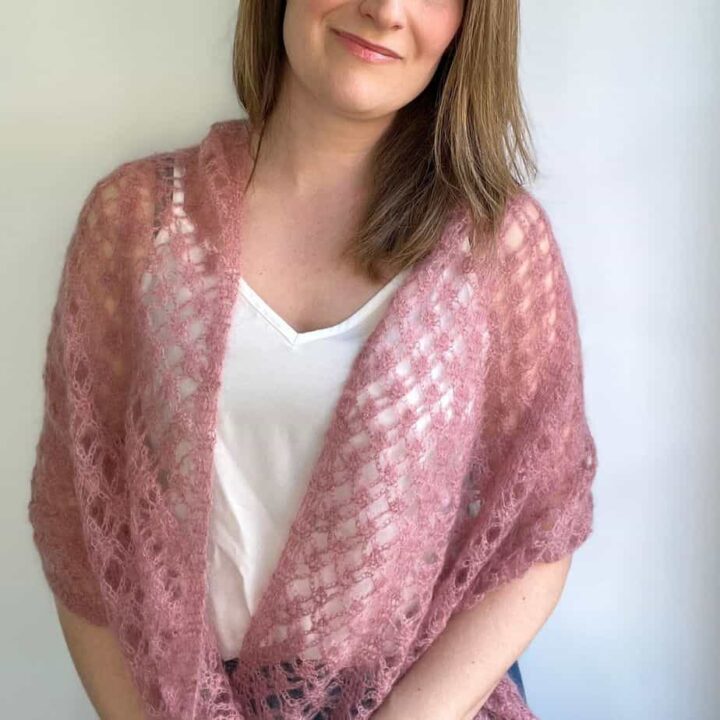
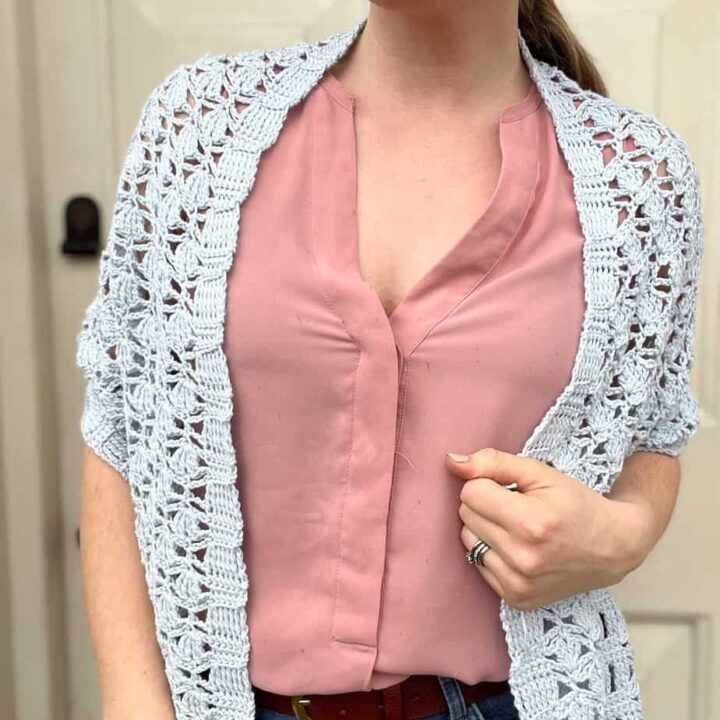
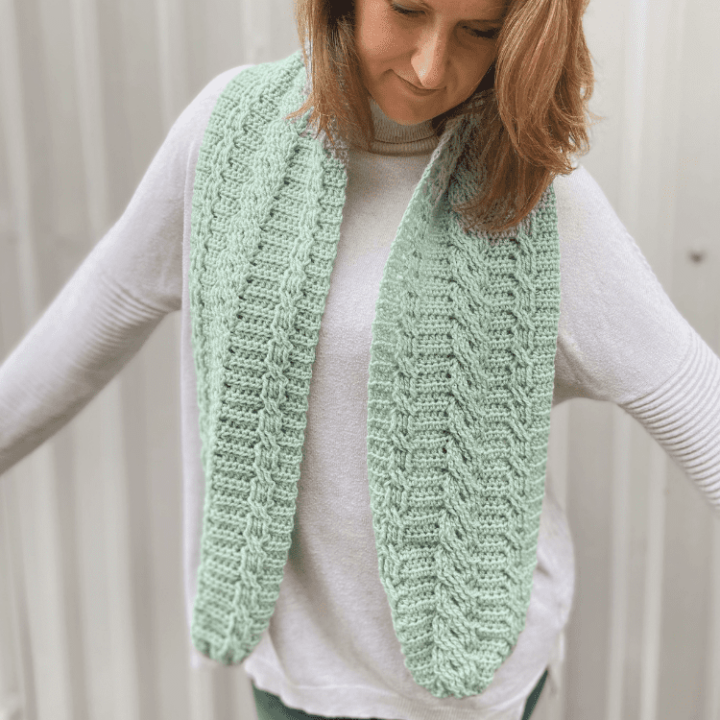
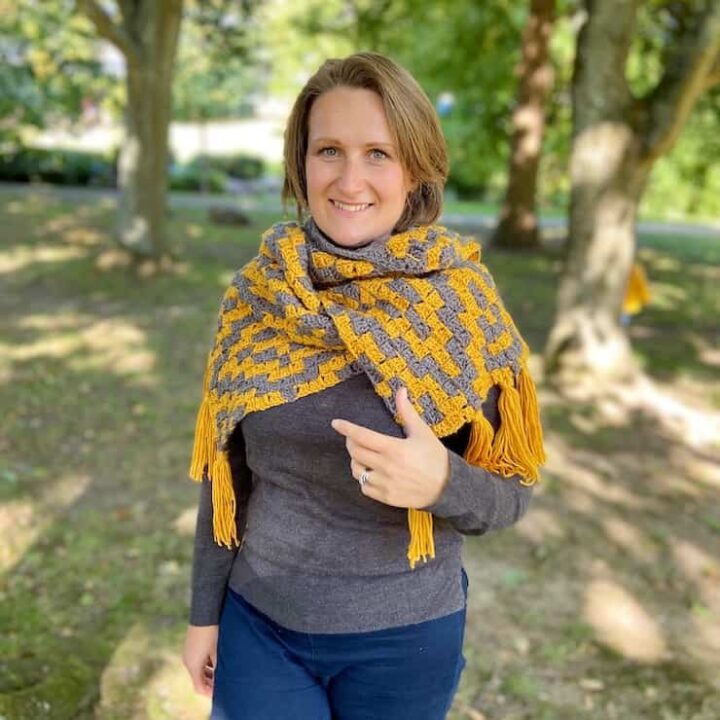
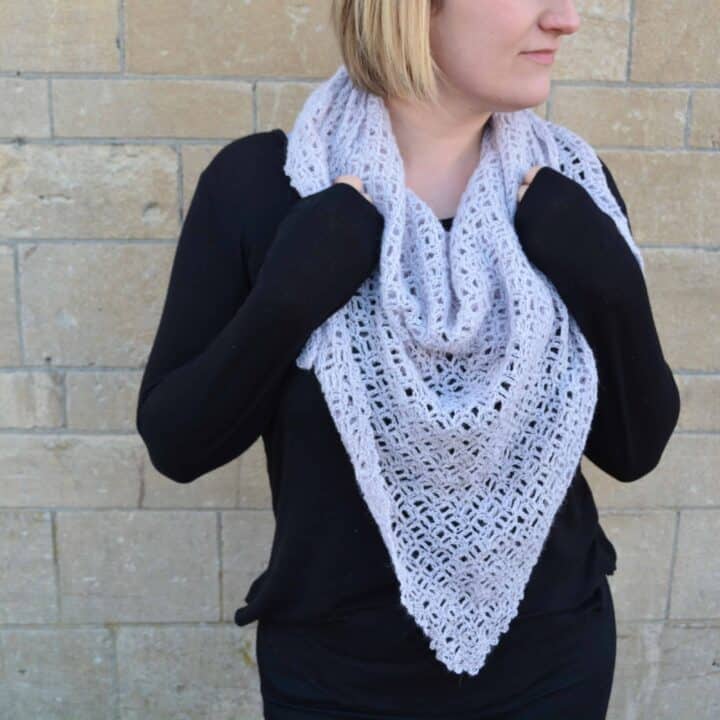
More Crochet Wearable Patterns You Might Enjoy
If you enjoy crocheting scarves and shawls, here are a few more you might want to make in various construction methods.