This post may contain affiliate links. Please see my full disclosure and privacy policy for details.
The slip stitch might be small, but it’s one of the most useful stitches in all of crochet! Whether you’re joining rounds, moving across stitches without adding height, or finishing off your project with a neat edge, the slip stitch is your go-to.
In this tutorial, I’ll walk you through how to crochet a slip stitch step by step, with plenty of tips to help you feel confident using it in any project.

Table of Contents
What is a Crochet Slip Stitch?
A slip stitch (abbreviated as sl st or ss) is the shortest and simplest stitch in crochet. It’s used to:
- Join the end of a round or row neatly
- Move your yarn across stitches without adding height
- Create a smooth, flat seam
- Finish off your work with a clean edge
The slip stitch doesn’t build any height, which makes it perfect for subtle shaping and seamless joins.
How do you Make a Slip Stitch?
Before you start this slip stitch tutorial, you’re going to want to make a slip knot on your hook and a foundation chain (a row of crochet chain stitches).
To make your life easier, I would recommend making a row of single crochet stitches, before you try a slip stitch too!
If you’re just starting out your crochet journey, you might want to check out some other posts in the beginner crochet series to make sure you don’t skip the foundations:
- how to make a slip knot
- how to crochet a chain stitch
- this single crochet stitch tutorial
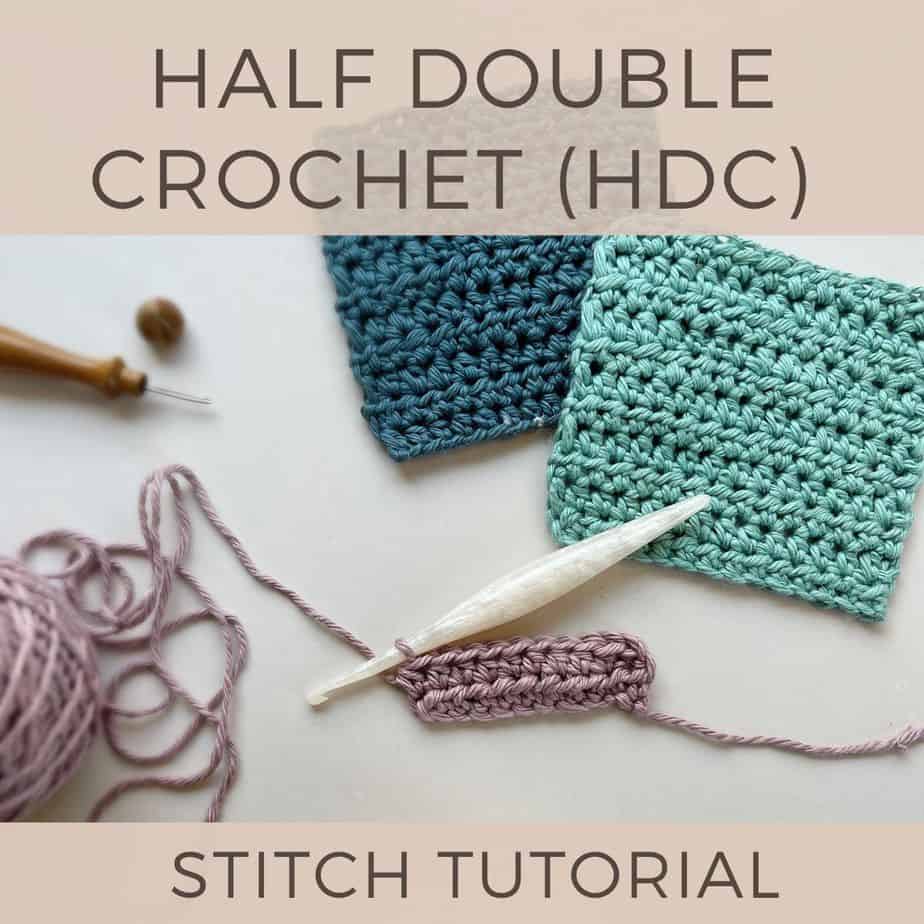
- how to half double crochet stitch
- how to do a double crochet stitch
Step by Step Video Tutorial
Before we get started press play and watch along as I crochet some slip stitches in this short video tutorial:
Step by Step Slip Stitch Tutorial for Beginners
Supplies you’ll need
I used Wildflower Worsted by Herrschners in Rose Clover for the tutorial photos which is a lovely, category 4 (worsted) weight yarn, but you can use any yarn that you like. If you’re a beginner I’d recommend using a category 4 or 5 weight yarn so you can see your stitches easily.
You’ll need a corresponding crochet hook for the yarn you choose. If you look at the ball band, it usually gives you the recommended hook size. The hook I’m using is a Dots hook from WeCrochet.
If you only have one hook and ball of yarn though, just use what you’ve got. The important thing is to start crocheting!
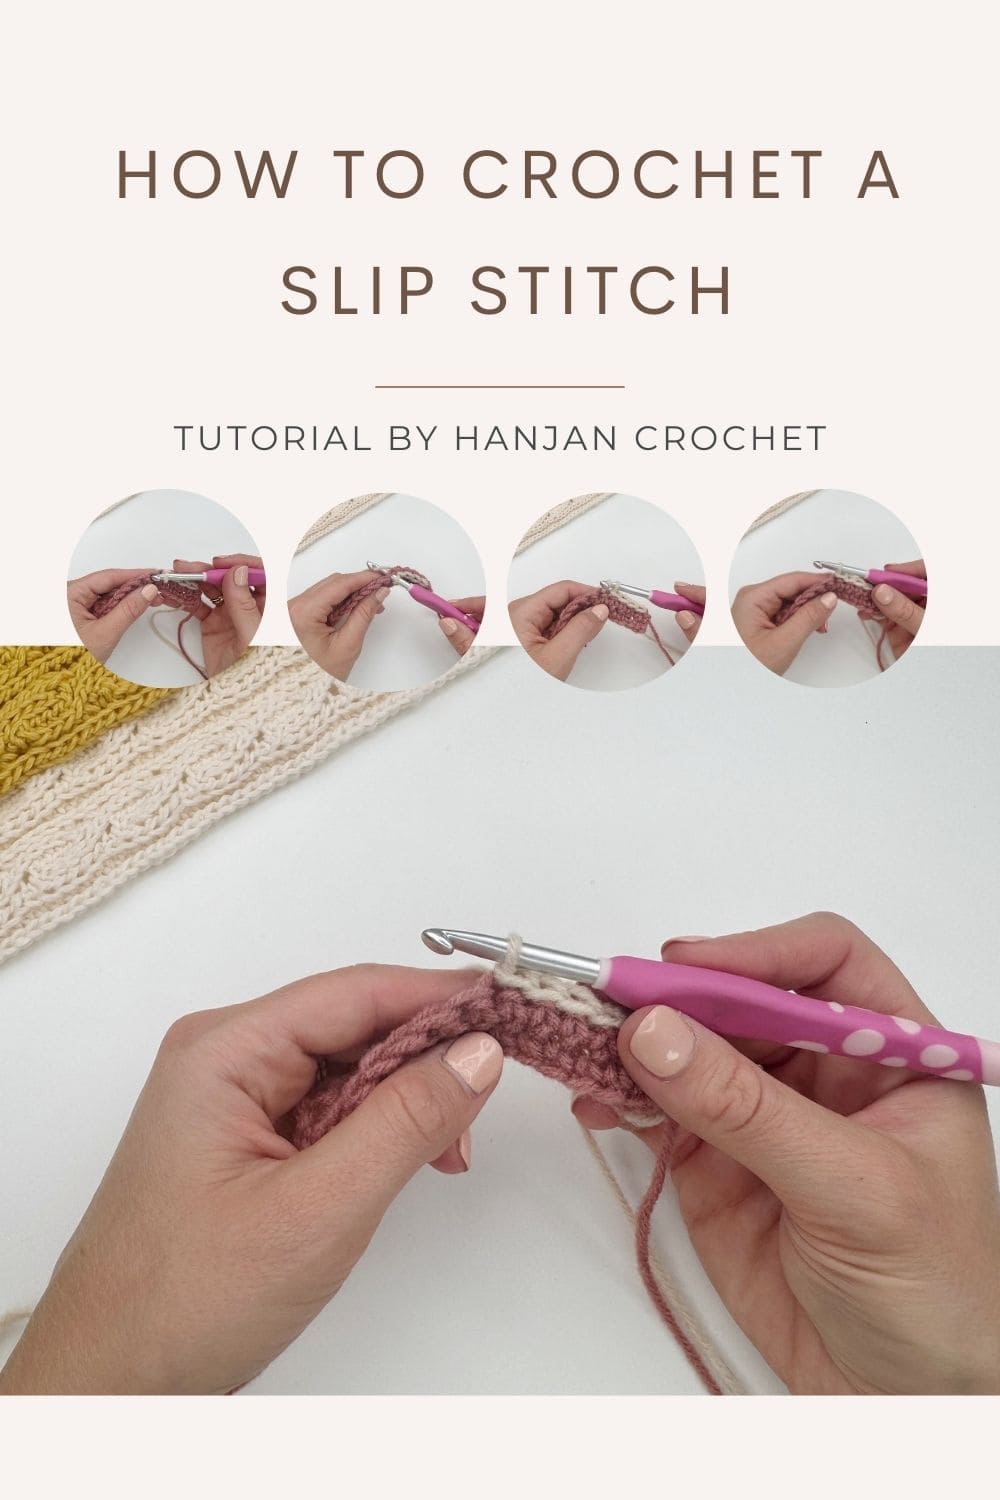
Here is a short description of how to make a slip stitch.
How to make a crochet slip stitch –
- Insert your hook into the stitch
- Yarn over
- Pull through both the stitch and the loop on your hook in one movement.
And that’s it! Pretty simple! Let’s have a look at some pictures!
1. Insert your hook into the stitch

2. Yarn over.

3. Pull through both the stitch and the loop on your hook in one movement.

4. You have completed your first slip stitch.
Once you’ve completed your first crochet slip stitch, continue to repeat this across your row, working into each subsequent stitch.
This is what the back of the fabric will look like:

Turning
At the end of the row, turn the piece around to work back along it. We make a turning chain of 1 chain before carrying on the slip stitches. This brings the hook up to the right height for the next row of stitches. The turning chain does not count as a stitch.
It is not actually that common to see rows and rows of slip stitches, but it’s still a good way to practice the stitch.
Top Tips for Crocheting Slip Stitches
- Be careful not to pull the stitches too tight. This will cause the fabric to wrinkle up.
- Count your stitches regularly to make sure you haven’t accidentally added or missed stitches.
- When using slip stitches to join at the end of a round, make sure you don’t accidentally count it as a stitch.
What is the Slip Stitch used for?
Joining a Round
Slip stitches can be used to join a chain to make it into a ring to start working in the round.
They can also be used to join a round by connecting the last stitch to the first stitch of a round.
Moving Across a Row
The slip stitch can be used to move position on a row or round without creating any extra height. By using the same yarn, this becomes almost invisible and can be a better option than fastening off and rejoining your yarn.
Surface Slip Stitch
Slip stitches can be used to create a design on the surface of a piece of crocheted fabric. To do this, we hold the yarn underneath the fabric and use the hook to push through from the right side to grab the yarn and create a slip stitch.
In this way, we can literally draw on the surface of the fabric.
Slip Stitch Seams
We can also use slip stitches for joining crochet squares together. The slip stitch seam is a lovely flat seam that can be worked on the right side for added texture, or the wrong side.
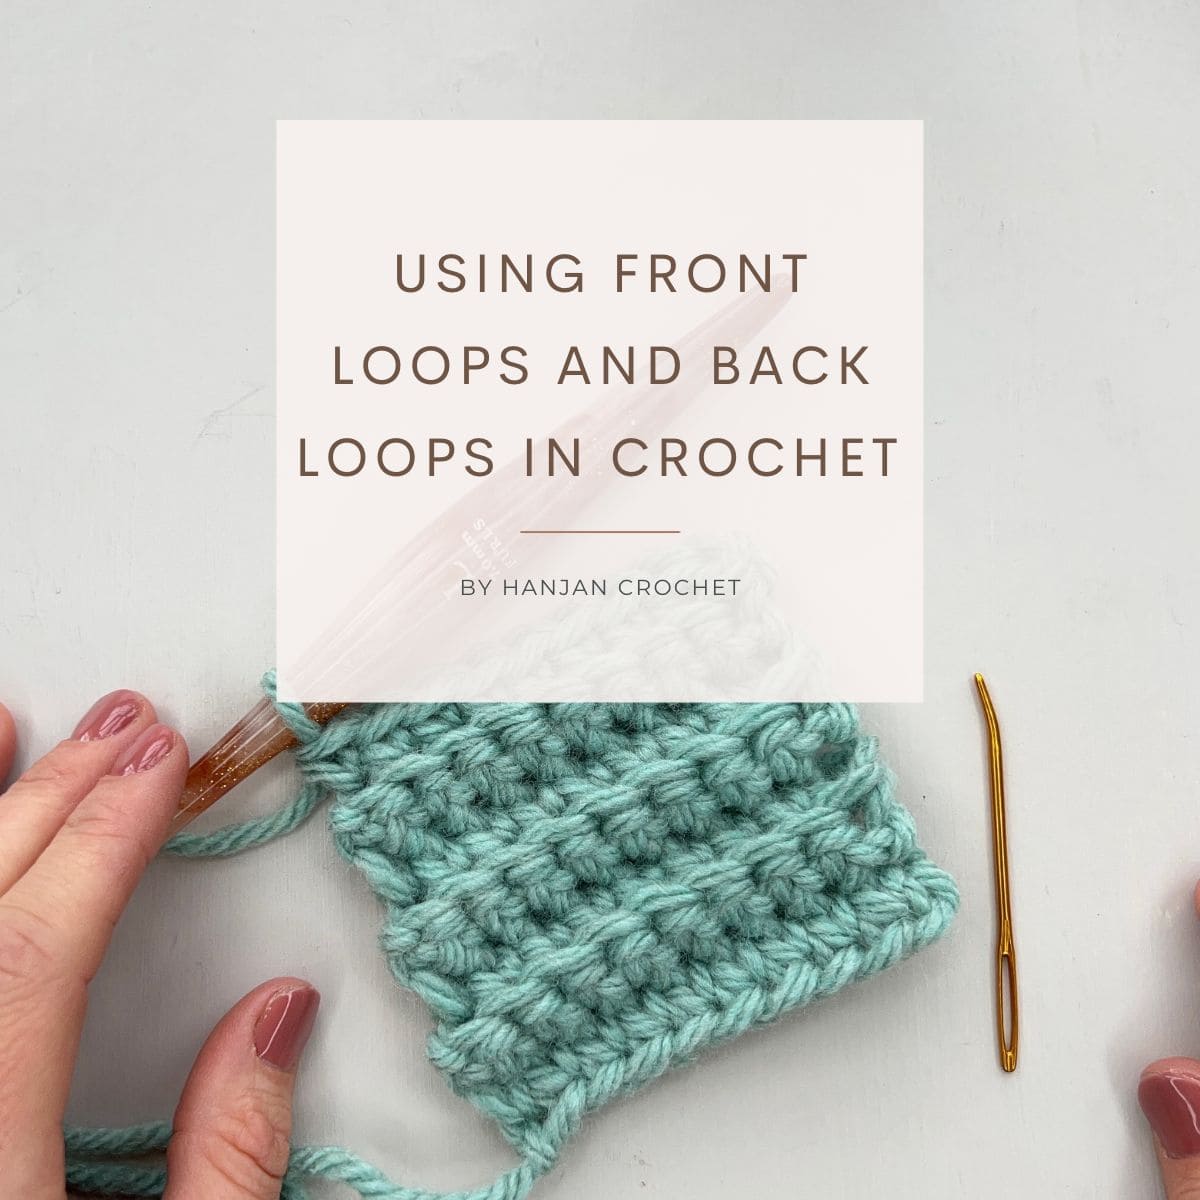
Front and Back Loops
Crocheting your slip stitches in the front and back loops can create some beautiful texture in our work. You can find out more about front and back loop only crochet stitch in this tutorial.
To work a slip stitch in the front loop, simply insert your hook into the front loop only.

To work a slip stitch in the back loop, we insert our hook through the back loop only.

We can use the front and back loops to create ribbing, or you could try the yarn over slip stitch, which is a slightly taller slip stitch created by adding an extra yarn over.
Projects Using Slip Stitches
Whilst the slip stitch is generally not used as the main stitch in most patterns, I do have some designs where it features quite heavily. So if you’re ready to perfect your slip stitches, check out the patterns below.
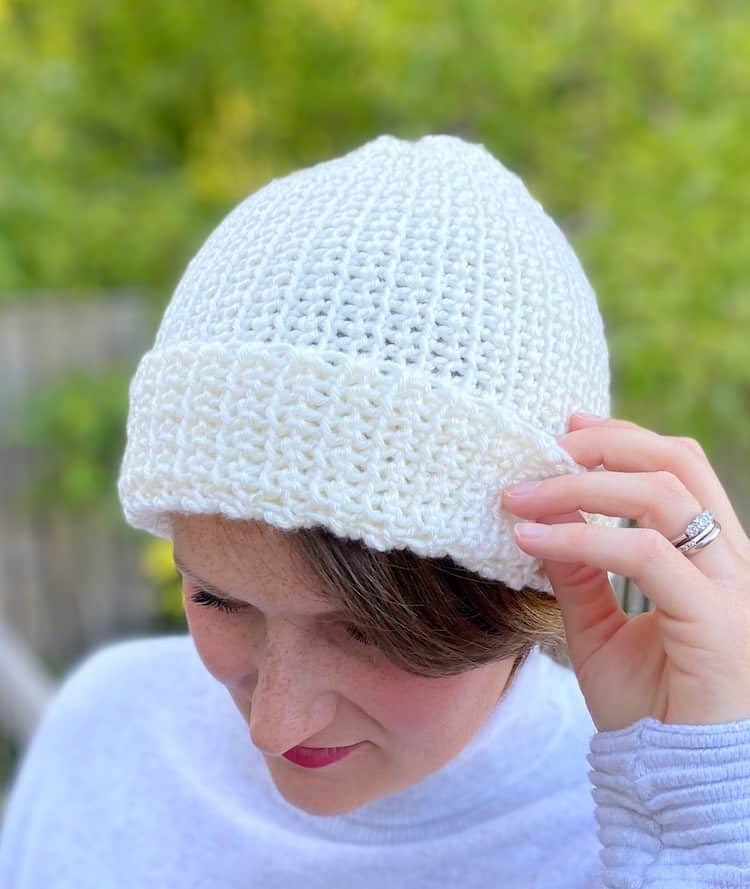
This free crochet beanie pattern in all sizes is made from just a simple rectangle of fabric with clever slip stitch placement.
Made in simple side across rows using beginner stitches (slip stitches and single crochet) you can create the most beautiful textured hat even if you are a beginner.
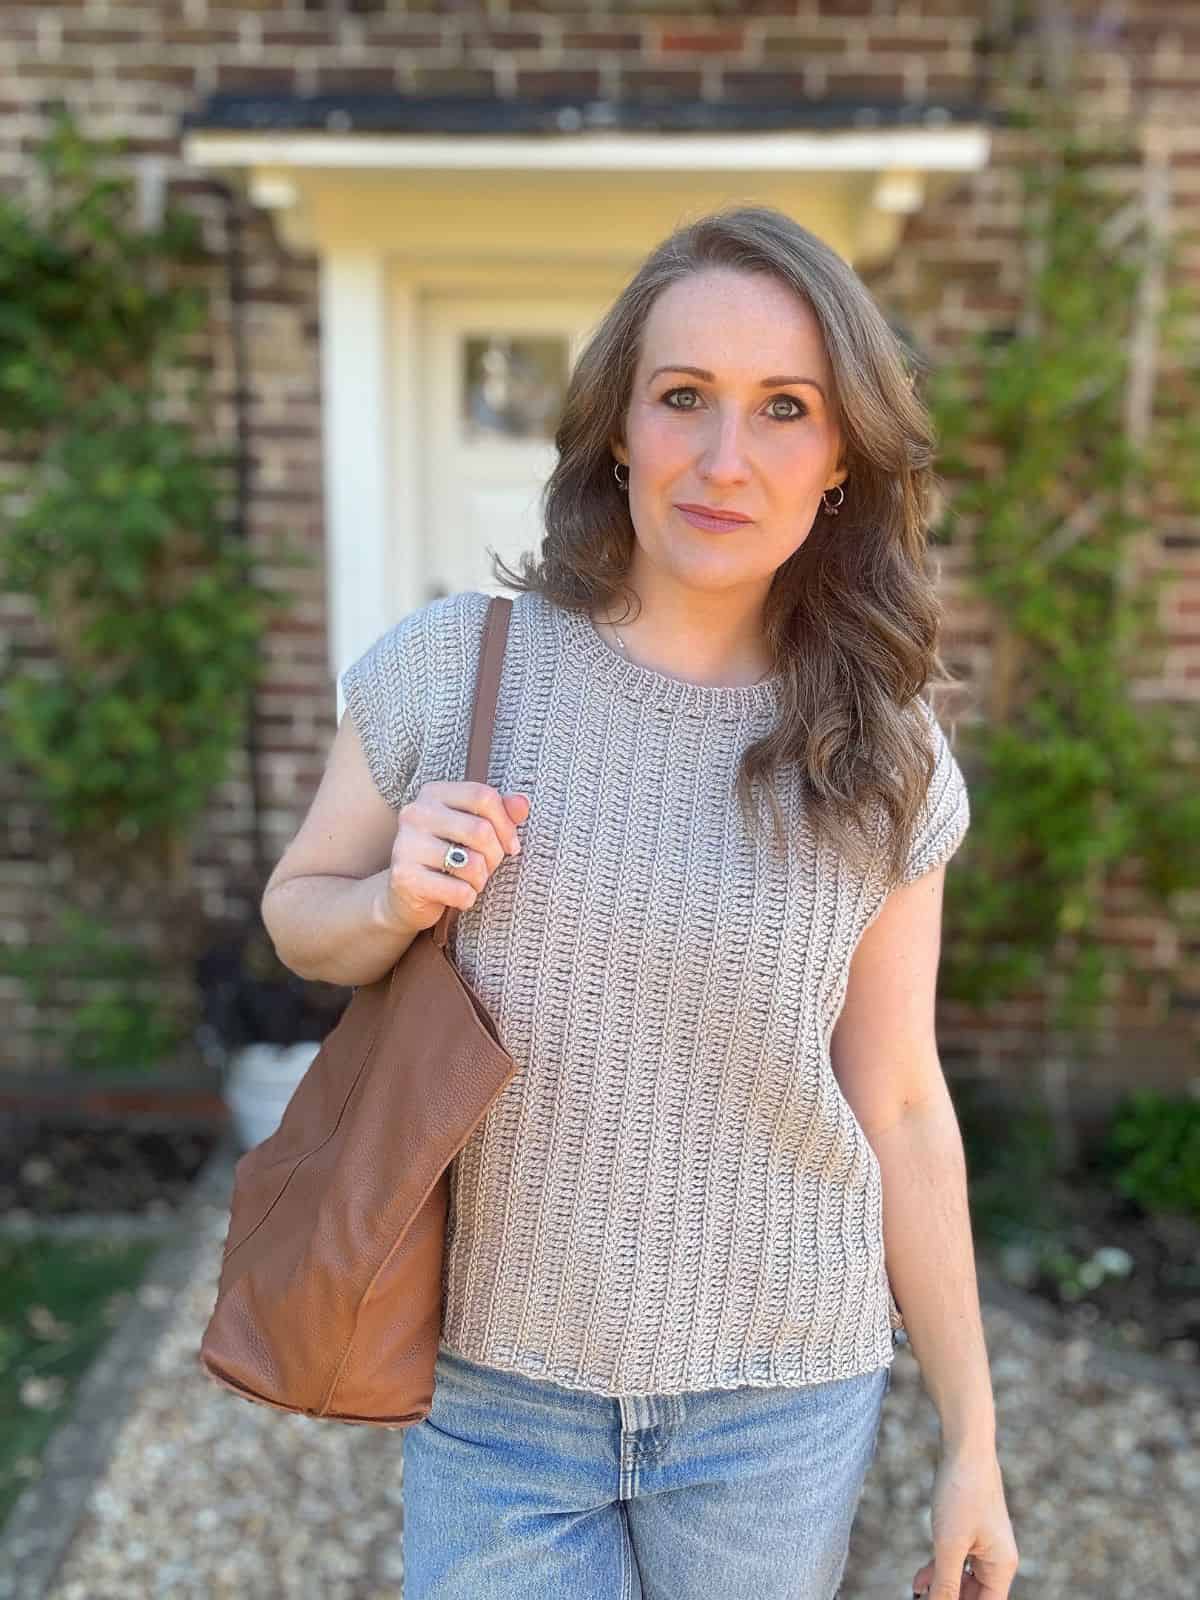
Stay cool and stylish this summer with this easy-to-make crochet summer top pattern, designed for comfort, versatility, and effortless elegance. Made using a wonderful combo of slip stitches and long treble crochet stitches.
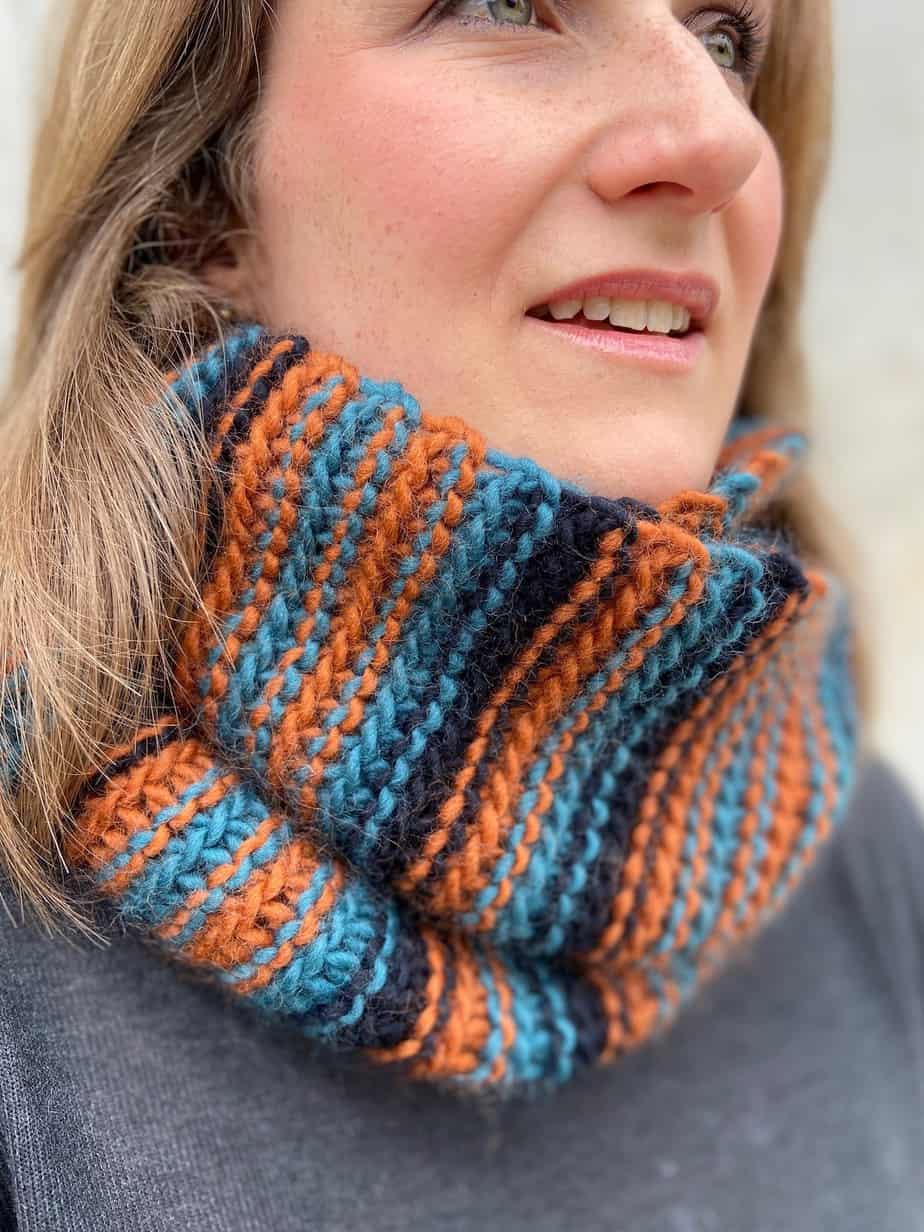
This super simple chunky crochet cowl is made with just slip stitches throughout making it the perfect beginner project
The best thing about projects like this is that using chunk yarn and simple slip stitch crochet stitches means that they grow really quickly!

The Soothing Stripes Blanket is the perfect project for anyone from beginner to pro crocheter who enjoys the soothing mindfulness that the craft can bring. It uses the simplest of crochet stitches (including the slip stitch) in a front and back loop combination to get the most wonderful textured blanket to keep little ones (or even big ones) cosy and warm.
Next Steps in Your Crochet Journey
Now that you’ve mastered the slip stitch and all of the other beginner crochet stitches, you really are well on your way to becoming a pro crocheter! Why not check out some more of my beginner crochet patterns and see what you fancy having a go at making?
Get your free guide!
Subscribe to get your free guide to choosing and combining colours!
Learn Some More Crochet Stitches With Me
Now that you’ve cracked the basics, it’s time to learn some more crochet stitch tutorials – here are some of my favourite beginner stitches:
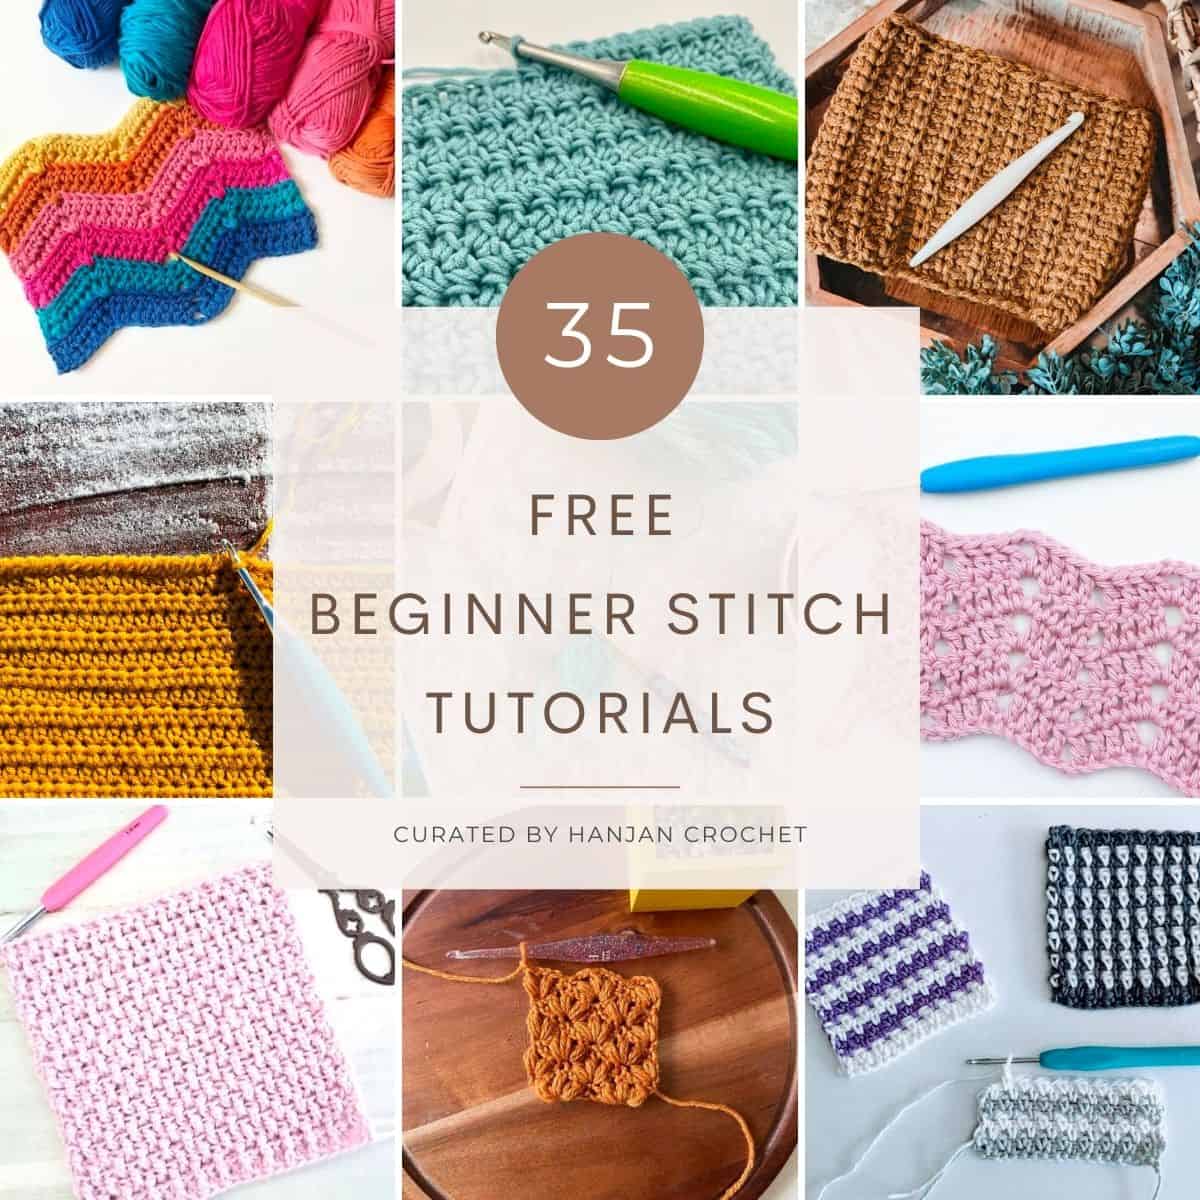
35 Easy Crochet Stitches for Beginners
I hope you’ve enjoyed learning how to crochet a slip stitch with me! I really hope you’ve caught the crochet bug and I’d love to share in your crochet journey with you! You can sign up to become a member of HanJan Crochet and I’ll let you know about all the fabulous crochet adventures, offers, lives and more too!
See you there!
Join our community group!
We’ve built an amazing community always ready to help each other. Join today!
Pin It For Later