This post may contain affiliate links. Please see my full disclosure and privacy policy for details.
Pattern for: Crochet Pumpkin Free Pattern in 4 Sizes – perfect Fall home décor
Yarn used: 100% acrylic worsted weight yarn
Difficulty level: Intermediate – featuring short-row cables that look intricate but are easy to master.
Stitches used: half double crochet and slip stitches
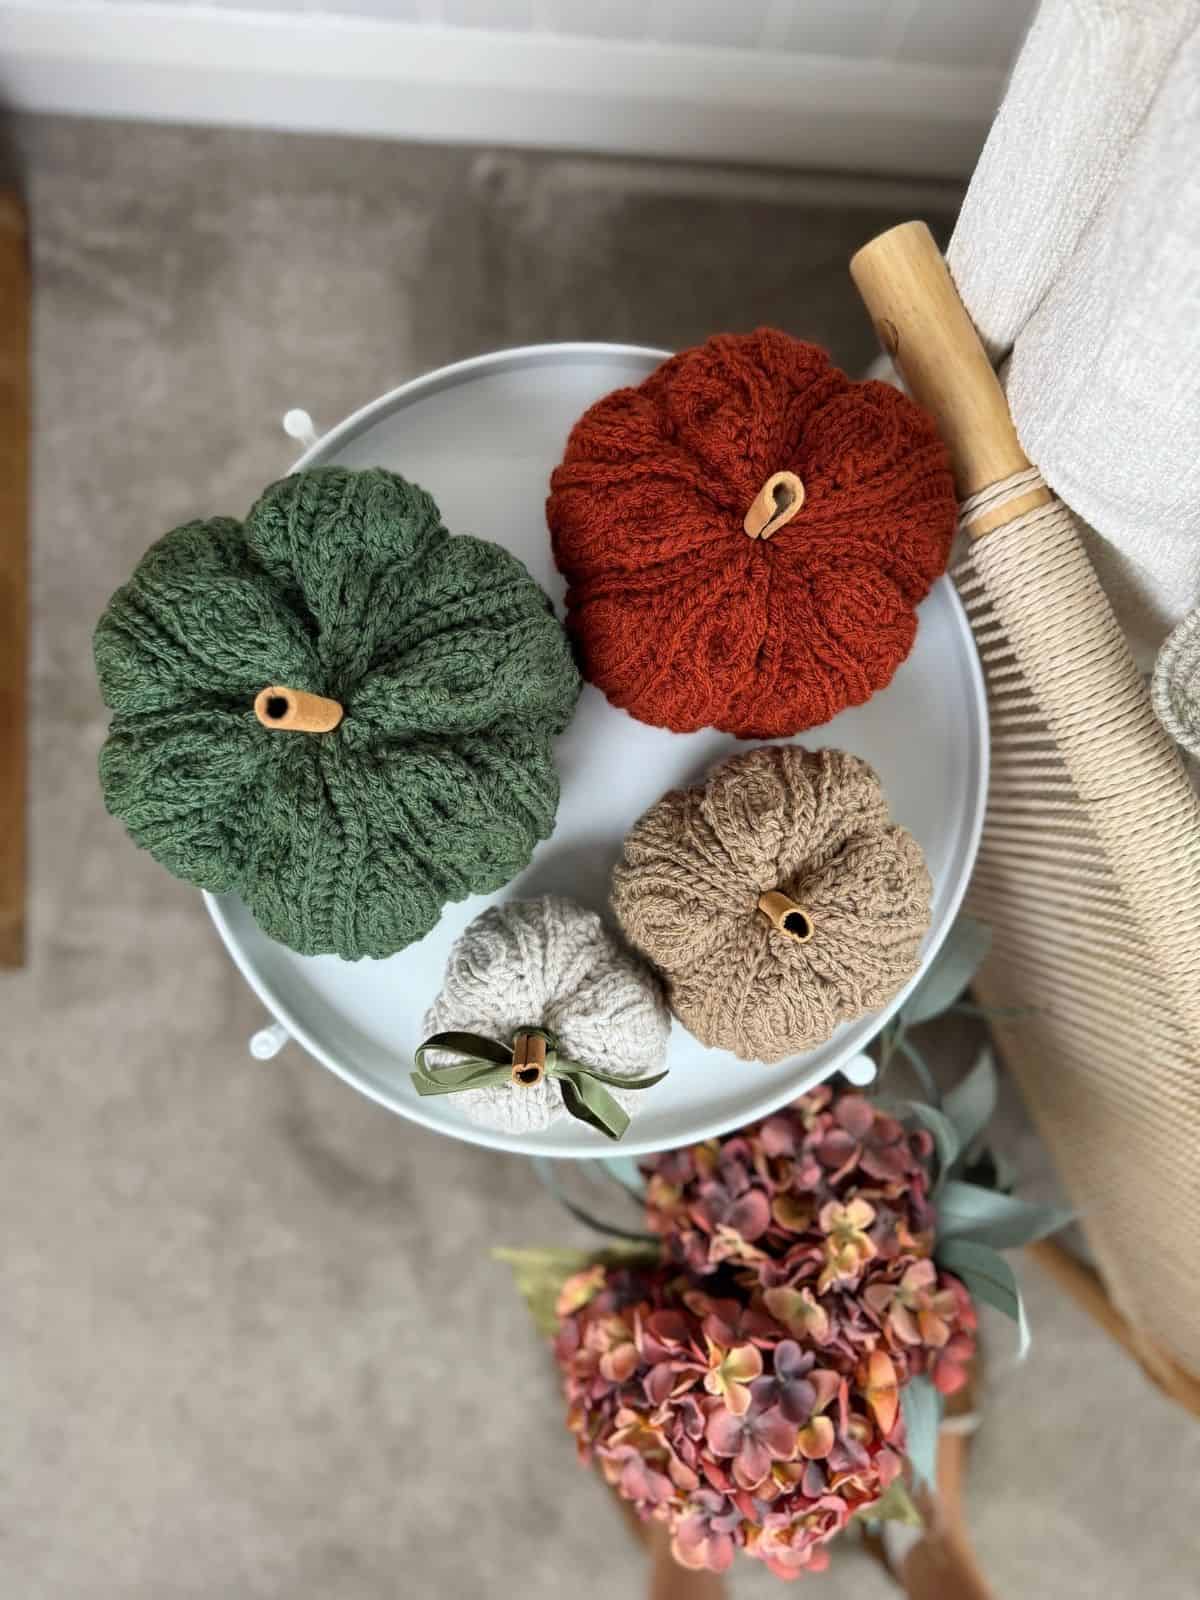
Hannah’s Notes: Add a touch of autumn elegance with these stacking crochet pumpkins! Featuring a beautifully textured faux cable stitch, they’re simple to make yet striking to display. Stack them together for a stunning centrepiece or scatter them around your home for cozy seasonal charm.
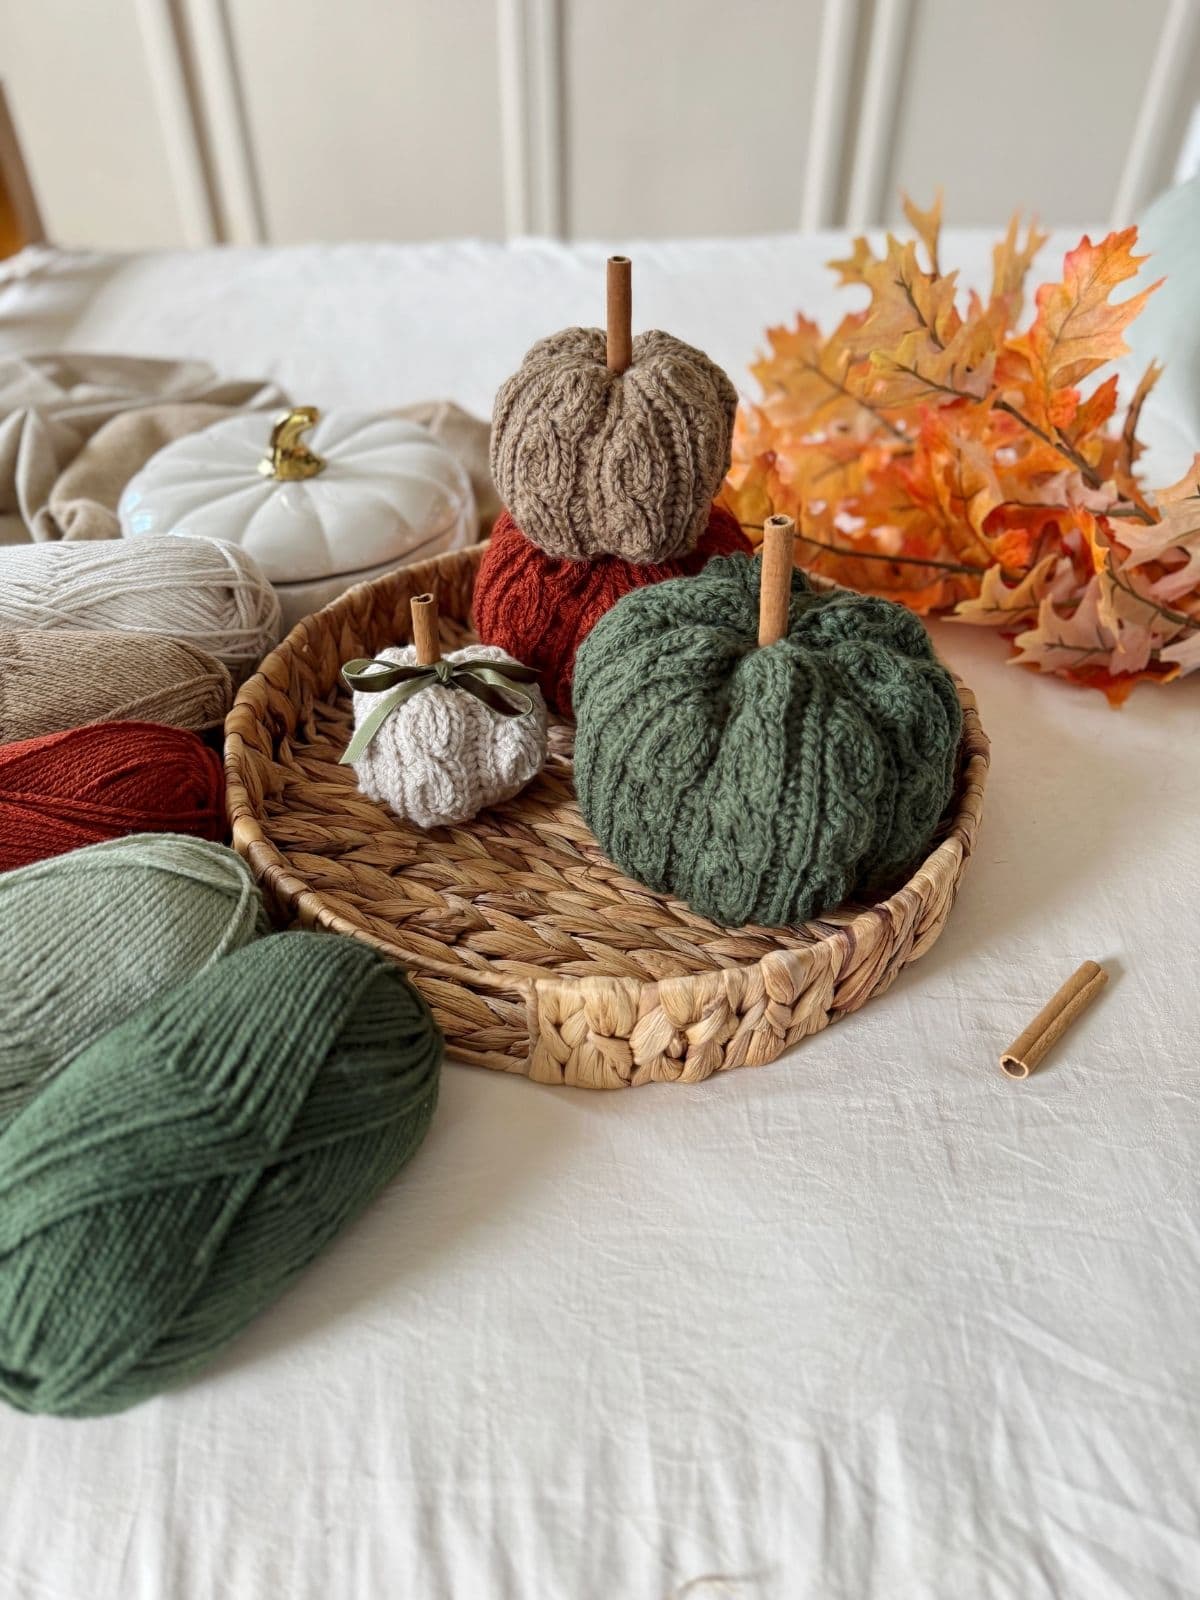
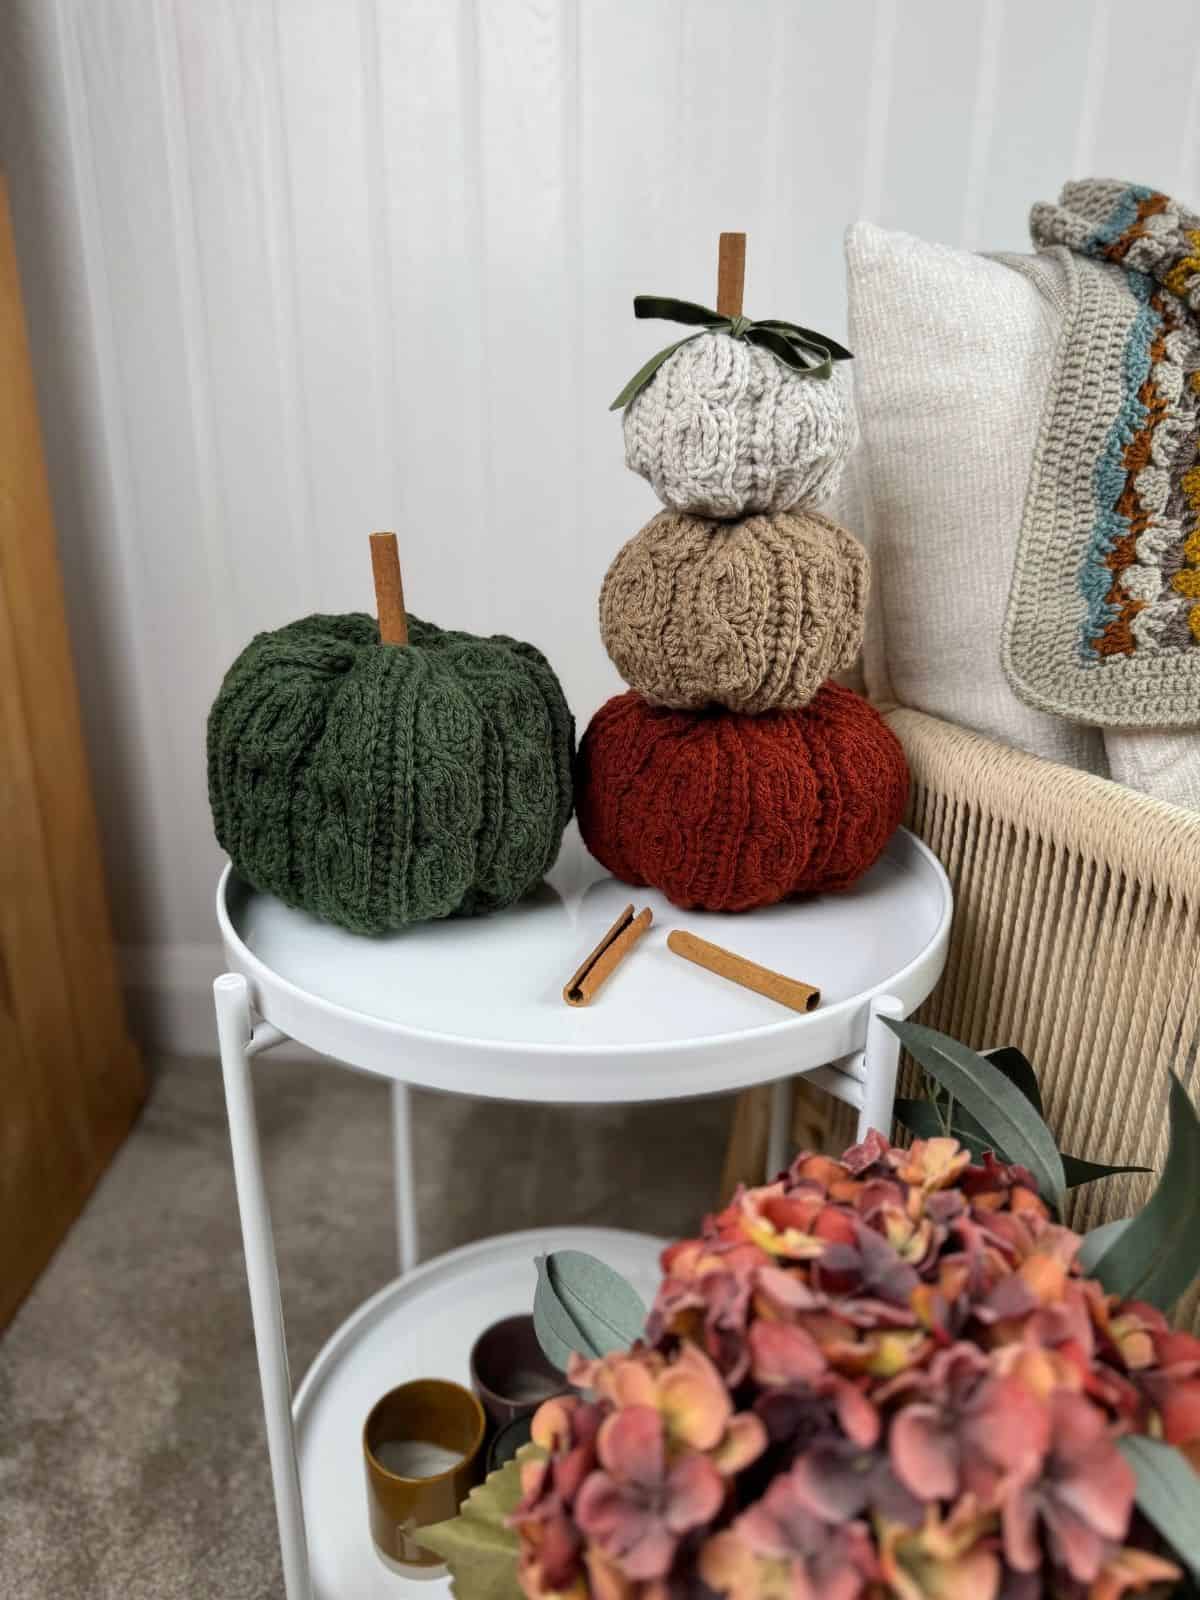
I’m super excited for pumpkin season! And I know that you can never have too many crochet pumpkins, right!? The Deirdra Pumpkins are perfect for adding textured autumn charm to your seasonal décor, whether you prefer them stacked or next to each other.
The textured, knit-look stitch pattern adds such a rustic, cosy vibe! Plus it’s a great quick, perfect as a stash buster.
It’s part of a collection of short row crochet patterns using this short row technique that looks super tricky but is in fact easy to master.
In this post you’ll find everything you need to know how to crochet a pumpkin including materials, stitches, a detailed video tutorial and free written pattern for blog subscribers.
Table of Contents
Textured Crochet Pumpkin Pattern
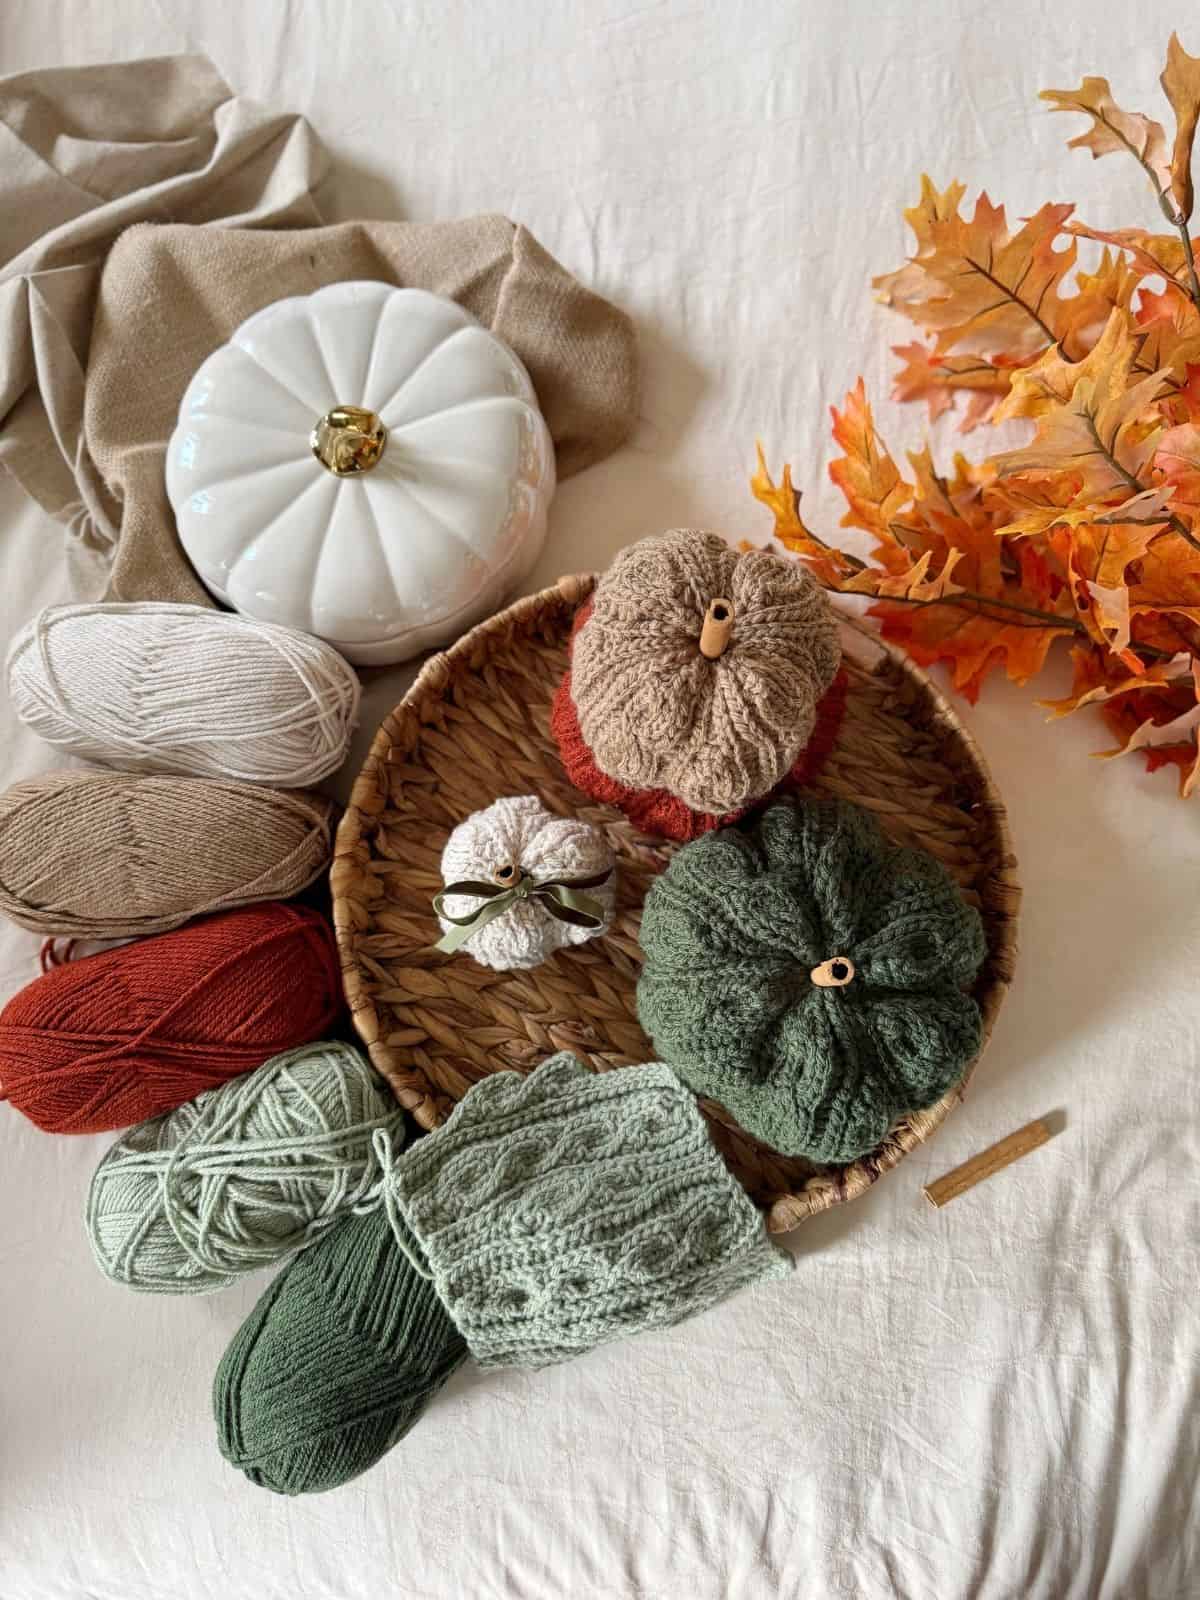
Here are the shades names I have used:
A: Cottonwood, B: Warm Brown, C: Russet, D: Medium Taupe, E: Mid Green, F: Deep Green.
Yarn Quantities
Sizes: Small (Medium, Large, X Large).
To make your crochet pumpkin stack, you will need approx. 92 (119, 150, 185) m, 100 (130, 160, 200) yards of yarn.
This is 1 (1, 1, 2) balls of the recommended yarn.
Yarn Substitutions
You can use any yarn that you like bearing in mind that you need to make sure you meet the gauge. Some other great options are:
- Herrschners Worsted 8, 100% Acrylic (489yds/448m/226g)
- Brava Worsted by WeCrochet, 100% Premium Acrylic (218yds/200m/100g)
- Premier Anti-Pilling Worsted, 100% Acrylic (180yds/165m/100g)
Check our handy yarn weight chart and guide to find out more about yarn weights and categories.
Crochet Hook and Notions
- A 5mm(H) crochet hook or hook needed to meet gauge
- Scissors
- Tapestry needle
- Stitch markers
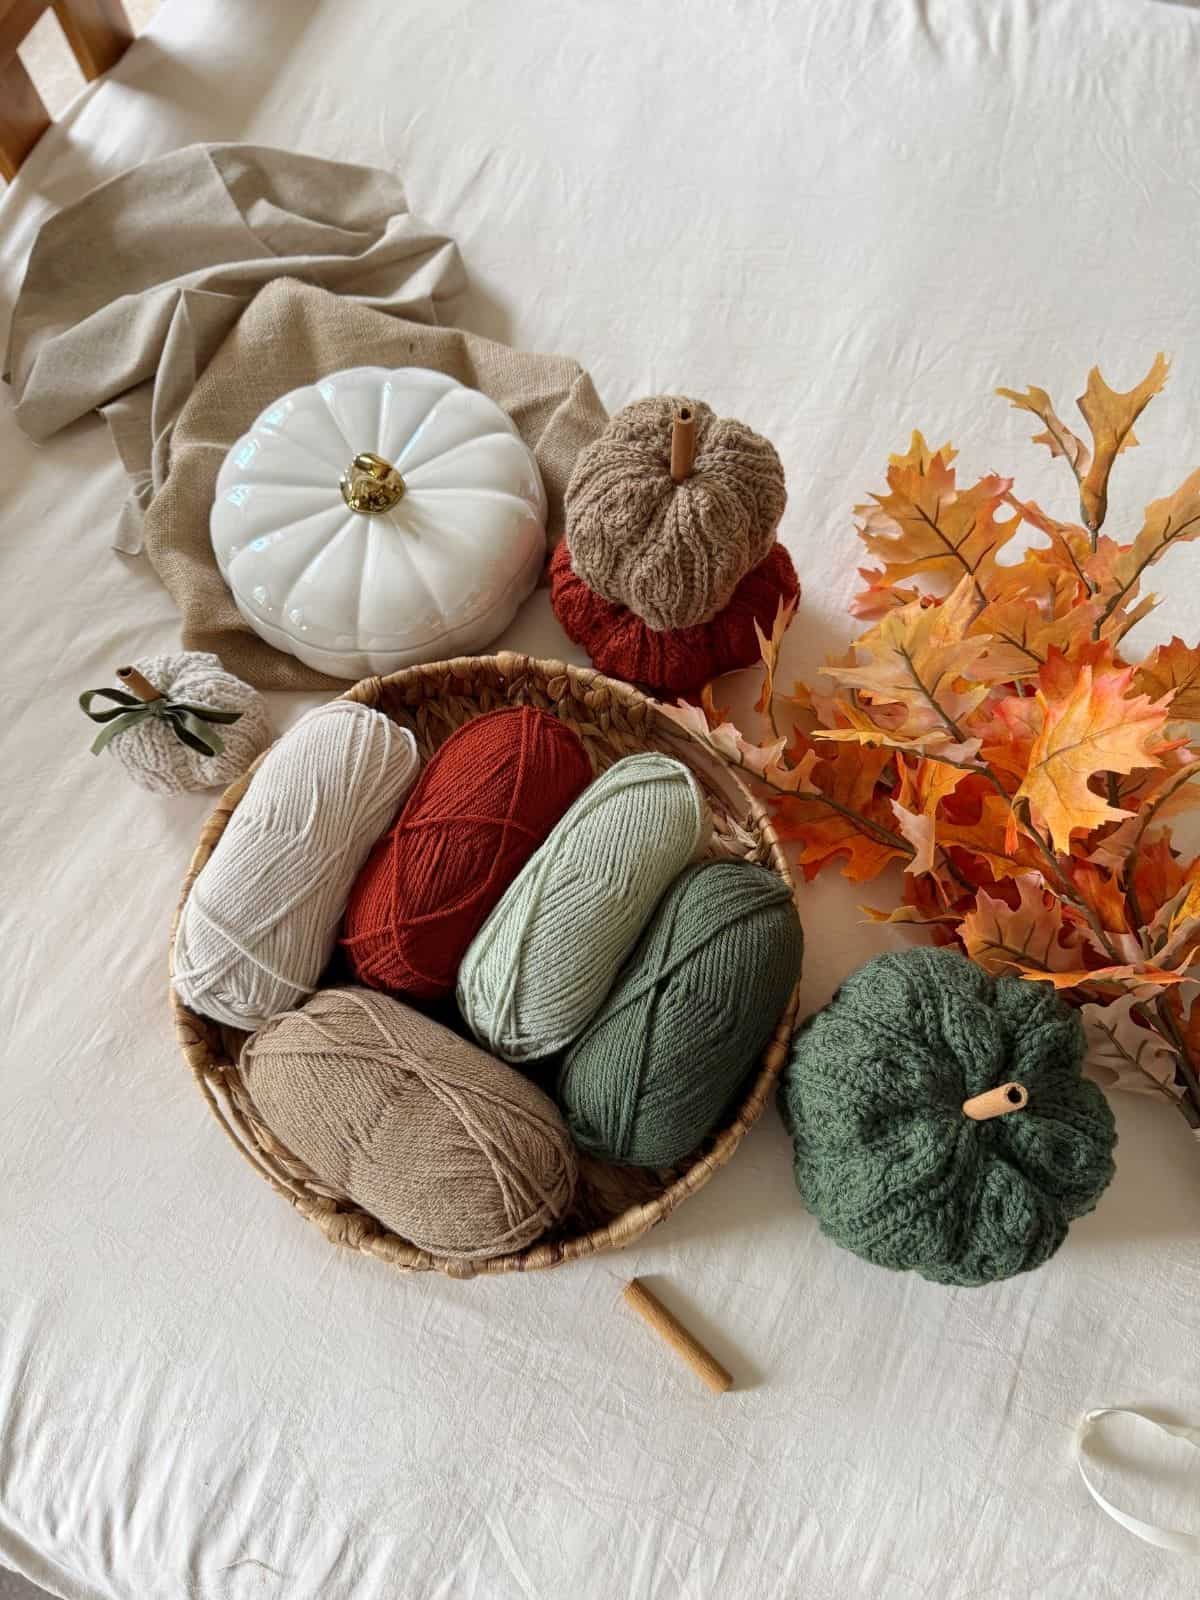
Things you’ll love about this textured crochet pumpkin pattern
Skill Level
Intermediate
Crochet Pumpkin Stack Construction
- The pumpkins are made from the side across in turned rows.
- Each row uses hdc and yo slst stitches for the Faux Cable Pattern and slip stitches for the shaping too.
- We continue to work turned rows until the project measures the circumference needed for the finished pumpkin.
- The first and last rows are then seamed together.
- We then add 2 rounds of single crochet for the base.
- The top is then seamed together and indents made to finish.
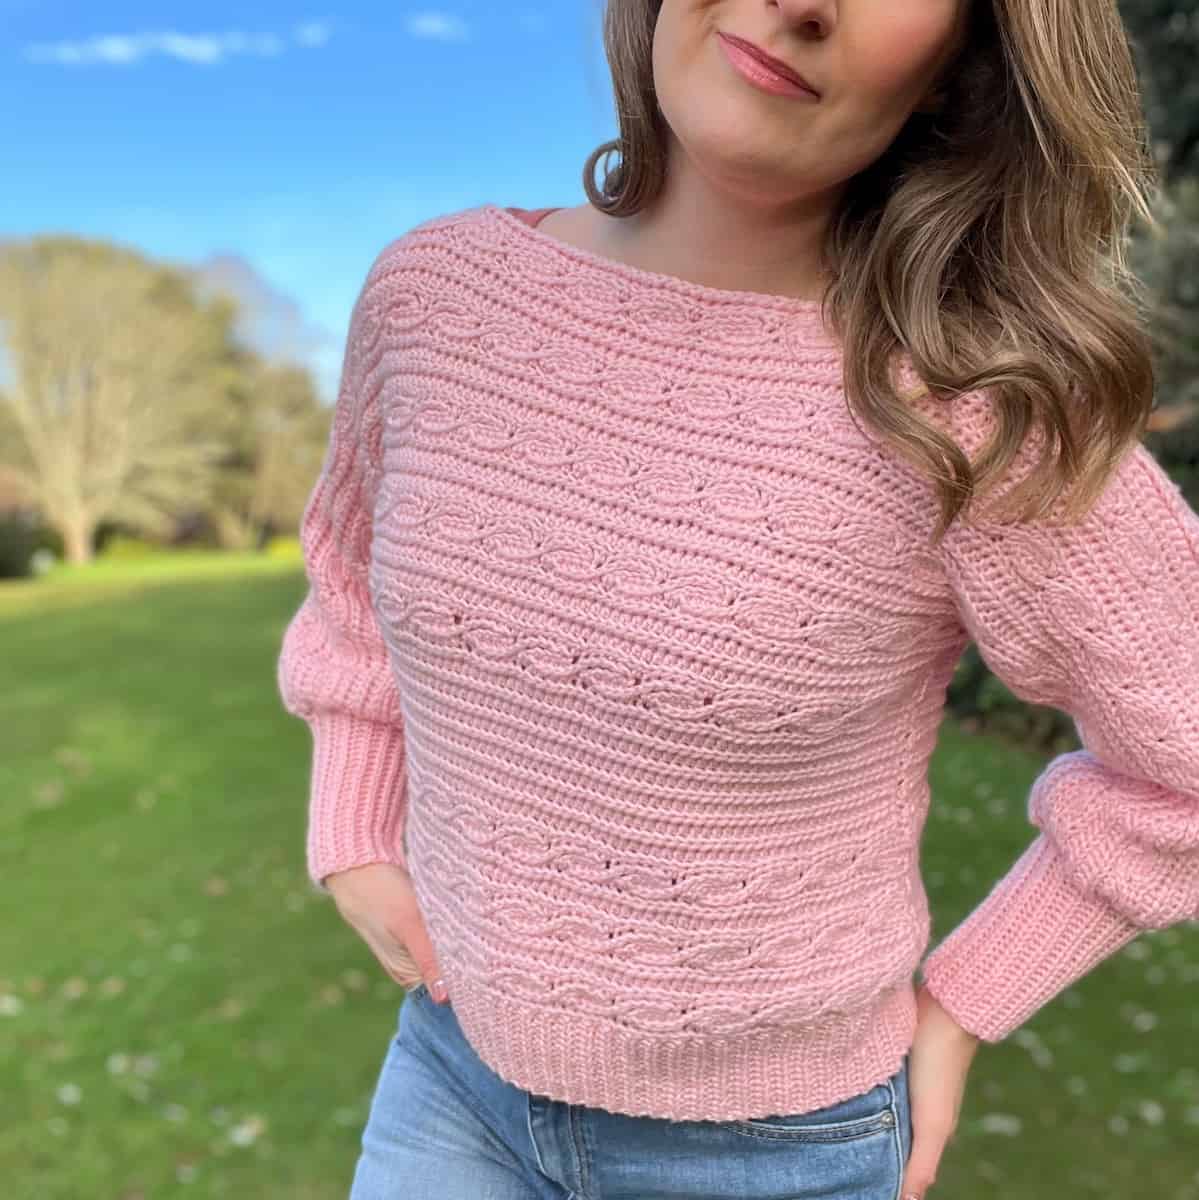
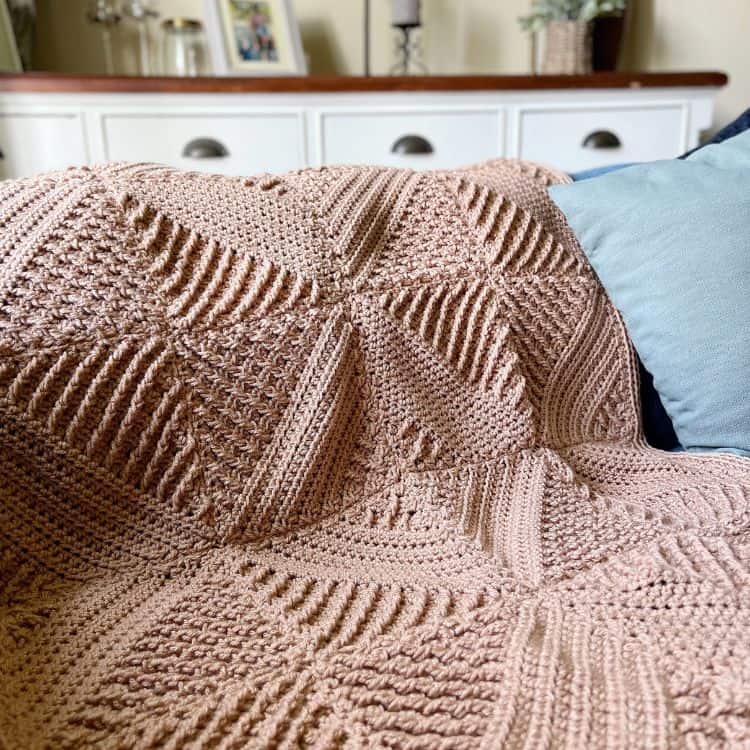
This mini pumpkin crochet pattern features the same stunning faux cable pattern as the Deidra Sweater – a crochet crop sweater pattern free on the blog.
Plus there’s also a new headband, mitts and poncho, all featuring the same stunning stitch pattern!
Size
Small (Medium, Large, X Large)
Circumference: 12 (15.5, 19, 22.5) inches
Height: 4 (5, 6, 7) inches
Gauge
16 sts and 10 rows of Faux Cable Set Pattern = 4″ by 4″
How to Crochet a Gauge Swatch
Making a crochet gauge swatch is particularly important when crocheting projects (and even more so for garments) to ensure that it ends up the desired size. It will help you practice your stitches and make sure your drape is perfect too.
Adjust your hook size to get your swatch as close to the gauge measurements as you can.
Glossary and Abbreviations
beg – beginning
blo – back loop only
ch(s) – chain(s)
ch-sp(s) – chain space(s)
rep – repeat
RS – right side
sp – space
st(s) – stitch(es)
WS – wrong side
Yoh – yarn over hook
Yo slst – yarn over slip stitch
Stitches
The pattern is written in standard US terms and uses the following crochet stitches:
ss – slip stitch
sc – single crochet (UK dc – double crochet)
hdc – half double crochet (UK htr – half treble crochet)
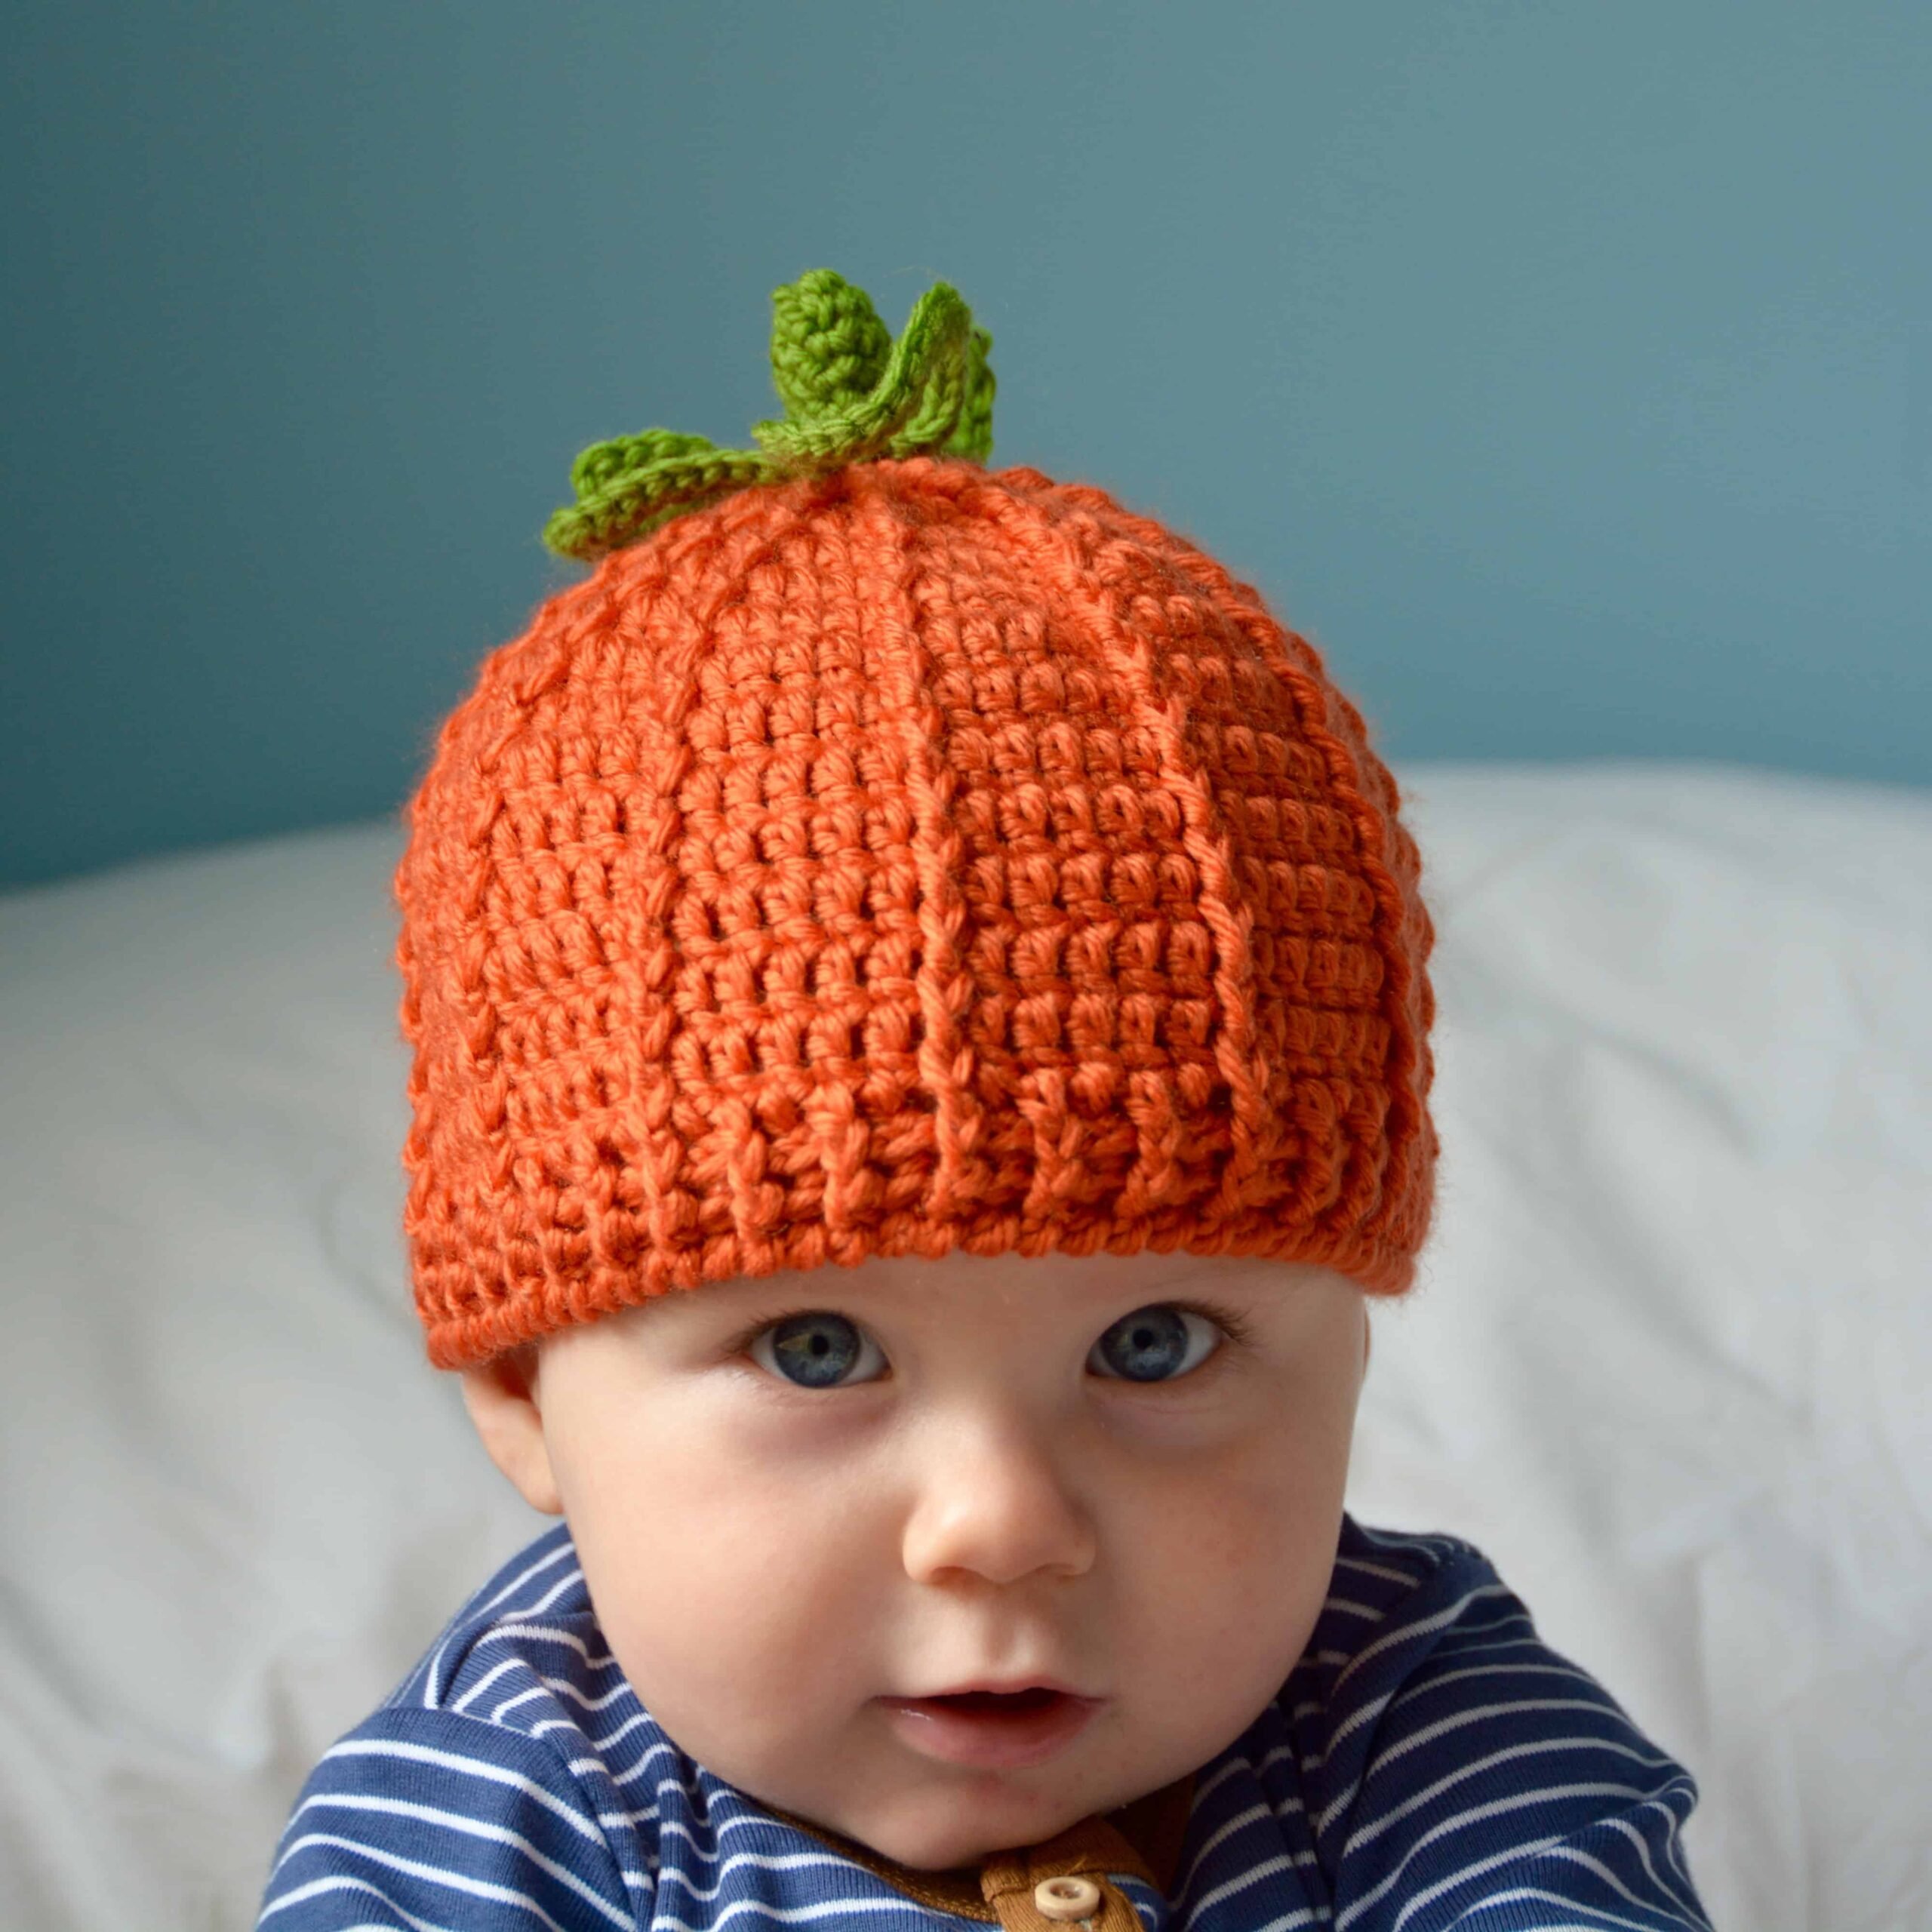
If you love this season as much as I do then make sure to check out my pumpkin beanie hat pattern too!
It comes in sizes baby to adult so the whole family can have one!
Special Stitches
3rd loop
Extra loop created on hdc or Exhdc from the yarn over. When working in rows this will be the first loop you come to when looking at the stitch.
Yo slst – Yarn over slip stitch
Yoh, insert your hook, yoh and pull through stitch and all loops on the hook.
hdc2tog – half double crochet 2 together
Yoh, insert your hook, yoh and pull through stitch, yoh, insert your hook into next stitch, yoh and pull through stitch, yoh and pull through all loops on the hook.
Before you jump into crocheting your crochet pumpkin pattern free, take a moment to read through the pattern notes—it’s a game-changer!
These handy insights will not only simplify your pattern-reading journey but also ensure a smoother crochet experience. You’ll find helpful tips on deciphering the sizing, customisation and more.
Trust me, a quick peek at these notes will set you up for crochet success!
- The pattern is worked in flat turned rows.
- Turn the work at the end of each row.
- A ch1 at the beginning of a row does not count as a stitch.
- Read through the entire pattern before beginning.
- Before you start, go through the pattern and highlight/mark the stitch and row counts that correspond to the size you are making (this will make your life much easier!).
- Make sure that you are familiar with all of the stitches in the abbreviations list before you begin.
- Stitch counts are given in [ ] at the end of each row. If no stitch count is given, then the count is the same as the previous row.
- The pattern is written in full for the Small size and then Medium (Large, X Large).
Video Tutorial
Follow Along to Find Out How to Make a Crochet Pumpkin Stack – play right here on the site below or visit YouTube:
Join our community group!
We’ve built an amazing community always ready to help each other. Join today!
Making Your Crochet Pumpkin Pattern Perfect For You
If you would like to adjust the circumference of your pumpkin you can work as many or as few repeats of the Faux Cable Stitch as you like before joining the first and last Row together.
If you would like to adjust the height of your pumpkin then add or subtract any multiple of 6 stitches from your Foundation Chain in the pattern. When working the pattern keep your slip stitches and ribbing at each end as per the pattern and adjust the rest according to the number of stitches you choose to work.
How to Crochet a Pumpkin
There are a few options for you to access and enjoy this crochet pattern:
- View the free pattern on the blog – all blog subscribers will be able to view the patterns supported by ads by logging into their Grow account.
- Purchase the individual pattern on Etsy or Ravelry as a beautifully formatted PDF with extra stitch charts, schematic and colour information page and more!
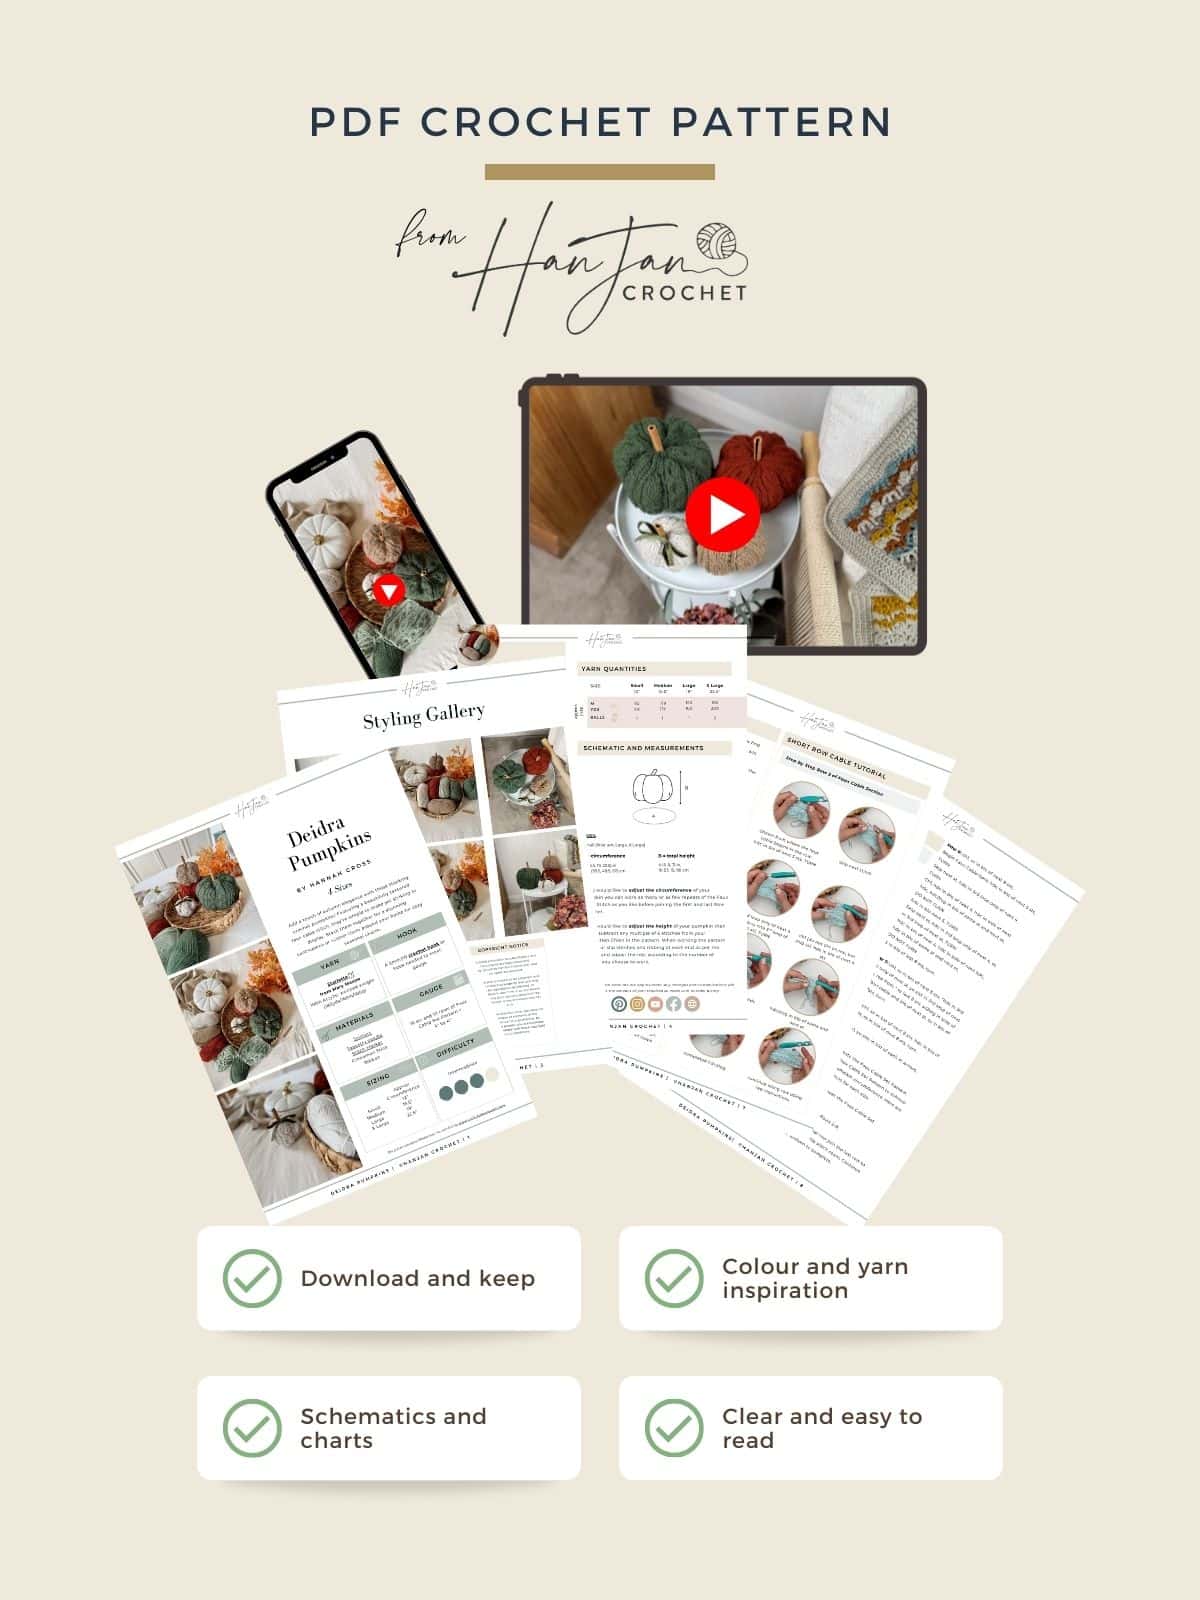
Get this pattern ad free
Get the PDF Pattern!
Perfect to print out or use on any device, with added schematic and charts, colour inspiration and stitch tutorials.
Crochet Pattern Free for Blog Subscribers to View
US Terminology
To unlock Exclusive Content on the HanJan Crochet Blog, all you need to do is click the box below and the Grow.me app will pop up, allowing you to enter your email and create a password.
Once you’ve created an account, every time you see Exclusive Content on my blog (or any others that use Grow), simply login to your Grow account. Be sure to switch to the login screen to enter your login credentials.
If you forget your password, click the “forgot password” link and follow the prompts. Please note that I’m unable to assist with resetting Grow passwords or accessing your Grow account, so be sure to save your login information in a safe place.
Thank you for subscribing and for joining me at HanJan Crochet! I hope you enjoy the exclusive content available on the site and I can’t wait to see what you create 🙂
Begin Faux Cable here: hdc in blo of next 5 sts, TURN
Skip next st, hdc in 3rd loop only of next 4, TURN
Ch1, hdc in blo of next 4, hdc in side of next hdc, hdc2tog in blo of same st and next st,
DO NOT TURN
ss in blo of last 8 sts, turn.
Row 7: ch1, ss in blo of next 8 sts, *hdc in 3rd loop only of next st, yo slst in 3rd loop of next 5 sts; rep from * to last 8 sts, ss2tog in side of first faux cable and blo of next st, ss in blo of next 7sts, turn.
Row 8: ch1, ss in blo of next 8 sts, hdc in blo of next 6 sts, ss in blo of next 8 sts, turn.
Row 9: ch1, yo slst in blo of each st across, turn.
Rows 2-9 create the Faux Cable Set Pattern.
Repeat the Faux Cable Set Pattern to achieve the desired pumpkin circumference. Here are some suggestions for each size:
Rows 10-17: Repeat the Faux Cable Set Pattern.
Rows 18 – 24: Rep Rows 2-8.
At the end of the final row join the last row to the first row with a slip stitch seam. Continue to Decrease Bottom to complete.
Join our community group!
We’ve built an amazing community always ready to help each other. Join today!
Sizes Medium (Large, X Large) Only
Foundation ch: Ch 29 (35, 41) ( or any multiple of 6+5 for the height of the pumpkin).
Row 1: yo slst in 2nd ch from hook and each to end. [28 (34, 40)]
Row 2: RS: ch1, hdc in blo of next 2 sts,
Begin Faux Cable here: hdc in blo of next 5 sts, TURN
Skip next st, hdc in 3rd loop only of next 4, TURN
Ch1, hdc in blo of next 4, hdc in side of next hdc, hdc2tog in blo of same st and next st,
DO NOT TURN
*hdc in blo next 5, TURN
Skip next st, hdc in 3rd loop only of next 4, ss in 3rd loop of next st, TURN
hdc in blo of next 4, hdc in side of next hdc, hdc in blo of same st and next st,
DO NOT TURN
Repeat from * to last 2 sts, ss in blo of last 2 sts, turn.
Row 3: ch1, hdc in blo of next 2 sts, *hdc in 3rd loop only of next st, yo slst in 3rd loop of next 5 sts; rep from * to last 2 sts, hdc2tog in side of first faux cable and blo of next st, hdc in blo of next st, turn.

The stitch is also used in this Short Row Crochet Hat Pattern that is perfect to try too!
Sized from newborn to large adult, it’s a graceful addition to any wardrobe.
Row 4: ch1, hdc in blo of each st across, turn.
Row 5: ch1, yo slst in blo of each st across, turn.
Row 6: ch1, ss in blo of next 8 sts,
Begin Faux Cable here: hdc in blo of next 5 sts, TURN
Skip next st, hdc in 3rd loop only of next 4, TURN
Ch1, hdc in blo of next 4, hdc in side of next hdc, hdc2tog in blo of same st and next st,
DO NOT TURN
*hdc in blo next 5, TURN
Skip next st, hdc in 3rd loop only of next 4, ss in 3rd loop of next st, TURN
hdc in blo of next 4, hdc in side of next hdc, hdc in blo of same st and next st,
DO NOT TURN
Repeat from * to last 8 sts, ss in blo of last 8 sts, turn.
Row 7: ch1, ss in blo of next 8 sts, *hdc in 3rd loop only of next st, yo slst in 3rd loop of next 5 sts; rep from * to last 8 sts, ss2tog in side of first faux cable and blo of next st, ss in blo of next 7sts, turn.
Row 8: ch1, ss in blo of next 8 sts, hdc in blo of next 12 (18, 24) sts, ss in blo of next 8 sts, turn.
Row 9: ch1, yo slst in blo of each st across, turn.
Rows 2-9 create the Faux Cable Set Pattern.
Repeat the Faux Cable Set Pattern to achieve the desired pumpkin circumference. Here are some suggestions for each size:
Rows 10-25 (33, 41): Repeat the Faux Cable Set Pattern.
Rows 26 (34, 42) – 32 (40, 48): Rep Rows 2-8.
At the end of the final row join the last row to the first row with a slip stitch seam. Continue to Decrease Bottom to complete.
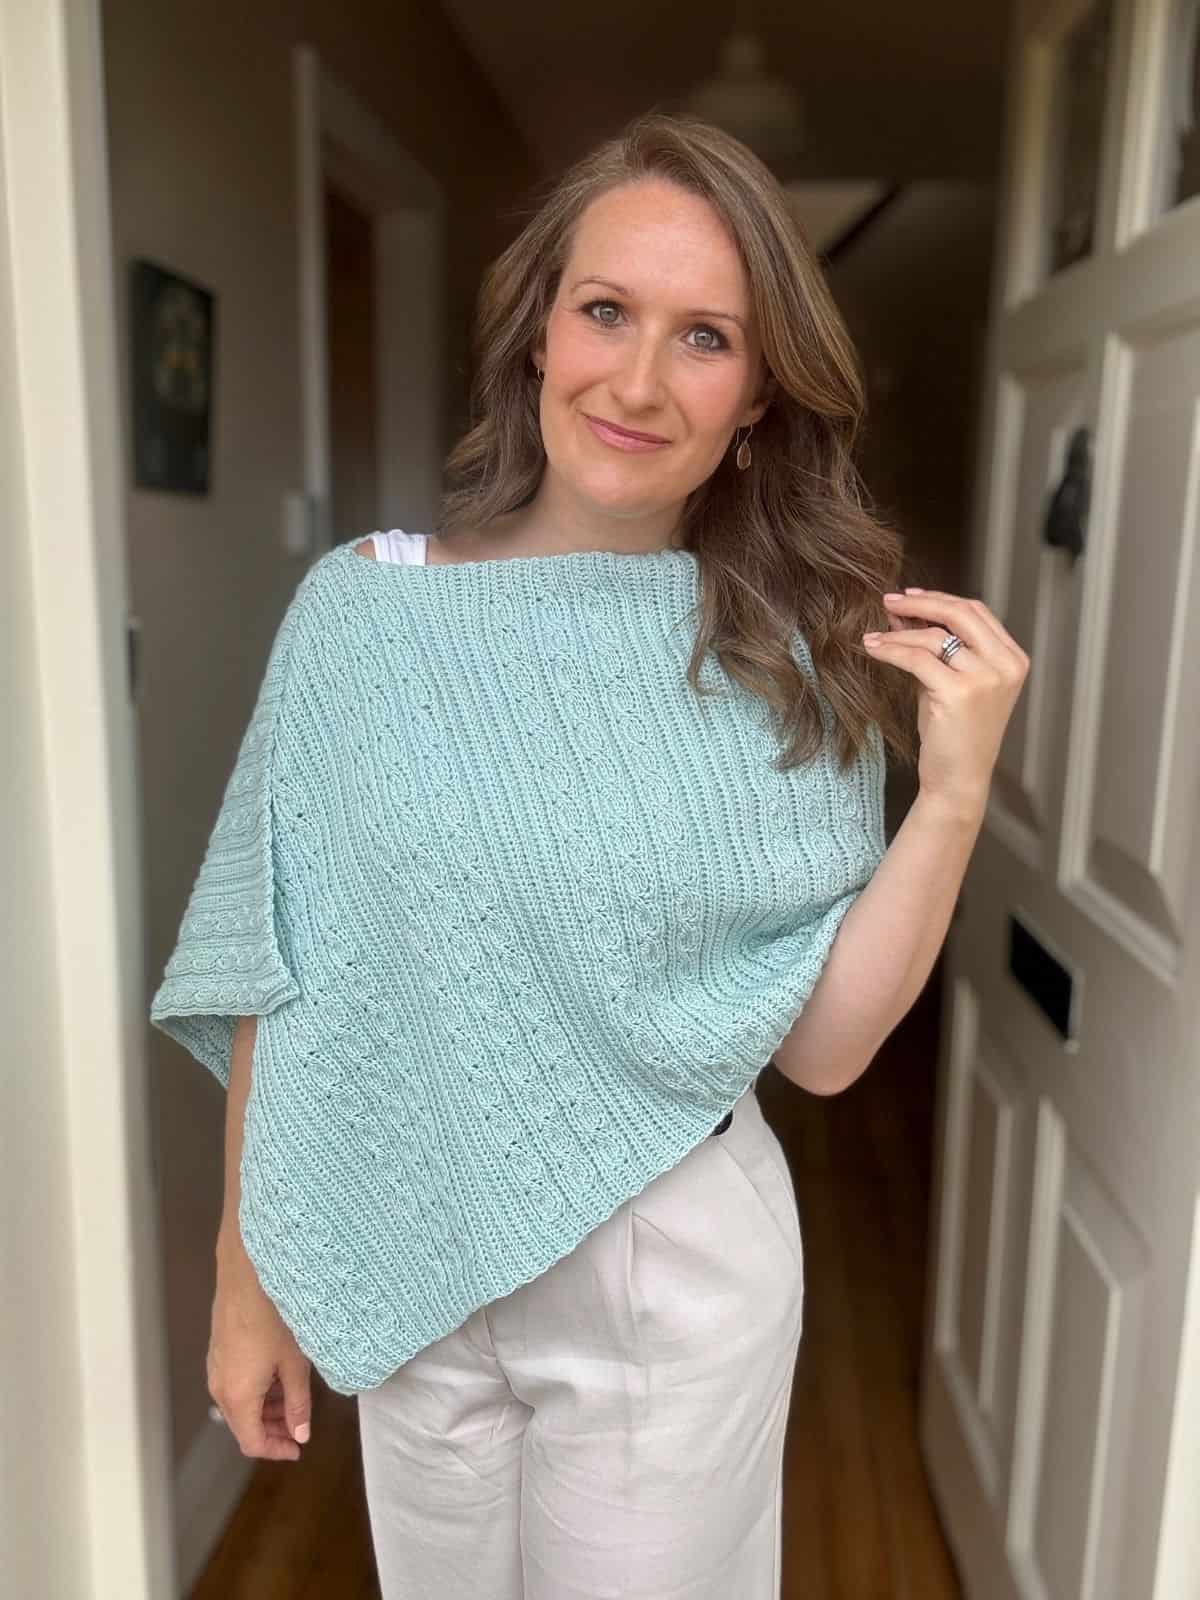
Loving the stitch?! How about making this glorious rectangle poncho crochet pattern to match?!
In adult sizes XS to 5XL with endless ways to wear and style it 🙂
All Sizes: Small (Medium, Large, X Large)
DECREASE BOTTOM
With WS still facing work in continuous rounds around the edges of the rows now to decrease the base of the pumpkin.
Round 1: sc in every other row end around [12 (16, 20, 24)]
Round 2: sc2tog around, ss in 1st st to join. [6 (8, 10, 12)]
Break yarn leaving a tail for seaming. With yarn needle, weave through each st around, pull closed and weave in ends.
CLOSE TOP
Turn to RS facing out now and stuff the pumpkin from the top with your choice of stuffing.
Once full, with a long length of yarn (enough for seaming the top and making indents) on the yarn needle, weave through the side of the rows at the top, pull closed, leaving an opening for a cinnamon stick (if desired) before continuing to create indents.
ADD INDENTS
For the indents you can use the yarn on the needle to weave through the stitches of whichever rows you like working from the top to the bottom of the pumpkin and then back up again.
I positioned mine on the repeat of Row 4 of each pumpkin but you can place them wherever you like.
Once the indents are complete, weave in ends to finish and add a cinnamon stick if desired.
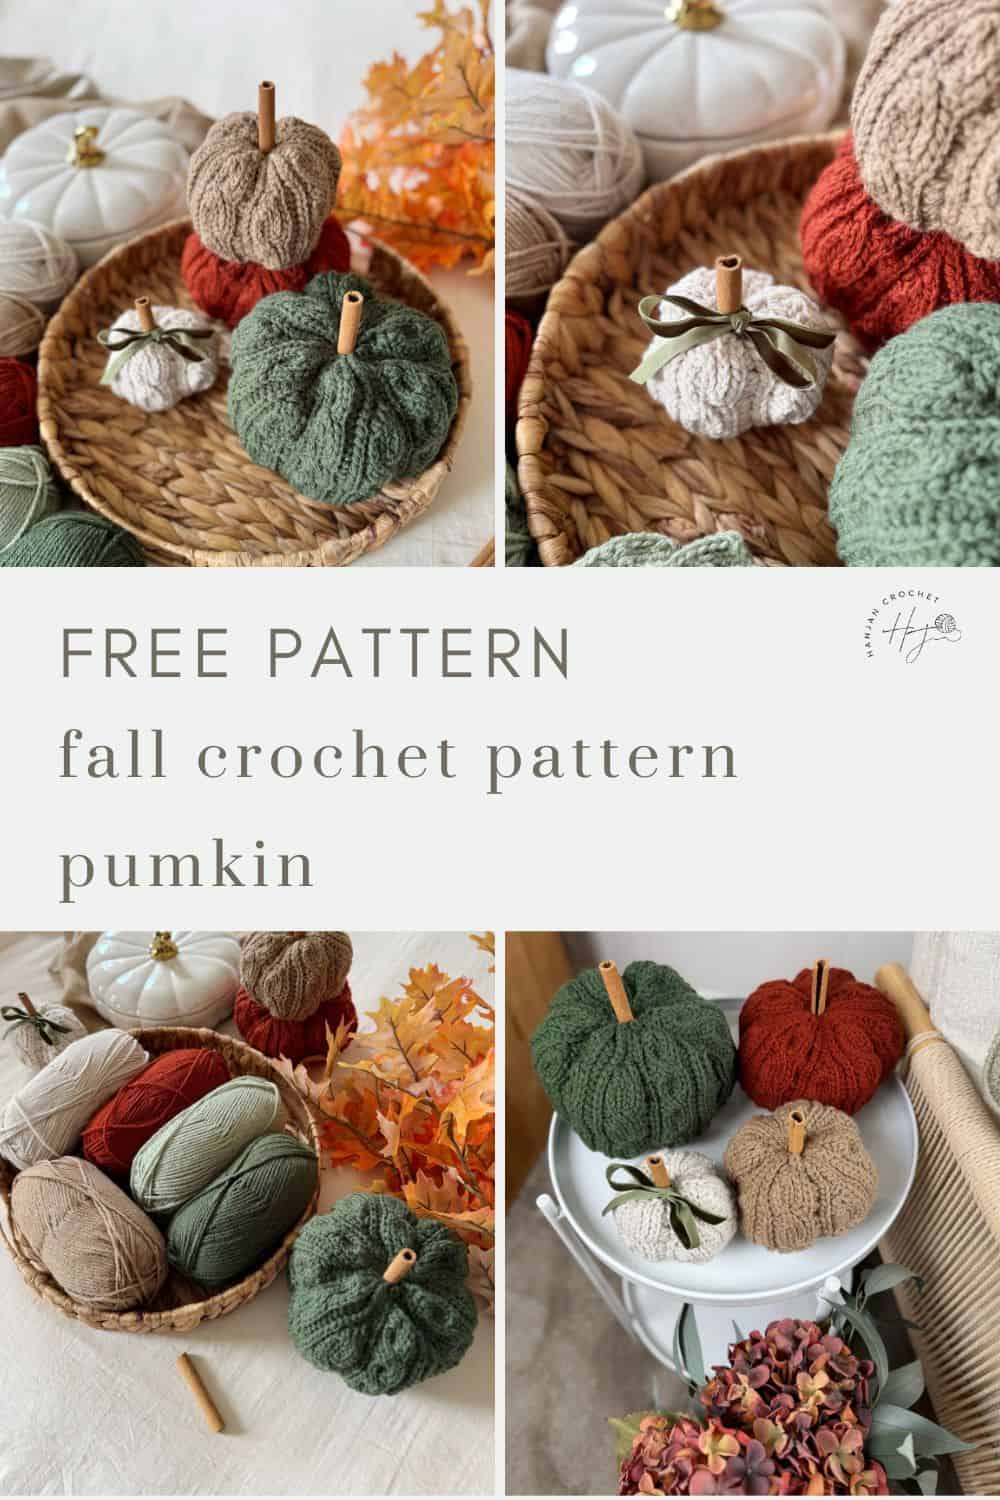
Don’t forget to join HanJan Crochet to receive regular discount codes (and more free patterns!) and Pin this cute pumpkin crochet pattern to your crochet Pinterest board!
Copyright Notice
The Deidra Pumpkin Crochet Pattern and its contents are fully owned and copyrighted by HanJan Crochet Ltd., and all rights are reserved.
This pattern is protected by copyright and other intellectual property laws and may not be reproduced, distributed, or transmitted in any form or by any means without the prior written consent of the author (Hannah Cross of HanJan Crochet Ltd).
Unauthorised distribution or reproduction of this pattern or elements of the instructions is strictly prohibited. The free to view crochet pattern is intended for personal viewing only. By accessing this pattern, you acknowledge and agree to comply with these copyright terms and conditions.
Pattern Support
I am delighted to invite you to join the HanJan Crochet Community Facebook Group where we host all pattern support queries and love to see your progress, yarn choices and finished projects!

Get your free guide!
Subscribe to get your free guide to choosing and combining colours!
Purchase and Print
Get the ad-free, printable PDF with added stitch chart and schematic in my pattern stores:

More Crochet Home Decor Patterns You Might Enjoy
If you’ve enjoyed making this large pumpkin crochet pattern, then why not try a few more? Here’s are 4 other designs that you might like:
- Crochet napkin ring pattern – elegant and stylish, with a pop of texture
- Another crochet pumpkins pattern – featuring tweed yarn, easy stitches, with a stalk, leaf and twirls on top
- Modern crochet wall hanging – with a boho yet modern feel
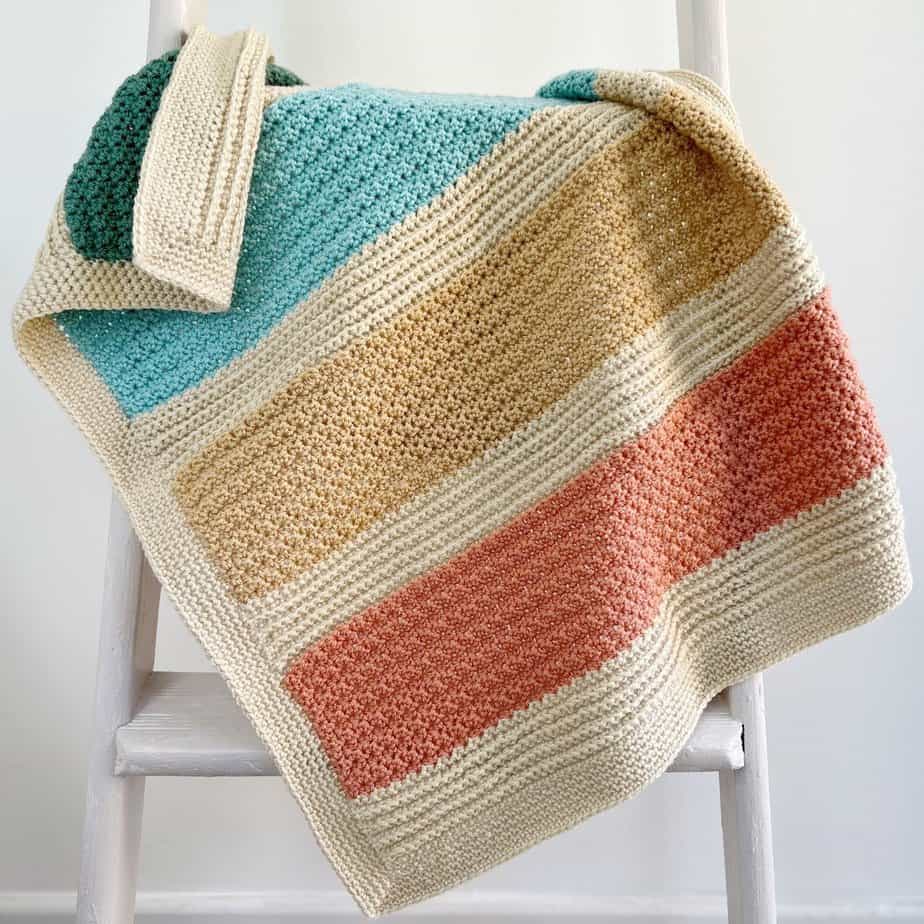
- Thick crochet blanket pattern – perfect for snuggling up and admiring your crochet pumpkin stack!
Or if you’re after something more Halloween themed, why not try making the Pumpkin Beanie, an absolute must have whatever age you are!
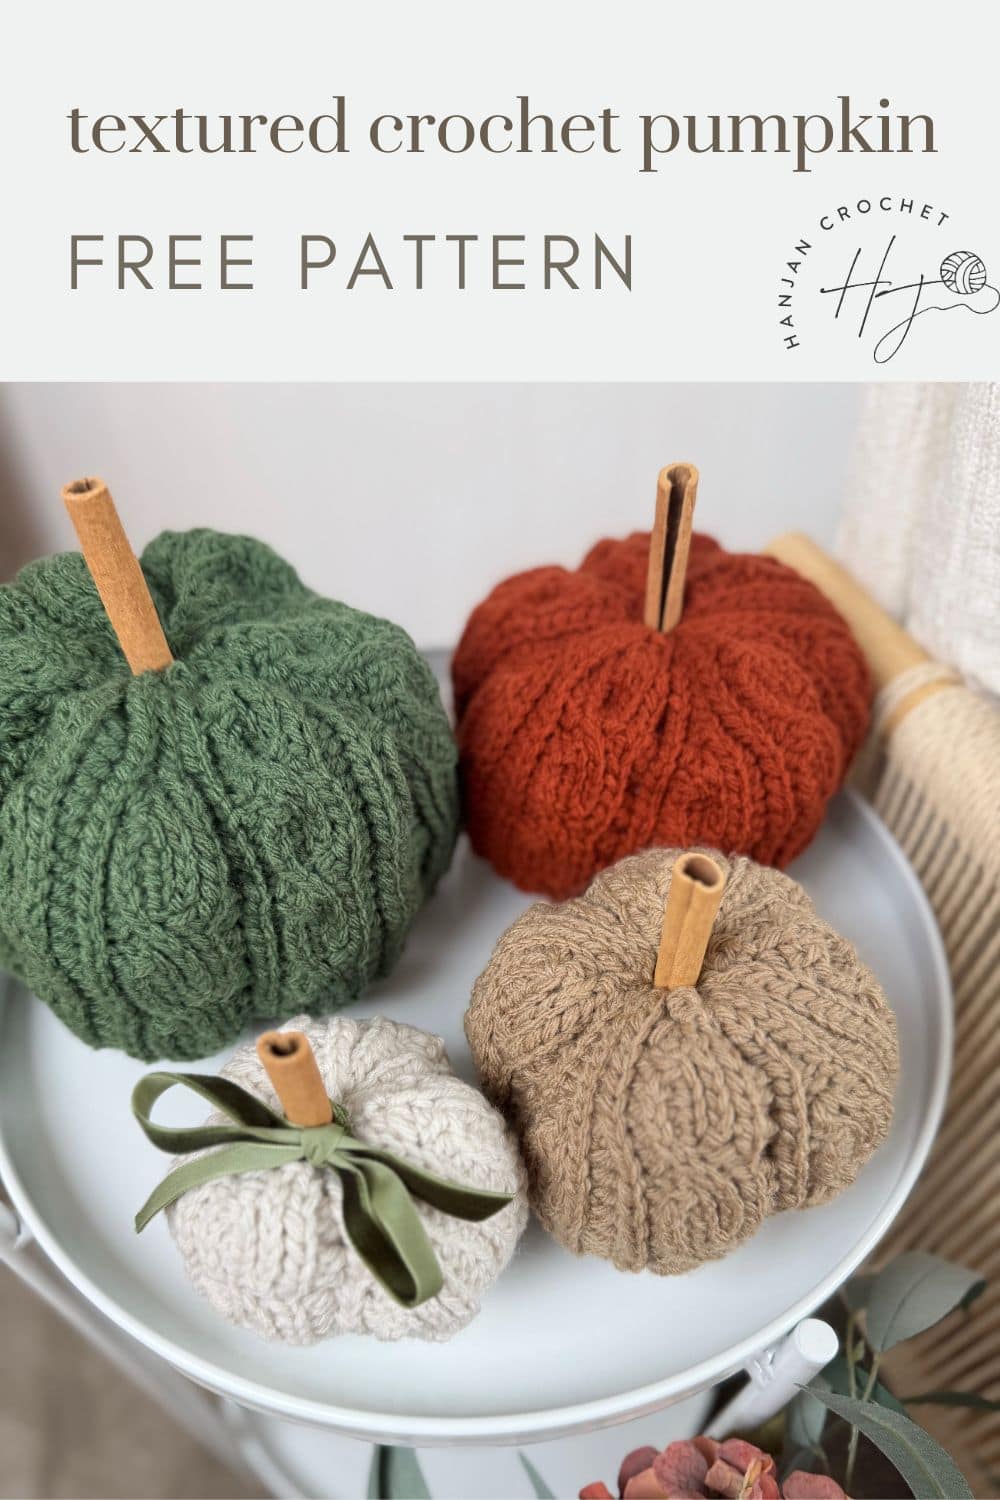
Congratulations on crocheting your very own crochet pumpkins! 🌟 Now that you’ve crafted this fun project, why stop here? Dive into my other fall crochet patterns, each waiting to be transformed into your next crochet masterpiece.
Join HanJan and Share Your Crochet With Us!
I’d love to hear from you and see your HanJan Crochet project! Here’s where you can do that:
📌 PIN THIS POST – save it to your Pinterest crochet board so you can come back to it again and make more!
↗️ SHARE – Share your yarn choices, progress pics, and finished projects on Facebook or Instagram (make sure to use the hashtag) #hanjancrochet
🧶 JOIN – Join thousands of amazing crafters in the HanJan Crochet Community Group on Facebook ready to cheer you on!
✉️📩📬 SUBSCRIBE – It’s an honour to be able to create and share my free crochet patterns with you. I’d love to stay connected and send you regular discount codes and free patterns! Please sign up for my subscriber list to get a free gift right now!
