This post may contain affiliate links. Please see my full disclosure and privacy policy for details.
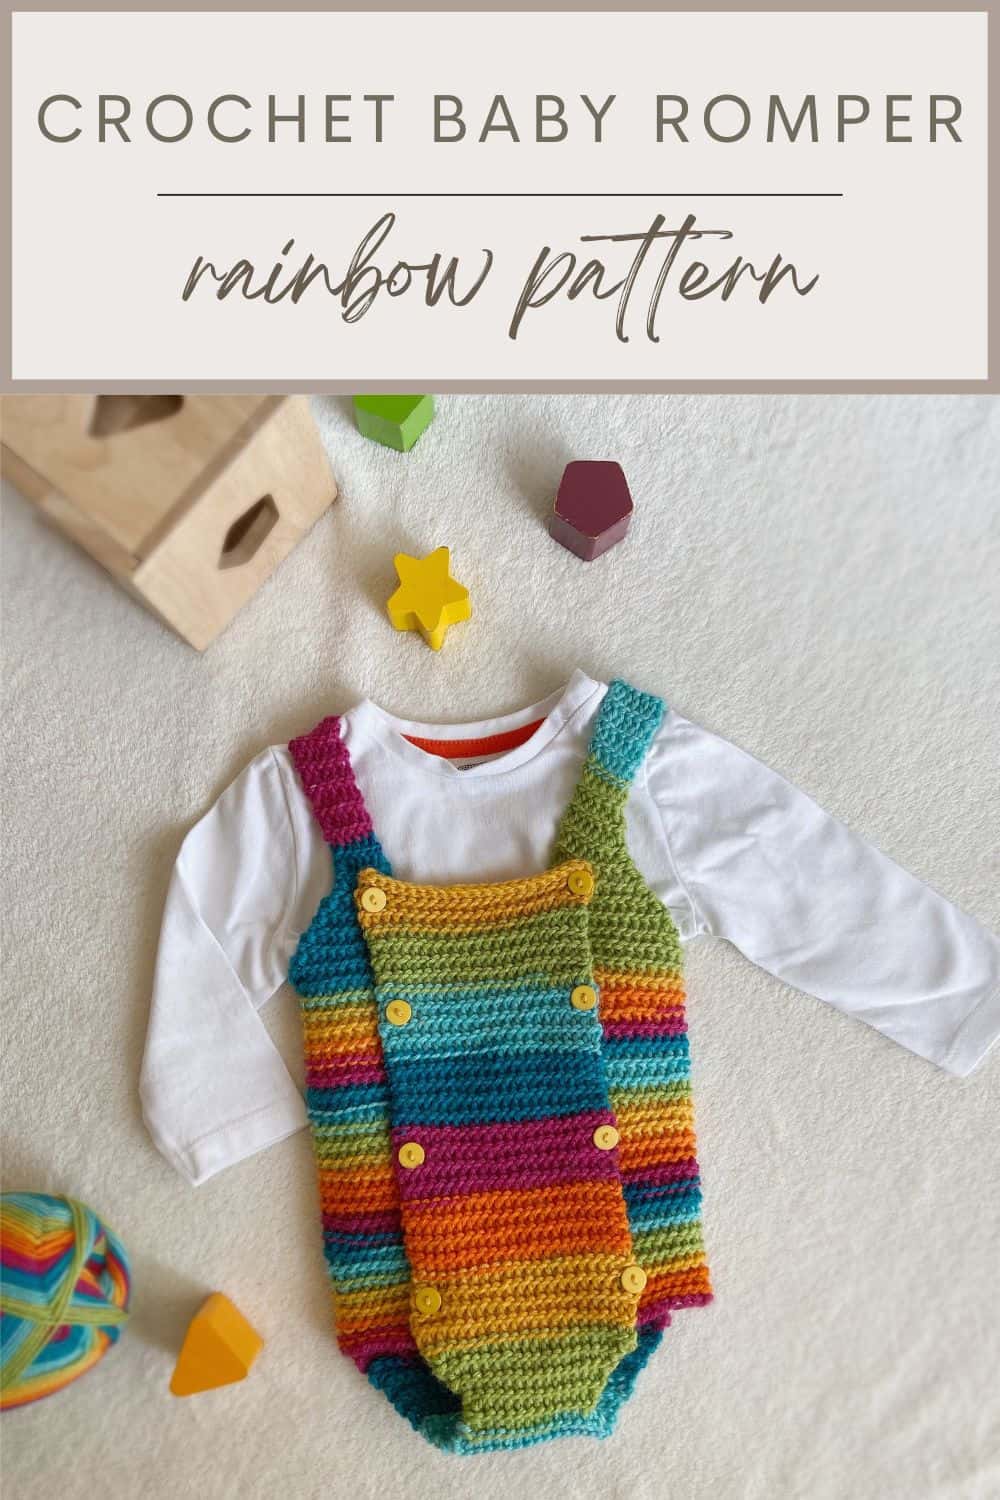
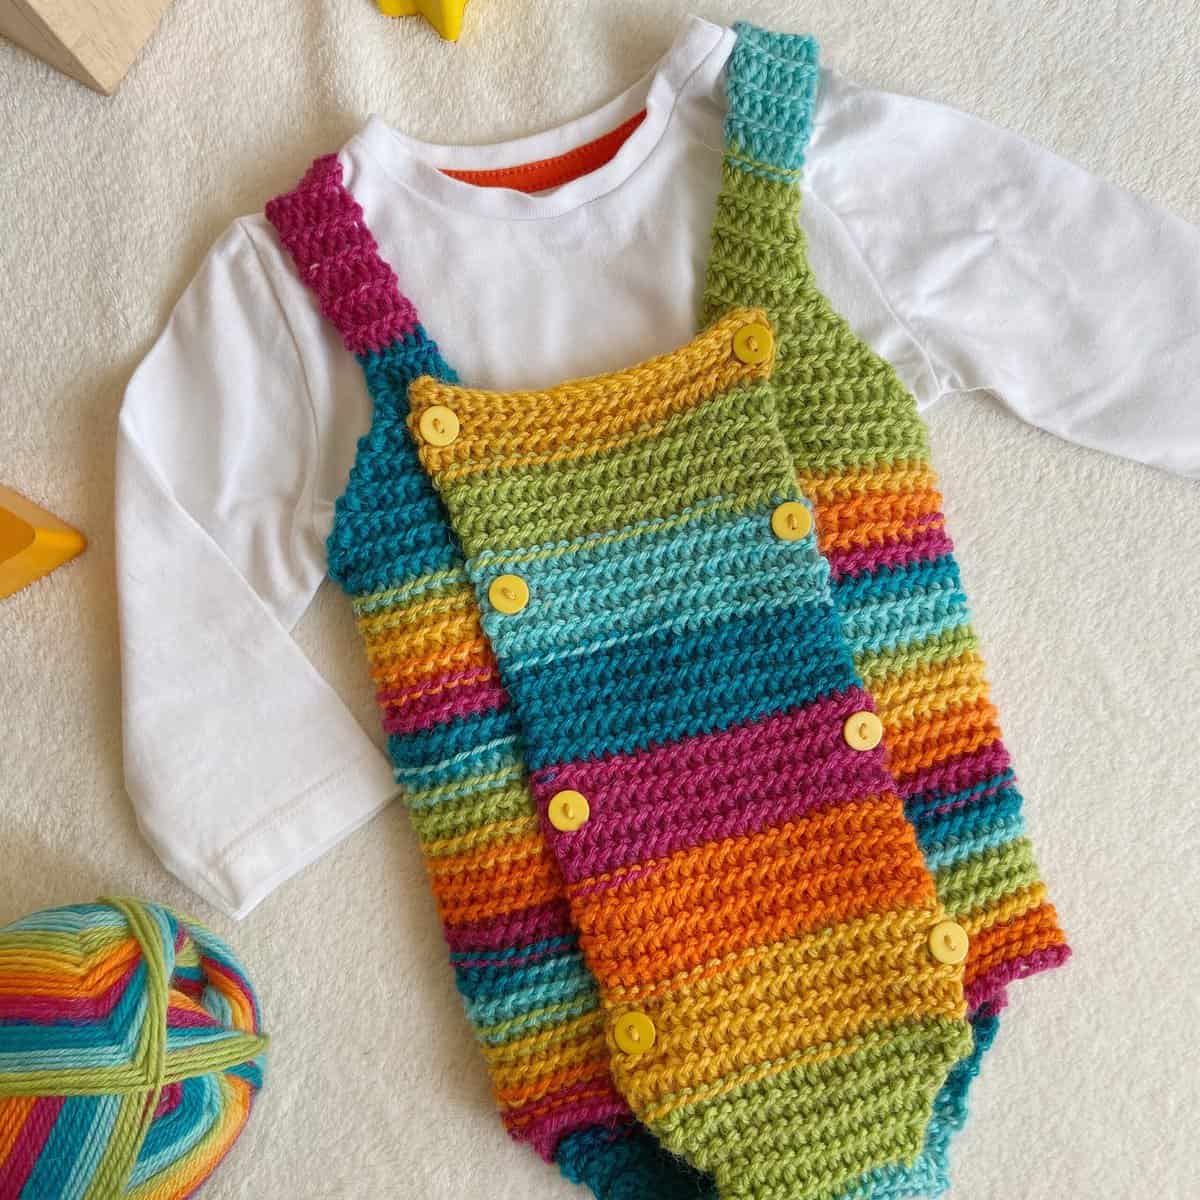
Every new arrival needs a cute little romper to wriggle around in! This baby crochet romper pattern is made in one piece with no tricky stitches or shaping to worry about.
It come in sizes newborn to 12 months so you can either make it for a baby that’s about to arrive or one you haven’t gotten a present for yet!
This unisex babygrow (as we call them here in the UK) can be made for both boys and girls and styled accordingly. Although it’s great for summer and springtime, nice and breezy, you can add a warm shirt and leggings underneath for winters or a sweater on top. With a nice pair of booties and a headband, it can even be made into a set.
While I used this beautiful rainbow yarn for my crochet baby romper, you can make it in whichever color you like, solid or variegated.
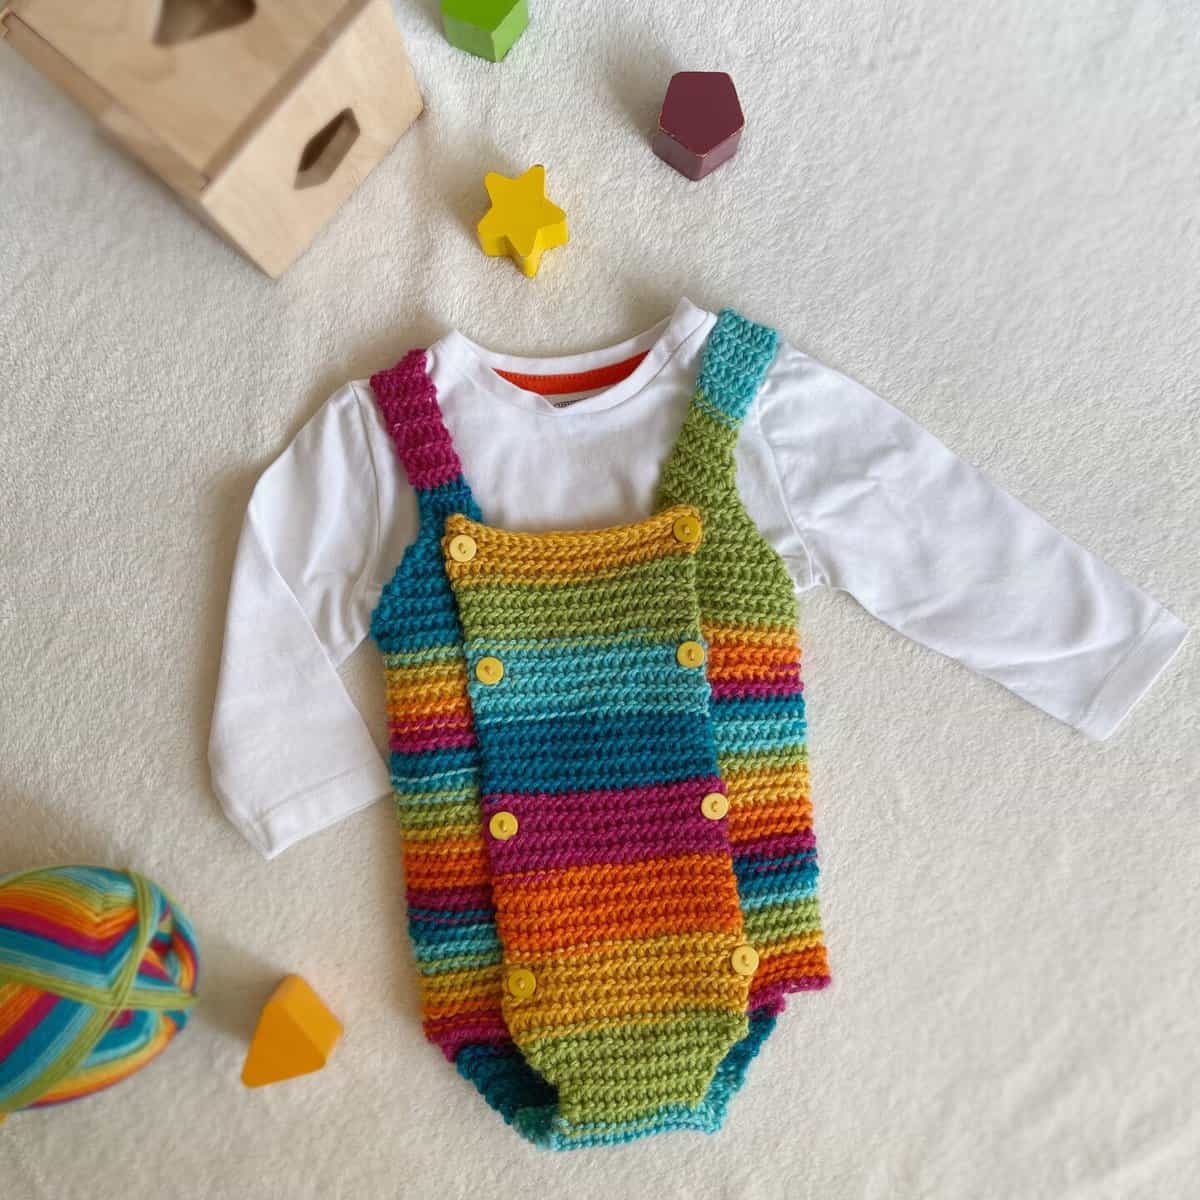
Table of Contents
More about this rainbow baby crochet romper
The pattern is worked together in one flat piece so you won’t have much seaming to do at the end (except to weave in those ends!). It might seem like there’s a lot happening in this romper but don’t worry — everything is explained in great detail to make the journey smoother for you!
Once you’re done, you can do so much with this great little baby outfit. I’ve added yellow buttons to mine and you can appliqué a character or initials on yours for personalization.
The entire romper is made with slip stitches so you won’t need to learn any difficult new technique. But if you haven’t used this method before, this is a great pattern to start with!
How do you crochet a rainbow baby romper like this?
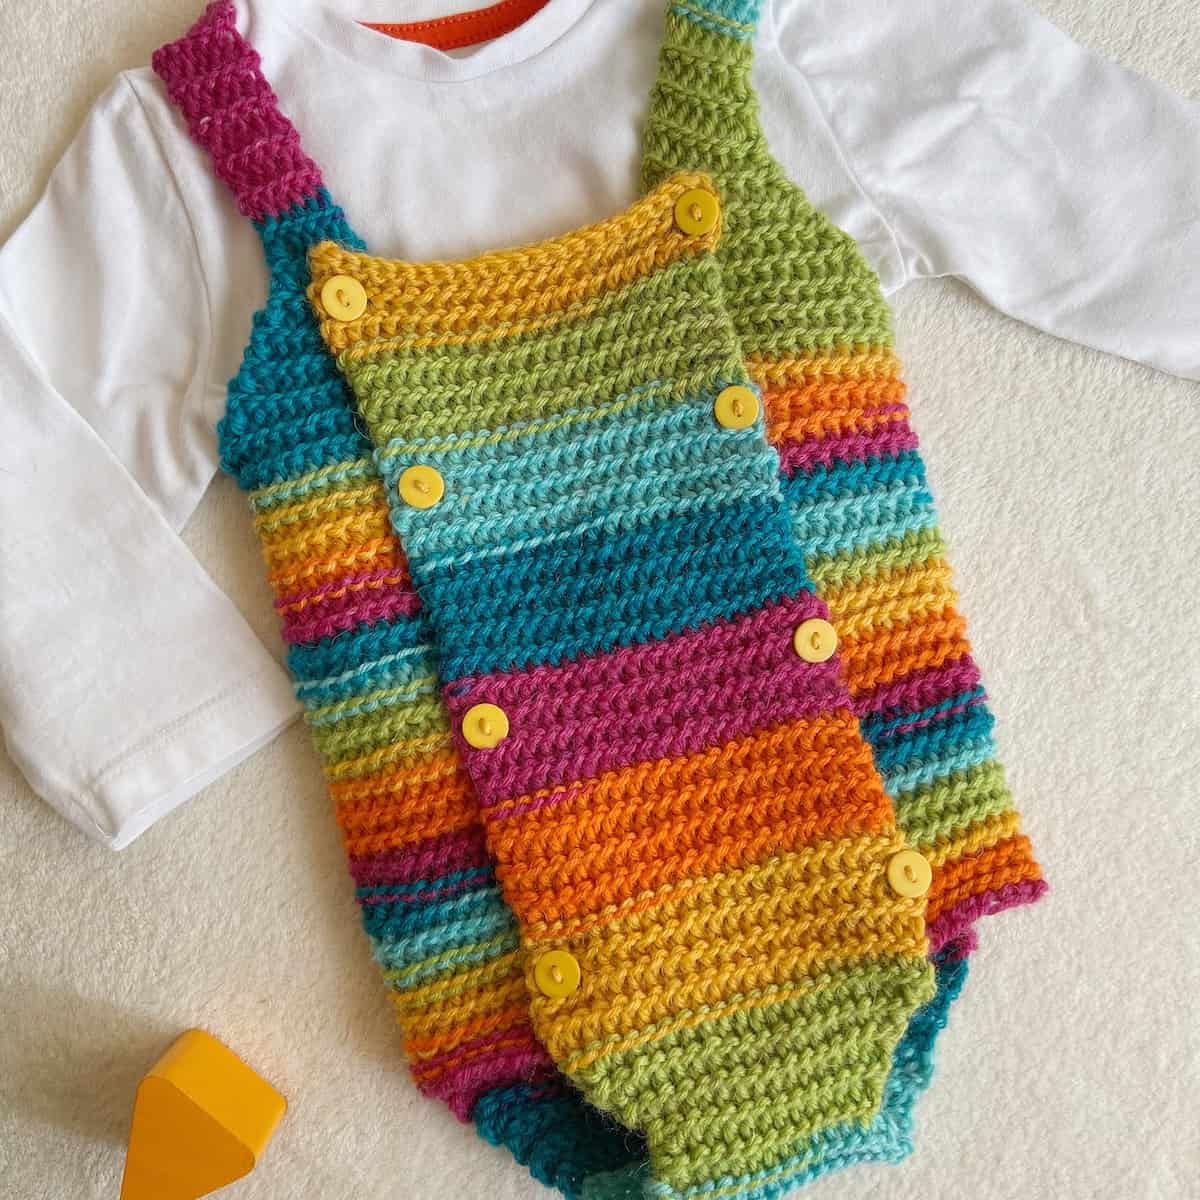
From the front bib to the gussets, the back, and both straps, everything is worked in sequence to create the shape. This crochet baby romper is worked up with slip stitches which gives it that unique texture.
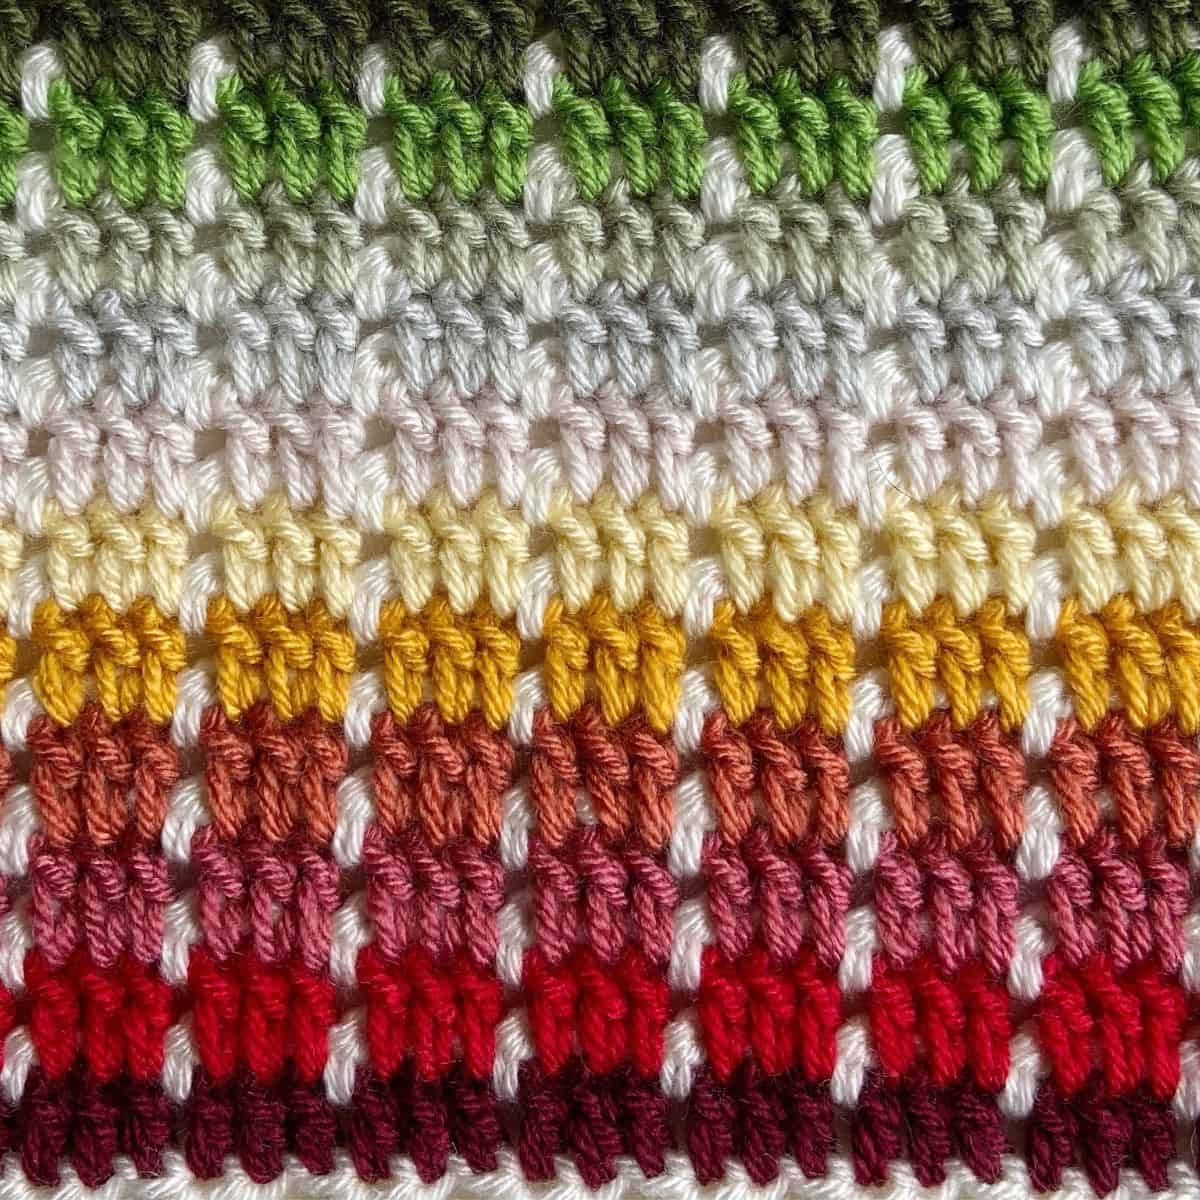
If you’re using variegated or ombré yarn, the stitch used creates a beautiful effect with different colors peeking through in each row.
Yarn
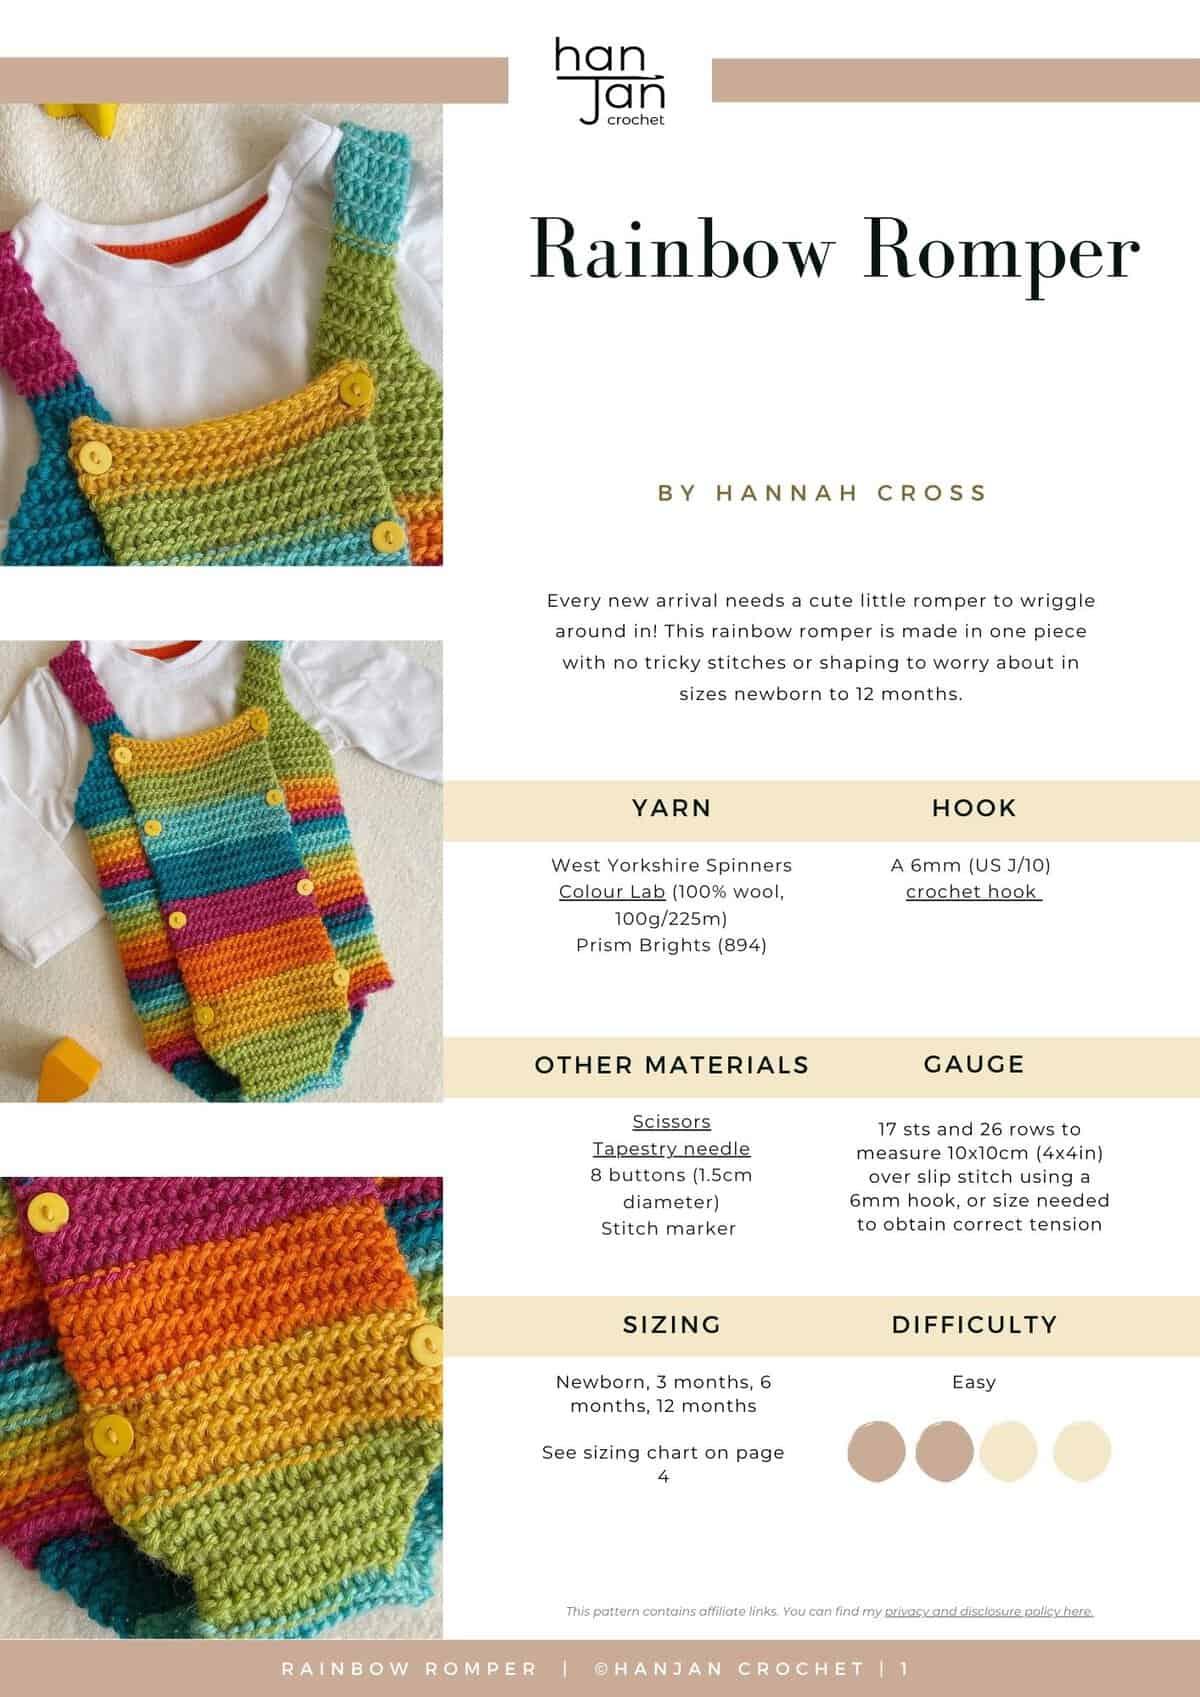
To crochet this little romper, I used the stunning West Yorkshire Spinners Colour Lab (100% wool, 100g/225m) in the color Prism Brights (894).
I really like how it made the final piece look without having to change colors at all!
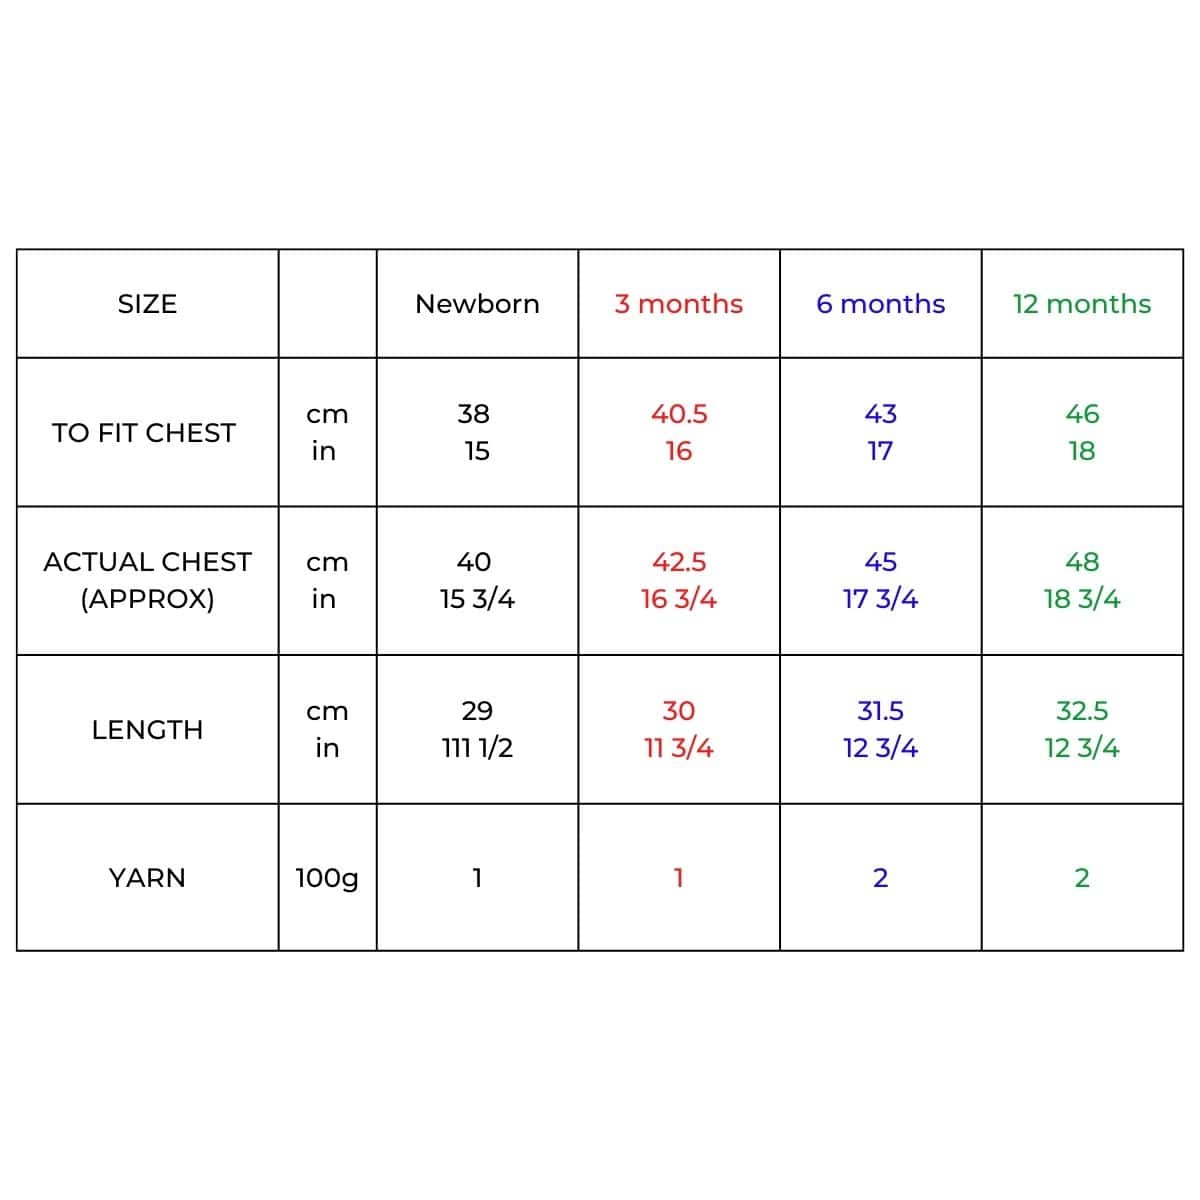
According to the size you’re making, the amount of yarn used will vary between 1-2 balls of 100g yarn. The sizing chart is given below.
Yarn Substitutes
Alternatively, here are some beautiful yarns that would also work really well to crochet this baby suit:
- Swish DK by WeCrochet (100% Fine Superwash Merino Wool; 123yds/50g)
- DROPS Cotton Merino (50% fine merino, 50% Egyptian cotton; 110m/50g)
- Paintbox Yarns Simply DK (100% acrylic, 276m/100g)
Getting Started: Materials Needed for Your Rainbow Baby Crochet Romper Pattern
Sizing
Depending on who you’re making the romper for, you can check the measurements in this sizing chart and also see how much yarn you need:
Other Materials
Along with your yarn, you will need the following:
- 6mm (US J/10) crochet hook
- Scissors
- Tapestry needle
- 8 buttons (1.5cm diameter)
- Stitch marker
Don’t forget to join HanJan Crochet to receive regular discount codes (and more free patterns!) and Pin this free baby crochet romper pattern to your crochet Pinterest board!
Crochet Terms You’ll Need to Know
Glossary and Abbreviations
bl – back loop only
dnc – does not count
fl – front loop
rep – repeat
RS – right side
sp – space
ss – slip stitch
sk – skip
WS – wrong side
yoh – yarn over hook
Crochet Stitch
The main stitch is:
ss – slip stitch
Special Stitches
We’re using a slight variation on the slip stitch in this pattern that you might be new too.
If you want to make more crochet projects for the little ones in your life, I’ve got a few suggestions for you (and you can search my blog for many more patterns too):
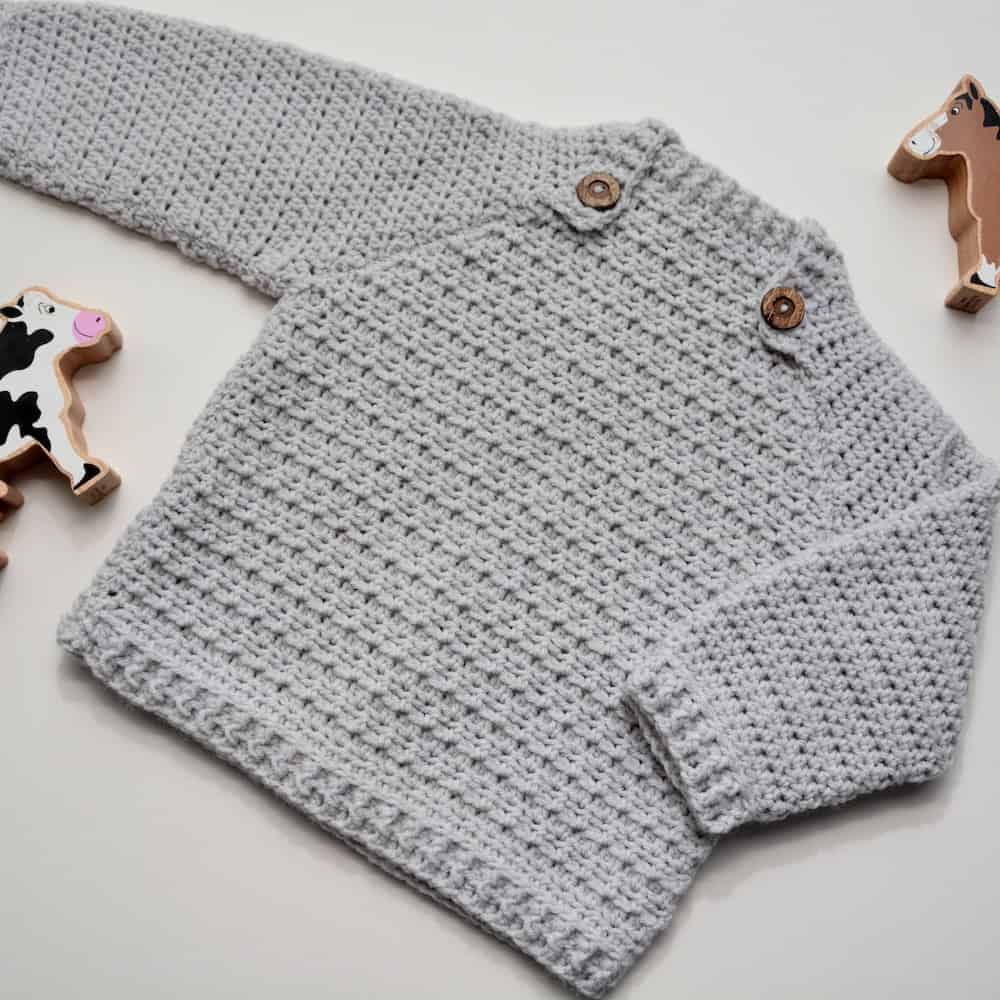
- The Lazy Day Jumper (there are so many great sizing options in this one!)
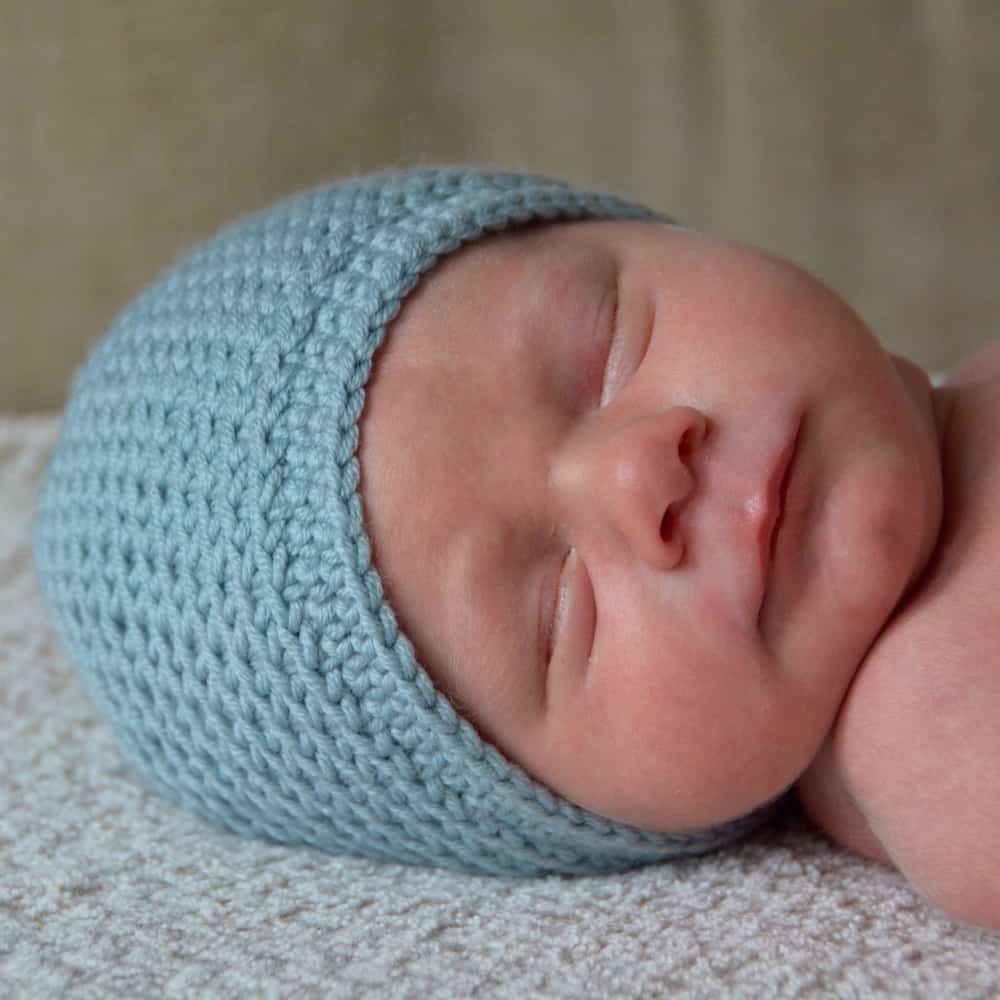
- Basketweave Beanie Hat (would pair nicely with this romper if you make both for warmer weather)
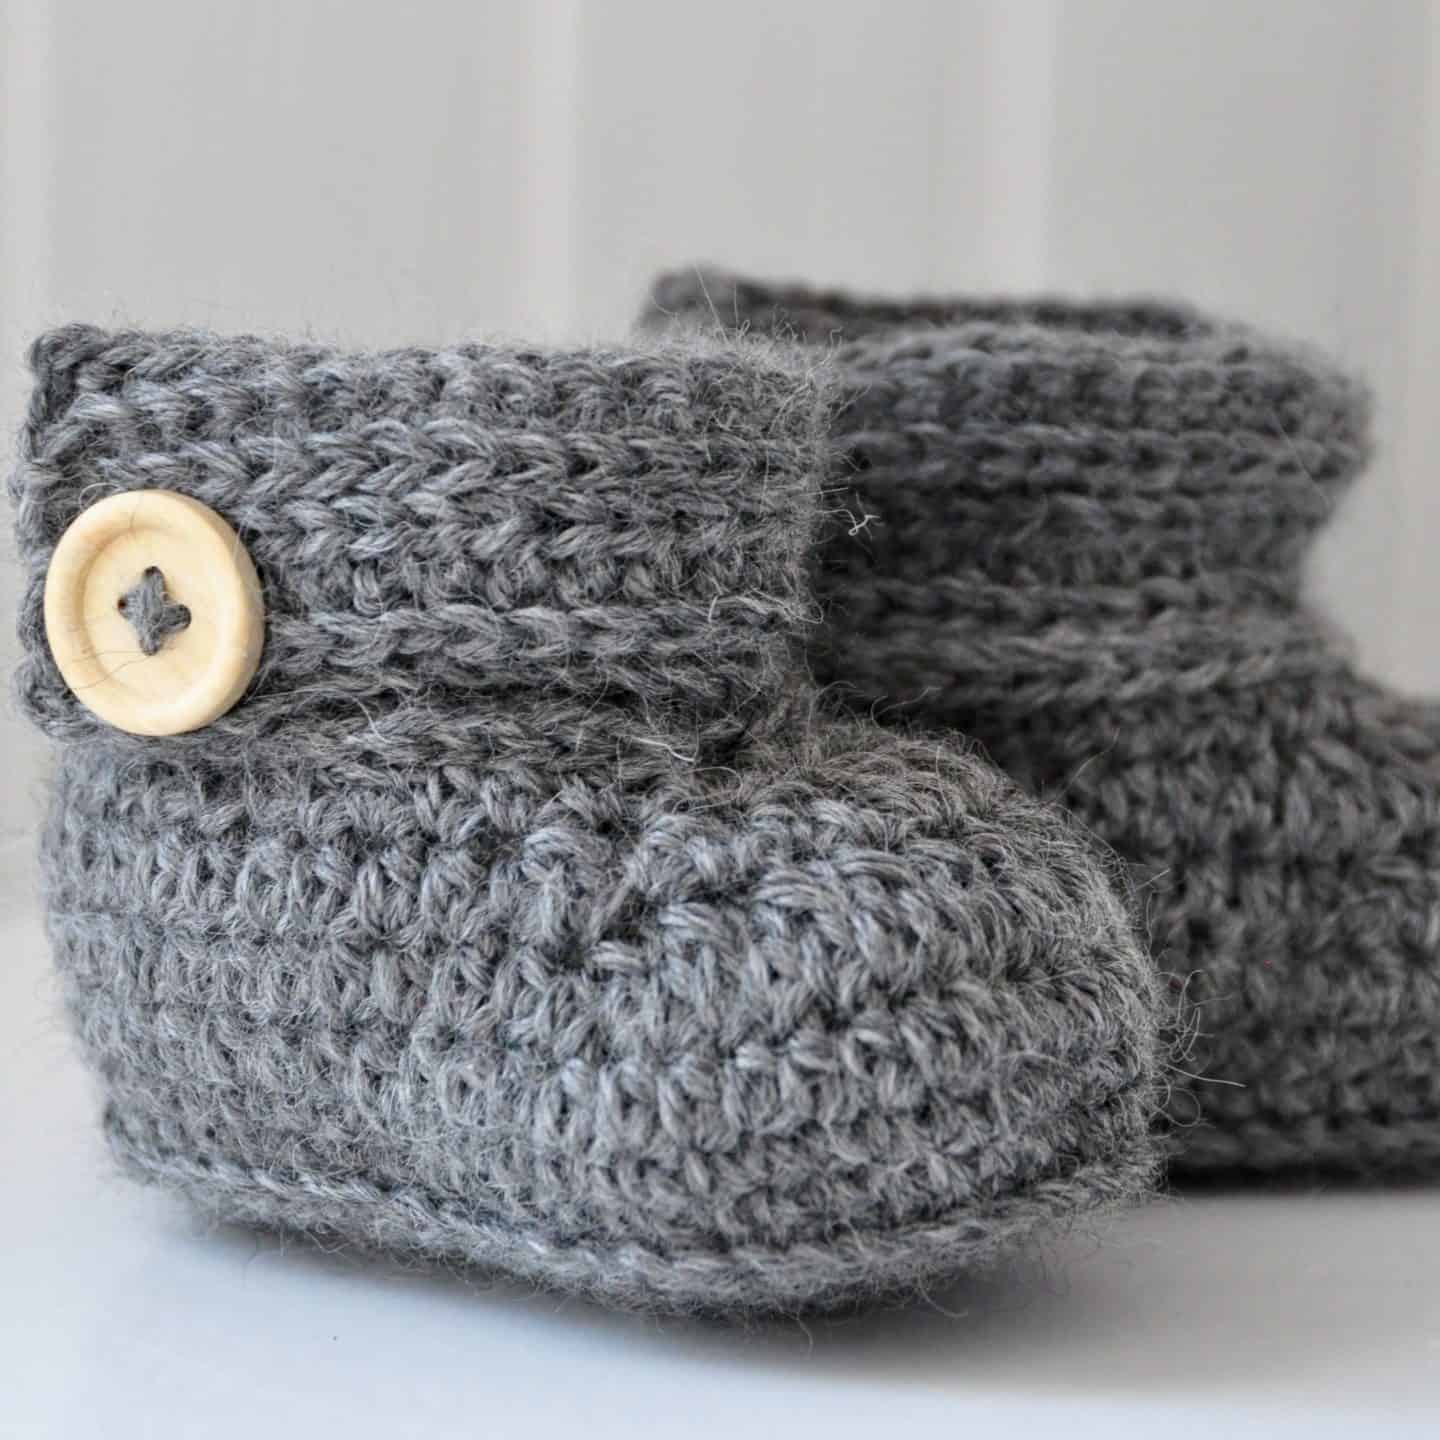
- Wrap Around Baby Boots (to keep those little toes warm)
The special stitch used in this romper is given below:
Ss2tog
Insert hook in next st, insert hook in next st, yoh and pull loop through both sts.
Before you jump into crocheting your baby crochet romper, take a moment to read through the pattern notes—it’s a game-changer!
These handy insights will not only simplify your pattern-reading journey but also ensure a smoother crochet experience. You’ll find helpful tips on deciphering the sizing, customisation and more.
Trust me, a quick peek at these notes will set you up for crochet success!
- The Front Bib and shaped Gusset are made in one piece top down. The Gusset is folded at the narrowest point and the Back is worked from the end of the Gusset with extensions on each side to make it wider.
- The centre Back is shaped. Front shaping and Straps are also worked from the top of the unworked Back piece on each side. The Straps are joined to the top Back shaping (see Diagram given below).
- The Back piece is folded around the Front so that the buttons can be secured through spaces between stitches on the Front Bib.
- Ensure buttons are stitched on securely.
- The beginning ch1 counts as the first ss and the stitch at the base of the ch-1 should be skipped. At the end of the next row, the final ss is worked into the top of this ch.
Free Rainbow Baby Crochet Romper Pattern
There are a few options for you to access and enjoy this crochet pattern:
- View the free pattern on the blog – all blog subscribers will be able to view the written pattern supported by ads by logging into their Grow account.
- Purchase the individual pattern on Etsy or Ravelry as a beautifully formatted PDF with extra stitch charts, schematic and colour information page and more!
Purchase and Print
Get the ad-free, printable PDF with added extras in my pattern stores:
Copyright Notice
The Rainbow Baby Crochet Romper Pattern and its contents are fully owned and copyrighted by HanJan Crochet Ltd., and all rights are reserved.
This pattern is protected by copyright and other intellectual property laws and may not be reproduced, distributed, or transmitted in any form or by any means without the prior written consent of the author (Hannah Cross of HanJan Crochet Ltd).
Unauthorised distribution or reproduction of this pattern or elements of the instructions is strictly prohibited. The free to view crochet pattern is intended for personal viewing only. By accessing this pattern, you acknowledge and agree to comply with these copyright terms and conditions.
Pattern Support
I am delighted to invite you to join the HanJan Crochet Community Facebook Group where we host all pattern support queries and love to see your progress, yarn choices and finished projects!
Crochet Pattern Free for Blog Subscribers to View
US Terminology
To unlock Exclusive Content on the HanJan Crochet Blog, all you need to do is click the box below and the Grow.me app will pop up, allowing you to enter your email and create a password.
Once you’ve created an account, every time you see Exclusive Content on my blog (or any others that use Grow), simply login to your Grow account. Be sure to switch to the login screen to enter your login credentials.
If you forget your password, click the “forgot password” link and follow the prompts. Please note that I’m unable to assist with resetting Grow passwords or accessing your Grow account, so be sure to save your login information in a safe place.
Thank you for subscribing and for joining me at HanJan Crochet! I hope you enjoy the exclusive content available on the site and I can’t wait to see what you create 🙂
With RS facing, join yarn in 13th (13th: 13th: 14th) st across Back
Row 1 (RS) Ch1, ss in fl of next 32 (35:37:38) sts,
turn leaving rem sts unworked, pm in first unworked st [33 (36:38:39) sts]
Row 2 Ch1, ss in bl of each st across, turn.
Row 3 (Working in fl only) (Ss2tog) first 2 sts, ss in each st to final 2 sts, (ss2tog), turn.
[31 (34:36:37) sts]
Row 4 As Row 2.
Rep Rows 3-4 another 6(7:8:8) times. [19(20:20:21)sts]
Fasten off
FRONT RIGHT SHAPING
With RS facing, join yarn in first st from final row of Back
Row 1 (RS) Ch1, ss in fl of next 11 (11:11:12) sts, turn [12 (12:12:13) sts]
Row 2 (WS) Ch1, st in bl of each st across, turn.
Row 3 Ch1, ss in fl of each st to final 2 sts, (ss2tog), turn. [11 (11:11:12} sts]
Rep Rows 2-3 another 5 (5:5:6) times. [6 (6:6:6} sts]
Next row As Row 2
Do not fasten off
RIGHT STRAP
Row 1 (RS) Ch1, ss in fl of each st across, turn.
Row 2 (WS) Ch1, ss in bl of each st across, turn.
Rep Rows 1-2 another 14 (14:15:15) times. Line up the Strap with the right-hand side of Back Shaping and ss seam together.
FRONT LEFT SHAPING
With RS facing, join yarn in marked st after Row 1 of Back Shaping.
Row 1 (RS) Ch1, ss in fl of each st to end, turn.
[12(12:12:13) sts}
Row 2 (WS) Ch1, ss in bl of each st across, turn.
Row 3 (Working in fl only), (ss2tog) first 2 sts, ss in each st to end, turn. [11(11:11:11) sts}
Rep Rows 2-3 another 5 (5:5:6) times.
[6(6:6:6)sts]. Do not fasten off.
LEFT STRAP
Work a Right Strap and join to top left-hand side of Back Shaping.
TO FINISH
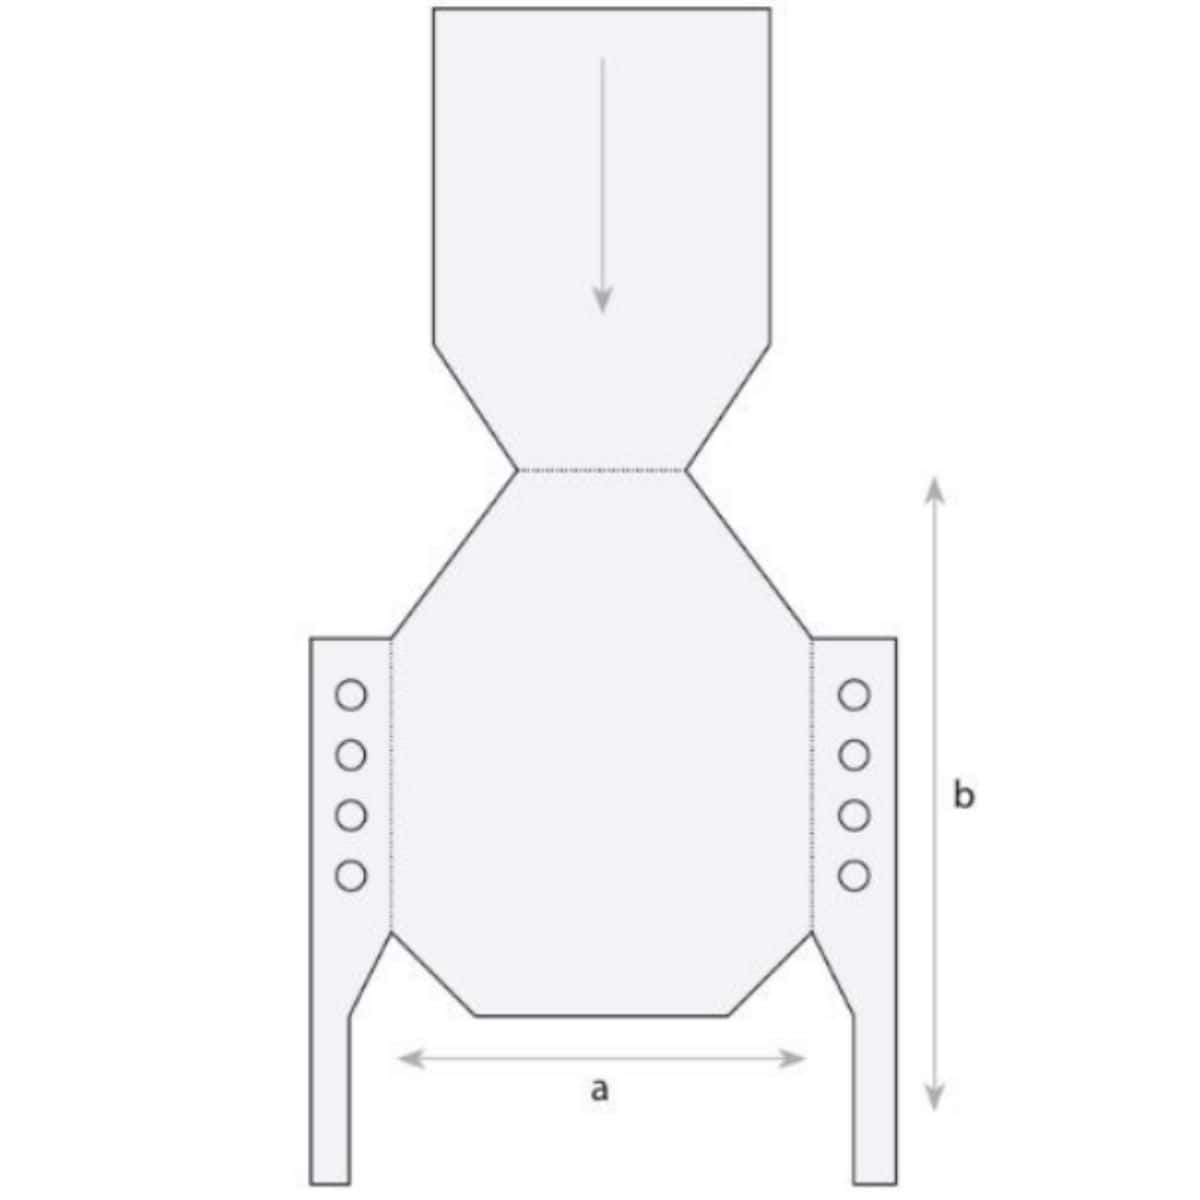
WIDTH a:
20 (21:22.5:24)cm
7 3/4 (8 1/4 : 8 3/4 : 9 1/2) in
LENGTH b:
29 (30:31.5:32.5)cm
11 1/2 (11 3/4 : 12 1/2 : 12 3/4) in
Weave in all ends. Using the image as a guide, sew 4 buttons across each long edge of Back. This edge should be wrapped around the front and the buttons should be secured through the Front Bib.
Join HanJan and Share Your Crochet!
It’s an honour to be able to create and share my free crochet patterns with you. I’d love to stay connected and send you regular discount codes and free patterns! Please sign up for my subscriber list to get a free gift right now!
I look forward to seeing your finished crochet projects, especially this easy crochet pattern, so please share them with me in the HanJan Crochet Facebook group or on Instagram and tag #hanjancrochet.
Purchase and Print
Get the ad-free, printable PDF with added extras in my pattern stores:

Looking for pattern support?
Not only will you find pattern support in the HanJan Crochet Facebook Community Group but we have over 16,200 like minded crocheters eager to chat with you!
It is a fun, supportive and educational group where we all support each other to be the best we can be. Everyone is always happy to share their knowledge and experience so do come and join us!
More Crochet Patterns for Little Ones You Might Enjoy
If you enjoy crochet patterns for children, here are a few more you might want to make too:
- Easy child crochet sweater – simple stitches but packed full of texture
- Kids Crochet Cardigan – a modern take on the granny stitch
- Classic Baby Blanket Crochet Pattern – soft and textured, the perfect gift
Congratulations on crocheting your very own crochet baby romper! 🌟 Now that you’ve crafted this fun project, why stop here? Dive into my other crochet patterns for babies and children each waiting to be transformed into your next crochet masterpiece.
Don’t forget to share your creations with me on social media—I love seeing your unique twists and colourful creations! Join our community of crochet enthusiasts, where we share tips, tricks, and plenty of crafting inspiration. So, grab your hooks, explore more patterns, and let’s continue this crochet adventure together! Happy stitching! 🧶✨
