This post may contain affiliate links. Please see my full disclosure and privacy policy for details.
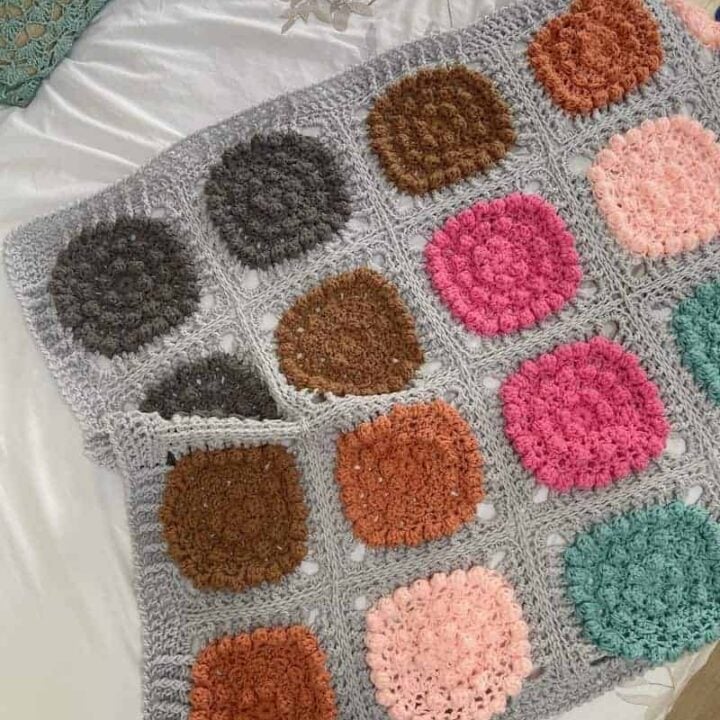
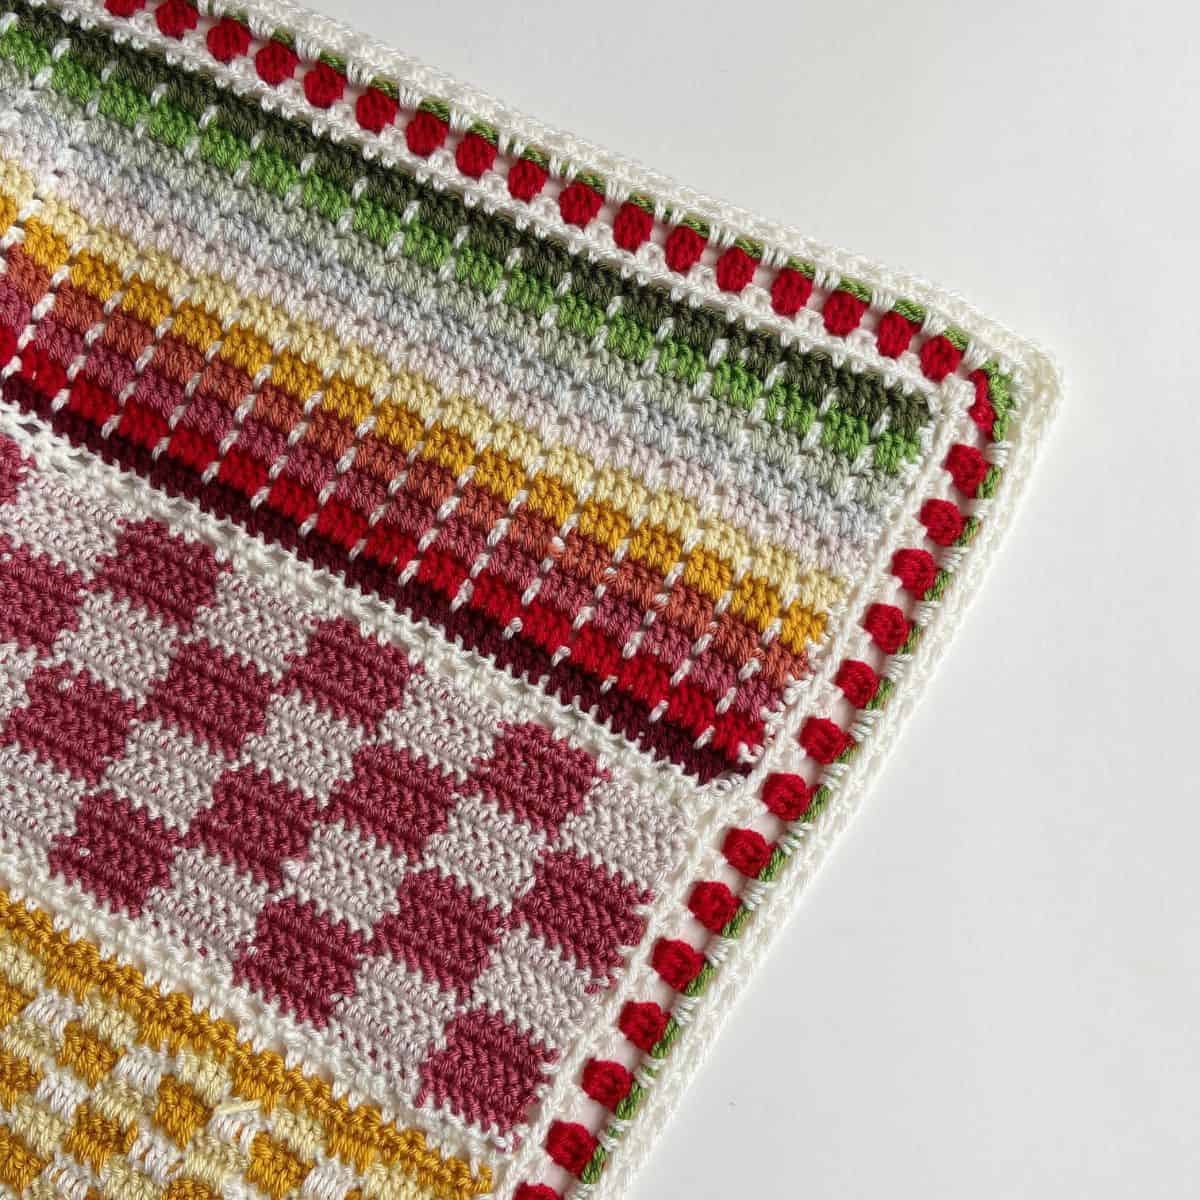
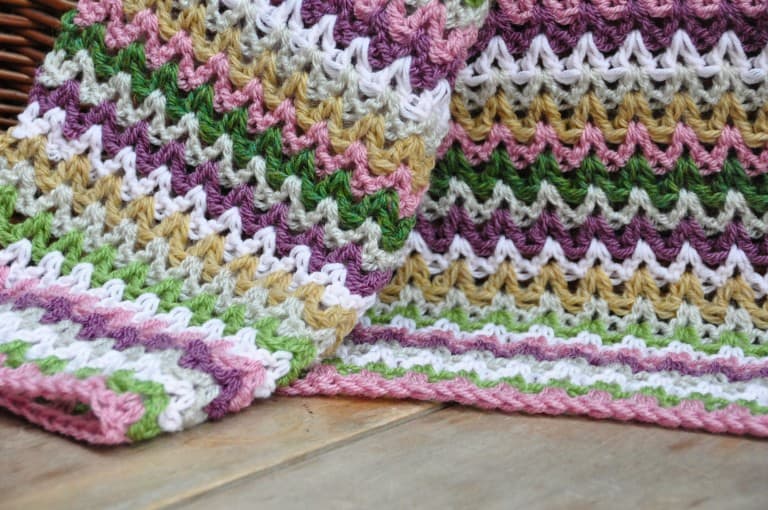
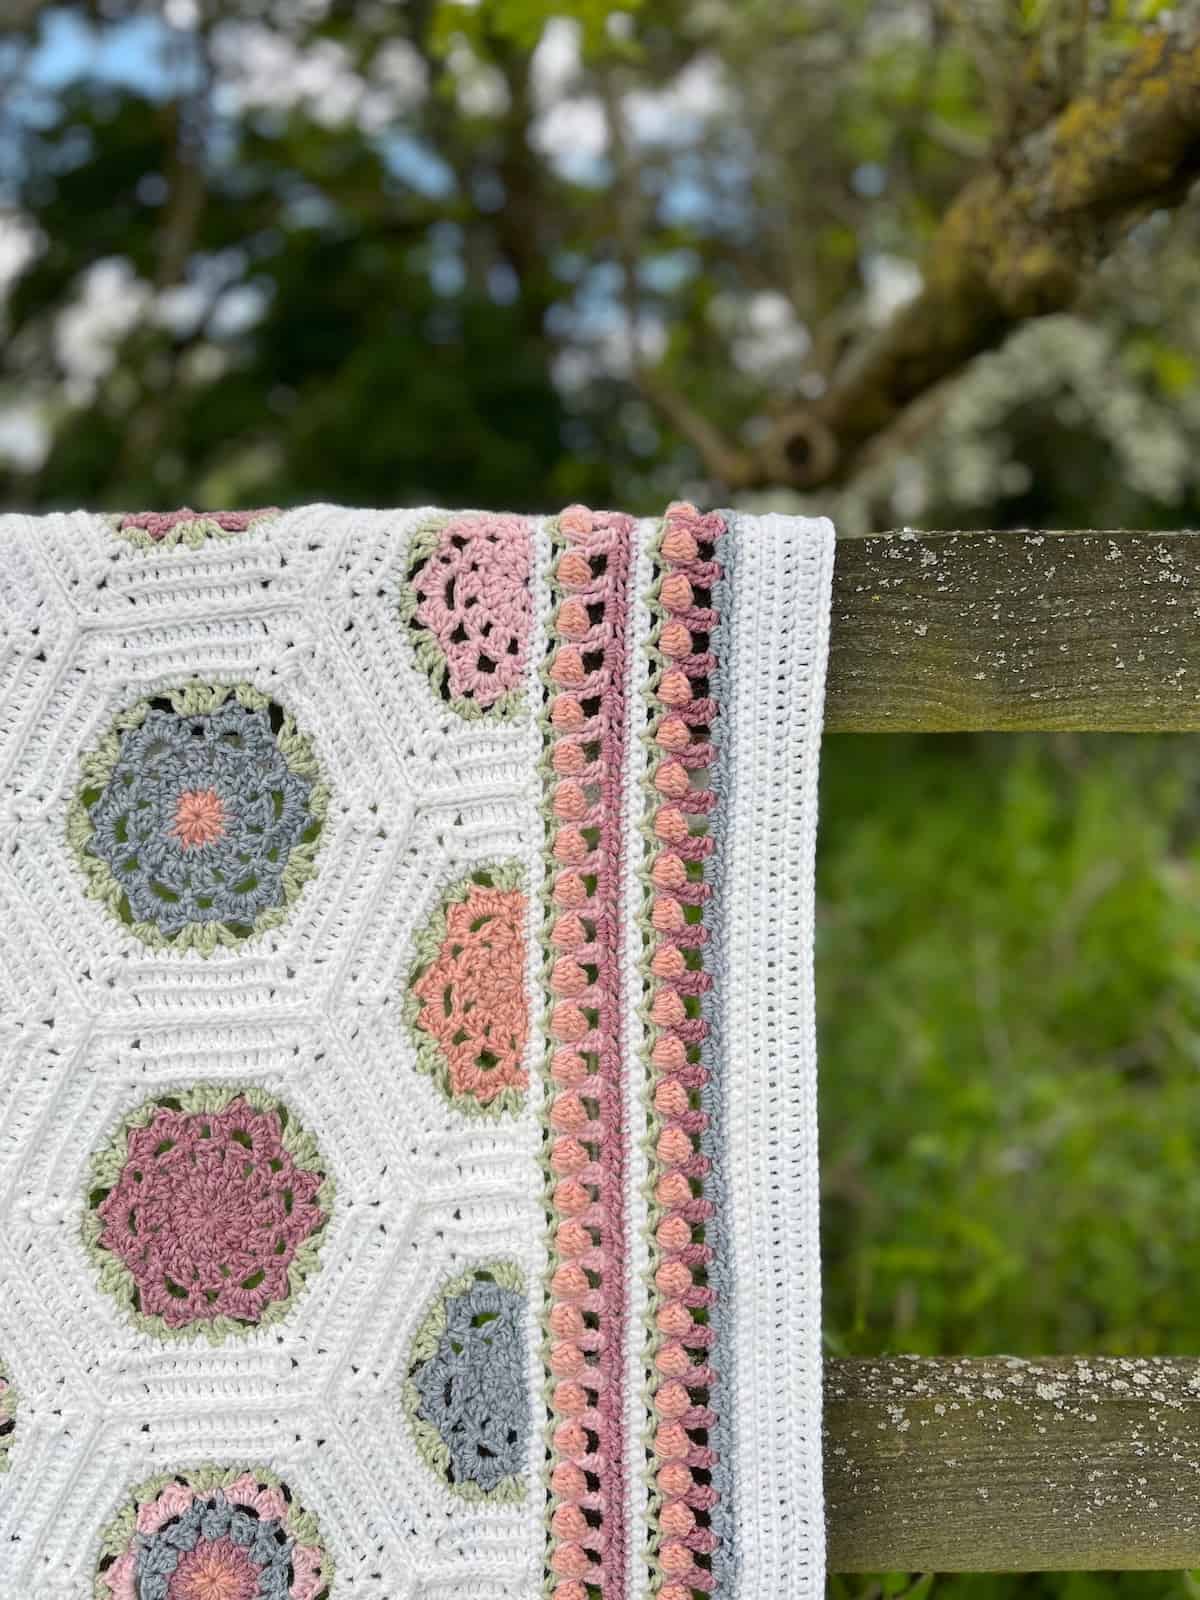
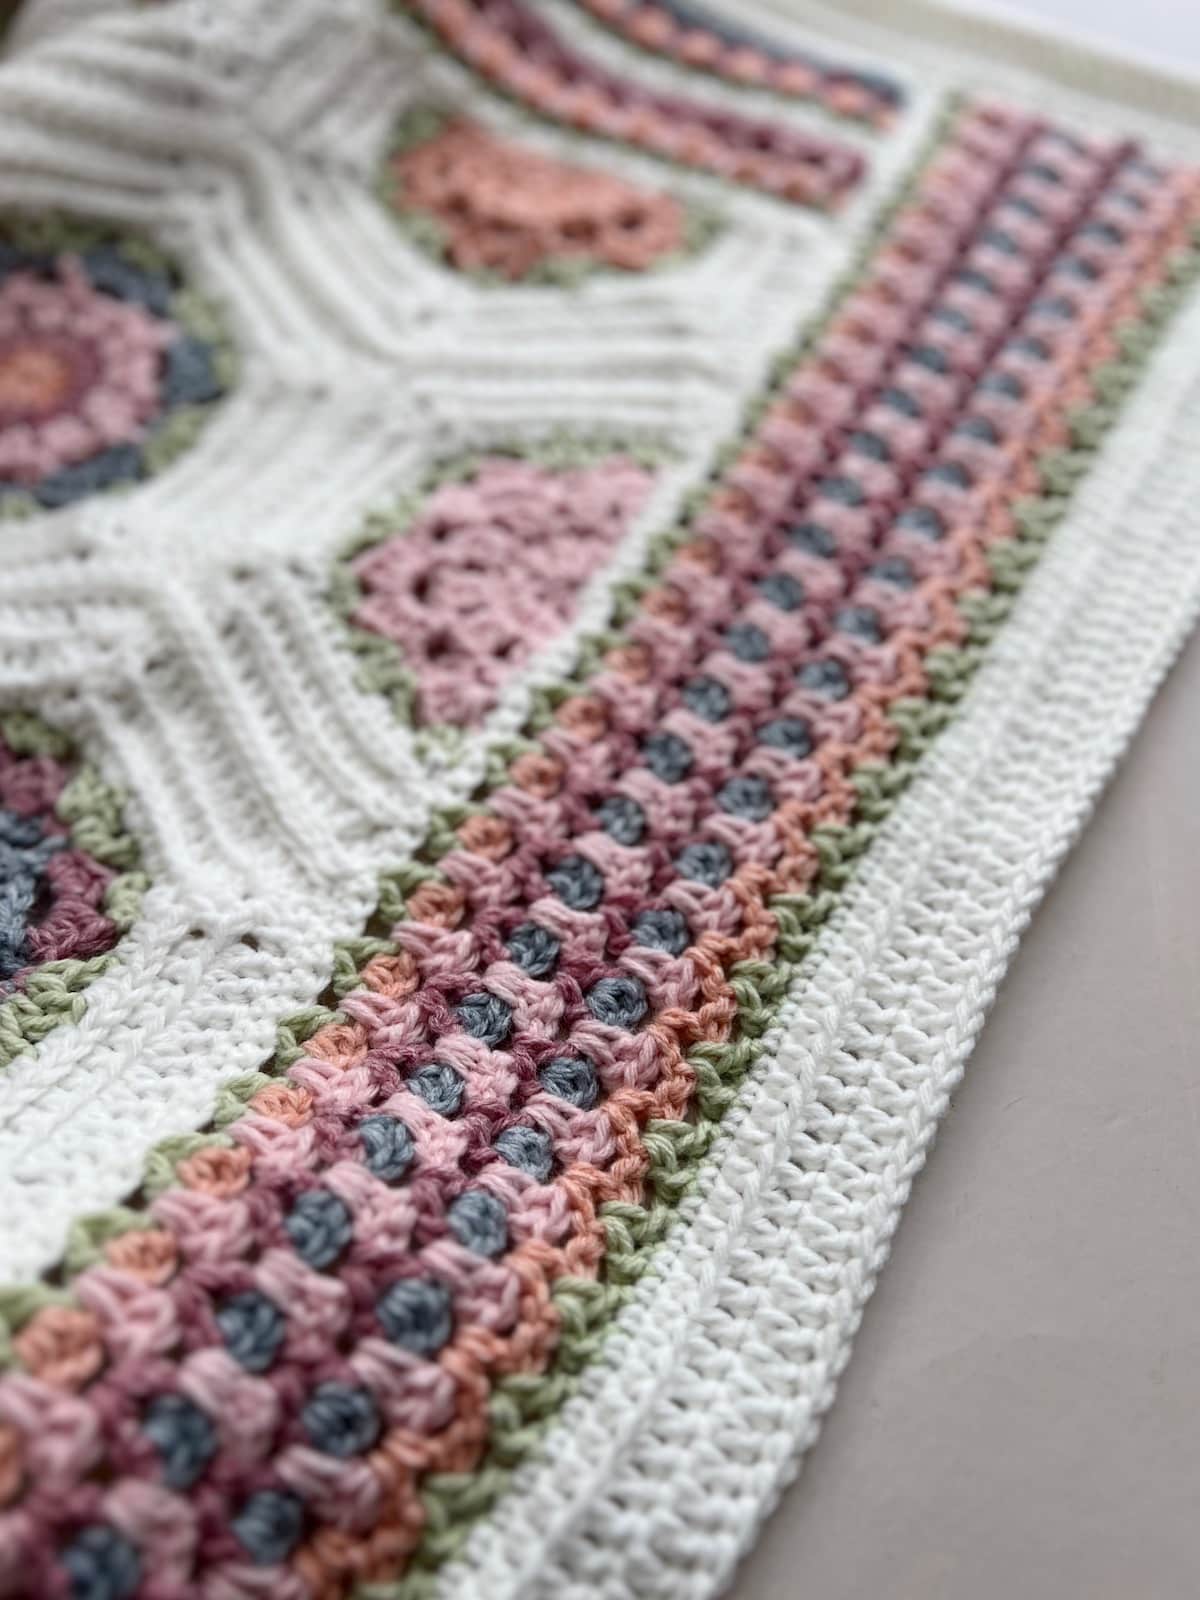
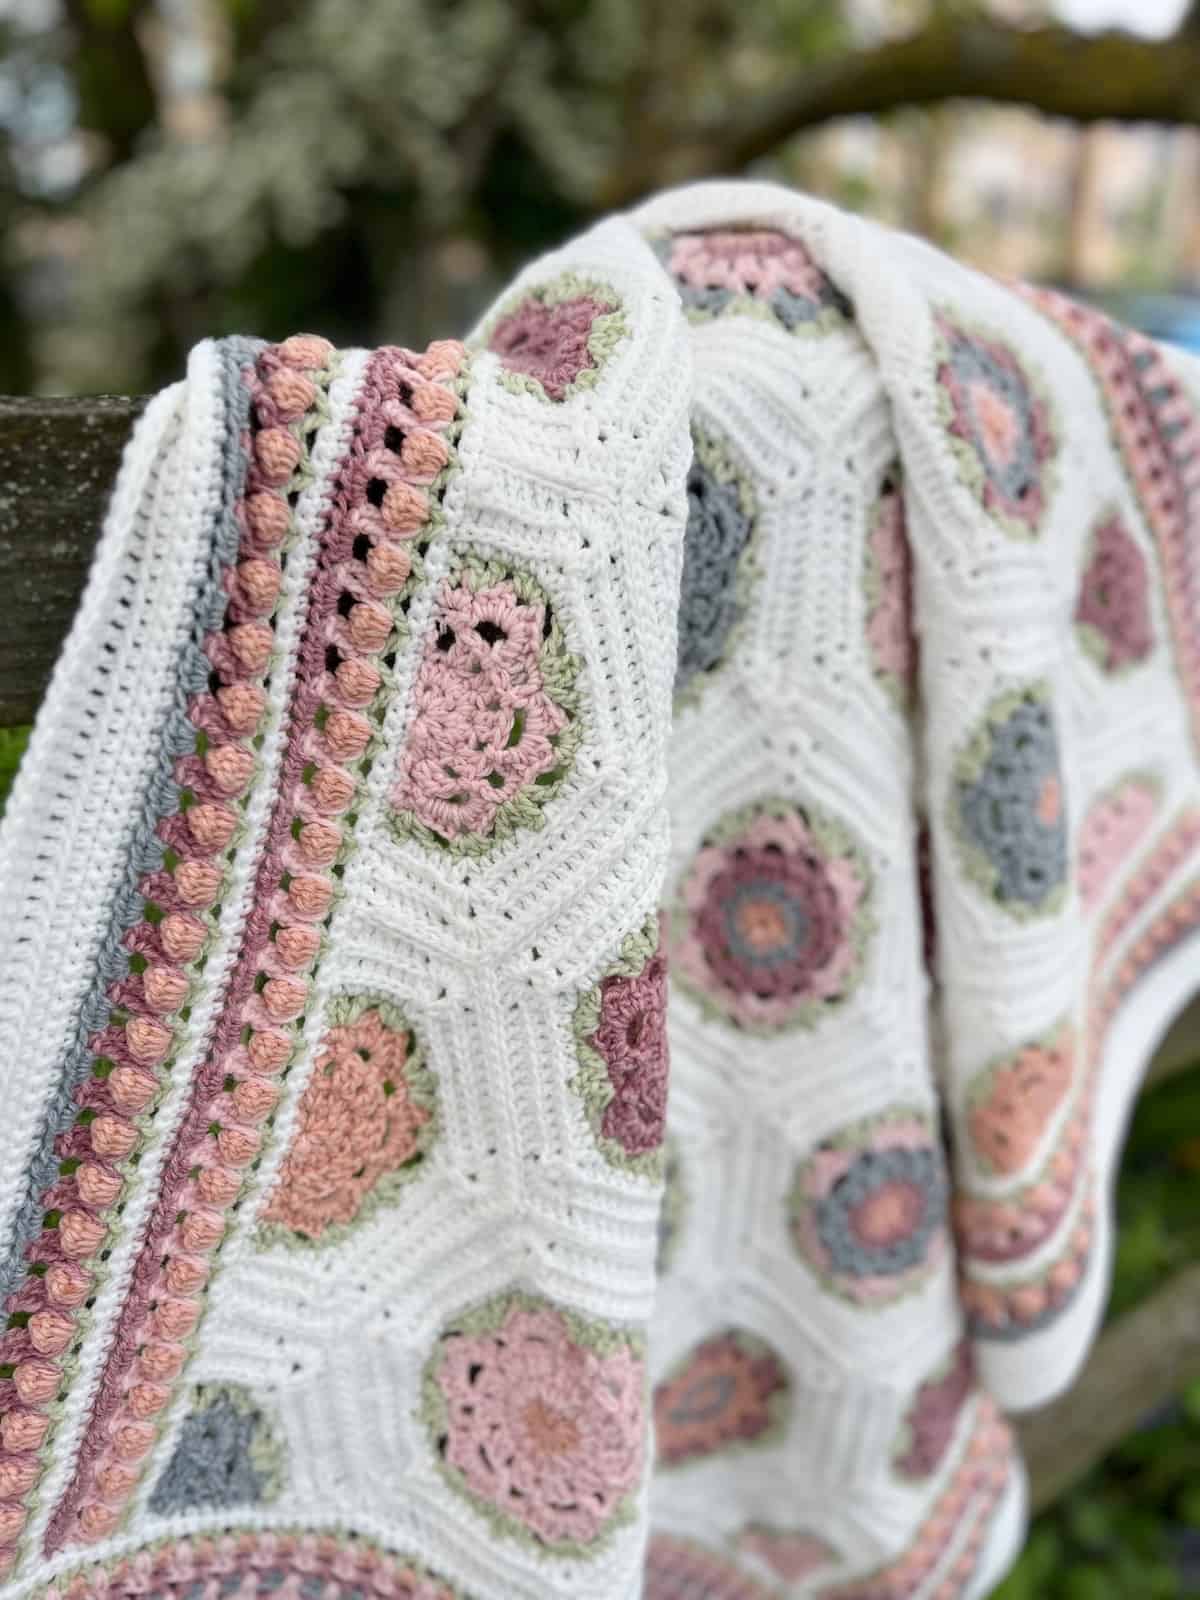
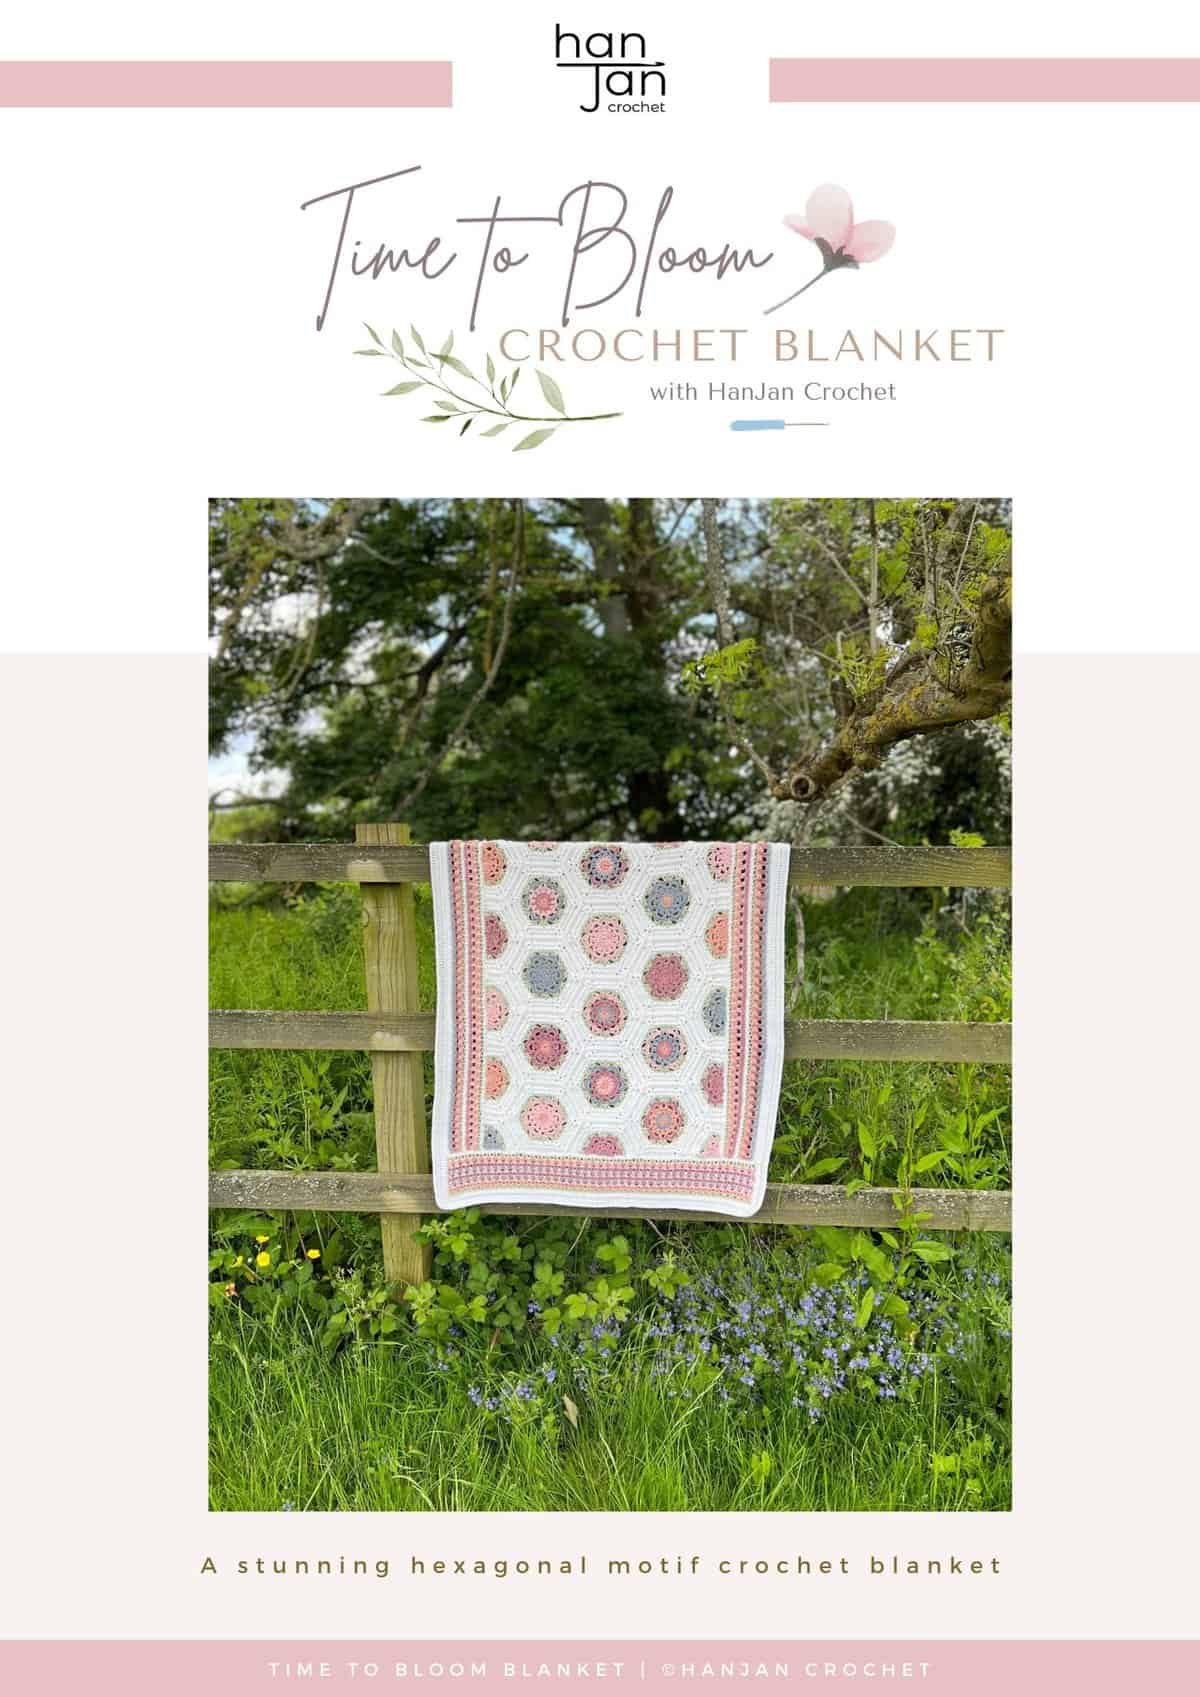
Adding an edge or border to a project can often be seen as a laborious task but when you go for it and create a stunning crochet flower border like this one it’s far from boring and gives you the most amazing balance to any project but especially a blanket.
I used this border (worked in panels) in my Time to Bloom Blanket and this post includes the written pattern for how to add a crochet border to a blanket using both flower stitches and V stitches. They are both really simple and use the same stitch count so you could use either of them for other projects too!
If you are ready to make another part of the blanket then check the hexagon crochet blanket pattern post to find the links to the next or previous sections.
Scroll down for the next part of the free to view Time to Bloom crochet flower border pattern, or purchase the 25 page PDF Ebook or the full online crochet course with bonus videos, downloads and more to help you conquer making this beautiful blanket.
Want to remove Ads?
- Get ad-free access on all posts; 200+ patterns & tutorials!
- Member-only resource library with downloadable PDF guides
- Bonus eBook (Worth over $30)
Table of Contents
Adding a Crochet Flower Border
Whether you are making the Time to Bloom Blanket or something else, these crochet flower panels are so great for framing your work! They would look brilliant on the edge of a shawl or wrap or your could even use them to create and entire blanket if you prefer.
The important thing to know is that they are beginner friendly borders even though they might not look it! The only special stitch you need to know is a cluster stitch that I used to create the crochet flowers.
The cluster stitches give the textured look and feel that I wanted for the flowers plus they add a ‘pop’ of colour to the whole thing.
If you wanted to you could crochet this border in rows or rounds onto a blanket but if you are working in rounds then you’ll need to turn your work after each round to make sure the clusters face the right way.
How to crochet the border panels
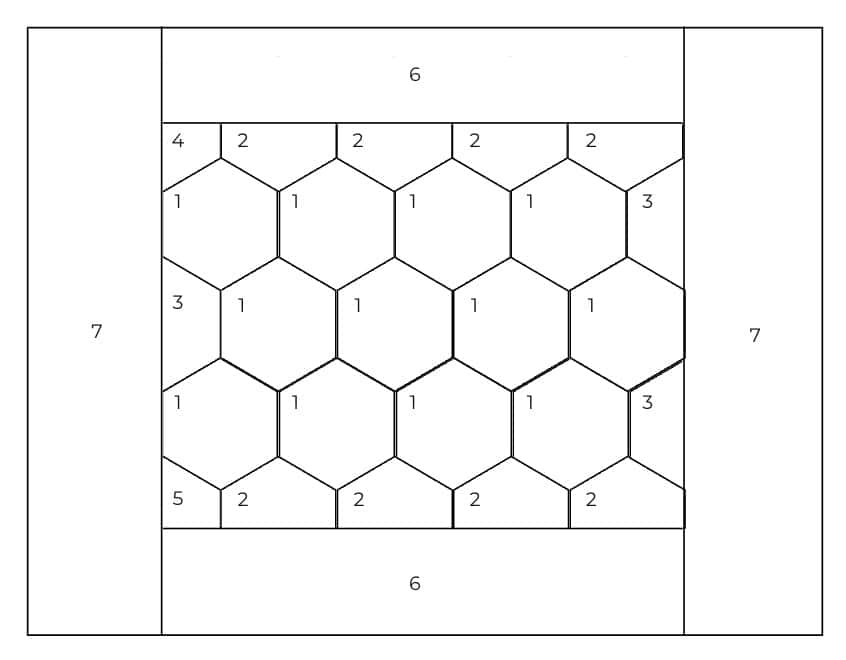
Now that we have created our central rectangle panel the next job is to add the crochet flower stitch panels on each side.
As you can see from the diagram below, the panels (that are labelled 6 and 7) run along the edges of the blanket in rows rather than going around the blanket. I love this style of border as you can be really dramatic with the placement and add a really unusual dimension to your design.
The idea is that we add panel 6 as a border along the longer edge of the blanket first. This is done on both long edges of the blanket.
Once these panels are completed we can work panel 7 along both of the remaining edges. This will mean that we work into the sides of the centre rectangle and also the row ends of panel 6.
Find the other parts of the pattern:
- Full Hexagon Motif
- Long Edge Half Hexagon
- Short Edge Half Hexagon
- Quarter Hexagon (version 1)
- Quarter Hexagon (version 2)
- Floral Crochet Border Panels (version 1)
- Floral Crochet Border Panels (version 2)
Join the crochet along!
I am thrilled to be hosting a crochet along for this blanket in July 2023! Thousands of people have signed up already and have their yarn good to go but please don’t worry if you have’t got your ticket yet – there is still plenty of time to join!
If you choose to view the pattern for free on the blog throughout the CAL then you’ll find a new section released each week from 3rd July. There will be 4 weeks of releases and then you can work on your blanket as you’d like to.
Join the Time to Bloom CAL!
Find out about the free and paid VIP options here:
If you have already signed up for your free ticket then read on to find the crochet flower border pattern for Week 3 and the final border for Week 4.
Can I find everything all in one place?
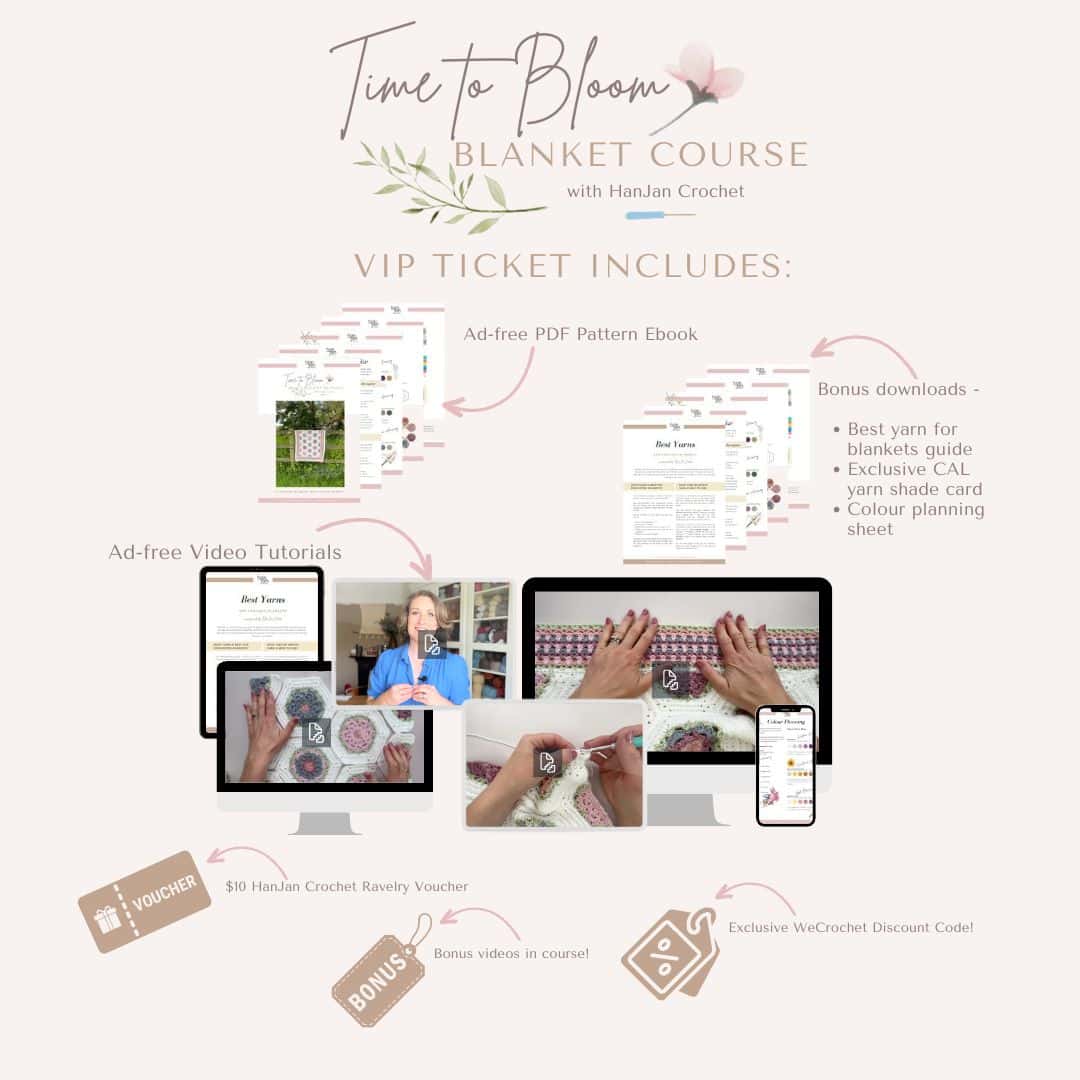
Absolutely. I know that the free to view version doesn’t work for everyone so I’ve created an entire ad-free course that you can purchase and enjoy lifetime access to. All in one place, forever.
Here’s a peek of all the extras you get with the course:
Upgrade to VIP today!
Yarn and Materials
All of the yarn, materials and pattern notes are included in the main crochet along information page: Crochet Hexagon Blanket Pattern.
Don’t forget to join HanJan Crochet to receive regular discount codes (and more free patterns!) and Pin this hexagon crochet blanket pattern to your crochet Pinterest board!
Glossary and Abbreviations
ch(s) – chain(s)
ss – slip stitch
st(s) – stitch(es)
RS – right side
rep – repeat
sp – space
yoh – yarn over hook
BLO – back loop only
Yo sl st – yarn over slip stitch
Crochet Stitches
Single crochet (sc)
Half Double Crochet (hdc)
Double Crochet (dc)
Treble Crochet (tr)
Special Stitches
4 double crochet cluster stitch (4dc-cl)
- Yarn over, and insert the hook into the next stitch.
- Yarn over and pull up a loop.
- Yarn over again, and pull the yarn through two loops on the hook, rep from Step 1 three more times in same stitch.
- Yarn over again, and pull the yarn through all loops on the hook.
Standing Stitches
Standing stitches make a great alternative to turning chains. They are created by working the stitch in ‘mid air’ as you begin the row or round. Make sure to check out the video tutorial to see how I do them.
Pattern Notes
A ch1 at the beginning of a row does not count as st.
Stitch counts are given in [ ] at the end of each round. If no stitch count is given, then the count is the same as the previous round.
Prefer to get the ad-free PDF?
Get the ad-free, printable PDF Ebook here:
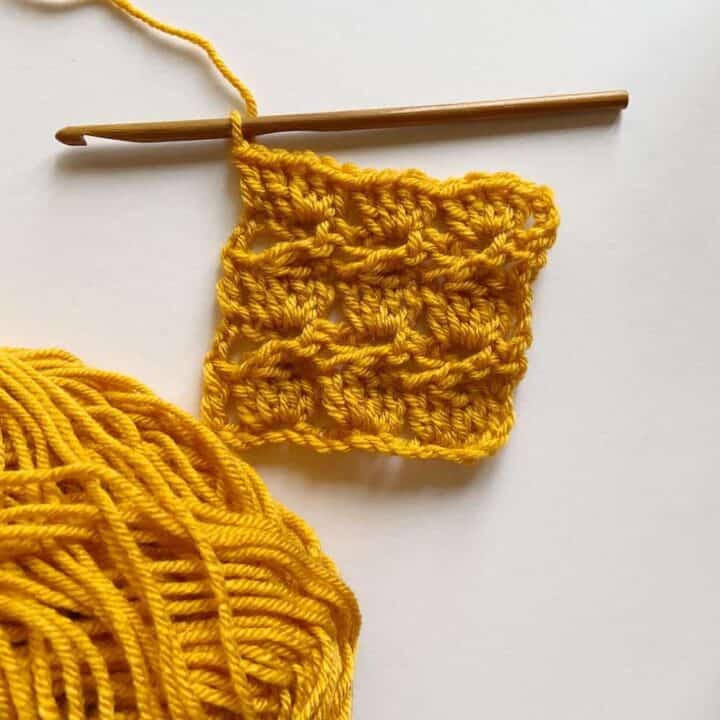
Crochet Flower Border Pattern
Section 6: First side panels
Add the following panels to the two edges of the blanket shown as sections 6 on the diagram, turning the work after every row.
If you have changed the size of your blanket you’ll need to work a stitch multiple of 3 + 2 for Row 1.
Remember to turn at the end of every Row.
To unlock Exclusive Content on the HanJan Crochet Blog, all you need to do is click the box below and the Grow.me app will pop up, allowing you to enter your email and create a password.
Once you’ve created an account, every time you see Exclusive Content on my blog (or any others that use Grow), simply login to your Grow account. Be sure to switch to the login screen to enter your login credentials.
If you forget your password, click the “forgot password” link and follow the prompts. Please note that I’m unable to assist with resetting Grow passwords or accessing your Grow account, so be sure to save your login information in a safe place.
Thank you for subscribing and for joining me at HanJan Crochet! I hope you enjoy the exclusive content available on the site and I can’t wait to see what you create 🙂
Row 8: repeat Row 7.
Rows 9-14: repeat Rows 3-8 in the following colour sequence: F, B, D, E, A, A.
Break yarn. Repeat Section 6 on other edge edge.
Fasten off and weave in ends.
Once you have added panel 6 to both ends, you need to scroll down to find the pattern for panel 7.
Watch the video tutorial here
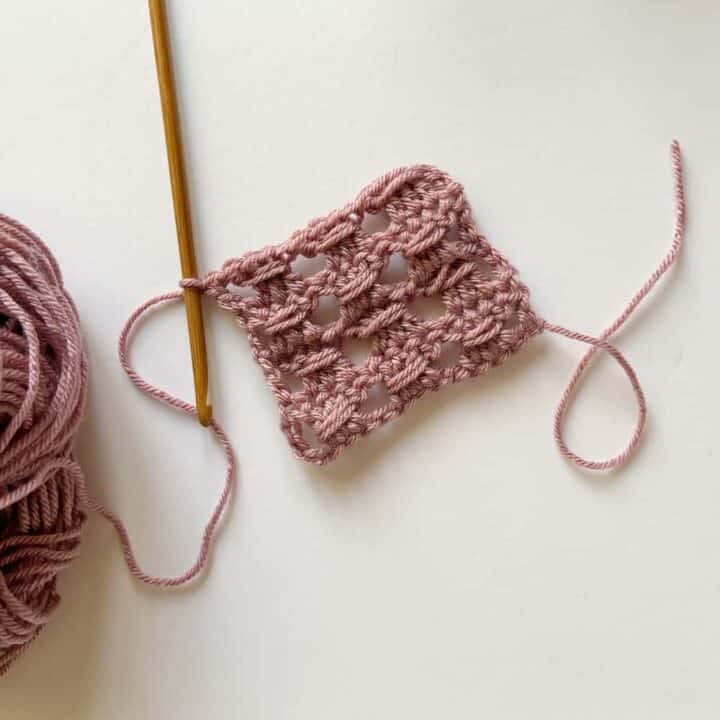
Section 7: Second side panels
Add the following panels to the two edges of the blanket shown as sections 7 on the diagram, turning the work after every row.
Remember to turn at the end of every Row.
Row 1: with RS facing, using A, ch1 (does not count as a st throughout), work 125sc evenly across, turn. [125 sts] (or the st count to match Section 6).
Row 2: ch1, sc in each across, turn. [125 sts]
Row 3: using F, standing dc in 1st st (or ch1, dc if you prefer), *skip next st, (dc, ch1, dc) in next st, skip next st; rep from * to last st (noting that the repeat sequence has a skipped st at beginning and end of each repeat), dc in last st, turn.
Row 4: Using B, ch1, hdc in same st, *(hdc, ch1, hdc) in ch1-sp; rep from * to last, hdc in last st, turn.
Row 5: using C, standing dc in 1st st (or ch1, dc if you prefer), *working over the sts of previous row, dc in sp between next 2 sts of 2 rows below, ch1, dc in space between next 2 sts of 2 rows below; rep from * to last st, dc in last, turn.
Row 6: using D, standing dc in 1st st (or ch1, dc if you prefer), *skip next st, (dc, ch1, dc) in next ch1-sp, skip next st; rep from * to last st, dc in last st, turn.
Row 7: using E, repeat Row 4.
Row 8: using C, repeat Row 5.
Rows 9-11: repeat Rows 6-8.
Row 12: using B, repeat Row 3.
Row 13: using F, repeat Row 3.
Break yarn. Repeat Section 7 on other edge edge.
Final Border
Border the entire blanket now, working in rounds.
Before adding the border I would recommend blocking the blanket lightly to get the panels as level as you can.
Round 1: with RS facing, join A to either short side, ch1 (does not count), *125sc along short edge, ch1, 157sc along long edge, ch1; rep from * once more, ss in first st to join.
Round 2: starting with ch1 (not counted as a st), work 1hdc in each st of previous round and (hdc, ch1, hdc) in each corner sp, ss in 1st hdc to join.
Round 3: starting with a ch1 (not counted as a st), work 1dc in each st and (dc, ch1, dc) in each corner sp, ss in first st to join.
Round 4: rep Round 2.
Round 5: ch1, yo slst in each st and ch around, ss in 2st st to join.
Weave in all ends to finish and block the blanket.
Watch the video tutorial here
Prefer Lifetime Ad-free Access?
Come and join me for the Time to Bloom course and get extra videos, tutorials, downloads and more!
Join HanJan and Share Your Crochet!
I really hope you’ve enjoyed adding this easy crochet flower border to your blanket or whatever project you’re working on. I can’t wait to see it!
It’s an honour to be able to create and share my free crochet patterns with you. I’d love to stay connected and send you regular discount codes and free patterns! Please sign up for my subscriber list to get a free gift right now!
I look forward to seeing your finished crochet projects, so please share them with me in the HanJan Crochet Facebook group or on Instagram and tag #hanjancrochet.
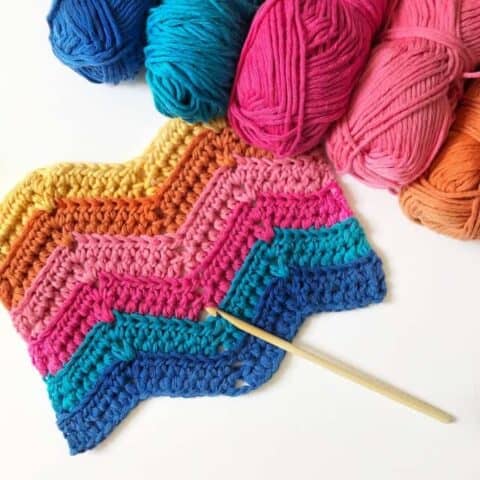
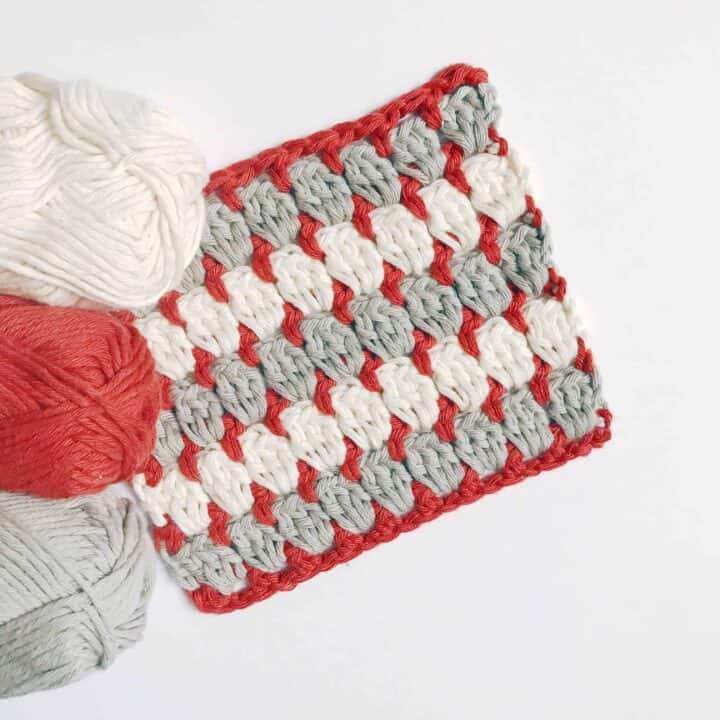
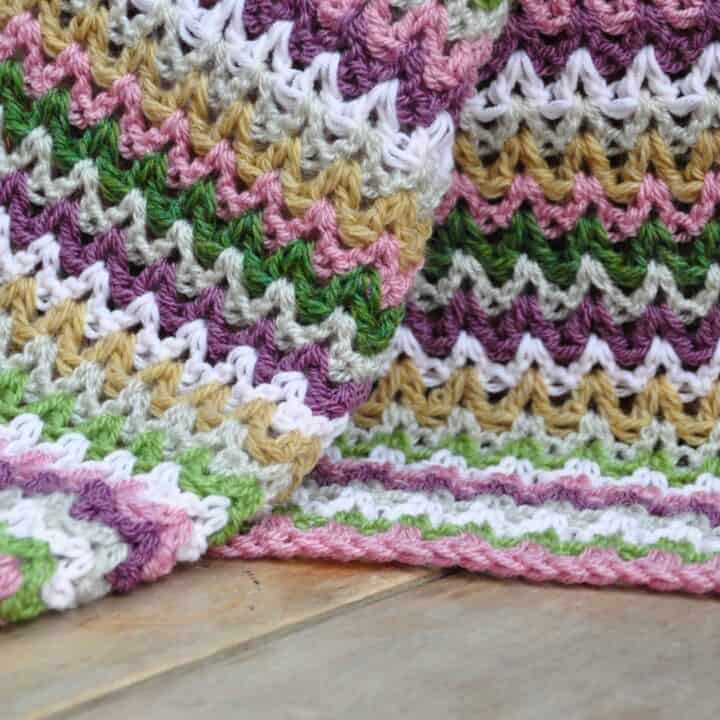
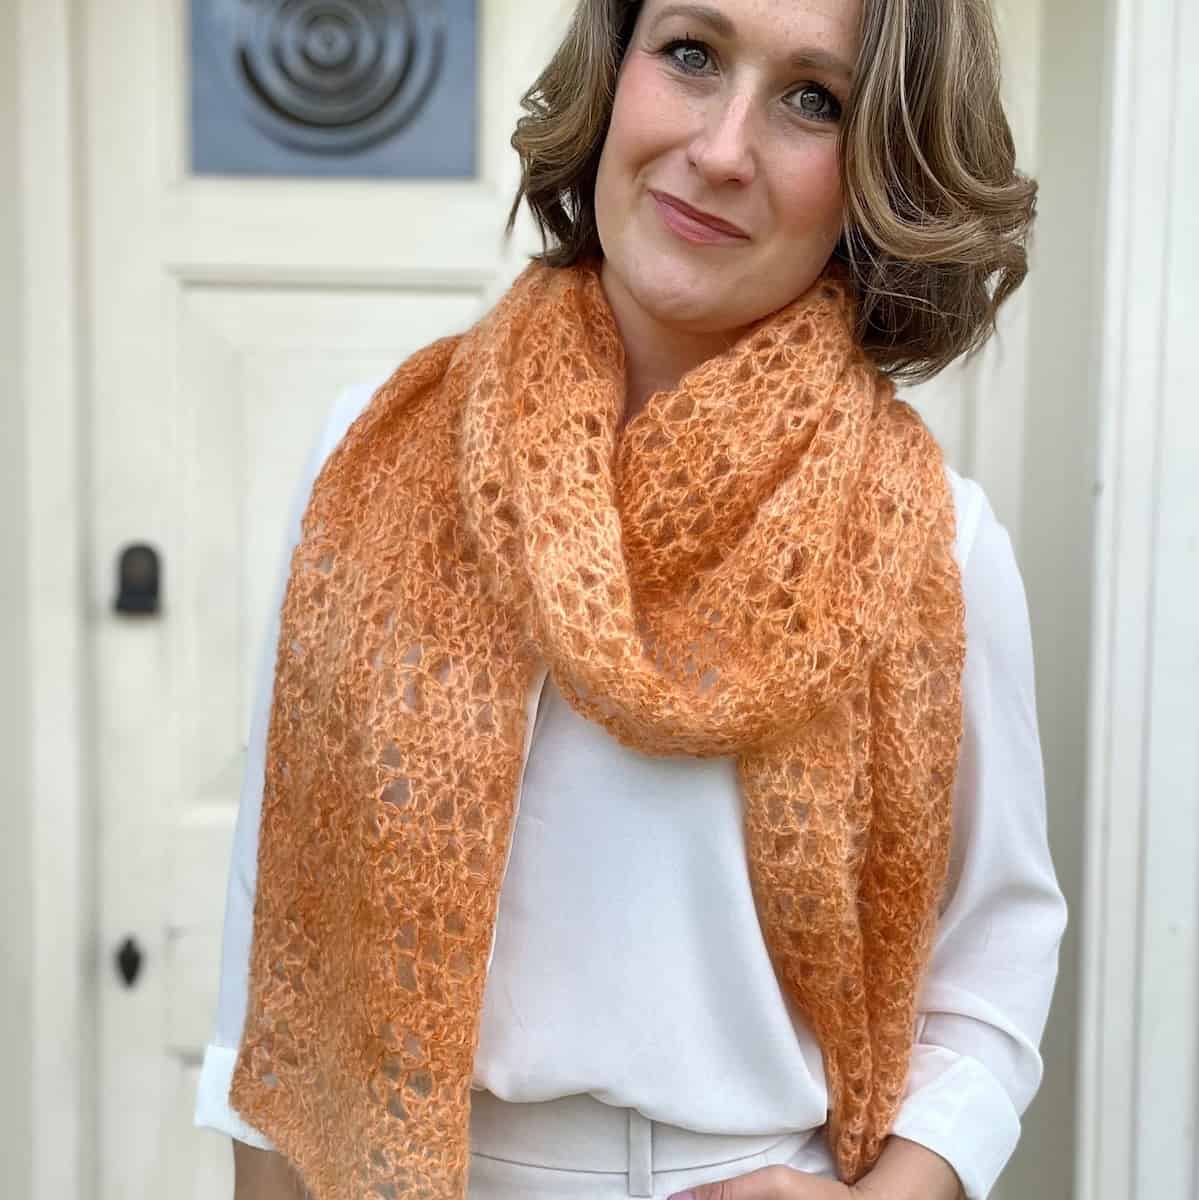
More Free Colourful Blanket Crochet Patterns
If you enjoy making colourful crochet blanket patterns here are a couple more patterns you might enjoy crocheting!
I also have a great set of easy beginner crochet blanket patterns that would work so well for busting that yarn stash too!