This post may contain affiliate links. Please see my full disclosure and privacy policy for details.
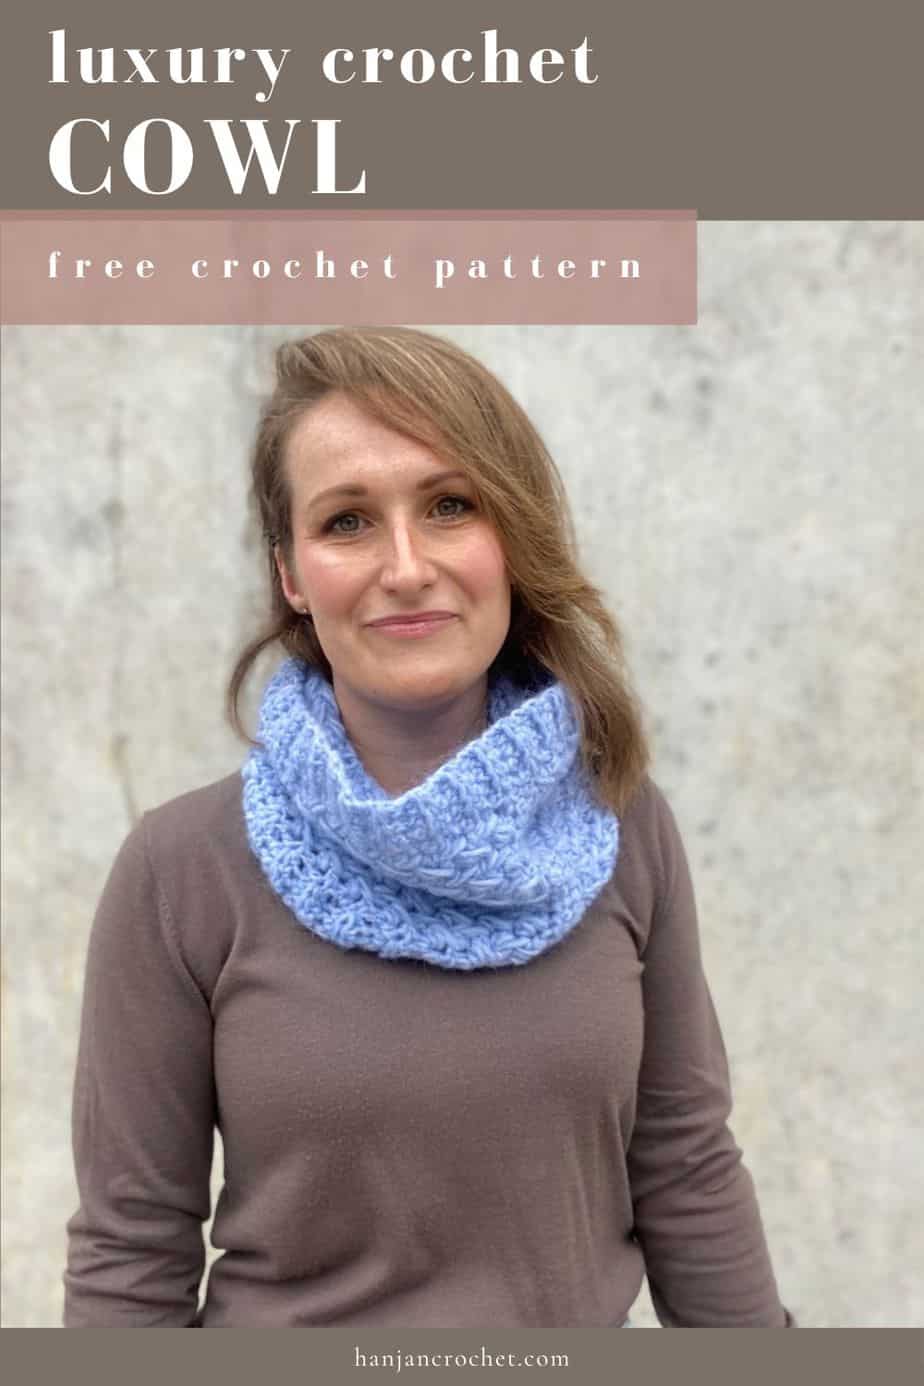
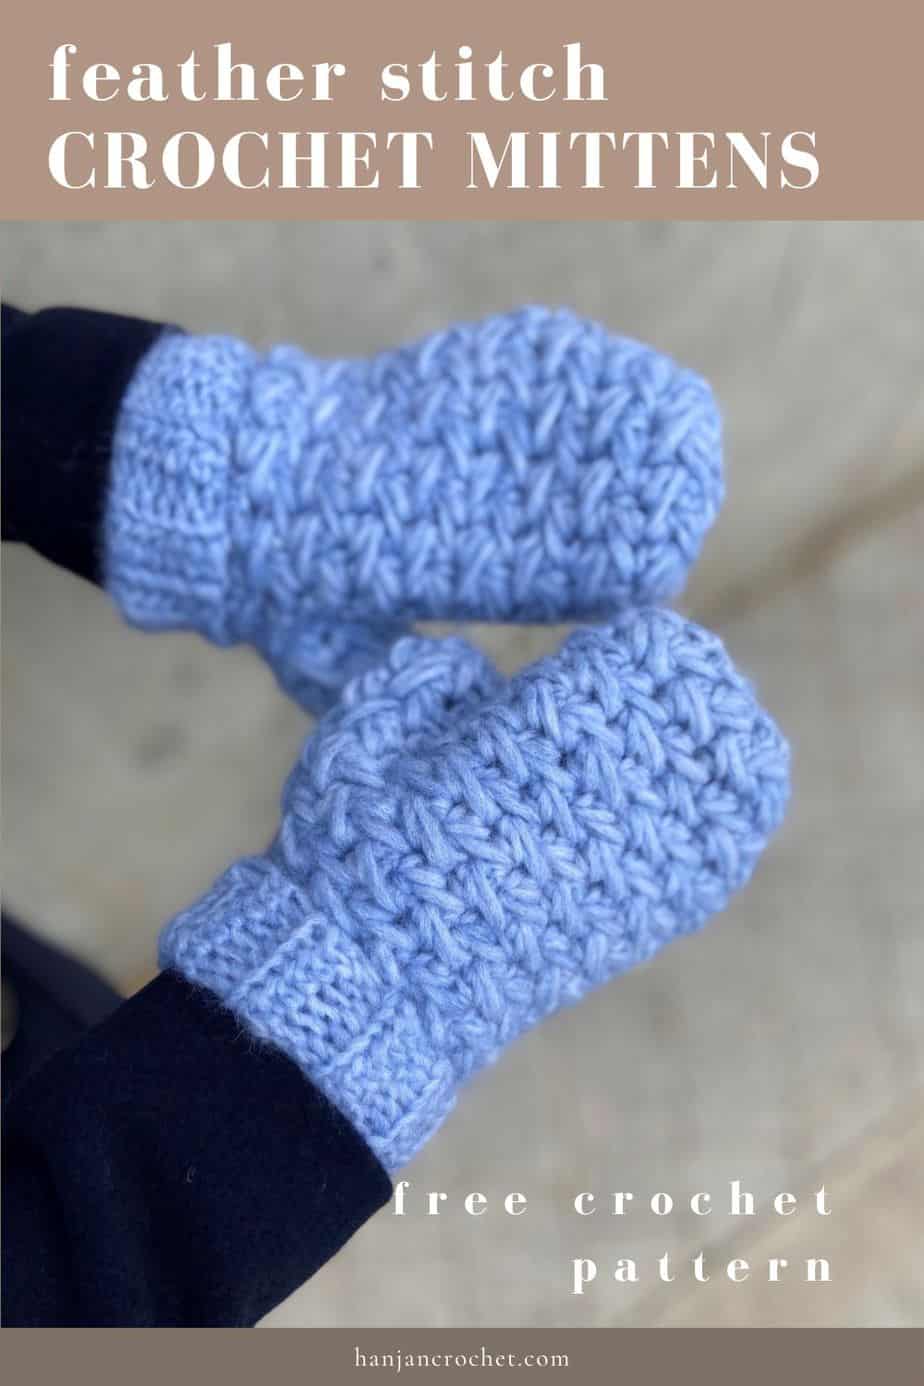
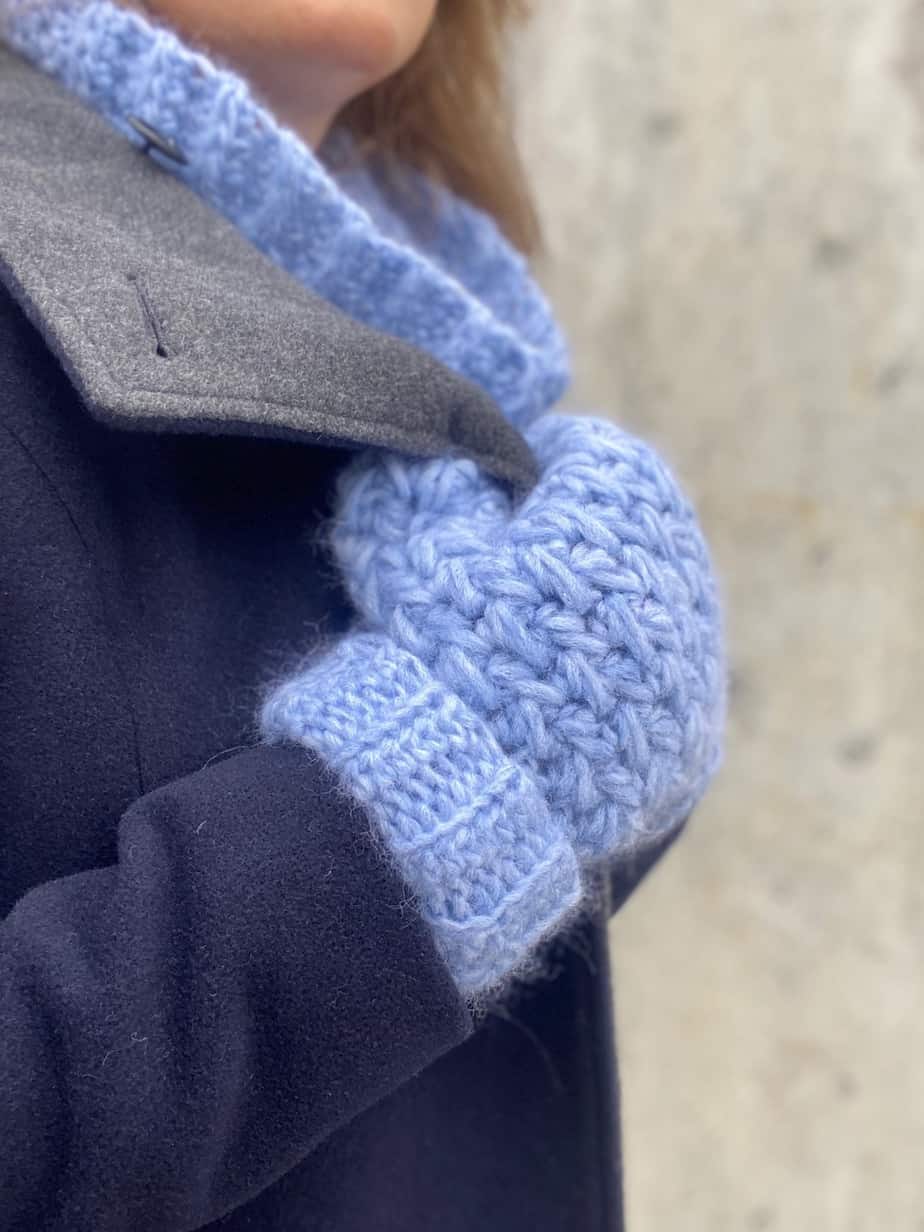
This luxury crochet mitten and cowl set make the perfect set for gifting or keeping. Using the delicate and textured crochet feather stitch they make a wonderful compliment to any outfit. The mittens are sized from toddler to X large and the cowl is easily adjustable to make as big or small as you’d like.
With no tricky seaming or shaping and a full video tutorial and step by step photo tutorial for the special feather stitch and mittens, you’ll have these made in no time at all!
You can carry on reading to find the free pattern and crochet feather stitch tutorial here in this blogpost or purchase an ad-free, printable PDF version of this intermediate crochet pattern in my stores to download and print:
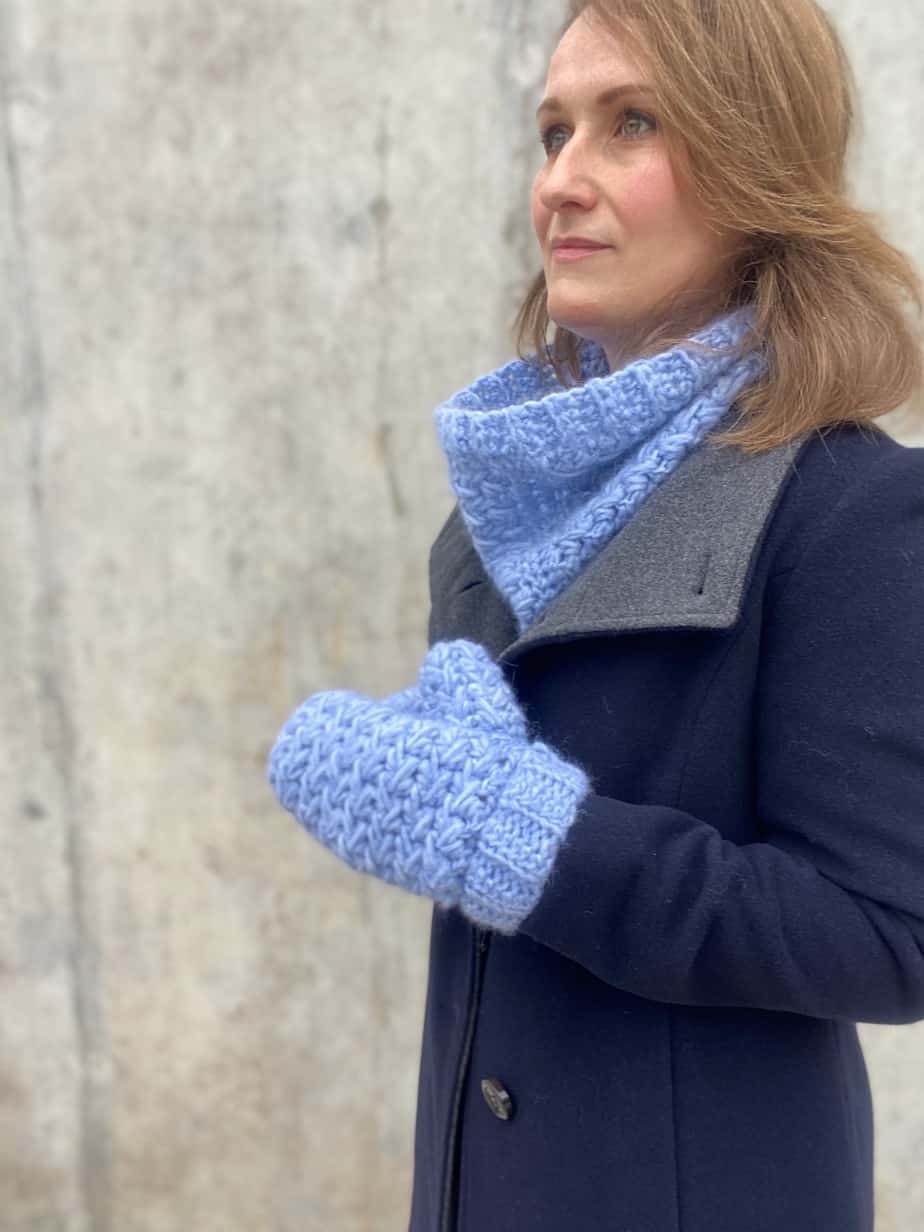
Table of Contents
About the Crochet Feather Stitch
I first came across the crochet feather stitch (sometimes referred to as the feathered crochet stitch) a few years ago and I knew instantly that I had to design something with it!
Want to remove Ads?
- Get ad-free access on all posts; 200+ patterns & tutorials!
- Member-only resource library with downloadable PDF guides
- Bonus eBook (Worth over $30)
The stitch looks terribly complicated and if I’m honest to start with I was a little intimidates by it but once I figured out what part of the stitch went where it felt so easy and rhythmical. If you’ve never tried it before then I know you’ll love it – I’ve made a step by step tutorial (further down this blogpost) and a video tutorial as part of the mitten pattern too.
The basic concept of the crochet feather stitch is to create a little grid to start off with (you do this by using stitches and chain spaces) on the first row. Then on the next row you can start the feathered stitches. You work each of them into three different places – the chain space below, the stitch 2 rows below and the next chain space. By the end of the stitch you’ll have 7 loops on your hook and you’ll yarn over and pull through them all to finish.
It’s not as tricky as it sounds though, I promise! If you’ve made crochet cluster stitches or crocheted stitches together before then you’ll get the idea in no time. It’s just a matter of the sequence of where to put the hook.
The great news too is that once you’re set up it’s a single row repeat. Hurrah!
Why a Crochet Mitten and Cowl Set?
Anyone that knows me knows how much I love designing crochet mitts – my Mystical fingerless crochet mitts pattern is by far my favourite (and yours too) pattern.
Earlier this year I realised though that I don’t really have a fully enclosed mitten pattern and after playing around with the feather stitch I realised it would be perfect for them!
Once I started swatching I also realised that my swatch was just the right width for a cowl and I was enjoying it so much that I just l just kept going until it was long enough too!
Funnily enough that’s how my other cowls came into being too – the classic cowl pattern and the simple chunky cowl pattern started off life as swatches for different ideas.
So more by happy accident than actual design, now have a luxury mitten and cowl set that I hope you love too.
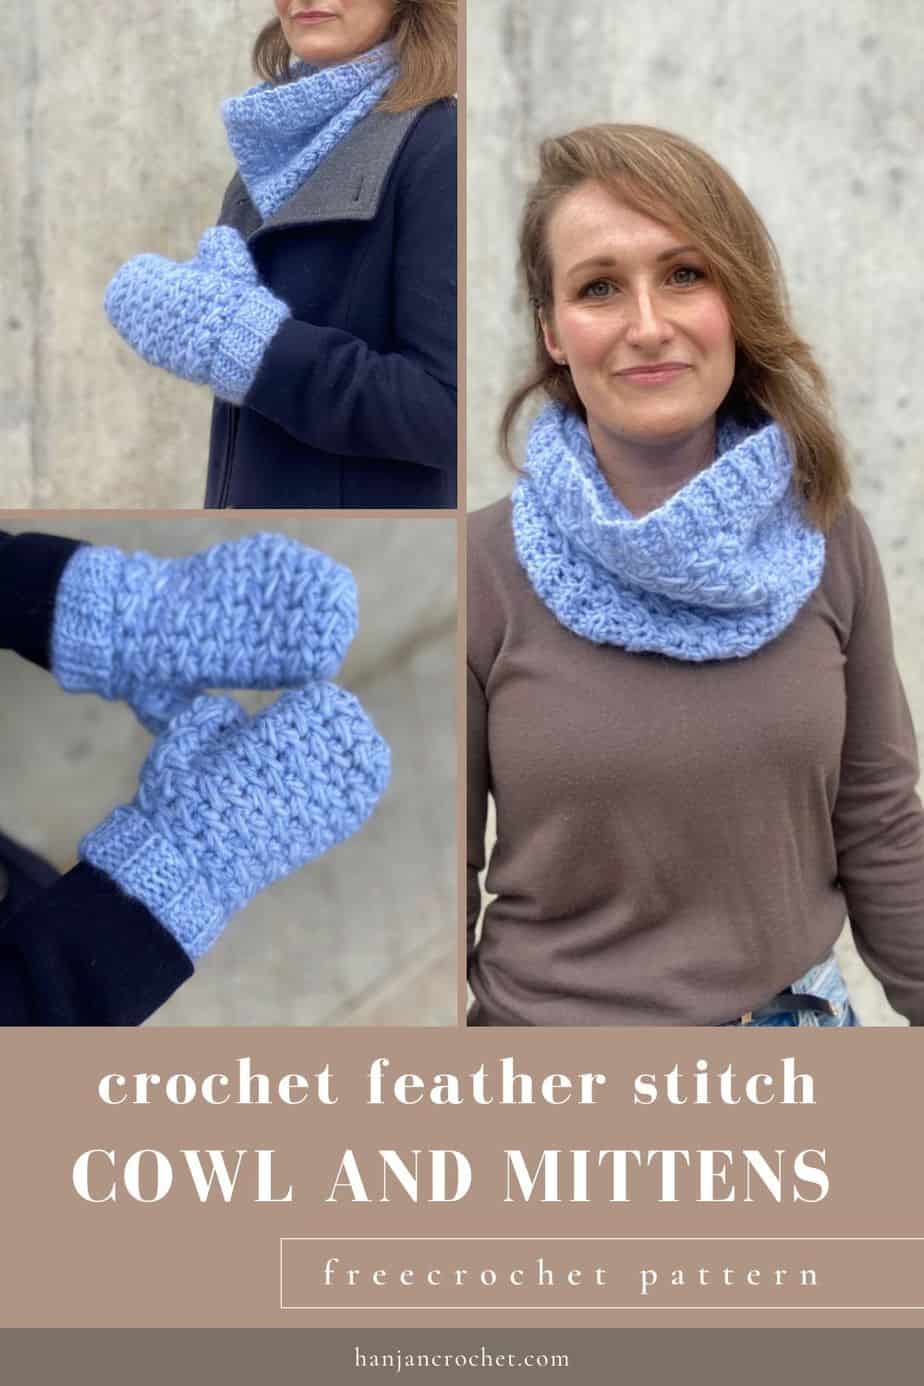
If you don’t have chance to make this right now then don’t worry, just make sure to pin it for later so you don’t lose it using this image:
Crochet Feather Written Stitches
Before we launch into the patterns for the crochet mitten and cowl set let’s have a look in more detail about the feather stitch and how it works.
Firstly, we need to take a look at the written instructions for the special stitches that we will use and then we can go on to the pictures to see each step of the way.
Beginning Feather Stitch (beg Feather st)
This will be the first feather stitch you work for each row.
Step 1: Yarn over, insert hook into last ch-1 sp of previous row.
Step 2: Yarn over and pull up a loop in line with loops on the hook (3 loops on hook).
Step 3: Yarn over, insert hook into ch1-sp one row below same sp (or skipped stitch from foundation row).
Step 4: Yarn over and pull up a loop in line with loops on the hook (5 loops on hook).
Step 5: Yarn over, insert hook in next ch1-sp.
Step 6: Yarn over and pull up a loop in line with loops on the hook.
Step 7: Yarn over and pull through all 7 loops on the hook.
Feather Stitch (Feather st)
This will be for every other feather stitch that you work (it’s really similar but not quite the same).
Step 1: Yarn over, insert hook into same ch1-sp as end of last feather
Step 2: Yarn over and pull up a loop in line with loops on hook (3 loops on hook).
Step 3: Yarn over, insert hook into ch1-sp one row below same sp (or skipped stitch from foundation row).
Step 4: Yarn over and pull up a loop in line with loops on hook (5 loops on hook).
Step 5: Yarn over, insert hook in next ch1-sp.
Step 6: Yarn over and pull up a loop in line with loops on the hook.
Step 7: Yarn over and pull through all 7 loops on the hook.
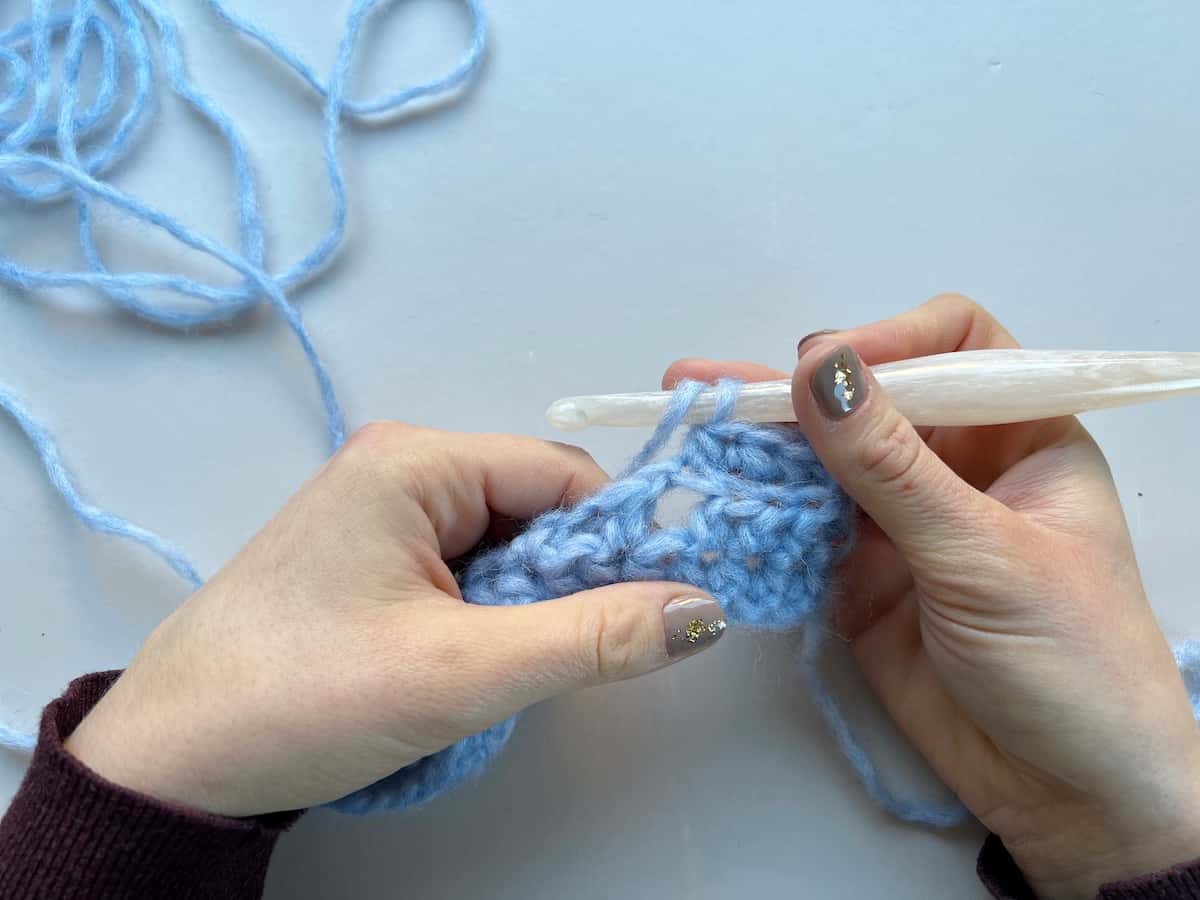
Crochet Feather Stitch Step by Step Tutorial
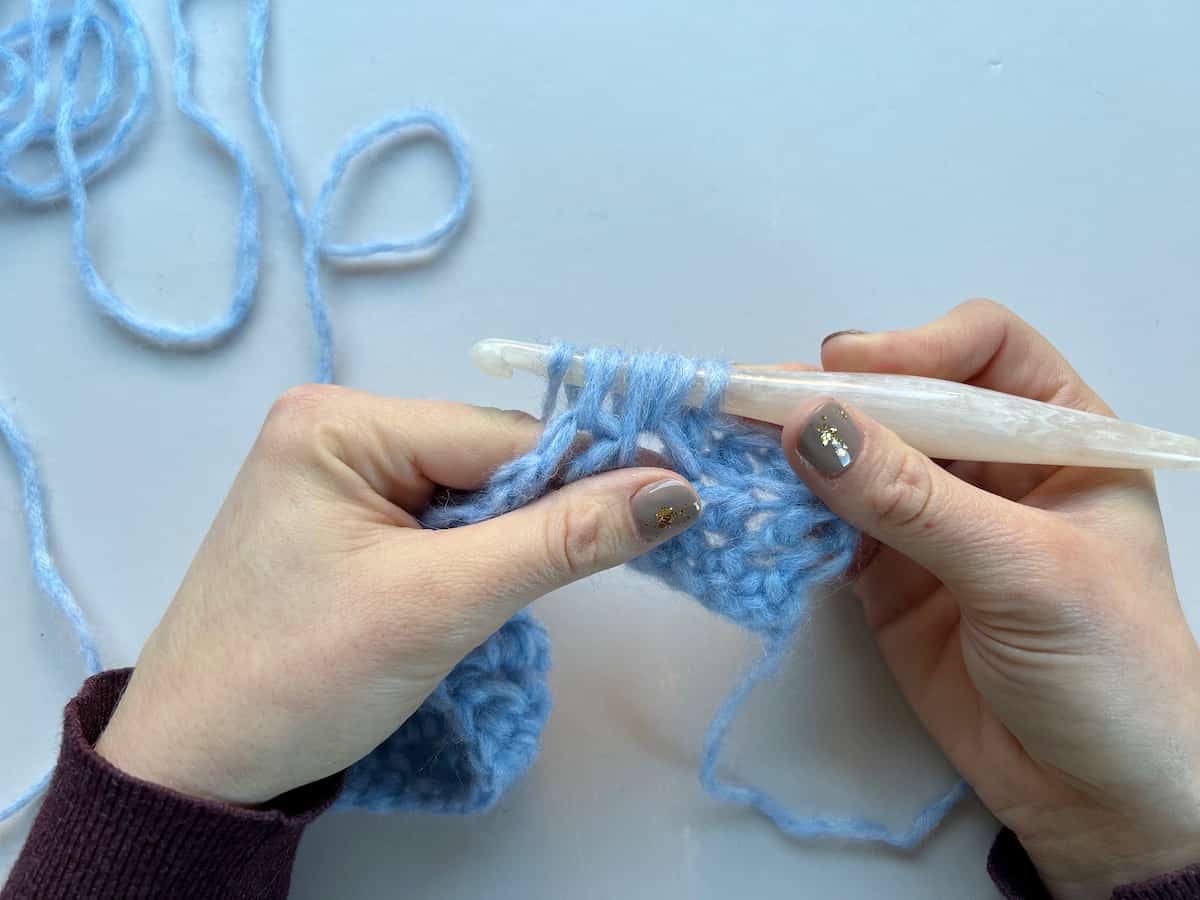
So, now let’s take a look at how the stitches work in action. They are show here in context of the cowl pattern so you’ll see 3 stitches at either end for the cuff sections and the feather stitch section in the middle.

- Work a row of foundation half double crochet stitches (any multiple of 2 + 1), turn. Work hdc blo of next 3 sts (cuff stitches), then hdc in next st, *ch1, skip 1, hdc in next st; rep from * to last 3, hdc in blo last 3 sts, turn.
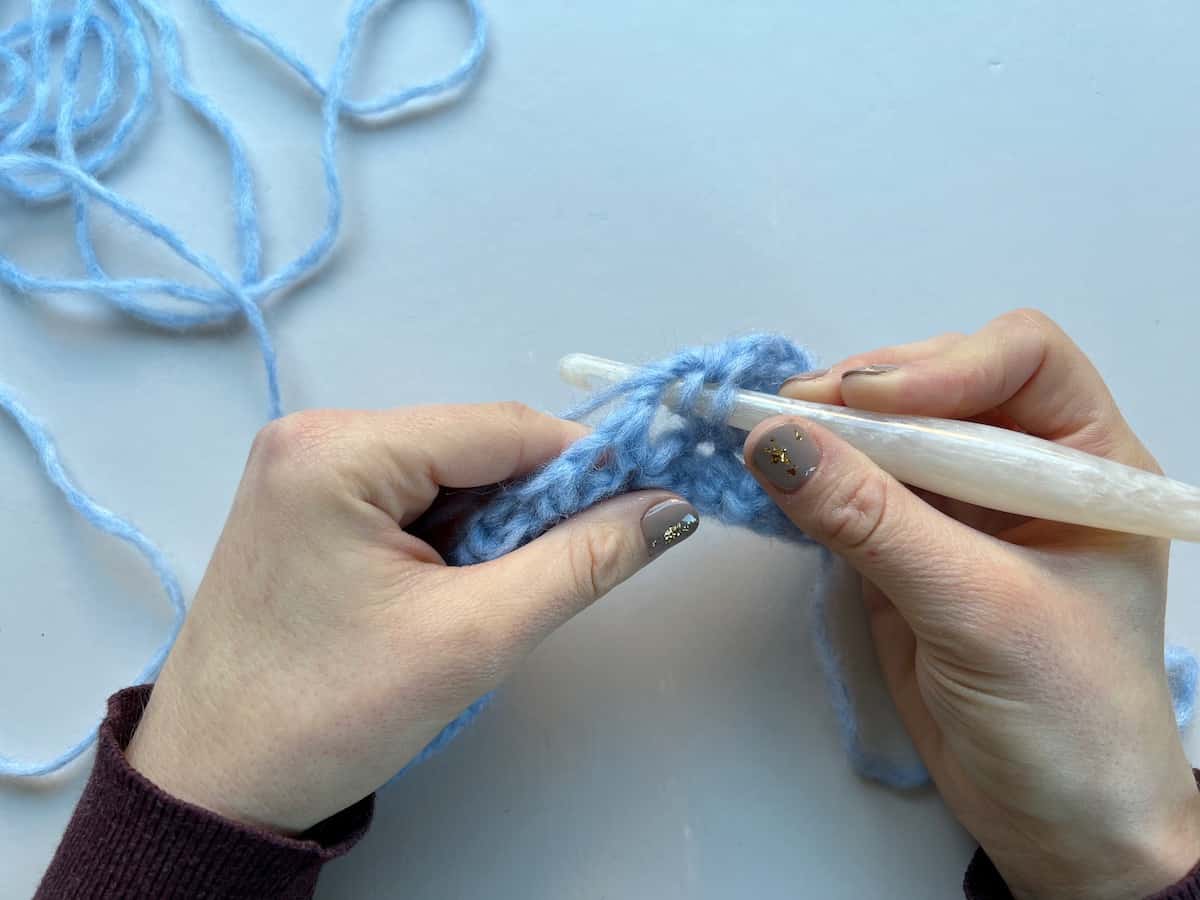
2. Work cuff stitches, hdc in next st, ch1 and now start your Beginning Feather Stitch : Yarn over, insert hook into last ch-1 sp of previous row.
3. Yarn over and pull up a loop .

4. Make sure to pull up in line with loops on the hook (3 loops on hook).
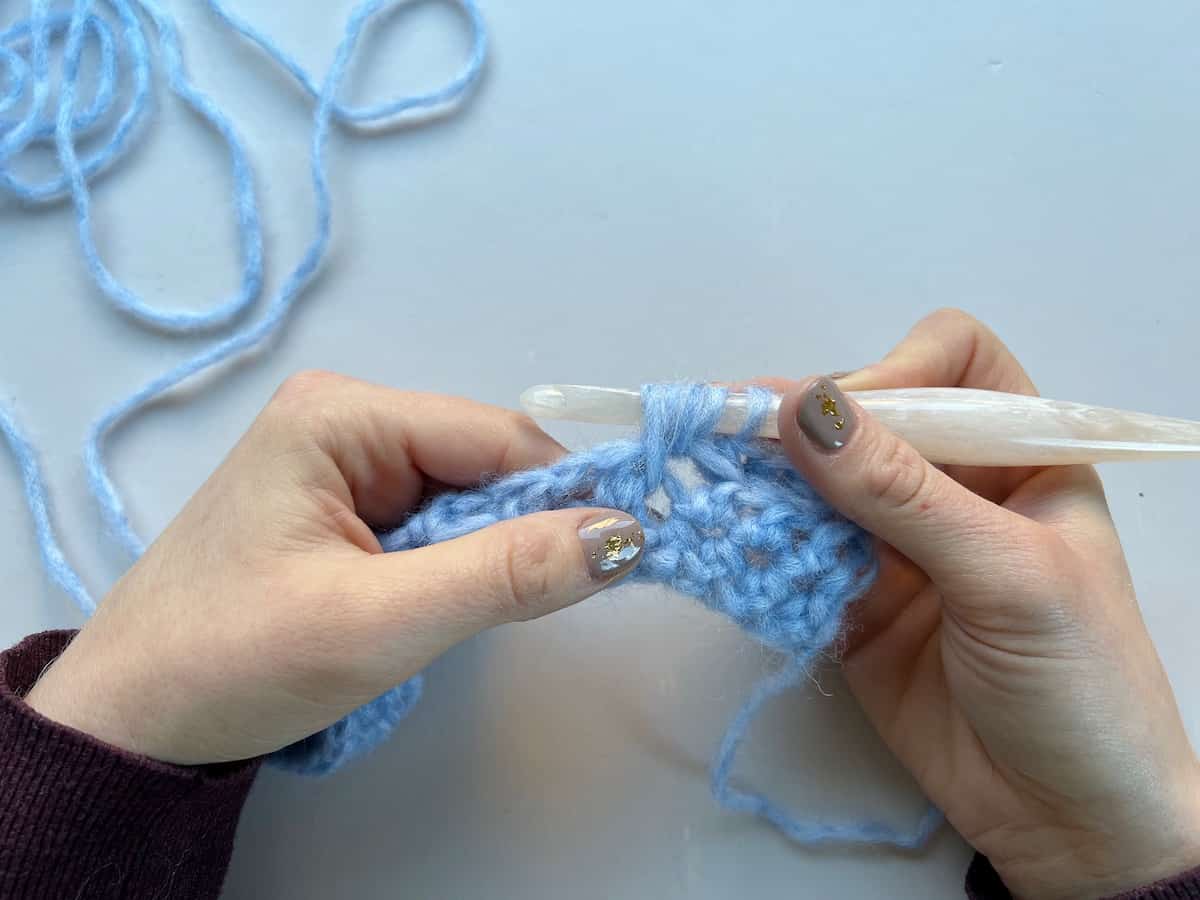
5. Yarn over, insert hook into ch1-sp one row below (or skipped stitch from foundation row) yarn over and pull up a loop (5 loops on hook).
6. Yarn over, insert hook into next ch1-sp, yarn over and pull up a loop (7 loops on hook).
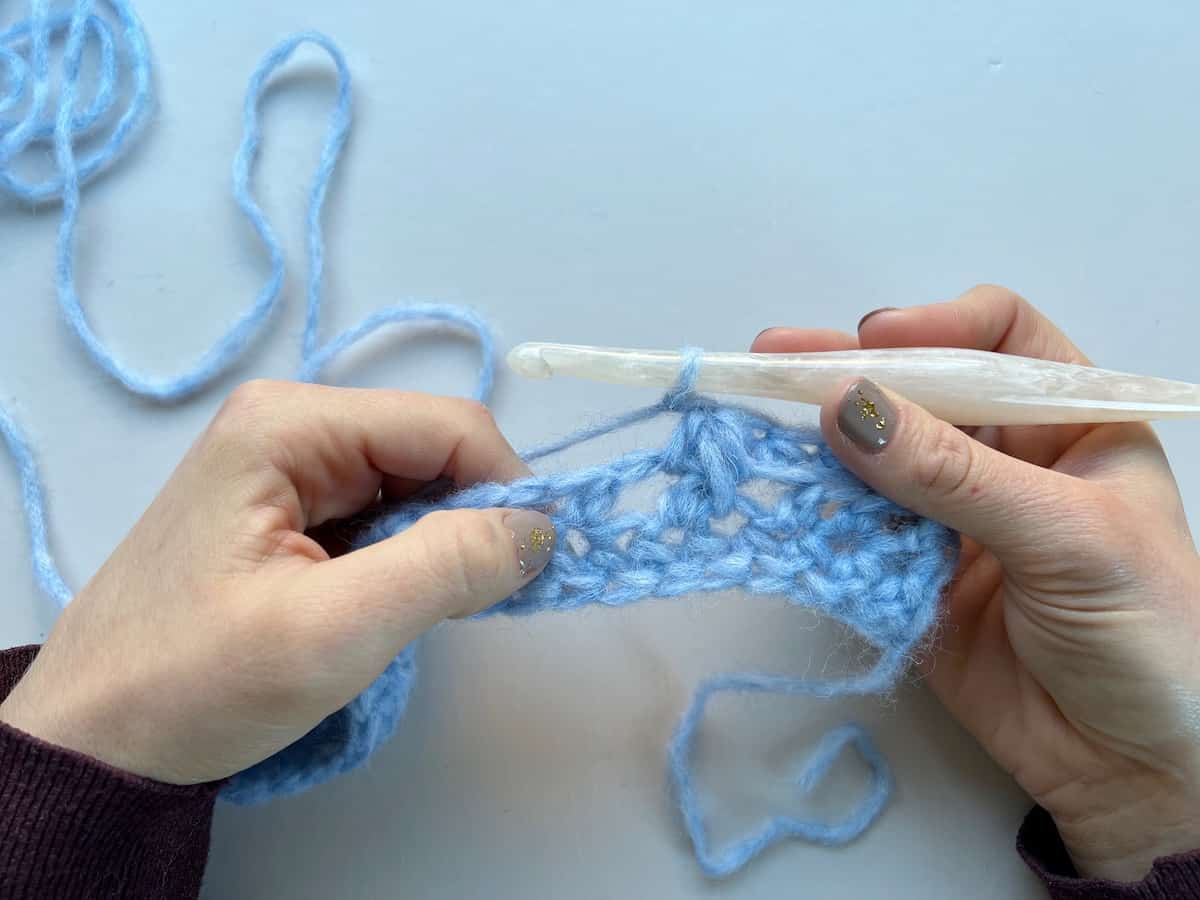
7. Check to make sure you have 7 loops on your hook.
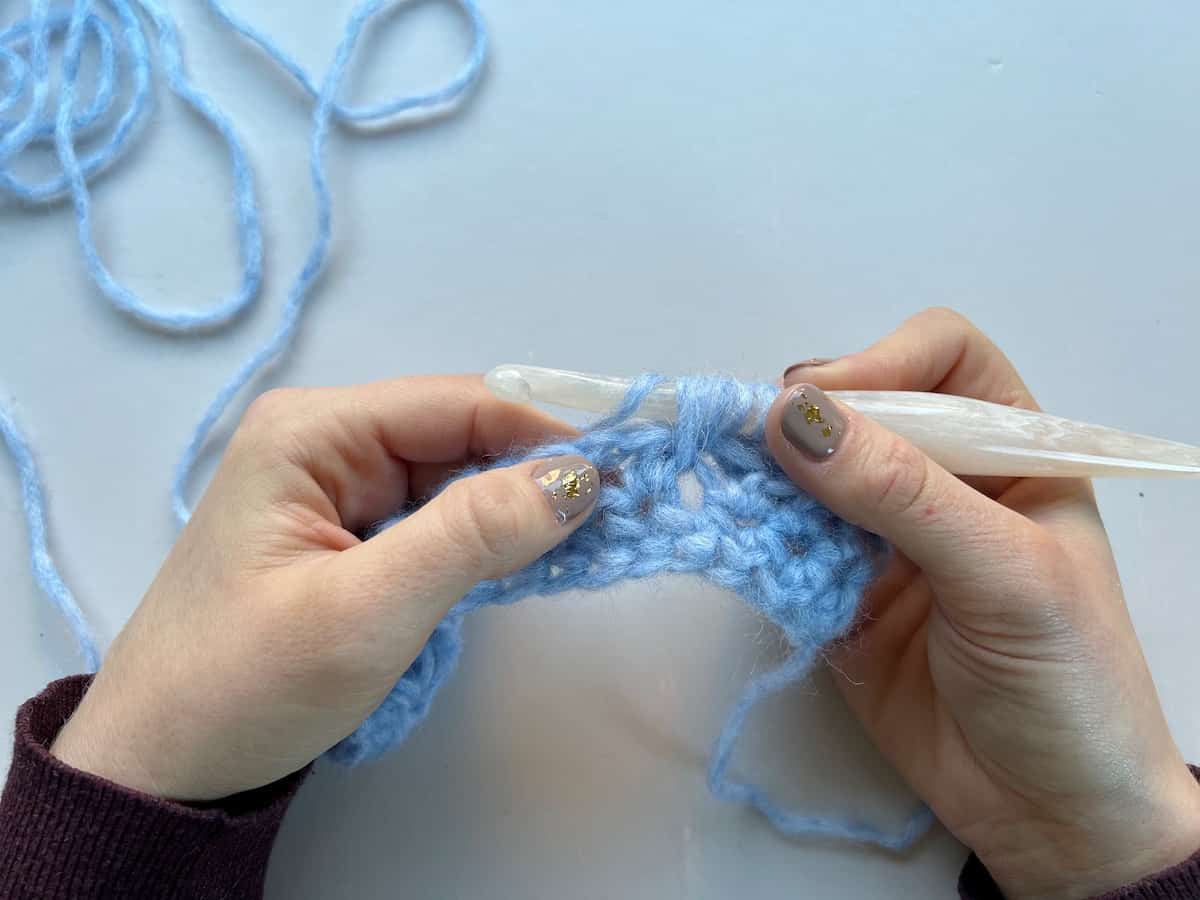
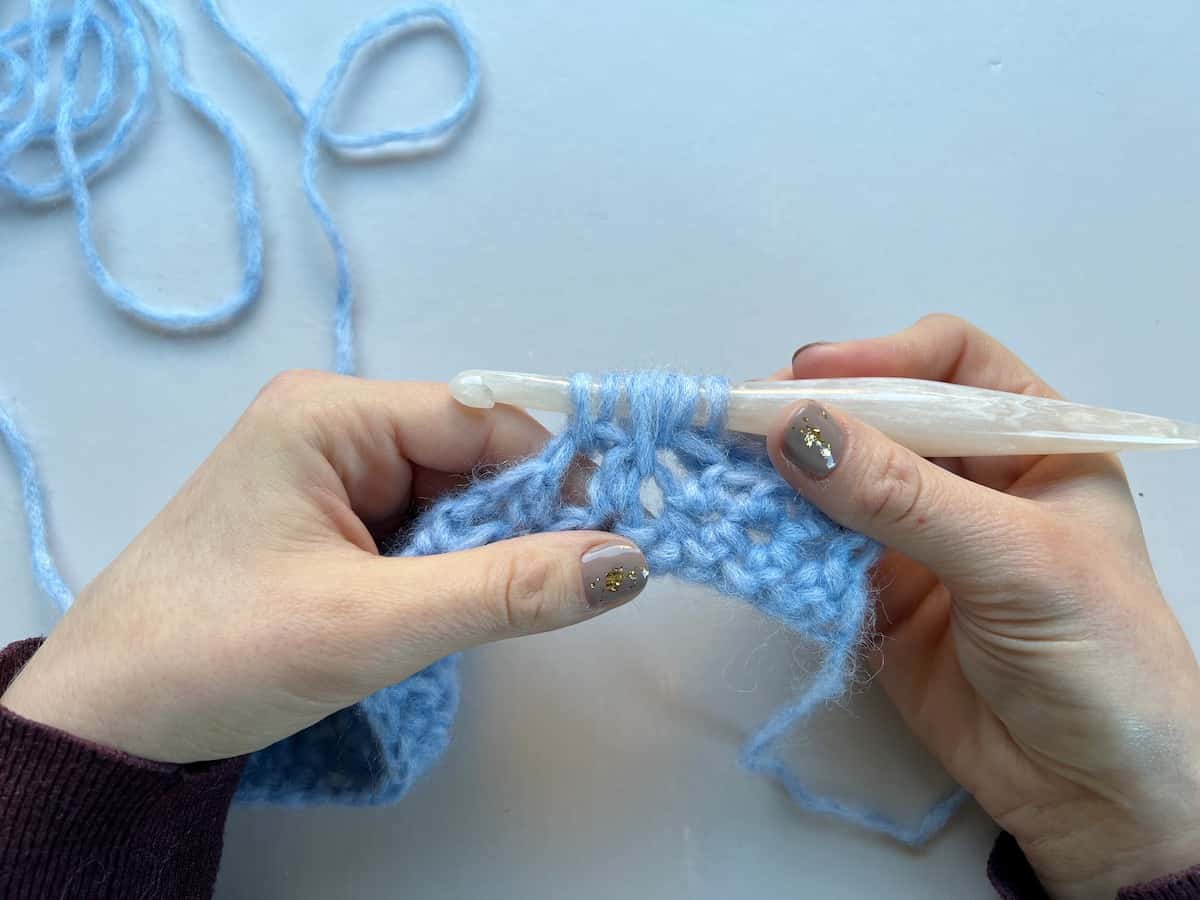
8. Yarn over, insert hook into ch1-sp one row below (or skipped stitch from foundation row) yarn over and pull up a loop (5 loops on hook).
9. Ch1 ready to start your next Feather Stitch.
Crochet Pattern Tension and Sizing Options
Tension (gauge) is 14 sts and 8 rows to measure 10 by 10cm over Feather Stitch repeat of pattern using an 8mm hook, or size needed to obtain correct tension.
The cowl measures approx 60 x 23cm (23.5 x 9in).
The mittens are sized as Toddler (Child, Small, Medium, Large, X Large) and measure as follows:
Length:
Toddler – 5″ / 13cm
Child – 6.75″ / 17cm
Small – 8″ / 20cm
Medium – 9″ / 23cm
Large – 9.75 / 25cm
X Large – 11″ / 28cm
Circumference:
Toddler – 4.75″ / 12.5cm
Child – 6″ / 15cm
Small – 7″ / 17.5cm
Medium – 8″ / 20cm
Large – 8″ / 20cm
X Large – 8.75″ / 22.5cm
Yarn for this Feather Stitch Set
To make the cowl and mitten set I used WeCrochet Wonderfluff yarn. It’s 70% Baby Alpaca, 7% Merino Wool, 23% Nylon, 142yds per 50g skein, Weight: #5/Bulky and is the most gloriously soft and luxurious yarn. I used Wonderland Heather.
You will need approximately 2 balls for the cowl.
You will need approximately 1 (1, 1, 2, 2, 2) balls for the mittens.
A great alternative yarn is DROPS Air which is equally as lovely.
If you’re making for little ones and want something a little more sturdy then I’d go for something like WeCrochet Mighty Stitch Yarn (190m per 100g skein; Weight: #4/Aran; 20% Superwash wool, 80% acrylic). It will make a slightly heavier item but will last and wash much easier!
Other Materials You Will Need
Along with your yarn, you will need the following:
| 8mm (US M) crochet hook – my favourites are Furls Streamline Swirl crochet hooks or Clover Amour crochet hooks. |
| Tapestry needle |
| Scissors |
| Stitch markers if desired |
Crochet Abbreviations and Glossary
ch(s) – chain(s)
ss – slip stitch
st(s) – stitch(es)
RS – right side
rep – repeat
blo – back loop only
Crochet Stitches used in the Pattern
The pattern uses the following crochet stitches.
| Standard UK Crochet Term | Standard US Crochet Term |
| htr – half treble crochet | hdc – half double crochet |
How to get the Crochet Feather Stitch Pattern Set
This crochet mitten and cowl pattern is a free crochet pattern in US terms on the blog for everyone to enjoy, just scroll down to find it.
There are a few ways you can access and enjoy this crochet pattern and help support HanJan Crochet.
- You can find and use the crochet pattern here on the blog that is supplemented with ads.
- Find it as part of Studio Crochet Issue 1 – Luxury
- You can purchase, print and keep the 4 page ad-free pattern PDF in any of my stores below:
Purchase and Print
Get the ad-free, printable PDF with added extras in my pattern stores:
Pattern Notes
A ch1 at the beginning of a row does not count as a stitch.
Instructions are given for the smallest size, with larger sizes in brackets ( ).
Stitch counts are given in [ ] at the end of each row. If no stitch count is given, then the count is the same as the previous row.
Turn the work at the end of every row.
Watch a video tutorial of the feather stitch mittens here:
Anyone that knows me knows how much I love designing crochet mitts – my Mystical fingerless crochet mitts pattern is by far my favourite (and yours too) pattern.
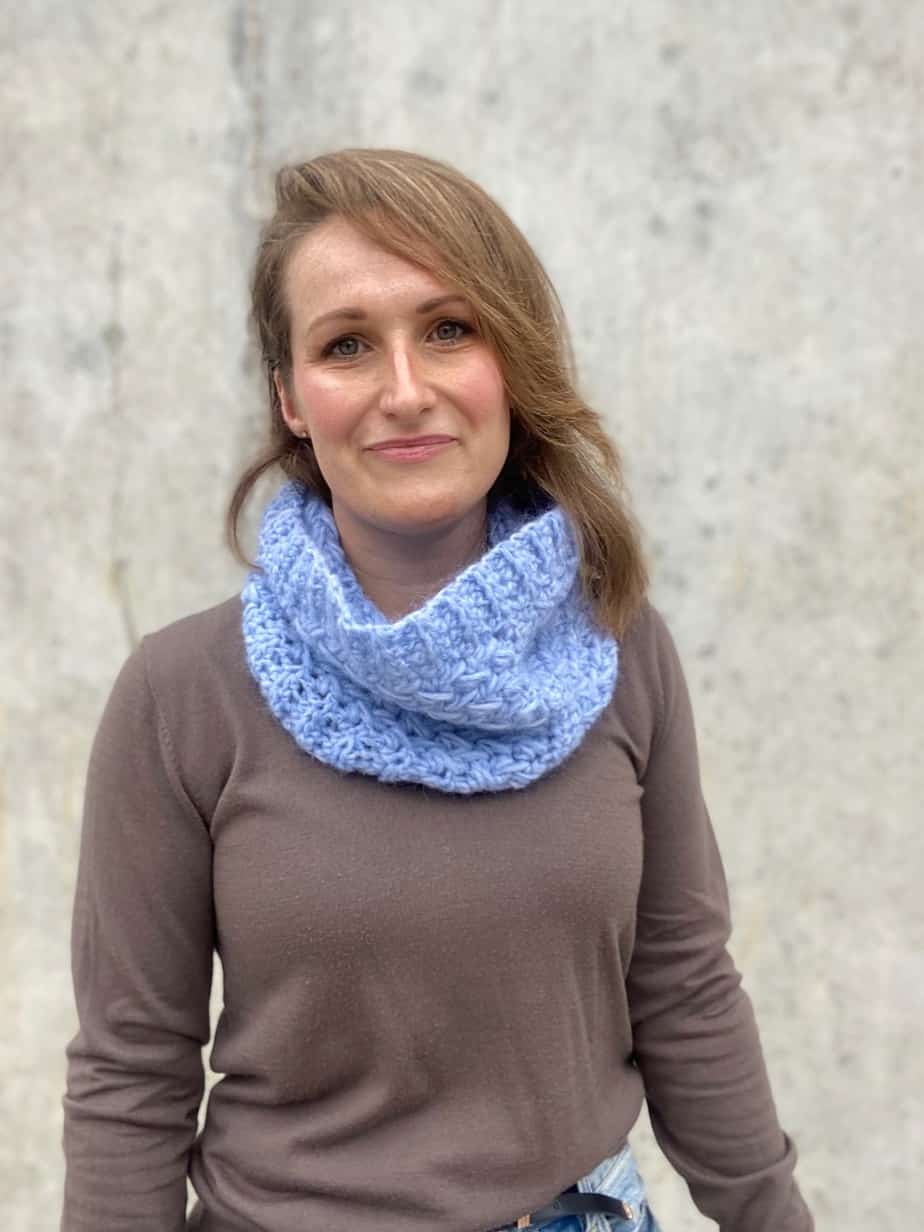
Feather Stitch Cowl Pattern
Construction:
- The cowl is made as a flat rectangle in rows to begin with.
- Once the rectangle is complete the cowl is formed by seaming the last row to the first row with either a slip stitch seam or a whip stitch.
Standard US Terms
To unlock Exclusive Content on the HanJan Crochet Blog, all you need to do is click the box below and the Grow.me app will pop up, allowing you to enter your email and create a password.
Once you’ve created an account, every time you see Exclusive Content on my blog (or any others that use Grow), simply login to your Grow account. Be sure to switch to the login screen to enter your login credentials.
If you forget your password, click the “forgot password” link and follow the prompts. Please note that I’m unable to assist with resetting Grow passwords or accessing your Grow account, so be sure to save your login information in a safe place.
Thank you for subscribing and for joining me at HanJan Crochet! I hope you enjoy the exclusive content available on the site and I can’t wait to see what you create 🙂
Rows 18-33: Repeat Rows 2-17.
Rows 34-48: Repeat Rows 2-16.
Turn at the end of Row 48 and join with a slip stitch seam or whip stitch to Row 1 to join into a cowl.
Fasten off and weave in ends to finish.
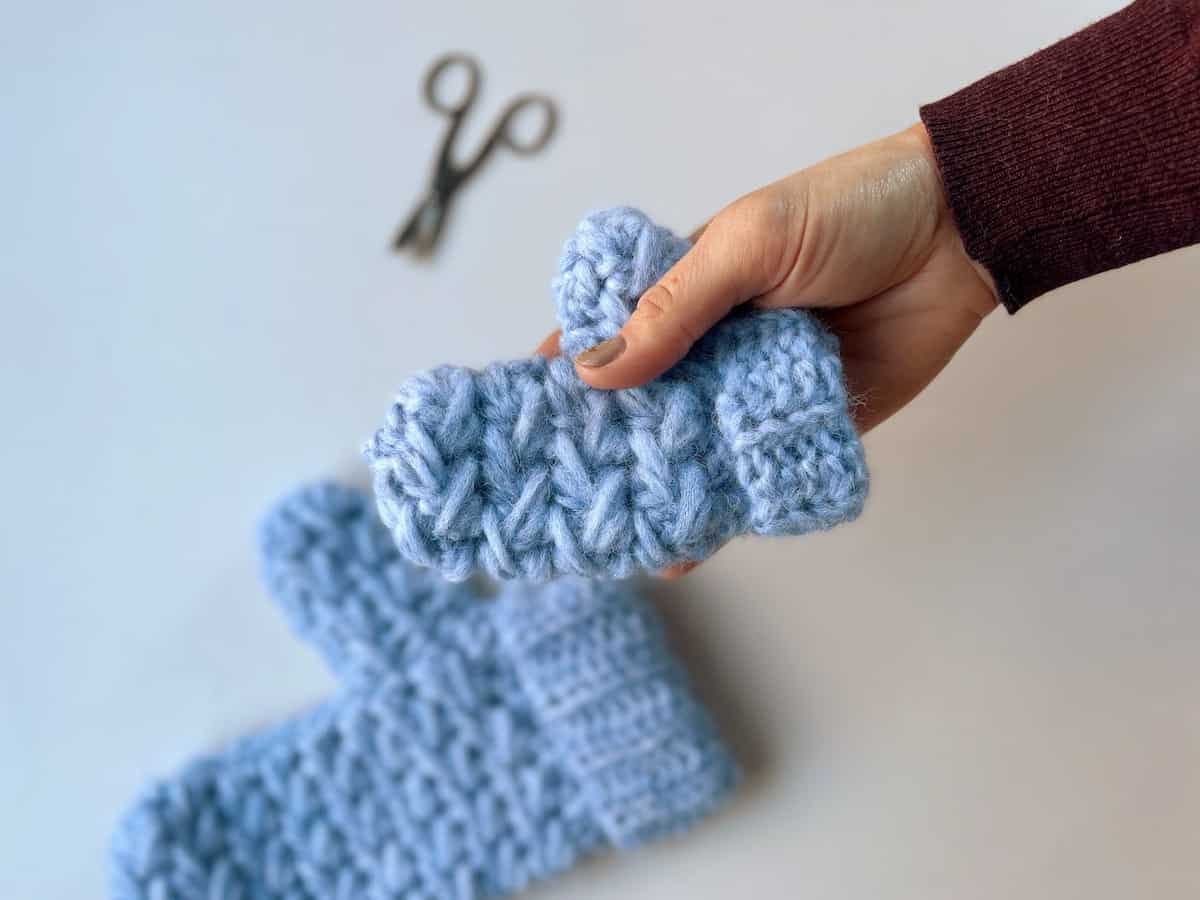
Feather Stitch Mitten Pattern
Construction
- The mitten is worked in rows with the cuff at one end.
- Once the rows are completed for the main body of the mitten you will seam the side of the cuff then continue to make the thumb in rows.
- The thumb is then folded over and seamed in place. The remaining seam of the main body is then joined and gathered at the top before finally seaming the sides of the thumb to finish.
Standard US Crochet Terms
ALL SIZES: Toddler, (Child, Small, Medium, Large, X Large)
1.Main Mitten Body
Foundation Chain: Ch 20, (26, 30, 32, 35, 37)
Row 1 (RS): ss in 2nd ch from the hook, ss in next 7, (11, 13, 13, 14, 14), hdc in next ch, *ch1, skip 1, hdc in next ch; rep from * to end [19, (25, 29, 31, 34, 36)]
Row 2 (WS): Ch1, hdc in next st, ch1, work a beginning feather st, ch1, *work a feather st, ch1, repeat from * to the last 9, (13, 15, 15, 16, 16)sts, hdc in next st, hdc in blo last 8, (12, 14, 14, 15, 15) sts.
Row 3 (RS): Ch1, ss in blo next 8, (12, 14, 14, 15, 15)sts, hdc in next ch, ch1, work a beginning feather st, ch1, *work a feather st, ch1, repeat from * to last st, hdc in last st; rep from * to end.
Rows 2 and 3 create the set pattern.
Rows 4- 9,(11, 13, 15, 15, 17): Repeat the set pattern
Last row: Repeat Row 2.
Do not fasten off.
2. Cuff seam and thumb
Next, join the 8, (12, 14, 14, 15, 15) sts of the cuff with a slip stitch seam then continue to make the thumb as follows:
Row 1: ch1, hdc in next st, (ch1, feather st) 1, (1, 1, 2, 2, 3) time/s, ch1, hdc in next st, turn [5, (5, 5, 7, 7, 9)].
Rows 2-8 (10, 12, 14, 16, 16): Repeat Row 1.
Do not fasten off and continue for side seam.
3. Side seam
Fold over thumb to line up with the next 5, (5, 5, 7, 7, 9) sts on Row 1 of Main Body and join with a ss seam. Continue with a ss seam to join the remaining sts of Row 1 and Last Row of Main Body now.
Break the yarn with a long tail and gather the top of the Main Mitten Body now and sew together securely.
4. Thumb seam
With WS facing, seam the sides of the thumb together with a whip stitch seam and gather the top of the thumb if desired to shape.
Fasten off and weave in all ends to finish.
Join HanJan Crochet and Share Your Crochet!
I’d love to stay connected with you so please do sign up for my subscriber list if you’d like to. Looking forward to hearing from you and sending you your free gift!
Thank you so much for being here to share in my free crochet patterns and supporting my blog. It’s such an honour to be able to create and share my craft with you.
I’d love to see your finished crochet projects and so please share them with me in one (or all!) of the following ways:
- Share a picture on Instagram and tag me #hanjancrochet
- Share your projects on Ravelry
- Share a picture in the HanJan Crochet Facebook group