This post may contain affiliate links. Please see my full disclosure and privacy policy for details.
Often people shy away from lacy stitches for blankets as you generally want them soft and cosy but sometimes I think a light and airy blanket or throw is just as lovely to pop over you to take off the chill. This wave crochet stitch tutorial will show you how to create the perfect lacy blanket stitch.
I’ll walk you through this wave crochet stitch tutorial step by step, with plenty of tips to help you feel confident using it in any project.

Table of Contents
What is a Wave Crochet Stitch?
This beautiful lace stitch is just a one row repeat from row 3 onwards, which is hard to believe when it looks so intricate. Using just single crochet and double crochet stitches (US terms), it really is something that everyone can achieve.
The trickiest part of the pattern is learning about the stitch placement as it isn’t always intuitive but after a few rows you’ll be absolutely fine and busy on your next episode of that series you’re watching whilst hooking away!
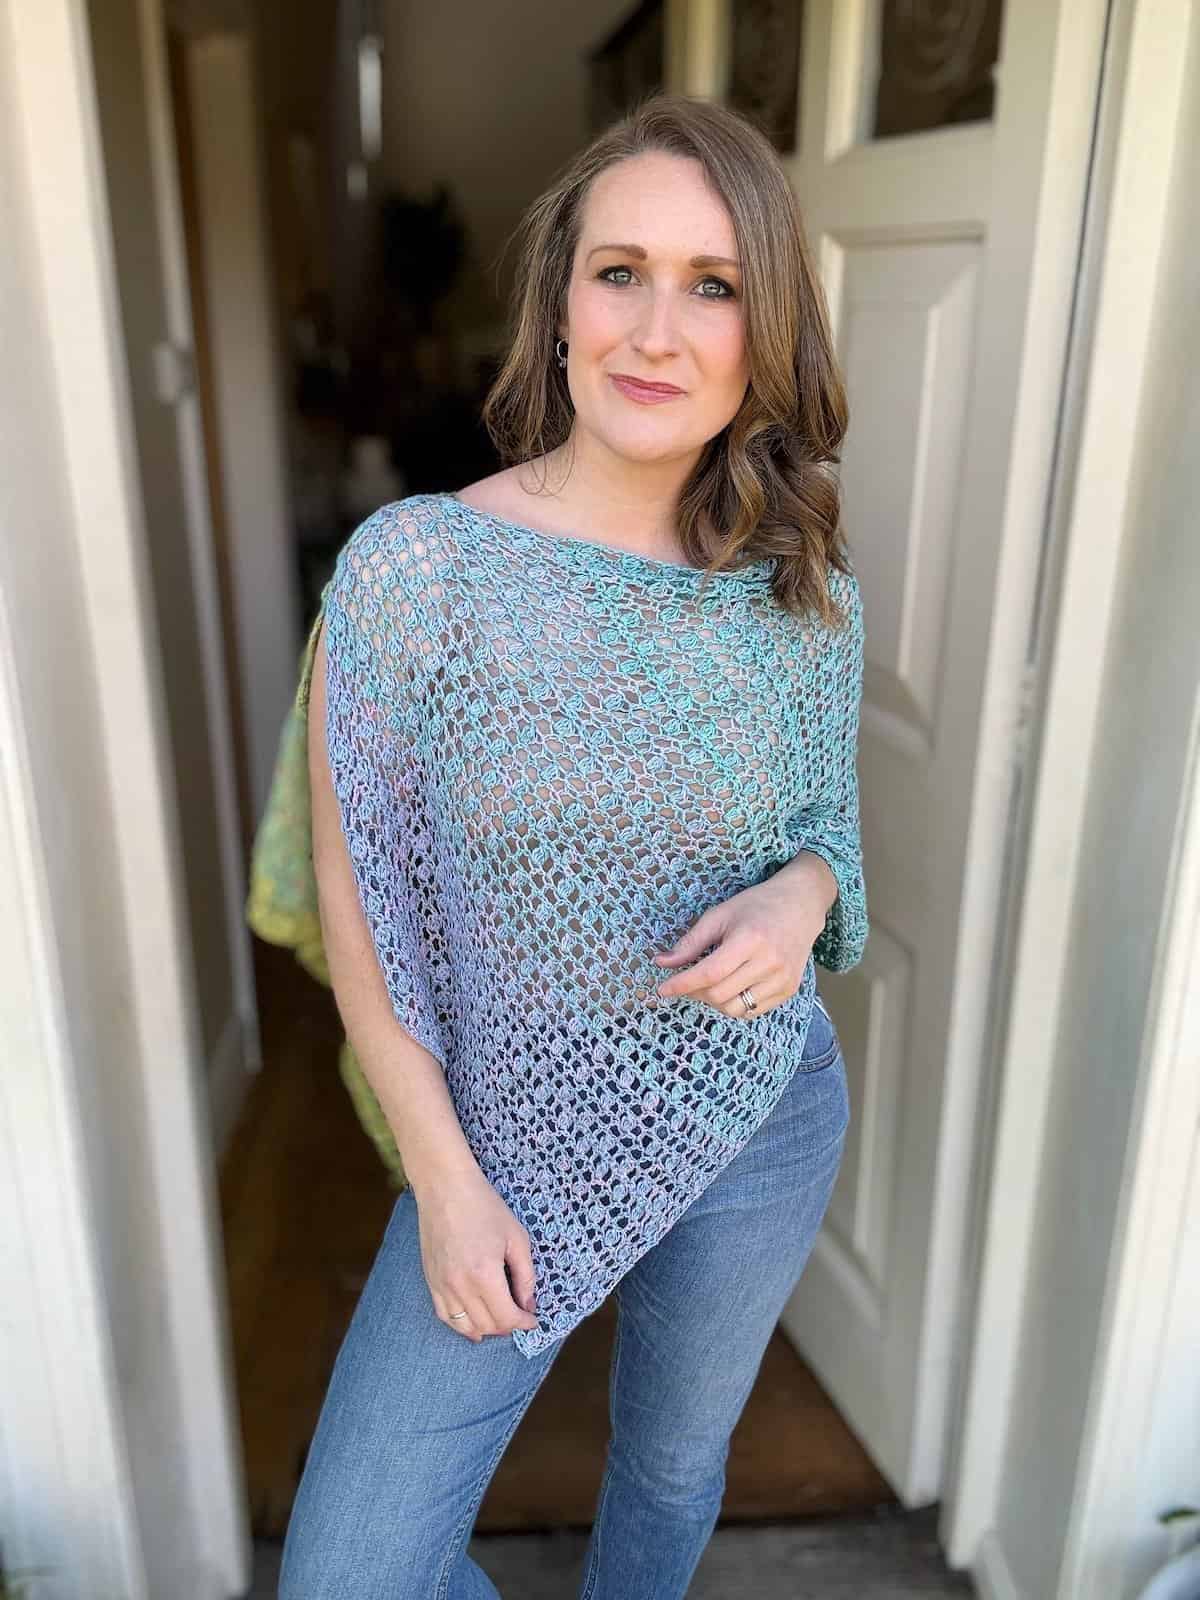
The beauty of this wavy crochet stitch pattern is that it can be used for all sorts of different crochet projects.
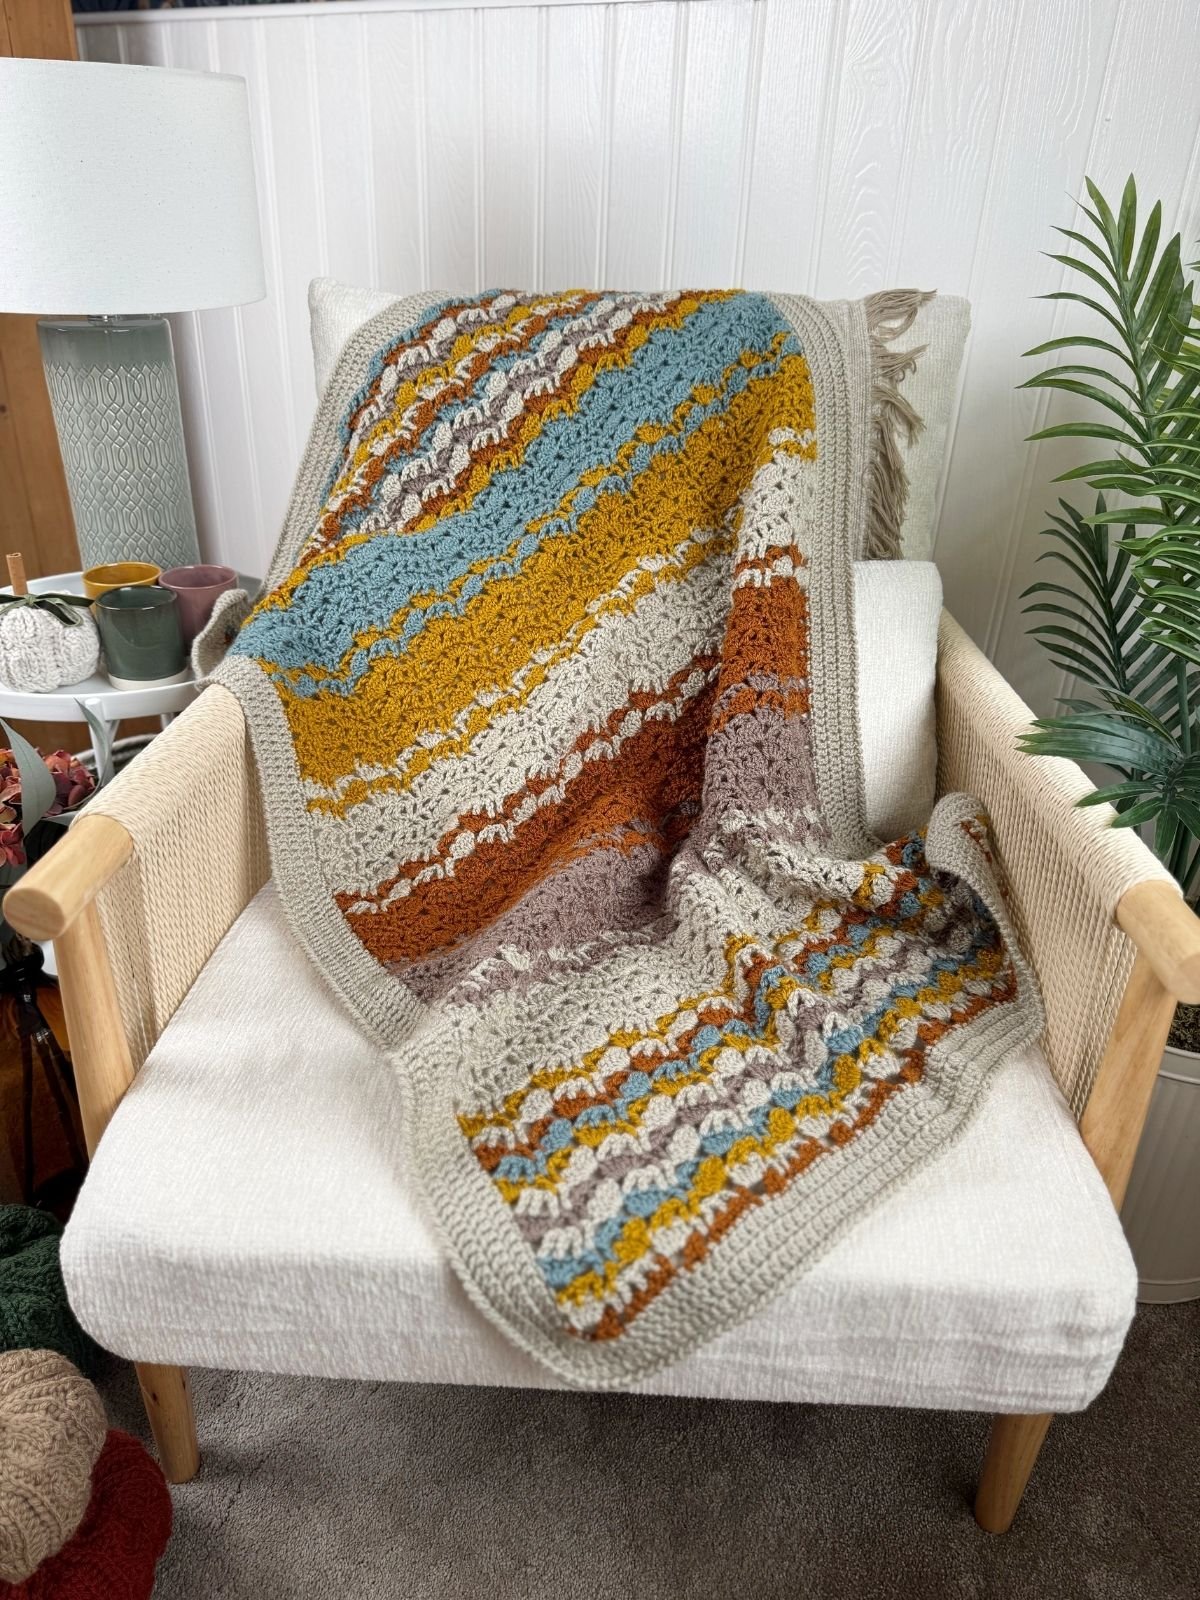
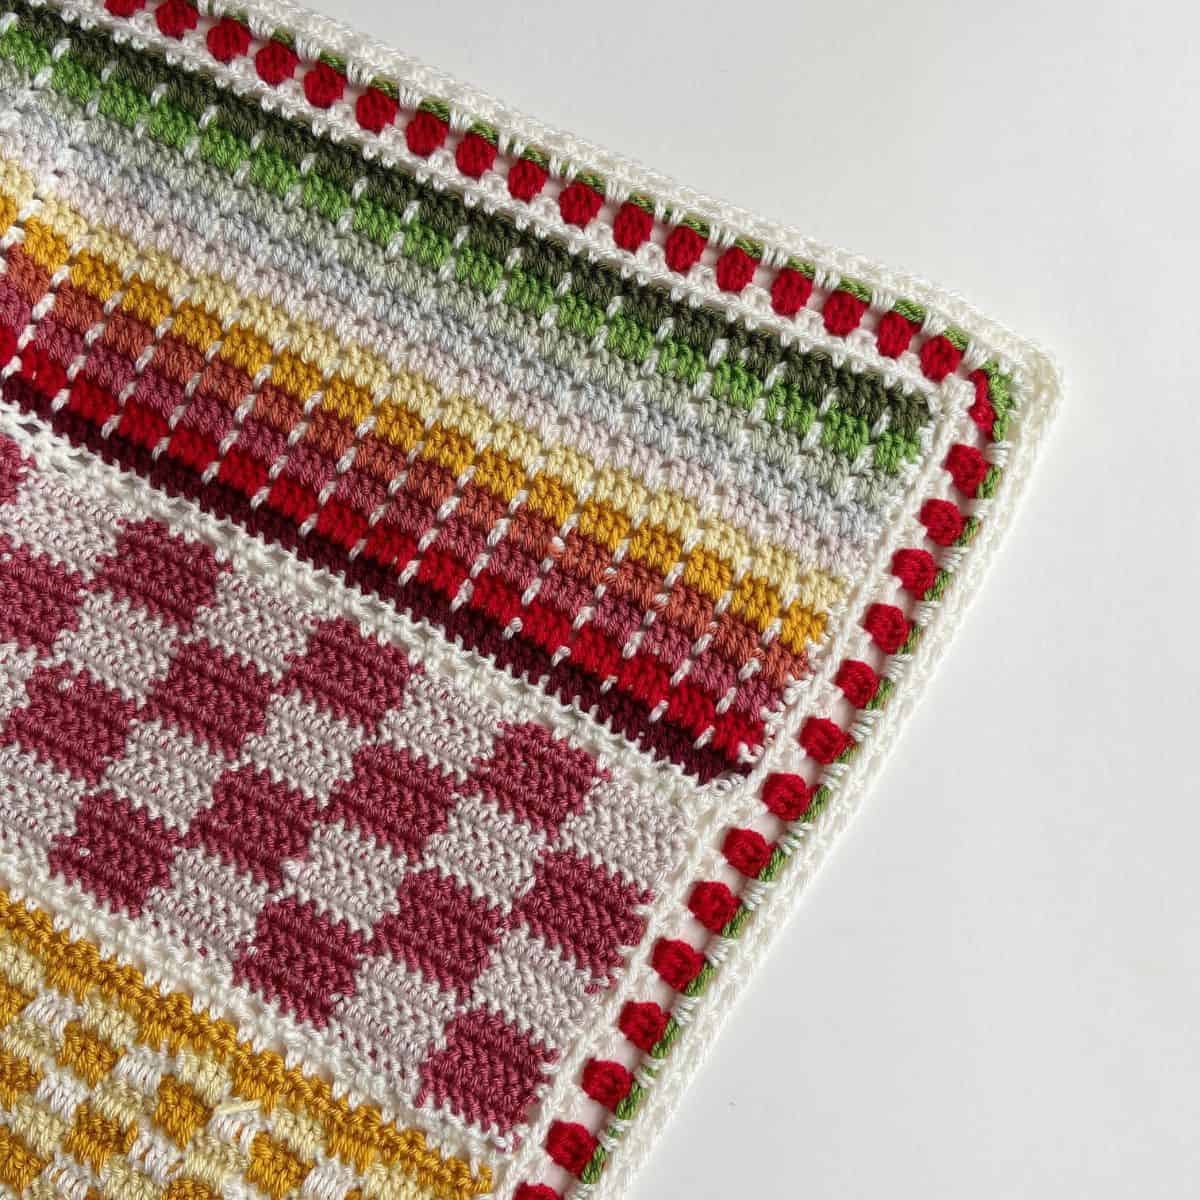
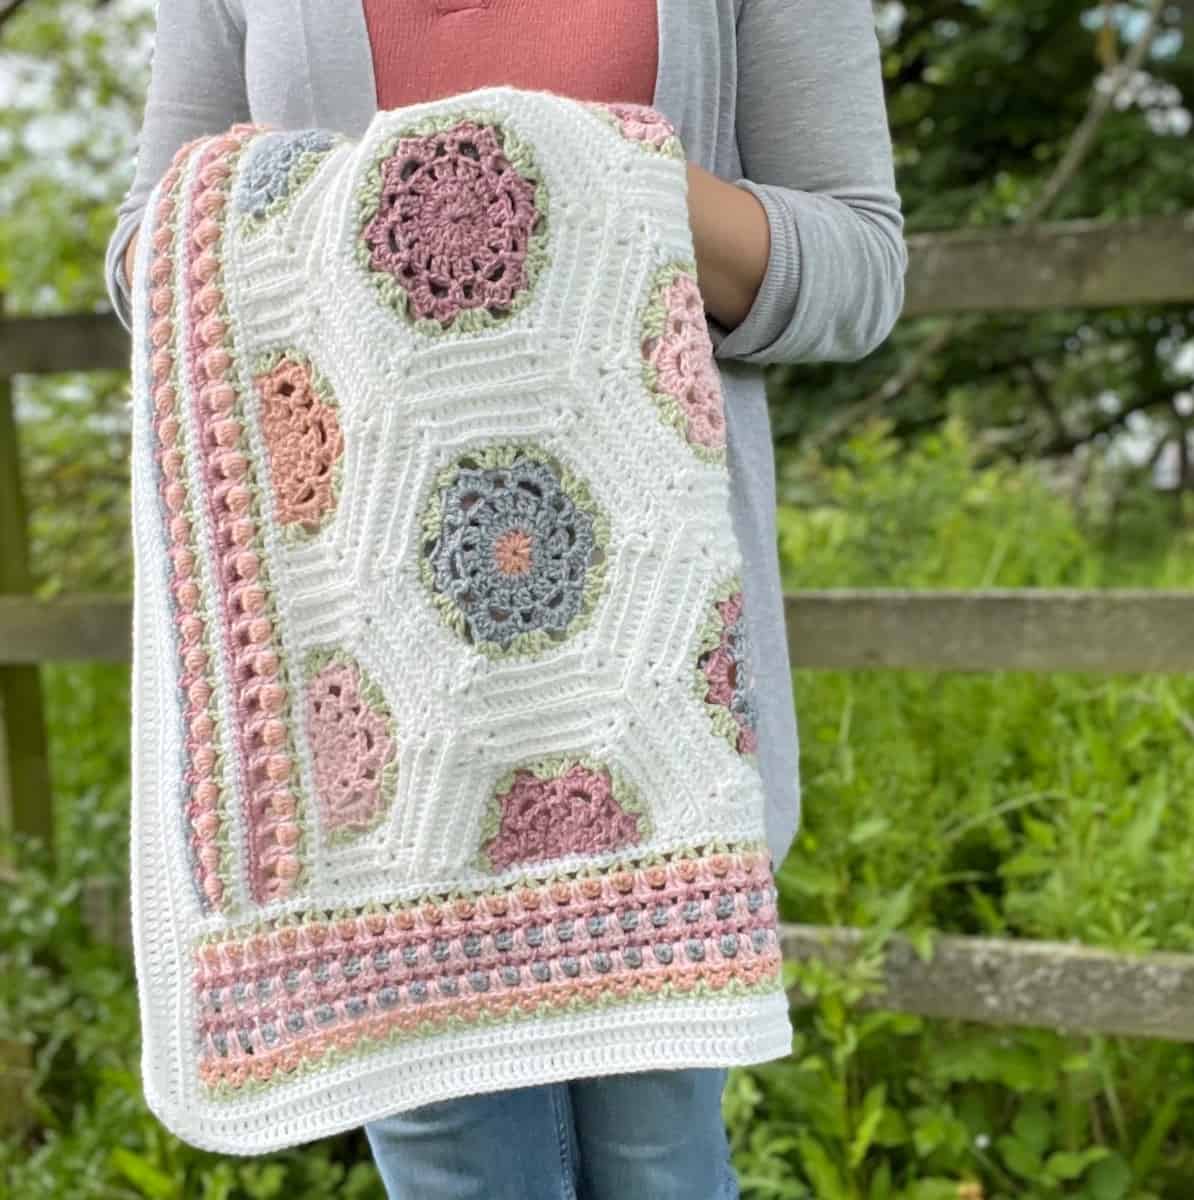
I used the wave crochet stitch in my Darjeeling blanket, part of the afternoon tea blanket series.
This Lacy Crochet Blanket Pattern With A Double Crochet Border looks stunning in stripes.
Step by Step Wave Crochet Stitch Tutorial
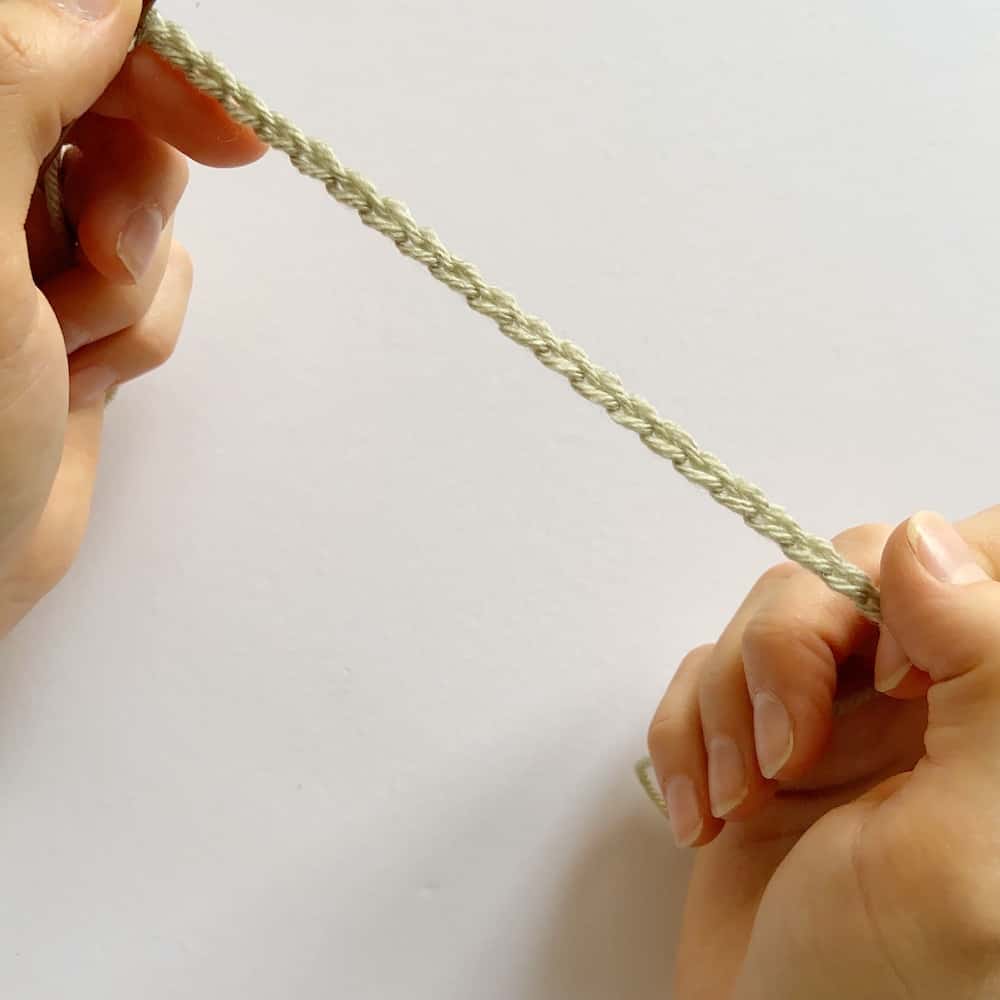
Supplies you’ll need
I used Amigo DK for the Darjeeling blanket which is a lovely, category 3 (DK) weight yarn, but you can use any yarn that you like. If you’re a beginner I’d recommend using a category 4 weight yarn so you can see your stitches easily.
You’ll need a corresponding crochet hook for the yarn you choose. If you look at the ball band, it usually gives you the recommended hook size. The hook I used is a Dots hook from WeCrochet.
Here is a short description of how to make the lace wave crochet stitch pattern, followed by a more detailed explanation.
How to make the wave crochet stitch –
- chain a multiple of 11+2.
- sc in 2nd ch from hook, ch 2, skip 2 chs and work a dc into each of the next 2 chs.
- ch 2, skip 2 chs and work a sc into each of the next 5 chs.
- Rep the following to the end of the row: ch 2, skip 2 chs, dc in 2, ch 2, skip 2 chs, sc in 5.
- Turn. Ch 5, dc in first st, ch 1, skip 1, dc, ch 1, skip 1, dc.
- ch 1, dc in next ch2-sp. Skip 2dc and work 5dc in next ch2-sp.
- ch 2, dc in next st, ch 1, skip 1, dc in next, ch 1, skip 1, dc in next, ch1, dc in next ch2-sp, skip 2dc, 5dc in next ch2-sp.
- Rep Step 9 until last set of 5dc and instead work 4dc here. Finish the row with a dc in last st.
- Turn. Ch 5, dc in 1st stitch. *Ch 1, skip 1, dc in next, ch 1, skip 1, dc in next, ch 1, skip 1, dc in next ch-sp.
- Skip (dc, ch1, dc, ch1, dc) then work 5dc in next ch2-sp, ch 2, dc in next.
- Repeat from * until end of row, ending with 5dc in last ch2-sp (so you leave out the last ch2, dc).
- Repeat steps 9-11 to create the pattern.
And that’s it! It’s a lot easier than it looks too! Let’s have a look at some pictures!
1. chain a multiple of 11+2
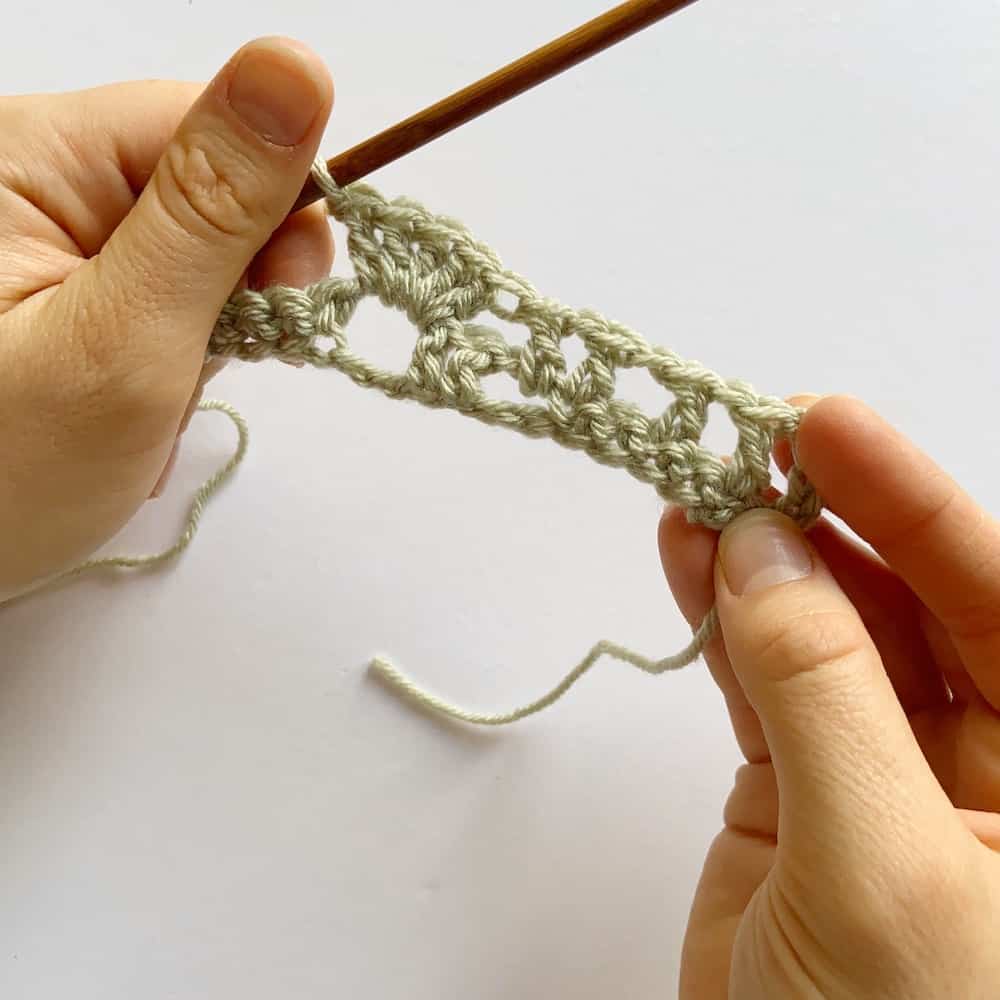
2. sc in 2nd ch from hook, ch 2, skip 2 chs and work a dc into each of the next 2 chs.
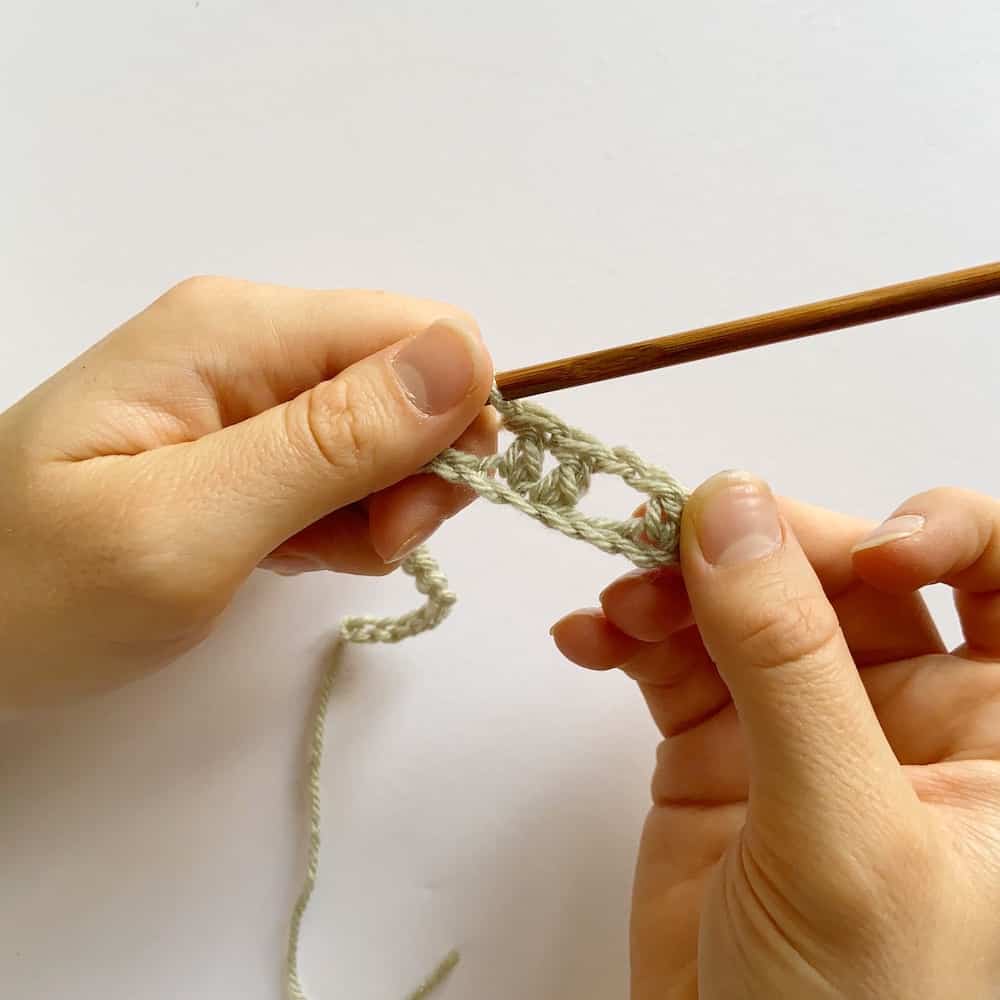
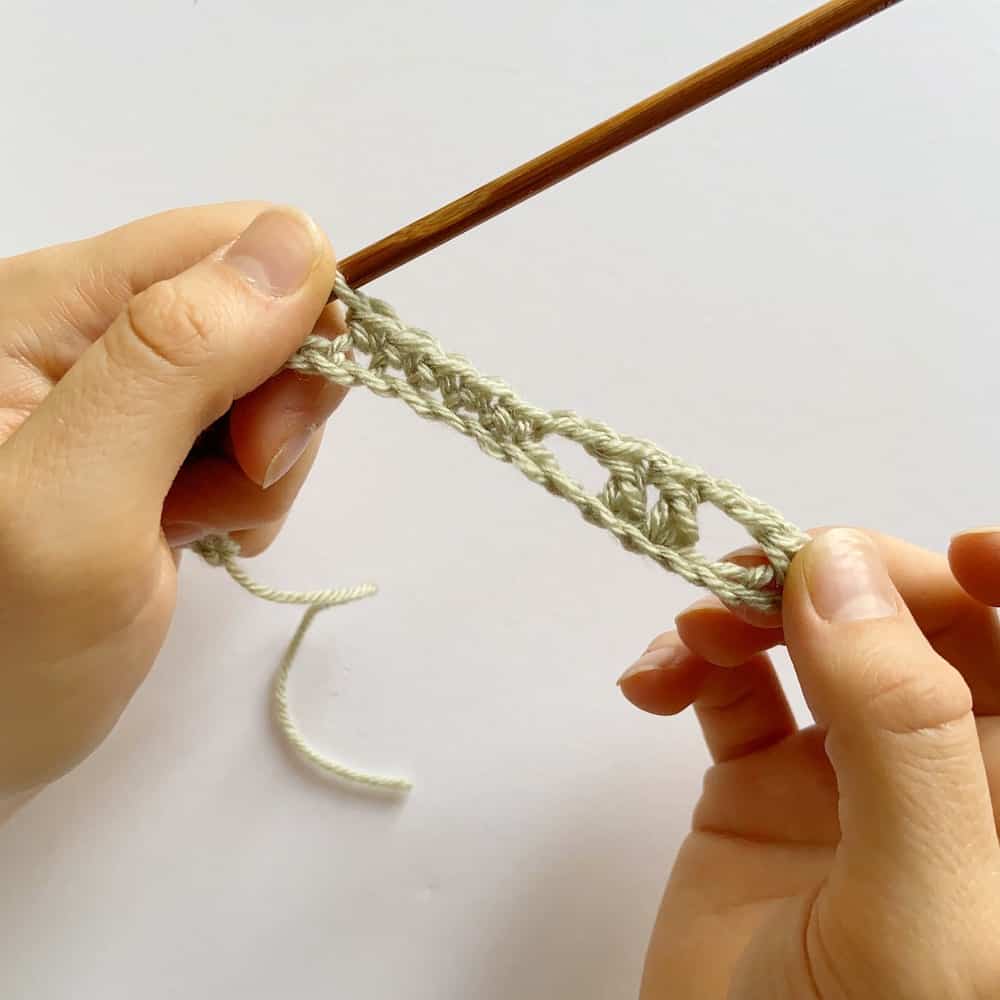
3. ch 2, skip 2 chs and work a sc into each of the next 5 chs.
Step by Step Video Tutorial
Prefer to crochet along with me on video? Watch the tutorial below for a step by step tutorial on the wave crochet stitch:
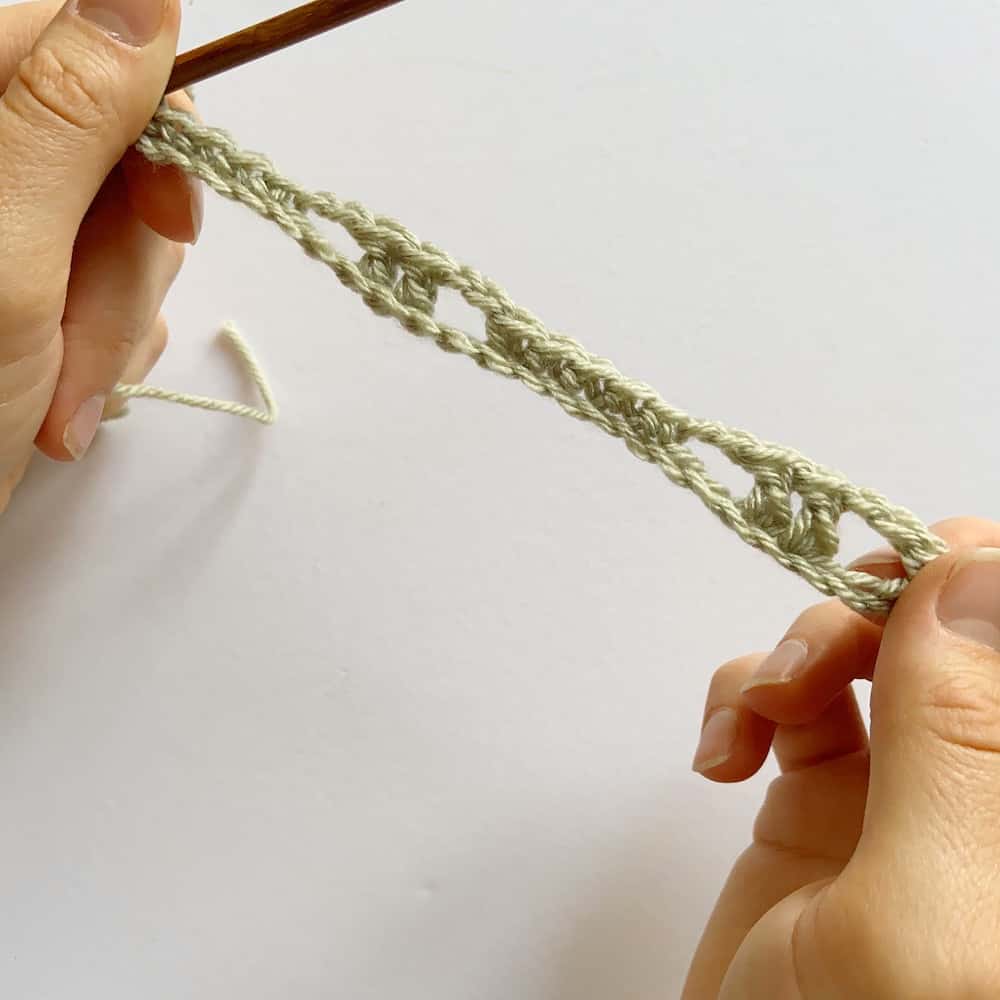
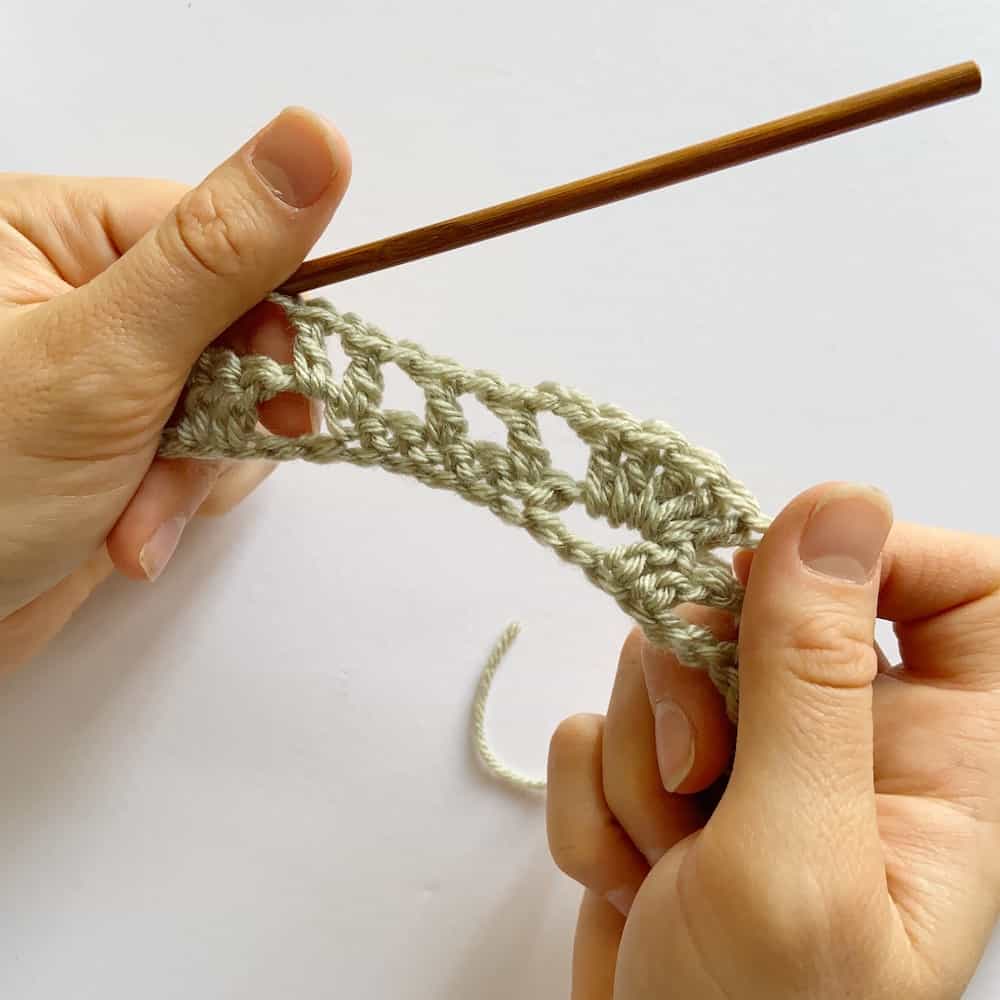
4. Rep the following to the end of the row: ch 2, skip 2 chs, dc in 2, ch 2, skip 2 chs, sc in 5.
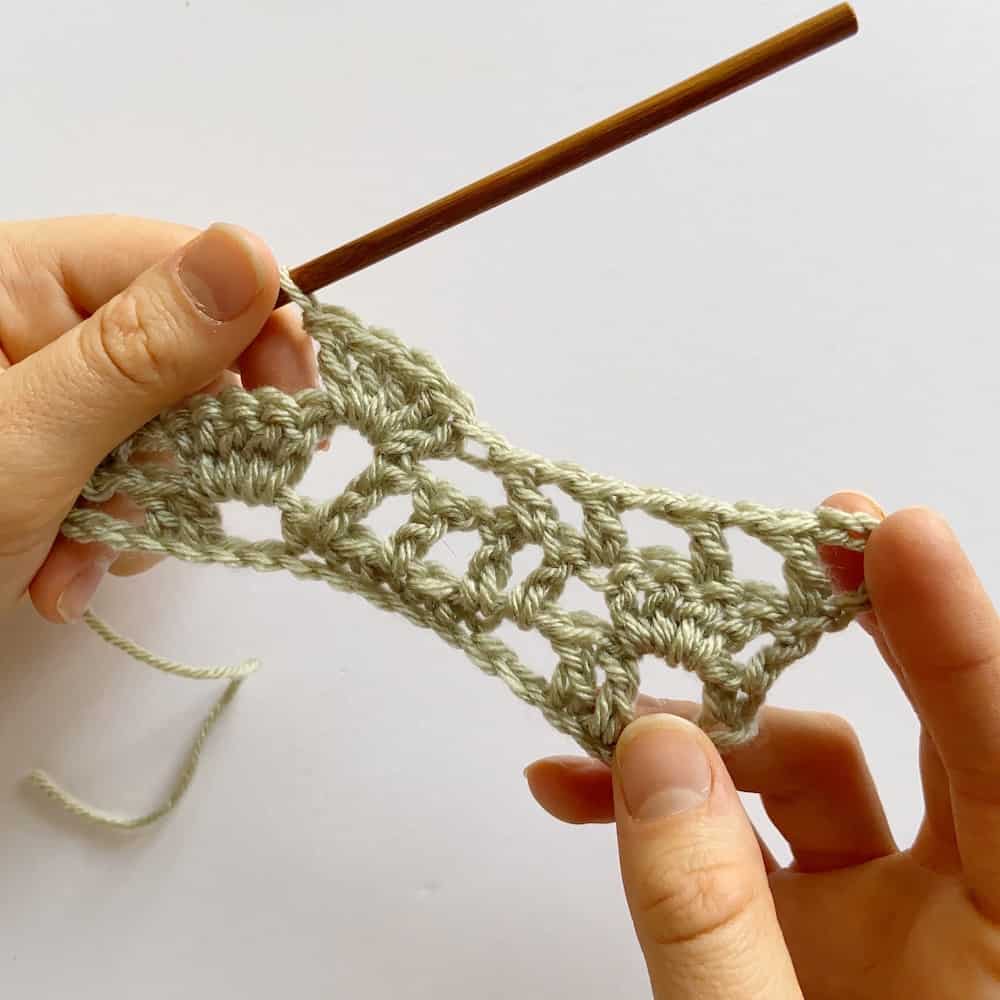
5. Turn. Ch 5, dc in first st, ch 1, skip 1, dc, ch 1, skip 1, dc.
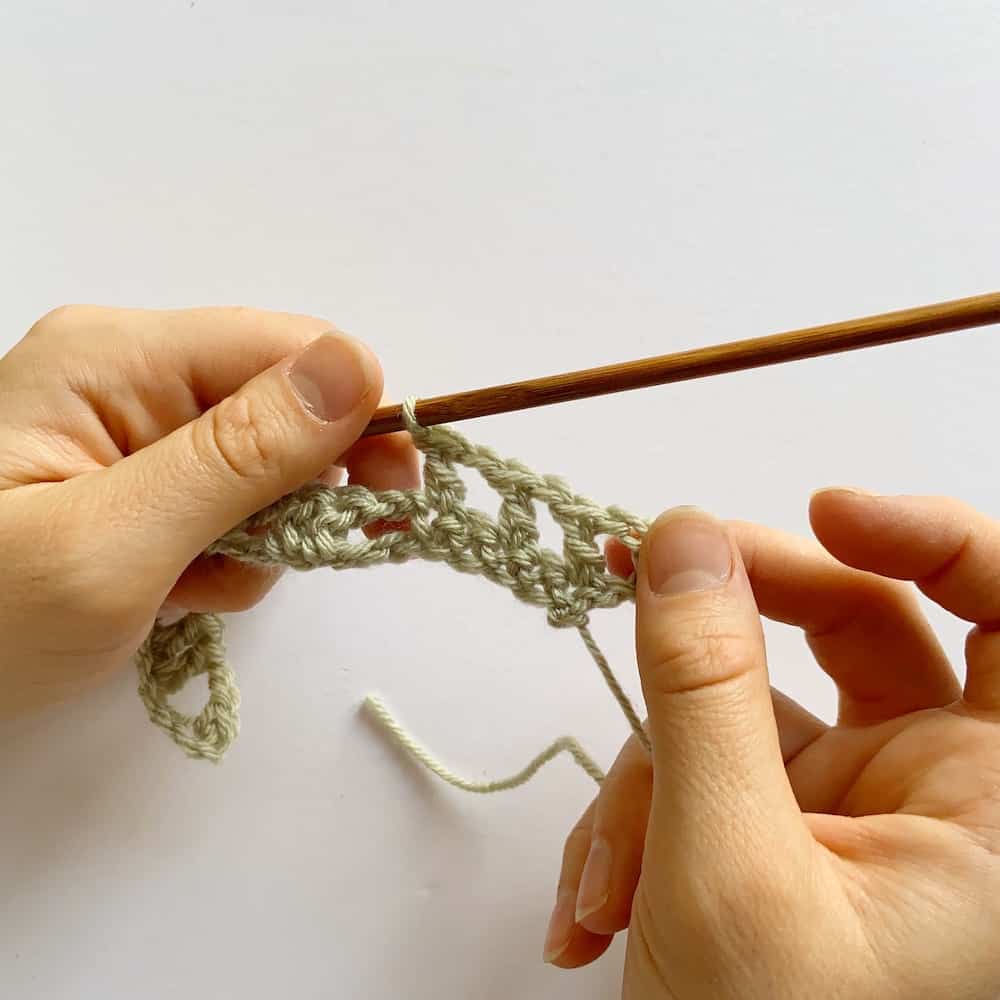
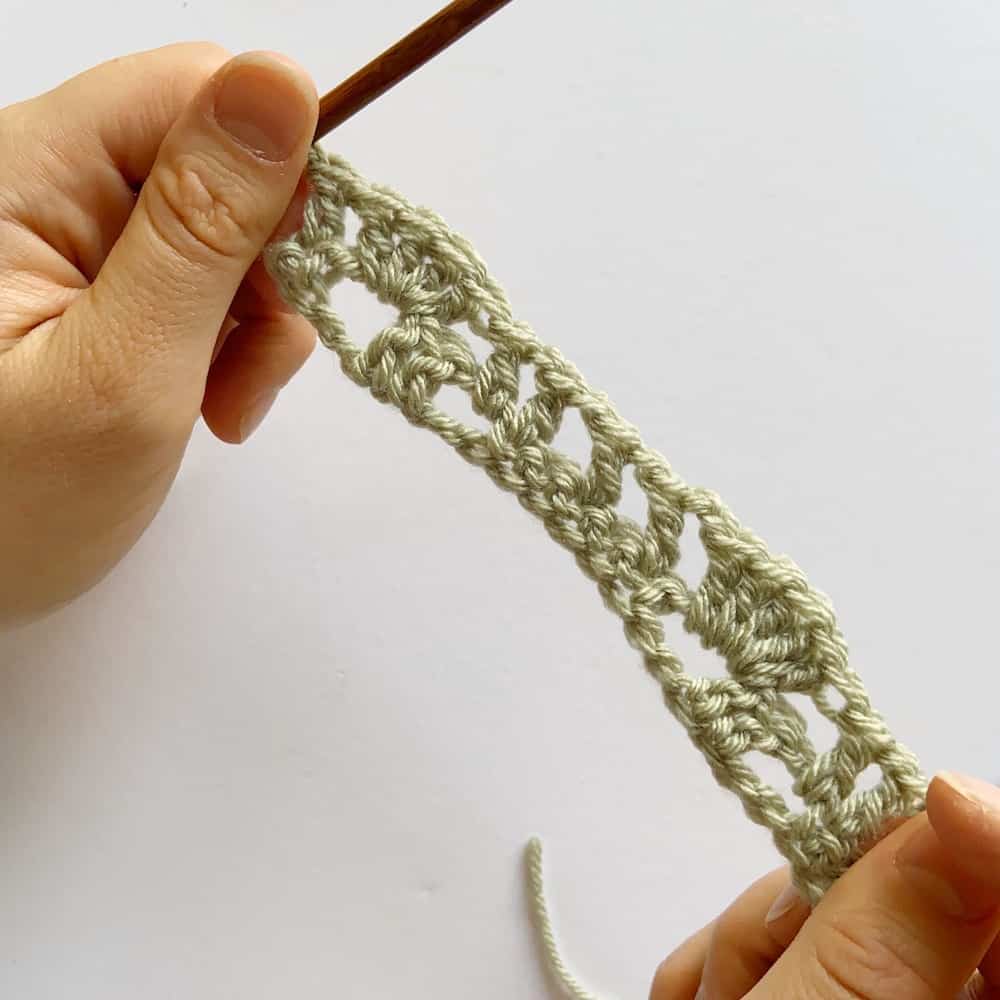
6. ch 1, dc in next ch2-sp. Skip 2dc and work 5dc in next ch2-sp.
7. ch 2, dc in next st, ch 1, skip 1, dc in next, ch 1, skip 1, dc in next, ch1, dc in next ch2-sp, skip 2dc, 5dc in next ch2-sp.
8. Rep Step 9 until last set of 5dc and instead work 4dc here. Finish the row with a dc in last st.
More textured crochet stitches to try
- Lemon Peel Stitch – great for blankets and wearables
- Twisted Cable Stitch – oodles of texture and interest for accessories in this one
- Herringbone Moss Stitch – a modern take on the classic
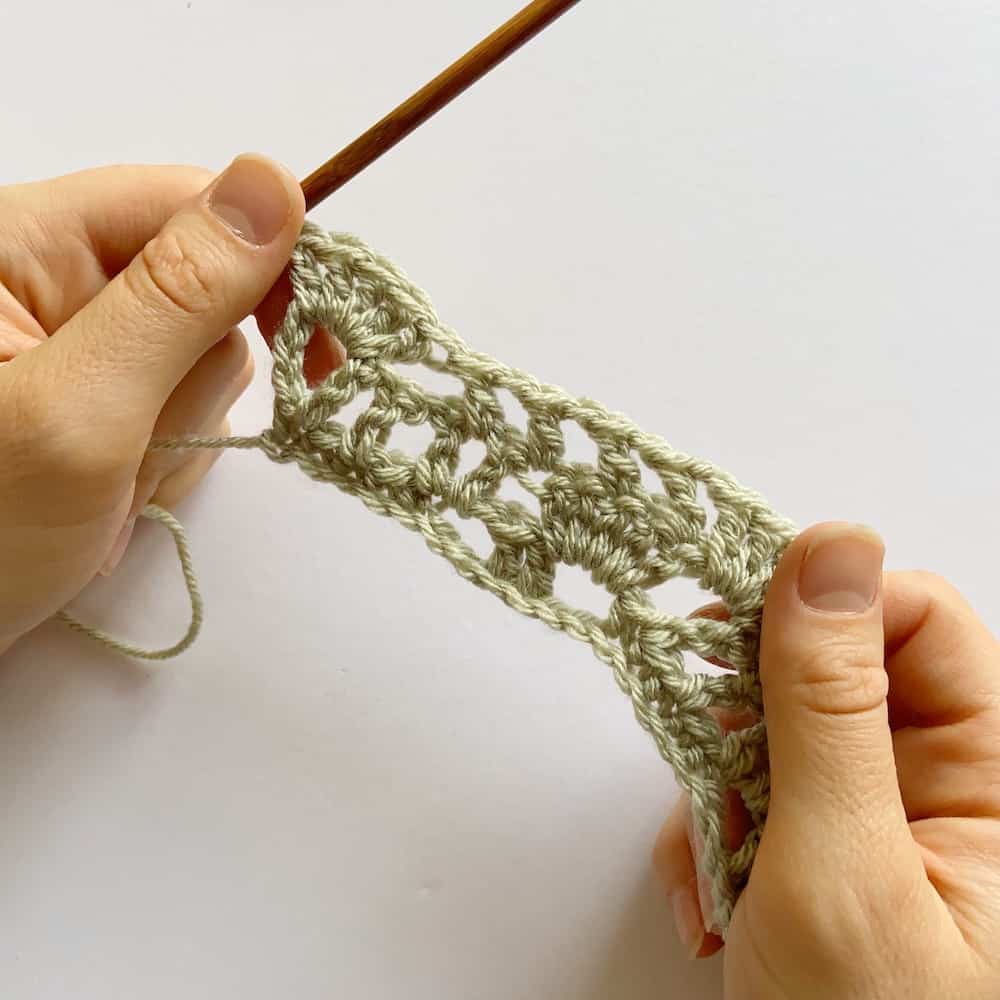
9. Turn. Ch 5, dc in 1st stitch. *Ch 1, skip 1, dc in next, ch 1, skip 1, dc in next, ch 1, skip 1, dc in next ch-sp.
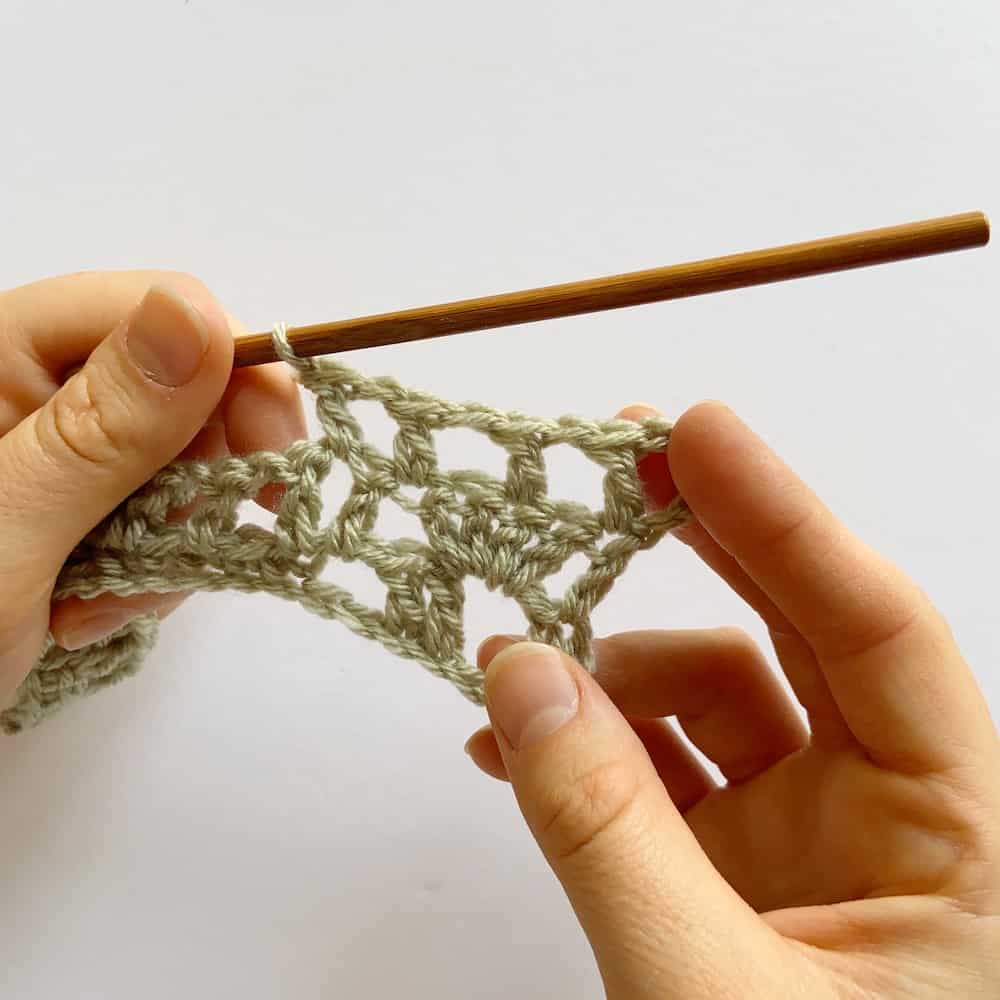
10. Skip (dc, ch1, dc, ch1, dc) then work 5dc in next ch2-sp, ch 2, dc in next.
11. repeat from * until end of row, ending with 5dc in last ch2-sp (so you leave out the last ch2, dc).
12. Repeat steps 9-11 to create the pattern.
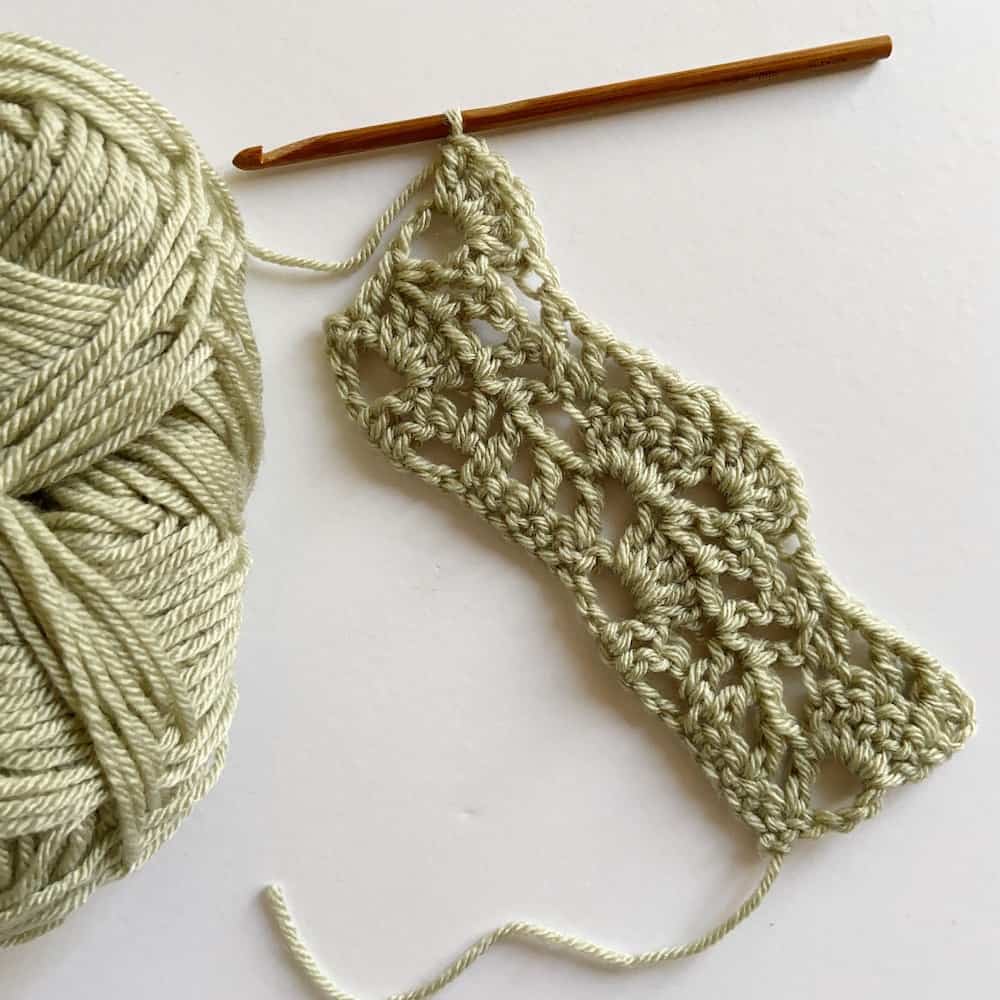
And that’s it! It’s really lovely, isn’t it!? Use this stitch pattern in blankets, cushions, scarves or even garments.
Top Tips for Crocheting the Wave Crochet Stitch
- Be careful not to pull the stitches too tight, especially your foundation chain.
- Count your stitches regularly to make sure you haven’t accidentally added or missed stitches.
- Be careful to place your stitches in the right places as you work across the rows.
- Make a decent sized sample to ensure you master the stitch before using it in a pattern. This will also enable you to see that the stitch pattern is coming out correctly.
Next Steps in Your Crochet Journey
Now that you’ve mastered this lacy stitch pattern, you really are well on your way to becoming a pro crocheter! I have a whole collection of free stitch tutorials and blanket patterns on my blog so just visit the links and see what you fancy making next.
The crossover stitch is one that I think you’ll really like!
Get your free guide!
Subscribe to get your free guide to choosing and combining colours!
Learn Some More Crochet Stitches With Me
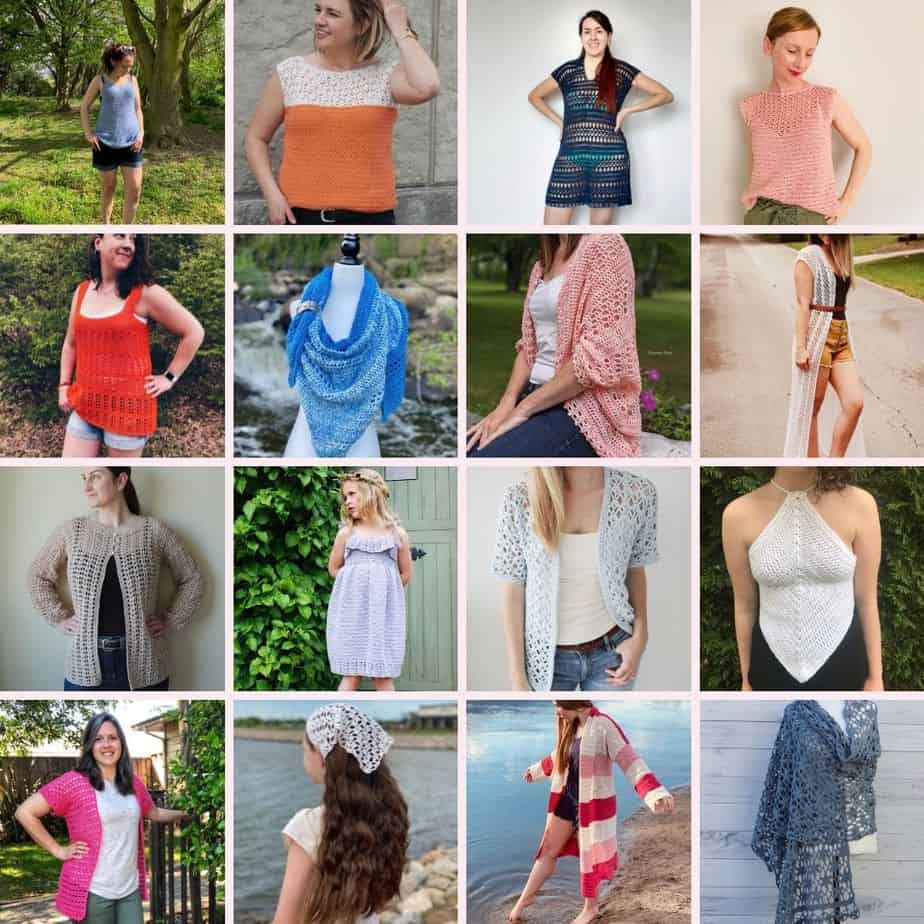
Now that you’ve cracked the basics, it’s time to learn some more crochet stitch tutorials – here are some of my favourite beginner stitches:
35 Easy Crochet Stitches for Beginners
I hope you’ve enjoyed learning this alternating front and back post double crochet stitch pattern with me! I really hope you’ve caught the crochet bug and I’d love to share in your crochet journey with you! You can sign up to become a member of HanJan Crochet and I’ll let you know about all the fabulous crochet adventures, offers, lives and more too!
See you there!
Join our community group!
We’ve built an amazing community always ready to help each other. Join today!
Pin It For Later