This post may contain affiliate links. Please see my full disclosure and privacy policy for details.
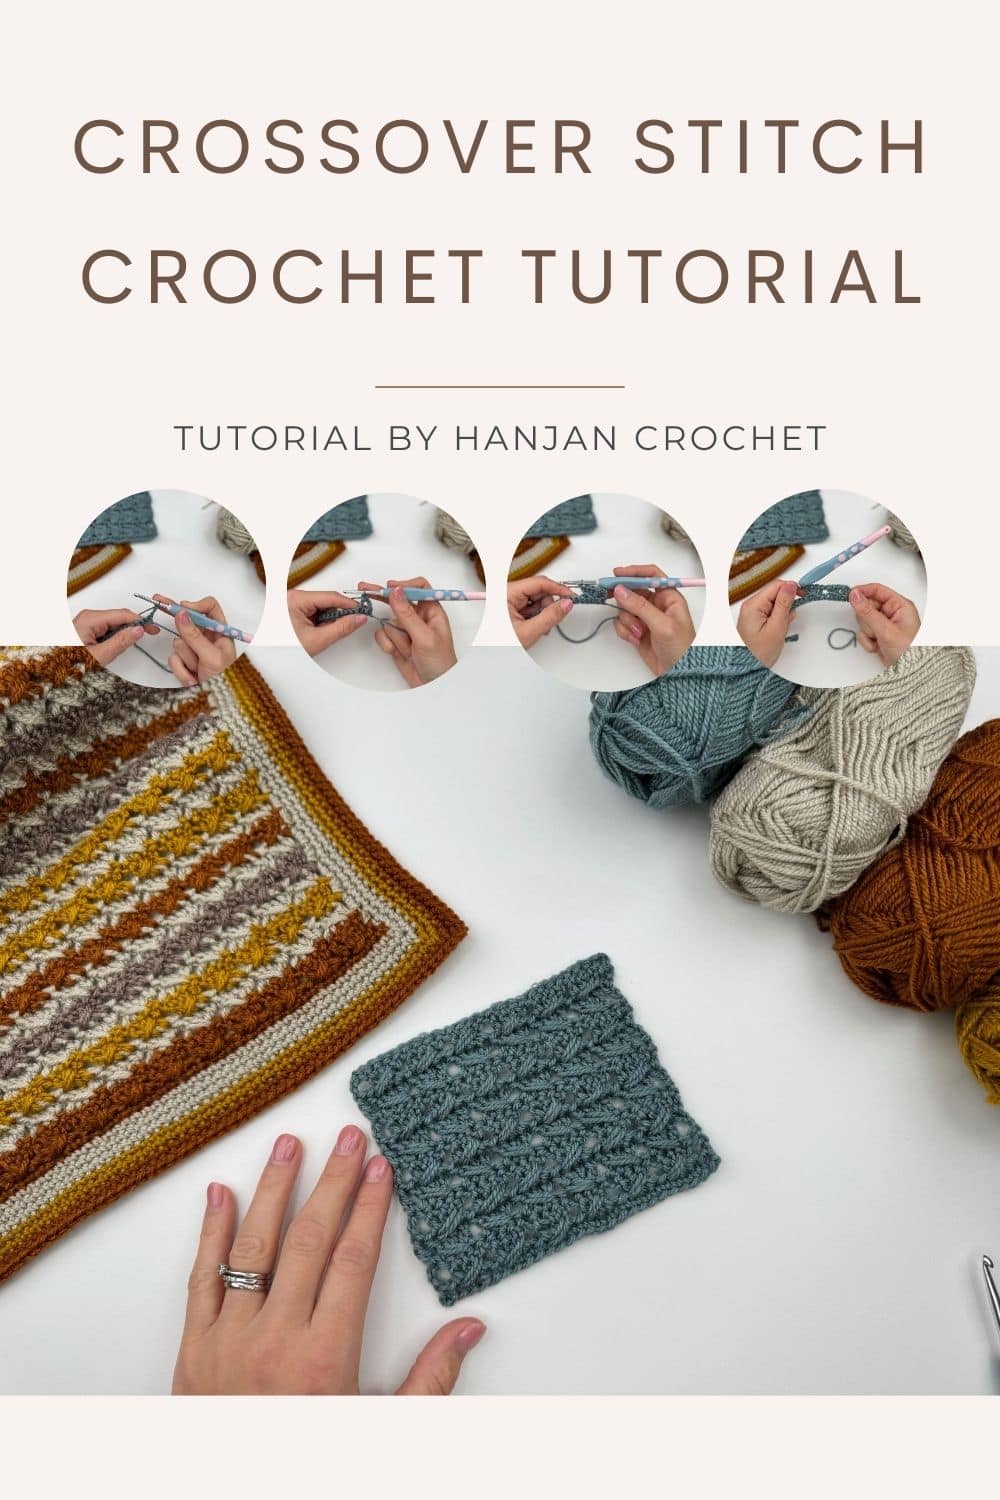
The double crochet cross stitch is a wonderfully textured stitch pattern! It only uses double crochet stitches to create a stunning design! It might look complicated, but it’s honestly easier than it looks!
I’ll walk you through this crossover stitch crochet tutorial step by step, with plenty of tips to help you feel confident using it in any project.
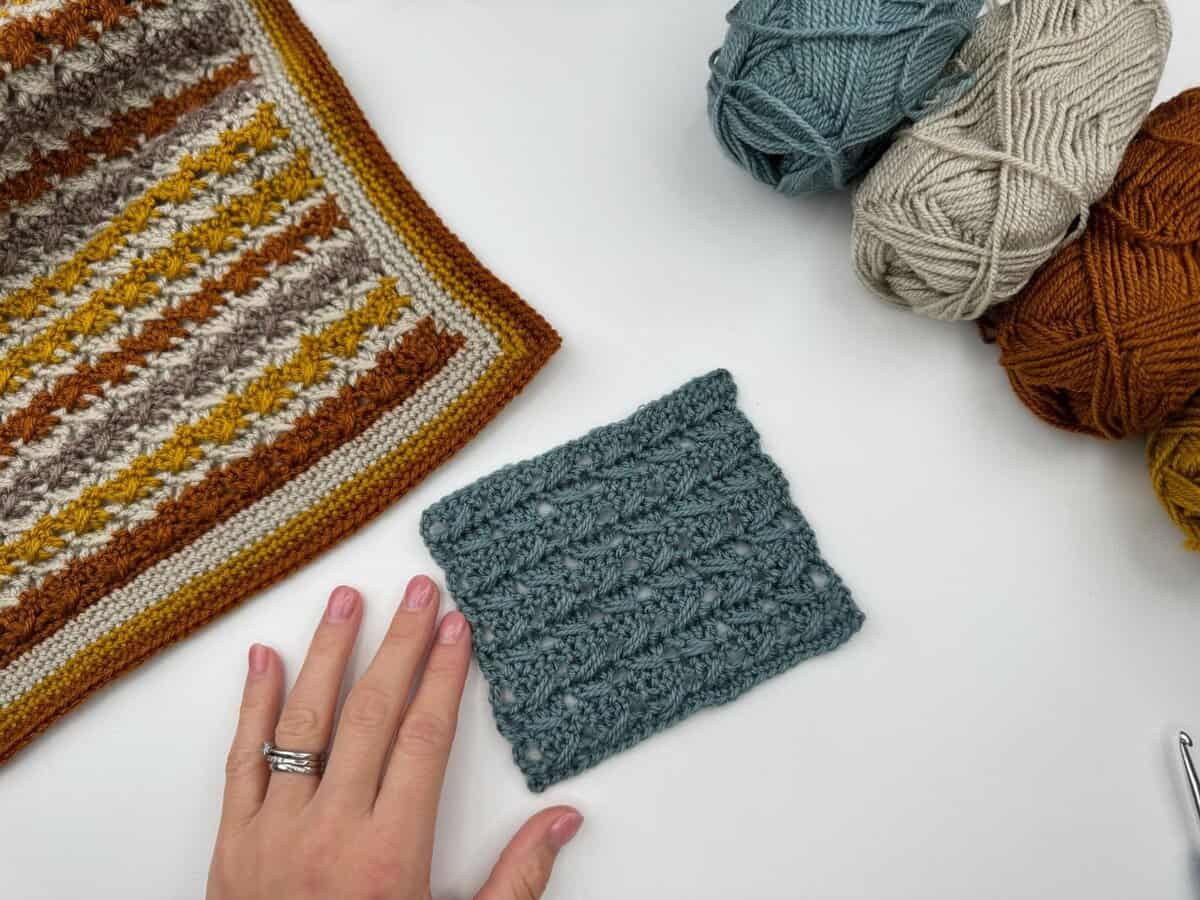
Table of Contents
What is the Crossover Stitch?
The crossover stitch is a beautifully textured stitch, which looks a little bit like a faux cable. It is created by making three US double crochet stitches followed by a double crochet stitch that wraps around the previous three stitches.
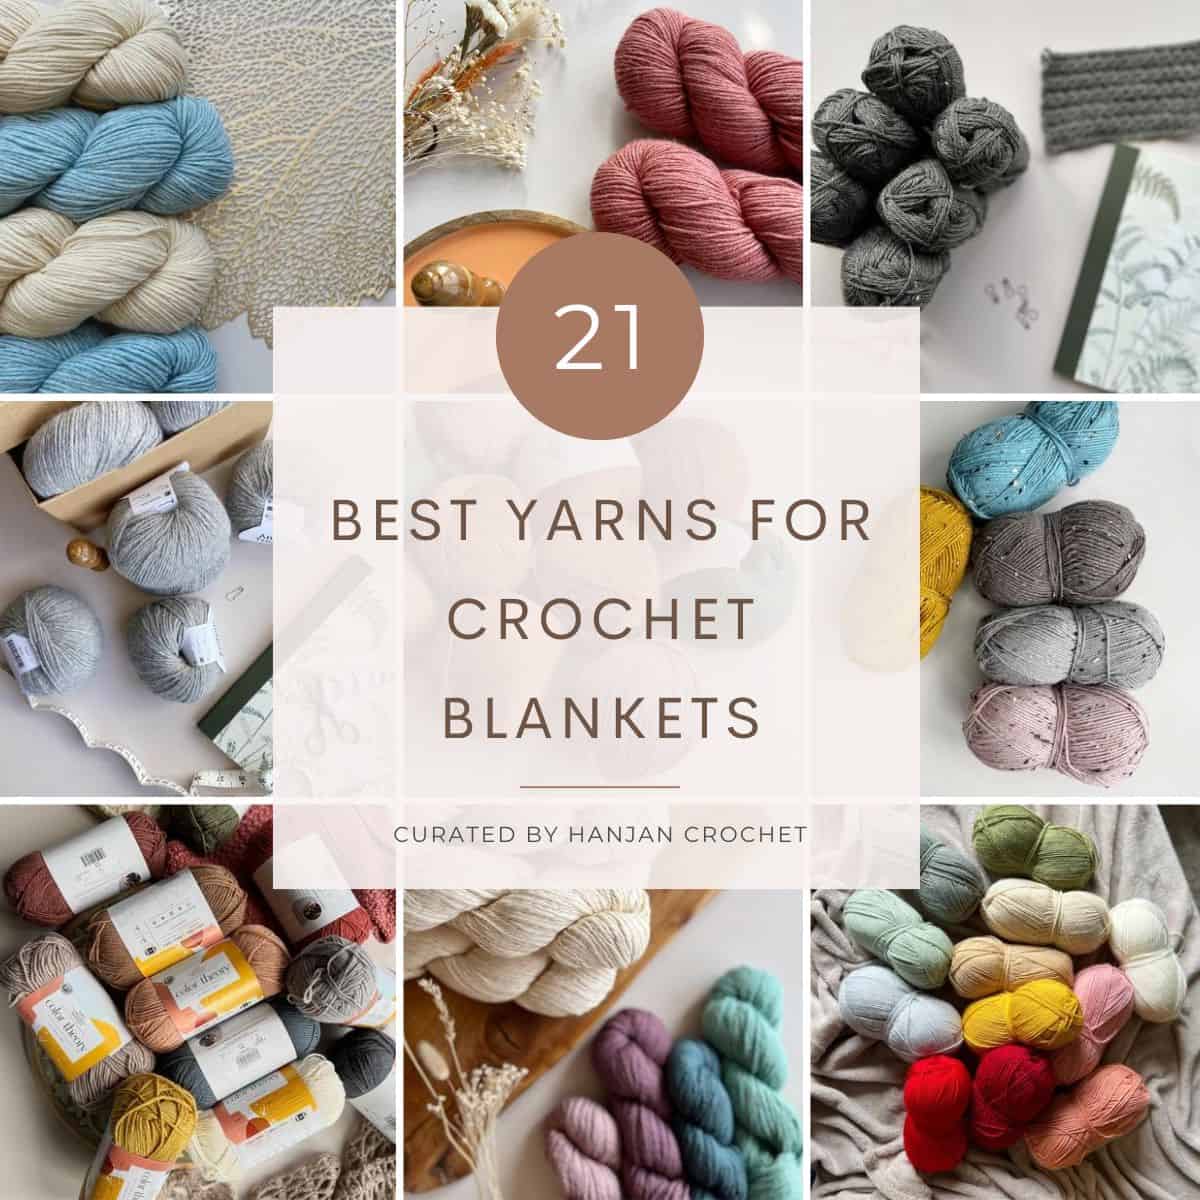
This is a great stitch for all sorts of crochet patterns, such as blankets, tops, home decor and scarves.
Step by Step Crossover Stitch Crochet Tutorial for Beginners
Supplies you’ll need
I used Amigo DK for the tutorial photos which is a lovely, category 3 (DK) weight yarn, but you can use any yarn that you like. If you’re a beginner I’d recommend using a category 4 weight yarn so you can see your stitches easily.
You’ll need a corresponding crochet hook for the yarn you choose. If you look at the ball band, it usually gives you the recommended hook size. The hook I’m using is a Dots hook from WeCrochet.
Here is a short description of how to make the crossover stitch (or double crochet cross stitch as it is also sometimes called), followed by a more detailed explanation.
How to make the crochet crossover stitch –
- chain a multiple of 4+3.
- work a sc into the 2nd ch from the hook and each across, turn.
- ch3 to start the next row.
- skip the next st, work a dc in next st.
- work a dc into the next 2 sts.
- working around the 3 sts just made, work a dc in the skipped st.
- rep steps 4, 5 and 6 across the row to last st.
- dc in last st, turn.
- repeat steps 3-8 for each row.
And that’s it! Pretty simple! Let’s have a look at some pictures!
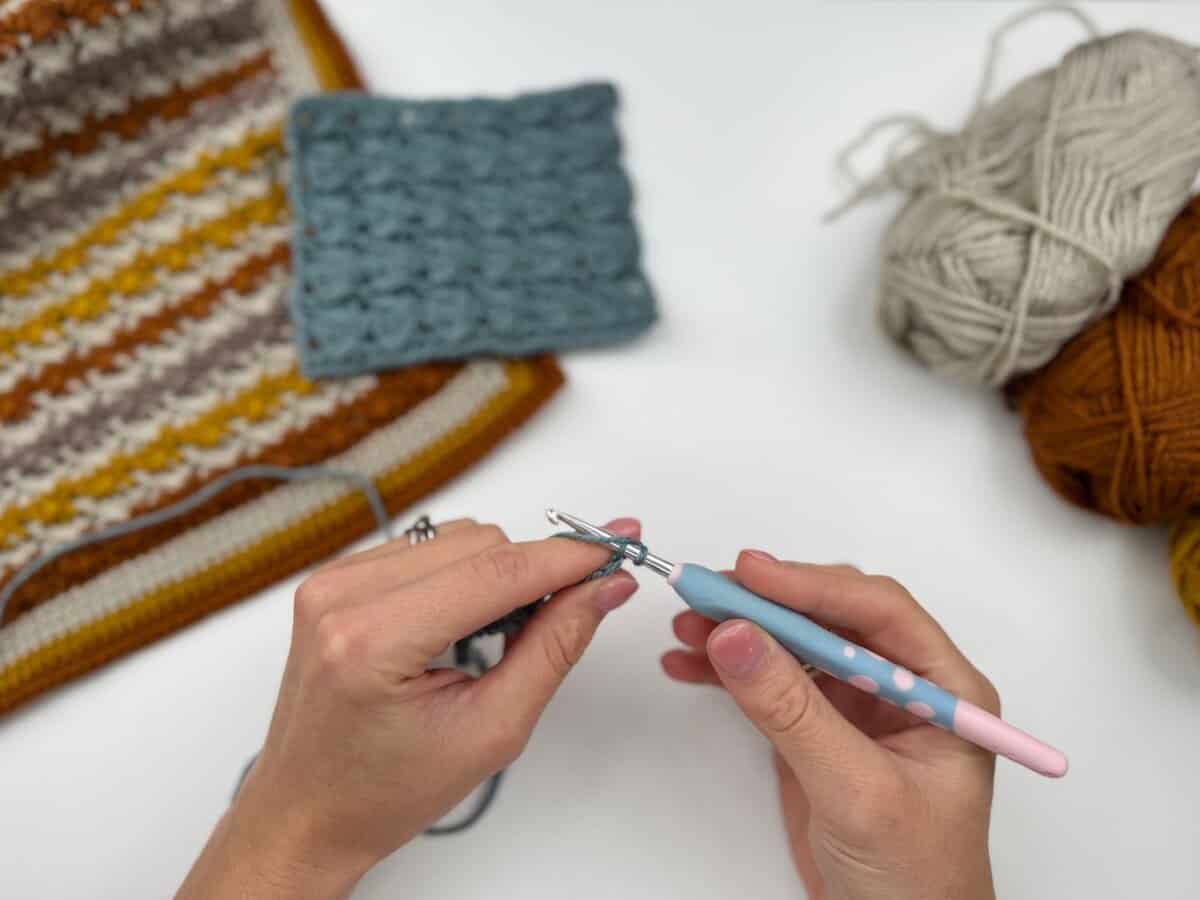
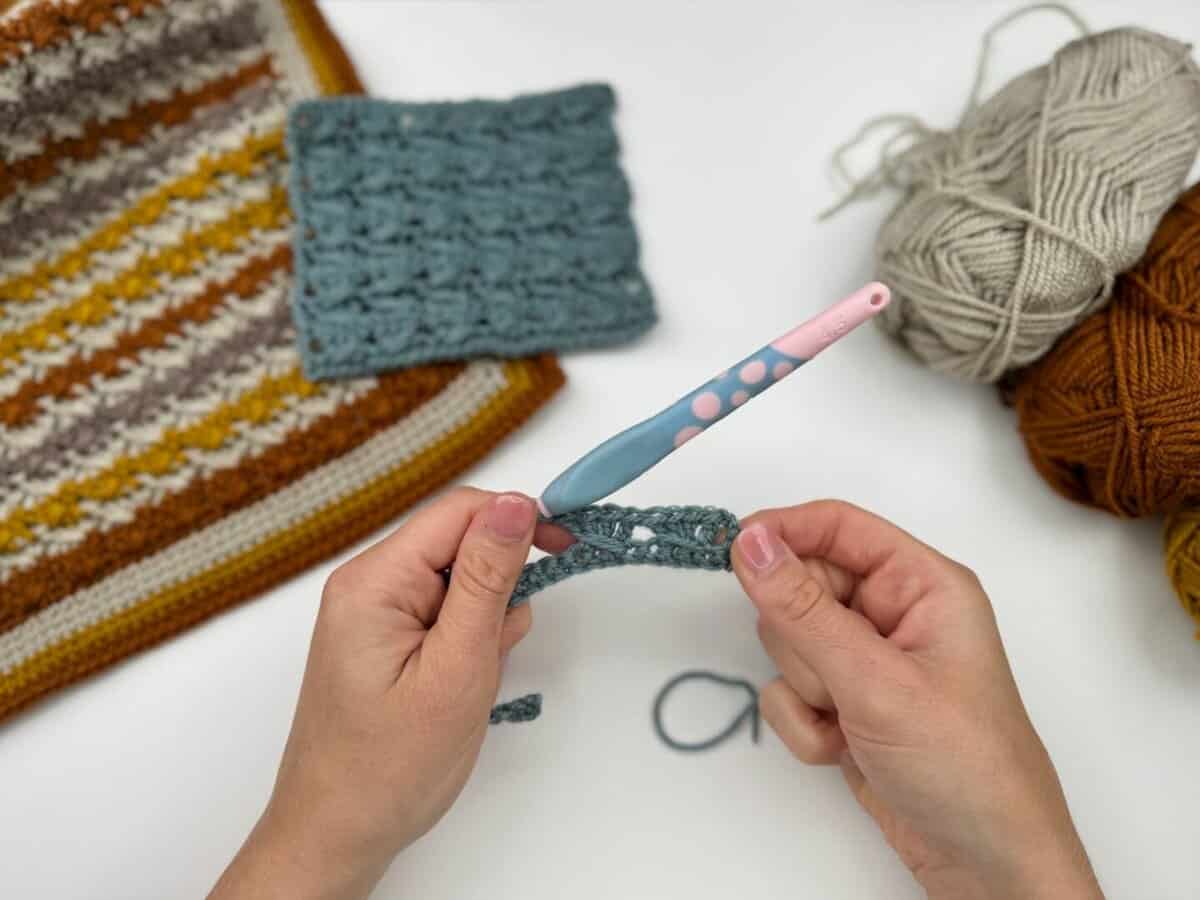
1. Chain a multiple of 4+3
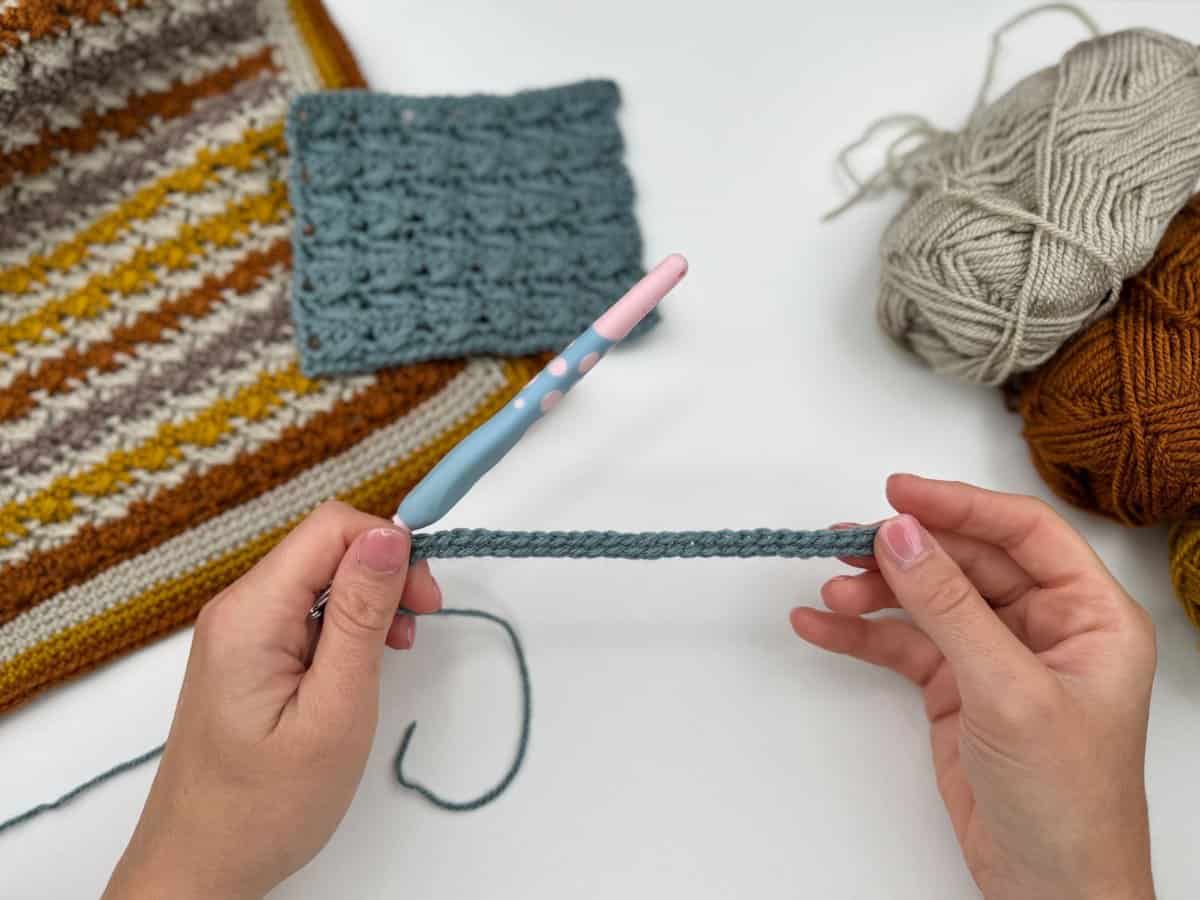
2. work a sc into the 2nd ch from the hook and each across, turn.
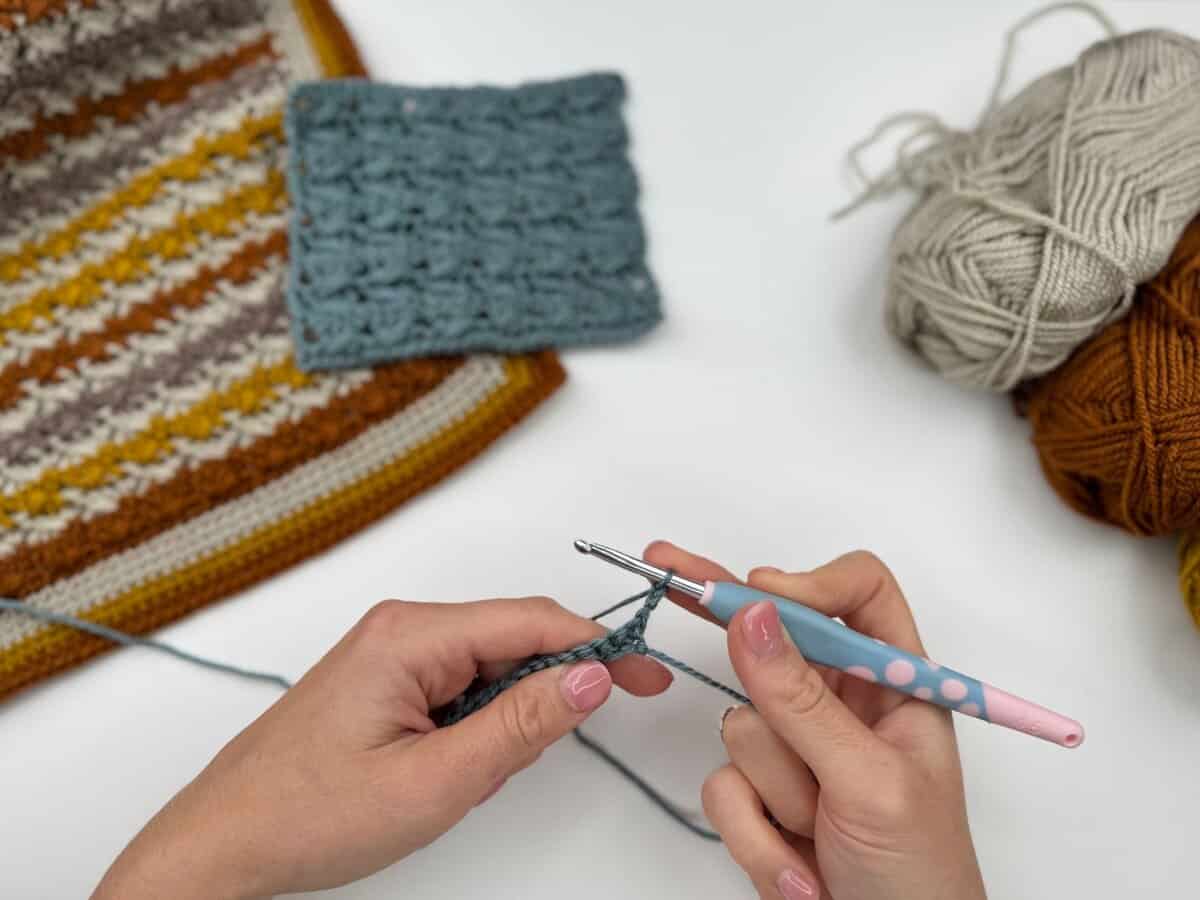
3. ch3 to start the next row.
Step by Step Video Tutorial
Prefer to crochet along with me on video? Watch the tutorial below for a step by step tutorial on the crochet crossover stitch:
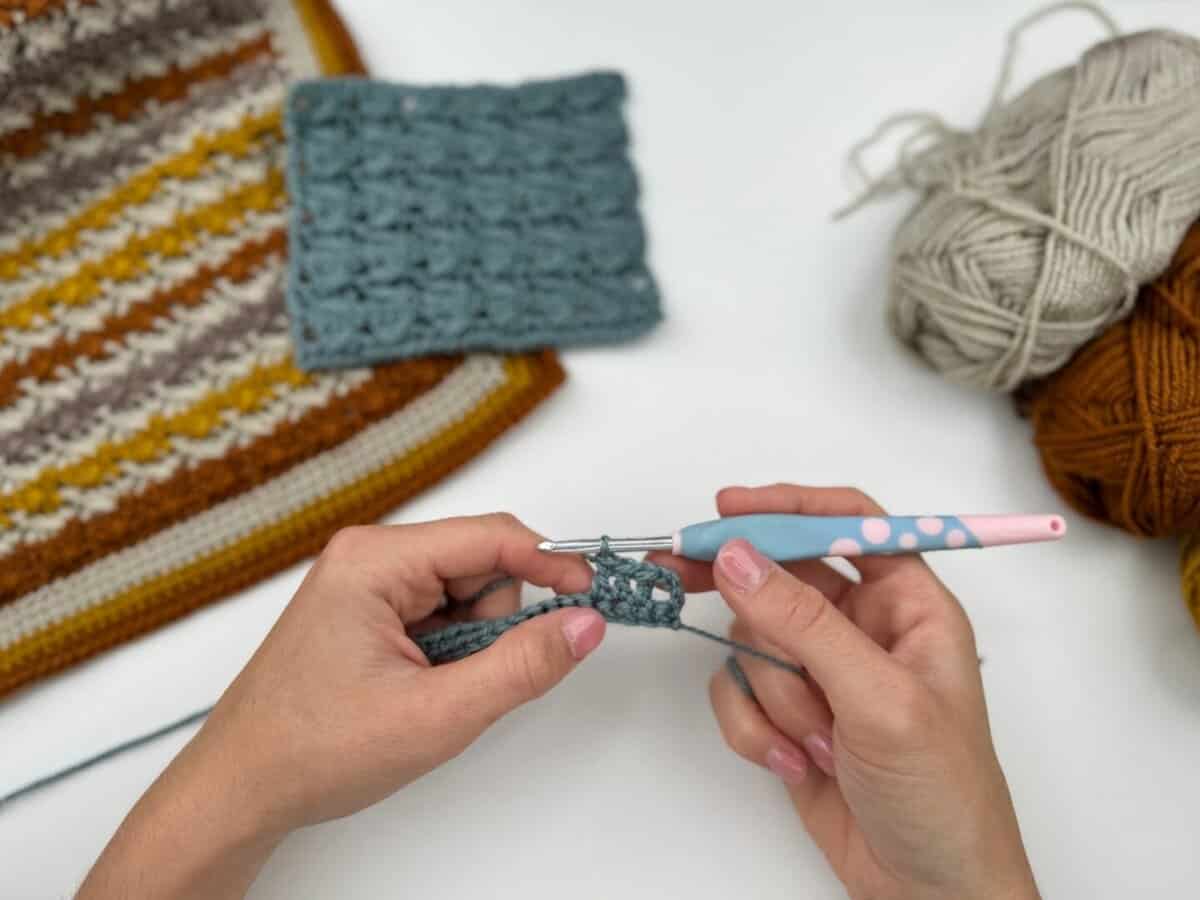
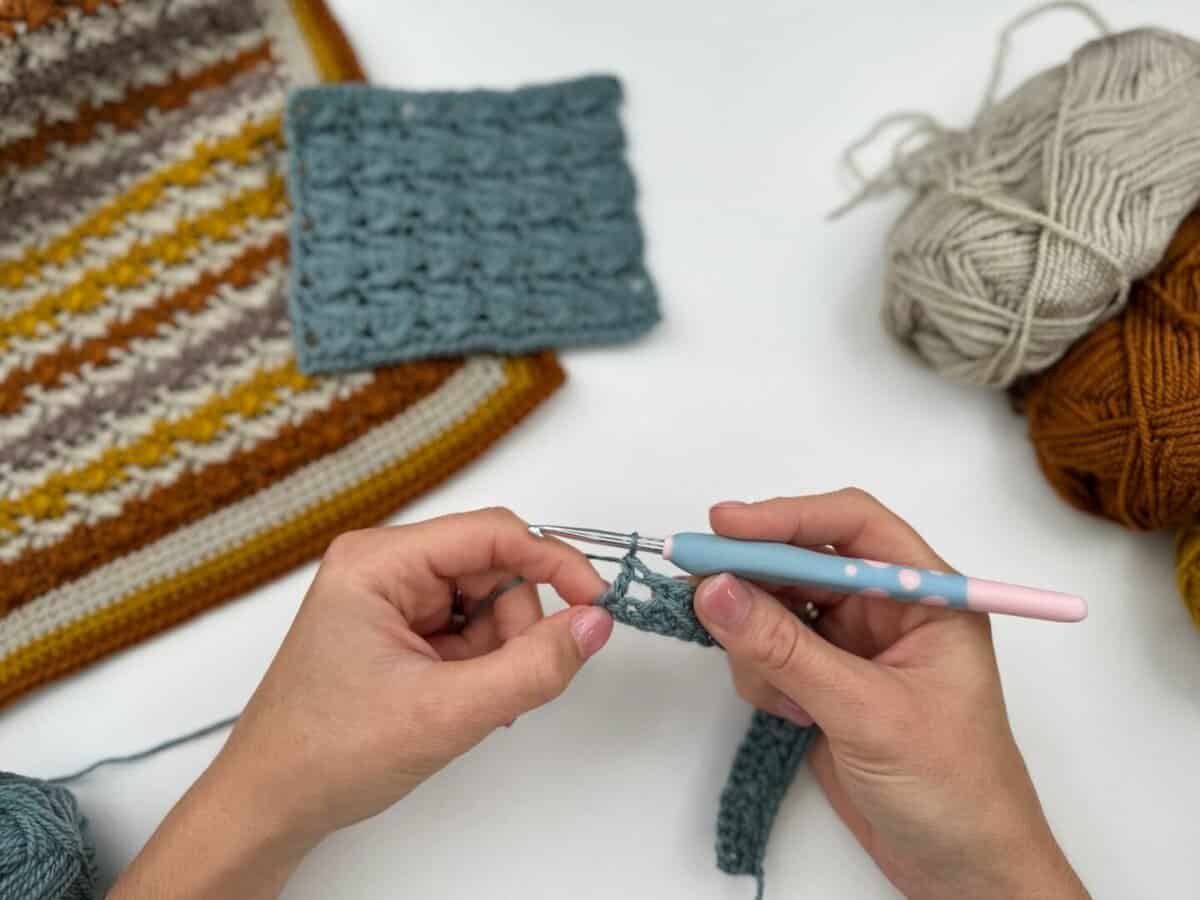
4. skip the next st, work a dc in next st.
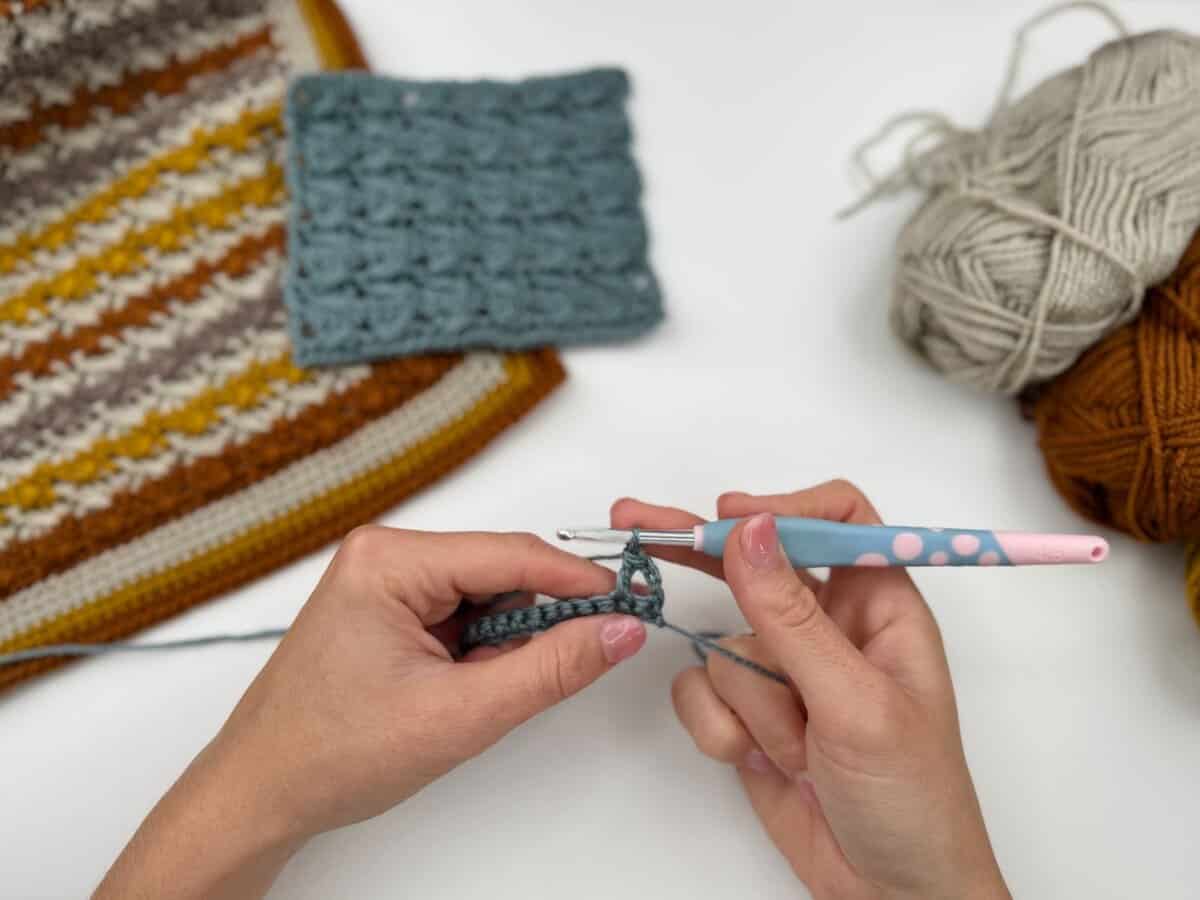
5. work a dc into the next 2 sts.
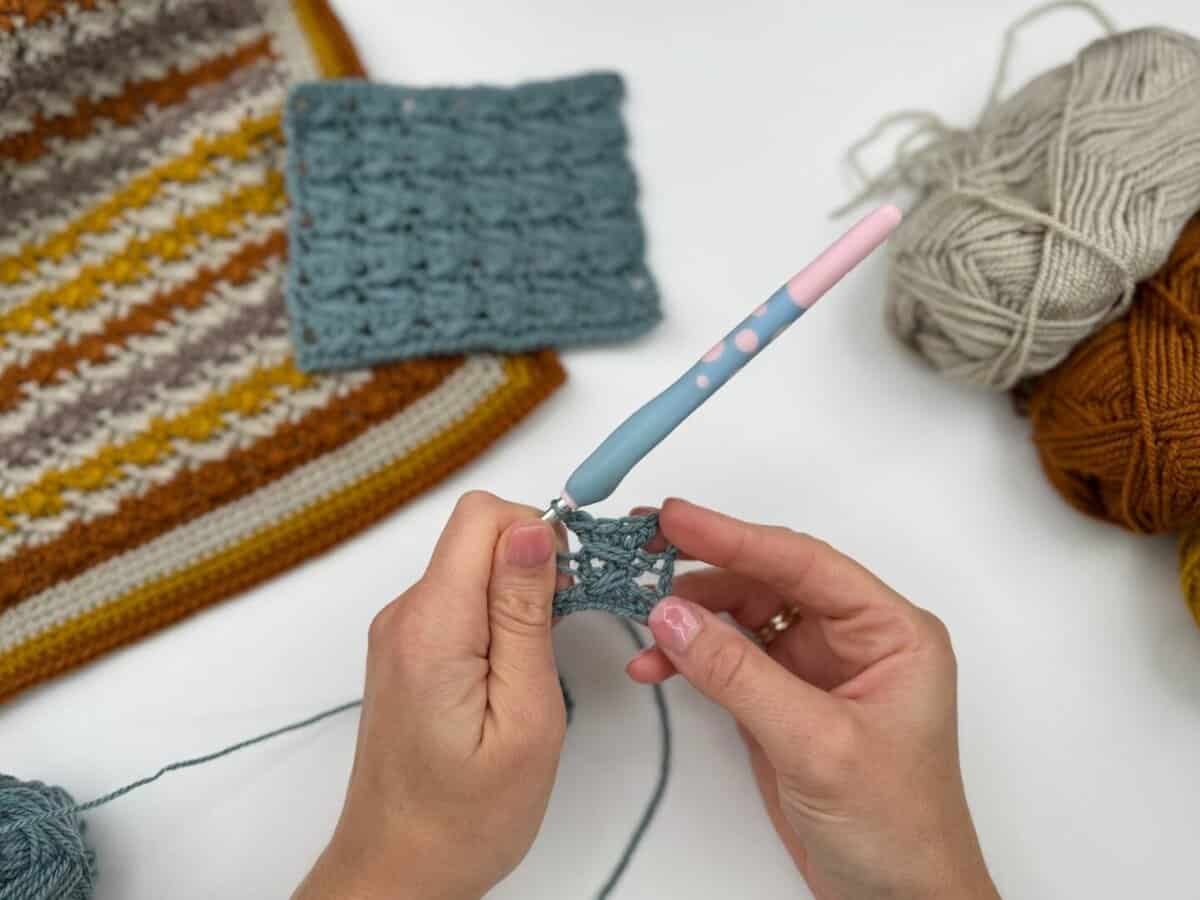
6. working around the 3 sts just made, work a dc in the skipped st.
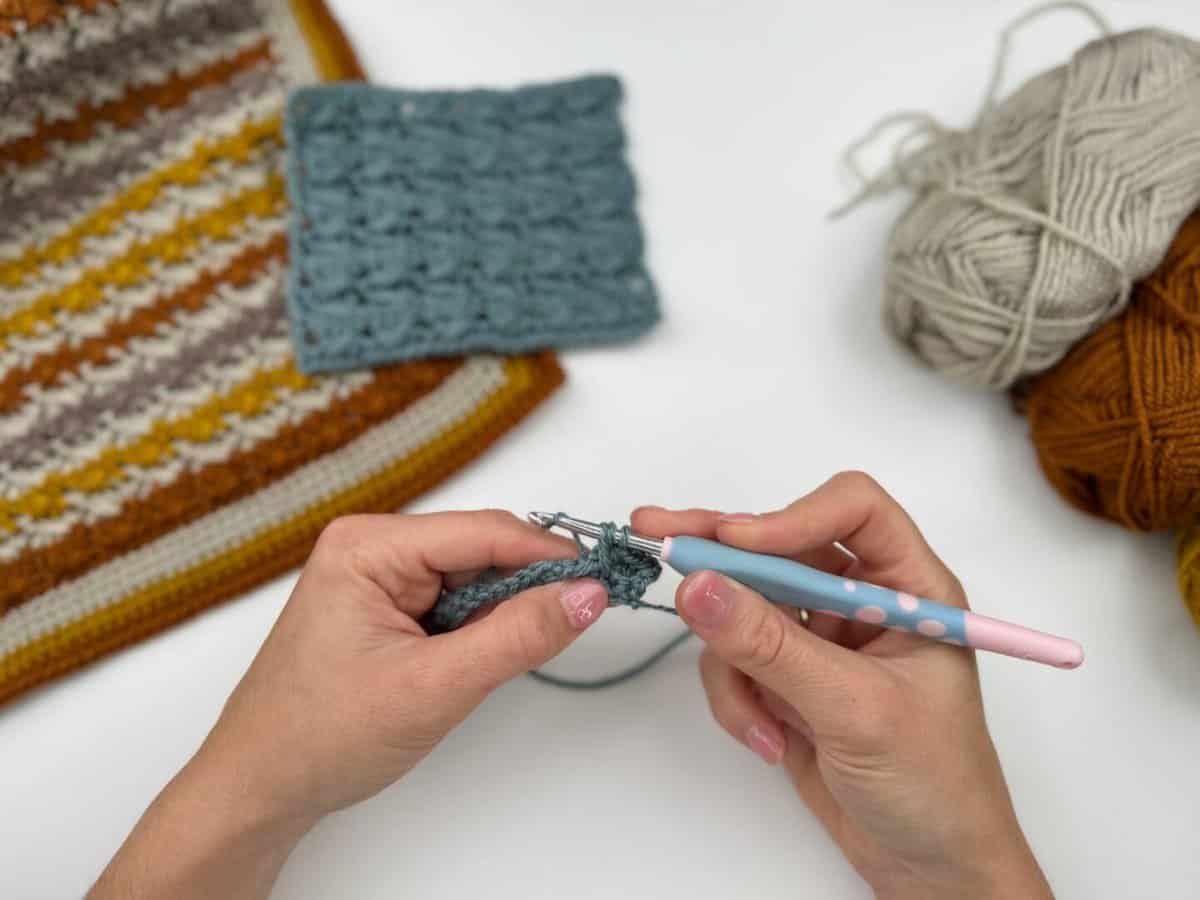
This is what it will look like when you’ve finished step 6.
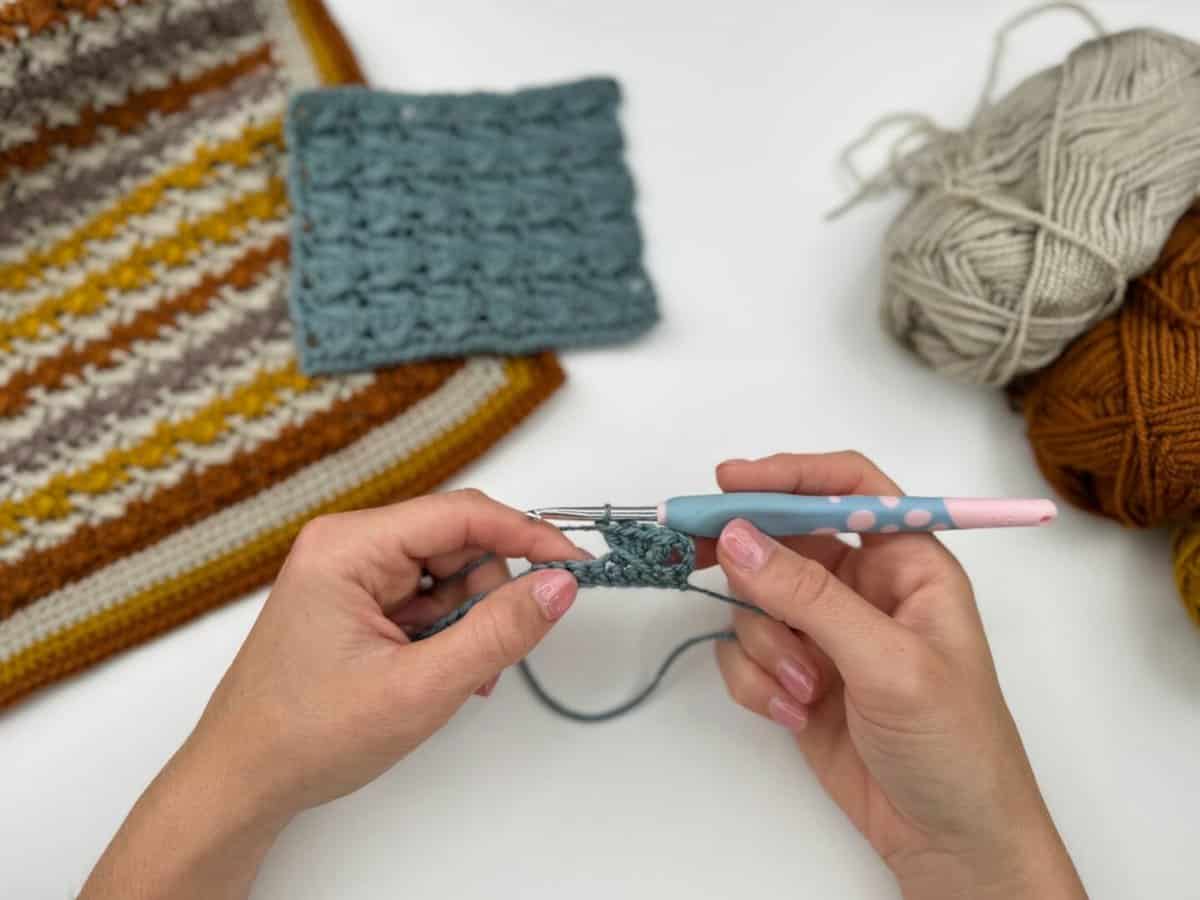
7. rep steps 4, 5 and 6 across the row to last st.
8. dc in last st, turn.
More textured crochet stitches to try
- Lemon Peel Stitch – great for blankets and wearables
- Twisted Cable Stitch – oodles of texture and interest for accessories in this one
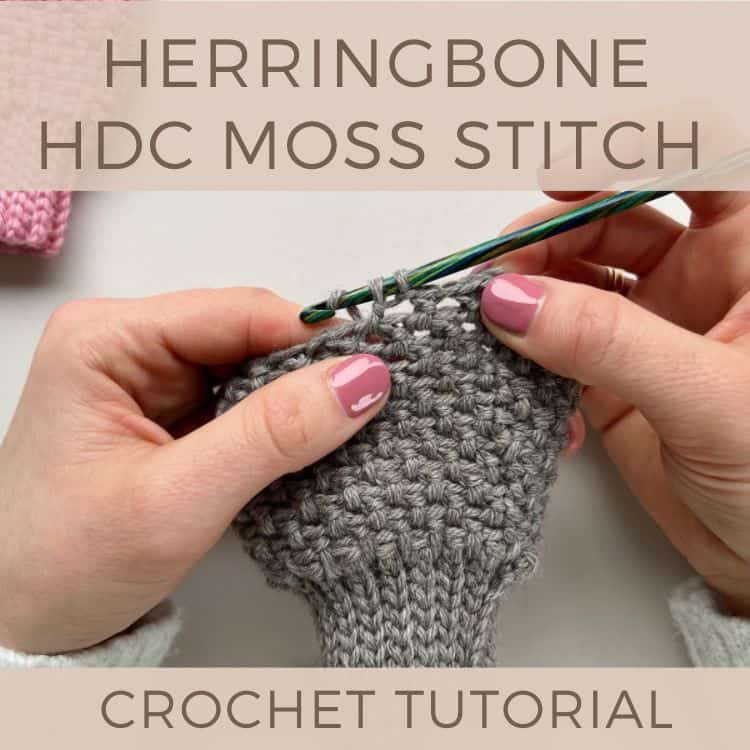
- Herringbone Moss Stitch – a modern take on the classic
9. repeat steps 3-8 for each row.
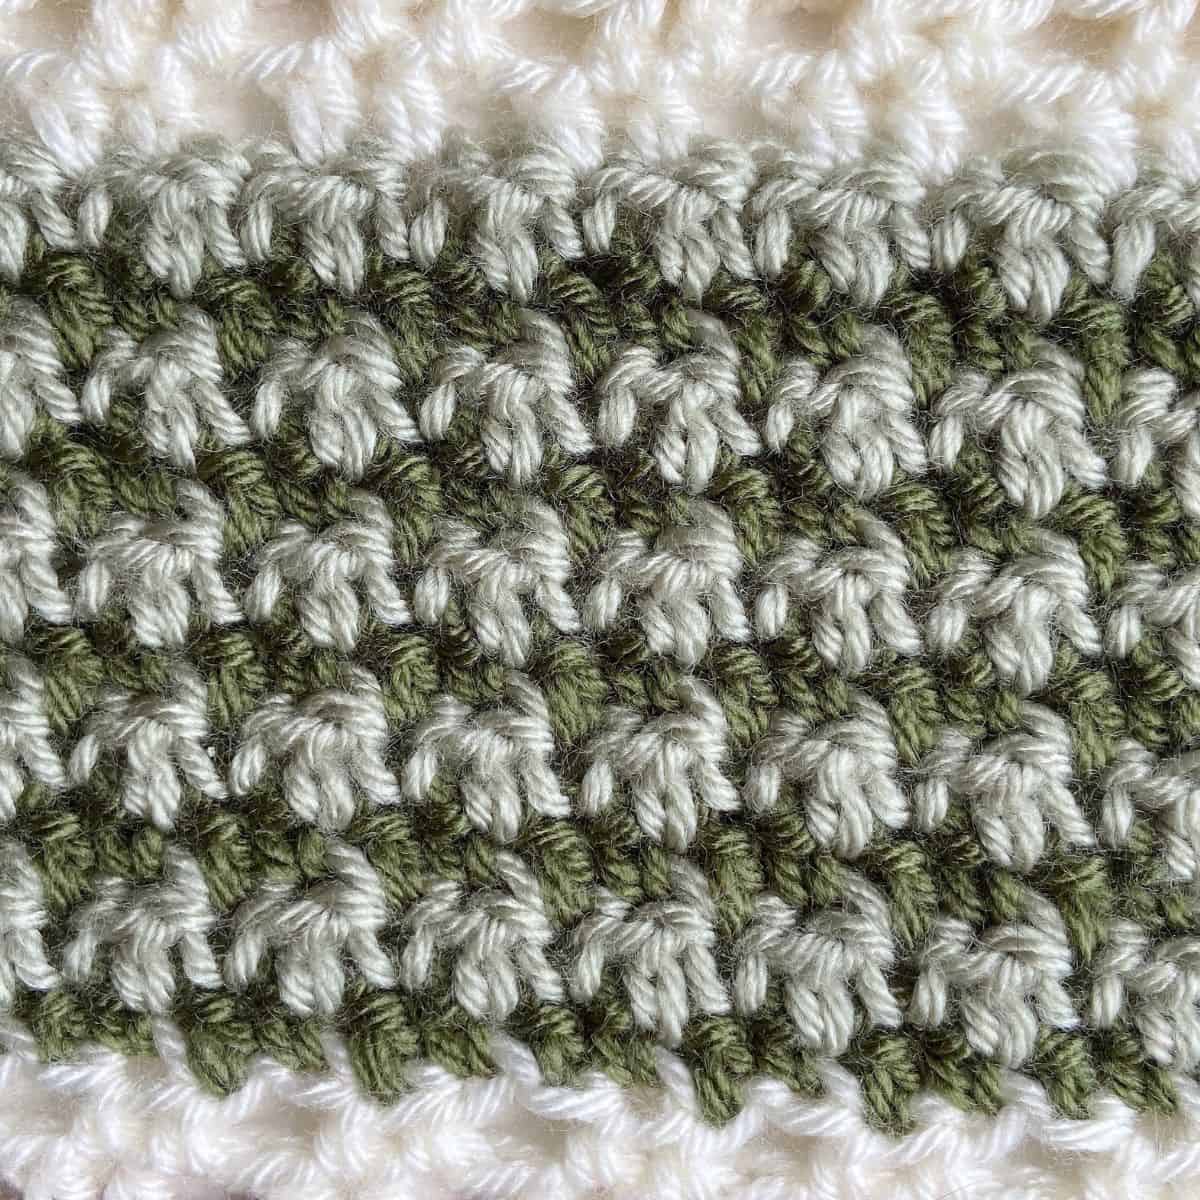
And that’s it, really! This is what it looks like when you’ve done a few more rows!
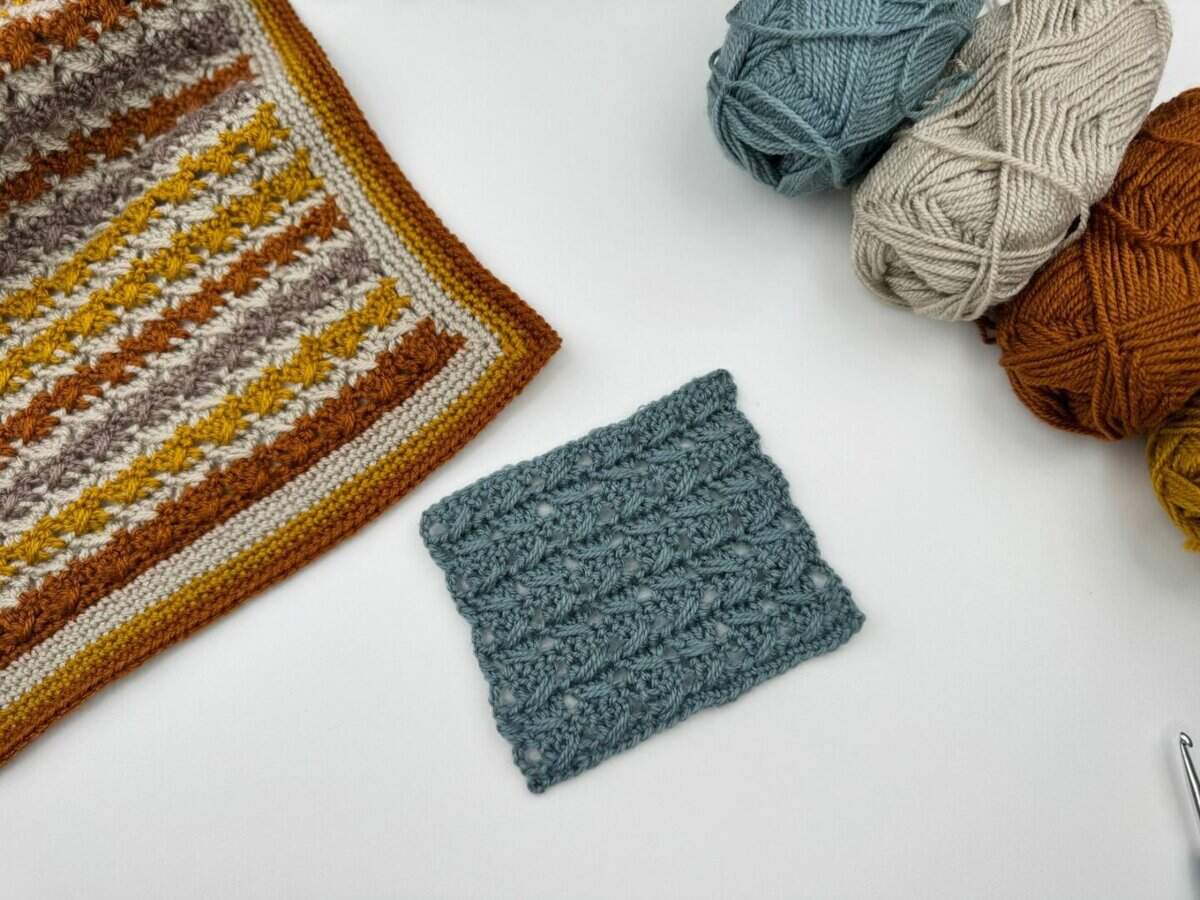
It’s pretty stunning, isn’t it!? Use this stitch pattern in blankets, cushions, scarves or even garments.
Top Tips for Crocheting the Crossover Stitch
- Be careful not to pull the stitches too tight, especially your foundation chain and the crossover double crochet.
- Count your stitches regularly to make sure you haven’t accidentally added or missed stitches.
- When working the double crochet stitch around the other stitches, take your time and try to keep your tension even. It will feel awkward to start with but just keep practising.
- Make a decent sized sample to ensure you master the stitch before using it in a pattern.
Projects Using the Crossover Crochet Stitch
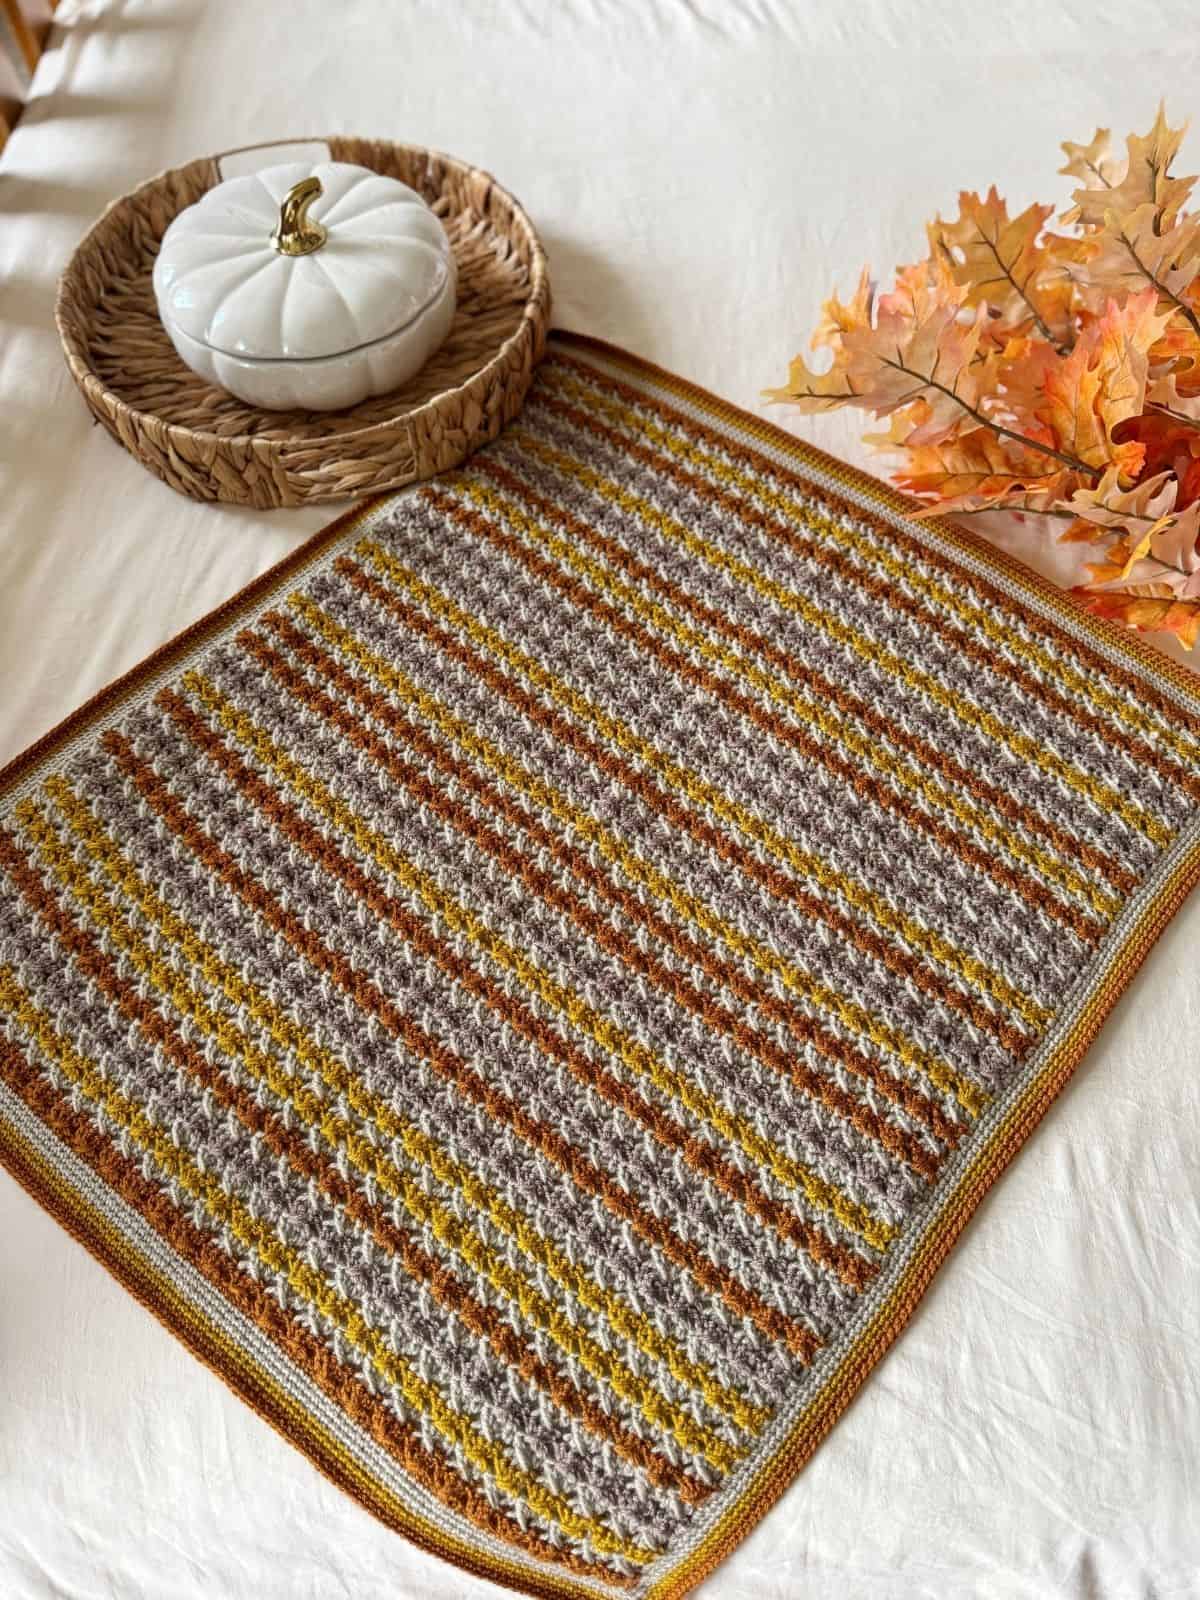
Loving this crossover stitch crochet tutorial? This simple crochet blanket pattern features this beautiful textured stitch and an easy border.
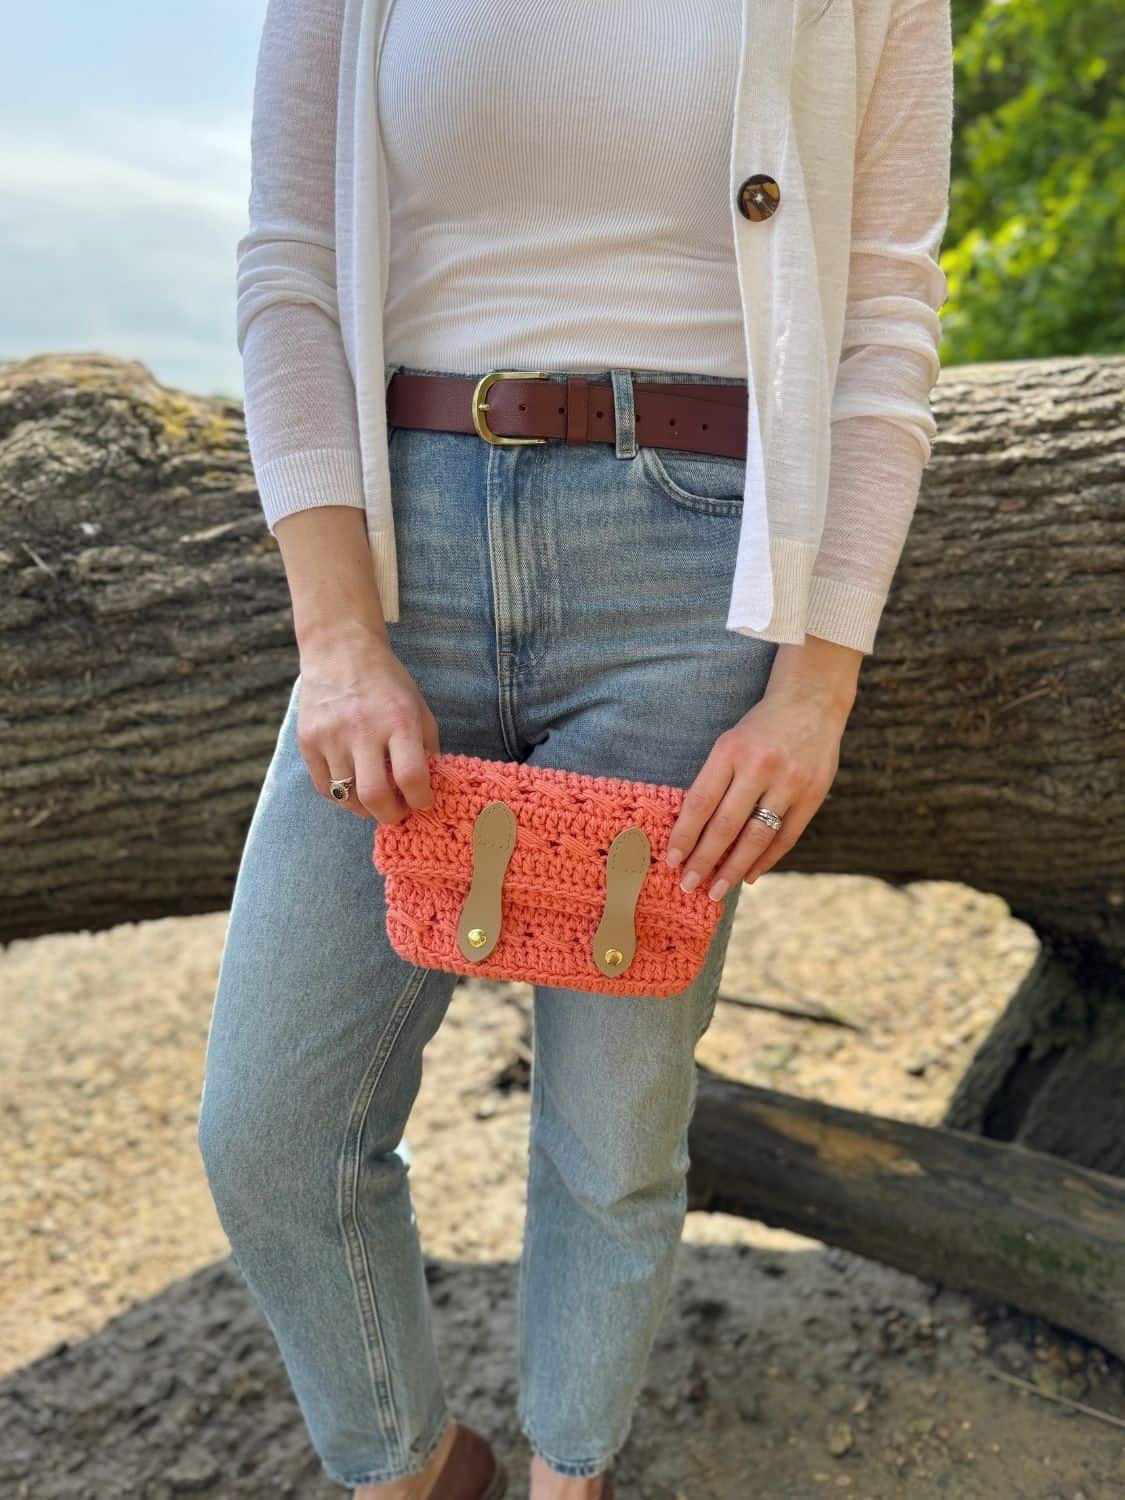
This free crochet clutch bag pattern is a quick and satisfying make, worked using the yarn held double for extra structure and texture.
Plus it uses the same double crochet cross stitch.
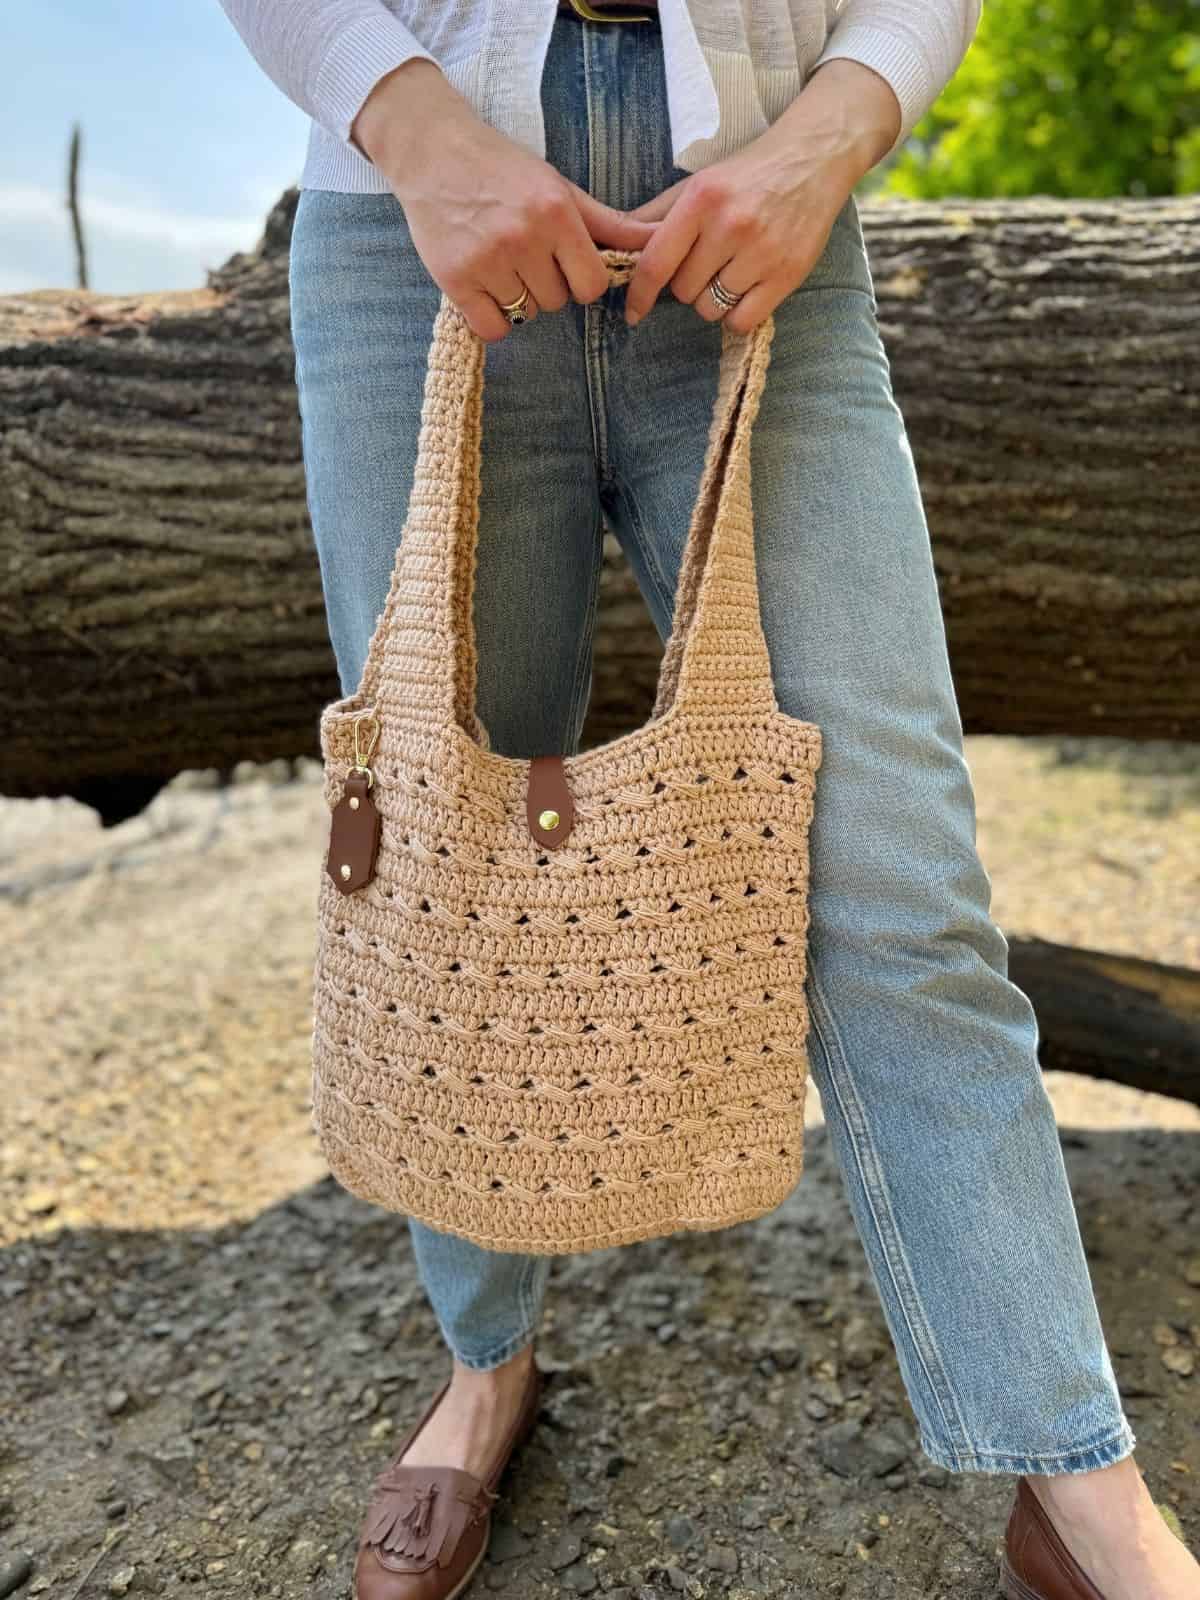
Or maybe you fancy a free crochet market bag pattern using the same glorious stitch instead?
Next Steps in Your Crochet Journey
Now that you’ve mastered the crossover stitch, you really are well on your way to becoming a pro crocheter! I have a whole collection of free stitch tutorials and blanket patterns on my blog so just visit the links and see what you fancy making next. The cabbage patch stitch is one that I think you’ll really like!
Get your free guide!
Subscribe to get your free guide to choosing and combining colours!
Learn Some More Crochet Stitches With Me
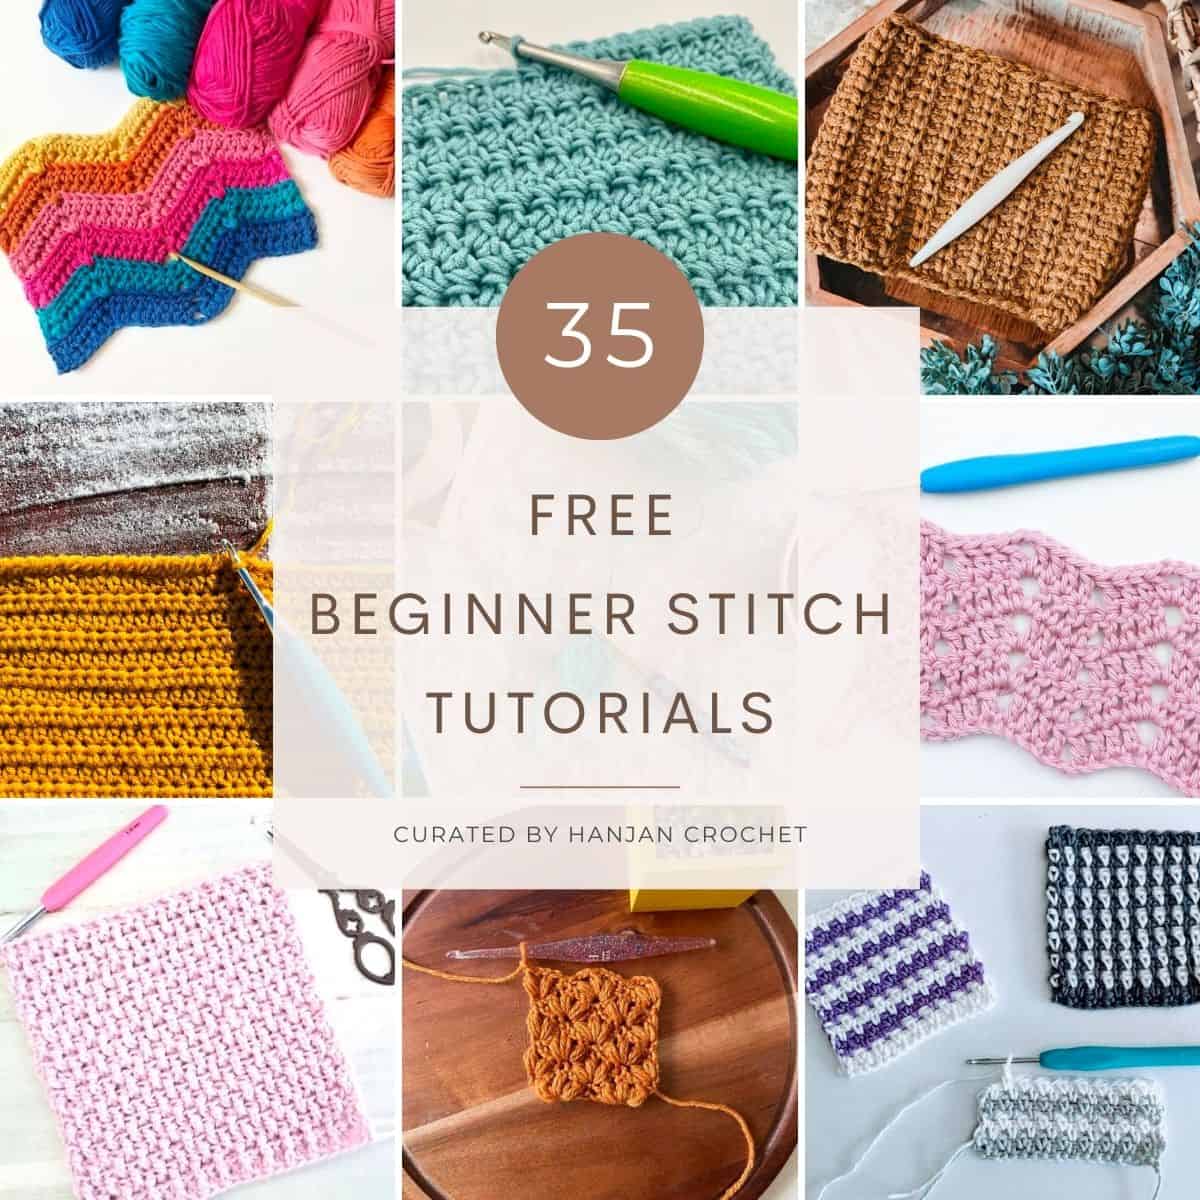
Now that you’ve cracked the basics, it’s time to learn some more crochet stitch tutorials – here are some of my favourite beginner stitches:
35 Easy Crochet Stitches for Beginners
I hope you’ve enjoyed learning how to crochet a slip stitch with me! I really hope you’ve caught the crochet bug and I’d love to share in your crochet journey with you! You can sign up to become a member of HanJan Crochet and I’ll let you know about all the fabulous crochet adventures, offers, lives and more too!
See you there!
Join our community group!
We’ve built an amazing community always ready to help each other. Join today!
Pin It For Later