This post may contain affiliate links. Please see my full disclosure and privacy policy for details.
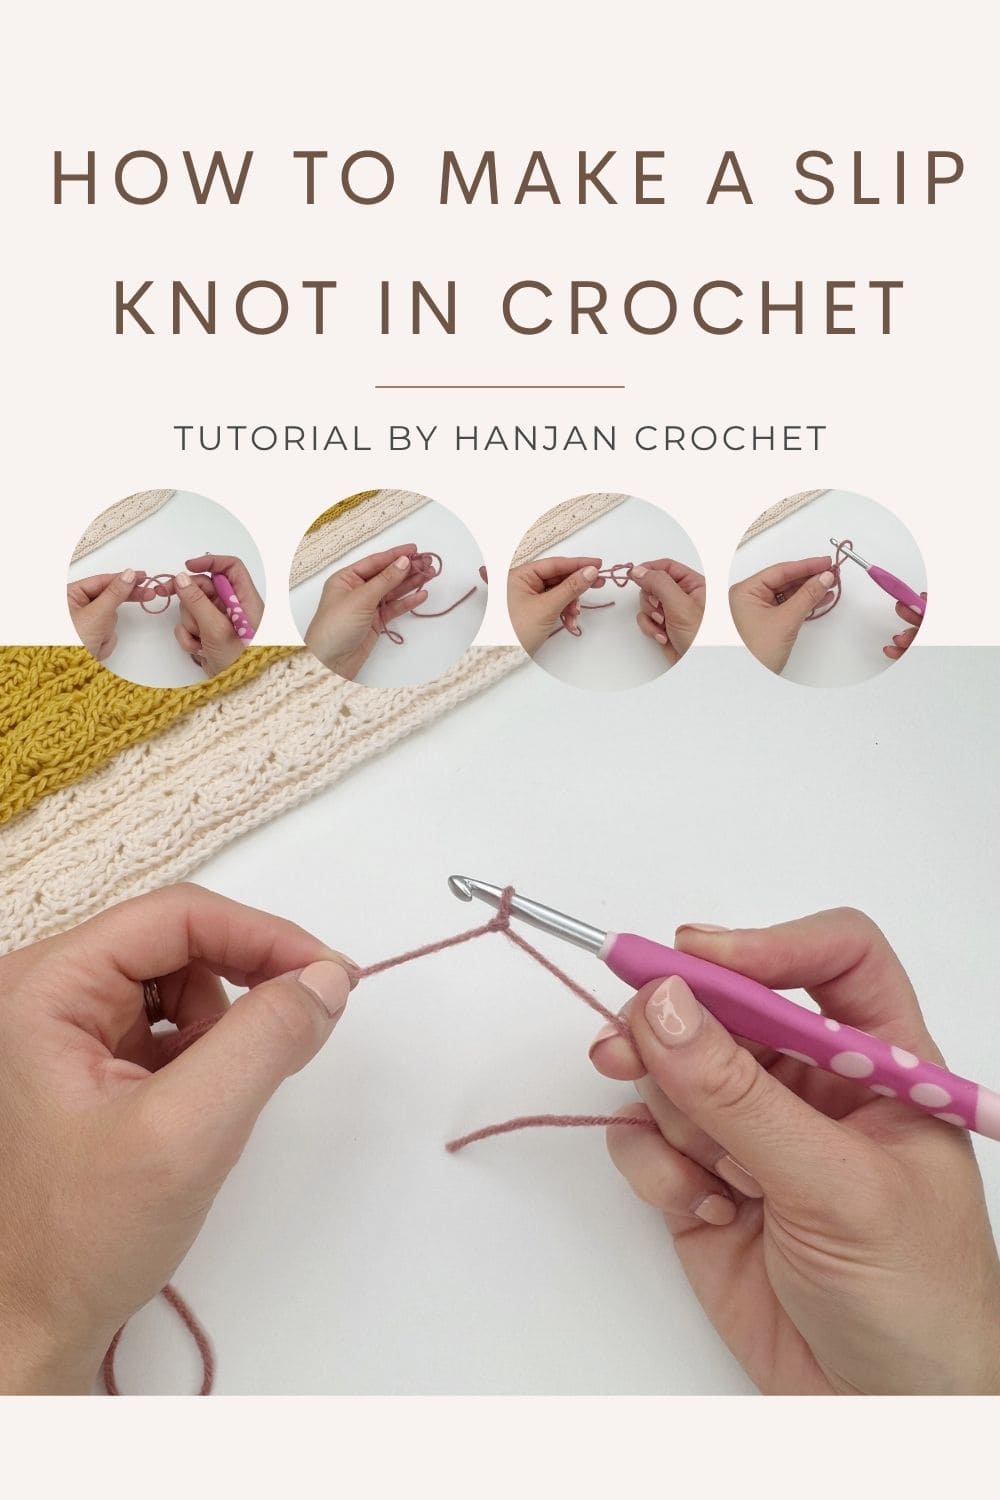
Before you can even start actually learning to crochet, you’re going to need to be able to tie a slip knot. These little crochet knots are definitely not difficult once you know how, but that is often the case with lots of things. That’s why I’m here to show you how to make a slip knot in crochet for beginners.
In this tutorial, I will take you step by step through the process of creating a slip knot for crochet. Soon you’ll be doing them with your eyes closed!!
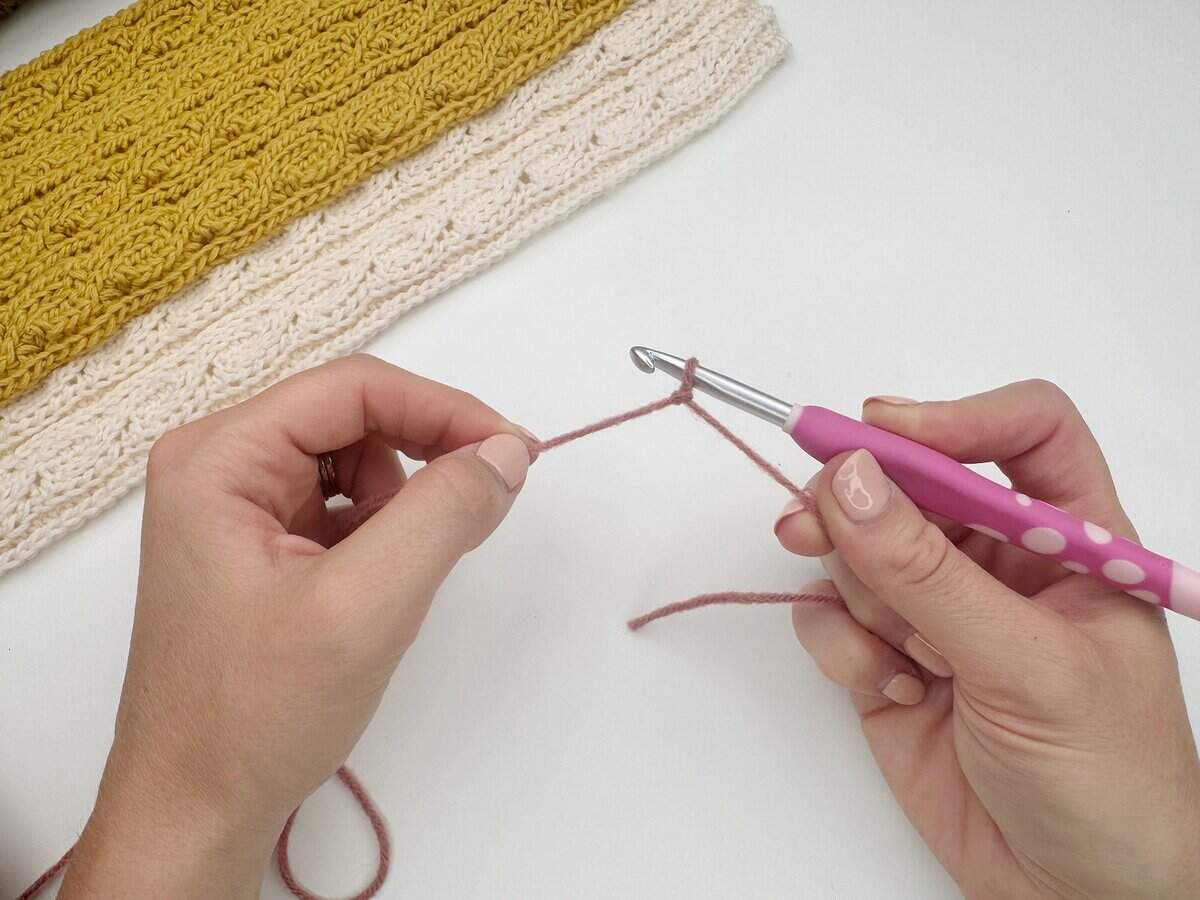
Table of Contents
What is a Slipknot?
A slip knot is a knot that attaches the yarn to your crochet hook. You’ll use it to start most of your crochet projects, so it’s a pretty essential thing to learn.
It’s basically a knot with a loop, which you then place over your hook and tighten. You might have used it for camping or scouting/guiding at some point possibly.
Once your yarn is secured to your hook, you would then move onto making your first crochet chain stitch.
How do you Make a Slip Knot?
Let’s look at how to work the crochet slip knot now. There are quite a few different ways to make a slip knot and you’ll need to figure out which you prefer. I’m going to show you how to make one with your hook and also how to make one with your hands.
Step by Step Video Tutorial
Step by step crochet slip knot for beginners
Supplies you’ll need
I used Wildflower Worsted by Herrschners in Rose Clover for the tutorial photos which is a lovely, category 4 (worsted) weight yarn, 100% Acrylic, 448m, 489yds, 226g, but you can use any yarn that you like. If you’re a beginner I’d recommend using a category 4 or 5 weight yarn so you can see your stitches easily.
You’ll need a corresponding crochet hook for the yarn you choose. If you look at the ball band, it usually gives you the recommended hook size. The hook I’m using is a Dots Hook by WeCrochet.
If you only have one hook and ball of yarn though, just use what you’ve got. The important thing is to start crocheting!
Using your Hook
Here is a short description of the process. Below is a step by step guide with pictures.
How to make a slip knot –
- Pull out a length of yarn. Start making your slip knot around 5 inches from the free end (we call this the tail end). The end still joined in the ball is the ball end.
- Make a loop with your yarn, keeping the tail end underneath.
- Insert your hook into the loop and grab the ball end yarn that is outside of the loop.
- Pull it through the loop and out the other side.
- Keeping hold of that with one hand, pull the two yarn ends with your other hand to tighten the knot.
- Pull the ends apart to make the loop around your hook smaller, so that it is tight, but can still move up and down the hook.
1. Make a loop with your yarn
Pull out a length of yarn. Start making your slip knot around 5 inches from the free end (we call this the tail end). The end still joined in the ball is the ball end.
Make a loop with your yarn, keeping the tail end underneath.

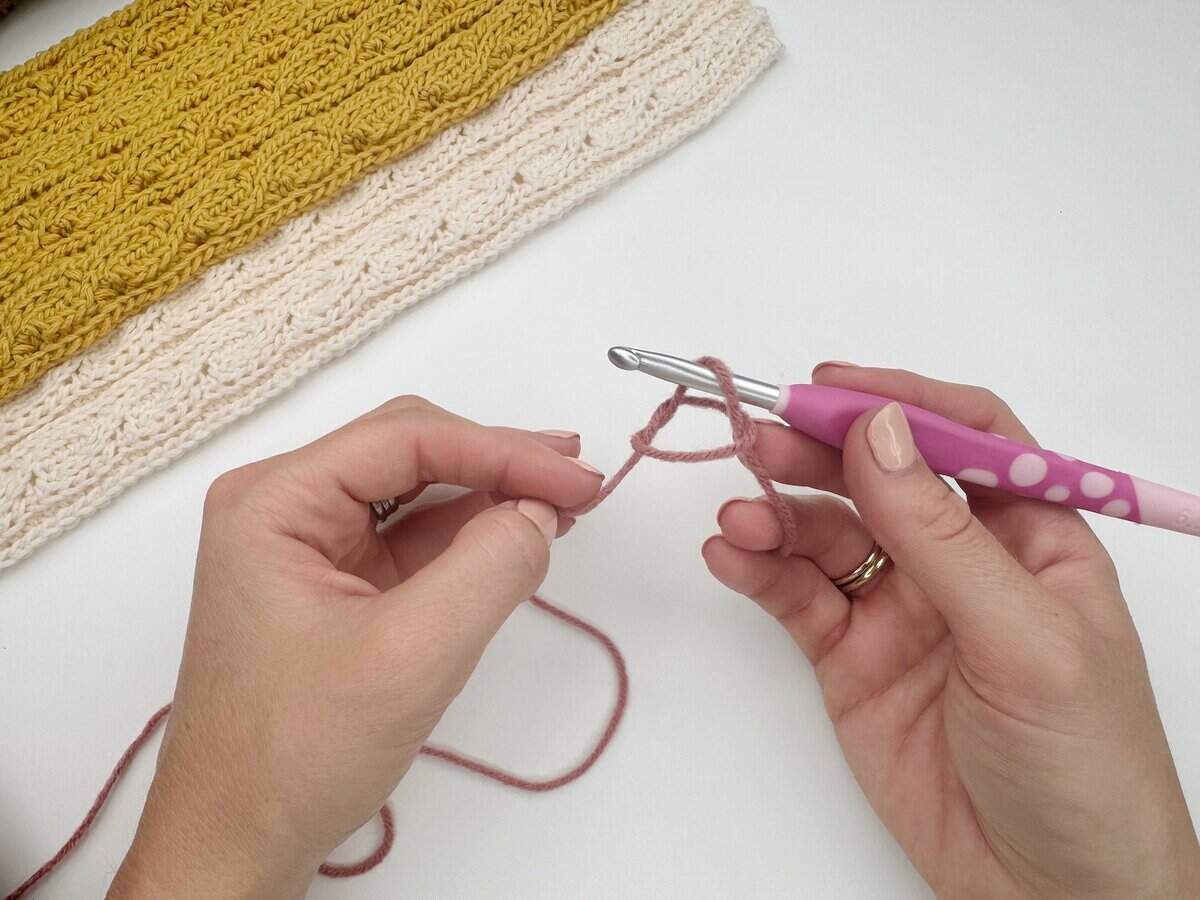
2. Insert your hook into the loop and grab the ball end yarn that is outside of the loop.
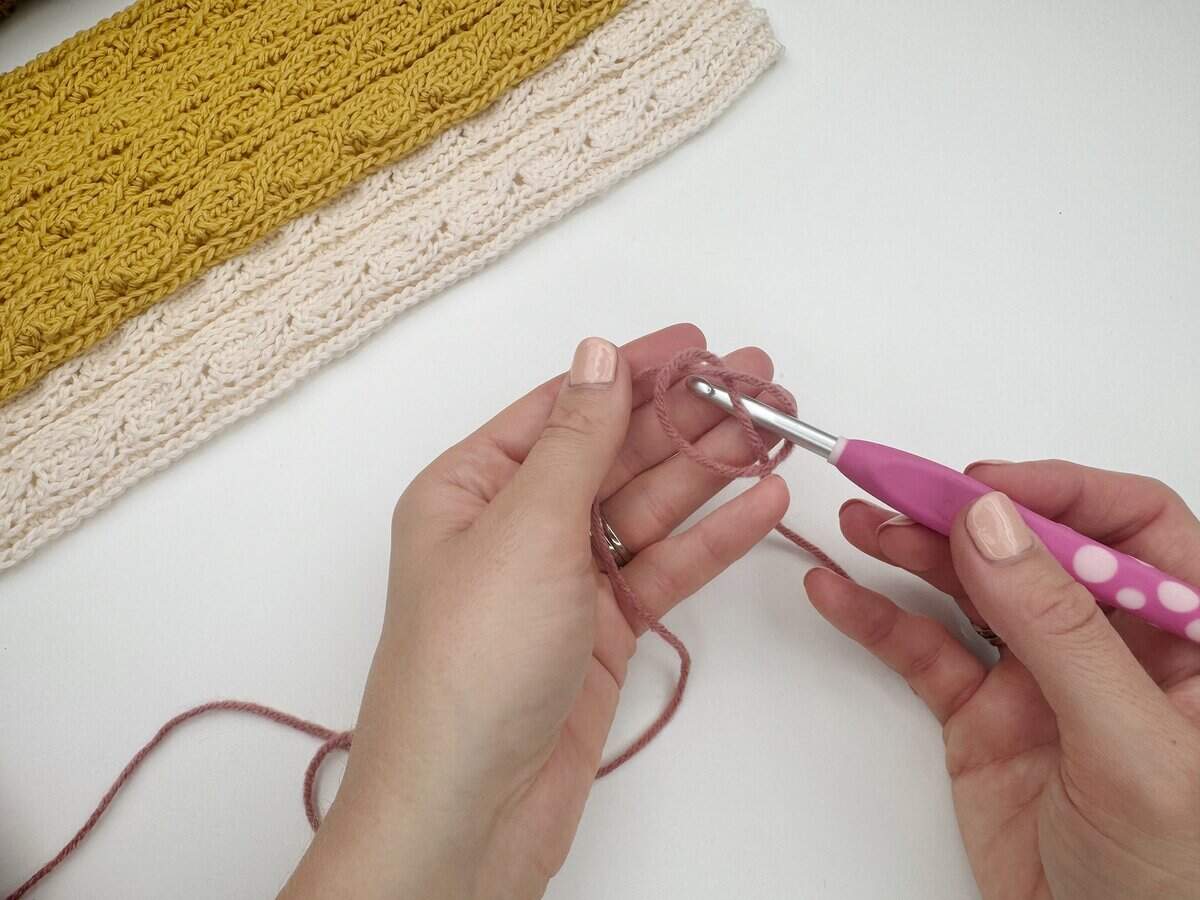
3. Pull it through the loop and out the other side.
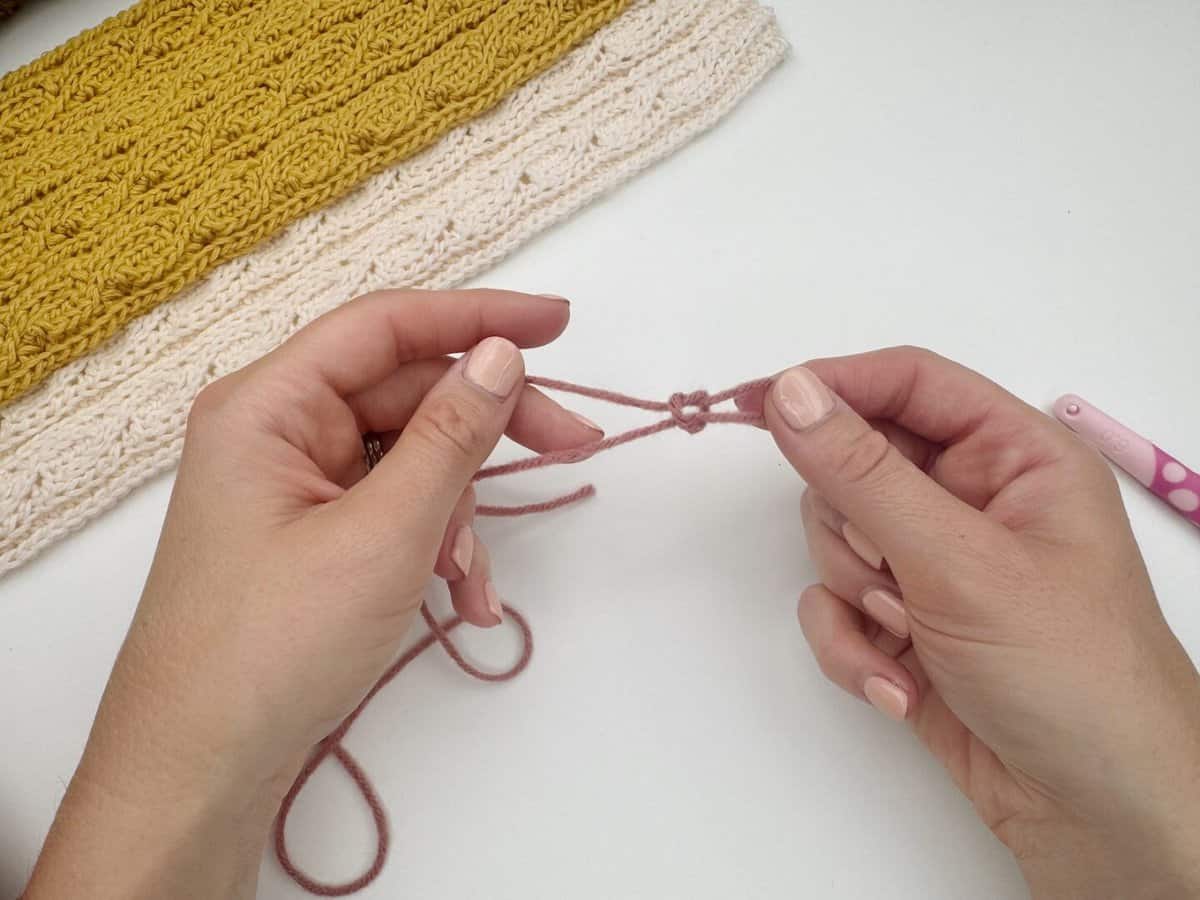
4. Keeping hold of that with one hand, pull the two yarn ends with your other hand to tighten the knot.
Pull the ends apart to make the loop around your hook smaller, so that it is tight, but can still move up and down the hook.

Using your Hands
Here is a short description of the process. Below is a step by step guide with pictures.
How to make a slip knot –
- Pull out a length of yarn. Start making your slip knot around 5 inches from the free end (we call this the tail end). The end still joined in the ball is the ball end.
- Make a loop with your yarn.
- Push the end lying on top around to the back and cross it over the loop.
- Pull this middle strand through the loop and out the other side.
- Keeping hold of the loop with one hand, pull the two yarn ends with your other hand to tighten the knot.
- Insert your hook into the loop.
- Pull the ends apart to make the loop around your hook smaller, so that it is tight, but can still move up and down the hook.
1. Make a loop with your yarn
Pull out a length of yarn. Start making your slip knot around 5 inches from the free end (we call this the tail end). The end still joined in the ball is the ball end.
Make a loop with your yarn.
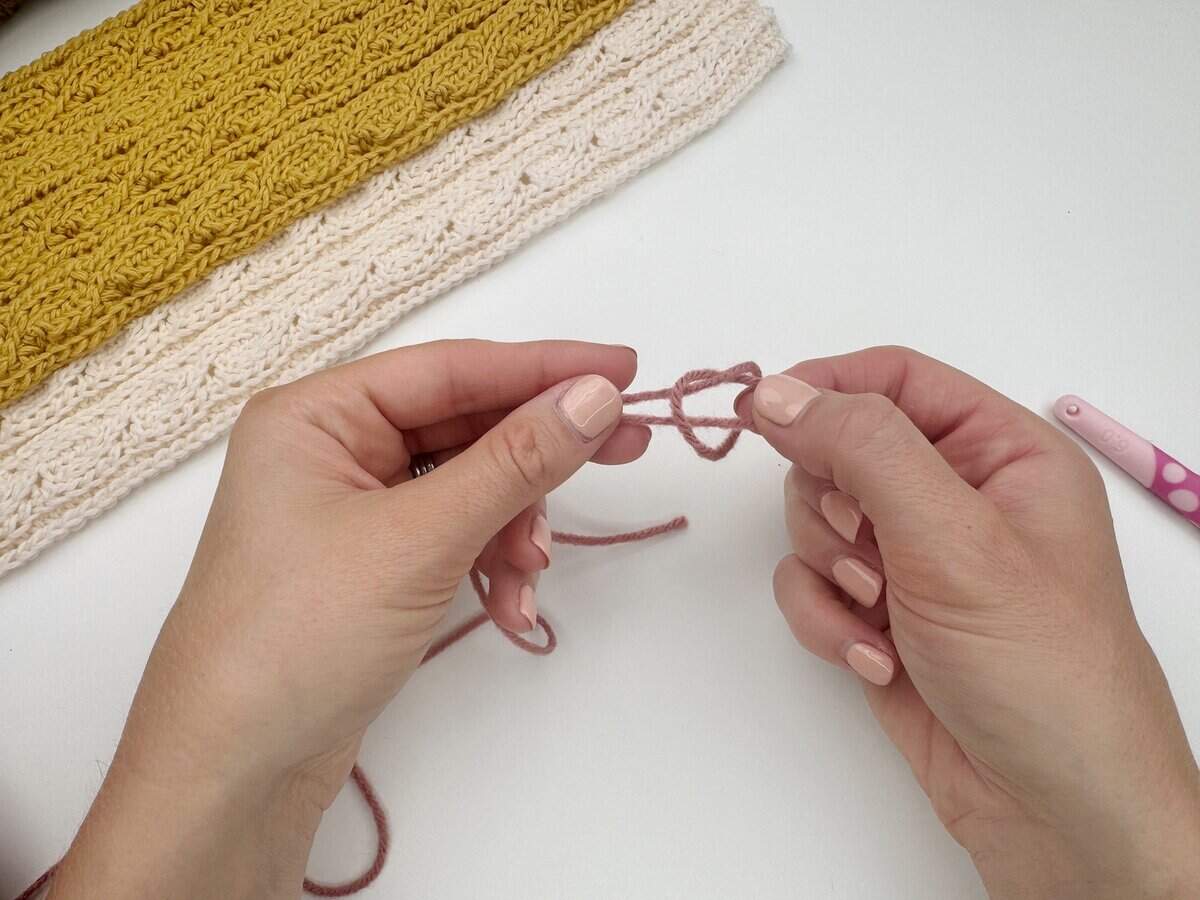
2. Push the end lying on top around to the back and cross it over the loop.

3. Pull this middle strand through the loop and out the other side.
4. Keeping hold of the loop with one hand, pull the two yarn ends with your other hand to tighten the knot.
5. Insert your hook into the loop.
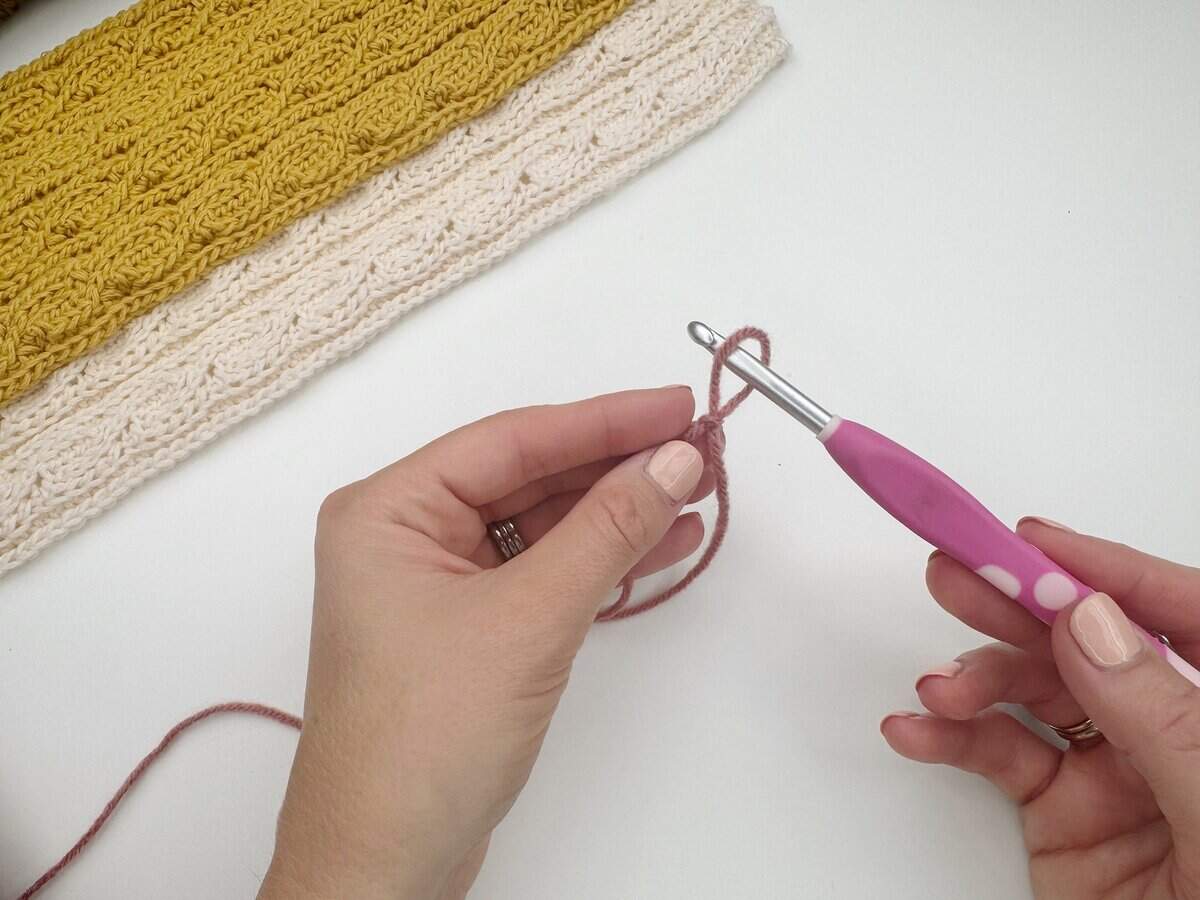
6. Pull the ends apart to make the loop around your hook smaller, so that it is tight, but can still move up and down the hook.

Top Tips for Slip Knot Crochet
- Be sure not to pull the slip knot too tight on your hook. You should be able to slide it up and down your hook easily.
- The loop created by the slip knot does not count as a stitch when you count your crochet chain stitches.
- Be careful not to work into the slipknot when you work back along your chains.
- In a pattern, you will not see the slip knot mentioned. The pattern will start with ch30 for example. This means: put a slip knot on the hook and then make 30 crochet chain stitches.
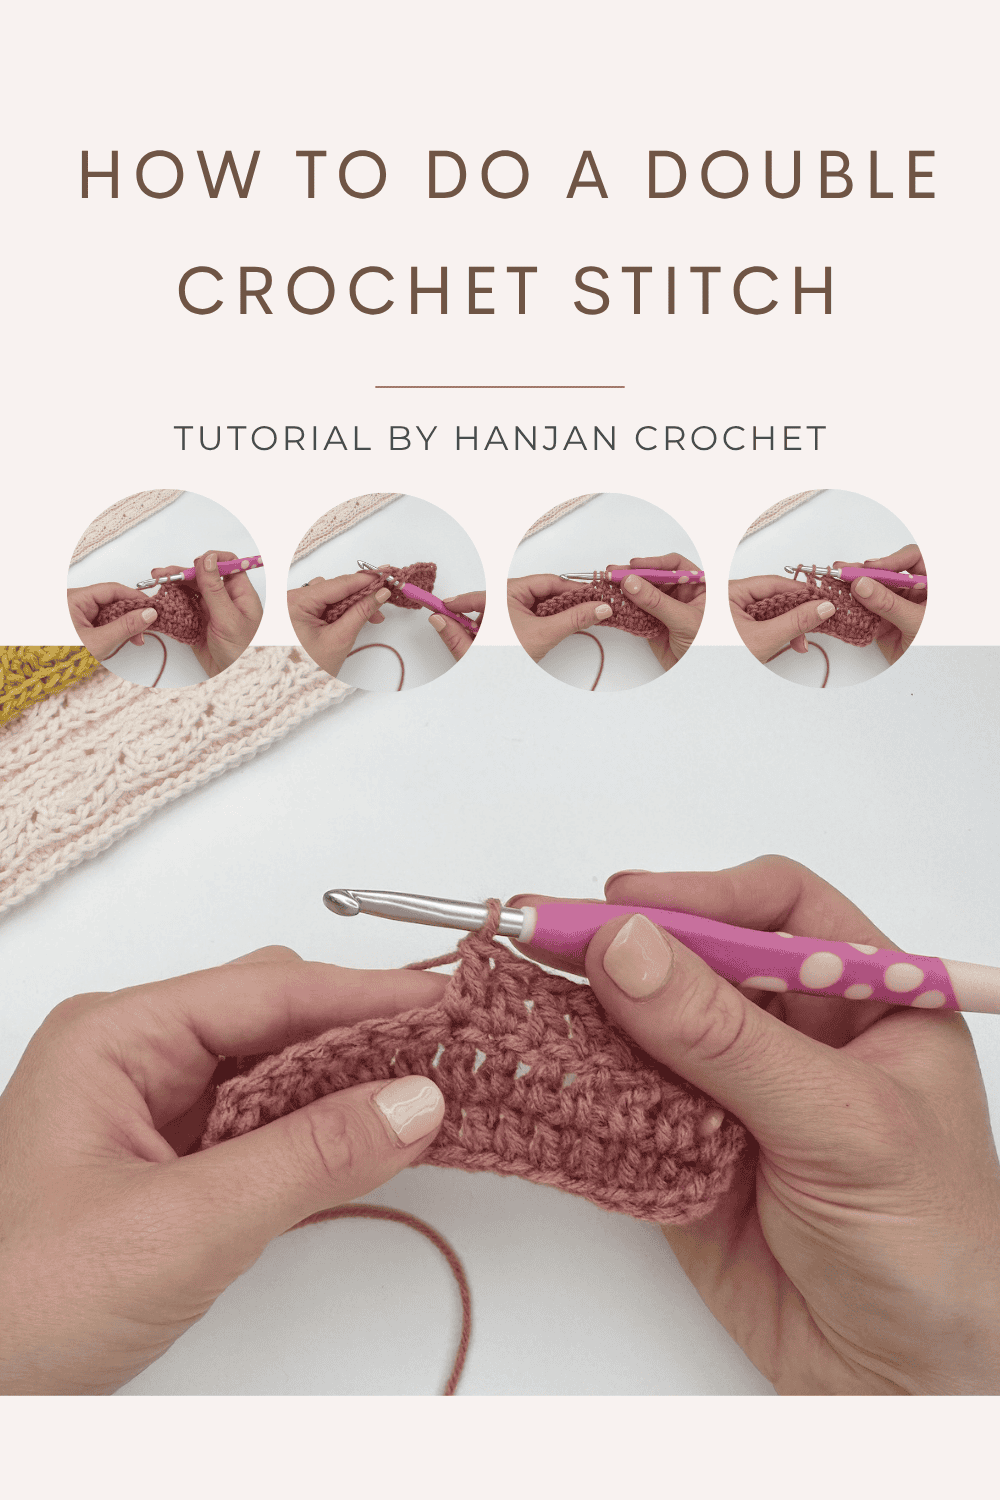
Next Steps in Your Crochet Journey
Now that you’ve mastered the slip knot, the next thing to learn is the crochet chain stitch. Head on over to the next blogpost in this series to continue your crochet journey!
Get your free guide!
Subscribe to get your free guide to choosing and combining colours!
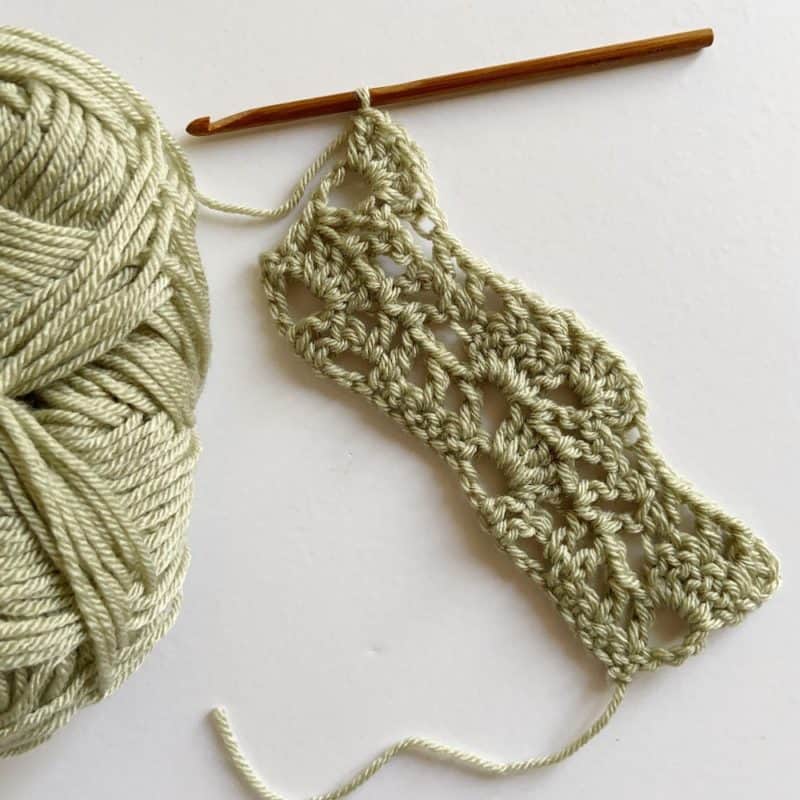
Learn Some More Crochet Stitches With Me
Now that you’ve cracked the basics, it’s time to learn some more crochet stitch tutorials – here are some of my favourite beginner stitches:
35 Easy Crochet Stitches for Beginners
I hope you’ve enjoyed learning how to make a slip knot crochet for beginners with me! I really hope you’ve caught the crochet bug and I’d love to share in your crochet journey with you! You can sign up to become a member of HanJan Crochet and I’ll let you know about all the fabulous crochet adventures, offers, lives and more too!
See you there!
Join our community group!
We’ve built an amazing community always ready to help each other. Join today!
Pin It For Later