This post may contain affiliate links. Please see my full disclosure and privacy policy for details.


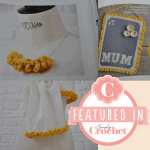
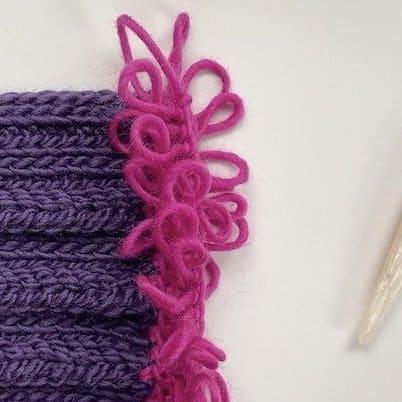
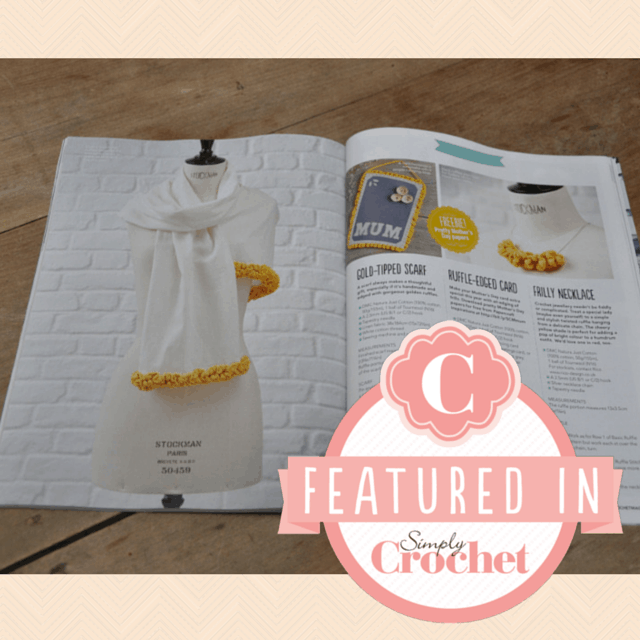
The new issue of Simply Crochet Magazine is out and am so thrilled with how my ‘stitch special’ feature looks! Every month they teach you a new stitch and show a few cute designs to give you inspiration and ideas about what you can achieve with it. This month I went for a ruffle stitch and made a frilly necklace, gold-tipped scarf and a ruffle-edged card.
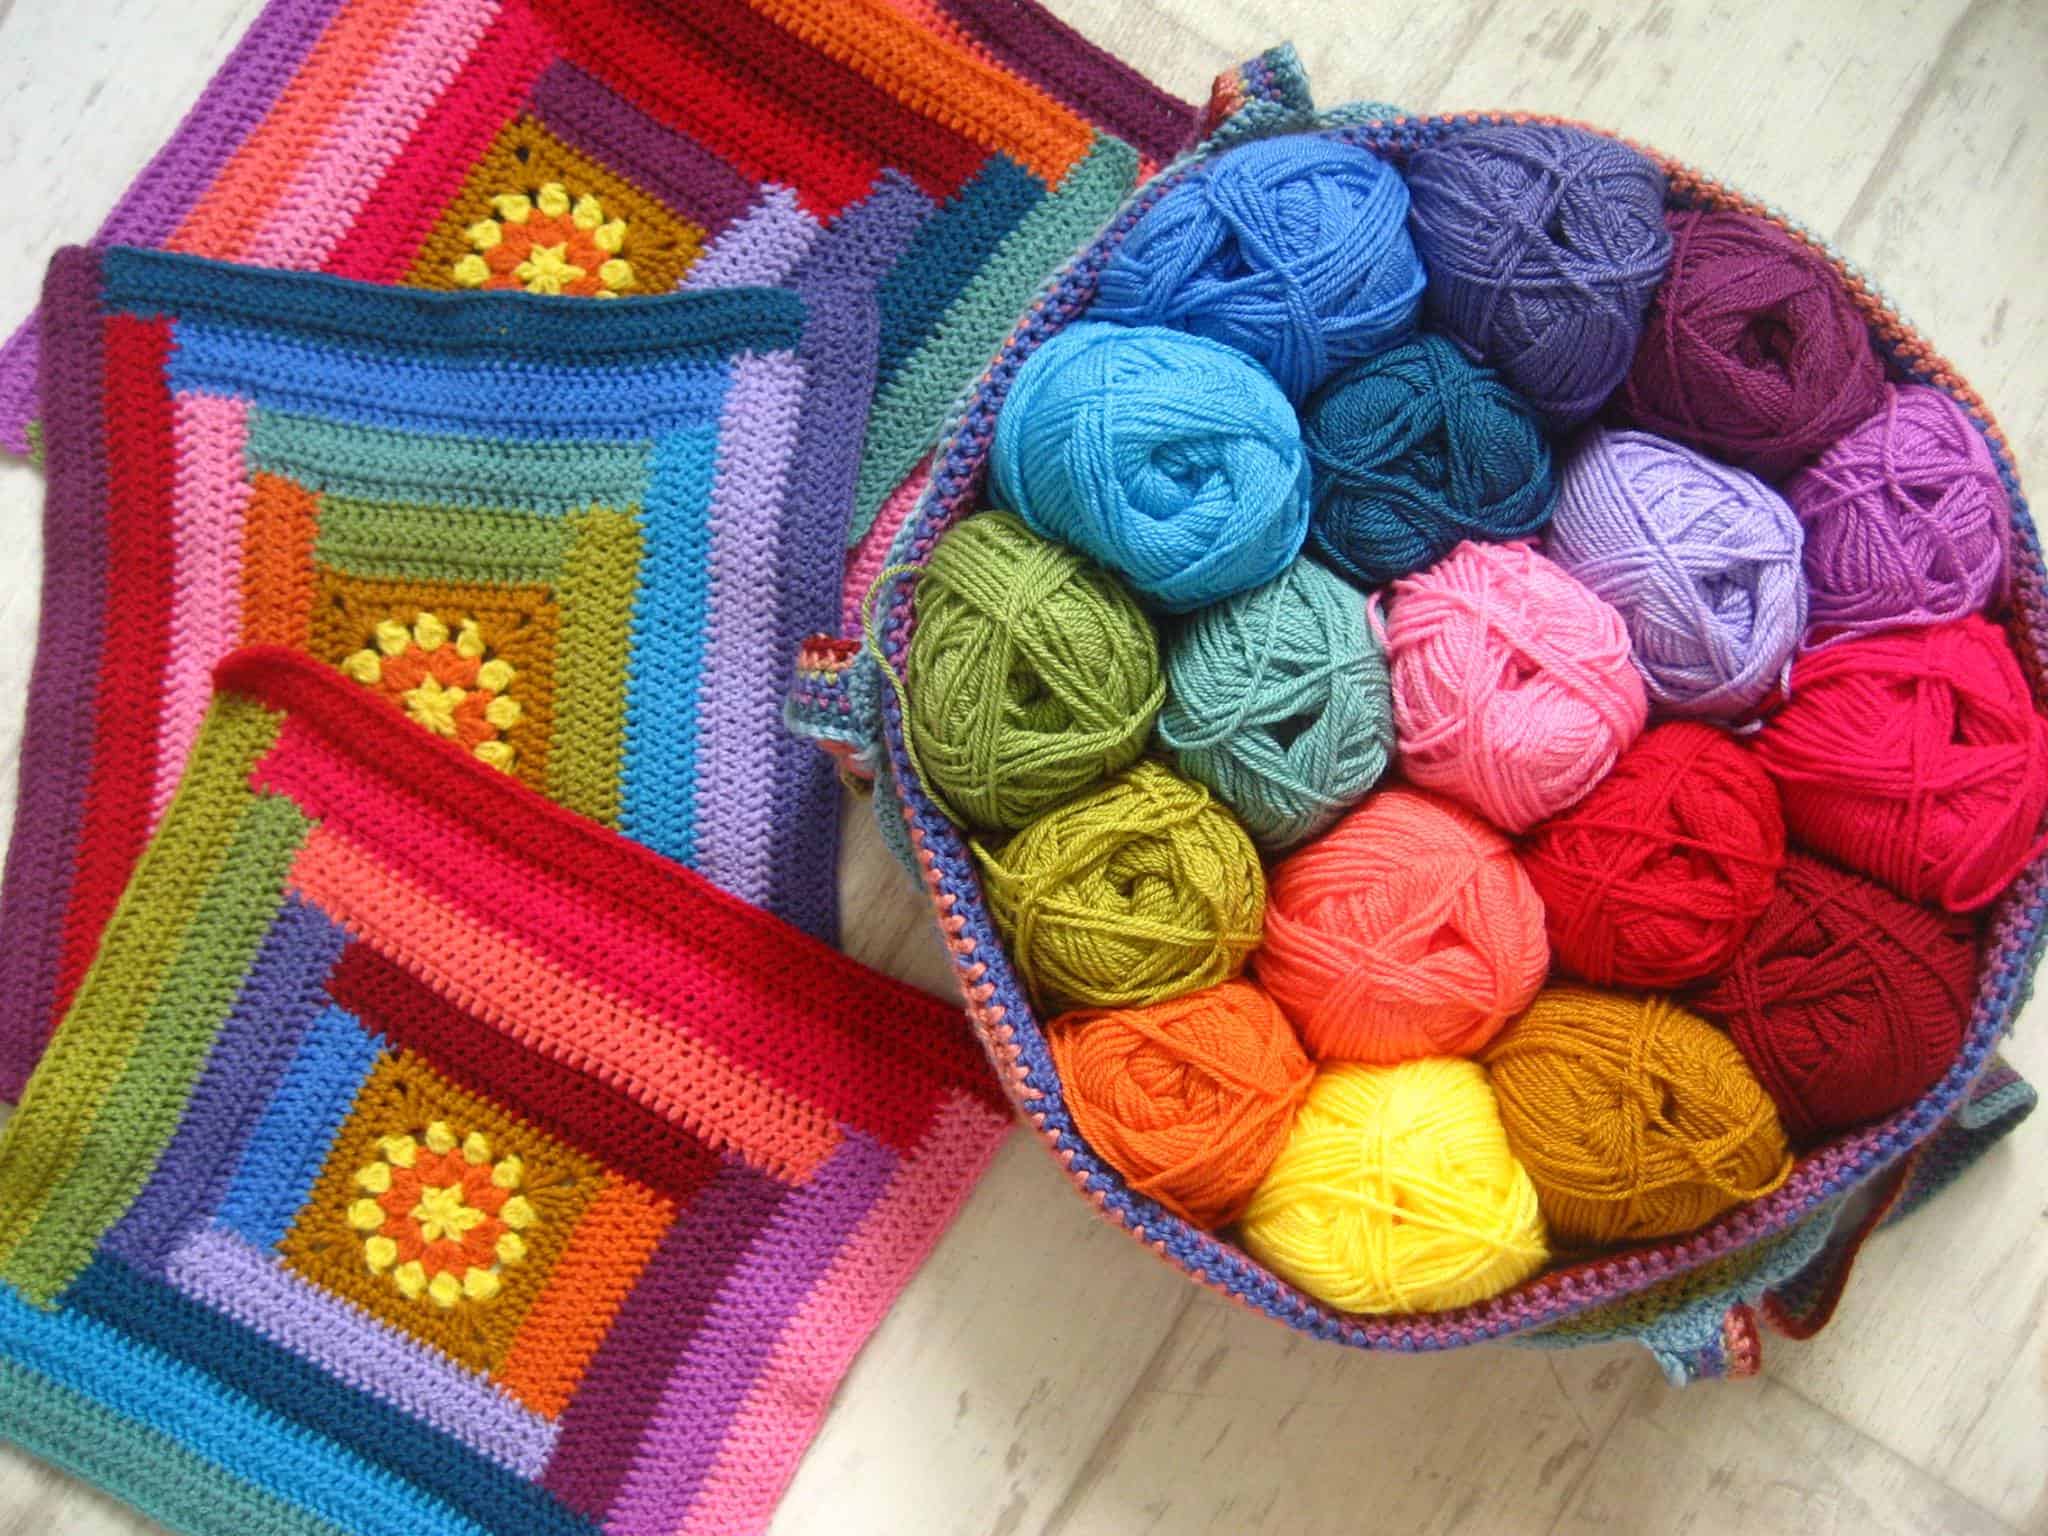
I used DMC Natura Just Cotton (100% cotton, 50g/155m) in Tournesol (N16) for the projects – it’s the most wonderful bright yellow in the hope that Spring will soon be here! They do all sorts of other yummy colours though so pick your favourite……
For the card I really went for it and combined my new found love for paper cutting alongside the crochet and I thought perhaps you might like to see just how I made the card in more detail before adding the crochet edge. The gang at Simply Crochet pointed me towards Papercraft Inspirations where you can find all sorts of loveliness including the Mother’s Day bits and bobs I used.
I am definitely not an expert in the art of paper cutting….as you will soon see…..but I love giving everything a go and figure that we should always challenge ourselves and see where it takes us!

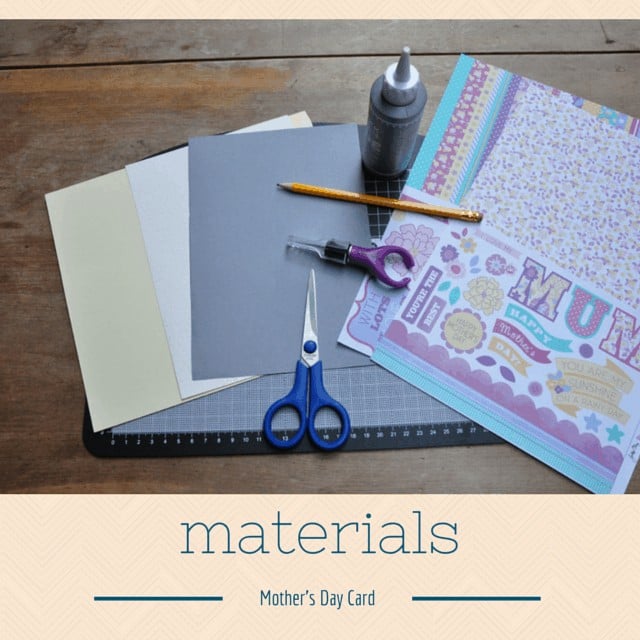
You will need: Cream A5 card, grey and yellow A5 paper, free downloads for letters and flowers, craft glue, cutting board, paper cutter, scissors, pencil and a steady hand.
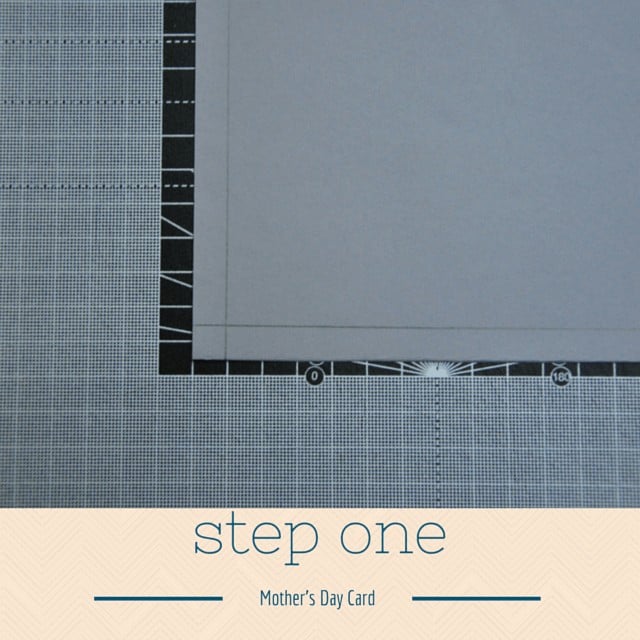
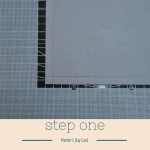
Step One: Measure out and then cut off 1cm from each side of the grey paper. (It doesn’t matter at all about pencil marks on what will be the back of the card, they will all be hidden – hurrah!)
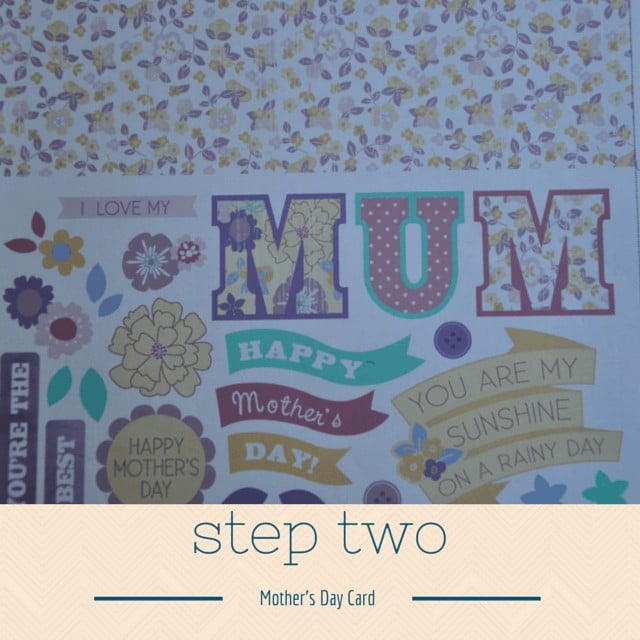
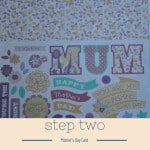
Step Two: Cut out the letters MUM as neatly as you can from the free download
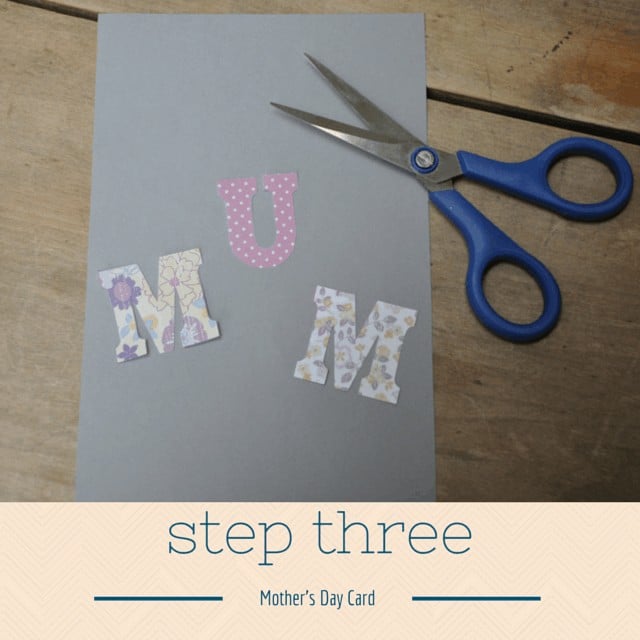
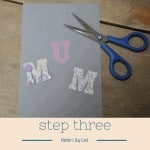
Step Three: Breathe, and treat yourself to a cup of tea – steady hands are to be congratulated.
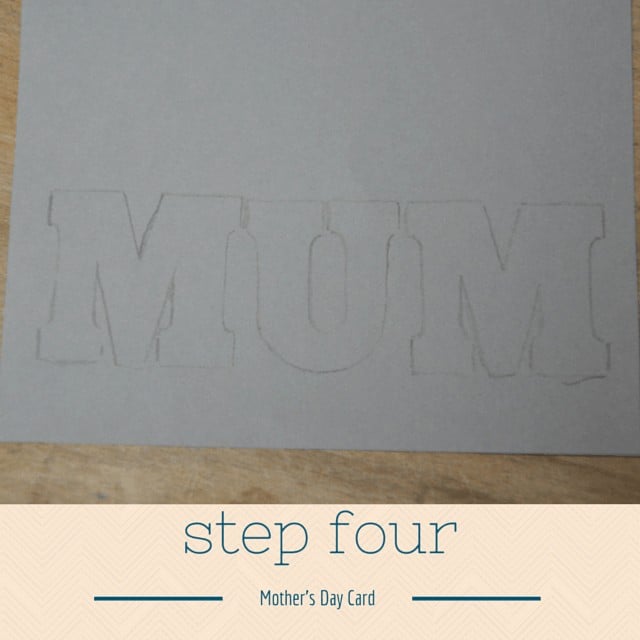
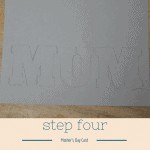
Step Four: Place your cut out letters onto the grey card where you want them and trace around the edges with pencil. (The celebratory tea obviously affected my steadiness here…)
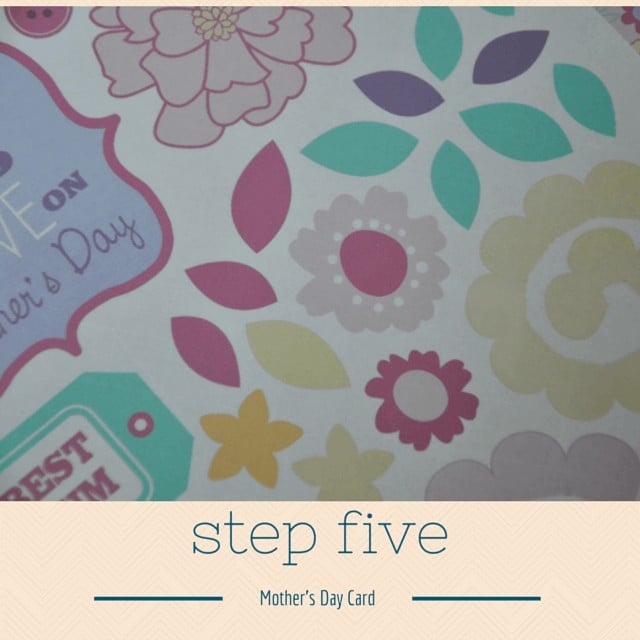
Step Five: Cut out 3 leaves from the free download (I chose 2 big and 1 small)

Step Six: Position the leaves where you want them (remember that this will be the back of the card so on the right if you want it to look like mine) and trace around them with pencil.
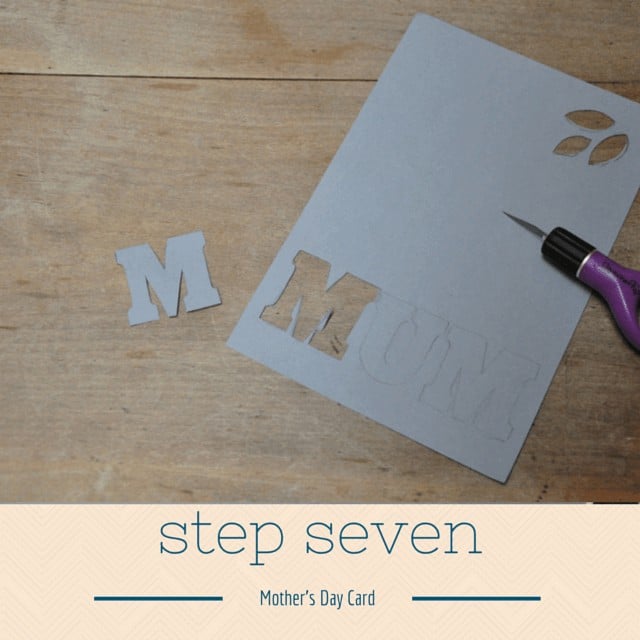
Step Seven: Time to go for it! Making sure your card is on a proper cutting board and your fingers are well out of the way (painful lesson learnt by myself), cut out the tracings on the card.

Step Eight: Apply any plasters necessary and turn over so you can’t see the blood/pencil marks….I am of course joking but please do be careful!
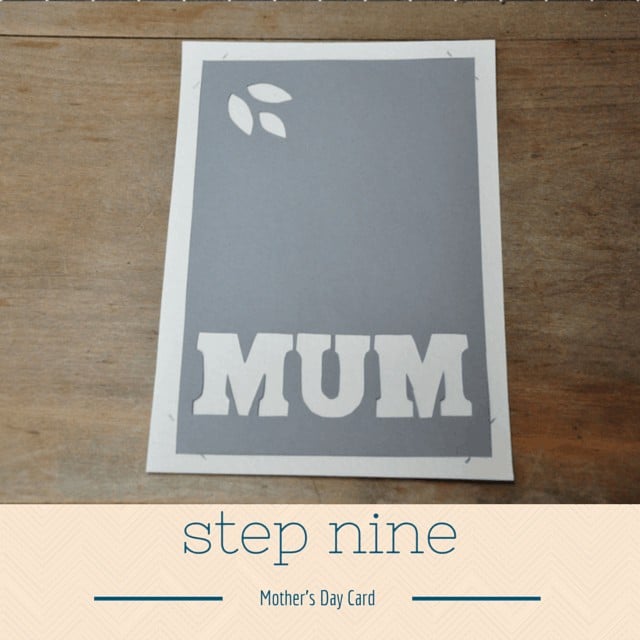
Step Nine: Place the grey paper onto the cream card where you would like it and make small pencil marks as shown at each corner – these will create the frame for your card.
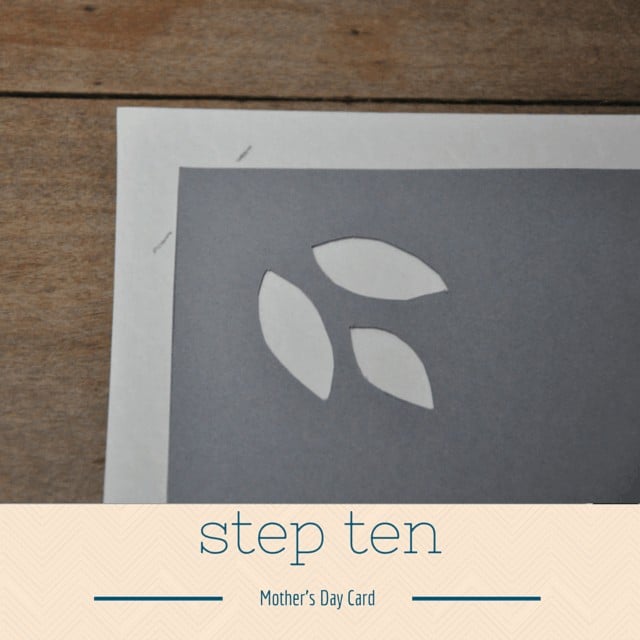
Step Ten: A close up of these little pencil marks.
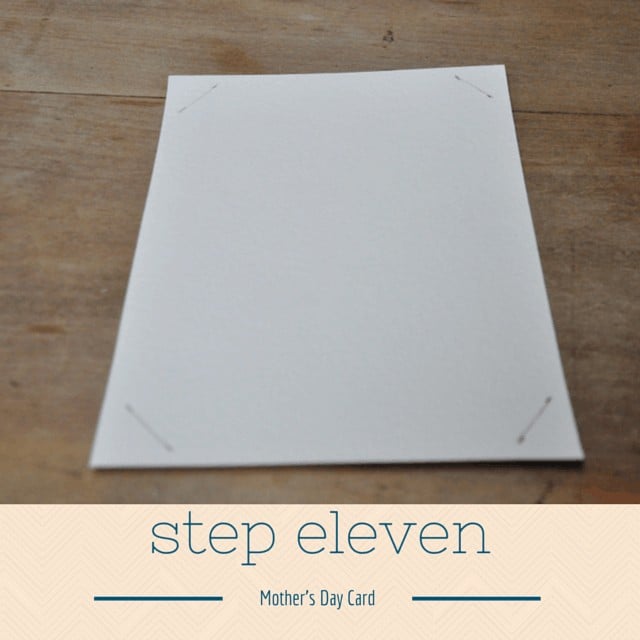
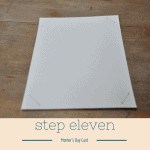
Step Elevem: Take the grey paper off and join the little pencil marks as shown to get 4 diagonal lines. Pop you cream card onto your cutting mat and cut these 4 lines.
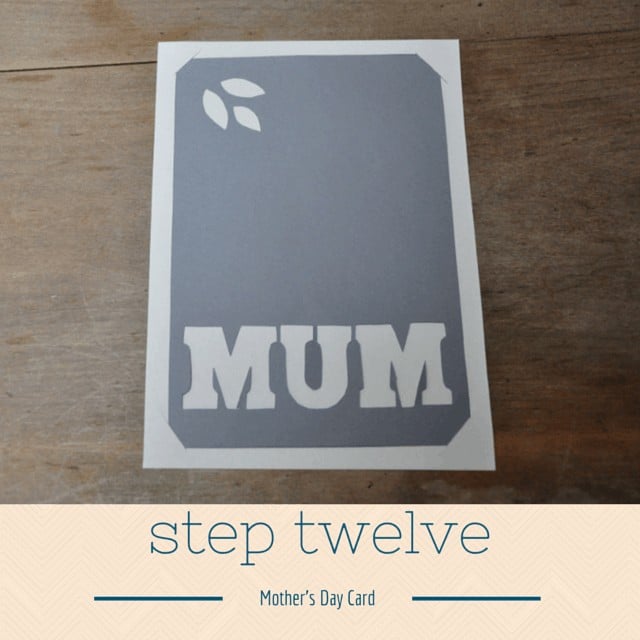
Step Twelve: Gently slide your grey paper into the diagonal slots to hold in place.
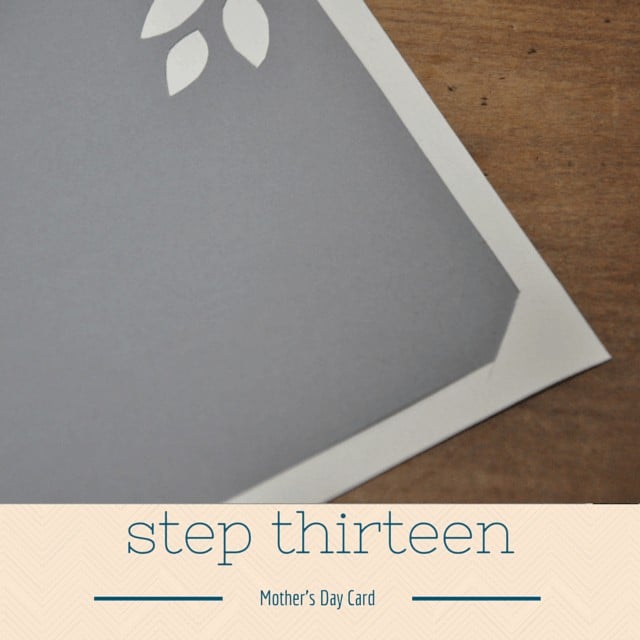
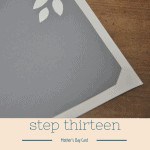
Step Thriteen: A close up of the slot holding magic.
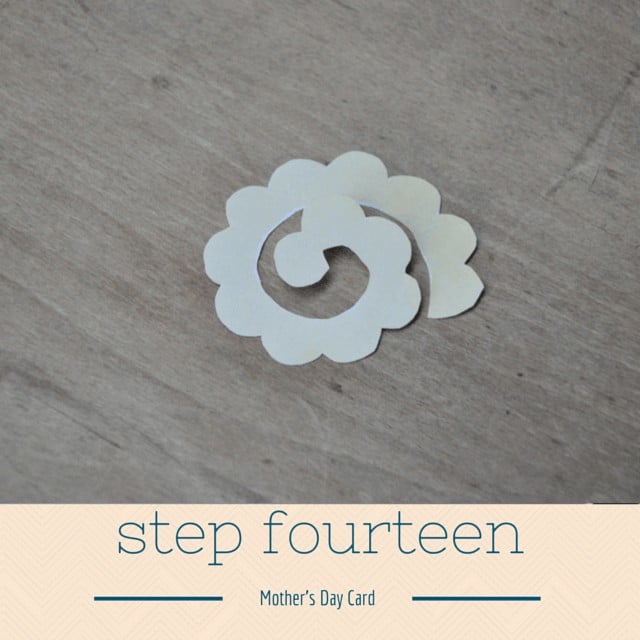
Step Fourteen: Cut out the little spiral flower design from the free download and trace onto the yellow paper 3 times. Cut out the 3 flower spirals.
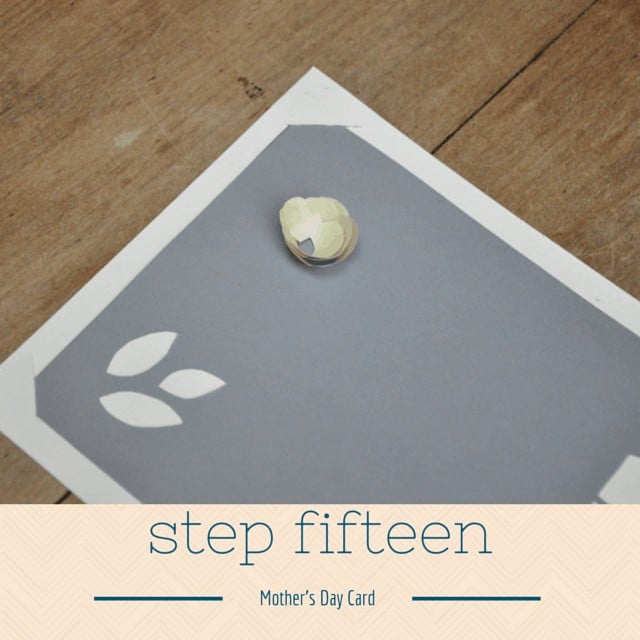
Step Fifteen: Roll up the flower spiral and pop on a dab of glue at the end to make sure it doesn’t unravel. Glue onto the card wherever you would like them.
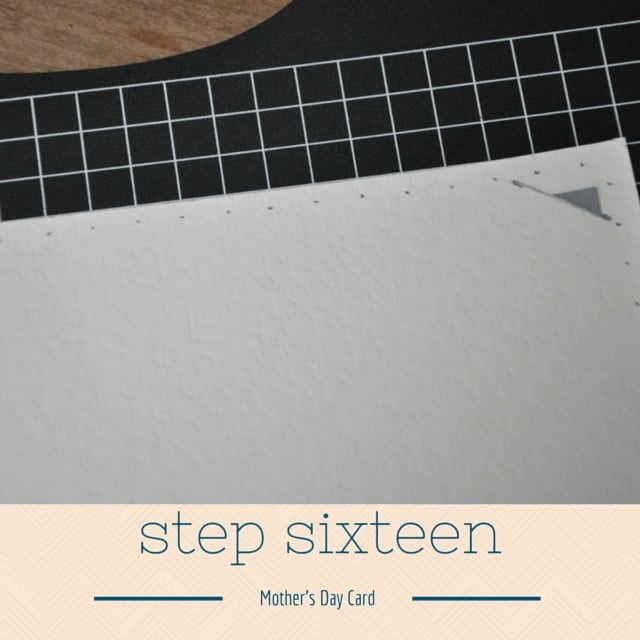
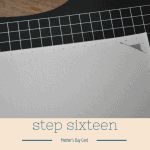
Step Sixteen: Get ready to add the ruffle by marking dots 1cm apart on the back of the cream card – this will help you get your blanket stitch neat and tidy.
That’s all there is to the paper cutting, sticking and mounting – now you just need to run a blanket stitch around the edge and add a cute crochet ruffle. Perfect!
Fancy giving it a go?! I’d love to know how you get on!
Hannah x